Summary
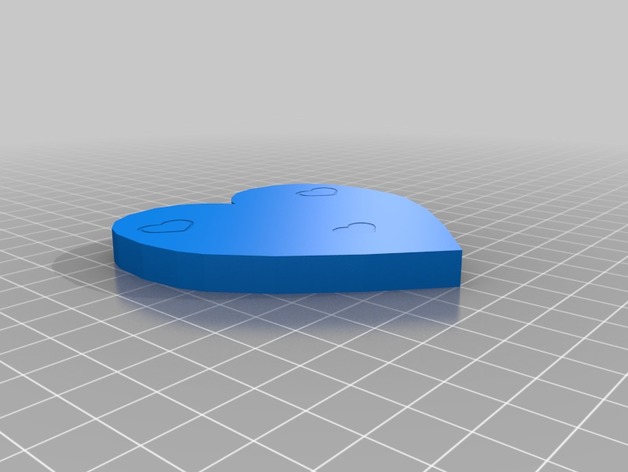
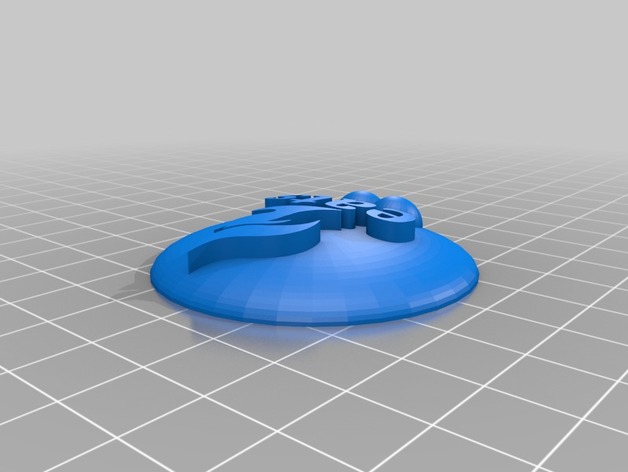
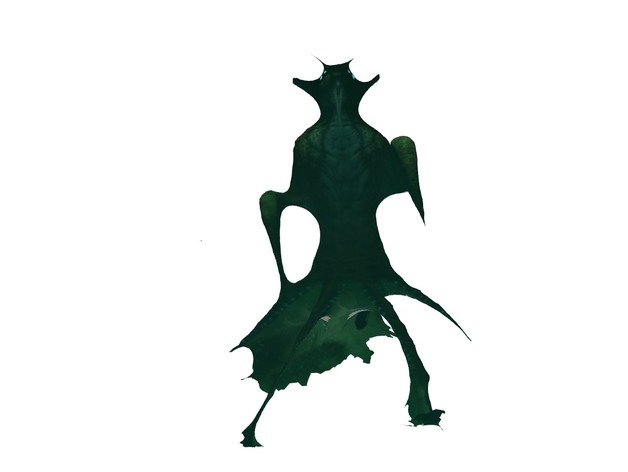
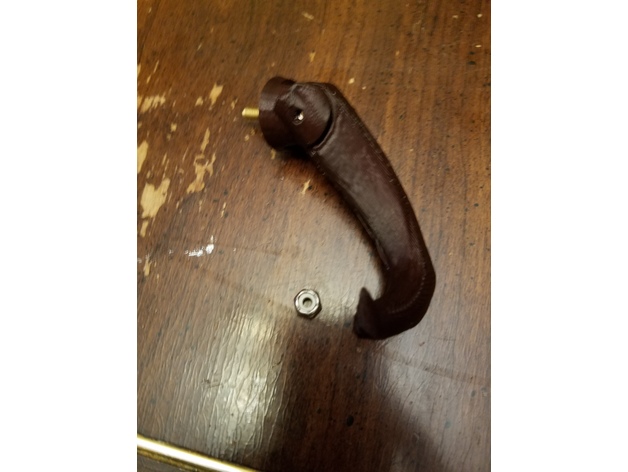
This is a simple hook on which to hang coffee cups.
It requires a 1/8″ or M3 screw to connect the hook to the wall mount, and another to connect the wall mount to the wall. I used a washer and nylon locknut to attach the mount to the side of my cabinet.
Flip the tentacle and mount in order to make a left-hand version.
Print Settings
Printer Brand:
Prusa
Printer:
Prusa Mk2
Rafts:
Doesn’t Matter
Supports:
Yes
Notes:
The tentacle requires supports, but the mount does not.
How I Designed This
To create the tentacle, I started with tapered cylinders in OpenSCAD, as shown in CoffeeCupHook.scad. After I was happy with their orientation, I exported to STL and used Blender to smooth out the junctions and adjust the curvature to make it more organic looking, then exported it to rawtentacle.stl.
Then I imported rawtentacle.stl back into OpenSCAD and used boolean logic to make the final tentacle and the wall mount pieces.
Author: Thingiverse
-
Coffee Cup Hook 3D Print Model
-
Unicorn Light Switch Cover 3D Print Model
Summary
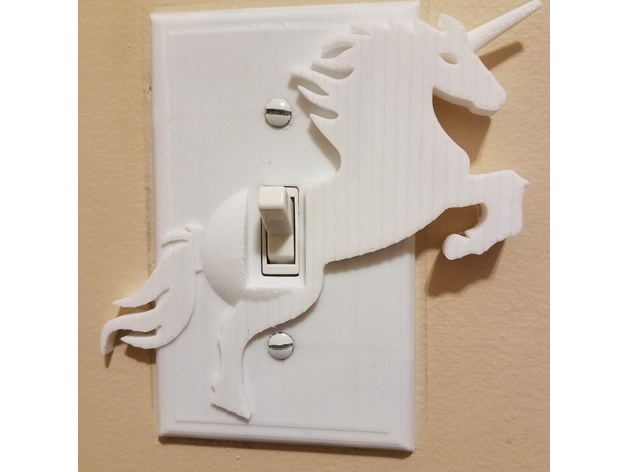
I’m very new to printing and modelling but I saw the Unicorn light switch cover plate by MikeMasek and thought my girls would go bonkers for it. Only issue was that it wouldn’t fit on my Monoprice Select Mini. So, I hacked this one together and probably made all kinds design mistakes but it worked and the girls love it. If you’d like to tell me all the things that could be improved, I’m all ears and eager to learn.
If you decide to print this on a MP Select Mini, be advised…I changed my print bed x and y dimensions to 127 to make this work. On one pass while printing the raft I did hear it bump against its hard limit so if you can make it work with everything set to 126 mm you might be better off. Needless, this print makes for a very full print bed on the MPSM.
I printed with white PLA and it turned out pretty well. On the next one, I’ll probably increase the outer layer a bit because it is a little translucent in some light. It is also 1 or 2mm smaller in diameter than the cover that was on there but it still covers well and looks good. Last thing is that the screws won’t sit flush unless you dremel them out a bit…could be easily fixed in the model. If I do another version, I’ll fix this in the model.
Thanks! Enjoy!
Print Settings
Printer:
Monoprice Select Mini
Rafts:
Yes
Supports:
Yes
Resolution:
.4
Infill:
20 -
Duplicator i3 Plus (or Clone) Cooling Duct 3D Print Model
Summary
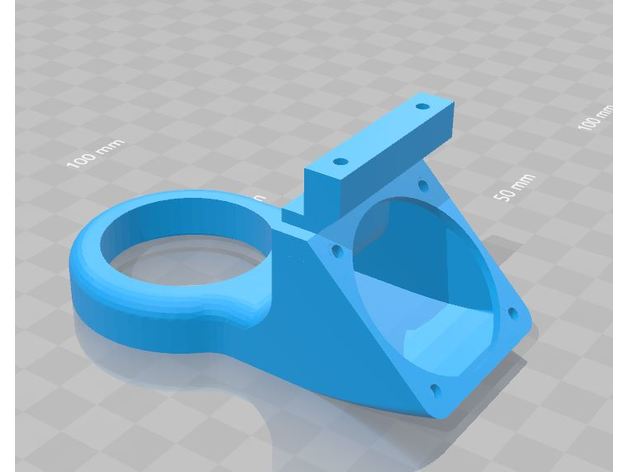
I was looking for a cooling duct for my Balco Touch 3D Printer (duplicator i3 Plus clone) that used the stock 40mm fan and liked the one created for the i3 (https://www.thingiverse.com/thing:969338) However the position of the cooling ring, the mount, fan mount and the depth did not fit my printer. I therefore modified the design to offset the cooling ring, correct the mounting, depth and fan mount to fit. This is the result which should fit any i3 Plus or clone with a stock 40mm fan. -
Kylo Ren Lithophane 3D Print Model
Summary
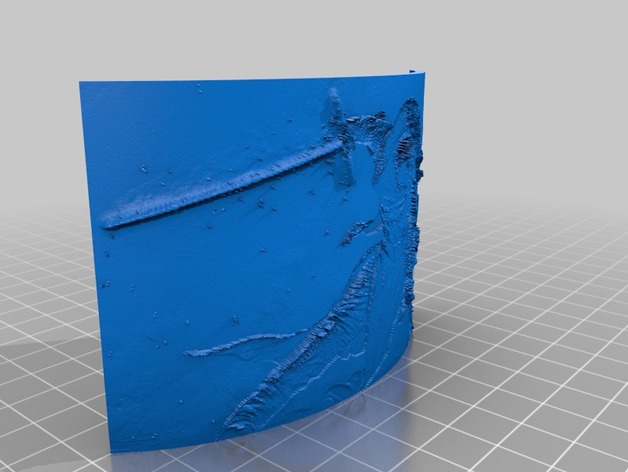
This is a Lithophane of Kylo Ren from Star Wars. When held up to light, you can see the image clearly. -
Phone Stand 3D Print Model
Summary
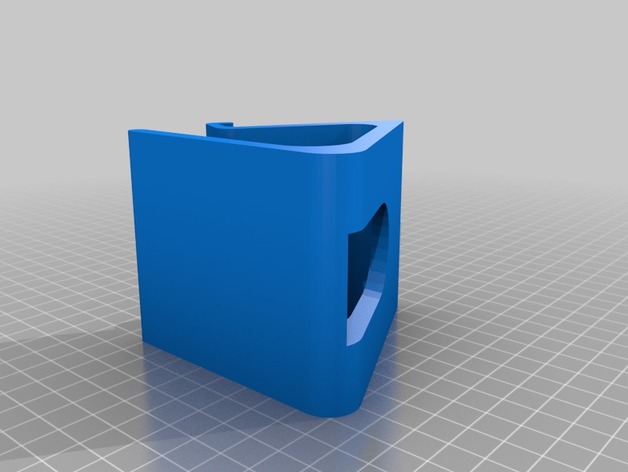
Remixed to make the seat openings a little larger for my phone in its case. Also moved the upper section a little higher up so a cable can easily fit under it. -
Game of Thrones – Iron Throne – Cell Phone Holder 3D Print Model
Summary
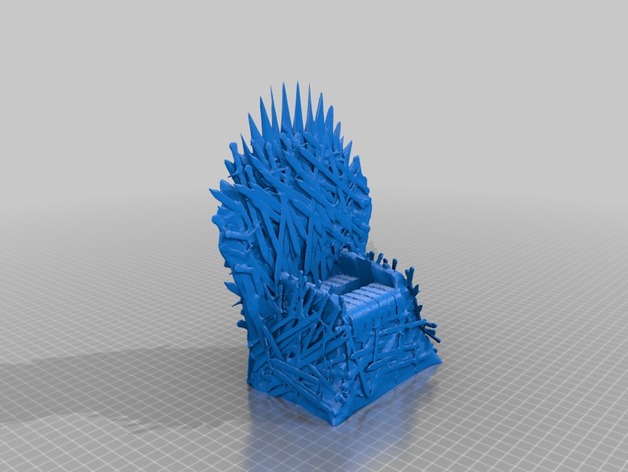
This thrown is awesome….so awesome I thought it would be neat to make as a holder for my Moto G4 smartphone.
Using JinxtheRabit idea in his Galaxy Nexus Dock Enhanced, I designed it the same way for the cord and mount.
NOTE: This stand is for smartphones that have a width within 70mm and have a charging port on the middle bottom (medium smartphones). I provided the 3mf file for editing for different phones, but if you like I can try to make one fit yours (just send me the dimensions).
Print Settings
Printer Brand:
Prusa
Printer:
Prusa Clone
Rafts:
No
Supports:
No
Resolution:
.2
Infill:
10%
Notes:
This is a 27 hr print. -
LED Holder for 9x5mm Arms 3D Print Model
Summary
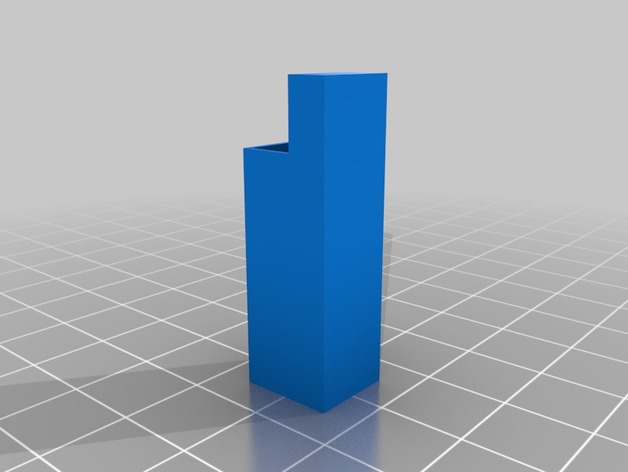
LED holders for the Riplite but can be used for other frames like the Hyphylite -
Redline Motor Cover 3D Print Model
Summary
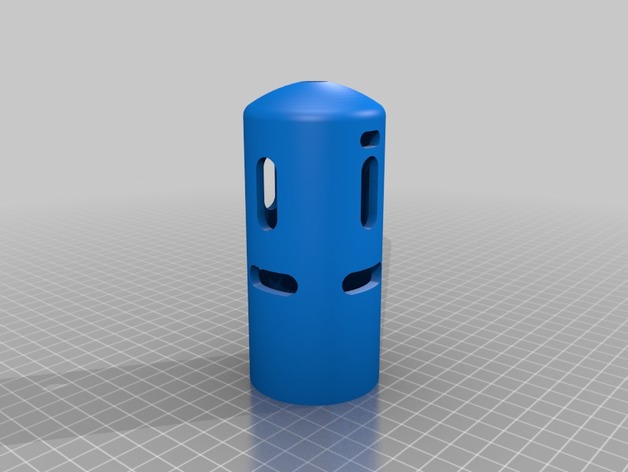
This year, we’re using a few redline motors on our robot. They’re the kind of motor that have tabs you solder the wire to, but they seem a bit delicate and easy to get torn off if a lose wire got caught on something. To protect the motor and our service loop, I created a cover to keep the tabs and loop nice and safe.
When you put it on, you might need a layer or two of electrical tape depending on the motor, pahse of the moon, days untill next leap year, ect.
Print Settings
Printer Brand:
LulzBot
Printer:
TAZ 6
Rafts:
Yes
Supports:
No
Resolution:
0.3 mm
Infill:
100 %
Notes:
If you use the model with what looks like tubes running all over, dont use supports, the tubes are supports. Otherwise, you’ll need to create your own supports.
First layer hieght is 0.36 mm.
Post-Printing
You will need to remove the supports, which for me was a bit of a pain.
Step One: Remove “looser” supports
Us a pair of needlenose pliers or simailer to remove the majority of the support on the outside and inside of the cover. Dont go crazey trying to get supports that stick too strongly, they”ll come of in one of the other steps.
Step Two: Remove supports from the cuttouts
Use a scratch awl/ center punch and hammer to punch out the supports from inside the cutouts and any strgglers you couldn’t get with the pliers (except the ones where the raft was, leave those for the next step). I find it helpful to put the cover in a vice and lightly – I repeat- lightly clamp in in and let it settle to the bottom, then tap the supports out.
Step Three: Remove the supports from where the raft was
Usually, I use a chisle to remove supports like this, but had trouble executing. Instead, I held the peice in a pair of vise-grips and used a belt sander to remove them, which leaves a rough, woodstained section, but is probably smoother (and certanly faster) than trying to get them off with pliers.
How I Designed This
This tutorial is designed to work to make a cover for any motor you may have, using the redline motor as an example. Screenshots were taken in Onshape.
Step One (a): Create the main body
On whatever plane you choose, create a sketch consisting of a line half the diamiter of your motor plus relief (e.g. [(1.77/2 in)+0.25 mm]) from the origin and as long as you want your cover to be tall ( because part of the purpose of my cover was to proect a service loop, I left a lot of room up there). Also create a rounded top as tall or flat as you wish. The top is pretty unimportant and you can just eyeball it. I like to fillet the connection between the line and the arc to make it nice and smooth.(b)
Offset this entire sketch as thick as you see fit, I used 0.15 in. Also connect the offset sketch to the original one with a line, and be careful with the top arc. Make sure that line is parellel with whichever direction is “up” and even with the offset arc, then connect those two lnes with another line (see close up picture).Don’t forget to connect the two arcs properly!
(c)
Revolve that sketch a full 360 degrees into a new solid, using the line parrellel to the “up” direction and in the center of where the solid will be as the revolve axis.Step Two (a): Make cutouts for air cerculation and wire routing.
After offseting a plane the radius of the hollow cylinder you’ve created, sketch slots for any air circualation cutouts in your motor. If you’re making a cover for a sealed motor, like a CIM, dont worry about air. You can find the distance for your cutouts by eyeballing with a caliper or ruler about how far up they start and stop, and to make it nice rounding off the edges with arcs.(b)
Take any sketches you made for cutouts and extrude them all the way through, or use emboss if your software has it, which is a feature Onshape lacks. Another, much more annoying thing to be witho is the abillity to pattern your holes, so the only way to get more cutouts is to duplicate you sketch onto a perpendicular plane and extrude it through again. I don’t think you can rotate the part or make a plane wuth a costum angle, but if I’m wrong please correct me.(c)
Now you’ll need cutouts for your wire to exit from, unless you’re cool with them coming through the other cutouts (i think that looks messy). Create two lines. The distance between them is equal to the diamiter of your wire plus relief. Make them as long as the diamiter of your wire times two plus relief, then round the edges with arcs to make it nice. Extrude this, but not all the way through. I also like to add one coming out the top so you’ve got options. The diamier of the hole I extrude out the top is the diamiter of the wire times two plus relief.Step Three: Add finishing touches
I like to chamfer all of the parts you’ll have to stick things through or into to make it easier to align. I chamfered the large opening for the motor to go through and the two wire routing holes.Congrats, you’re done!
Enjoy your cosutom motor cover, maybe even engrave your team name or number on it! -
Bowden High Stepper Motor Mount for Hictop Acrylic Printer 3D Print Model
Summary
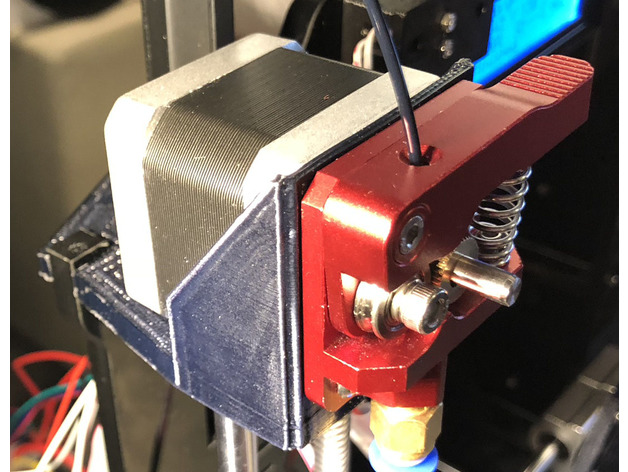
This is a remix of mechaet’s motor mount (V4) for conversion of the Hictop acrylic printer to a Bowden or style. Supports 2 extruders (one motor on each side). This piece replaces the entire top left acrylic piece and has a built in mount for a Nema 17 motor. Sits front and center for easy filament tube down to the nozzle. If you want this one on the top-right just mirror the print in your tool of choice.
Print Settings
Printer:
Hictop i3 Acrylic
Rafts:
No
Supports:
No
Resolution:
.2
Infill:
25%Post-Printing
Mine required some slight sanding to get it to fit in place, but otherwise works fine.
How I Designed This
Modeled in Tinkercad based off of mechaet’s V4 https://www.thingiverse.com/thing:1816832 -
Hex-a-shelves (with other brackets as well) 3D Print Model
Summary
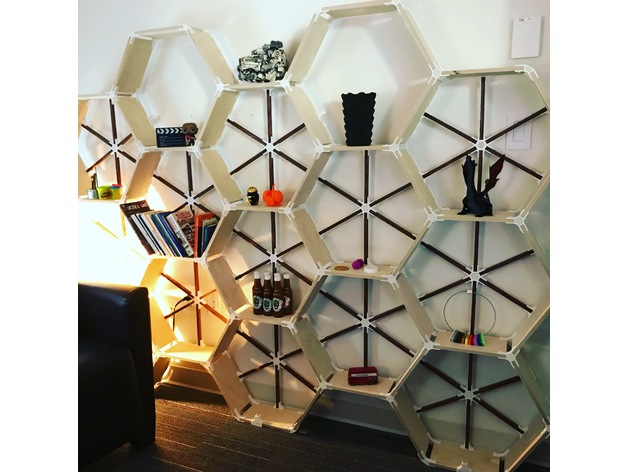
Brackets designed in Fusion360 to allow custom shelf design. I built a shelf for my office (see pictures) which was a huge hit.
Print Settings
Printer Brand:
Prusa
Printer:
i3 MK2S
Rafts:
No
Supports:
No
Resolution:
0.2mm
Infill:
30%
Notes:
Assembly instructions:
Please note before starting, it is best to assemble the pieces with it laying flat on the floor (like the shelf has fallen over) so that the back support brackets can be attached before standing it up. Without the back brackets, you will not have a very sturdy shelf and any weight added to it will result in tears… yours.
I chose to make a pretty hefty hex grid of shelves as you can see in the picture, but you can modify and make whatever design you want. My support brackets are only designed for the hex arrangement and if you alter, you may need to design and print some brackets depending on your design to help support it. There was quite a bit of printing to get this design. The bigger the shelf, the more you’ll be printing… I used 6 full 1kg spools of white filament by the time I was done.
The wood measurements for me below:
Main shelf length 240mm
Back support strip length 205mm, width 15mm. Orientate so you see the edge towards you.
Baltic Plywood Thickness 1/2 inch (or 12.5mm)
I used 1/2 inch white tipped screws for the construction. You only need to go in one side of the bracket, not both.
Printing the brackets, I decided not to have the top and bottom layers filled in. I chose a honeycomb pattern as it matched the overall design. You will need to experiment with your printer to get the strongest results. I used 9 perimeters, no top or bottom, and 30% infill. I printed on both my Prusa MK3 and MK2s.
Depth of shelf is up to you… I made mine 6” deep, that way I could get all the pieces I needed from 1 4’x8’ sheet of plywood. I used Baltic Birch as it has a nice edge after being cut. Don’t forget about the kerf (thickness) of the blade when making cuts to make sure you get accurate measurements. The depth of your shelf could be at least 8” before needing to print a middle bracket for support.
I stained the back support to give it extra contrast, up to you if you want to do the same.
If you use these brackets and post, please credit me @vfxsoup (for instagram) for my design. Initial inspiration came from looking at a design by martcaset on thingiverse. Good luck, it was a really fun project printing all the parts and putting it together. -
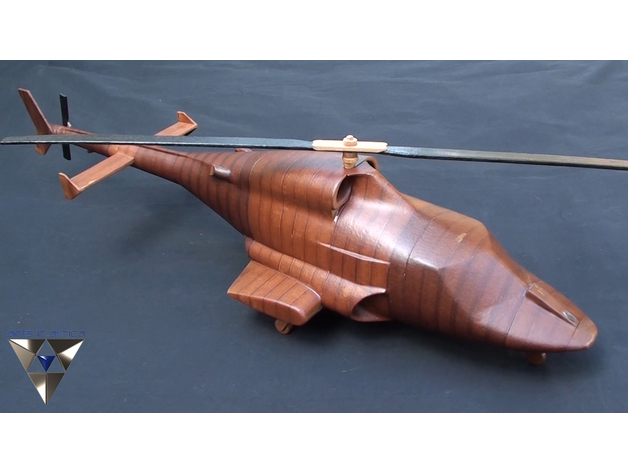
Airwolf Stacked Vector model 3D Print Model
Summary
Here is an idea I thought up a few years ago, and thought I would share it here for free.
It is a stacked vector concept that can be used to re-create almost any 3d model in any material that is in sheet form.
By slicing a 3d model into slices the width of a chosen real world material, the profiles can be rendered out and cut out of that material and stacked one on top of the other.
I used the method to create a wooden airwolf model and a spaceship from the 80’s TV series.
I cut each slice by hand, which I don’t recommend, but I supplied the files in DXF and Ai formats, so it can be cut with a cnc I beleive?
Since this method can be scaled using a projector, I have optimistic plans to create a full size Zuul terror dog from Ghost busters, using this technique and foam sheets.
I used a slice modifier in 3ds Max to do this, but I’m sure it is possible on most 3D software.
I hope this inspires new designs. -
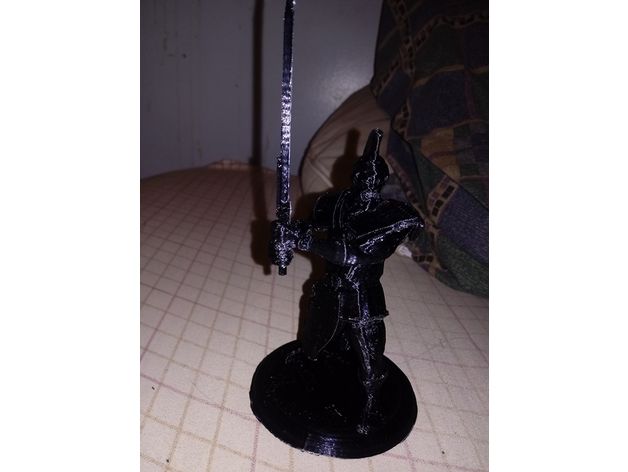
Storm Giant 3D Print Model
Summary
I don’t claim credit for this model. I just attached a nicer base and separated the sword into a separate file. Ive included the original file as well. My printer don’t like tall objects and the feet weren’t enough to keep the model stable and attach to the print bed, hence the base.
Original download can be found here https://www.shapeways.com/product/S3DWZPRSE/storm-giant?key=0fdd6bbb1c819cc9122749f4a0b42020
Print Settings
Printer:
Alunar M505
Rafts:
No
Supports:
Yes
Resolution:
0.2
Infill:
10 -
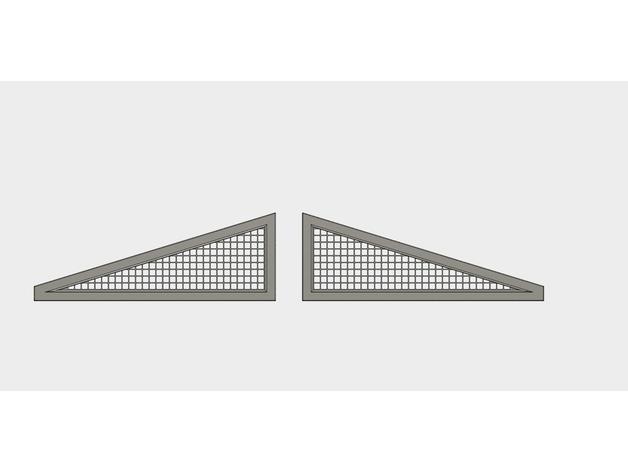
TRX-4 Tactical Rear Triangle Window Grill 3D Print Model
Summary
Leave me a comments if you like its. -
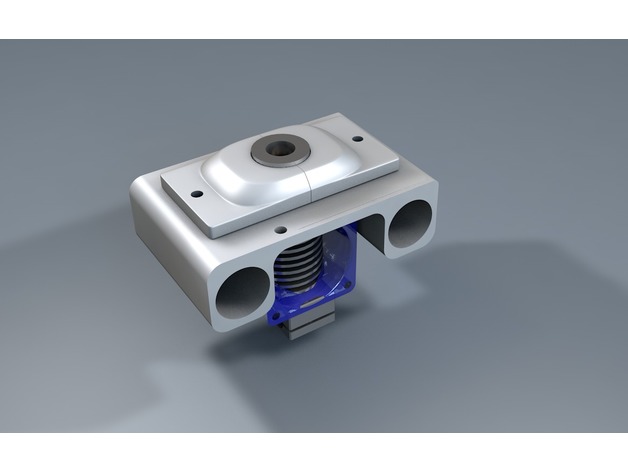
P905X E3D V6 Bowden 3D Print Model
Summary
Version pour E3D V6 Bowden.
A faire avec support sur le lit -
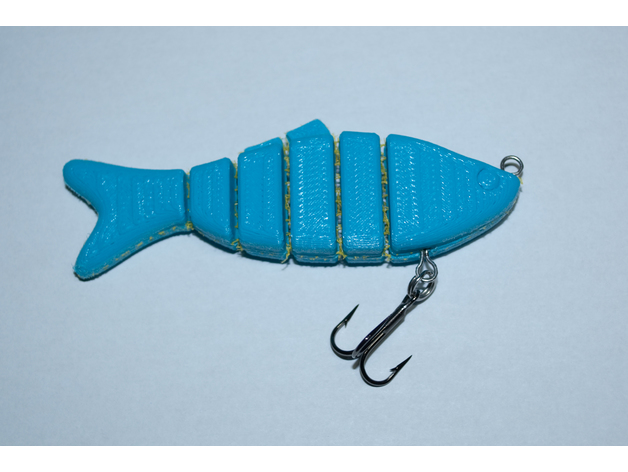
Joined Swiming Lure (Fabric Printing) 3D Print Model
Summary
This is a work in Progress and the lure has NOT been tested yet!
This is just a prototype for an idea I’m playing around with using the new technique of printing on fabric. I did not come up with this idea I am just trying to find new creative ways of using it. I believe the original idea came from Shorey Designs from Instagram.
The design of the lure was just a rough 10 minute design I came up with to try this idea. I have no idea if it will actually swim correctly as I have not tested it yet. I am posting the file already because other expressed interest in trying it themselves.The Printing Process.
The process starts by printing a few layers (two In this case) and then pausing the print.
The tulle fabric was then taped to the bed over the print.
The print was then resumed and continues to print over the fabric imbedding it into the print.
The finshed print.
The fabric acts as a hinge allowing the lure to bend.
I add tie on/hook points and a little wieght (.177 BB’s) and then superglue the two havles together.
The finished lure before painting.
Wiggle wiggle wiggle……
This video shows the entire process. -
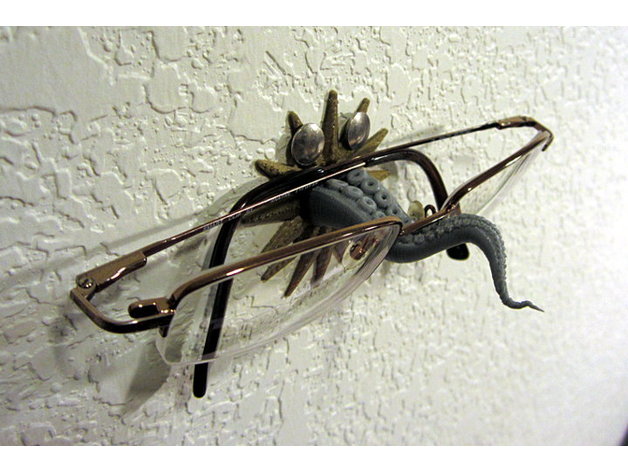
Tentacle glasses perch 3D Print Model
Summary
Put a star-shaped base on VeerleC’s tentacle and added a couple of thumbtack holes for mounting. -
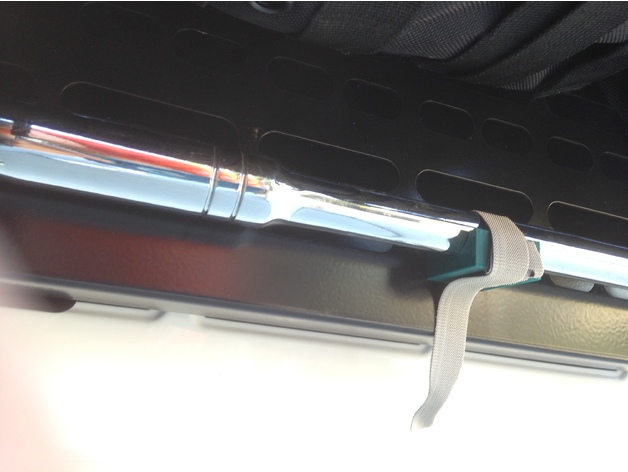
Molle Mount for Breaker Bar 3D Print Model
Summary
I recently purchased a tailgate table from Springtail Solutions for my Jeep. The table has Molle attachments points. So I designed and printed some insert mounts that will hold some of the items that I take off road. This is a mount for a breaker bar. I designed it to use a Velcro type fastener.
Print and clean the mount. Then attach the Velcro fastener.
I really like this table/molle storage option for my Jeep. I will be making more attachments for ‘stuff’.
Print Settings
Printer:
Monoprice Maker Select v2
Rafts:
No
Supports:
Yes
Resolution:
0.2
Infill:
100
Notes:
Print Head Temp – 220
Bed Temp – 70
PLA+ -
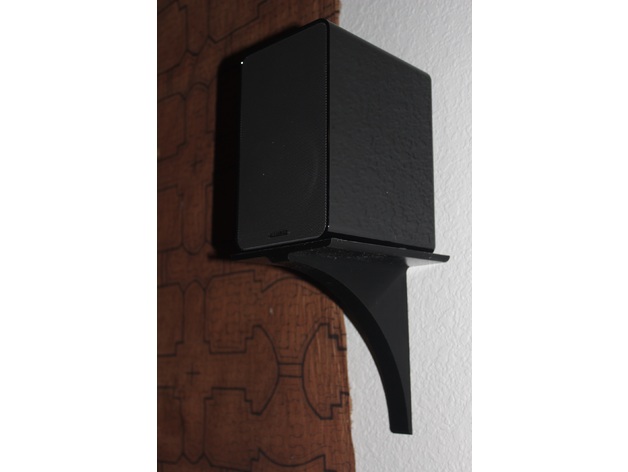
Small Speaker Shelf 3D Print Model
Summary
Shelf made to hold speakers 5.5″wx7″d or smaller.
Print Settings
Printer Brand:
Robo 3D
Printer:
R1 ABS + PLA Model
Rafts:
No
Supports:
No
Resolution:
.3mm
Infill:
30% -
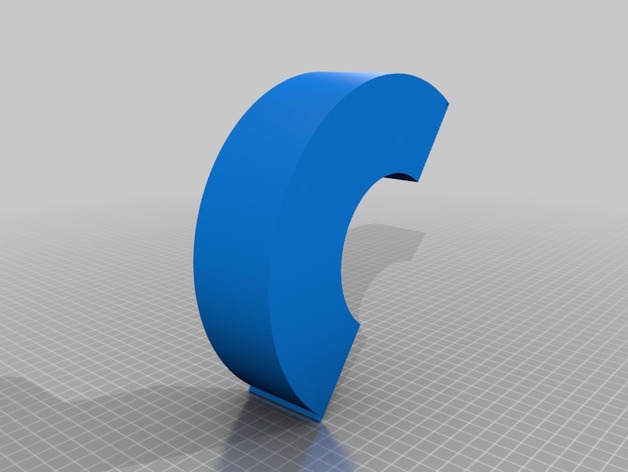
e-SUN Spool Box 3D Print Model
Summary
Hallo !
I designed thise drawers for eSUN spools …
Inner diameter is 91 mm .
Outer diameter is 200 mm .
Hinge inner diameter is 2 mm .
Drawer height is 55 mm .
The ” racord ” piece is to bridge 2 spools on in top of the other .
Needs 4 pieces of 2mm screws ( or maybe a piece of filament ? ) .
NOT printed yet …
Print Settings
Printer:
Freesculpt x1
Rafts:
Doesn’t Matter
Supports:
Doesn’t Matter
Resolution:
0.30
Infill:
0.20Post-Printing
How I Designed This
Created on Fusion 360 . -
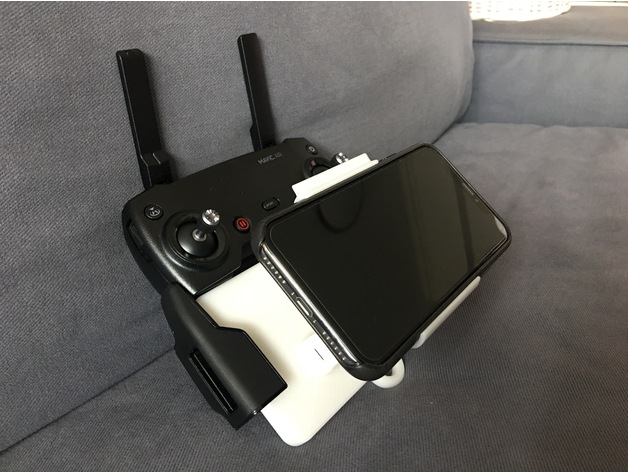
DJI Mavic Remote Control iPhoneX (with Apple Leather Case) Bracket 3D Print Model
Summary
DJI Mavic series remote control iPhoneX bracket
Suitable for Apple iPhoneX with Apple leather/silicon case -
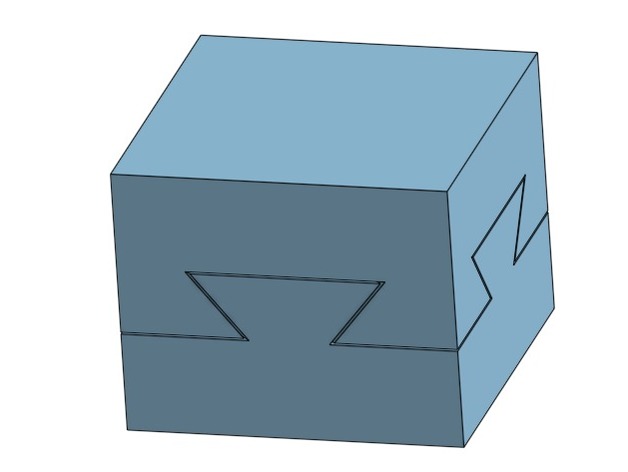
Dovetail box 3D Print Model
Summary
Trick yourself with this tricky box!
Print Settings
Printer Brand:
Ultimaker
Printer:
Ultimaker 2
Rafts:
Doesn’t Matter
Supports:
Doesn’t Matter
Resolution:
0.1/0.2
Infill:
10/20/30 -
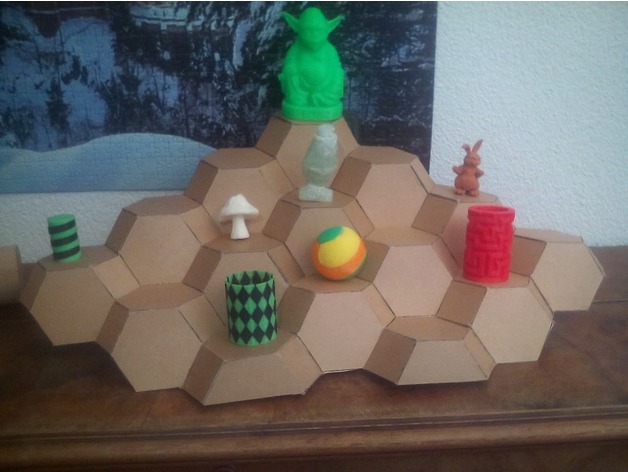
Fancy Type Case 3D Print Model
Summary
I wanted to have a special type case. This one is based on truncated octaeders and its not as boring as just rows and columns.
In order to be effective I printed a template to cut the required cardboard
How to create
Print the Template
use the Template to copy the figure onto cardboard ( in my picture 15 times, but refrain from create mirror copies …)
Cut out the figure
Use Biro and Ruler to mark the edges
Fold and glue every pice
Glue the pieces together as shown in the picture – you might need to cut halves in the very bottom
Enjoy your new Type Case -
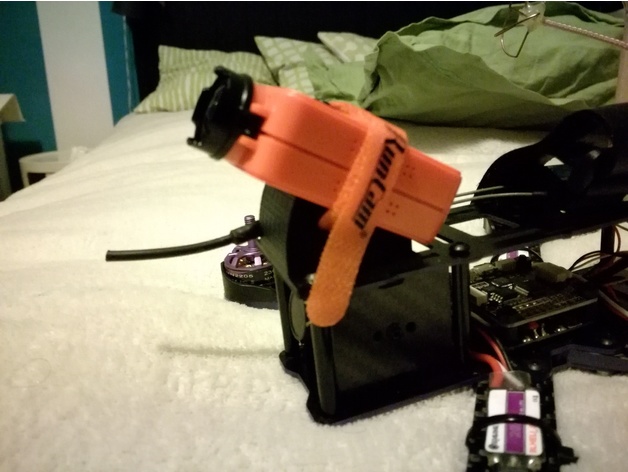
Eachine Wizard X220 Runcam2 Mobius camera mount small 3D Print Model
Summary
This is a shorter camera mount to fit a Runcam2 (or similar) on the top deck of an Eachine Wizard without limiting the room for the battery (up to 3S 1800 mAh).
Printed in ABS. -
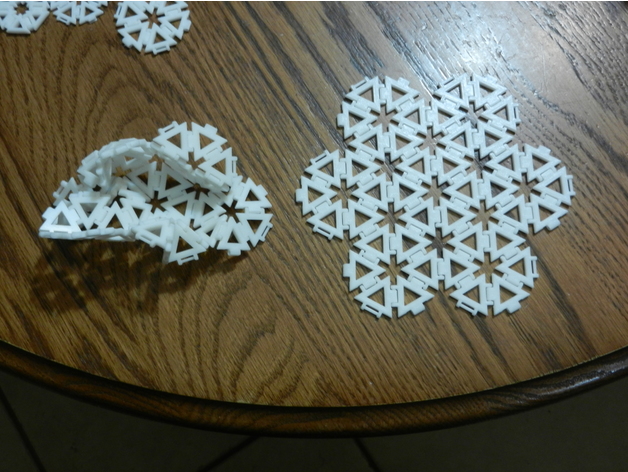
Flexible Doilie 3D Print Model
Summary
I saw the original idea, and wanted to make it work for FDM printers. Here it is.
I used a Folgertech FT-5 R1 with an E3D Titan Aero installed. ESun PLA+.
All of the hinges are print-in-place. 3mm thick total.
I Used a layer thickness of 0.15mm at 40mm/sec print speed. -
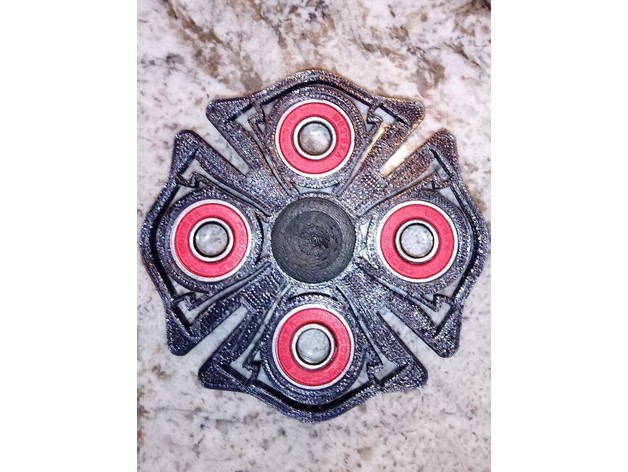
Fire Fighter Fidget Spinner 3D Print Model
Summary
Thanks to all the fire fighters out there. I made this for one of my buddies that is a retired firefighter!
Bearings= 608-2RS Skateboard Bearing
I recommend printing with taulmen 910 or my personal favorite (eSUN 1.75mm ePA-CF Carbon Fiber Filled Nylon Filament )
Check out https://www.jpsev.com/designs for more things and filament!!!
Im still working on the web site so be patience thx!!
Print Settings
Rafts:
Doesn’t Matter
Supports:
Doesn’t Matter
Resolution:
.2mm with .4 nozzle
Infill:
25 percent -
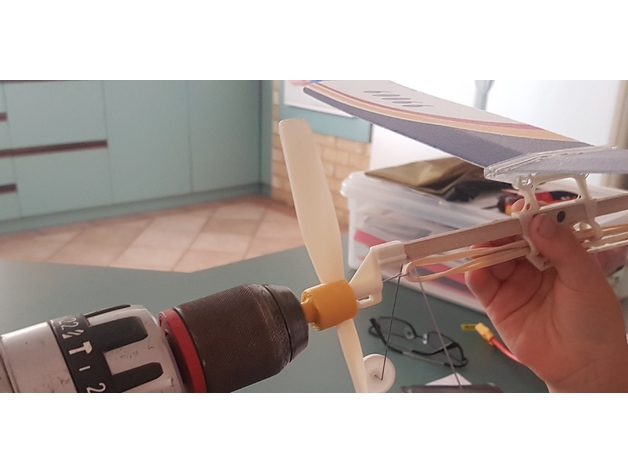
Rubber Plane Winder Drill Adapter 3D Print Model
Summary
My kids had rubber band planes and I got a sore finger winding them. This was a quick solution to my problem! Should fit most small rubber band planes. Put it in a drill chuck and wind!
I used 100% infill for strength.
Print Settings
Printer Brand:
Wanhao
Printer:
Wanhao Duplicator i3 V2
Rafts:
Doesn’t Matter
Supports:
Yes
Resolution:
.2
Infill:
100%
Notes:
Printed upright with supports. -
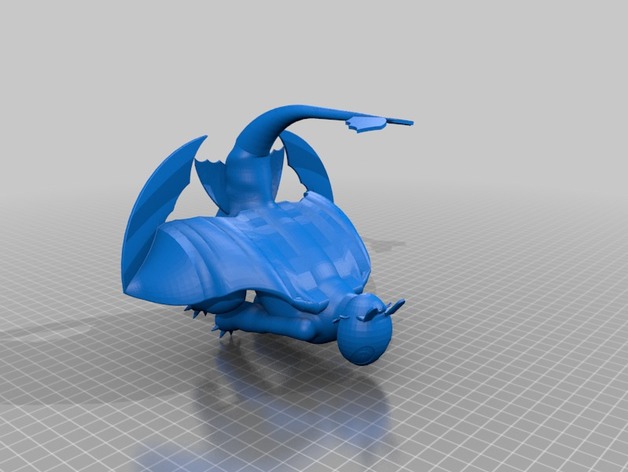
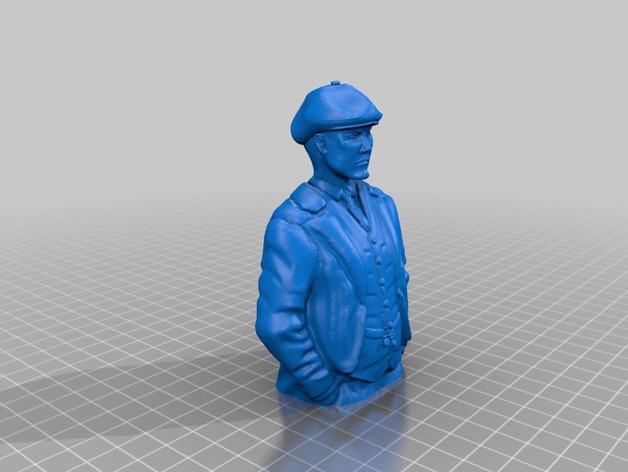
toothless 3D Print Model
Summary
This is toothless from How to Train Your Dragon. Note: if anyone knows how to save the re-orientation of this, that’ll be great. -
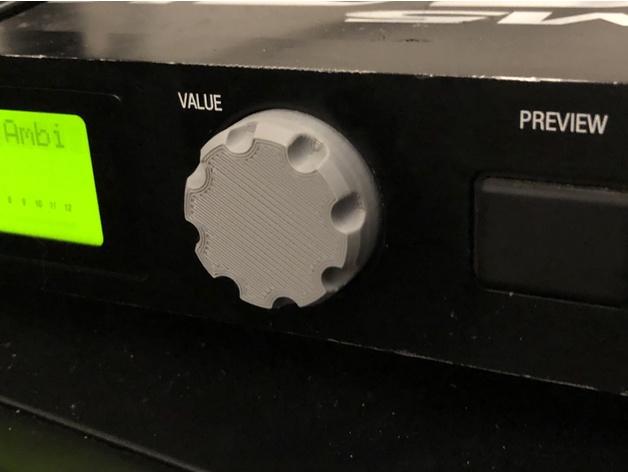
Alesis DM5 Knob 3D Print Model
Summary
Replacement knob for Alesis DM5 drum module.
Print Settings
Printer:
Monoprice Select Mini v2
Rafts:
No
Supports:
No
Resolution:
0.1mm
Infill:
30%
Notes:
wall_thickness=1.2mm -
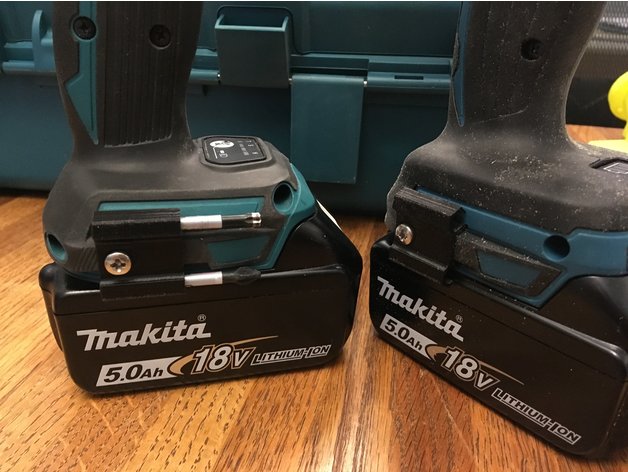
makita bit holder 3D Print Model
Summary
This bit holder is designed to be as low profile as possible. It holds 2 bits. The bits are held in by friction, but there are also little detent bumps within the holder.
There is a tongue on the holder that goes into the little 1″ long slot (similar to how the standard belt clip attaches). That makes it very secure, but it also means the holder will only fit on the right hand side of the drill/driver. If you want it on the left, print a mirrored version (or I suppose you could drill another hole in the right spot)
I printed this on an Anet A8, using PLA. It took me a few tries to get the fit right, so the bits are held securely but not so tight that they’re impossible to get back out. If you have trouble, the fit can be adjusted by scaling the print slightly or just by using sandpaper.
Use an M4 screw to attach it. -
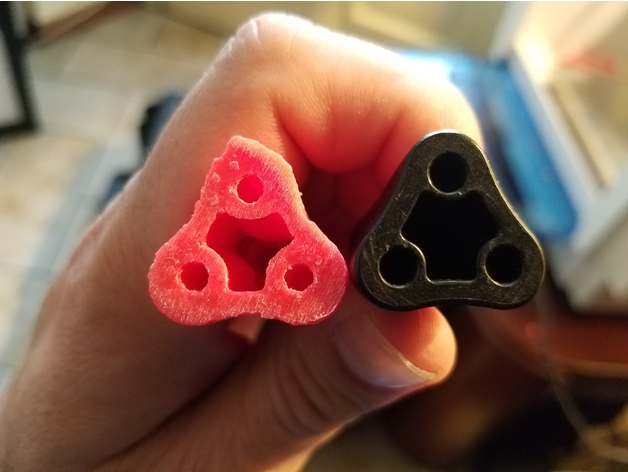
Parrot Bebop 1 & 2 Key 3D Print Model
Summary
I always misplace my parrot bebop key; not anymore. I recommend making the holes bigger by drilling holes with a 4mm drill bit.
This a remix from this guy, I just made the handle a bit fatter and I drilled the holes bigger:https://www.thingiverse.com/thing:200…
The processhttps://www.youtube.com/watch?v=vOLsS3c-DoU&t=82s
How to use:https://youtu.be/Oo-tq4knm4o
Print Settings
Printer:
Hamlet 3D Printer 3DX100 Rafts:
No Supports:
No Resolution:
.27 Infill:
100 Notes:
I didn’t use any rafts, but I used 3D printing glue. Print it face down, pointing straight up. I used ABS -
flsun cube rod end stop 3D Print Model
Summary
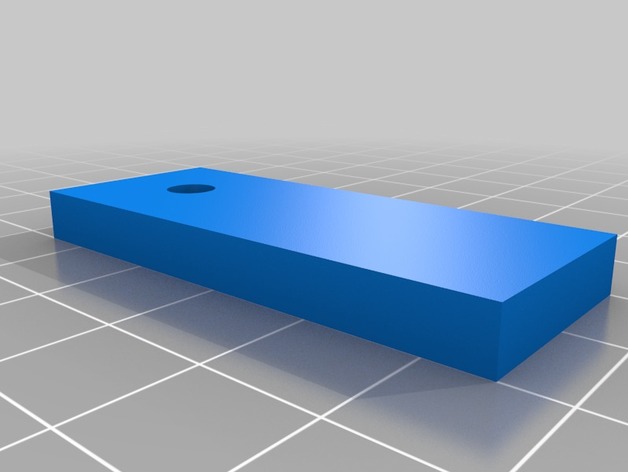
this was made to replace the end stops on my flsun cube as the perspex ones break easily.
Print Settings
Printer:
flsun cube
How I Designed This
this was designed in microsoft builder. -
Trollenium Falcon Warp 9 3/4 3D Print Model
Summary
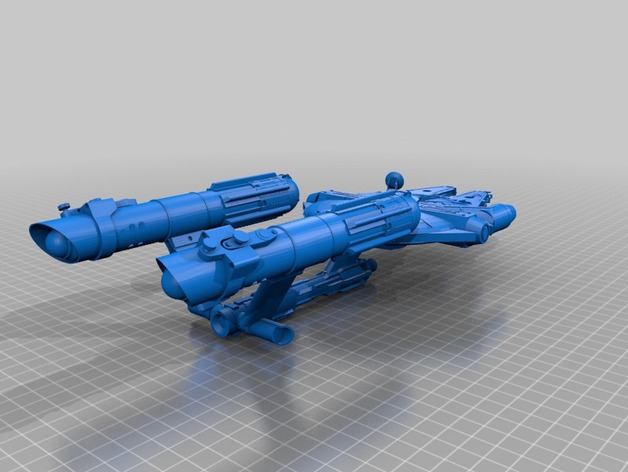
I don’t know what came over me but I just felt the trolling hadn’t quite reached maximum saturation.
7 different models hidden in there. This is not printable (without more support than model) and no I’m not slicing it up. It was hard enough putting it together.
No rights claimed by me, etc. etc. -
CRX Cup Holder 3D Print Model
Summary
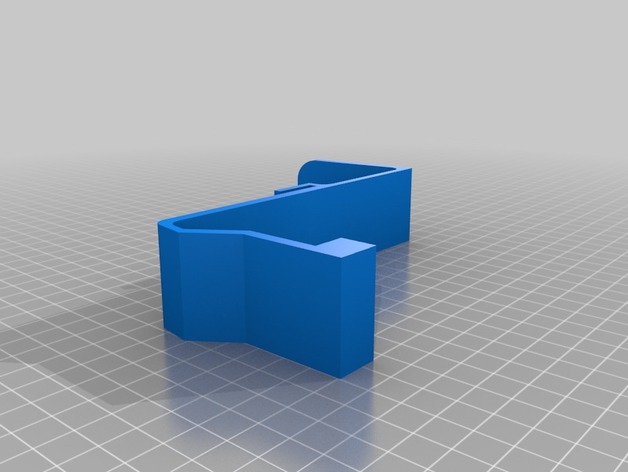
Cup holder for the First Generation CRX. Fits into, and hangs out of, the ash tray. -
Cobra HISS Arctic (GI Joe) 3D Print Model
Summary
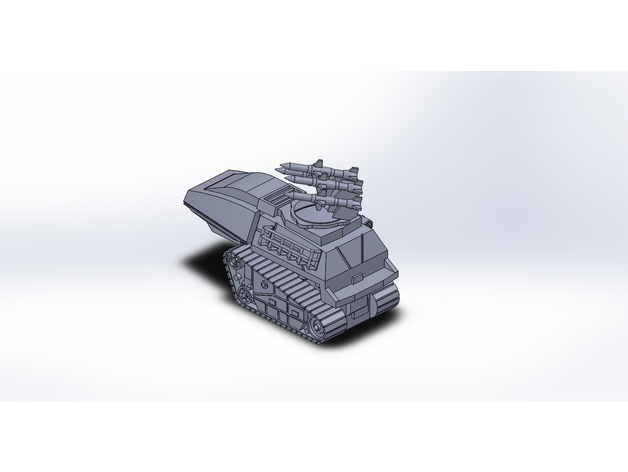
I saw a picture for a winter version of the HISS so I made it. The treads have more detail and assembly is a little easier than the standard version I posted in 2015. I used an old toy and a pair of 6 inch calipers to create this 3D file, though I estimated the missiles, blanket, and side rack. As usual, the file is modeled at the size of the actual toy but is intended to be printed at 25%. If you print this larger or smaller it may have too much or too little detail.
I’ve printed these files but have not painted them yet. I’ll post pics after I’ve painted a few of them.
Print the chassis in ‘right-side up’ orientation with supports.
Treads are printed with the “hubcaps” pointed up.
I had better luck printing the missiles horizontal and than cleaning off supports – though this part was designed to be printed pointed up so that might work better for you.
Much respect and gratitude to past and present members of our Armed Forces, you are the “Real American Heroes”. Your sacrifice allows people like me to live in peace, freedom and make silly little toys like these.
This file is free to download. Please note that it is listed as “non-commercial”. Neither you nor I are allowed to buy or sell physical copies of this 3D model. You are allowed (and encouraged) to print copies for your own personal use. If you have downloaded this file from a source other than my site on thingiverse.com they have done so without my permission. Thank you for respecting the rights of the original copyright holder. -
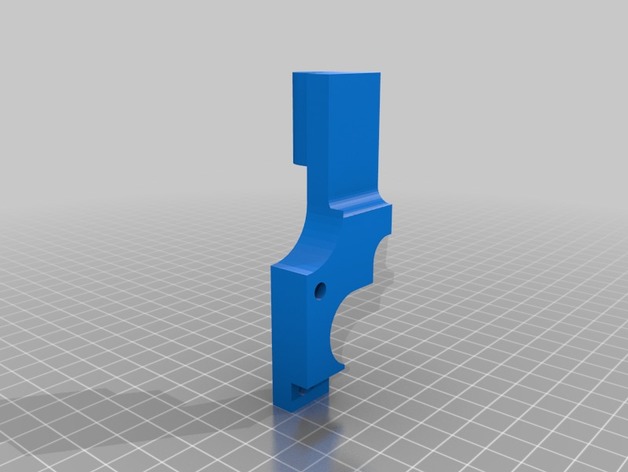
tutor endstop z chasis acero 3D Print Model
Summary
facilita el acceso al endstop del eje z
Print Settings
Printer:
rojo 3d allmetal i3
How I Designed This
solidworks -
chess decoration/decor? 3D Print Model
Summary
made in fusion 360, this thing is something I made in my free time as kind of a doodle and it looks kinda unique so I am sharing it with the world etc…
recommended to print at 30% scale but to each their own
please comment if you print this, thank you. -
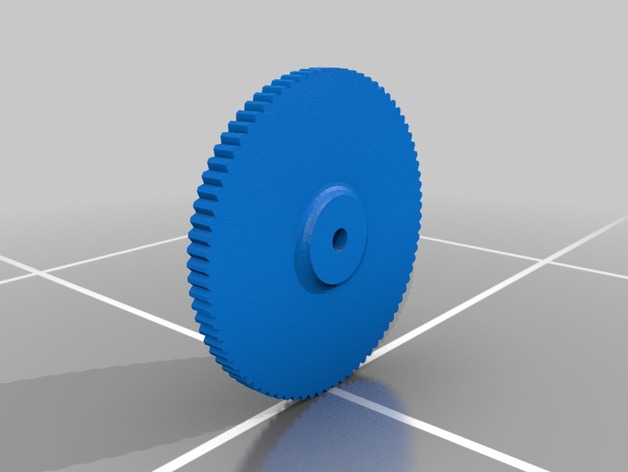
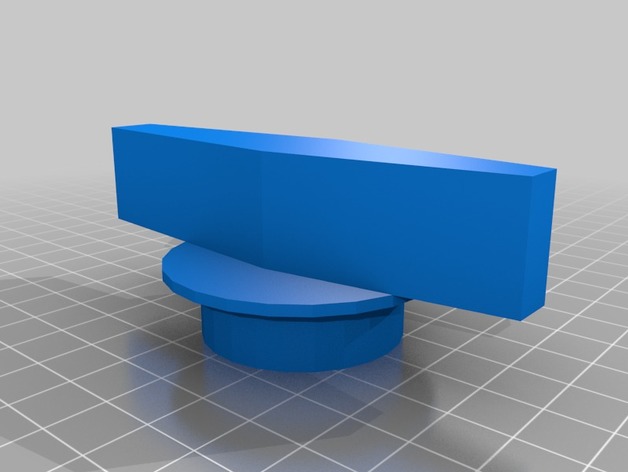
Adjustable 3d Printer Height Adjustment Wheel – M4 Nut 3D Print Model
Summary
Adjustable 3d Printer Height Adjustment Wheel for M4 Nut
How I Designed This
Used Inventor -
Cable-clip atualizado 3D Print Model
Summary
Teste de costumização -
AustinKillgoreTag 3D Print Model
Summary
yeet -
LME12UU Bushing 3D Print Model
Summary
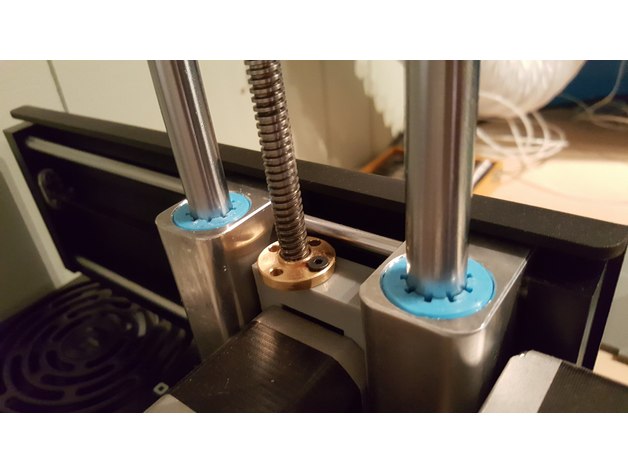
My 1403 Printrbot Simple Metal kit came with bearing blocks that require LME12UU bushings. Hard to find drylin, and even harder to find a quality bearing in this size, a printed alternative works great here. I used a diamond file to sand the sliding surface to a smooth finish. -
8mm rod endstop switch mount 3D Print Model
Summary
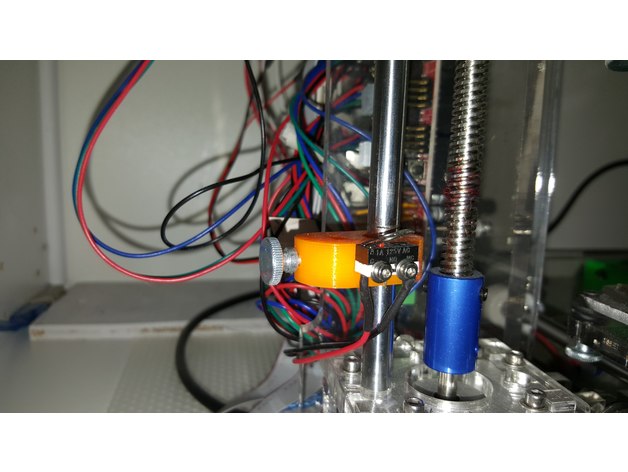
Adjustable endstop switch mount for an 8mm rod. Used on my knock-off Prusa i3 -
Drum Key Key Chain (Revised) 3D Print Model
Summary
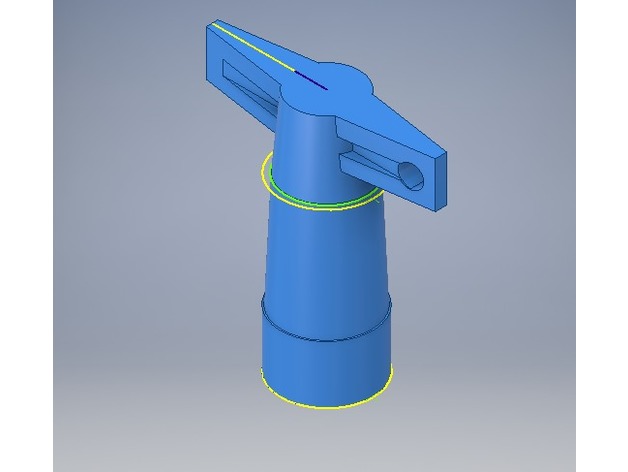
This is a drumkey I made. There is a hole in it to attach it to a keychain.
All measurements are made in inches.This was revised for 3d printing, so the support goes all the way into the handle to minimize overhang, and also the hole was filleted for better utility. -
Customizable Earbud-Wrap with Fast Release 3D Print Model
Summary
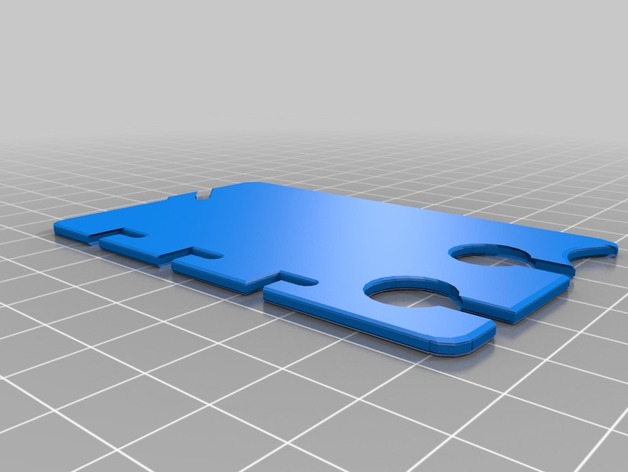
This earbud holder features:
Convenient flat storage when not in use
Business card size, credit card size, and custom sizes
Quick wrapping action
Even quicker release feature. The last loop with the audio jack holds the other loops in place. Release it, and you can release all the other loops instantly.
Two central holes so you can thread the cord through them to keep it handy while you are listening
An optional notch for the slide-off side of the winding
Customizable location of notch for windings relative to earbud holes
Customizable width of slots for the cord
Customizable size of earbud holes
Customizable corner rounding. Make the corners square, even.
If Thingiverse’s Customizer is working, this is your best bet for customizing. If not, open the file in OpenSCAD, change the preset to “Custom” and start playing with the other settings.
Not much in presets yet. The Default matches DavidPhillipOster’s thing that I mixed from. If you find settings that work well for a recognizable pair of earbuds, let me know and I’ll add them to the presets.
Want a feature added? Let me know.
I tried to restrict the ranges of the settings to ones that result in valid models. If you manage to break the model using Customizer, let me know.
Print Settings
Printer:
Monoprice Mini select Rafts:
No Supports:
No Resolution:
0.2 mm Infill:
15% Notes:
These print settings were suggested by DavidPhillipOster for his thing. I went with a heavier infill when the extra features result in thinner sections.
How I Designed This
Remix, OpenSCAD and Customizer
Started with Earbud-Wrap with Fast Release by DavidPhillipOster, added some features suggested by my son, and made it all Customizer friendly.
Owe a debt to Splines for OpenSCAD by teejaydub as well. -
Human Raven 3D Print Model
Summary
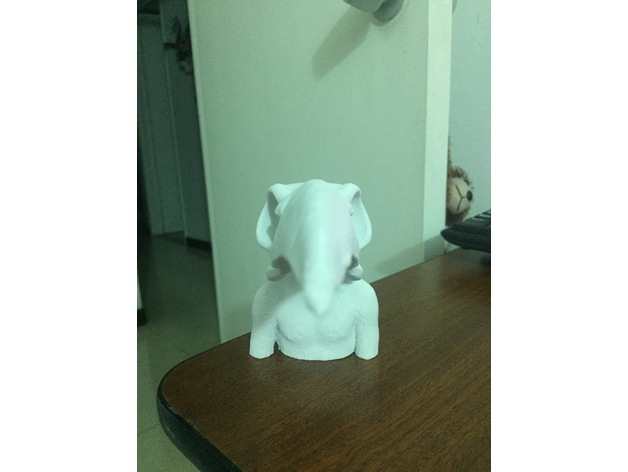
just print it and enjoy the humanoid raven
the raven skull were created by sprocket1597https://www.thingiverse.com/thing:2479682 -
Speaker holder 3D Print Model
Summary
I am a student a chew valley school and this is for lass work that im doing. you will have to put the jack/aux plug and cable with the battery socket and cable in through the smll hole t the back before you solder it on to the circuit bored. -
Chandelle PL 1:14 3D Print Model
Summary
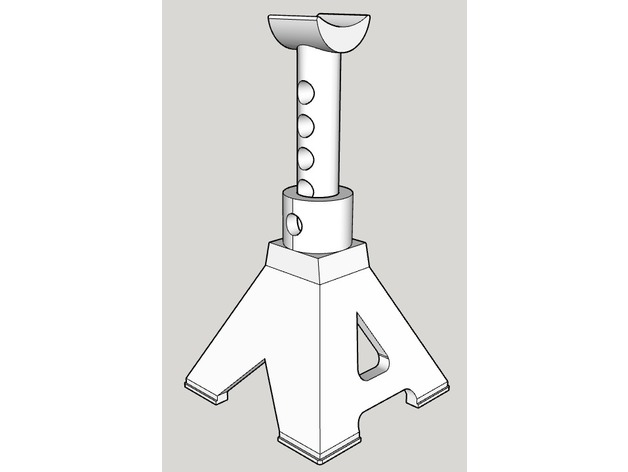
Ces chandelles ont été dessinées pour accessoiriser une piste de camion RC à l’échelle 1:14 -
Haus 3D Print Model
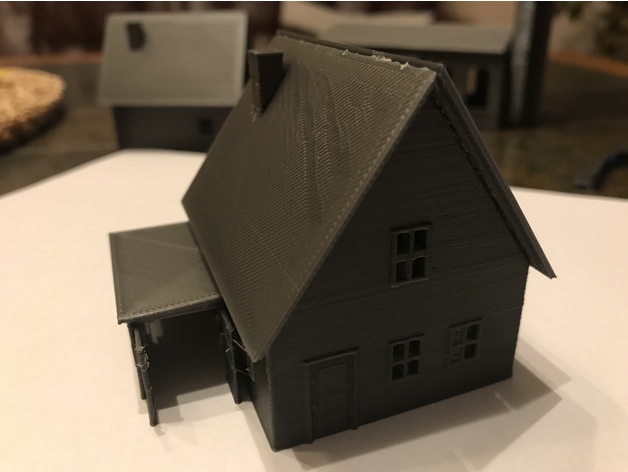
Summary
Haus für Minitrix Modellbahn
House for Minitrix model train
Print Settings
Printer:
Anet A8 Rafts:
No Supports:
No Resolution:
0,2 Infill:
20% -
Olight S2R bar mount 3D Print Model
Summary
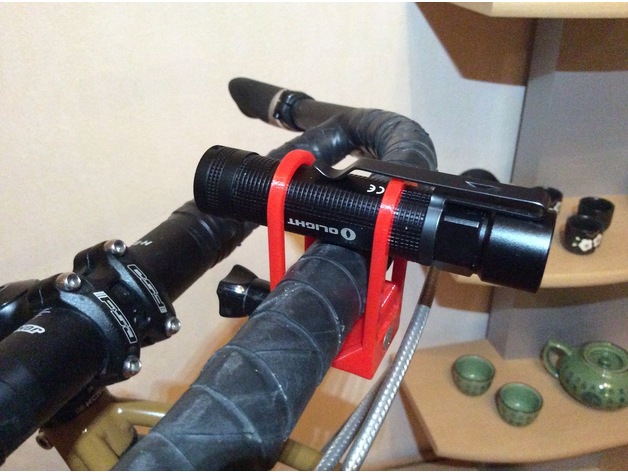
I really like my Olight s2r flashlight. I use it all the time around the house and typically bring it with me as an EDC tool. I designed this handlebar mount so it can now be used as a headlight on my bicycle for night riding. The design is small and simple to print without any supports. Its a tight fit for the flashlight and the handlebar but that’s probably a good thing.
Note: this is for the front part of a Jones H-bar which is about 24mm in diameter. In theory it could work on something a bit bigger but won’t fit on newer 31.8mm bars. The design is still a prototype. I haven’t done much night riding with it yet. I will most likely update it after a month or two of use.
Print Settings
Printer Brand:
Ultimaker Printer:
Ultimaker 3 Rafts:
No Supports:
No Resolution:
.2 Infill:
25% Notes:
This was printed with Colorfabb XT red. No part cooling fan.Custom Section
More Info:
All my uploads are available for you to download and print yourself for your own personal use. If you have any ideas to better my designs feel free to leave a message.
For other parts and projects like this check out my blog:http://trail70engineer.blogspot.de/search/label/3d_printing
You can buy my designs printed by me here:
eBay Store:https://www.ebay.de/sch/legopro877/m.html?item=222619334048&hash=item33d52575a0%3Ag%3A-70AAOSwmZdZkeUJ&rt=nc&_trksid=p2047675.l2562
Shapeways Store:https://www.shapeways.com/shops/t70e -
Split Collar 3D Print Model
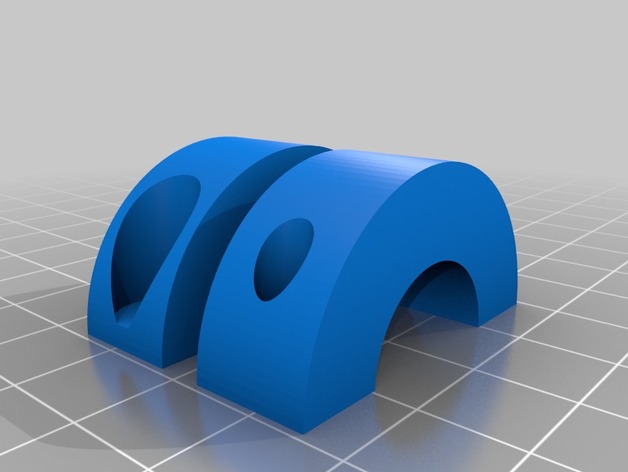
Summary
I had need for a split collar, and I ran out of them in metal, so I figured I’d try a 3d printed one. Just print the 2 halves, then tap out the bottom half for 1/4-20 threads. It works great and holds tension on a 3/4″ shaft perfectly. I printed out of PETG with 100% infill for rigidity, and just smoothed out the inside diameter with a sanding attachment on a dremel.
Print Settings
Printer Brand:
SeeMeCNC Printer:
Rostock MAX v3 Rafts:
No Supports:
Yes Resolution:
200 micron Infill:
100%
Post-Printing
Pull off supports and sand smooth with a sander on a dremel.
How I Designed This
Designed in Alibre Design and sliced with S3D. -
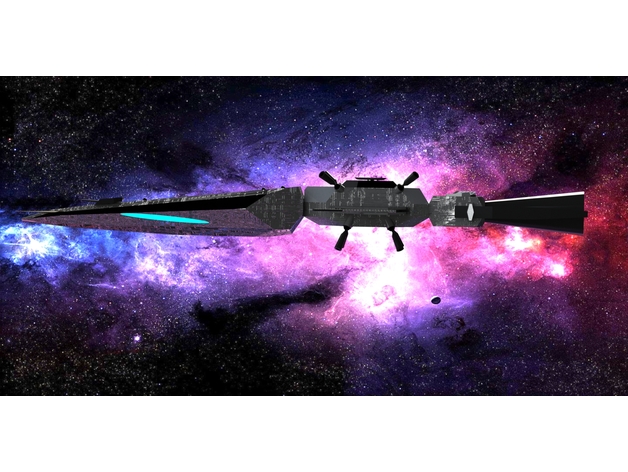
Spacedock’s “Guinevere” 3D Print Model
Summary
I made this model for the Youtube channel Spacedock after he revealed an original idea he had for a science fiction story involving this ship. I know I was beaten to the punch in terms of modeling but I wanted Daniel and all of his subscribers to be able to have a physical model of the ship. I do not take any credit for Spacedock, Daniel, or otherwise. I did this to represent his ideas and do not mean to infringe on them. -
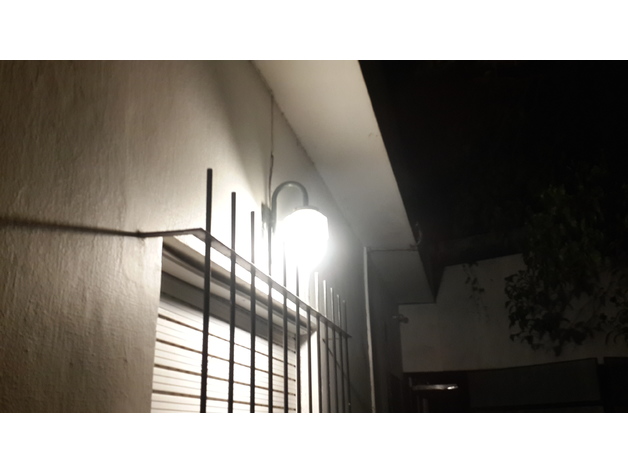
TULIPA – lamp protector 3D Print Model
Summary
ABS TRANSPARENT -IN REPLACEMENT OF A TULIPA BALLOON, DO NOT ENTER A LED LAMP
DIAMETER :75 MM, 70 MM, 140 MM -
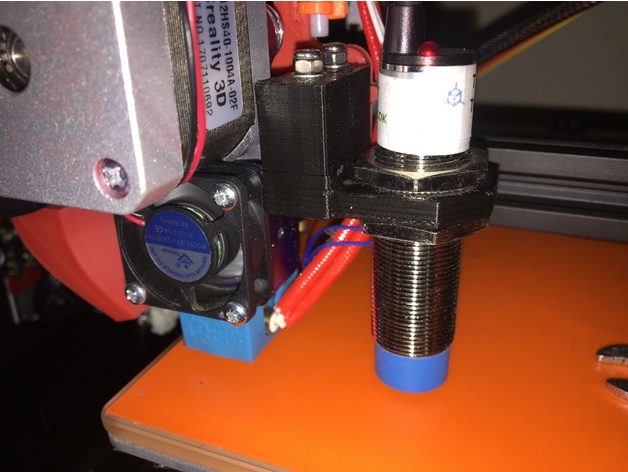
Flexion Direct Extruder 18mm ABL Mount 3D Print Model
Summary
ABL mount for the “Flexion Direct Extruder Mount V2 for CR-10” by Bratan, seriously took me 20 minutes, if i was good it would of taken me 5, it worked for me on the first print so that being said, nowhere near a finished product…. just thowing this up so it can help somebody else out that cut their cables before designing something that worked with the new direct extruder setup. -
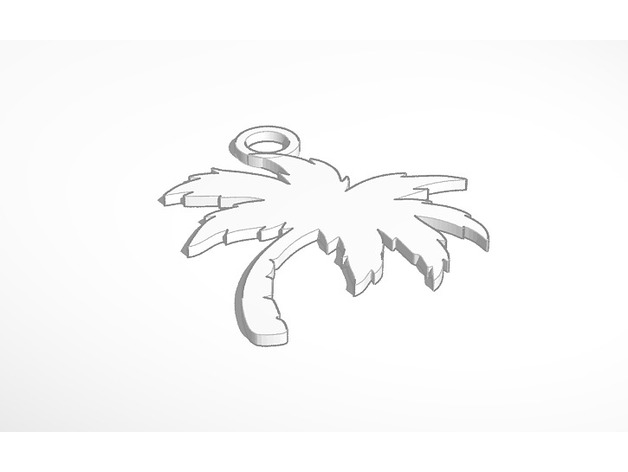
Palmtree Earrings 3D Print Model
Summary
Palmtree earrings I made for a family member over the holiday season. Looks great printed in white / black PLA with either silver or gold hooks (tested). Was going to print these in stainless steel and polish them, but they turned out great in black with gold hooks for the person who wanted them done 🙂
Print Settings
Printer:
Monoprice Select Mini Rafts:
No Supports:
No Resolution:
.2 Infill:
10% -
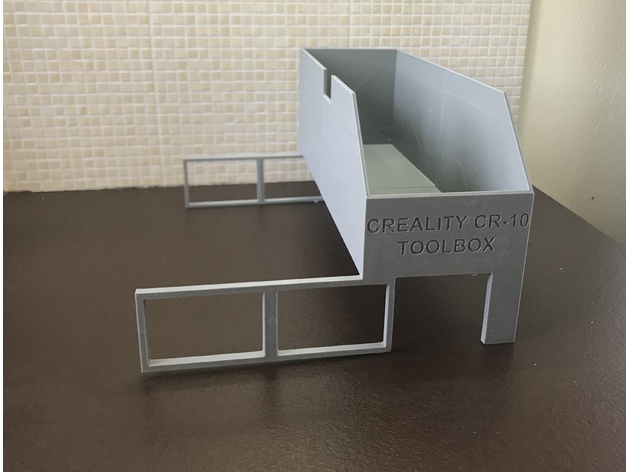
Creality Cr-10 Toolbox 3D Print Model
Summary
This is a toolbox that also acts as a base for the Creality Cr-10 control box. It keeps the electronics box high so it is better ventilated from the bottom fan. Due to its size I made it in two pieces and glue them together with superglue (I used medium CA). It is my first design in sketchup, feel free to remix.
Print Settings
Printer:
Creality Cr-10 Rafts:
No Supports:
No Resolution:
0.4 Infill:
20% -
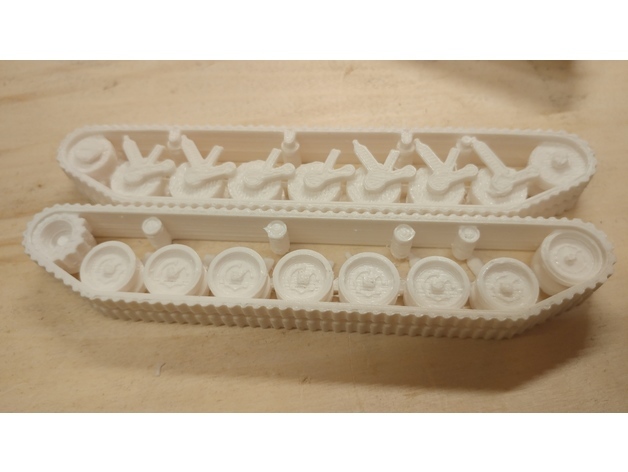
Leopard 1 split hull and tracks 3D Print Model
Summary
A simple remix of the Leopard 1 from TigerAce1945, with the tracks of the tank split from the hull for ease of printing. This uses the same turret as the original. Please go and look at his wonderful creations, they are works of art! -
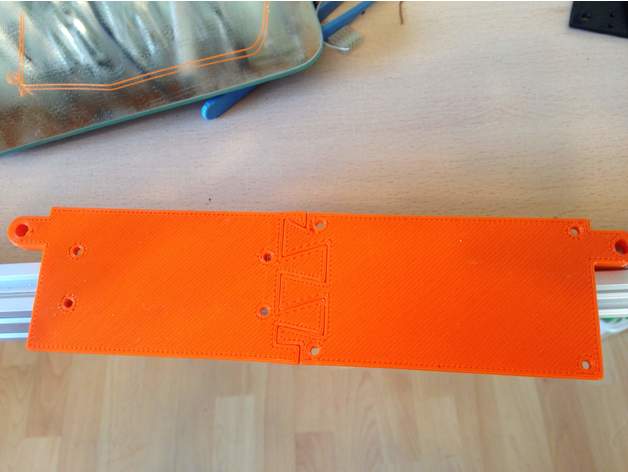
ManaSE Clon Base and Laser Support 3D Print Model
Summary
This is a support for mana se and TTL Power base for laser (i have one of 5W). -
Jabra conference microphone wall mount 3D Print Model
Summary
this is a Jabra microphone wallmount. should be printable without supports -
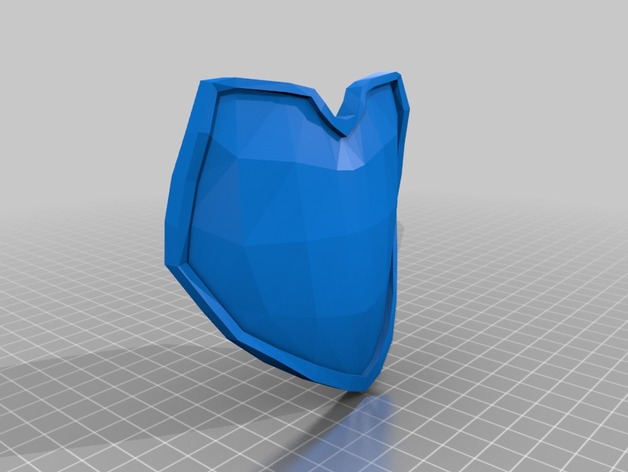
Jaune Arc from RWBY Armor Pieces 3D Print Model
Summary
Upload of the armor pieces of Jaune Arc from RWBY. They will need to be sized, and possible edited for better usage and cosplay but these are the base files. -
MP Delta Bed Hole Plug (PROTOTYPE) 3D Print Model
Summary
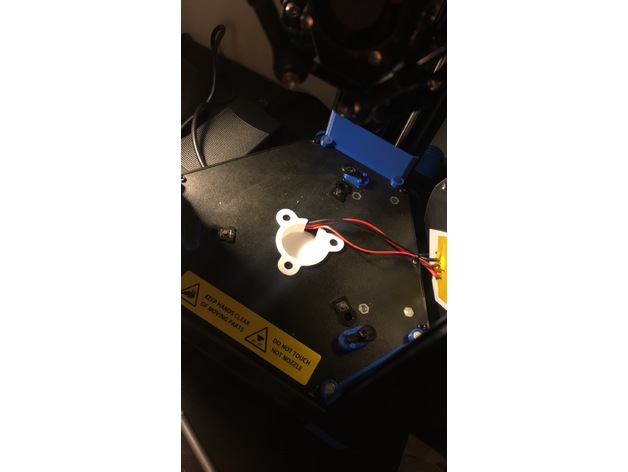
This is for the Monoprice mini delta. The cooling fan blows directly on the the back of the heatbed where the thermistor is and this is intended to plug the hole. There are two prototypes, one with ears for magnets to be attached under the bed and one with no magnets to fit under the bed. The magnetic version is a little too thick to fit under the bed like in the picture but it gets the idea across. I have not printed or tested the non-magnetic version.
Since this is near the actual part that heats up on the bed, be sure to use a high temperature material like ABS or preferably PETG. I originally tried to block the hole with kapton tape but the heat caused it to rip itself apart. Others have used a flash card taped to the inside of the printer. I also suggest using concentric supports for the lip with about 25-30% support density (the lip is small so a lot of support is needed). -
Nerf Rival Apollo Muzzle Brake 3D Print Model
Summary
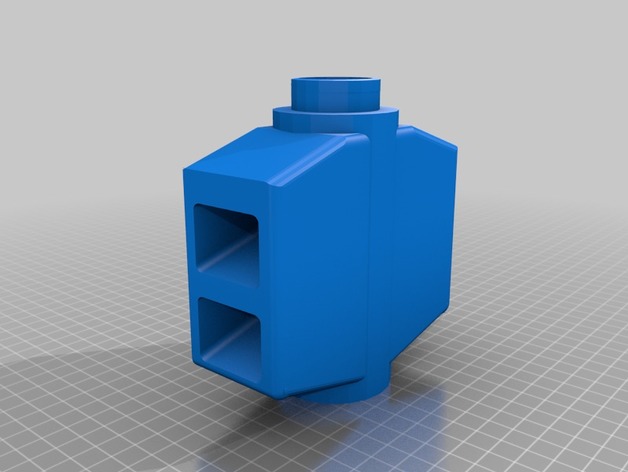
Does your Nerf Apollo have too much recoil and you just can’t stand it anymore? Are you tired of going to bed with a bruised shoulder and a sore wrist? We can help! SlightlyOddGuy Industries offers the finest solutions to these issues! Let us introduce you to the SlightlyOdd Muzzle Brake!
The SlightlyOdd Muzzle Brake works to redirect the Apollo’s hurricane-like exhaust gasses backward, but away from the user, thereby adding a little forward thrust to counteract the massive kick the weapon generates. The SlightlyOdd Muzzle Brake also adds more mass to your Apollo, which has the same effect! Say “goodnight” to uncomfortable, sleepless nights!
Enjoying this product? Check out our other Nerf-compatible attachments and items!
Print Settings
Printer Brand:
LulzBot Printer:
Mini Rafts:
No Supports:
Yes Infill:
10% -
Fabrikator Mini II V2 ZAxis Fan Mount 3D Print Model
Summary
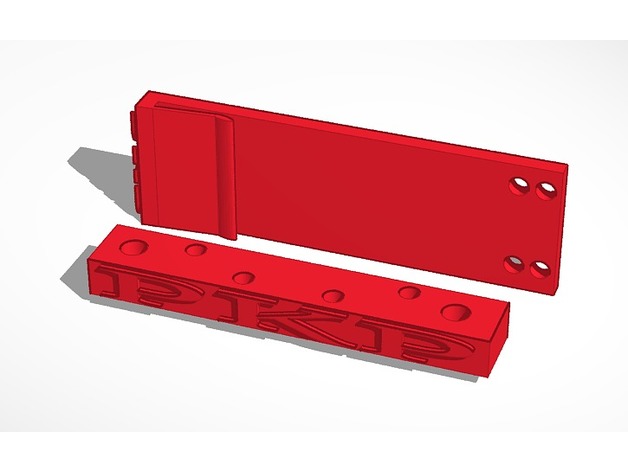
To improve cooling of PLA on large prints and small I made this to mount a 60mm X 60mm X 25mm Fan to the Z Axis Gantry.
You will need (2) M3 x 8mm to mount adapter to plate and (2) M4 X 30mm to mount 60mm Fan. You can also mount a 40mm Fan for just a little more cooling.
This travels perfectly from 0 Z position to 100 Z position.
Has my PKP (PeaceKeeperPrecision) logo on both pieces.
Print Settings
Printer:
Fabrikator V2 Mini Rafts:
No Supports:
No Resolution:
.2 Infill:
20% Notes:
This was printed with HobbyKing Silver Metallic PLA (210 C – 235 C) and was printed at 217 C 30mms.
I use this connected parallel with hotend fan on ribbon cable and also on really large items I plug directly into 12v source for alot more airflow. -
Duty rod holder for OBI_pegboards 3D Print Model
Summary
About my pegboard:
I have buyed a pegboard from OBI (https://www.obi.de/lochwandsysteme/lochwand-mit-vierkantlochung-1200-mm-breit/p/9178419).
This pegboard has square perforations with 1cm^2. This squares has the advantage for us owner of 3d printers that you can build your own set of items directly out of the printer.
The normal pegboards are only drilled with 3mm holes, so you need metal hooks because the prints will break with that thickness.
I am offering a series of all my prints for this pegboard for using or inspiration of your own items.
Please think about the needed density of your prints when you are slicing!
i have used PLA with a density between 25 and 50% (often with support, some items you have to clue befor using them). A resolution of 0.2 mm should be enough for your pegboard-items. -
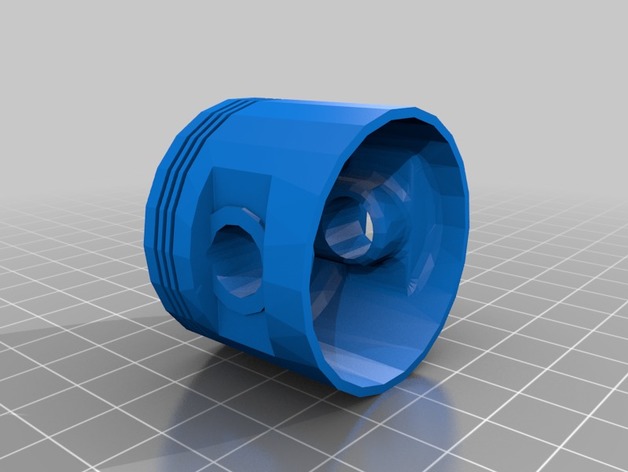
Piston 3D Print Model
Summary
Piston for two-stroke engine
Print Settings
Printer Brand:
Ultimaker Printer:
Ultimaker 2 Rafts:
No Supports:
Yes Resolution:
0.25 Infill:
50
Post-Printing
Link for my Blog
https://wordpress.com/read/feeds/60656075/posts/1755888560 -
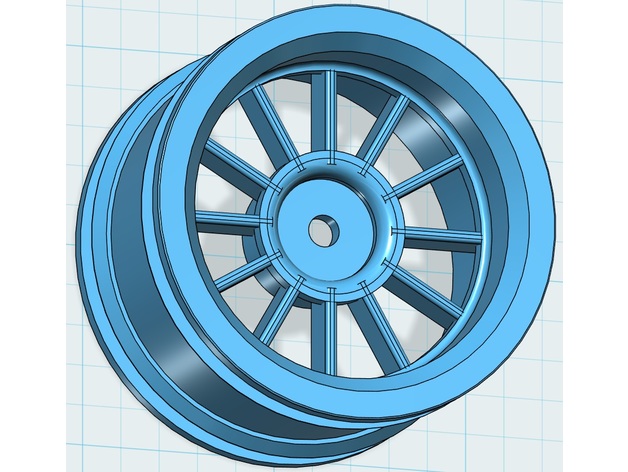
Fri3t 3D Print Model
Summary
Jantes pour voiture RC 1/10 avec ou sans déport et pour pneu de 26mm ou 30mm. -
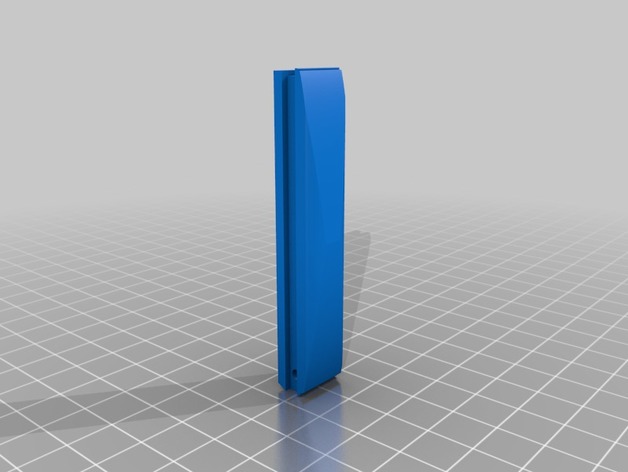
SR9 – Pistol Grip 3D Print Model
Summary
This inserts into the SR9 grip to adjust it to the size of your hand. Nothing fancy but it works.
I printed with no support and had no issues. This is a snug fit and may require minor trimming to slide freely in and out of your gun. -
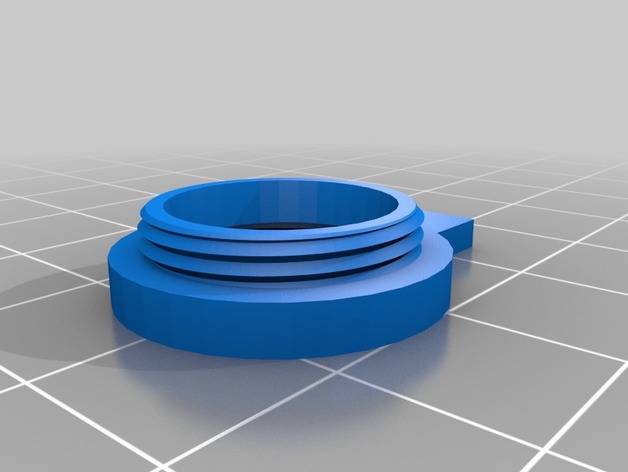
18mm to 16mm screw diameter adapter for 8X zoom lens 3D Print Model
Summary
My friend bought a phone case that lets him screw on an 8x zoom lens. the problem is that the screw was too small. So I made this adapter that allows it to screw right in. I thought this may be useful to a few people so I decided to just upload it. Enjoy.
It’s an 18mm female to 16mm male.
Post-Printing -
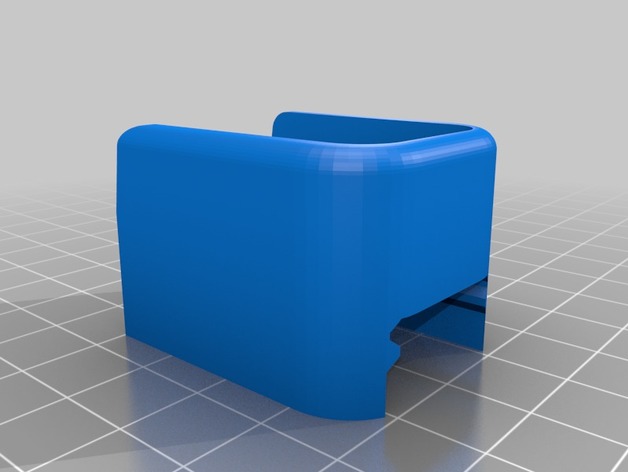
Tokyo Marui Hi-Capa magazine base plate rail mount 3D Print Model
Summary
This is an experimental part for another user. When I get a chance I’ll print it and make some adjustments to the sizing to suit my printer at least. I’ve released this so you can try it out if you want. It’s made to the sizing of the TM HiCapa 4.3 rail, but I have left it fairly easy to resize with some ~120 grit sandpaper. -
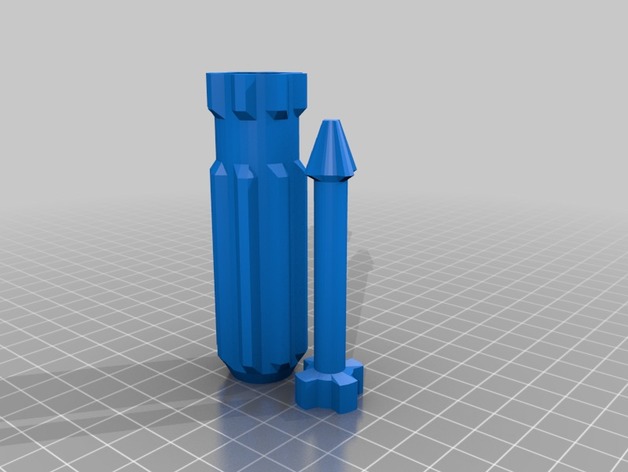
Kids Toy Phillips Screwdriver 3D Print Model
Summary
Kids Toy Phillips Screwdriver. My son likes tools so I’ve started creating 3d printable tools for him. -
Napkin Holder 3D Print Model
Summary
“Wife” Can you make me a Napkin Holder??
“Me” – Why yes i can.. Done!!
=) -
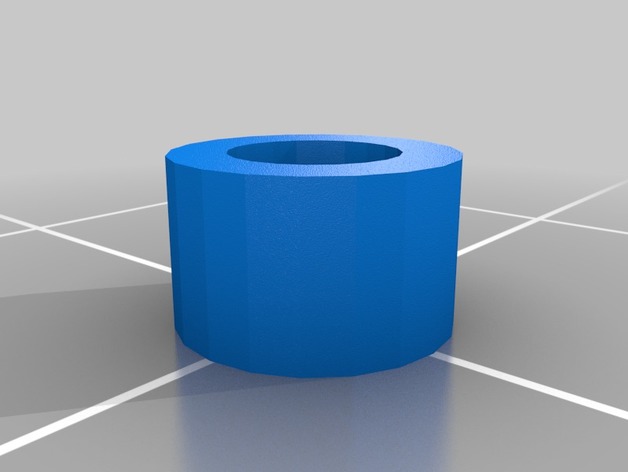
Maker Select Plus / Wanhao Duplicator Plus Hotend Fan Bolt Spacers 3D Print Model
Summary
The screws that attach the fan to my hotend in my Maker Select Plus / Wanhao Duplicator Plus bent. Those screws are apparently M3 x 37MM. I couldn’t find those anywhere, so I purchased very common M3 x 40MM bolts, and designed this spacer to make it fit correctly. It goes in between the bolt and the fan.
Print Settings
Printer:
Maker Select Plus Rafts:
Doesn’t Matter Supports:
Doesn’t Matter Resolution:
.1MM Infill:
Doesn’t Matter -
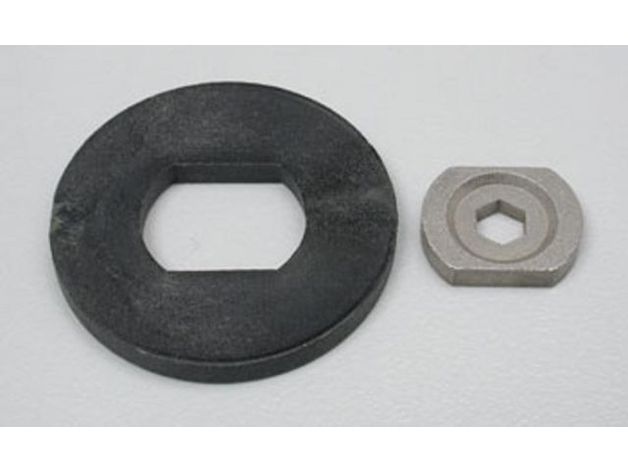
traxxas 4185 Brake Disc 3D Print Model
Summary
i was tired of buying these little guys so i printed them with abs and haven’t noticed a difference
Print Settings
Printer Brand:
MakerBot Printer:
MakerBot Replicator 2X Rafts:
No Supports:
No Resolution:
0.4 Infill:
100 Notes:
i recommend printing in ABS, print should only take about 6 min. -
Jet Fan Grid 40mm 3D Print Model
Summary
Jet design grid for 40mm fan -
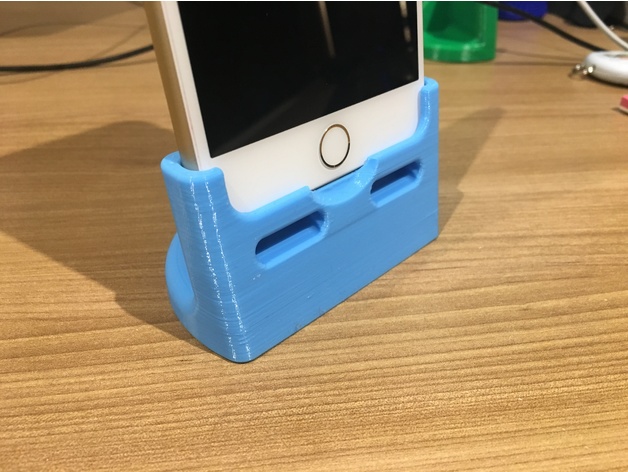
iPhone 6 plus, 7 plus ,8 plus charging dock 3D Print Model
Summary
A charging stand for the bigger iphone models including 6 plus, 6s plus, 7 plus and 8 plus. The models get a little bigger with each model so, the tolerances get tighter with newer phone models. Speaker and microphone ports allow you to take calls, listen to music, etc.
Uses stock apple iPhone cable. I noticed 2 variants, one is slightly more rounded, whereas the other is more rectangular. I modeled the rectangular version. Cable is light press fit and doesn’t move once installed.
Print Settings
Printer Brand:
Prusa Printer:
i3 MK2S Rafts:
No Supports:
No Resolution:
.020 Infill:
20% Notes:
Important to have good adhesion as part tension when cooling can pull corners. -
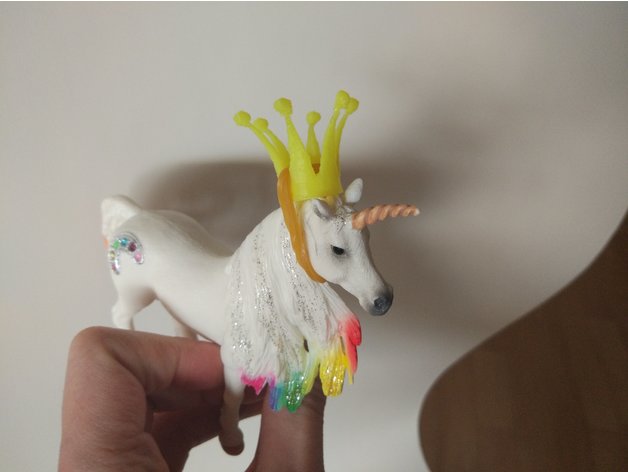
Toy crown 3D Print Model
Summary
Thats basic crown for my daughter toys, i use rubber band to hold it in place, you might try to use 3d printed holder, if you glue it to the crown.
Print Settings
Rafts:
No Supports:
No Resolution:
0.1 Infill:
30% Notes:
Cooling is must probably. -
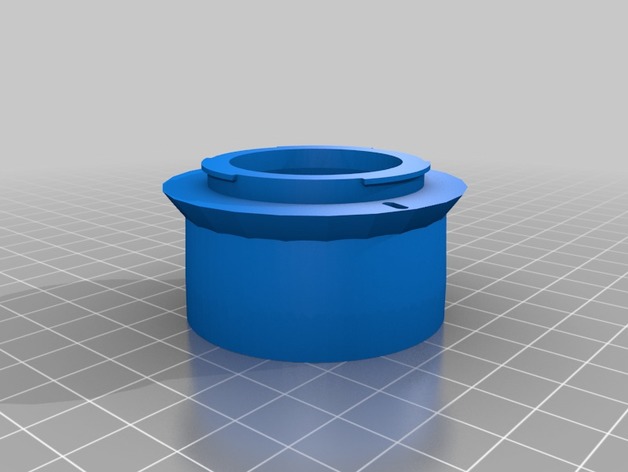
Fuji X mount revised extension tube 3D Print Model
Summary
After printing the original extension tube designed by IGFARM, I realized that at least on my X_T2, it didn’t lock into place on the camera. I widened the camera contact surface and put in the slot for the pin to lock it into place. I rotated the orientation that he had it in by 180 degrees, so the only support needed is for the top tabs.
Print Settings
Printer Brand:
Wanhao Printer:
Wanhao Duplicator i3 V2 Rafts:
No Supports:
Yes Resolution:
.1 Infill:
15% Notes:
I printed it on a Monoprice IIIP using PLA at 205 degrees with 100% cooling
Post-Printing
Redesigned faceMounted to my camera
How I Designed This
Not having spent the time to learn the better CAD programs, I did this redesign in Tinkercad. -
SFIC Holder (Control Key Required) 3D Print Model
Summary
This is an ergonomic adapter to make holding SFIC cylinders more comfortable while picking. This will allow the control lug to engage a cavity inside the enclosure to hold the cylinder in place as it would an SFIC housing. Partially hollow through and through to reduce filament and give you access to the rear of the plug.
If you do NOT have a control key, you will need to use this model so you do not need to engage the control position: https://www.thingiverse.com/thing:2776191 -
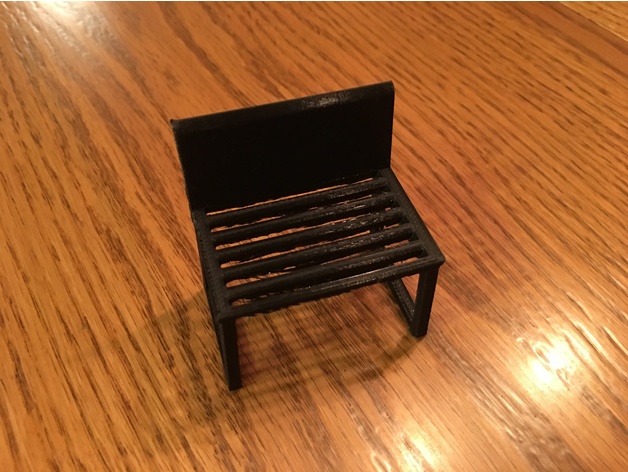
Bench 3D Print Model
Summary
Fun to make
Print Settings
Printer Brand:
Prusa Printer:
i3 MK2S Rafts:
No Supports:
Doesn’t Matter Resolution:
0.1 Infill:
doesn’t matter -
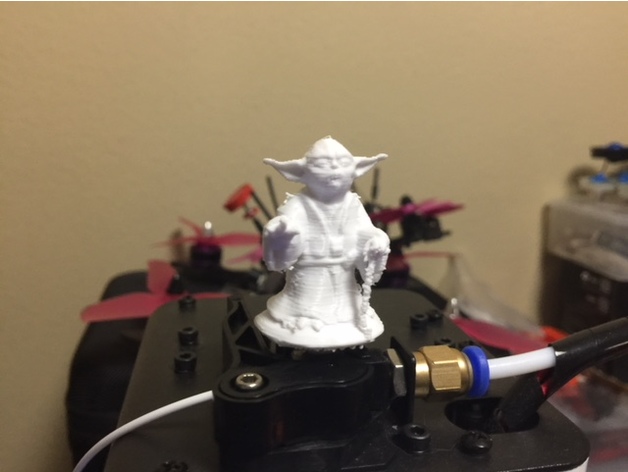
Yoda Extruder Spinner for MonoPrice Mini V2 5mm hole 3D Print Model
Summary
This is a remix of Force Yoda https://www.thingiverse.com/thing:2781362 reduced in size with a 5mm hole stand so it can be put on your Monoprice Select Mini v2 Extruder Rod.
Used:
PLA
220c on Extruder
50c on Bed
Supports: on all
Quality is up to you but in the Cura screenshot, you can see my inputs.
I used Speed 40
20% fill -
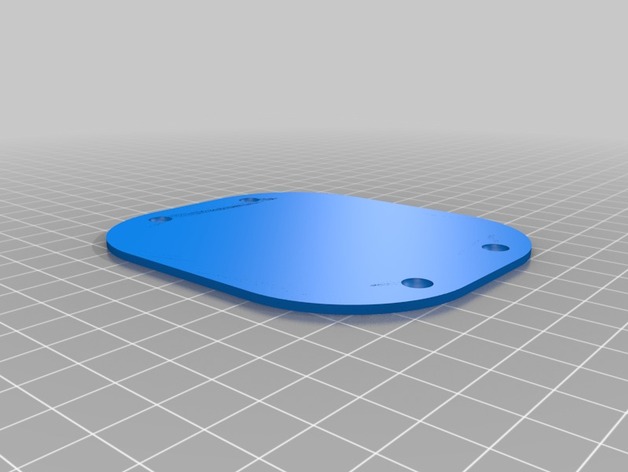
Cover Plate for Headphone Stand by Borchei 3D Print Model
Summary
I like the headphone stand https://www.thingiverse.com/thing:1675682, and made one for a friend with LED’s. I didn’t like that the base was open and the wiring was exposed from the bottom, so I made a simple plate to cover the bottom. Use #4 countersink screws (short ones!) to attach to the bottom. Might want to drill pilot holes for those screws.
Print Settings
Printer:
ANET A8 Rafts:
Doesn’t Matter Supports:
No Resolution:
.2 Infill:
20% Notes:
You should actually print this at the same resolution and infill that you printed the base for the stand at. Use this to cover the wires in the LED version of his base, or just as a cover to hold in a weight for the base should you decide it needs to be heavier to stand up better or something.
Also, when printing the base for the stand, add an additional 4 or 5 more layers to the bottom or use a high percentage of infill so you have something solid to put the screws in to.
How I Designed This
Whipped it up in 3D Builder after printing a stand and being able to get some measurements for it. This Thing isn’t pretty, but it’ll do the job. -
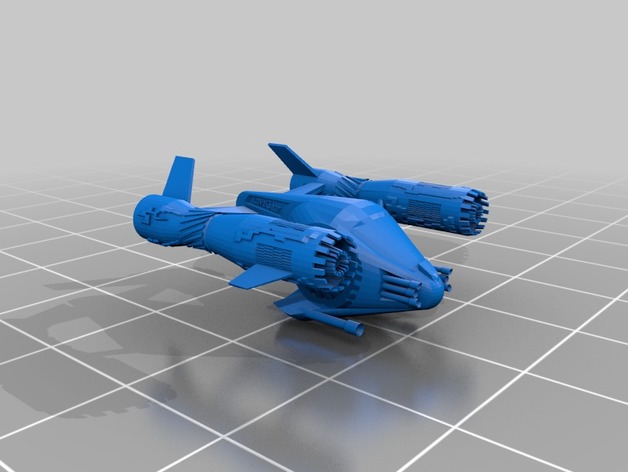
LGPV_6 3D Print Model
Summary
Version 6 of the thing that is in my head but still is not exact…..more to come
Print Settings
Printer:
CR10s Rafts:
Yes Supports:
Yes Resolution:.15
Infill:5%
Notes:
Rotate 90 degrees ti stand on the tail end. can be scaled more than 2000% -
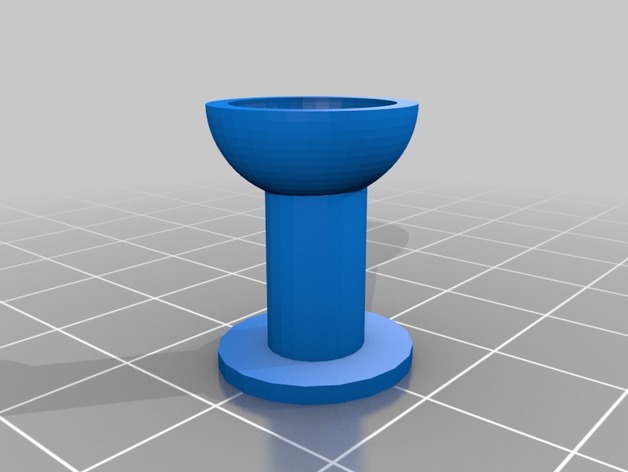
Laver (Simple) for Tabernacle or Temple 3D Print Model
Summary
Simple laver for tabernacle or temple models. -
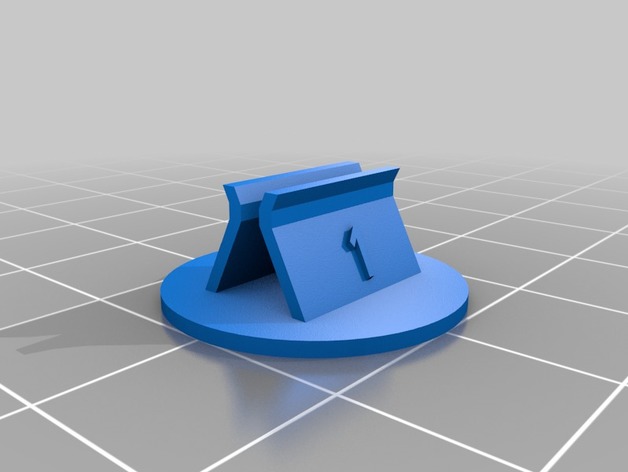
Numbered Stands for Gloomhaven 3D Print Model
Summary
Added numbers to stands. For Gloomhaven monster standees -
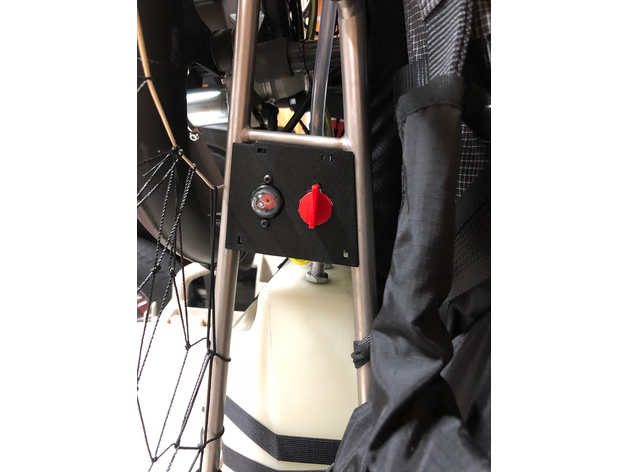
Air Conception Nitro paramotor fuel primer panel 3D Print Model
Summary
This is a primer panel designed for the Air Conception Nitro 200 paramotor. It holds the primer bulb and shut off valve and is designed to use the same components used by Aviator PPG who originally designed and sells the primer system.
Designed to fit in the frame to the pilot’s right and reachable when strapped in. The primer bulb is fitted with M3x6 screws and nuts and the valve is press fit and glued into place. I’ve used Gorilla Glue with much success.
The components are available at:
Valve:https://www.ebay.com/itm/10x-1-4-InLine-Straight-Cut-Off-Shut-Off-Valve-Fuel-Gas-For-BRIGGS-STRATTON/272255821535?ssPageName=STRK%3AMEBIDX%3AIT&_trksid=p2060353.m2749.l2649
Primer bulb:https://www.ebay.com/itm/5-Pack-Screw-On-Primer-Bulb-for-Craftsman-Poulan-530047213-530071835-188-513/151310101232?ssPageName=STRK%3AMEBIDX%3AIT&_trksid=p2060353.m2749.l2649 -
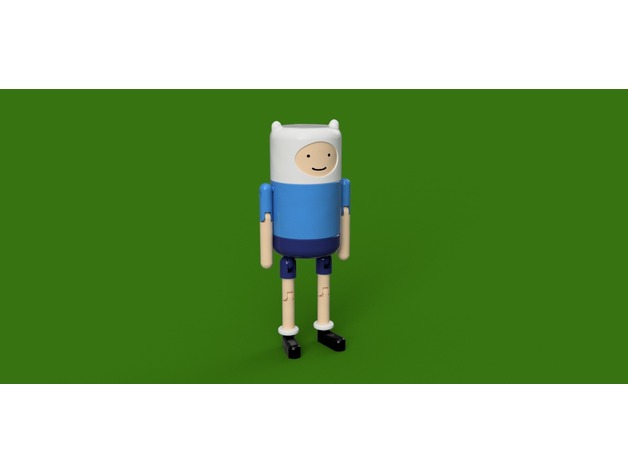
Finn – Articulated Toy 3D Print Model
Summary
Finn, from Adventure Time. This is my first attempt at a model with movable parts. In theory, it should print without issue, however if you notice a problem please let me know and I can make adjustments.
Features:
Head and waist swivels
shoulders and legs swivel
elbows and knees bend -
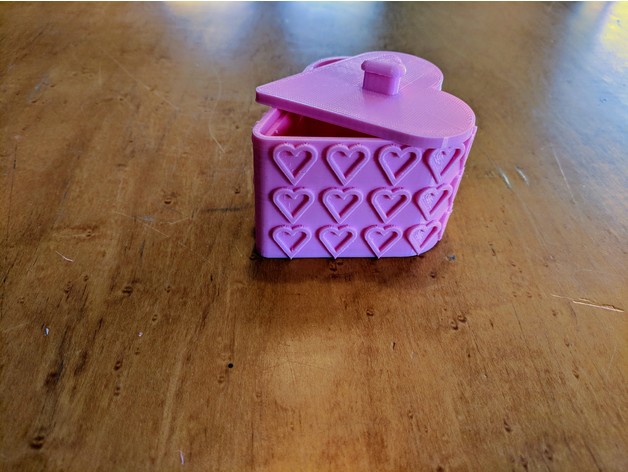
Heart Shaped Box 3D Print Model
Summary
This is my take on the Valentine’s Day heart shaped box. The box is ~70mm x 70mm x 50mm tall. There are two lids with a design and one blank lid if you want to work up something of your own.
Print Settings
Resolution:
0.2 mm Notes:
I printed at 0.2mm. I printed with supports in the hearts but not under at the points.