Summary
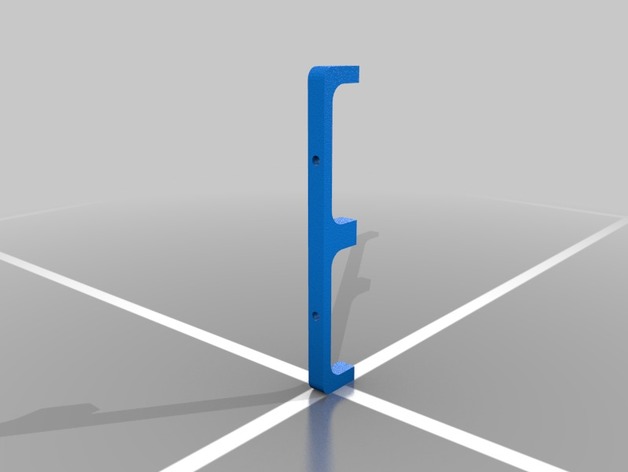
i used a anet a8 to print this
Author: Thingiverse
-
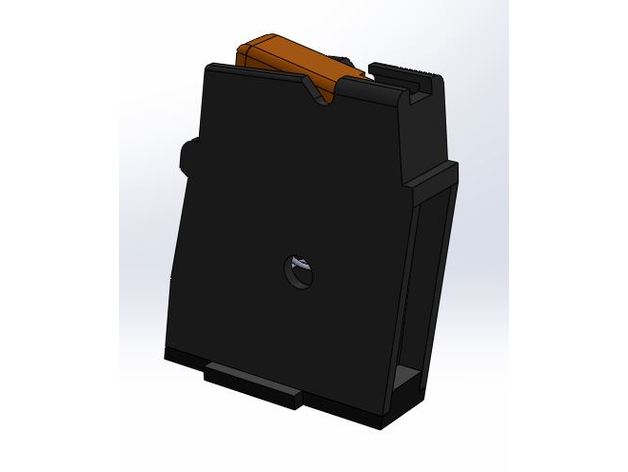
CZ_ZKM_451_452_455_magazine_3rnd 3D Print Model
Summary
After shock of this part price i have decided to try to make my own with a 3D printer. It needs a bit of skill, but now the magazine works properly even with printed spring. Unfortunately this kind of spring does not allow you to fill mag with more than three rounds.
If you can use steel spring, it would be better.
All modifications are allowed, but please do not use this model for commercial purposes. I would like to fight high prices of these parts by printing them for free (or for price of used filament).
See my other work at www.tisk3dmodelu.cz
Print Settings
Printer Brand:
Prusa
Printer:
i3 MK2S
Rafts:
No
Supports:
No
Resolution:
0.2
Infill:
100%
Notes:
material PETG, layer height 0.2mm, 2 perimeters, 100% infill, all other settings were default in Prusa slic3r
Main body, follower and bottom part should be rotated 90° in x axis before slicing. There should be some support material for the follower too.
Post-Printing
Bottom plate and gluing
I have filled space in shape of spade with kyanoacrylate glue and later I have brushed whole bottom to a high glossy surface.
I recommend to glue bottom and main body together after completing the magazine. But first be sure, your spring works properly. Do not glue the follower, but you may grease it for better movement inside of magazine. -
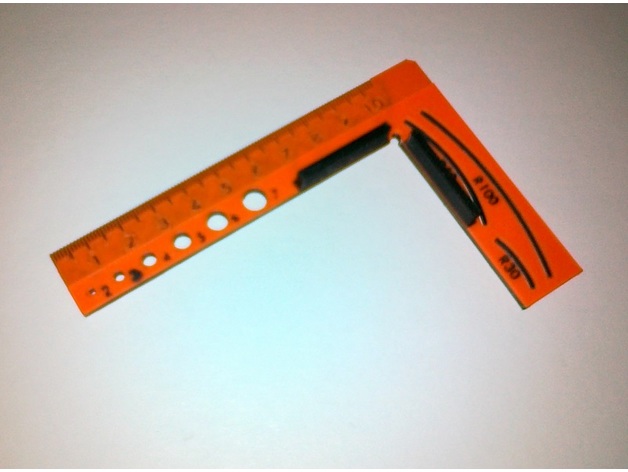
Small angle 3D Print Model
Summary
ABS is not good for this piece, because of heat dilatation. If you use ABS, your 100mm scale will be 99,5mm and your right angle will be 89°. So it might be better to use PETG. -
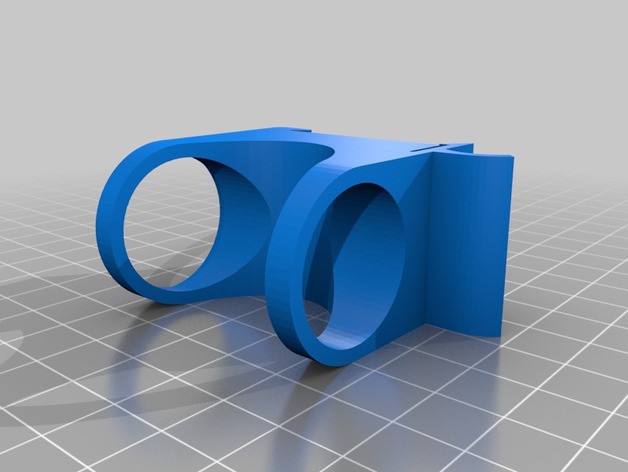
DIN rail Designer 0.3 3D Print Model
Summary
This “Designer” is for creating DIN rail holders. So far the features are:
Creates a holder with a circular hole
The size of the top and bottom can be independently customized
Optional removal of mid-section to save material
Optional finger-pull to release the clip
A customized chamfer radius can be added to the top of the hole
The depth of the clip (front to back) can be customized
Some of the other feature sizes can be customized under Advanced parameters
To design your own thing
Download both the .scad and .json files.
Install the Development version of OpenSCAD (http://www.openscad.org/downloads.html#snapshots)
Enable the Customizer according to https://en.wikibooks.org/wiki/OpenSCAD_User_Manual/WIP#Customizer
Open the .scad file
Pick your preset or set your customizations
Render
Export as an STL file
Want a feature added? Let me know.
Print Settings
Rafts:
No
Supports:
Yes
Infill:
20%How I Designed This
Inspiration + OpenSCAD
Used the two remix sources for inspiration, and drew it all in OpenSCAD. -
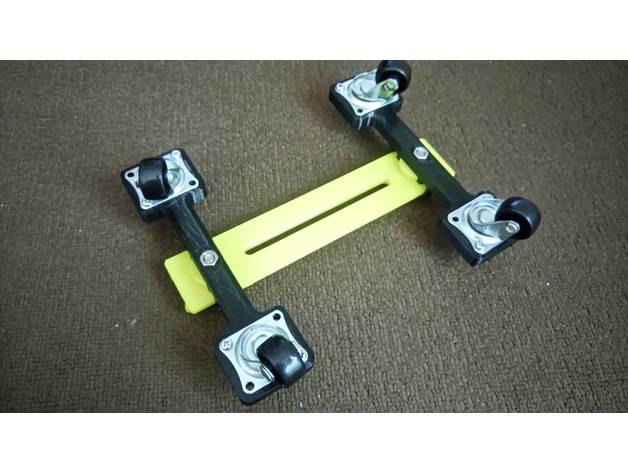
Redesign wheel castors for video skate dolly 3D Print Model
Summary
This wheel castors was re-design for who not have anywheel.
It can spin freely in any direction.
It’s use 33×38 mm castors, 4×15 mm screw, and 7 mm nuts.
Refer to https://www.thingiverse.com/thing:357568
Print Settings
Printer:
Creality CR-8
Rafts:
Doesn’t Matter
Supports:
Doesn’t Matter
Resolution:
0.3 mm per layer
Infill:
20% -
Spiral Box 3D Print Model
Summary
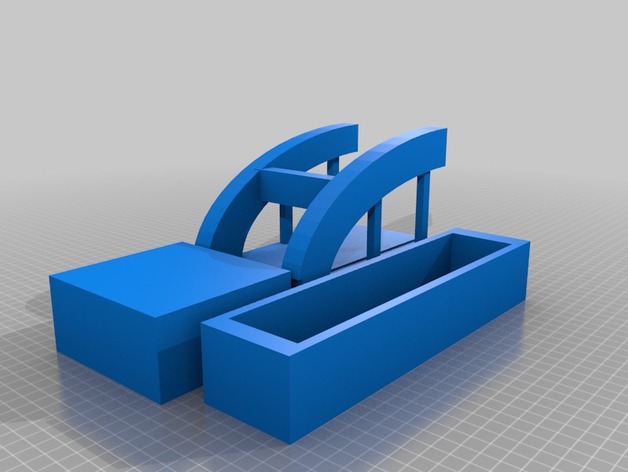
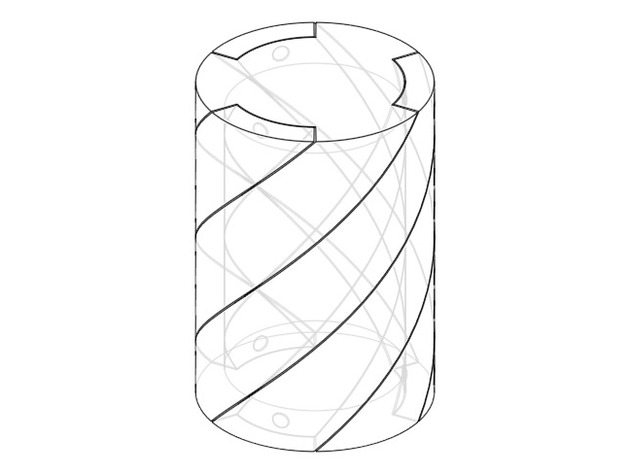
Spiral box – two sides twist into each other – holds in closed position with bumps/ridges. Print 2 of CB.stl (each side).
Print Settings
Printer Brand:
LulzBot
Printer:
TAZ 6
Rafts:
No
Supports:
No
Resolution:
.18 mm
Infill:
20
Notes:
You dont need supports – i printed with PETG for low shrinkage and flexibility. -
Tronxy Radial Fan Mount for stock shroud 3D Print Model
Summary
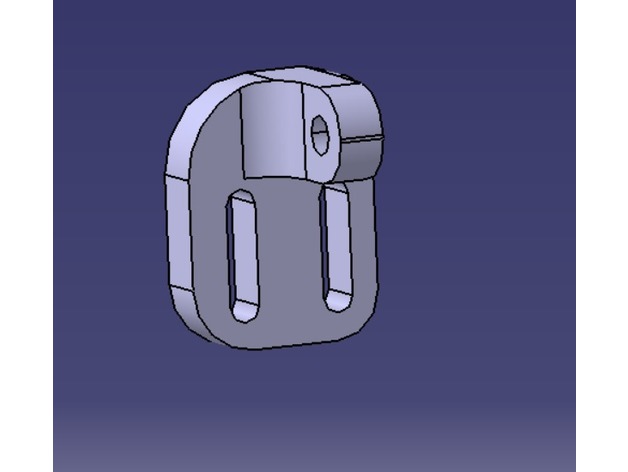
When I just got my Tronxy X1 a part cooling fan was missing. So the bridging performances were very bad. My extruder had alot of problems so I just needed a temporary fix while I made a mount for a V6.
So you just need two M3 screws to put on the side of the shroud and a screw and nut for the Radial Fan. I highly suggest adding a little deflector so your block doesnt cool off too much.
It’s a simple solution and I have a friend that uses it for his permanent set up.
NO NEED TO REPOSITION THE LIMIT SWITCH
Print Settings
Printer:
Tronxy X1
Rafts:
No
Supports:
Doesn’t Matter
Resolution:
0.2
Infill:
15 -
WLToys 10428B Magnetic Body Mount 3D Print Model
Summary
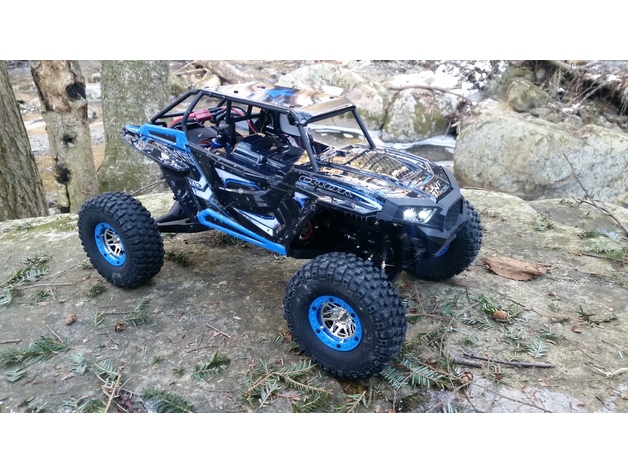
These parts mount to the WLToys 10428B RC vehicle to allow for quick access to the chassis without removing any screws. With a set of 1/2 inch x 1/8 inch N48 Neodymium magnets installed, this mount holds strong! Check out the video below for details:https://youtu.be/Ukx8tYVkOJ4
Print Settings
Printer Brand:
Wanhao
Printer:
Wanhao Duplicator i3 V2
Rafts:
No
Supports:
Yes
Resolution:
.2
Infill:
20%
Notes:
Printed .2 resolution and 20% infill. It’s plenty strong, and since it’s hidden, I’m not concerned with cosmetics. -
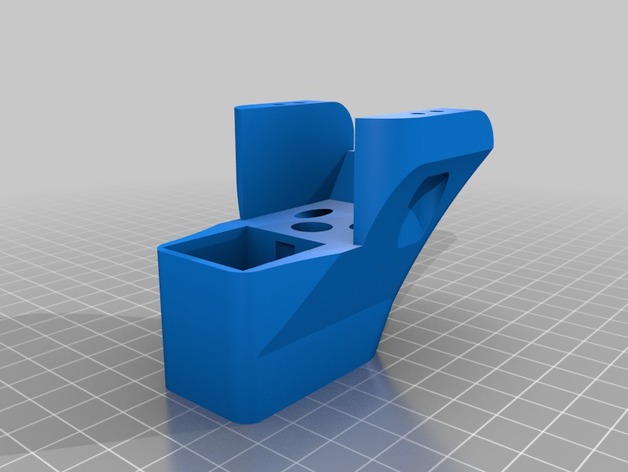
E3D V6 Mount without Sensor (Hypercube Evolution) 3D Print Model
Summary
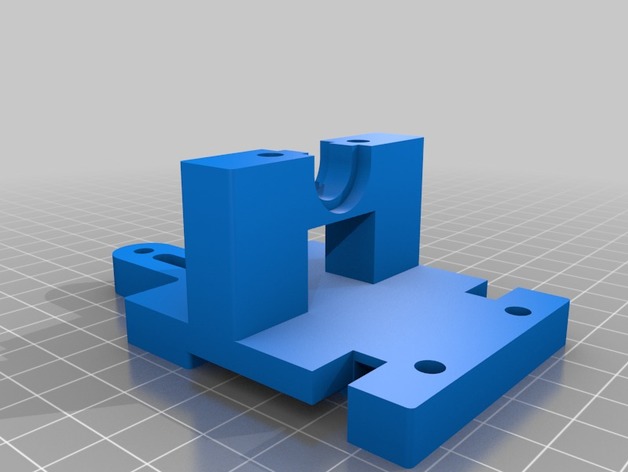
I have remixed the Extruder Mount for the E3D V6.
Now with 2 bigger holes for the Endstops and without Sensor.
Have fun with it 🙂 -
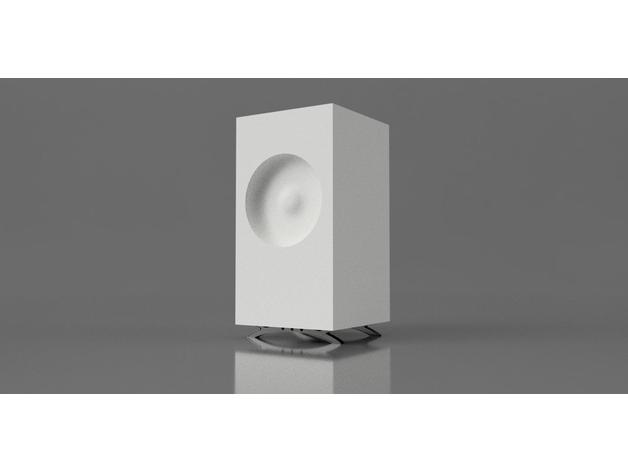
SpeakerStand. 3 Parts 3D Print Model
Summary
Total of 3 parts for each speaker. Put together and place speaker on top. -
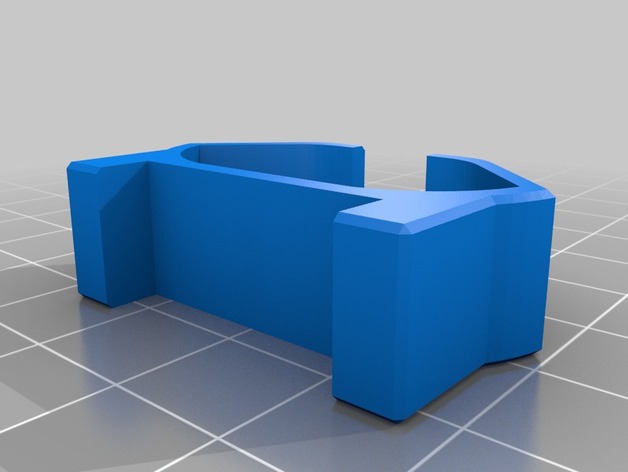
Anet A8 simple-fast damper to use with front frame brace 3D Print Model
Summary
I remixed MarcoCammozzo’s Anet A8 simple-fast damper so it can fit it in my front frame brace by Leo_N https://www.thingiverse.com/thing:1857991
Print Settings
Printer:
Anet A8
Rafts:
Doesn’t Matter
Supports:
Doesn’t Matter
Resolution:
0.2
Infill:
30%Overview and Background
-
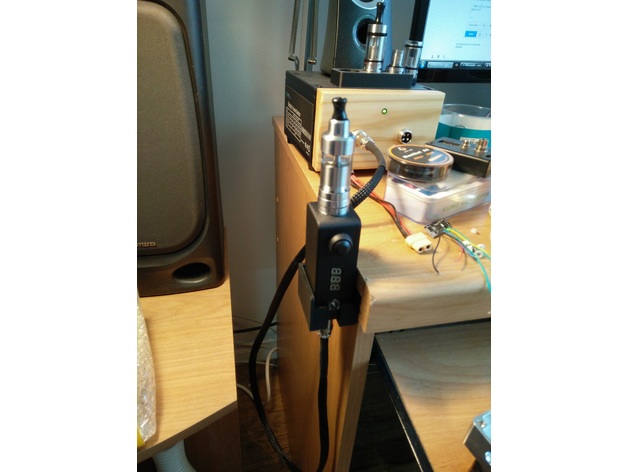
Passthrough Mod Holder 3D Print Model
Summary
1590A passthrough mod holder, mount it anywhere using double sided tape. -
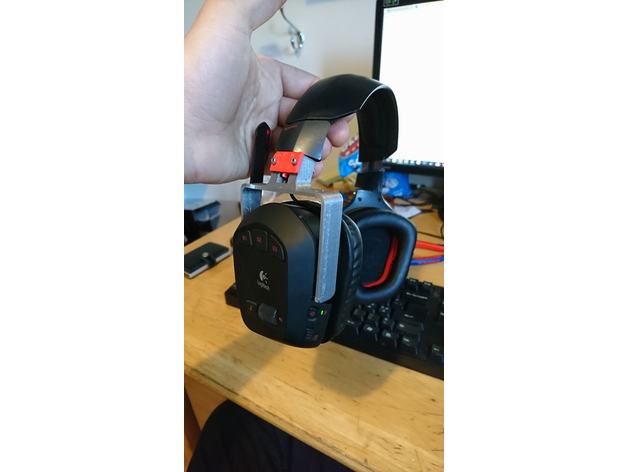
Logitech G930 U replacement for speaker 3D Print Model
Summary
Hi!
Just recently broke the speaker of on my G930 so i made a new one, Dosent look good but it works.
I printed the U shape with 0,2 res with a 0,4 nozzle.
The locking mechanism is printed with 0,125 res with 0,25 nozzle.
Will probably work to print both parts in 0,2 res with 0,4 nozzle.
I dont know but i think it will also work on the G35 headset.
What u need:
2x M2 16mm long screws
2x m2 Nuts
soldering iron
Print Settings
Printer Brand:
TEVO
Printer:
Tarantula
Rafts:
No
Supports:
Yes
Resolution:
0,125
Infill:
80-100
Notes:
just support on the U fitting
PLA -
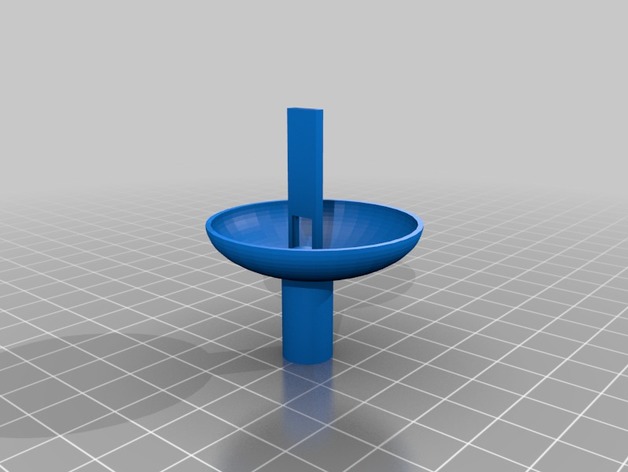
ac for face 3D Print Model
Summary
blow into the mouthpiece and u will receive ac for ur face
extruder 210c
baseplate 40c
PLA plastic seems to work really well
thx if u downloaded! -
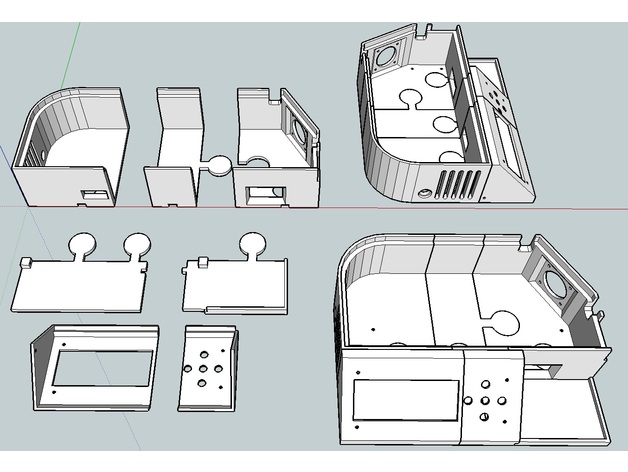
TronXY X1 Control Box and base V2 3D Print Model
Summary
all you guys and gals out there that are mad they now have to print a new better set you can blame (thank) Rob Zarfas from the FB “Tronxy X3, X1, X5 3D Printer Users (All models)” group
it was his suggestions and ideas that helped me draw this up
there are over 100 changers (i stopped counting at about 85)
in general its more compact and a better fitting unit
i have now printed this as yet but all the dimensions should work
Print Settings
Supports:
No
Resolution:
0.2mm
Infill:
30
Notes:
1.2 wall (0.4nozzle 3 wall thick)
0.8 bottom and top (4 layers at 0.2mm) -
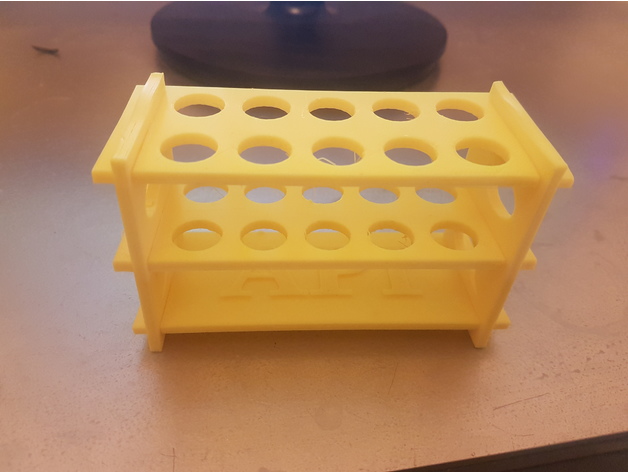
API test kit tube holder 3D Print Model
Summary
I have a lot of freshwater tanks, including fish and shrimp. I need to test the water often with kits from the likes of API.
The tubes are very slim and fall over very easily, so I wanted to print something to hold a lot of tubes whilst testing the water.
This is the simplest snap together thing I could come up with.
Hope someone finds it useful.
Print Settings
Printer Brand:
Prusa
Printer:
i3 MK3
Rafts:
Doesn’t Matter
Supports:
Doesn’t Matter
Resolution:
0.2
Infill:
25
Notes:
Printed at 0.2 layer height, with 0.8 walls and surfaces.
infill can be anything you want, but 20 or less is perfectly fine. -
Lego kylo ren! (fixed) 3D Print Model
Summary
sorry it was broken before but its better now! (pleas don’t be mad i’m omly an 11 year old 😐 -
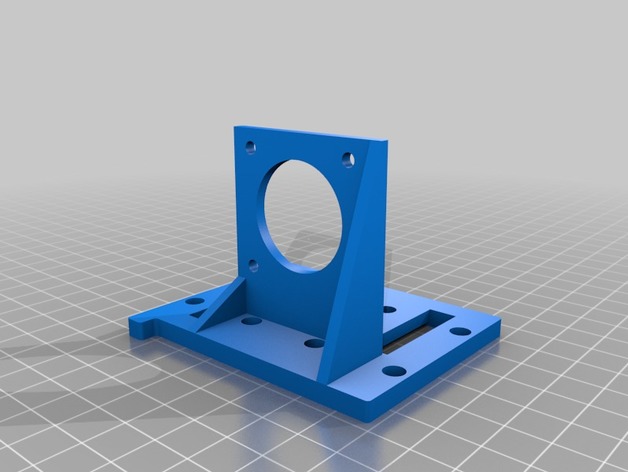
Geeetech Titan Aero sled 3D Print Model
Summary
Used with original bracket and bearings.
Print Settings
Printer:
Geetech i3 alu
Rafts:
No
Supports:
Doesn’t Matter
Resolution:
0.3
Infill:
45% -
Playmobil Small Pirate Cannon Sticks and Bullets 3D Print Model
Summary
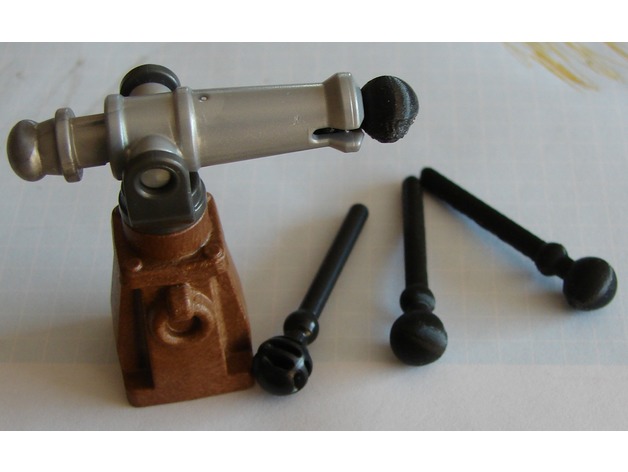
This re-design for my son’s small Playmobil pirate cannon.
After 20 minutes only he had lost 2 of the 3 original ones that came with the cannon.
Before the last one was also gone I redesigned it and printed a few more out.
First I used a square to remove part of the item with a square in the openSCAD code to obtain a flat side and print it out easily.
But the stick/bullet had to be inserted with the flat area to the side, or it would not fly good enough.
So I removed the square and printed it with supports.
Does not look perfect, but works better.
I did not dare to print it vertically…
You may modify the design to do so.
Print Settings
Printer:
Anycubic I3 Mega (Ultrabase)
Rafts:
Yes
Supports:
Yes
Resolution:
o.1
Infill:
100% -
iphone 7 Case for Flexible Filament 3D Print Model
Summary
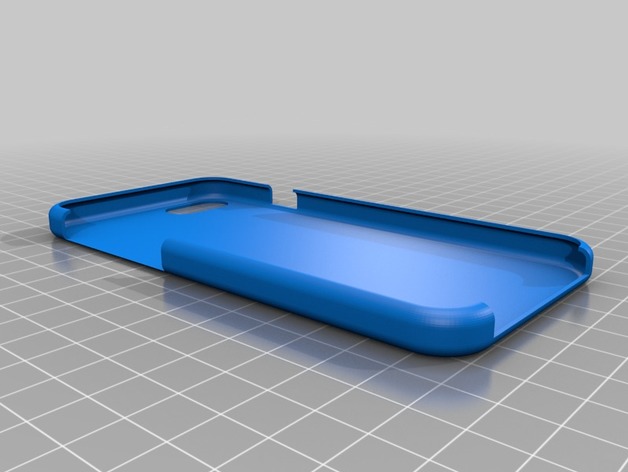
I designed this case to work with flexible filament. When I had printed other snap cases for my iphone 7, I printed with normal PLA filament. However, if I ever dropped my phone the material would snap off or crack.
When I tried printing the same design using a flexible filament, the fit was off.
I therefore designed this with dimensions for printing with flexible filaments.
Print Settings
Printer:
Raise 3D N2
Rafts:
No
Supports:
No
Resolution:
0.2
Infill:
20%Post-Printing
None -
Blinds bracket 3D Print Model
Summary
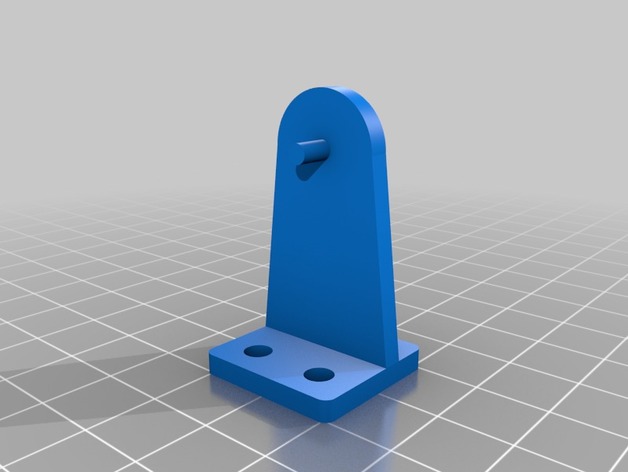
I found a similar bracket on Thingiverse (https://www.thingiverse.com/thing:1890399) but I decided to make my own because:
1) the customizer wasn’t working:
/usr/local/bin/openscad/openscad: error while loading shared libraries: libCGAL.so.10: cannot open shared object file: No such file or directory
2) I wanted to add a truss to make the bracket stronger.
3) I enjoy making things in OpenSCAD…
NOTE: I did not use the referenced bracket OpenSCAD code so this is not a remix.
Print Settings
Printer:
XYZprinting Da Vinci 1.0
Rafts:
No
Supports:
Yes
Infill:
solidHow I Designed This
OpenSCAD… -
Adapter for gimbal Tarot T3D III to F450 3D Print Model
Summary
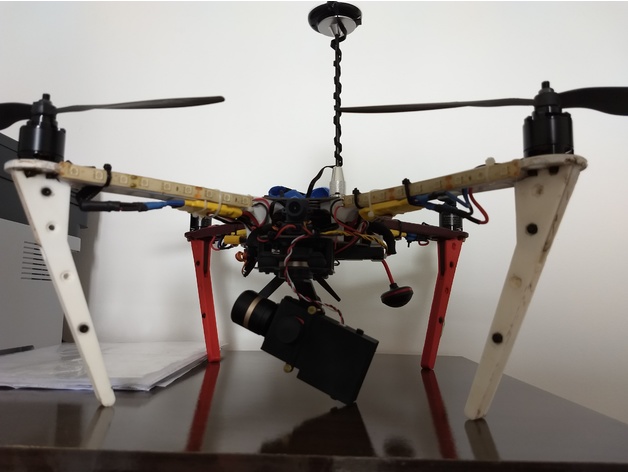
Simple adapter to fix the gimbal Tarot T3D III to the F450 frame.
I used this (https://www.aliexpress.com/item/100pcs-M2-OD-3-2mm-Injection-Molding-Brass-Knurled-Thread-Inserts-Nuts/32815787260.html?spm=a2g0s.9042311.0.0.Z6BrEm) to screw the gimbal to the adapter. -
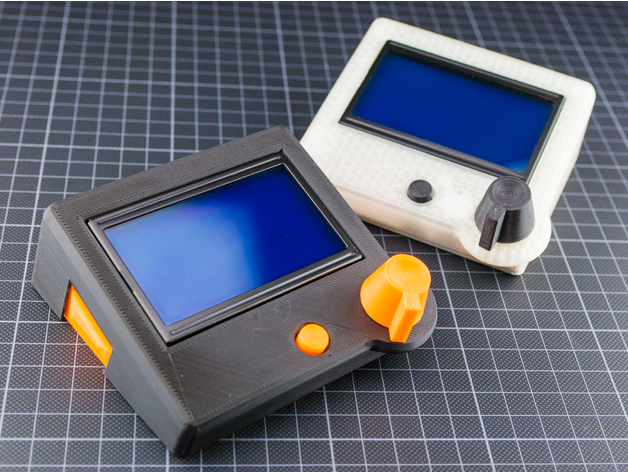
RepRapDiscount Full Graphic Smart Controller Case 3D Print Model
Summary
This is yet another case for the common RepRapDiscount Full Graphic Smart Controller. I wanted a 0.48mm line size (0.4mm nozzle * 1.2) optimized and small angled standalone case without mounting optionse.
Needed parts
RepRapDiscount Full Graphic Smart Controller
Printed parts
4pcs M3 16mm screws
How to support me?
Do you like my things and do you want to support me? You can use these links if you want to buy something. This helps me doing more things. Thanks!
Banggood: https://goo.gl/ZXgx3A
Gearbest: https://goo.gl/FfE59f
Aliexpress: https://goo.gl/bQLi15
Print Settings
Printer:
Anet AM8
Rafts:
No
Supports:
No
Resolution:
0.12-0.20
Infill:
30% -
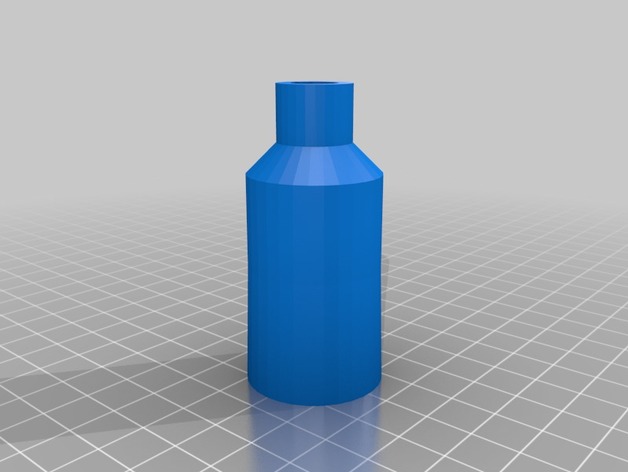
Swiffer Duster to 3/4″ – 5 TPI ACME Thread Adapter 3D Print Model
Summary
Swiffer Duster handle to 3/4″ ACME thread, which is used on many paint poles. Used to dust the high corners of the house.
Simple remix of two files.
Not printed or tested yet. -
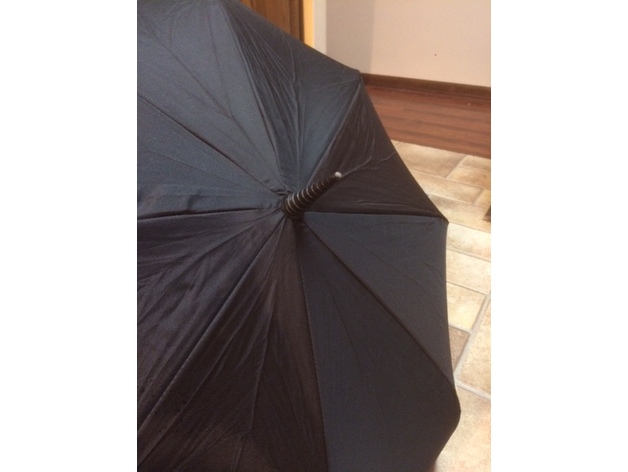
Spike/Tip for Reversible Umbrella 3D Print Model
Summary
So i bought these really awesome reversible umbrellas, they collapse opposite the way of a traditional umbrella. I love everything about these, except that when I use it as a walking cane, there is no spike on the end… Well now there is!
Object is printed, and then glued in place on top of the plastic screw. I know i could have printed the whole thing, but… I didn’t want to… -
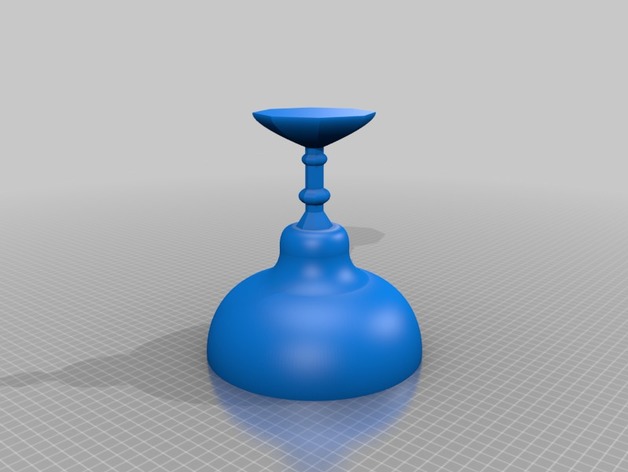
Loving Cup 3D Print Model
Summary
This is inspired by the “One of Us” scene in Freaks. This was modeled in OpenSCAD using a blend of two of these goblet designs from Vecteezy (https://www.vecteezy.com/vector-art/84492-medieval-goblet-vector-set). To make it a bit more interesting I rotate_extruded the base using fewer faces while leaving the bowl/cup part smooth.
It’s modeled as a solid shape. To make a goblet, print with 0% infill and no bottom layers. -
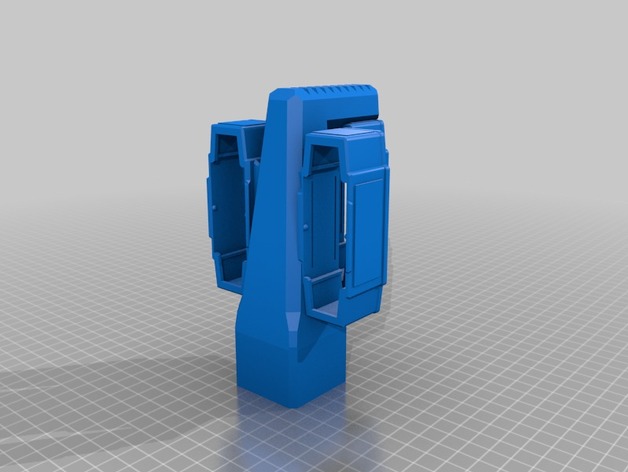
NERF UltraStock (Ultimate Nerf stocks) 3D Print Model
Summary
UltraStocks for your NERF blaster.
Stock 1 – 2 Dart holders on each side and 1 clip holder.
Stock 2 – 3 total clip holders.
Print Settings
Printer:
Creality CR-10
Rafts:
Doesn’t Matter
Supports:
Yes
Resolution:
0.2
Infill:
20% -
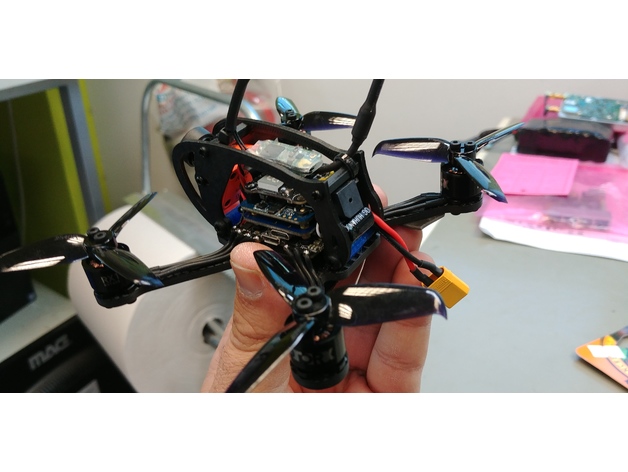
Leader120 to SpiderQuad Mini Split V1.1 3D Print Model
Summary
My new designe SpiderQuad Top for Leader 120 v1.1
This Top for Runcam Mini Split HD -
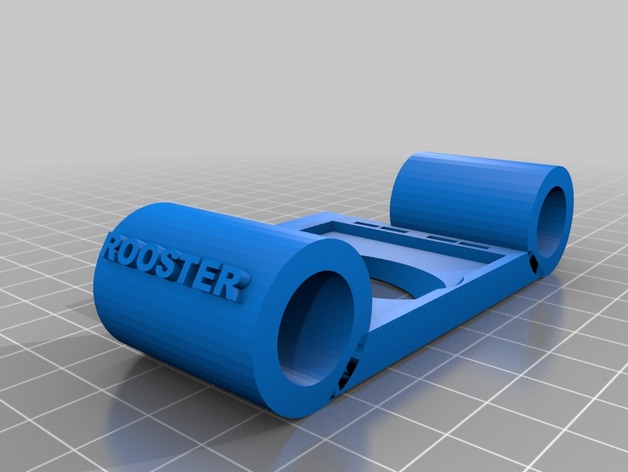
Caps Mount air duct for Armattan Rooster and Raceflight Bolt. 3D Print Model
Summary
This was designed for the Fighting Rooster build.
YouTube https://youtu.be/A_-5wU9x08k
Print Settings
Printer:
Custom
Rafts:
Doesn’t Matter
Supports:
Doesn’t MatterPost-Printing
How I Designed This
-
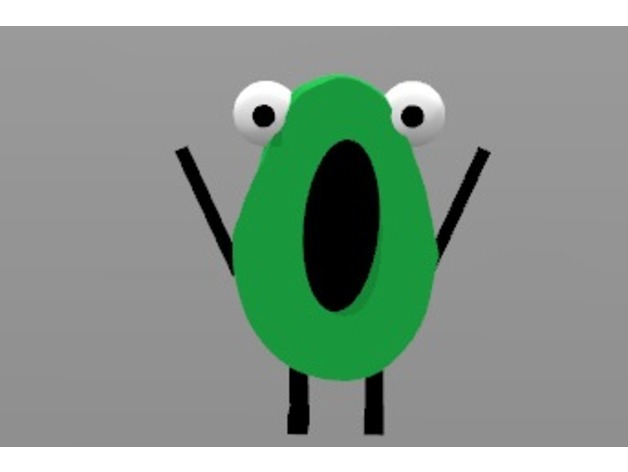
Wild Avocado! 3D Print Model
Summary
This is a screaming avocado that will scream at you whenever you want! Made in Microsoft 3d Builder. -
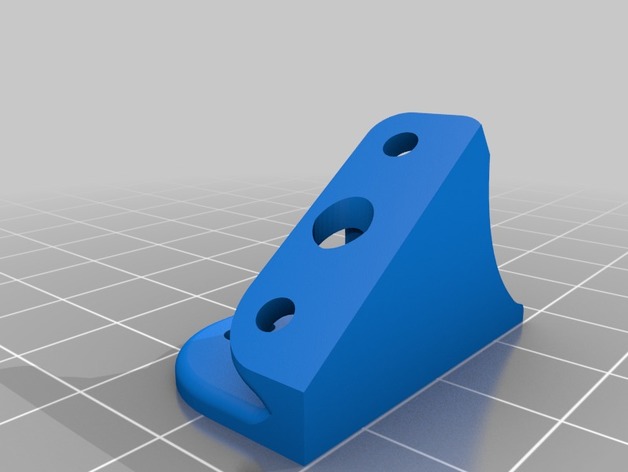
Support d’aileron universel 3D Print Model
Summary
Support universel TPU pour aileron lethal conception -
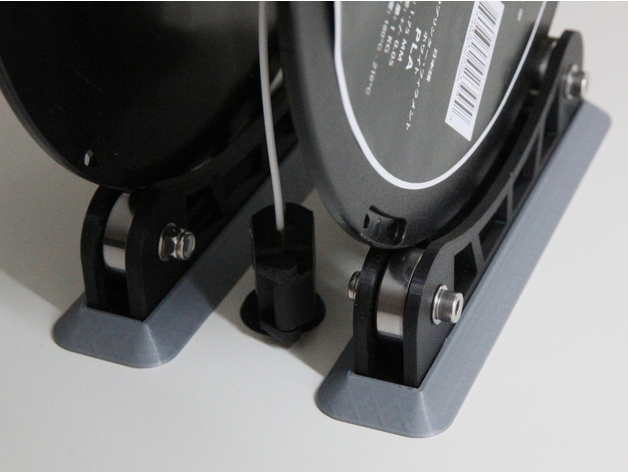
Stable Spool Holder 3D Print Model
Summary
Remixed from Qrome’s Maker Select spool holder.
I modified the design to include holes for screws that hold the halves together and added a base for use on the top of my enclosure.
Post-Printing
You print 4 of the spool sides and 2 of the base. You’ll need 4 skateboard bearings. Use M4 x 20 mm screws with a lock nut and washers (if you want) to hold the two sides together. Once the sides are assembled, glue them to the base. (I use a silicone glue that I could remove if I needed to.)
There is a spoolHolderPlate.stl if you want to print everything at once. -
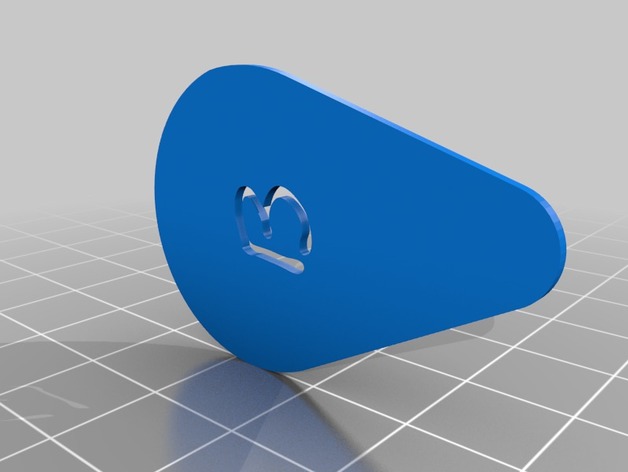
Guitar Pick (B) 3D Print Model
Summary
I made this guitar pick hope you like it!!
Give feed back btw
Print setting
layer height 0.2
fill density 100%
platform brim -
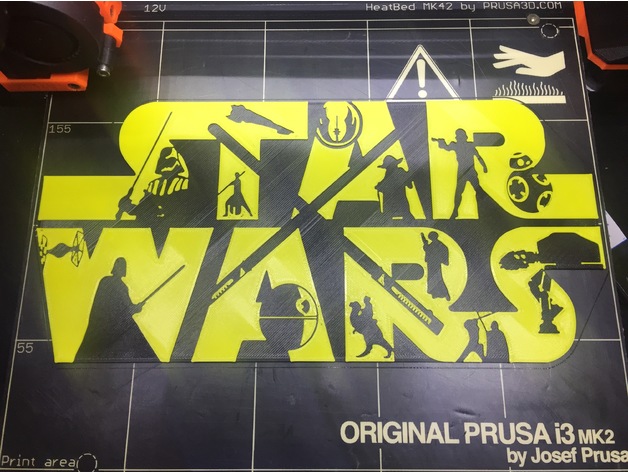
Star Wars Mural V2 3D Print Model
Summary
I thought since I’ve had a lot of interest with my other Star Wars Mural I thought I’d make another one.https://www.thingiverse.com/thing:2699968
Print Settings
Resolution:
0.2
Infill:
20% -
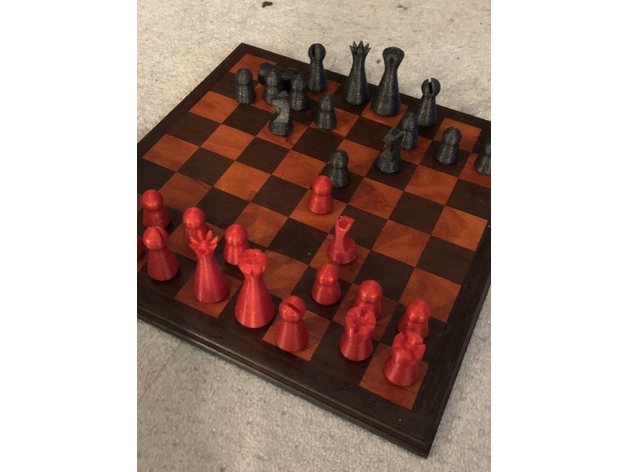
Minimal Look Chess (remix) 3D Print Model
Summary
I remixed this set to have large holes in the bottom to be able to add weight. I used hot glue and lead shot with a felt bottom. Got great reactions at the chess club! -
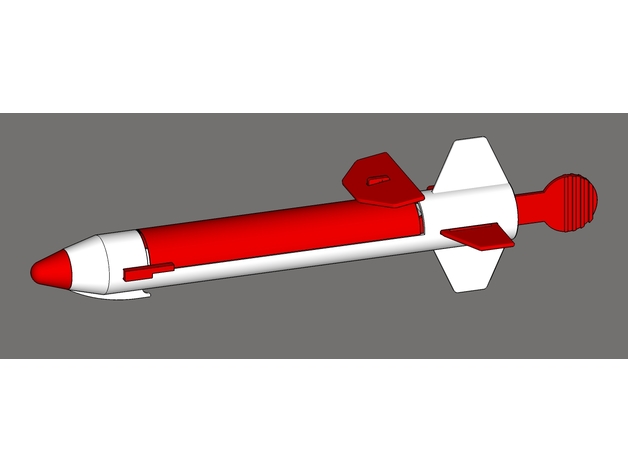
Retro Rubber Band Powered Rocket 3D Print Model
Summary
I have had this rubber band launched rocket for as long as I can remember… at least 35 years. Unlike today’s toys, aside from the occasional rubber band replacements, this thing has stood the test of time! I thought I would share this piece of nostalgia with all of you.
You can, of course, print your rocket in whatever color scheme you like, but the original was molded in red and white, as shown in the illustrations. The completed rocket is 245mm tall, including the grip. The main body itself is 195mm tall. What with the additions I’ve added to my Tevo Tarantula, I only have 170mm available on the Z axis. For this reason, I have provided two versions of the main rocket body. I highly suggest that you use the _1piece model if at all possible. If, like me, though, you can’t, you can print the _upper and _lower halves and glue them together.
ADDITIONAL PARTS NEEDED
You will need a few non-printed items to finish your model:
small snap swivel (the type used for fishing)
small parachute – if you don’t have a commercial parachute, this is an excellent tutorial on making one from a plastic bag
cotton string
rubber band, large
rubber band, mediumPrint Settings
Printer:
Tevo Tarantula
Supports:
Yes
Resolution:
0.2mm
Notes:
All pieces should be printed in the orientation presented in the STL files with [Supports Everywhere] enabled. The only exception to the need for support is the launcher and the baydoor_fin. Furthermore, due to their small footprint, you should use a fairly large [Brim] – 7mm or so – for the grip and the stabilizer_fin. I recommend 100% infill, just for strength. I tried slicing with less infills and, honestly, the added amount of filament required and the additional time needed was not significantly different enough to warrant using anything less than 100%. I printed with a layer height of 0.2mm, but I don’t think that it too critical.
Post-Printing
**ASSEMBLING THE ROCKET**
Assembly is pretty straight forward as you can see from the assembly diagrams.
Hook the holes in the grip over the pins in the ejector, making sure that the hook is on top.
Slide a rubber band over the ejector so that it is around the rear section. Pull the rubber band up and loop it around the hook on the grip, running the rubber band through the notch of the ejector. This will pull the ejector up at a 90° angle. Make sure that the rubber band is not too tight or the door won’t stay closed during the rocket’s ascent.
Keeping the ejector/grip assembly straight, slide both pieces into the body from the rear. Once in the body, the ejector will snap back to a 90° angle. Don’t worry about that right now.
Slide the stabilizer fin into the slot in the rear – narrow end forward and two lines on top – making sure that it goes through the grip and out the slot on the other side. You will need to make sure that once the fin is through, you have one one of the raised lines on top of the fin on either side of the body. This is what keeps the fin in place.
Glue the nose cone to the front of the rocket.
Push the bay door fin down on to it’s mount on the bay door – narrow end forward. There is a small bump on either side of the mount that will keep the fin in place. You can glue this fin on for added security, if you’d like.
Insert the pins on the inner font of the bay door into their associated holes in the main body, being careful as you spread the legs so as not to break them.
Tie a 5 or 6 inch long piece of cotton string to the bay door mount where indicated in the diagram.
Attach a parachute, via a snap swivel, to the ejector where indicated on the diagram.
Lightly fold and wrap the parachute using standard rocketry procedures and place it in the front section of the ejector. I have included a PDF explaining how to pack the chute if you need it.
Press the ejector / parachute down into the rocket and close the bay door. Take the string that you tied around the mount earlier and bring it back past the top tail fin. For storage, to keep the bay door closed, simply wrap the string around the grip and tie it off.**PREPARING THE LAUNCHER**
To prepare the launcher, you will need to cut your large rubber band so that you have one long piece.
Tie a knot in one end of the rubber band and slip the other end through one of the bottom holes on the launcher.
Thread the loose end of the band back through the top hole on the same side.
Pull the loose end through the top hole on the other side and back through the last bottom hole.
Tie a knot in the loose end of the rubber band.
Finally, pull the large loop so that the knot are firmly up against the plastic.**LAUNCHING YOUR ROCKET**
Now you are all set for the fun part! With your parachute loaded, and the bay door closed, make sure the string is hanging loosely. Pull the free end of the string back past the top fin and hold it against the side of the grip – thumb on one side and forefinger on the other. Loop the hook at the front of the rocket on the rubber band on the launcher. Holding the grip in one hand and the launcher in the other, pull back and aim upwards. Let go of the grip and watch your rocket soar upwards.
**HOW IT WORKS**
The wind resistance against the bay door will keep the door closed as the rocket soars upwards. As the rocket slows, the wind resistance forcing down on the door lessens. As soon as the rubber band inside is able to overcome the force of the air rushing past the fin, the ejector will spring outwards, opening the bay door and ejecting to parachute. As the rocket begins to fall, the air will grab the parachute and pop it open, allowing your rocket to gradually, and safely, drift back down to earth.
HAPPY FLIGHTS -
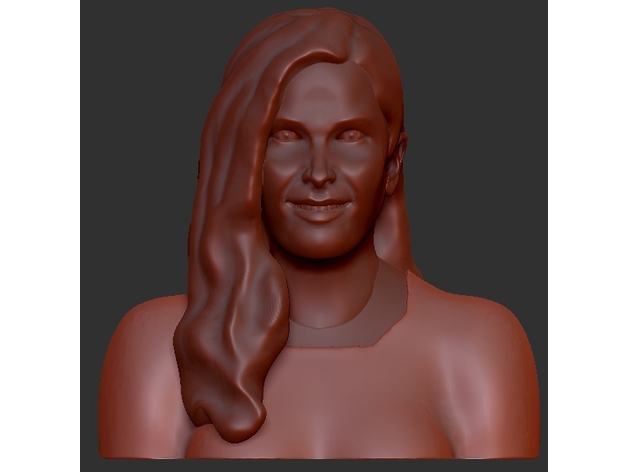
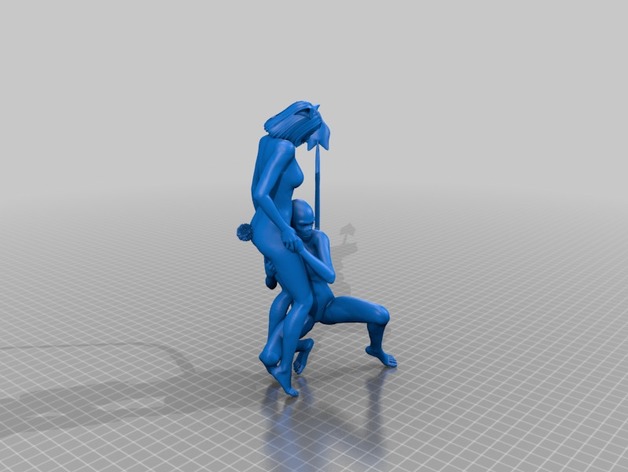
Wicked Witch – Rebecca Madder 3D Print Model
Summary
Rebecca Madder – Actress
inspired from picture. Thanks to Rebecca Madder
Print Settings
Printer:
Home Built
Rafts:
No
Supports:
Yes
Resolution:
0.15
Infill:
8
Notes:
0.1 mm will be better with fine details -
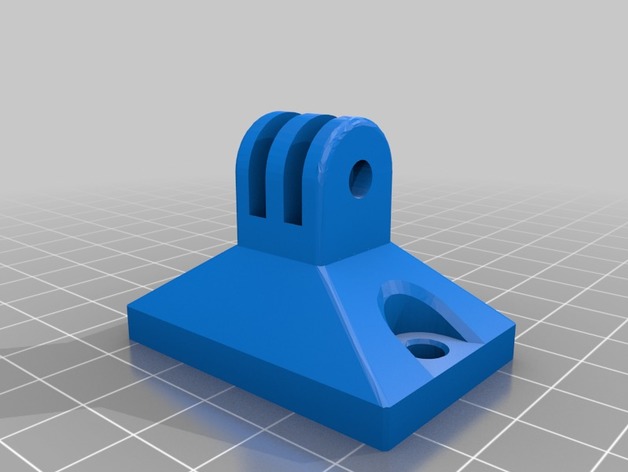
Support Gopro 3030 3D Print Model
Summary
Bonjour,
Le même que l’original mais mesurant 32 mm de haut contre 37 à l’origine.
cordialement -
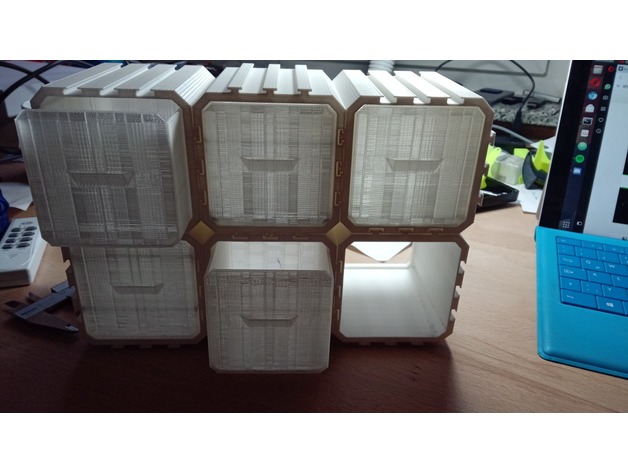
Modular Drawers – Different knob 3D Print Model
Summary
I did not like the way the knobs needed to be attached, so I designed this simple solution.
Tough I really need to say that O3D’s design is just awesome! I love these Drawers! -
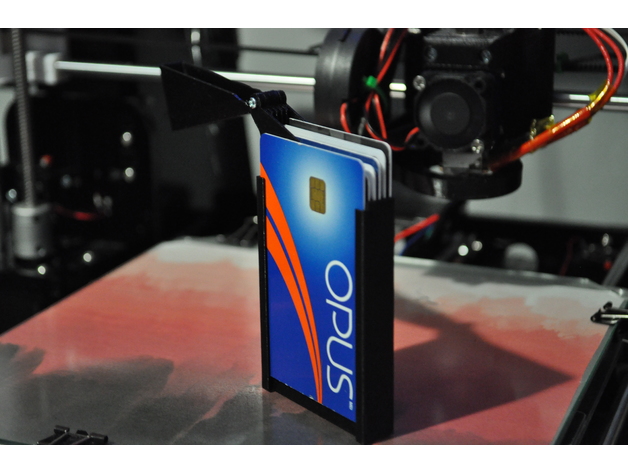
Slim Wallet for 6 cards or under 3D Print Model
Summary
This is still a work in progress
Features:Rails to lead every cards6 possible card spots (1 that is outside of the case for either a magnetic bus card or money)
*A cap to close the wallet
Things needed:
1x 12mm M2 screw
If you have a longer M2 screw, just take two pliers and twist the screw untill it breaks (try until you reach 12mm)
This is a slim wallet inspired by https://www.thingiverse.com/thing:1756637 “Slim Wallet V4”
I had issues using more then 4 cards inside the Slim Wallet V4 so I decided to create a wallet that would be perfect for 5 cards. I added rails to lead every cards. Since I take the bus often, there is a spot for either cash or a bus card.
The wallet is bigger then the Slim Wallet V4 and does not use any mechanism to pull up the cards. This is why every card spots are leveled +2mm everytime.
I am working on fixing some issues of this wallet such as1mm gap between the cap and frame after placing the screweasier removal of cards
Print Settings
Printer:
Anet a8
Rafts:
No
Supports:
No
Infill:
20 -
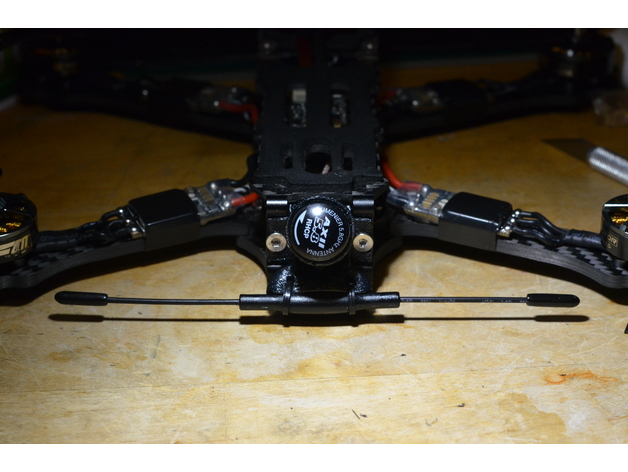
TBS Crossfire Immortal T and AX II Armattan Rooster Mount 3D Print Model
Summary
Mount utilizes TBS unify pro sma mount, AX II antenna, and Immortal T crossfire antenna. Extremely durable and low profile -
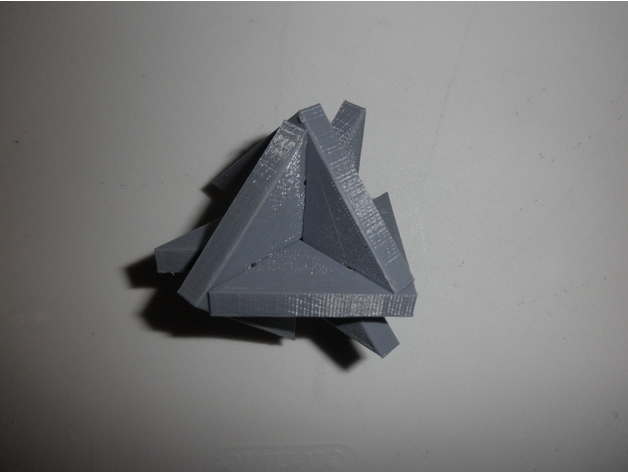
Phut Cluster puzzle 3D Print Model
Summary
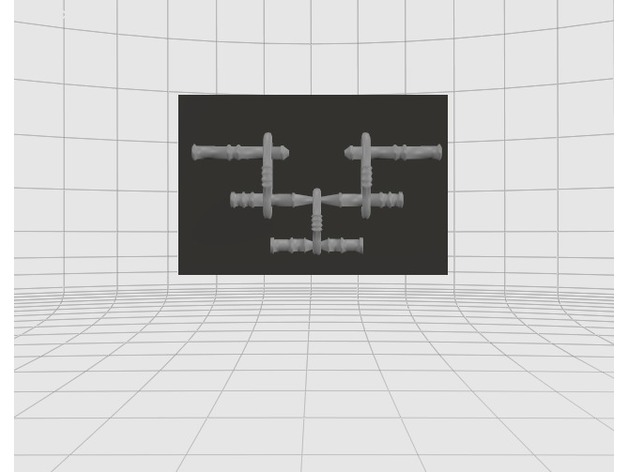
This is a 3D printable version of Viktor Genel’s Phut Cluster puzzle. It is a coordinate-motion puzzle, meaning all the pieces have to move at the same time when assembling or disassembling. Print three total, and try to assemble them so all three pieces are intersecting and orthogonal. The “trick” setup is shown in the final picture, and should be enough of a hint to solve the puzzle.
Print Settings
Printer Brand:
Wanhao
Printer:
Wanhao Duplicator i3 Plus
Rafts:
No
Supports:
No
Resolution:
0.1 mm
Infill:
20% -
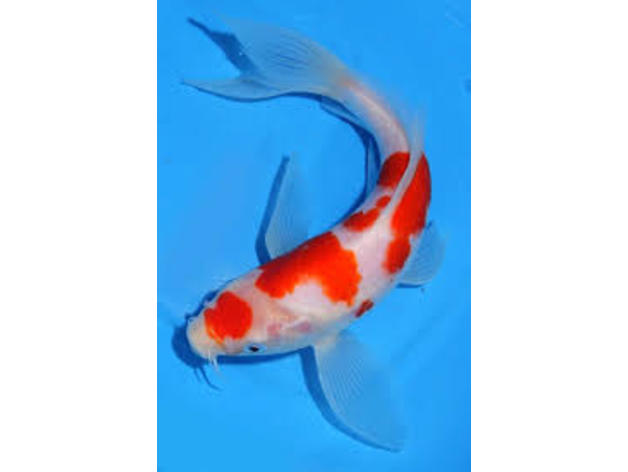
koi fish 3D Print Model
Summary
This design requires supports while printing. It takes a few hours to remove all the supports with pliers, but the results are definitely worth it! -
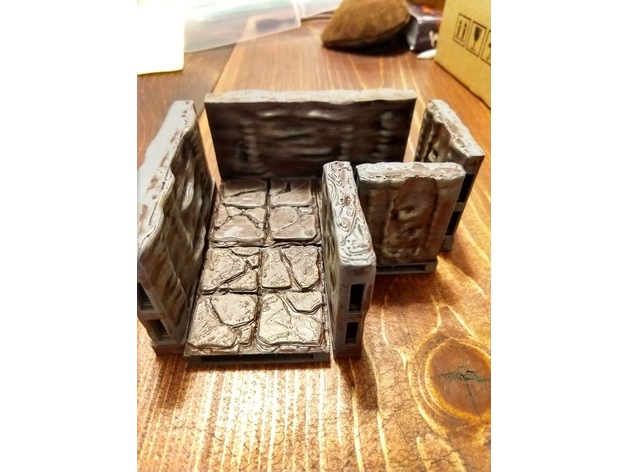
Openlock Cavern Wall set 3D Print Model
Summary
Remixed a few cavern type walls to use with the Openlock system. These are a little thicker than some of the others but seem to work out okay. Only lengths I have put together are 1.5 blocks long, 2 blocks long and 4 blocks long. -
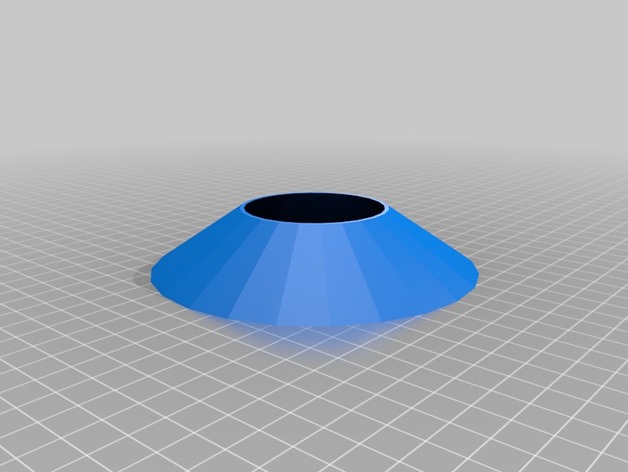
Soccer Sports Cone 3D Print Model
Summary
This is a very simple soccer cone design for soccor purposes or anything else. I designed this to mark out a race course for my Ofna Ultra LX2e and my Eachine Wizard Racing drone.
This should need no supports and the angle is around 70 degrees
Print Settings
Printer:
Anet A8
Rafts:
No
Supports:
No
Resolution:
any
Notes:
supports should not be needed but print what you prefer. -
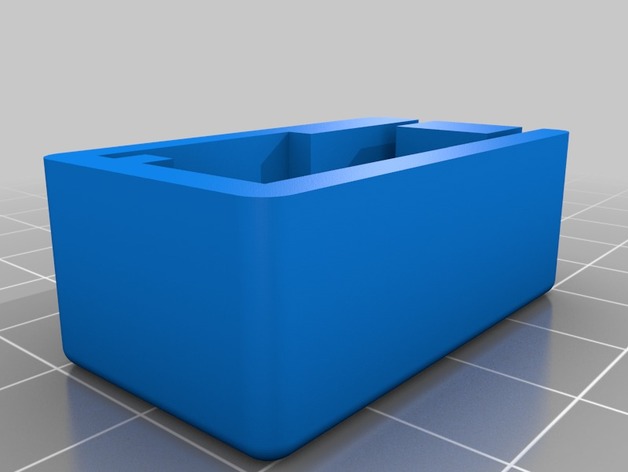
Revised MPCNC Belt Mount/Tensioner 3D Print Model
Summary
I liked DodgeDerek’s redesign of the MPCNC Belt Mounts, but for some reason the tabs did not fit my prints of the corner blocks, so I made a new version adjusted to fit. I also adjusted the exit point of the belt for a more linear pull from the “ear” of the corner block. The other part I redesigned is the belt clip. I changed it to engage the belt all the way around the clip instead of just on the top and bottom. Finally, I modified the nut trap to accept a 4-40 nut instead of the metric size that was in the original.
I am using these on my functioning MPCNC and they have thus far worked out very well.
Print Settings
Printer:
XYZ DaVinci Jr. 1.0
Rafts:
No
Supports:
No
Resolution:
0.2mm layer height
Infill:
25%
Notes:
3 perimeters using PLA -
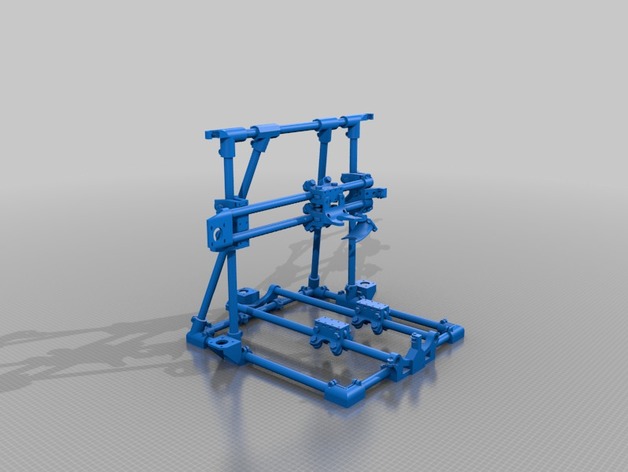
Piper 1 3D Printer assembly stl file 3D Print Model
Summary
This is full model STL file of Piper 1 printer. It is for viewing purposes only.
Piper 1 3D printer main project is at: https://www.thingiverse.com/thing:2794632 -
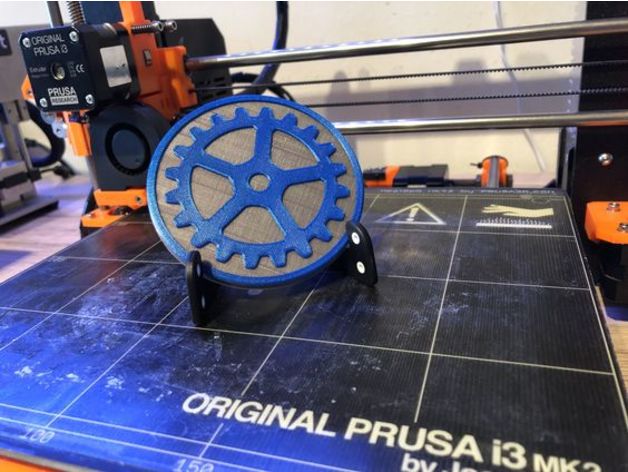
Gear Coaster 3D Print Model
Summary
The gear coaser is 90mm in diameter.
Print Settings
Printer Brand:
Prusa
Printer:
Prusa Mk2
Rafts:
Doesn’t Matter
Supports:
No
Resolution:
0.25
Infill:
20%
Notes:
I printed it with the multi color option in PrusaControl. -
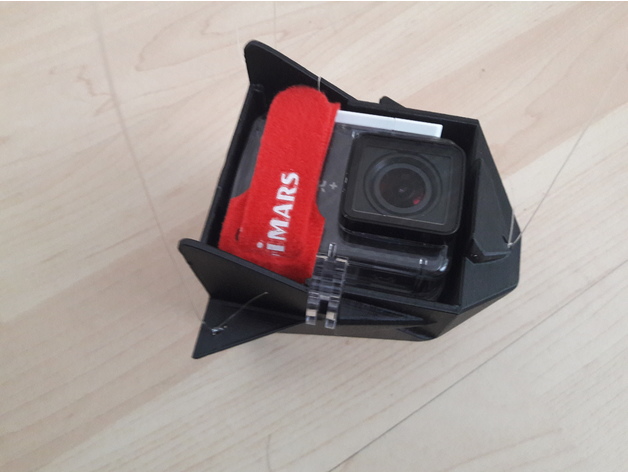
centryi4k /centriphone /centripro for yi4k 3D Print Model
Summary
This is a centriphone case for the yi4k+. Not 100% sure but I think it should also work with the yi4k and the yi4klite. And the camera fits in there with the original underwatercase.
The handle can be mounted for example on a underwater selfiestick for the gopro.
I highly recommend to print it like seen on the picture. There is a lot of force on it!
If your wires are 2 Meters long and you make one rotation per second you get about 7kg on it and easily 20kg wenn you make two rotations per second. So please first hang 20 kg at the handle to see whether it is stable enough! Use wires which can at least holt 7kg each (3*7kg=21kg). You will probably never make 2 rotations per second, but safty first!
Have fun!
PS: And of course it is just a copy of this one, but fixed for the yi4k: https://www.thingiverse.com/thing:1391102First try
-
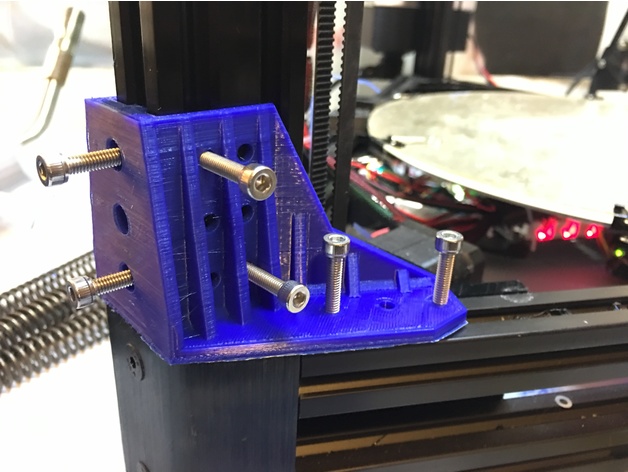
Kossel XL / Ultibots D300VS Corner Brace 3D Print Model
Summary
Deltas can be wobbly beasts, so I’ve made this bracket to keep mine a bit more stable. There’s versions of these for Kossel and Kossel Mini already, but I couldn’t find one that fit my Ultibots D300VS so I went ahead and made this.
There’s versions for M3, M4, and M5 hardware, and printable drop in or slide in T nuts to mount the bracket as well.
You don’t need to bolt in all the mounting holes! I put in lots of holes so there would be lots of options in attaching the bracket to the frame.
Sketchup source file included.
Print Settings
Rafts:
No
Supports:
Yes
Notes:
You don’t need a lot of infill on this, just good perimeters. I printed mine at 30% and 1.2mm (3 layers) of perimeter, and 1mm of top/bottom layers.
PLA is probably your best choice for these brackets as it’s stiffness is very good, and there’s not much heat to cause problems. -
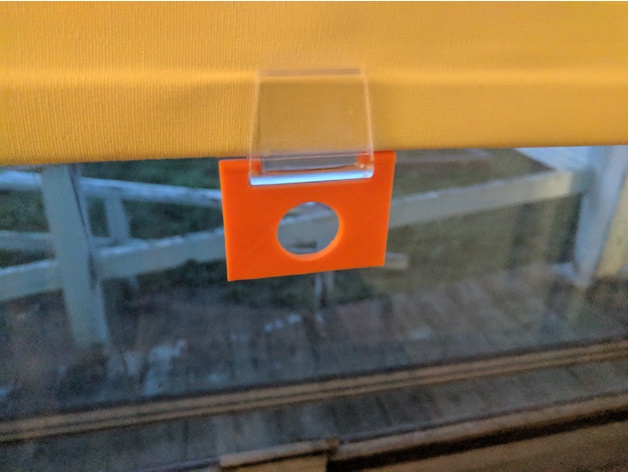
Pull for IKEA Tupplur Blind 3D Print Model
Summary
The pull on our IKEA Tupplur shade broke the second day we had it. So I made a better one.
Print Settings
Printer Brand:
Wanhao
Printer:
Wanhao Duplicator i3 Plus
Rafts:
Yes
Resolution:
.2
Infill:
20%
Notes:
the supports were a PIA to remove so I left them on the back side facing out the window.
How I Designed This
TinkerCAD -
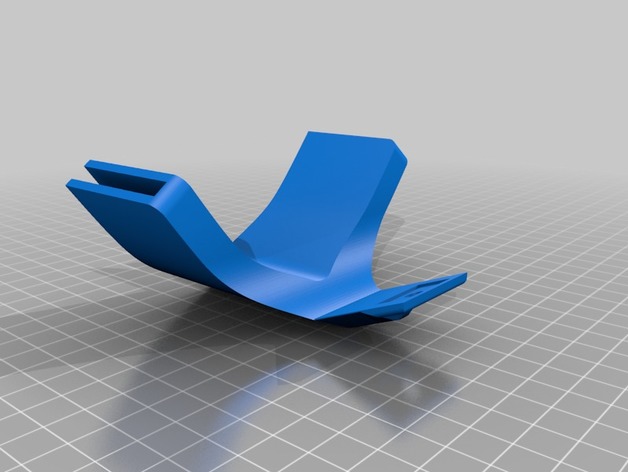
POV Cell Phone Hat Mount 3D Print Model
Summary
Made this to help me take video from a first person perspective with my smartphone. It’s convenient because then I can immediately share the video to social media. It seems silly but I think it solved a problem so I dont care.
I designed it to work with one of these but it’ll probably work with anything similar:http://amzn.to/2Ct4SJy -
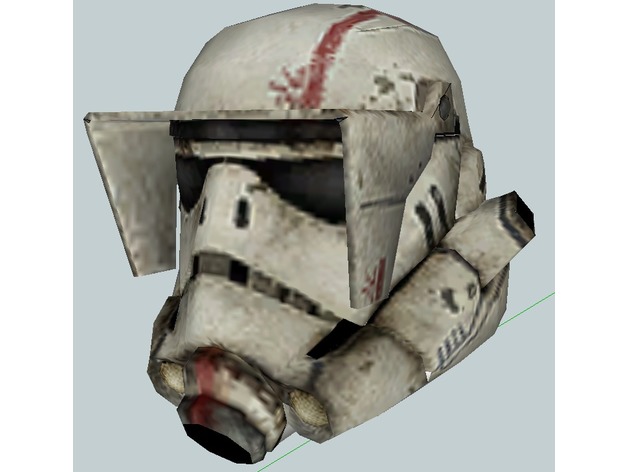
Star Wars: Force Unleashed Jumptrooper Helmet Parts 3D Print Model
Summary
This is the helmet for the Force Unleashed Jumptrooper, it’s already sliced up into manageable parts for a printer. I’m currently printing these out, but if you have any issues please feel free to contact me. -
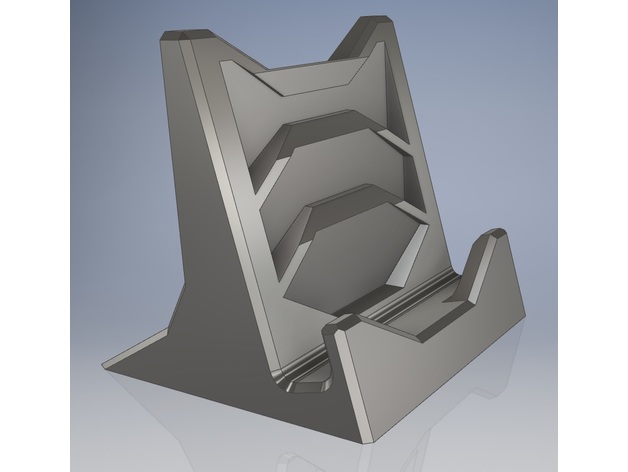
GalaxyS8_Holder 3D Print Model
Summary
-this is a smartphone-holder for Samsung Galaxy S8 !!without recess for the charging cable!! (maybe also suitable for other smartphone)
-Slot is 8.4mm (0,330709 inch)
-dimensions: 50mm x 50mm x 50mm (1,9685 inch)
Print Settings
Printer:
Anycubic I3 Mega
Rafts:
Doesn’t Matter
Supports:
Yes
Resolution:
0.1
Infill:
35
Notes:
-My settings for PLA 1.75mm (Picture: Cura settings) -
Horizontal filament spool holder 3D Print Model
Summary
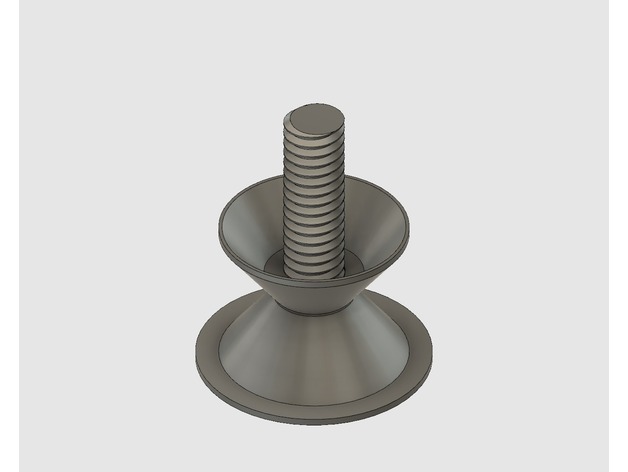
This is a two-piece filament spool holder that requires a 6002 bearing. It is mainly intended to be installed on top of a delta printer that has a ‘roof’ with a mount for the bearing, feel free to attempt other ways to install.
Print Settings
Printer:
Kossel XL
Rafts:
Doesn’t Matter
Supports:
Doesn’t Matter
Resolution:
up to 0.32mm layers with 0.4mm nozzle
Infill:
10% or more
Notes:
The bearing hole is a tight 32mm, so a well tuned printer and extrusion is needed and still the fit is tight. -
Hanging heart plaque 3D Print Model
Summary
Can hang up and use little rods on bottom to hag up keys, jewelry, and other small objects.
Name can be placed in middle of heart
Print Settings
Printer:
TEVO Tarantula
Rafts:
No
Supports:
No
Infill:
10% -
Subnautica Cyclops Submarine 3D Print Model
Summary
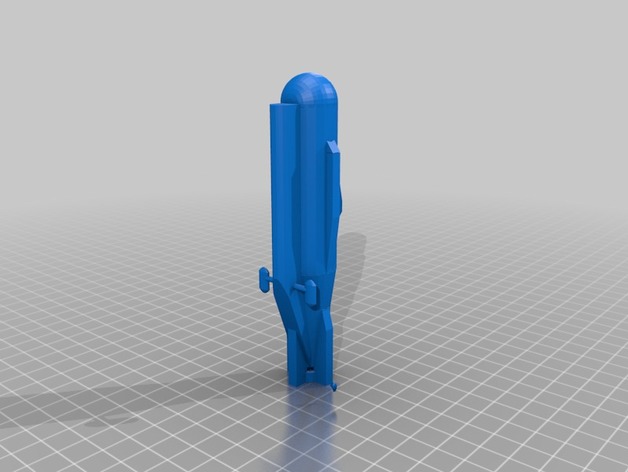
Decided to take a break from Star Wars ships, and built the Cyclops submarine form the survival game Subnautica. The Cyclops in-game in approximately 54.2 meters long x 12.6 meters wide x 14.2 meters high. It is the largest player controllable vehicle in the game at the moment. To build, the player must find and scan 3 Cyclops bridge fragments, 3 Cyclops hull fragments and 3 Cyclops engine fragment. A Seamoth or Prawn suit can be held in a ventral docking bay. (A very small Seamoth is included in the file. It is to scale with the main Cyclops model.) -
Tape Cutter 3D Print Model
Summary
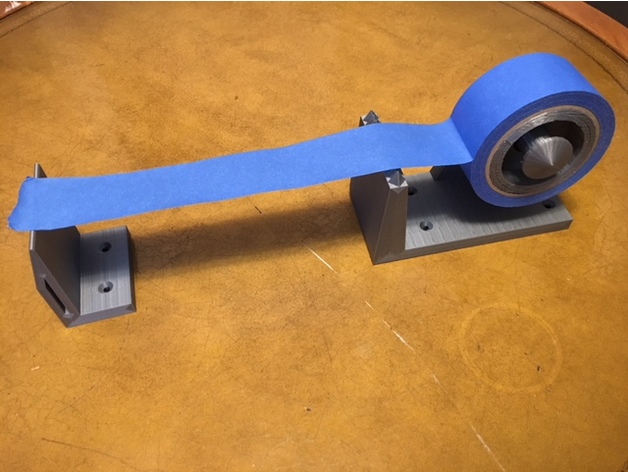
This was created as a way for me to measure and cut blue tape for my print bed accurately and minimize the waste. First you screw the two parts down to a piece of wood. Mount the cutter part a little shorter than your print bed dimensions. Then you stretch the tape from the cutter side to the measuring side, and then press down on the roller side of the cutter and it will cut the tape the desired length. See pictures if that doesn’t make sense. Please comment, and take pictures if you print this. Thanks.
Print Settings
Printer Brand:
Creality
Printer:
CR-10
Rafts:
No
Supports:
Yes
Resolution:
.2mm
Infill:
20%
Notes:
I would make your walls a little thicker in order to make the post strong enough to withstand pulling on the tape. This is also an all in one print, I found the support super easy to pull out from between the roller and the post, and it spins very easily.
How I Designed This
I designed this using sketchup. -
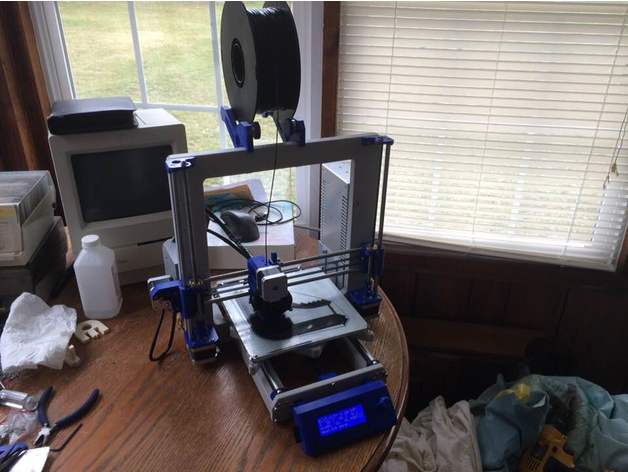
The Varnerized Prusa 1.0.0 3D Print Model
Summary
Winter of 2018, I created a Prusa i3 clone.
You can build this printer for $250, or less. I did, including the cost of a 1kg spool of ABS.
The frame was based off the Original Prusa MK3 frame, but fabricated from plywood laminations. I created and used router templates (and a flush trim bit) from the Prusa .dxf files.
The rest of the parts closely follow Tom Salanderer’s MK2 Clone “Dolly”, with some customizations for the parts I ordered from AliExpress.
My official github repo for this project is: https://github.com/bvarner/varnerized_prusa_i3
My marlin firmware repo is: https://github.com/bvarner/marlin
I’m getting what I consider absolutely ridiculously good results out of this $250 printer, when compared side-by-side to the same models printed off an Original MK2s.
My long-term goal is to iterate on this, and upgrade the electronics to build a true MK3 clone with Trinamic drivers at some point in the future. That though, will be another ‘thing’. 🙂
Print Settings
Printer Brand:
Prusa
Printer:
i3 MK2S
Rafts:
No
Supports:
No
Resolution:
0.2
Infill:
20%
Notes:
3 Vertical Shells (Perimeters)
Use ABS or PETG. -
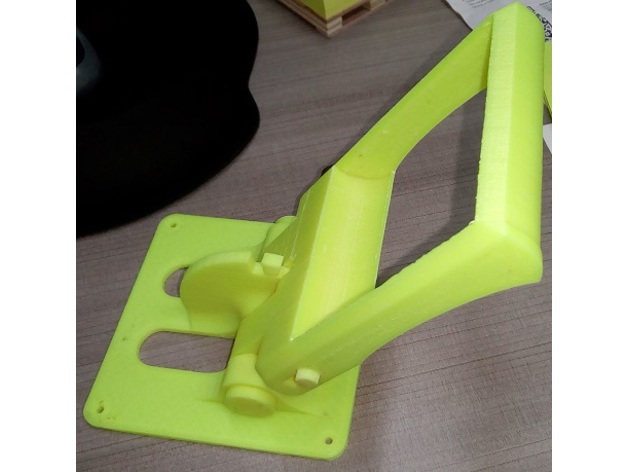
HP Desktop/wall/arm PC support 3D Print Model
Summary
This is a support for HP desktop/wall all in screen computer that I’designed because this computer not included ones to use it in a desktop. It is multiposition so you can tilt the computer as you need. You will need add a pen spring and a key ring to complete its functionality.
Print Settings
Printer:
TronXY X3
Rafts:
No
Supports:
Yes
Resolution:
.2
Infill:
5%
Notes:
Printed in ABS, bed 85°C Nozzle: 235°C first layer and 228°C others layers, aquanet spray to bed adhesion, cardboard box to cover the printer while printing. You can print in others materials if you want. -
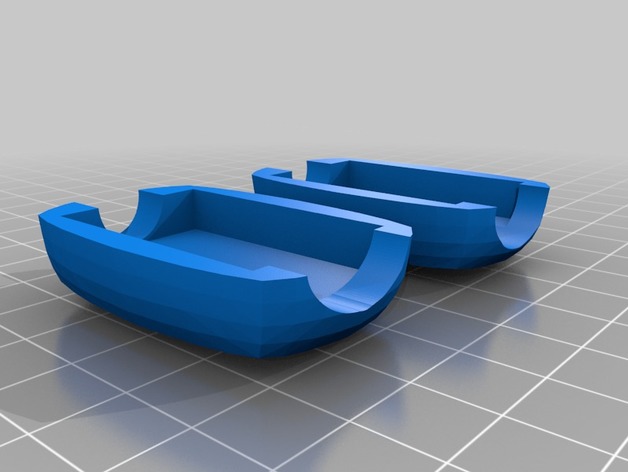
Arduino pro micro case 3D Print Model
Summary
A case for the Arduino Pro Micro. Just hot glue the sides together.
Print Settings
Printer Brand:
FlashForge
Printer:
Finder
Rafts:
Yes
Supports:
Yes
Resolution:
Whatever
Infill:
WhateverPost-Printing
Put the arduino inside and hot glue the pieces together. One side is for wires and the other side is for a USB cable. -
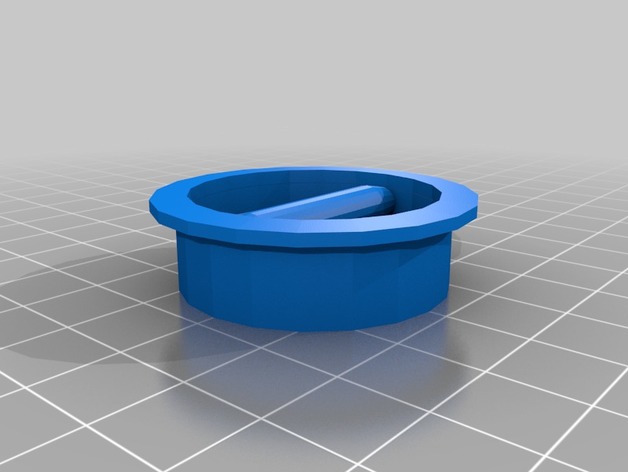
Grainfather Dust Cover 3D Print Model
Summary
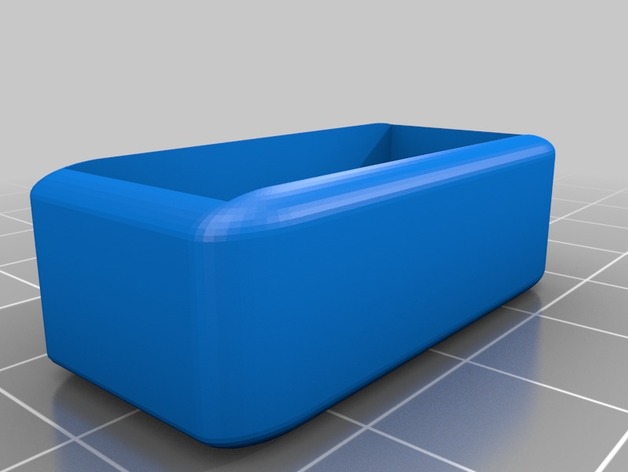
I wanted a cover for my Grainfather homebrew system. I understand why the cover is open, but wanted something to keep dust out of it when it was not in use and being stored. This inserts into the class top and is low profile so that it won’t add much height if your storage space is limited. -
Grainfather Switch Cover 3D Print Model
Summary
After upgrading my Grainfather to the Connect control box, the mash/normal switch was no longer necessary. I was always paranoid that I was going to accidentally switch the element to mash when moving it and slow down my brew day, so I was always checking it – even though I never actually had hit the switch. If you take off the plastic/rubber water resistant cover and replace it with this hard shell, then you don’t have to worry about hitting the switch anymore. -
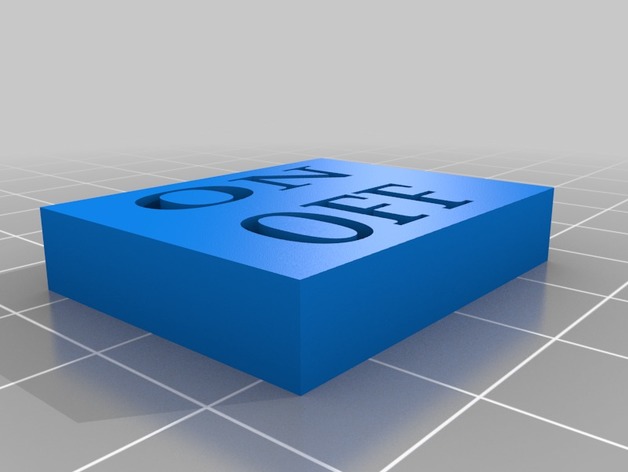
On-Off Switch Bracket 3D Print Model
Summary
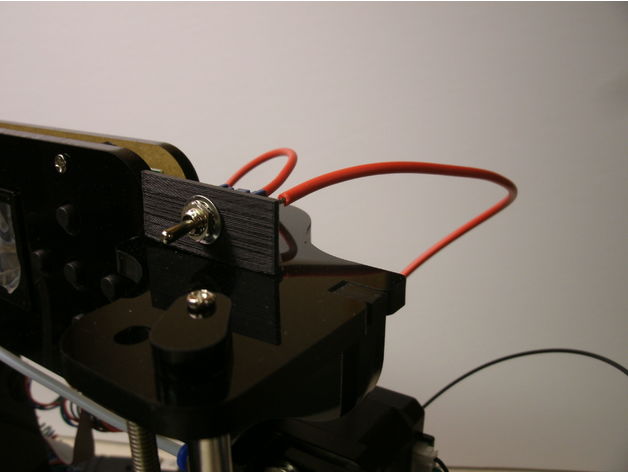
I love my inexpensive 3D printer, but I hate the fact that to turn on or off my Startt 3D printer I had to remove transformer plug from rear of the printer. I designed a simple ‘L’ shaped bracket to support a $0.50(US) mini switch. Simply undo 2 screws at the top of 3D printer and secure the bracket.
Print Settings
Printer:
Startt
Rafts:
Doesn’t Matter
Supports:
Doesn’t Matter
Infill:
20%
Notes:
PLA filament 0.2mm layer -
Shortened axe 3D Print Model
Summary
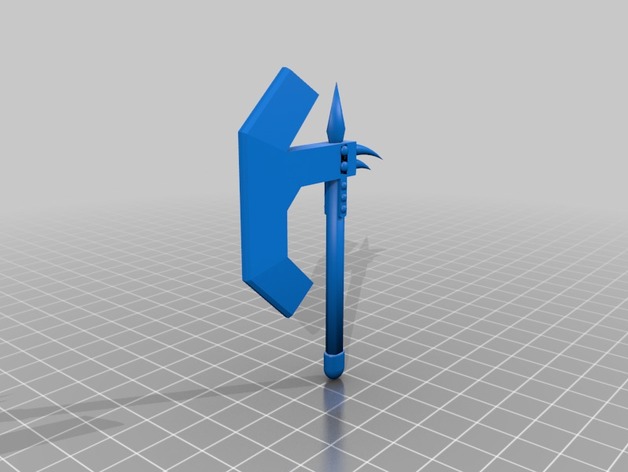
Another mini weapon. Made with a flattened edge for ease of printing.
This is modeled off a weapon i had a character in a dnd game using. It was a pole axe whose haft was shortened to be used one handed.
He was a big guy 😛
How I Designed This
modeled in 3D Studio max -
Ruger Precision RimFire Extended Magazine Release 3D Print Model
Summary
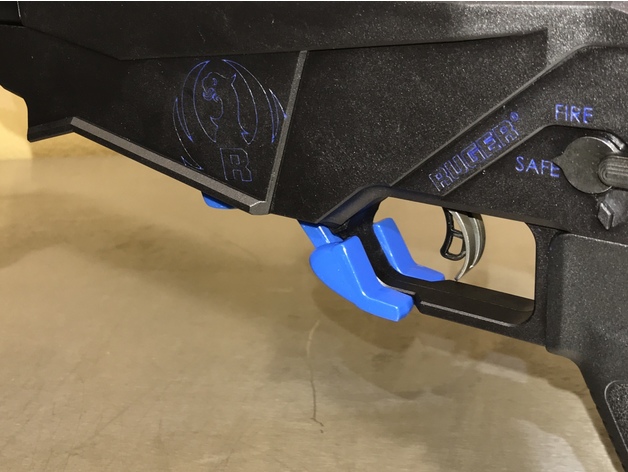
This is an extension for the Ruger Precision rimfire magazine release, it fits snug over the original lever… will not work with the Ruger 10 Round rotary magazines.
Print Settings
Printer:
QiDi X-PRO
Rafts:
No
Supports:
Yes
Resolution:
.15
Infill:
50
Notes:
I used ABS, 50% infill printed on side with support and Brim. For better fitment and finish you will need to file/sand the areas that needed support (bottom side)
Post-Printing
For better fitment and finish you will need to file/sand the areas that needed support (bottom side)
How I Designed This
Areas to file /sand -
birb_chirper 3D Print Model
Summary
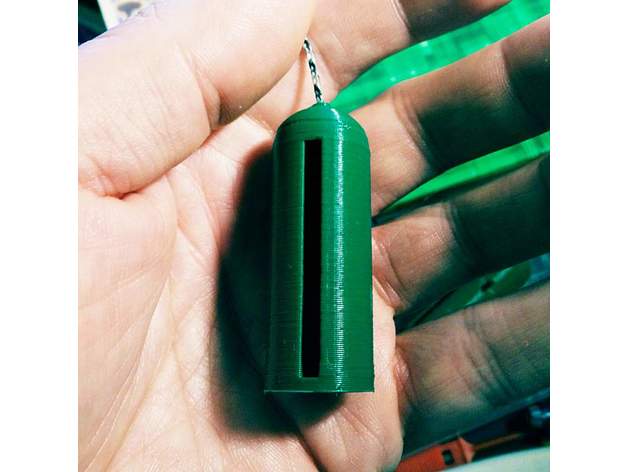
This is one of those toys that you whirl around on a piece of string and it makes a chirping sound like a flock of sparrows. I have no idea what they’re called, so I called it birb_chirper.
Print Settings
Printer:
Reach 3D
Rafts:
Doesn’t Matter
Supports:
Doesn’t Matter
Resolution:
0.3 mm
Infill:
0%
Notes:
This is a thin-walled model, so use at least two shells and no infill for smooth walls.
Post-Printing
Take a piece of thin string about 1 metre long (I used micro-cord, very fine paracord), pass it through the hole in the tip, then tie off a jam knot that’s big enough to stop in the hole in the top but still pass back through the slot in the side. Now whirl the thing around fast by the string, and it should start to chirp.
This is intended for the amusement of small children and the annoyance of adults.
How I Designed This
The tip of this thing is an ogee curve. I’ve included my library for creating simple ogee and ogive profiles. -
Sparkmaker Replacement Leadscrew nut 3D Print Model
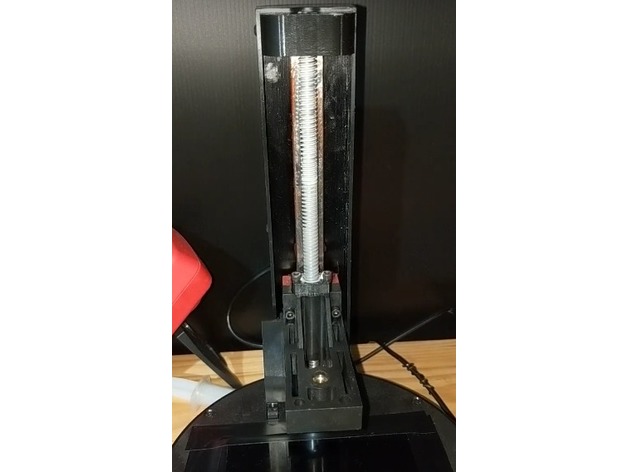
Summary
Due to the slack of the leadscrew nut on the stock sparkmaker unit.. i make a replacement for it.
This nut is around 7mm thick.. if you need a longer type, do pm me.. i will upload.
NOTE.. After print .. DO grease and run Through the Nut with the leadscrew first, it kind of tight.. Once it has go through and re-assemble back to the unit, recommend to run the liner movement print code and let it finish the whole cycle.. 🙂
Print Settings
Printer:
Anycubic kossel min K2
Rafts:
Doesn’t Matter
Supports:
No
Resolution:
0.1
Infill:
100
Notes:
Type of filament reco for this application:
-POM
-PP
-PLA
Do print with 100% infill to ensure the parts are strong. -
AM8 Electronics Case with 120mm Fan Cover 3D Print Model
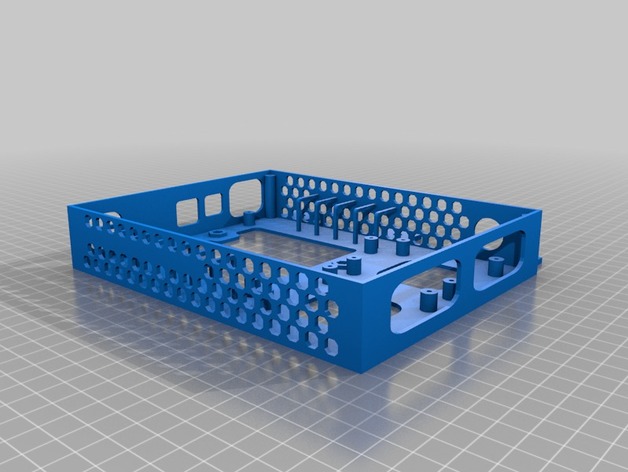
Summary
I loved this design by feenix82, especially the internal cable management, but wanted it to fit the AM8 Misumi Extrusion Frame. I only adjusted the tabs here to fit the frame. After printing I realized I made the tabs a little too thin and the screw would bottom out, therefore you may need to add a washer under the screw head to prevent that. The cover with 120mm fan is awesome but for some reason my printer had issues printing the honeycomb pattern horizontally so I got rid of them. This may actually improve airflow as it’ll pull more air from the sides of the case and out the front. Who knows. Either way, I like that the motherboard and mosfet is enclosed and this should provide some much needed cable management.
Print Settings
Rafts:
No
Supports:
Doesn’t Matter
Resolution:
.2mm
Infill:
15%
Notes:
I printed with supports but many say you don’t need it. In my case it may have caused more issues as in trying to remove supports I broke some of the cable management loops inside and had to glue them. You’ll have to try it and see how it works with your printer. -
Removable Bed Levelling Probes for Delta Printers 9.5mm effector 3D Print Model
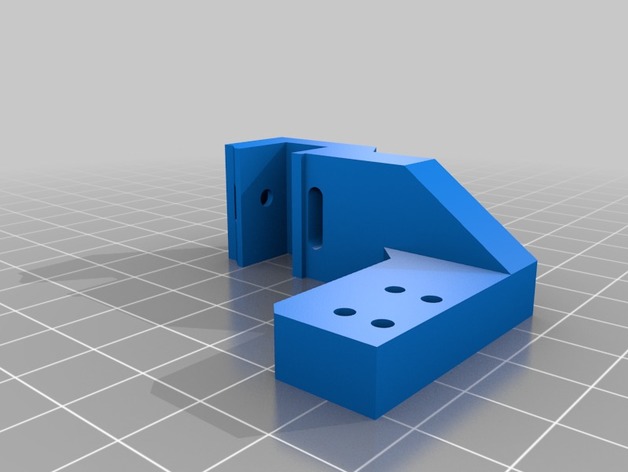
Summary
This is a remix/remake of Removable Bed Levelling Probes for Anycubic Kossel Linear designed by peaberry for 9.5mm effectors.
Attached FreeCAD files.
Print Settings
Printer:
prusa i3
Rafts:
No
Supports:
No
Resolution:
0.2
Infill:
30% -
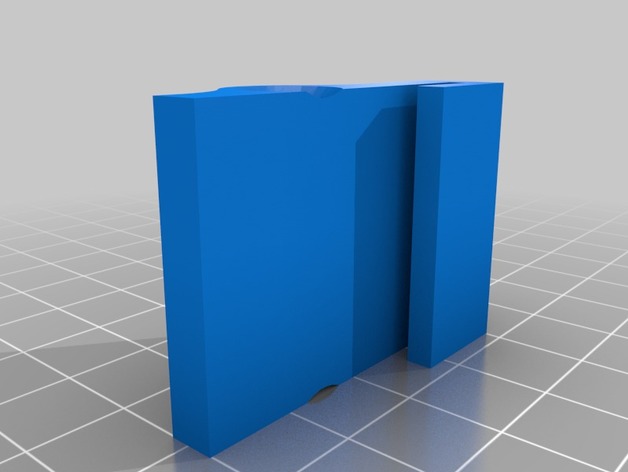
Bed Frame Reinforcement A3 3D Print Model
Summary
Exactly the same model as made by AndresVH with the exception of the plate gap. The gap was narrowed to fit a JG Aurora A3. -
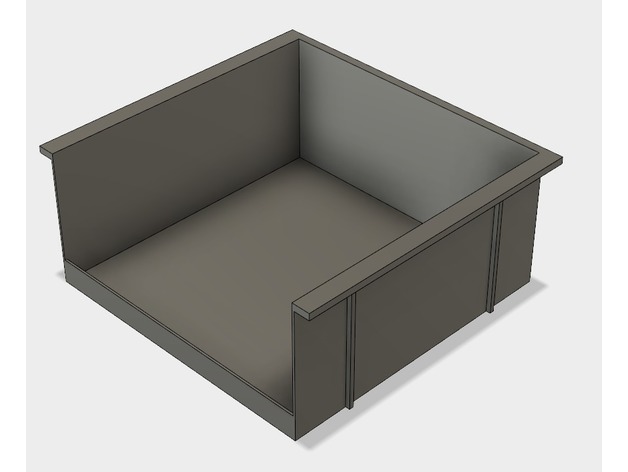
Storage bin with mount – for under bench etc 3D Print Model
Summary
Storage bin with mount that you can screw under a bench or something like that.
I made the holes for the screws for common tree screws 3,9mm X 40mm.
Print Settings
Printer Brand:
Creality
Printer:
CR-10S
Rafts:
Yes
Supports:
Yes
Resolution:
0.15
Infill:
20% -
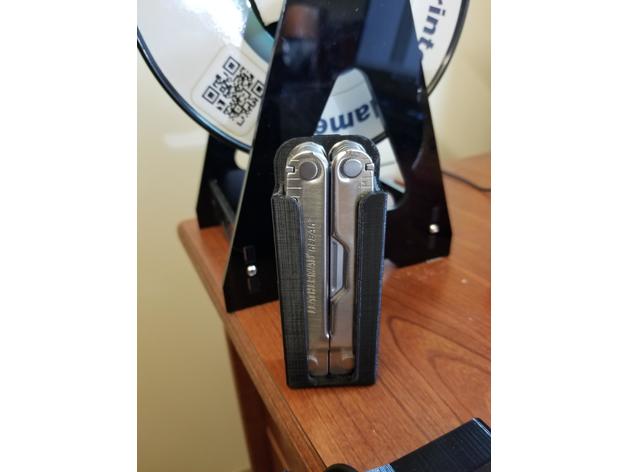
Leatherman Rebar Clip Holster 3D Print Model
Summary
I was tired of my leatherman spinning in my pocket so I designed this. It can be clipped inside your pocket or to your belt.
Print Settings
Printer:
Anet A8
Rafts:
Yes
Supports:
Yes
Resolution:
0.1 – 0.2 mm
Infill:
30%
Notes:
May want to use raft or brim to make sure it doesn’t fall over. Use supports below clip but not inside it. -
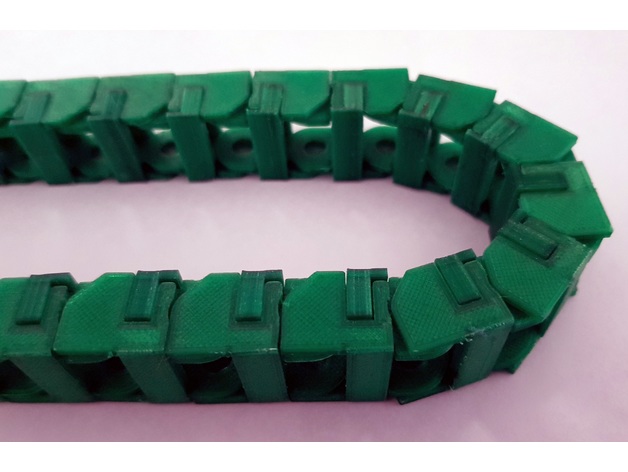
Flat Print Cable Chain V2 ( No Glue ) 3D Print Model
Summary
This is a flat printed Cable Chain that is folded into the final shape. This gives you a stronger, cleaner part that will move smoothly.
Print Settings
Printer:
Hypercube
Rafts:
No
Supports:
No
Resolution:
0.2 initial layer, 0.1 layers, 0.2 Nozzle.
Infill:
50%
Notes:
The clip needs to be printed in the given orientation so that it has the maximum strength during flexing. After cleanup ( I use PETG so it can be blobby ) reheat the link to 80C on the bed to prevent stress during bending. -
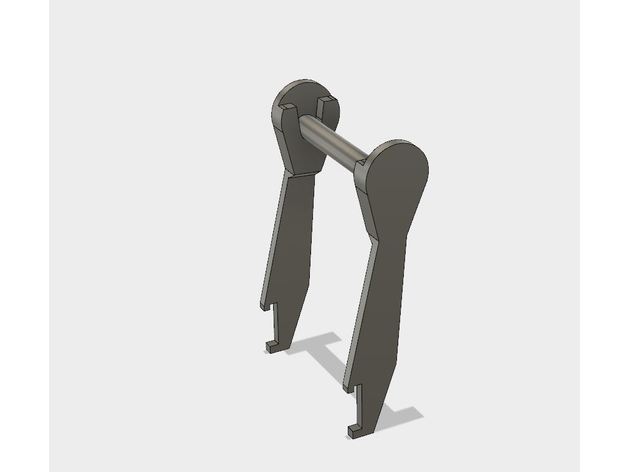
Better Filament Holder for Prusa i3 3D Print Model
Summary
this is a better filament holder for your Prusa machine.
Print Settings
Printer Brand:
Prusa
Printer:
Prusa Mk2
Rafts:
Doesn’t Matter
Supports:
No
Resolution:
.25
Infill:
20-30% -
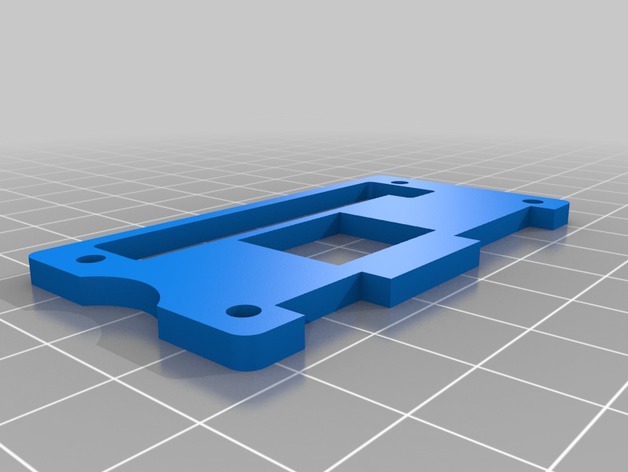
Simple raspberry pi zero case 3D Print Model
Summary
Simple raspberry pi zero case only needs 4 m2x10mm screws and 4 m2 nuts. -
Wiible vase. 3D Print Model
Summary
I convinced My Mum to buy some Midnight tulips so I made her a tiny display vase for the first that pops up. -
Wall holder for Flashforge Creator Pro Original Spool holder 3D Print Model
Summary
Here is a wall holder for the original spool holder of the Flashforge Creator Pro. Of course, it also mount alternative holders designed for the Creator Pro.
( I had first attached the spools above the printer but then realized that the conduction of the teflon tubes doesnt work well. Thus, these have then attached under the printer. That worked a lot better. )
Print Settings
Printer Brand:
FlashForge
Printer:
Creator Pro
Rafts:
No
Supports:
Yes
Resolution:
0,2mm
Infill:
15% -
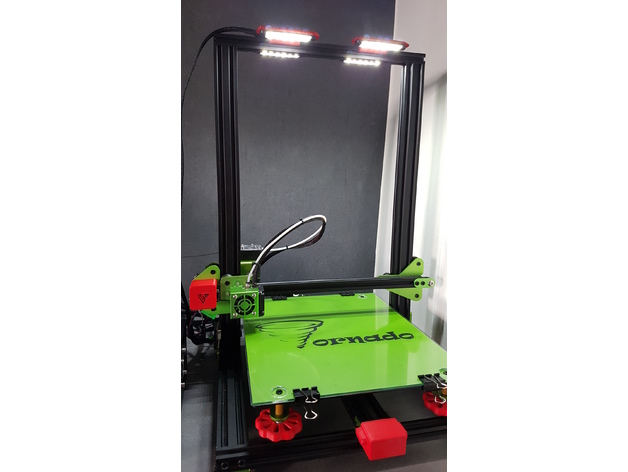
Tevo Tornado – Creality CR-10 Lights (low cost) 3D Print Model
Summary
Système de Leds à petit prix pour l’éclairage de votre Tevo Tornado ou Creality CR-10 :
Vous avez besoin de (Il existe une version 12 et 24volt) : http://www.ebay.fr/itm/10-x-24V-24-Volts-BLANC-6-LED-FEUX-DE-GABARIT-CAMION-CARAVANE-SHASSIS-REMORQUES/322314654417
Pour pouvoir installer la pièce dans le rail de la Tevo Tornado, vous devez retirer les vis du rail coté droit. Exercez une légère flexion de la pièce support et tout en tenant la flexion faites la glisser lentement dans le rail, puis relâcher.Vous pouvez ajouter un vis M3-M5 munie d’un T-nut.
Les leds sont branchées en parallèle (12-24v) directement sur l’alimentation (24v pas 110-220v)
Pour que la pièce soit solide, je conseille 90% d’infill.
Low cost led lights in 12-24 v.
You need in (12 or 24v): http://www.ebay.fr/itm/10-x-24V-24-Volts-BLANC-6-LED-FEUX-DE-GABARIT-CAMION-CARAVANE-SHASSIS-REMORQUES/322314654417
To be able to install the part in the TT rail, you must remove the screws from the rail on the right side. Exercise a slight bending of the support piece and while holding the flexion slowly slide it into the rail and then release. You can add a M3-M5 screw fitted with a T-nut.
The leds are connected in parallel (12-24v) directly on the power supply (24v not 110-220v)
For the piece to be solid, I advise 90% infill.
Print Settings
Printer Brand:
TEVO
Printer:
Tornado
Rafts:
No
Supports:
Yes
Resolution:
0.2
Infill:
90 -
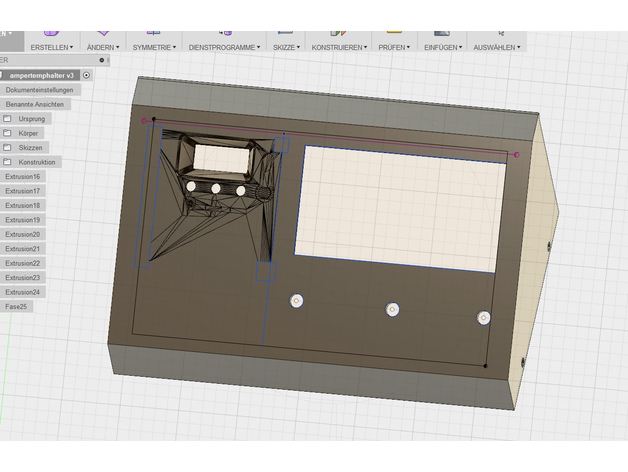
Controlpanel for Ikea Lack Graphic Smart LCD Controllerand W1209 3D Print Model
Summary
Controlpanel for ikea lack table for Graphic Smart LCD Controller and W1209 Fancontrol
Its a Extension of thing:87250 and thing:2139389 for Ikea lack -
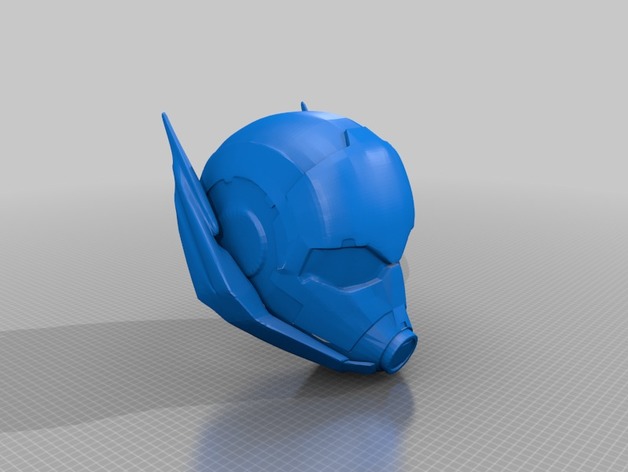
Antman – Civil War Helmet Wearable 3D Print Model
Summary
its sized and thickend so you only have to cut out the eyeholes. -
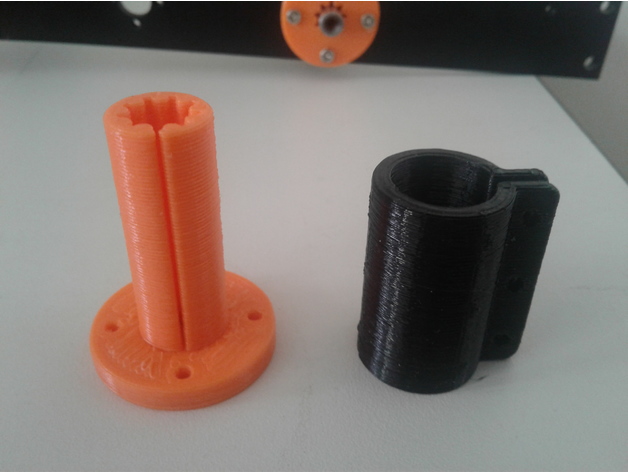
Tronxy X5s Z axis printed split bushing 3D Print Model
Summary
When building my Tronxy X5s, I was not impressed by the stock Z axis bearings. So I designed and printed a replacement system. The bushing has a split in it and you slide the sleeve over it and tighten it with 2 M3 screws and nuts. I printed the bushing in PLA and the Sleeve in PETG, but you could print it in PLA. There is also a short version in which a IGUS RJ4JP-01-08 sits on top of it and both are held and tightened by the sleeve. This was created for the people who do not like PLA bushings.
Print Settings
Printer:
SmartRap – Highly modifed
Rafts:
No
Supports:
No
Resolution:
.2
Infill:
30
Notes:
Set up the number of shells to be enough to create the bushing vertical section without any infill. Allowing the shells to make up the “fingers” of the inner part of the bushing. Mine was 3 shells.
How I Designed This
Designed in Fusion 360 -
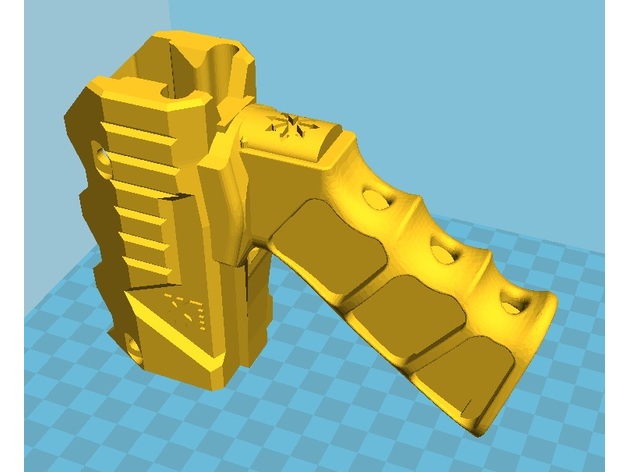
One-piece Caliburn Foregrip 3D Print Model
Summary
Remixed from Caliburn (Captain Slug) and user Misery5567 (AR-15 Skeleton Foregrip) -
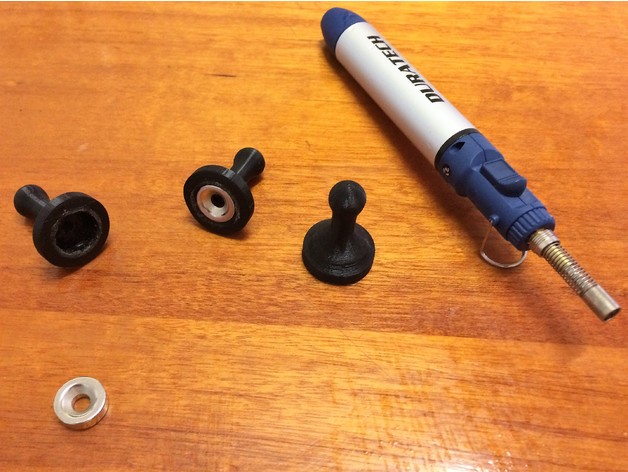
15mm x 5mm magnet holder 3D Print Model
Summary
15mm x 5mm magnet holder.
The hole for the magnet is a little undersized so the printed part can be heated a little (eg hot water if using PLA) and press fit. Or use some glue or if your magnet has a hole in center – a screw. I went with heating and press fit and its been solid.
i didn’t use any support when printing, the inside roof of the hole where the magnet goes is a fair span (15mm of unsupported distance) and so that particular surface wasn’t perfect but it worked fine and its behind the magnet anyway – doing this saves breaking out support material.
Print Settings
Printer:
aldi cocoon
Rafts:
No
Supports:
No
Resolution:
0.2mm
Infill:
no -
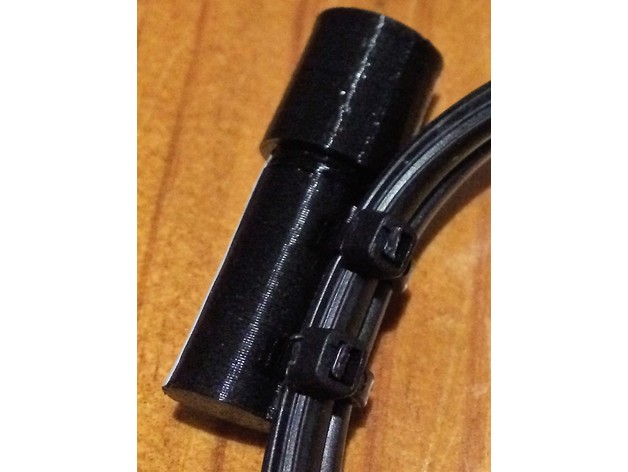
spare fuse holder 6 x 30mm 3D Print Model
Summary
Holds a spare 6x30mm fuse.
Use zip ties to connect it to a lead and you have a spare fuse ready to use for your equipment.
Print Settings
Printer:
aldi cocoon
Rafts:
No
Supports:
No
Resolution:
0.2mm
Infill:
80% -
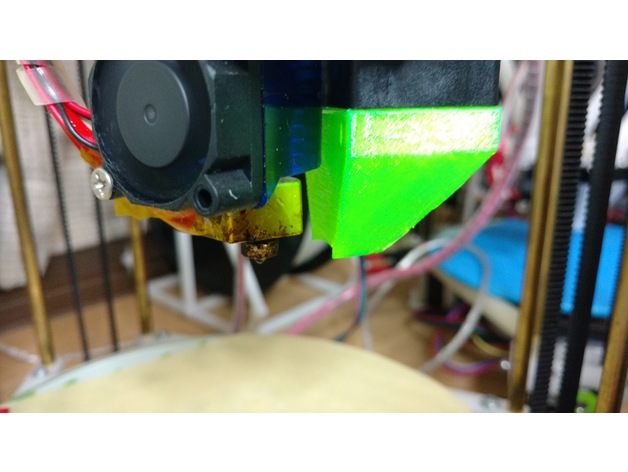
Rostock Nano Basic Cooler 3D Print Model
Summary
This is a Rostock Nano’s 30mm fan Cooler.
For easy make easy remix.
Fixed fan :M3x20mm x2
Fixed plathome M3×15mm ×1 With Nut
Print Settings
Printer:
Rostock Nano
Rafts:
No
Supports:
No
Resolution:
0.2mm
Infill:
40% -
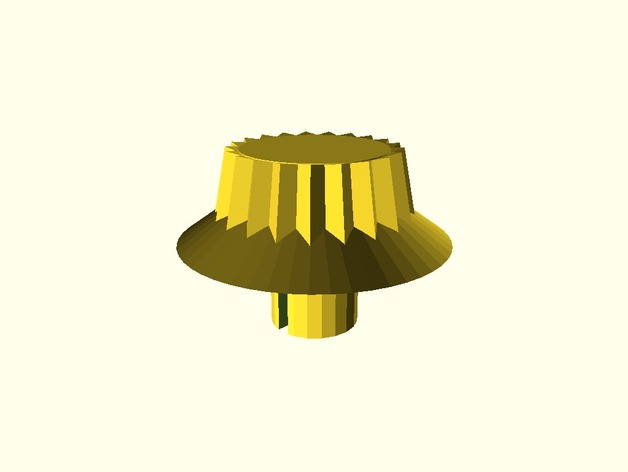
Customizable Knob! – PGS 3D Print Model
Summary
Modified https://www.thingiverse.com/thing:54024 to include an option to change the orientation of the notch. -
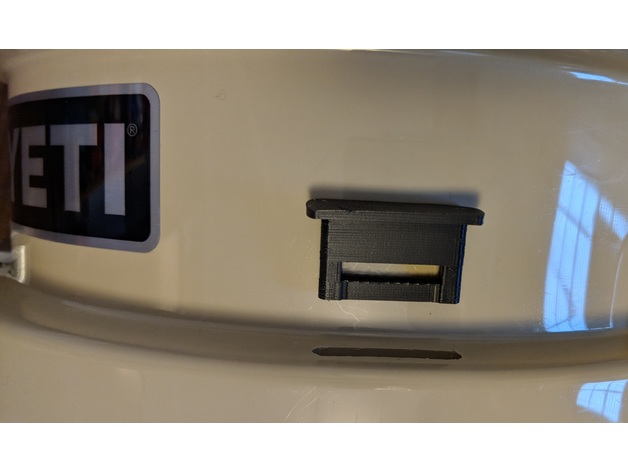
YETI LoadOut Bucket Gear-Strap-Hook thingy 3D Print Model
Summary
This is a custom strap hook that fits in the bucket slots. I plan on making a custom gear belt for my bucket and this is how I will attach the belt to the bucket. Similar design to the YETI Gear Belt shown here:
https://www.yeti.com/accessories/loadout-gear-belt/23040000019.html -
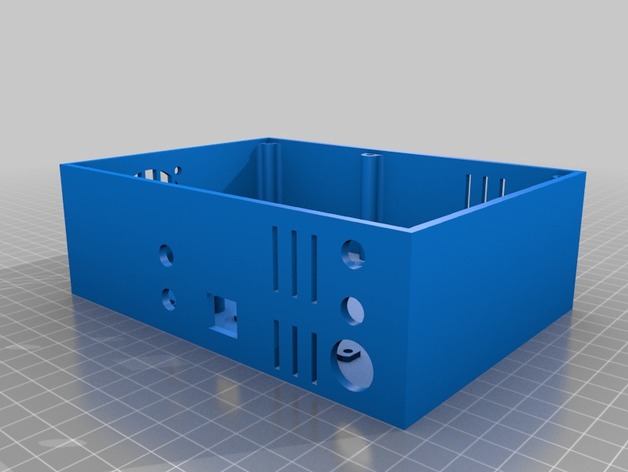
Piper 1 3D Printer Electronics Enclosures 3D Print Model
Summary
Arduino and Ramps 1.4 (plus optional SSR) and PSU enclosures for Piper 1 3D printer.
To fit this enclosure Ramps 1.4 board need some minor modification: power connection of the board should be resoldered to use Pitch PCB Mount Screw Terminal Block like this: https://www.amazon.com/gp/product/B00FZLPCKC instead of Male-Female PCB Screw Terminal Block.
Link to Piper 1: https://www.thingiverse.com/thing:2794632