Summary
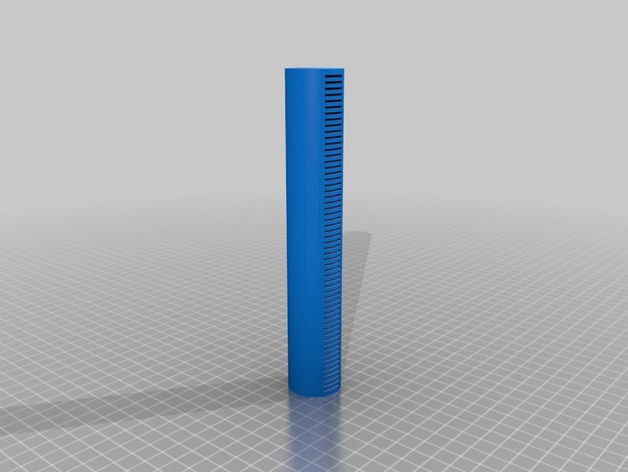
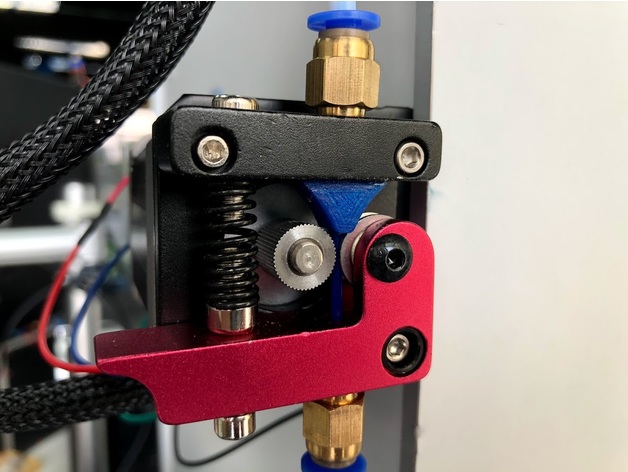
filament guide for mk7/mk8 extruder
Author: Thingiverse
-
Bearing Block 3D Print Model
Summary
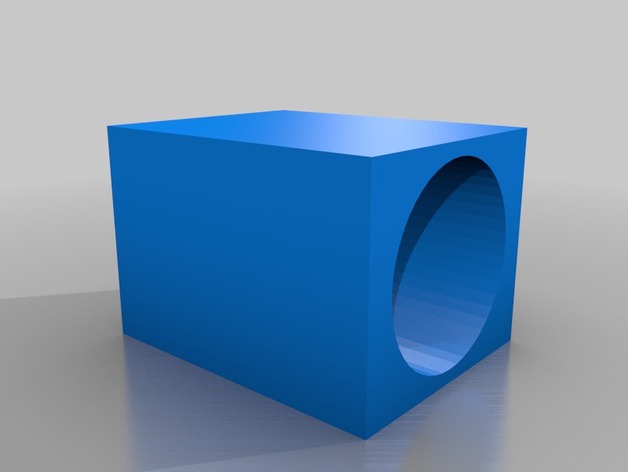
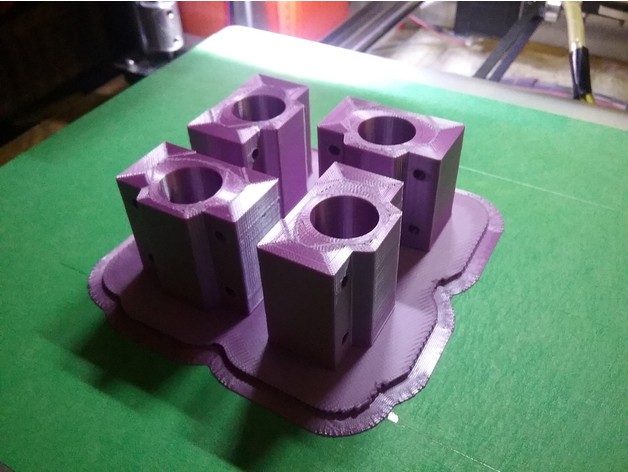
A replacement for the cheap imports with to much play or slop in the main hole. These make a press fit for either plastic drylin bushings which are very quite or you can stick with ball bearings. The 4mm x .7 tapped holes are just predrilled since I am not comfortable with threads that small in plastic. Just hand tap after making or edit the design.
Print Settings
Printer:
Zonestar 802qrs
Rafts:
Yes
Supports:
No
Resolution:
.2 mm
Infill:
100% -
Mean Well 360W 12V Power Supply Cover with Fused Switch 3D Print Model
Summary
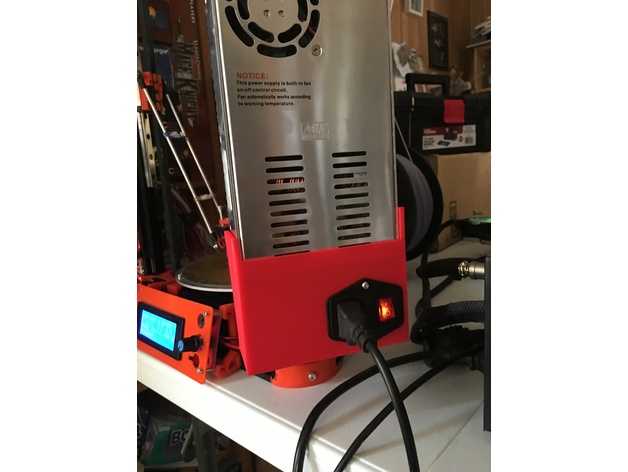
This is a cover that snaps onto a MW-360-12 power supply, it has a hole for mounting a fused switch and socket module, and the back is open for easy access to wiring.
My FLSun Kossel Mini (printer in pic) came with a no-name generic power supply and one of the first upgrades I made was to replace it with a Mean Well supply. There are numerous mounting options on Thingiverse, I used: “Customizable PSU bracket” (https://www.thingiverse.com/thing:1646026) by rmoro to mount it on the side.
It has holes on the right side to fasten to power supply, but it didn’t line up exactly on mine, and the piece stays attached nicely enough from the ridges on the sides.
Print Settings
Printer Brand:
Creality
Printer:
CR-10
Rafts:
No
Supports:
No
Resolution:
0.2 mm
Infill:
10% lines -
Ei9ht – Anet 8s Spool Holder upgrade 3D Print Model
Summary
Marre des boulons et cônes à chaque changement de bobine !
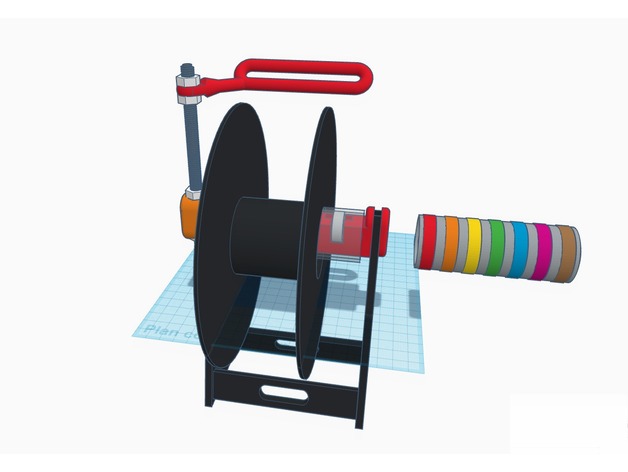
Donc voila un upgrade du porte bobine fournit par Anet
Une fois monté le changement de bobine se fait en 8 secondes, aucun boulon rien, on passe le dispositif dans la bobine et on pose sur le porte bobine
Possibilité de mettre des élastiques sur le tube et les roulements
Le bras se compose de la tige fileté et des boulons d’origine
Tired of bolts and cones for every spool change!
So here is an upgrade of the spool holder provided by Anet
Once mounted the spool change is done in 8 seconds, no bolt or anything else, we just passes the device in the spool and we put it on the holder
Ability to put elastics on the tube and bearings
The arm consists of the original threaded rod and bolts -
Phone Stand/Charger – Pixel 2 with Trianium XL Case Wallet 3D Print Model
Summary
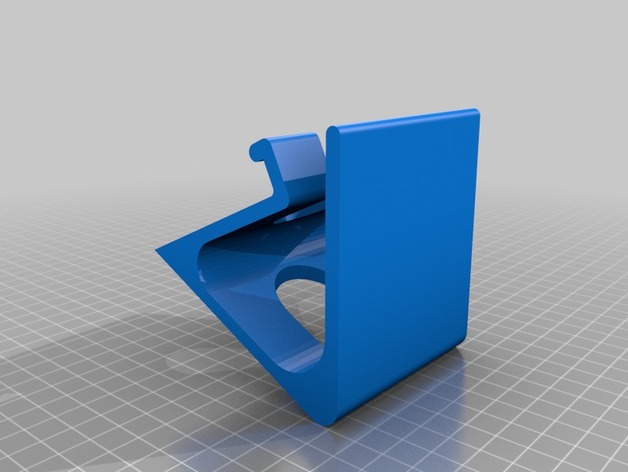
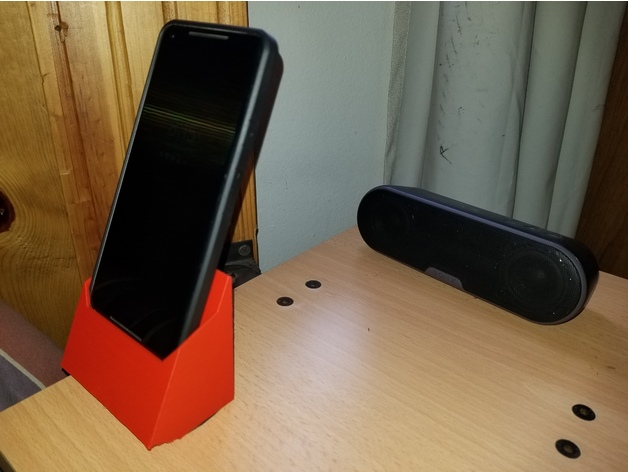
This stand & charger is for the Pixel 2 XL as it is fitted with the Trianium Wallet case (available on Amazon and Ebay). It uses the charger and cable that comes with the phone. It is best to CA (super glue) the cable end in the phone once you’ve adjusted it to the proper mating height. -
Protection Cap for Tubes, Rods, Hooks 3D Print Model
Summary
Customizable Protection Cap
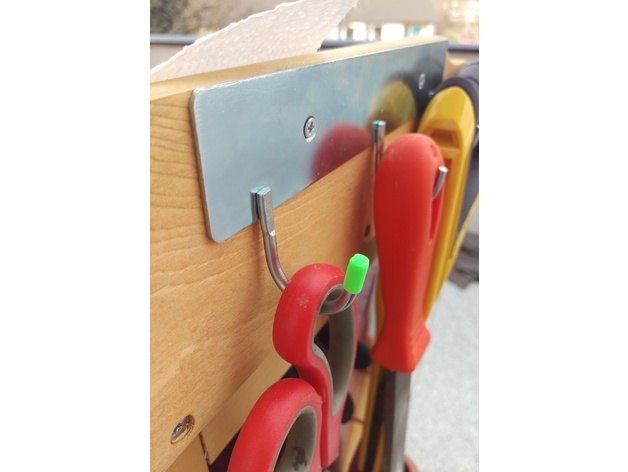
Cap for metal tubes, rods, hooks,…
Either to prevent water intrusion or sharp edges sticking out.
I’m using it to prevent damaging of a work bench cover by the metal hooks. Wall and top diameter 1mm.
Print Settings
Printer Brand:
Prusa
Printer:
Prusa Clone
Rafts:
Doesn’t Matter
Supports:
Doesn’t Matter
Resolution:
0.12
Infill:
nonapplicable
Notes:
For a small cap (5x5x9mm), wall and top diameter 1mm, use a slow printing speed of 25mm/s. -
pISO Kickstarter Case 3D Print Model
Summary
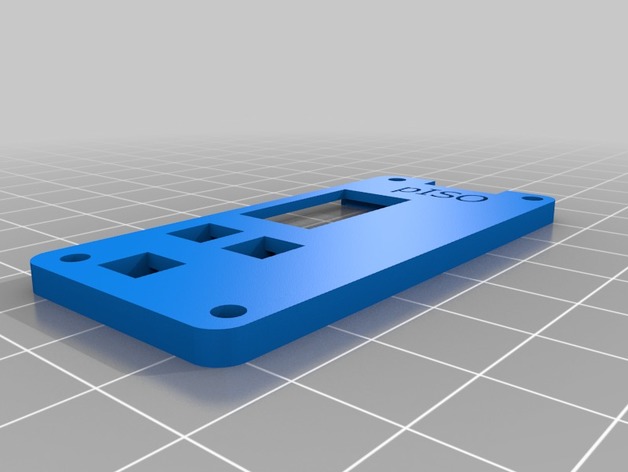
This is the case I have designed for Adam Schwalm’s and James Tate’s pISO on kickstarter now. The back of this case can be any slim case that fits either the Pi Zero or the Pi Zero W. This is a work in progress and will be updated as the pISO design is updated since this is in progress. https://www.kickstarter.com/projects/178023282/piso-the-most-versatile-flash-drive-yet
Print Settings
Printer Brand:
Prusa
Printer:
i3 MK3
Rafts:
No
Supports:
No
Resolution:
1.5mm
Infill:
20%How I Designed This
sketchup -
Filament Guide Wheel for Wanhao i3 Plus 3D Print Model
Summary
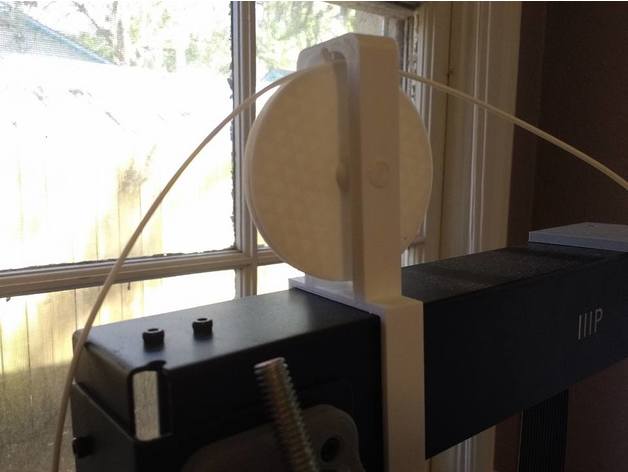
I designed this because I wanted my spool to sit beside my printer rather than on top, but I needed an elegant way for the filament to go up and back down over the top of the frame. This is the problem this wheel is meant to solve.
It’s designed to not need any glue. Just print the wheel, the frame, and the axle and assemble. Depending on your printer’s tolerances, you may need to sand the axle for the smoothest rotation.
Print Settings
Printer Brand:
Wanhao
Printer:
Wanhao Duplicator i3 Plus
Rafts:
Doesn’t Matter
Supports:
No
Resolution:
0.2
Infill:
wheel/frame:30%, axle:60%
Notes:
Use 3 or more lines for the axle. Print with a brim vertically. You don’t have to take the brim off to use it as an axle either, it’ll just butt up against the side of the frame.
You have two options to print the wheel. You can print the wheel as a whole piece with an extension on each side (with support) or you can print just the wheel and two washers separately. -
Heat Beat Cable Support (Crane Type) 3D Print Model
Summary
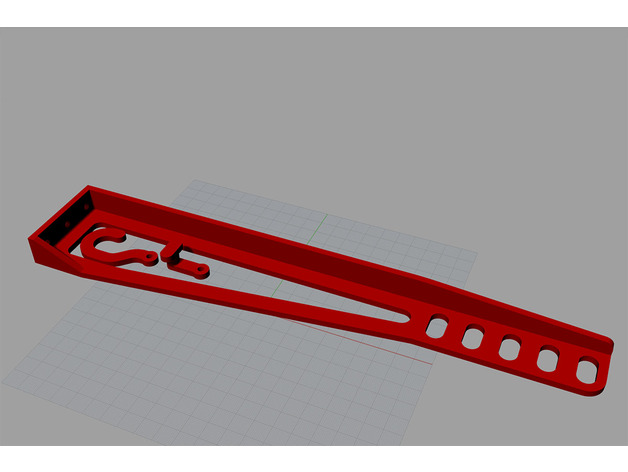
A simple heat-bed cable support for the Tevo Black Widow. Use a piece of cable, string, cord, fishing line or similar between the hooks and adjust the length as required.
Print Settings
Printer:
Tevo Black Widow
Rafts:
No
Supports:
Yes
Resolution:
0.2mm
Infill:
20%
Notes:
0.8-1.2mm walls -
DIY Flashlight Housing. Build List Noted 3D Print Model
Summary
This is a DIY flashlight housing that will hold the electronics and battery for you flashlight. It is scaled to mate directly to the fan connected to your LED heatsink and LED. Here is a video of my finished product:
Other things you’ll need
Buck Converter to step down battery to 12v for fan:https://www.amazon.com/Converter-1-25-36V-Step-down-Regulator-Voltage/dp/B074XRYC1M/ref=sr_1_2_sspa?ie=UTF8&qid=1521946510&sr=8-2-spons&keywords=buck+converter&psc=1&smid=A2TKGQERXRZT6A
Step up Module to converter voltage to 34V for LED:https://www.amazon.com/WINGONEER-LM2577-Converter-Adjustable-Regulator/dp/B01M16O7MG/ref=sr_1_13?s=electronics&ie=UTF8&qid=1521946604&sr=1-13&keywords=adjustable+step+up+module
Heatsink and fan combo:https://www.amazon.com/TX-Aluminium-Heatsink-Cooling-degree/dp/B01D1LD68C/ref=sr_1_3?s=hi&ie=UTF8&qid=1521946734&sr=1-3&keywords=led+heatsink
100W LED:https://www.amazon.com/LOHAS-White-Power-Energy-Saving/dp/B00CZ75TWA/ref=pd_bxgy_60_img_2?_encoding=UTF8&pd_rd_i=B00CZ75TWA&pd_rd_r=SW2RK68BF1ZFTTH5XKQ1&pd_rd_w=GexP5&pd_rd_wg=rcjc7&psc=1&refRID=SW2RK68BF1ZFTTH5XKQ1
Some sort of on/off switch. I used one from an old flashlight and handle I had.
Xt60 connector-https://www.amazon.com/10XT-60-Female-Bullet-Connectors-Battery/dp/B01HENCZ7G/ref=sr_1_1?s=hi&ie=UTF8&qid=1521946852&sr=1-1&keywords=xt60+connectors
4s RC battery – I had numerous laying around for my quadrotor-https://www.amazon.com/1300mAh-Battery-Airplane-Skylark-Nighthawk/dp/B013I9T0T6/ref=sr_1_1?s=toys-and-games&ie=UTF8&qid=1521946895&sr=1-1&keywords=4s+1300
Some way to charge the battery if you don’t have. This is the one I already had-https://www.amazon.com/Venom-RC-Battery-Balance-Charger/dp/B000QVK1B6/ref=sr_1_1?s=toys-and-games&ie=UTF8&qid=1521946940&sr=1-1&keywords=venom+rc+charger
Voltage display so you don’t overdrain your battery:https://www.amazon.com/bayite-Digital-Voltmeter-Display-Motorcycle/dp/B00YALUXH0/ref=sr_1_3?ie=UTF8&qid=1521947055&sr=8-3&keywords=voltage+display
Someone else’s DIY with similar setup video:
-
Lego 16-tooth clutch gear 3D Print Model
Summary
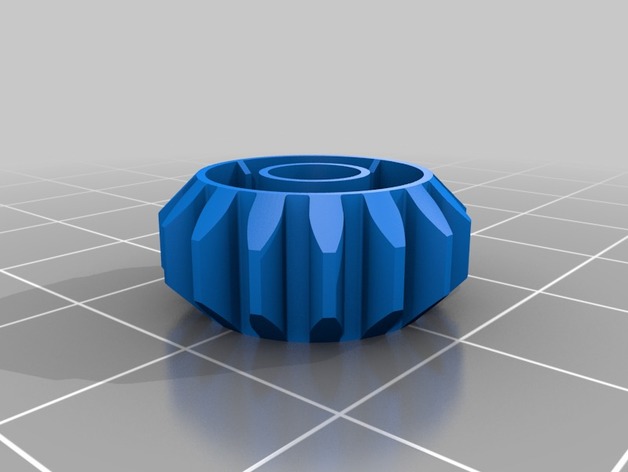
Lego 16-tooth clutch gear. The same as the one Lego sells.
I will be making more gears soon.
This is what I have planned. 16-18-20-22-24-26-28-30-32. It will fit a 4 stud gear-wb gearbox.
Print Settings
Printer Brand:
Wanhao
Printer:
Wanhao Duplicator i3 Plus
Rafts:
No
Supports:
No
Resolution:
0.15
Infill:
30 -
AA & AAA Battery Organizer 3D Print Model
Summary
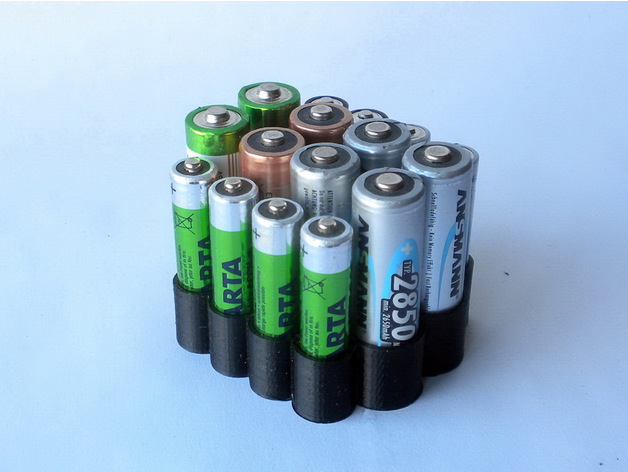
AA and AAA battery organizer.
This organizer contains 8 AA batteries and 8 AAA batteries.
Print Settings
Printer:
Lad-1.0
Rafts:
No
Supports:
No
Resolution:
0.15…0.2
Infill:
100
Notes:
Perimeter 2
ABS, PLA -
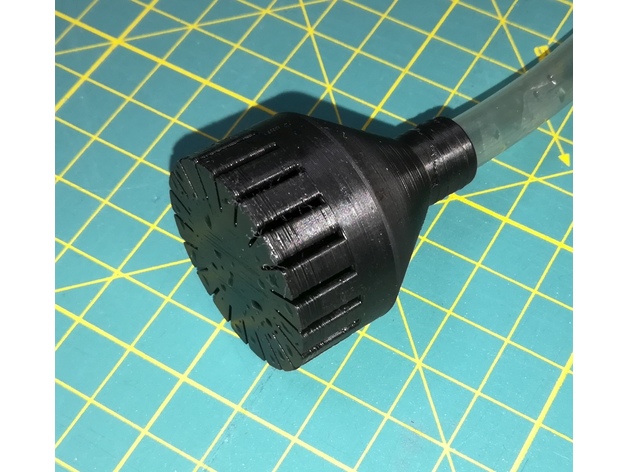
Aquarium gravel cleaner head 3D Print Model
Summary
This is a simple aquarium gravel cleaner head for 8mm vinyl tube.
Print Settings
Printer Brand:
Prusa
Printer:
i3 MK3
Rafts:
No
Supports:
No
Resolution:
0.2 mm
Infill:
20%How I Designed This
Designed in FreeCAD 0.17 -
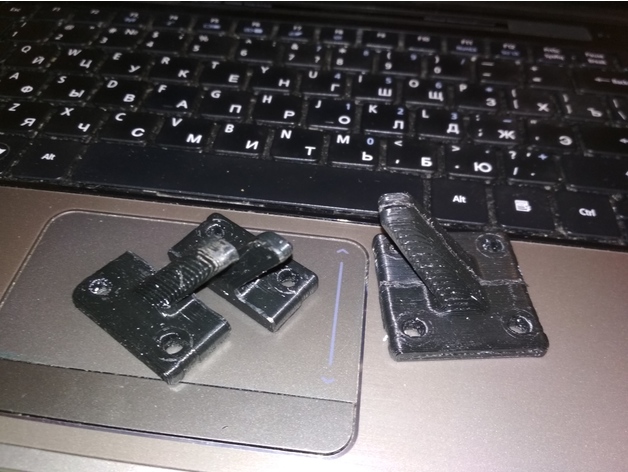
landing gear for spyda 500 (crossfire plate version) 3D Print Model
Summary
I edited this thing https://www.thingiverse.com/thing:394957 to make it compatible with crossfire plate. You can split it in 2 pieces like in the photo to make it more strong. -
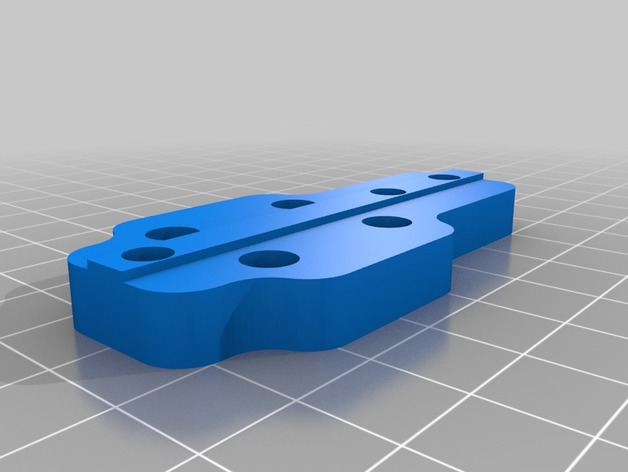
Linear rail carrier holder for BLV with igus TWE-04-12 3D Print Model
Summary
I had serious problems with the mgn12H rails from Aliexpress and bought some
350 mm T-linear rails from igus : (TS-04-12) and they are alright for the Z-Axis – didnt try X or Y !
Combined with their TWE-04-12 carrier it is only usable with a new 2020_left/right_holder from the BLV_mod -
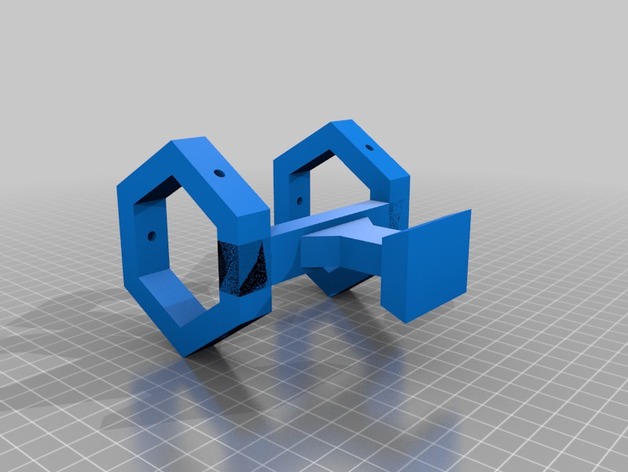
Laser holder with synta adapter 3D Print Model
Summary
Not exactly remixed but certainly heavily influenced by mianzel’s laser holder, I’ve redrawn all of the geometry in fusion 360, thickened everything up, now the rings have a cross section of 10mm and the upright and bed are solid pieces, the holes in the rings are designed to have threaded inserts melted into them but you could probably hand tap as well, I used M3 rivet nuts I found on Amazon, printed at 30% infill in a black pla but will be attempting in a petg as well -
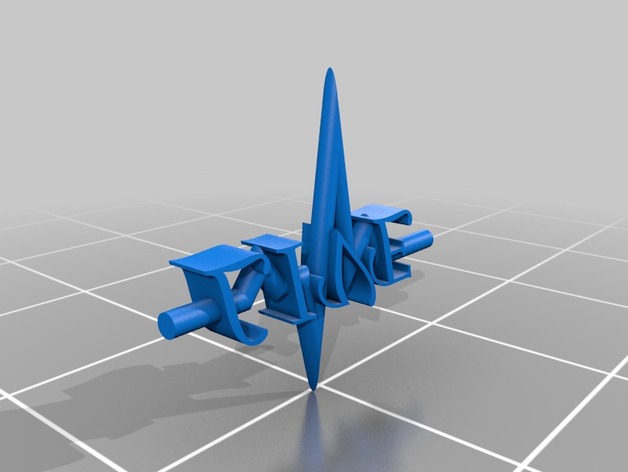
HeartBeat Live 3D Print Model
Summary
Awesome HeartBeat with Live Written On it
Print Settings
Printer:
RepRap Pruza Clone
Rafts:
No
Supports:
Yes
Resolution:
1.5
Infill:
50%
Notes:
Infil could be less. Supports are necessary and it should be scaled up by a lot just not in the Z axis.
How I Designed This
I started with an img of a heartbeat I liked and then I took that as a starting canvas in fusion 360. I then took the line tool and drew the lines of the heart beat. then i used fusions pipe tool to make the lines into pipes that flowed. Then I took the text tool and wrote LIVE and then used the extrusion tool to make the word live 3 dimensional. I then took the two objects and positioned them within each other. -
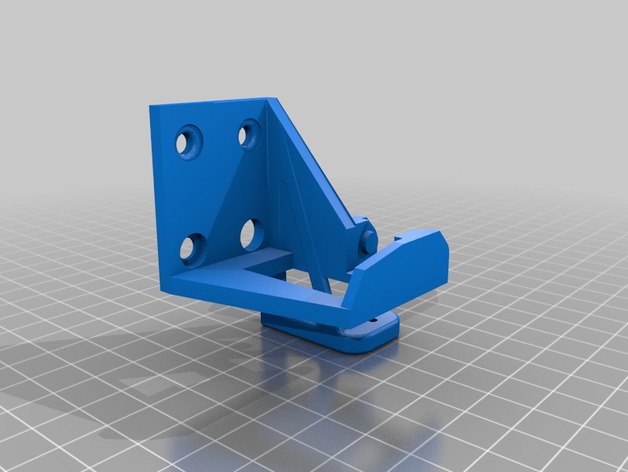
Anet A8 Extruder chain and BL touch mount 3D Print Model
Summary
Combined https://www.thingiverse.com/thing:2354864 and https://www.thingiverse.com/thing:2773637 so you can have a chain and the mount at the same time. -
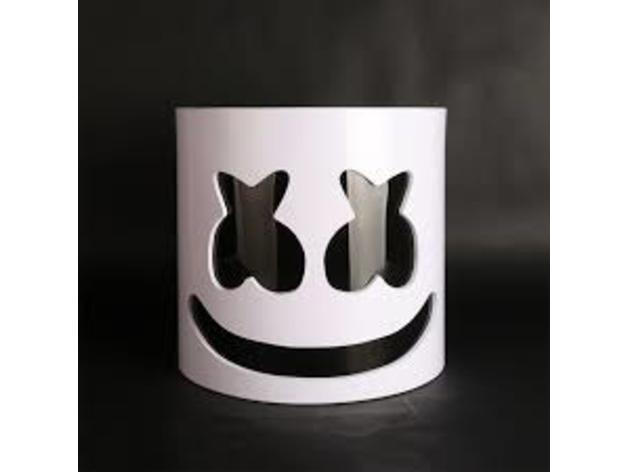
Marshmello Mask 3D Print Model
Summary
Hey,
Hope you like this Marshmello mask!
If you want to listen to music by Marshmello:https://www.youtube.com/channel/UCEdvpU2pFRCVqU6yIPyTpMQ
If you want to eat Marshmallows:https://www.amazon.com/Kraft-Jet-Puffed-Original-Marshmallows-Pack/dp/B00CSCLDVS/ref=sr_1_5_s_it?s=grocery&ie=UTF8&qid=1521859987&sr=1-5&keywords=marshmallow -
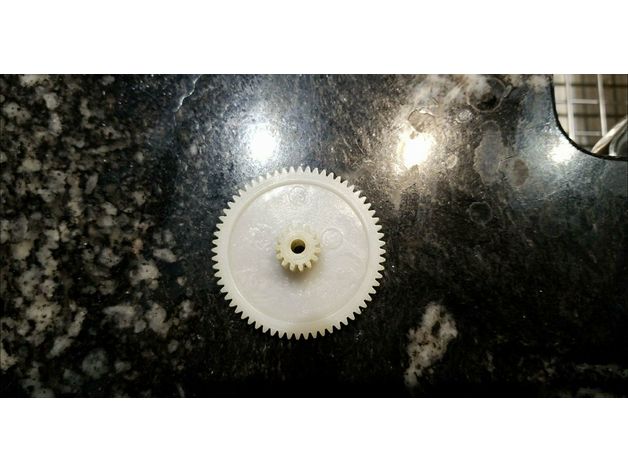
Jeep Gear 62 Teeth 3D Print Model
Summary
A spur gear designed for an old toy kids jeep. As requested by someone in a 3d printing group. Part is not yet verified to work as highly accurate dimensions were not available.
Print Settings
Printer Brand:
Creality
Printer:
CR-10
Rafts:
No
Supports:
No
Resolution:
.2
Infill:
100%
Notes:
Recommended material for longevity would be some kind of Polycarbonate filament -
Sabre Tank Hunter 3D Print Model
Summary
This contains the files to make the old school RT era Sabre Tank Hunter. The side hulls are from the scale rhino kit included here.
If your printer is decent enough you can probably print the whole thing made.
As always, let me know what you’d like to see. -
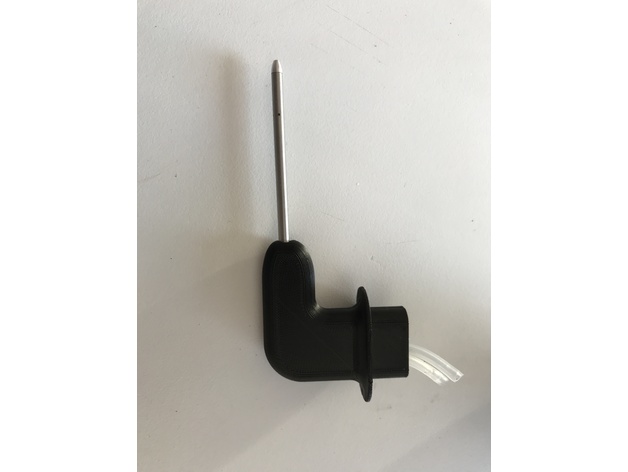
Pixhawk pitot tube holder 3D Print Model
Summary
This is my version of the pitot tube mount that will be installed on a fixed wing drone. -
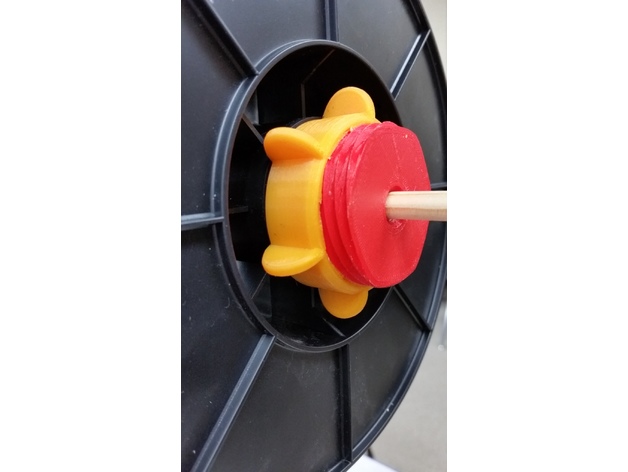
filament reel mounting screw 3D Print Model
Summary
So, this is my solution for quickly mounting filament reels.
The center bore is for a 3/8ths inch wooden dowel rod, about 40¢ at Michaels Hobby Store.
Total filament cost is about $1.25 when using $15/kg
Scale: 94 percent
Infill: 20 percent (100% for the pink nut)
Shell Thickness: 1.6mm
Resolution: 0.2mm
Rafts: None
Supports: None
Print Settings
Printer Brand:
Prusa
Printer:
i3 MK2S
Rafts:
No
Supports:
No
Resolution:
0.2mm
Infill:
20% -
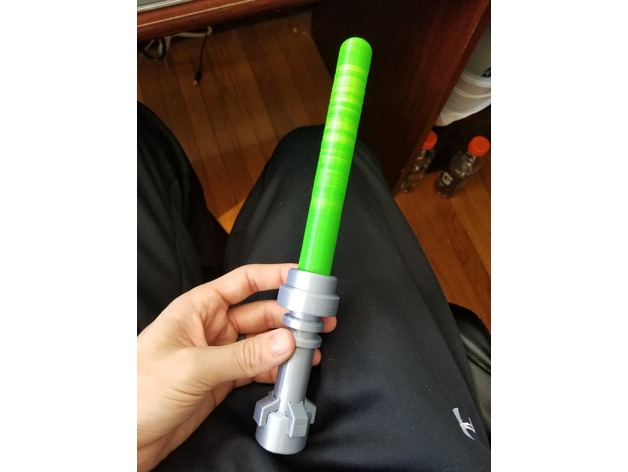
Lego Lightsaber Baby Rattle 3D Print Model
Summary
Lego Lightsaber Baby Rattle – there are 3 blade types, Solid, Hollow and Hollow 3.
Solid – just a solid blade
Hollow – one hollow part, must add airsoft bbs during print as blade will be sealed
Hollow 3 – 3 separate hollow areas, bbs must be added to each area during the print.
Supports are needed for the lightsaber hilt, i used S3D to add. No supports needed for any of the blade options -
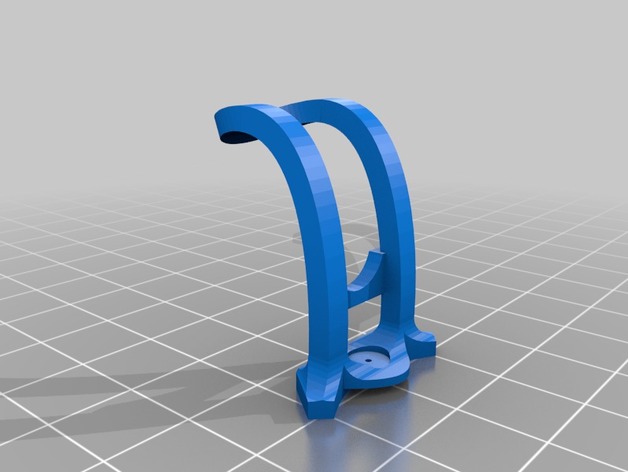
assorted microquad camera mounts 3D Print Model
Summary
fpv camera mounts for specific frames and cameras
neither of the frames are public at present but the camera models are:
camsupport.stl:
“600tvl 1/4 1.8mm CMOS FPV 170 degree wide angle”
this is a very standard M7 lens. the semicircle the camera rests against is 4.75mm radius and should accomodate most micro fpv cams.
rulethecamera.stl:
turbowing TWC25 (for the shorter mount)
the camera rest is 4mm radius -
Instrument panel mount for TruTrak autopilot level button 3D Print Model
Summary
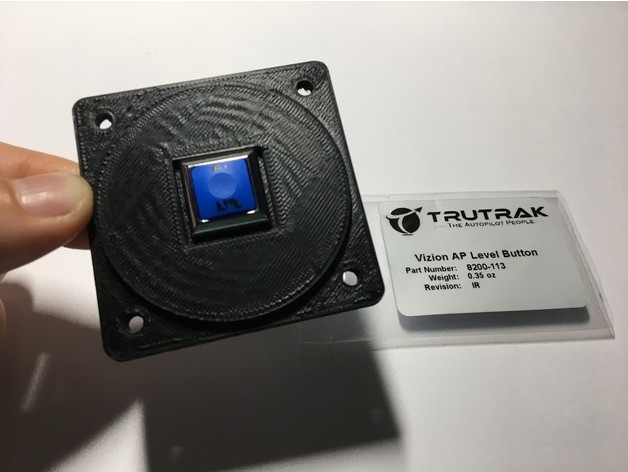
This mounting plate allows you to fit a simple momentary-contact push button into a standard 2.25″ round hole in an aircraft instrument panel. In this particular case, it is designed to fit the square push button that comes with the TruTrak Vizion autopilot kit that activates its “emergency level” function.
When installing this in an instrument panel, you can use either Tinnerman clip nuts, self-locking nuts, or just machine nuts. Typically #6-32 screws are used for securing gauges into instrument panels.
Print Settings
Printer Brand:
MakerBot
Printer:
MakerBot Replicator 2X
Rafts:
No
Supports:
No
Infill:
25%
Notes:
I recommend using ABS and not PLA due to the better resistance to high temperatures and sunlight. -
Snapmaker Pi Camera Mount & Holder 3D Print Model
Summary
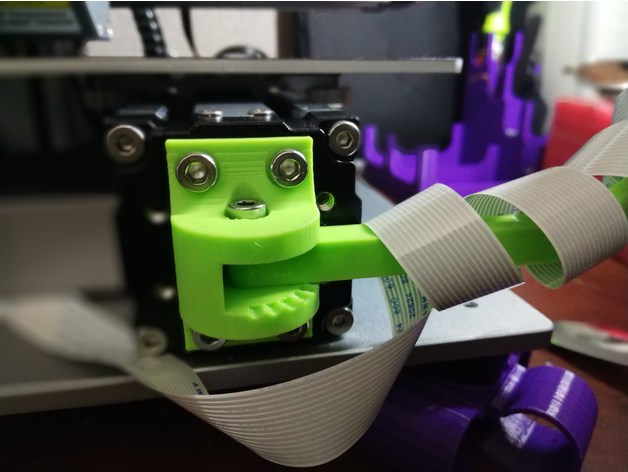
This is an attachment for mounting a Raspberry Pi Camera to the Snapmaker if you’re running OctoPrint.
The arm swings from the front to 90 degrees to the right side of the printer bed. There are notches in the base in 15 degree increments.
The Pi Camera case and bracket are taken from this mount https://www.thingiverse.com/thing:2265949.
Everything is snap fit, except for mounting the base to the printer and mounting the arm to the base. Details in Print Settings below.
Print Settings
Printer:
Snapmaker
Rafts:
No
Supports:
No
Resolution:
0.2mm
Infill:
20%
Notes:
You will need
4 x m4x8mm bolts to attach the base to the Snapmaker.
1 x m4x20mm bolt and nut to secure the swing arm to the base. -
Thrust UAV ALPHA – Spaz Pod (Gopro) 3D Print Model
Summary
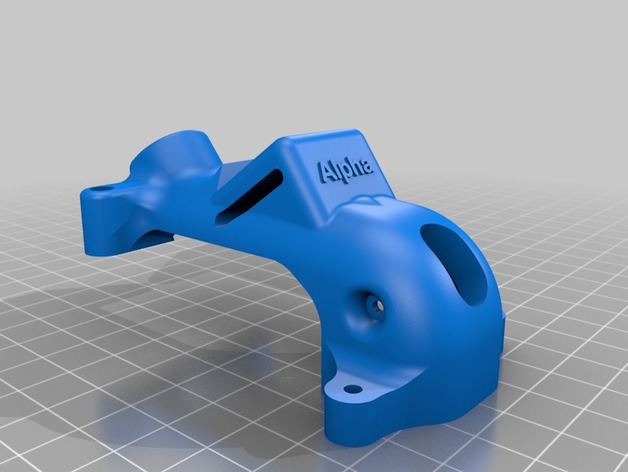
35 Degree Gopro mount Pod for the Thrust UAV Alpha. Designed around a Foxeer micro cam and AXII antenna.
Print Settings
Printer Brand:
Prusa
Printer:
Prusa Clone
Rafts:
No
Supports:
Yes
Resolution:
.2
Infill:
50%
Notes:
TPU -
USB SD SD Mirco Holder Combined 3D Print Model
Summary
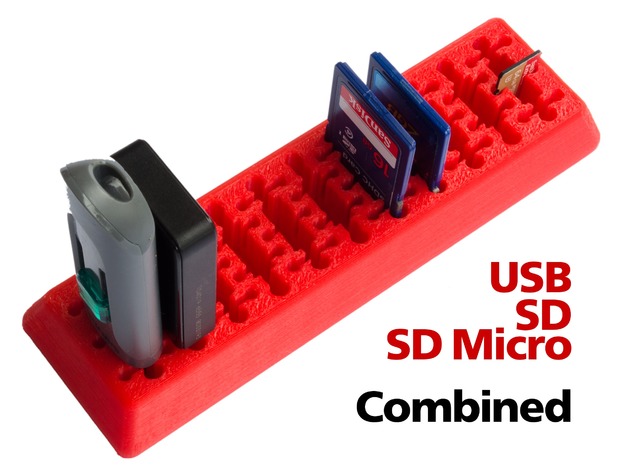
UBS | SD | SD Micro | universal holder combined.
Video: https://youtu.be/bau8SNCgk7AMeasuring Cube and Juicer
Please see our Measuring Cube and Juicer
UBS SD Micro Holder
Holder A | 11 slots | Each slot holds 1 UBS stick, or 1 SD card, or 3 (or 2) SD Micro cards | Holds a maximum 11 UBS sticks, or a bit less thick UBS sticks, or 11 SD cards, or 28 SD Micro cards, or an undefined combination of those three.
……………………
We printed PLA at 0.1 mm layer, 15% infill.
Supports: NONE
……………………
Please see our popular binary titanium key carabiners made from pure titanium, with the safety cage to keep your keys secure, and the built-in bottle opener.
……………………
Our other thingiverse projects.
Enjoy
……………………
-
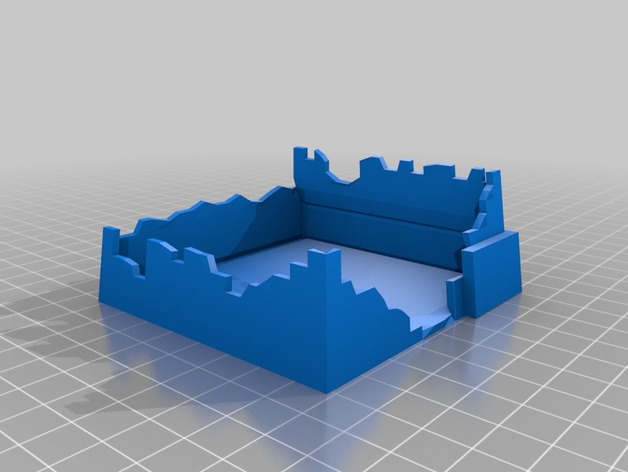
Destroyed House – Star Wars Legion 3D Print Model
Summary
blown up house for star wars legion awesome for cover and for war torn tables -
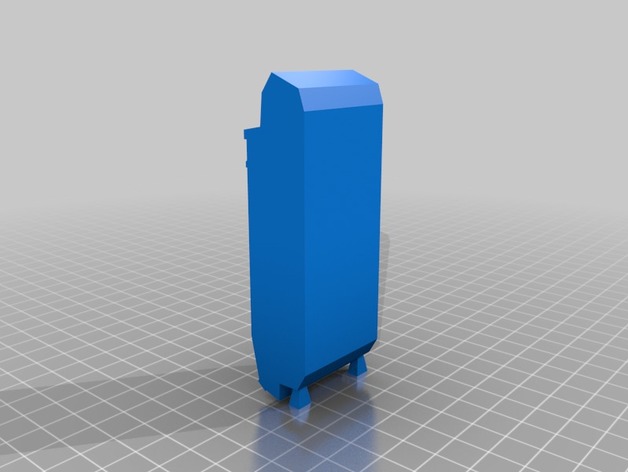
Pz3 28mm 3D Print Model
Summary
you will need a gun for it. short 50cm or long 50cm i use wire.
Print Settings
Rafts:
No
Supports:
Yes
Resolution:
up to you
Infill:
up to you
Notes:
i made this one in parts to give it more D -
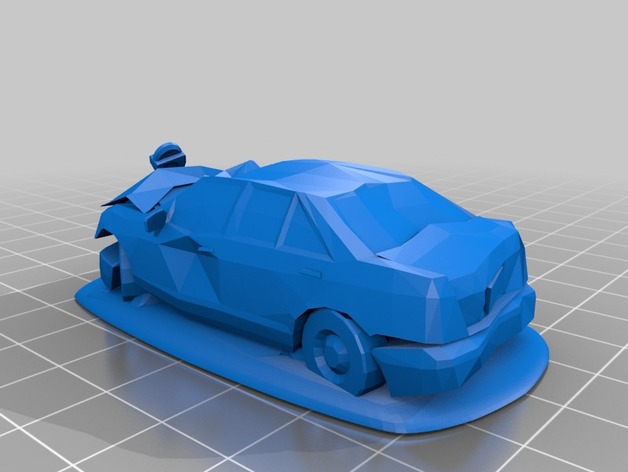
Wrecked Car 3D Print Model
Summary
A wrecked car
Print Settings
Printer:
Anet A8
Supports:
No
Resolution:
.2
Infill:
20
Notes:
this is just what i used -
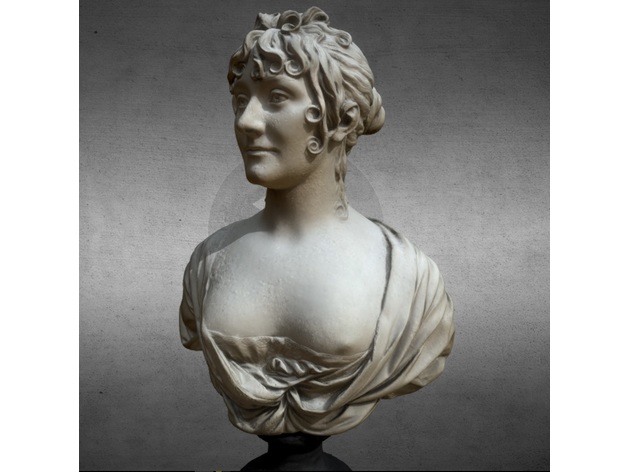
Portrait of the wife of the artist 3D Print Model
Summary
Portrait of the wife of the artist (1807), Gilles-Lambert Godecharle (1750-1835), Belgium. Royal Museum of Fine Art (Brussels, Belgium). Made with Capturing Reality.
For more updates, please consider to follow me on Twitter at @GeoffreyMarchal. -
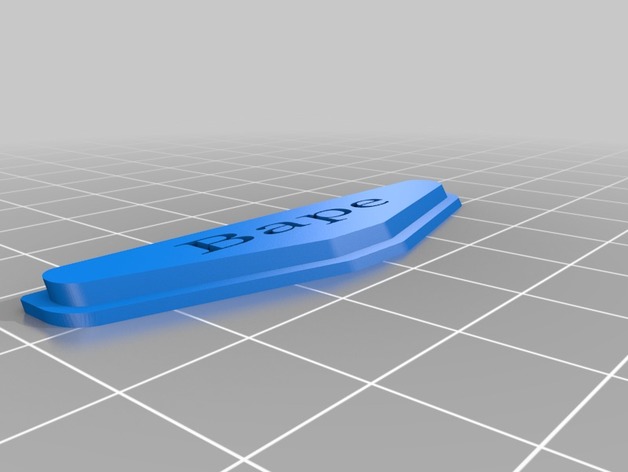
Ps4 controller lightbar 3D Print Model
Summary
Customize to say whatever you want looks cool once printed and installed if you have any concerns or questions feel free to ask.Standards
CCSS
Overview and Background
-
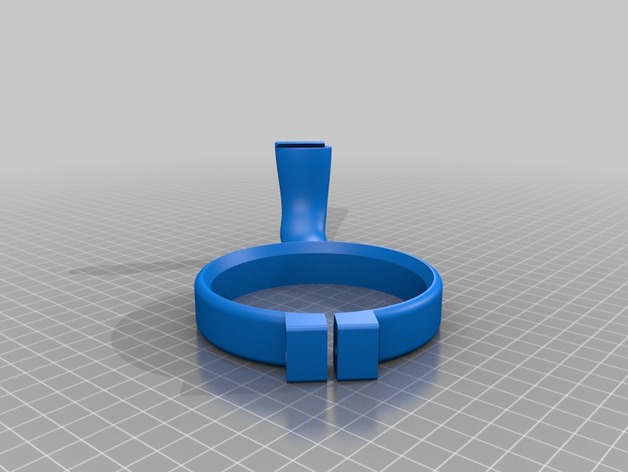
32 oz Cup Handle (Modified-Split w/dovetail) 3D Print Model
Summary
This is a modified version of the 32 oz Cup Handle.
It is split at the center of the handle and dovetail added for reattachment after printing.
This was done at the request of Lee Mathews.
It does have advantages:
Minimal supports saving a conciderable amount of filament.
Print time reduced.
Clean up time reduced.
This also allows printing on a smaller platform printer.
Bottom 2:37.22 Print time.
54.48 grams filament.
Top 3:12.35 Print Time.
67.04 grams filament.
Print Settings
Printer Brand:
Afinia
Printer:
AFINIA H800
Rafts:
Yes
Supports:
Yes
Resolution:
0.25
Infill:
99% unsolid not checked
Notes:
ABS filament
I am using glue stick from 99 Cent Store and it is on build tac.
Post-PrintingHow I Designed This
Designed with 123d design -
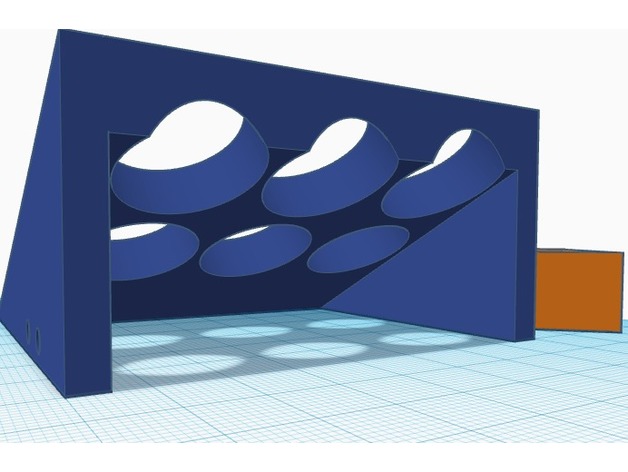
storage box printer 3D Print Model
Summary
storage box printer
detail stl:
location glue x6 type uhu diameter 21
location buzzard x8 diameter 8
and various location for tools
print center box with support (0.2 infill 20 with support)
the left and right boxes have a meaning (infill 20, no support)
print 4 ankle (0.1 infill 10 no support)
good print.
Print Settings
Printer Brand:
Deltaprintr
Printer:
Deltaprintr Kit
Rafts:
No
Supports:
Yes
Resolution:
0.2
Infill:
20 -
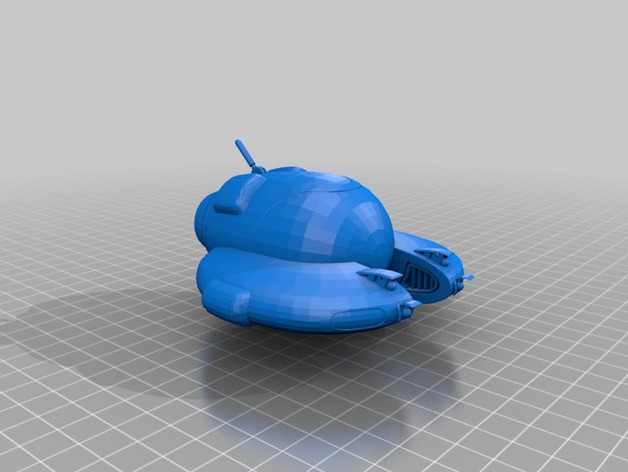
Seamoth for Subnautica – 3D printable 3D Print Model
Summary
This is a printable version of the Seamoth from Subnautica. This model is a derivative of (https://sketchfab.com/models/6feb95e1a958444188438b383003dffa) which was ripped straight from the game’s assets.
btw: Subnautica, your models are a mess.
Print Settings
Printer:
Monoprice Select Mini V2
Rafts:
Yes
Supports:
Yes
Resolution:
0.1
Infill:
20
Notes:
Put support everywhere.
How I Designed This
Find model
found: https://sketchfab.com/models/6feb95e1a958444188438b383003dffa
Remove interior
Open blender, be confused, delete the things.
Repair
https://tools3d.azurewebsites.net/
Manual repair
Using Tinkercad.com
More manual repair
Using Blender
Even more manual repair
Using Tinkercad.com -
Towel Holder for Oven handle 3D Print Model
Summary
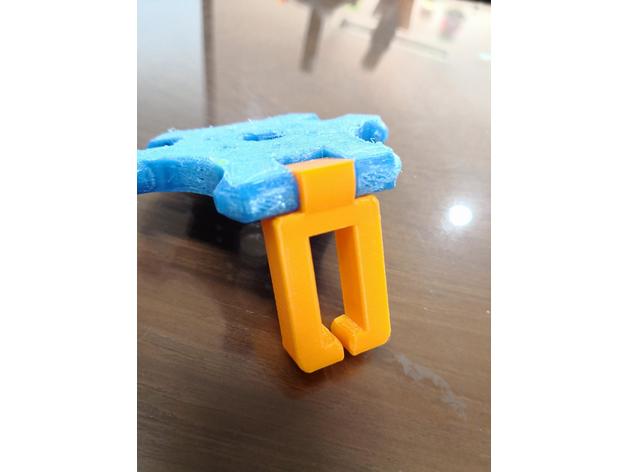
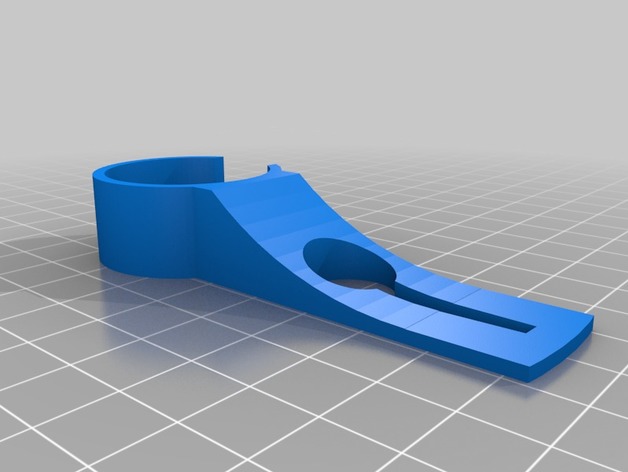
This is a towel holder for the bar on my oven. I was tired of towel slipping off the round oven handle, so I made a clip. It has a hole that narrows into a channel; you take the corner of your towel and put it in the hole and slide it into the narrow channel.
You can change the settings in the scad file using OpenScad to fit a different diameter handle, make it a little shorter, use less material, or maybe a square handle. It’s a bit of a mess but not too hard to figure out. Original version just had the clamp and a flat piece for the circle & slot; but it was weak around the hole since there’s little material there and it has to support a rag that might get pulled on, so I made it taper and have more material to prevent snapping.
Print Settings
Printer Brand:
RepRap
Printer:
RepRap Kossel
Rafts:
Doesn’t Matter
Supports:
No
Resolution:
.2
Infill:
20%
Notes:
Print settings are forgiving, this is just what I used. Just use enough shells so it isn’t weak around the narrow parts. -
new wheels to replace rubber total gym wheels 3D Print Model
Summary
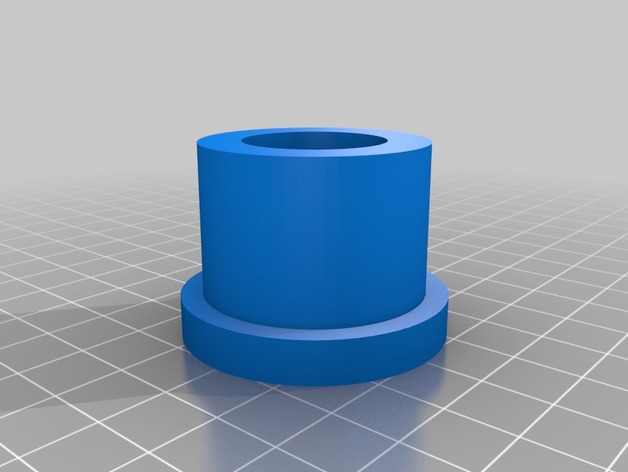
new wheels to replace total gym wheels 4 to a set push bearings into place and install -
N0-L4 3D Print Model
Summary
Not the droid your looking for……
Used Cura
Print Settings
Printer Brand:
Creality
Printer:
CR-10S
Rafts:
No
Supports:
Yes
Notes:
i did supports touching buildplate. I would like to add a little more detail later on but just got a rough draft first.
How I Designed This
tinkercad -
Scorsh Chain easy clip 3D Print Model
Summary
Hi all.
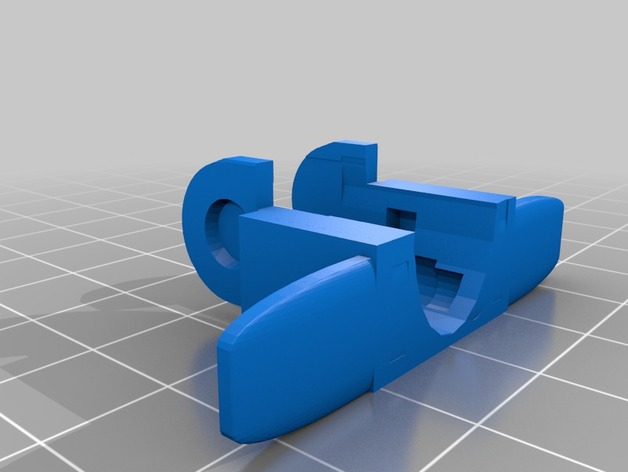
i made that easy chain clip for my cube3 but you can use this everywhere.
Simply make your hole or use double face tape.
Print Settings
Printer Brand:
3D Systems
Printer:
Cube 3
Rafts:
No
Supports:
NoPost-Printing
Scorsh Chain easy clip
just print it. 🙂
How I Designed This
www.tinkercad.com -
Planetside 2, NC logo 3D Print Model
Summary
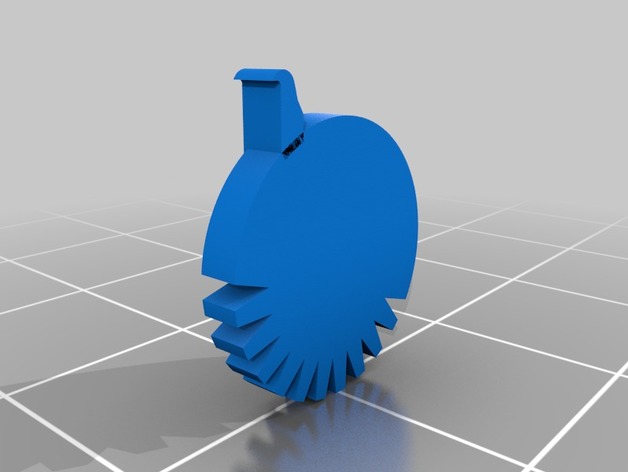
I made my own 3d design of the NC logo, from the game Planetside 2! -
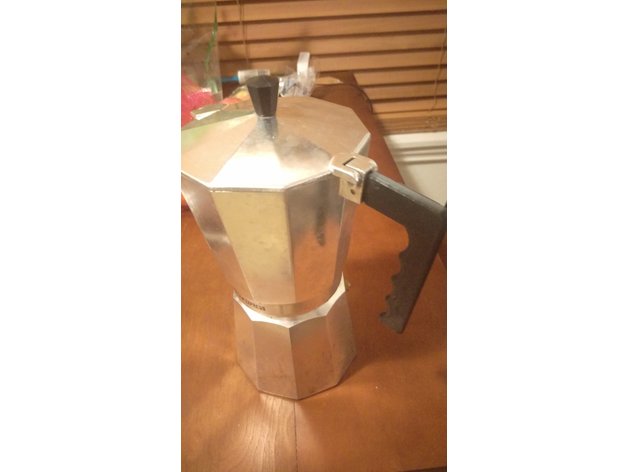
Espresso Pot Handle 3D Print Model
Summary
The handle broke off my Espresso pot (Primula). Made this to replace it. Their are several mfrs of what looks to be the same pot, so this may fit them too…
Print Settings
Printer Brand:
Creality
Printer:
CR-10S
Rafts:
No
Supports:
Yes
Resolution:
.2
Infill:
20 -
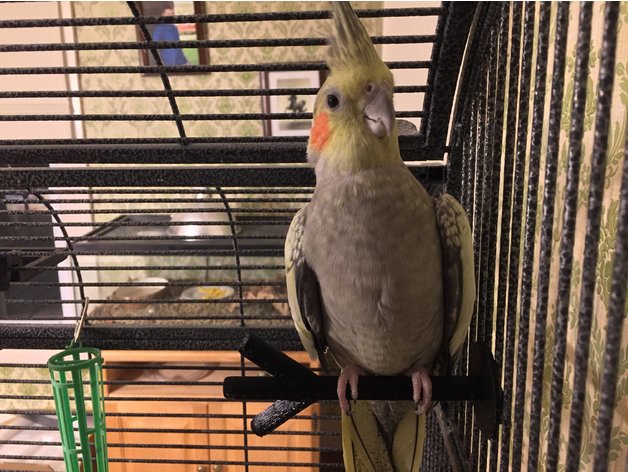
Birb Twig Mk1 3D Print Model
Summary
Designed in TinkerCad and Sliced with CuraEngine through Repetier Host.
Material: Melca 1.75mm PLA
Don’t forget to add supports!!
Print Settings
Printer Brand:
Prusa
Printer:
Prusa Clone
Rafts:
Yes
Supports:
Yes
Resolution:
0.2mm
Infill:
20% -
Streamlight Battery Holder 3D Print Model
Summary
I made this wall hanging battery holder for my buddy’s shop. He uses the Streamlight Stinger flashlights and has extra batteries for them, but no where to store them or any way to tell if they’ve been charged or not. I’m figuring this could help. This printed standing with the tubes straight up without any supports.
Print Settings
Printer:
Engineering Aesthetics Custom Delta
Rafts:
No
Supports:
No
Resolution:
2.5 mm
Infill:
30%How I Designed This
I used Fusion 360 to draw this model. -
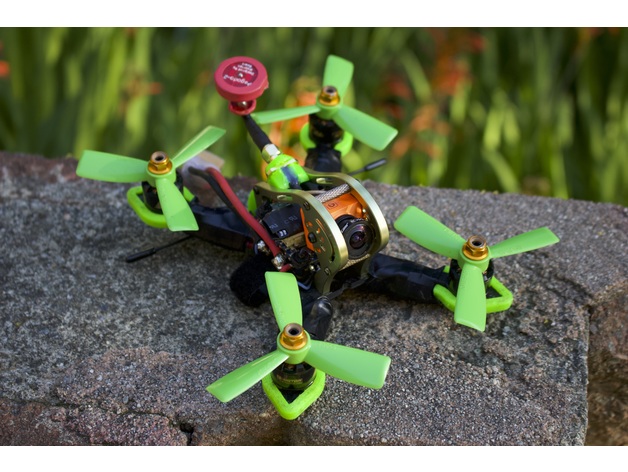
GEPRC Sparrow MX3 MSX3 Upgrade Kit 3D Print Model
Summary
Banana Science has once again developed and refined yet another mini quad upgrade kit. This time, you can protect your arms with simple TPU sleeves instead of bulky motor guards which not only save weight, but also make your build look significantly cleaner! Our new TBS Immortal T mount allows you to easily install a bulky immortal T on a tiny 3″ build without crude cable ties and electrical tape. Additionally, the stock Sparrow frame only allows you to mount a (RP)SMA connector if you use a 20x20mm FC stack since a 30.5×30.5mm doesn’t allow room for it to install near the rear. Now, the new extended (RP)SMA antenna mount which is optimised for the TBS Unify adapter cable allows you to securely mount a (RP)SMA antenna on top of your frame while using a bulky 30.5×30.5mm FC stack! If you’re looking to build a long range 3″, our easy to install mini GPS mount will allow you to tack on a small GPS to the top of your aluminium canopy. Both the (RP)SMA antenna mount, the TBS Immortal T antenna mount, and the mini GPS mount each simply pinch between your aluminium canopy when it is screwed together and remain securely fastened by the small CNC notches already in your frame.
Arm Protector Details
For people who like to mount ESCs on their arms or just don’t have room for a 4 in 1, we’ve designed arm protectors which are slightly shorter in length than the standard arm protectors to free up more mounting room on the arms.
Antenna Mounting Details
Since there is an ongoing debate on the proper mounting of the TBS Crossfire RX antenna, we’ve designed antenna mounting methods for both 90 degree and 180 degree configurations. Through our limited testing, mounting your crossfire RX antenna in a 180 degree configuration gives the best range overall range though creates two deadpoints at either end of the antenna. For best overall coverage at long ranges, a 90 degree mounting configuration is best. The Immortal T mount allows you to mount a standard Immortal T antenna at the rear of your quad for a 180 degree configuration and the most durability and strength. The (RP)SMA antenna mount allows you to attach two antenna tubes at roughly 80 degrees next to your 5.8ghz SMA connector. Note that these antenna tubes are prone to falling out unless glued with high temp hot glue. You can then install a crossfire micro RX antenna in the 45 degree tubes.
Print Settings
Printer:
Flashforge Creator Pro
Rafts:
No
Supports:
Yes
Resolution:
Use your defaults
Infill:
100%
Notes:
All parts were printed with 100% infill with 3 shells for maximum strength. If you’re trying to cut weight though, you can print the Immortal T mount and the GPS mount with 20% infill and 2 shells without sacrificing much strength. All parts were printed in Foxsmart TPU besides the soft mount pads which were printed in ultra flexible Ninjaflex TPU.
How I Designed This
Onshape
All parts were designed in a public Onshape document so you can easily make modifications and/or remixes! -
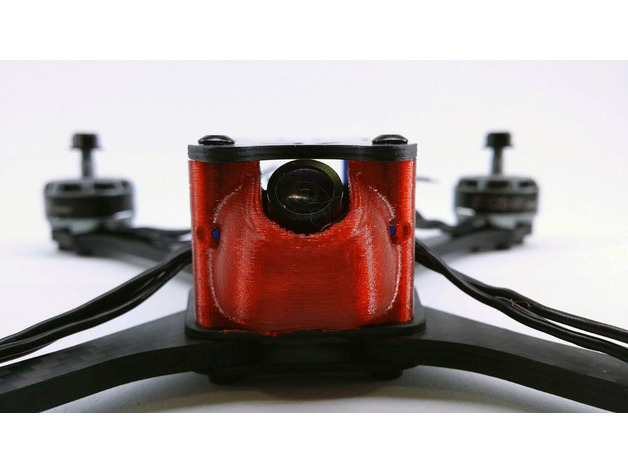
Protector de cámara para AK200 3D Print Model
Summary
Un protector de camara para el frame AK200
Valido para cámaras Runcam micro, foxeer micro y cámaras de esas medidas (no probada en caddx).
Altura: 25mm
Permite una inclinación de entre 35º y 55º Aprox.
Print Settings
Printer:
Geeetech Pro B
Rafts:
Doesn’t Matter
Supports:
No
Resolution:
0.2
Infill:
60%
Notes:
-Material: TPU
-NO necesita soportes -
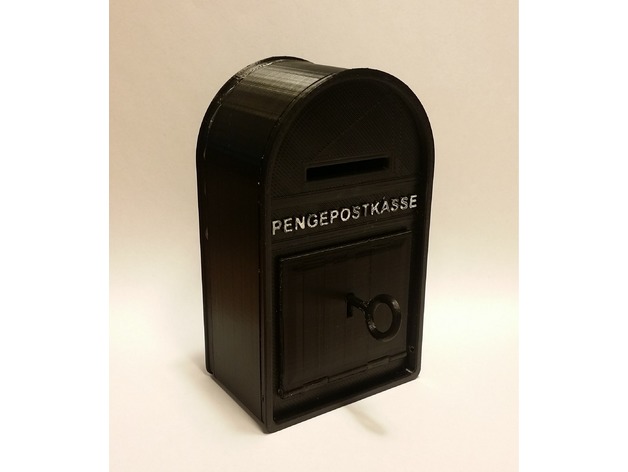
Danish PENGEPOSTKASSE (Money Mail Box) 3D Print Model
Summary
I have the original Danish PENGEPOSTKASSE (piggy bank), but the key was missing. So one thing lead to another. First I made the key for the original tin box. And then i thought for myself, why not make the hole thing. So I did…
I have made two options.Mail box housing is in one piece. 12+ hours print time and difficult support removal.
Mail box housing is in three pieces for faster print time and easy clean up. Just add glue.
Both options needs a 2mm drill to clean out the joints and a piece of 1.75mm fillament or what ever you have laying about.
The lock mechanism needs some kind of spring or small tubing to create the spring effect.
and maybe you need to make a small cut on the lock pin. (see pictures)
Made a lock pin V2, with the cut, if it does not work.!? print V1 and make your own damn cut.
Have fun. I did!
Print Settings
Printer Brand:
Creality
Printer:
CR-10S
Rafts:
Yes
Supports:
Yes
Resolution:
0,2
Infill:
100Custom Section
Tutorial or something.
This is just some pictures of how I put it all together
Here we go.All pieces and tools I used
Drill here (both sides) 2mm. Slowly or it will melt or break.
And here (both sides) 2mm. This time go really fast and see what happens….????
1.75mm filament i used ABS but PLA is just fine
Squish it flat, in one end, and push it in, to make it stick… or add glue.
The lock box (small rubber tubing as spring)
This did not work…. I used my hot glue gun instead.
Out of focus and in wrong orientation (weeeeeeee)
Side by side
Touched up the letters with a white whiteboard pen (black glass)
Banana for scale and Banana banana banana banana terracotta banana terracotta terracotta pie
-
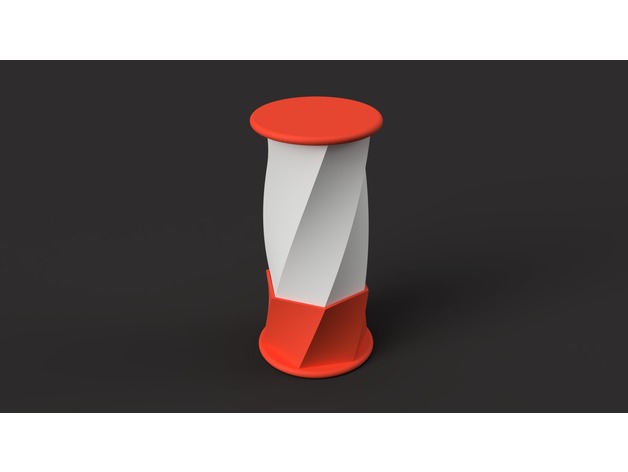
Fidget Slider 3D Print Model
Summary
Small fidgeting toy.
Inspired by Make Anything’s twisted toy design.
Print Settings
Printer Brand:
Creality
Printer:
CR-10 Mini
Rafts:
No
Supports:
No
Resolution:
0.1 mm
Infill:
100%
Notes:
Use 100% infill to gain some weight or fill the twisted tube with some material (could use a glue gun). Don’t forget to print 2 End_caps.
Post-Printing
Get better results by sanding the model. I use 400 grit sandpaper first and then 1000 grit. -
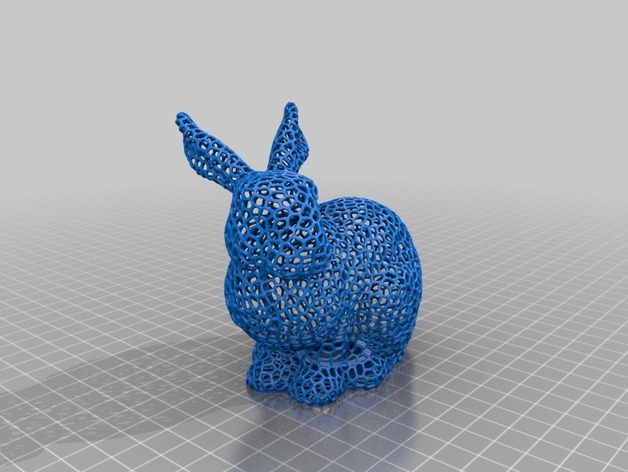
Voronoi Easter bunny fixed with opening 3D Print Model
Summary
This is a Remix of the Voronoi Easter bunny fixed.
I’ve simplified it so it can be edited in TinkerCad and the added a locking mechanism (Remix of: https://www.thingiverse.com/thing:1173662) so it can be filled with goodies – and they can be taken out without destroying the Bunny. Sorry, Enzi1984, I liked your Idea but I hate to “kill” my prints 😉
His make: https://www.thingiverse.com/make:325019
All credits go to the original creators of the models, I’ve only added them together.
When printing the “inner” part make sure to reduce the size a bit, depending on the tolerances of your printer.
If someone could clean up the model a bit I’d be grateful. This is my first design and I’m still fighting with the Details.
Print Settings
Printer:
Anet A8
Rafts:
No
Supports:
No
Resolution:
0.1 or 0.2 mm
Infill:
none
Notes:
when printing the inner part of the lock make sure to reduce the size a bit, depneing on the tolerances of your printer. For me 95% seem to work fine. -
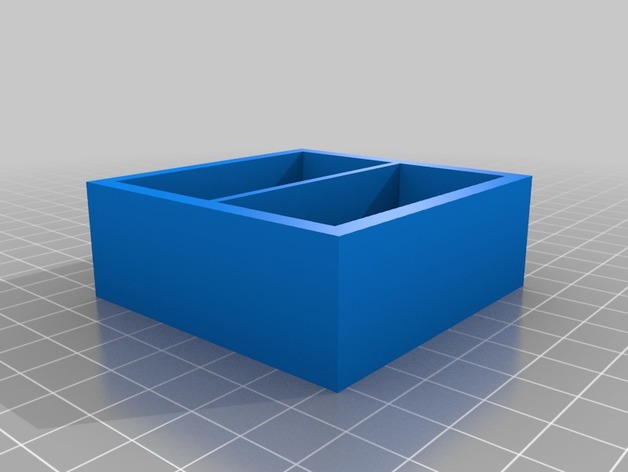
twin section box 3D Print Model
Summary
This useful twin section box you can use for putting general things in it.
100% made by me 🙂
plz like if you like it !!! -
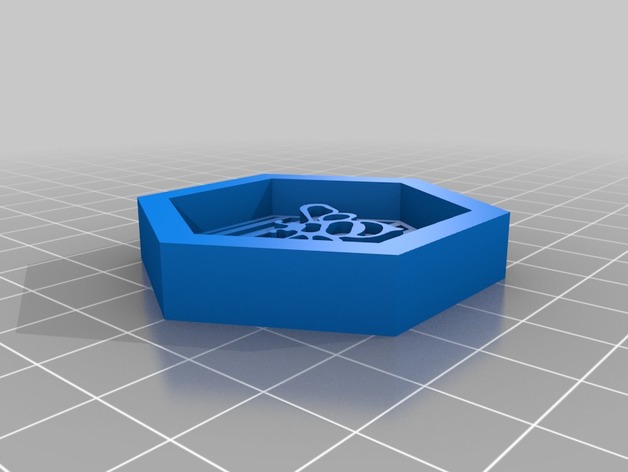
Honey Bee Fridge Magnet 3D Print Model
Summary
A simple honey bee fridge magnet. The cut out in the back is to suit a 10mm x 1.5mm magnet. -
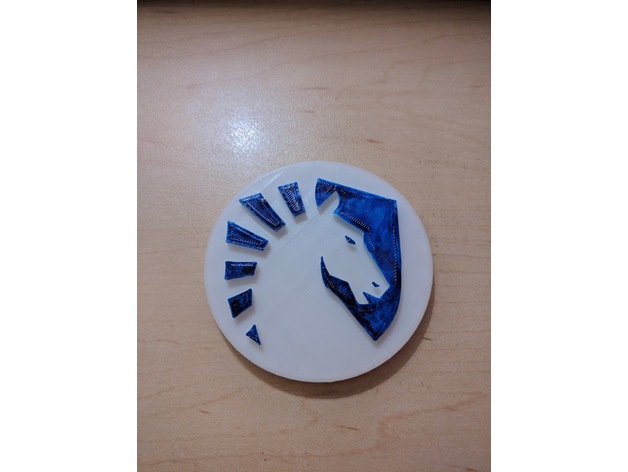
Team Liquid Logo 3D Print Model
Summary
The Team Liquid Logo.
Print Settings
Printer:
Monoprice Select Mini V1
Rafts:
Doesn’t Matter
Supports:
No
Infill:
10% -
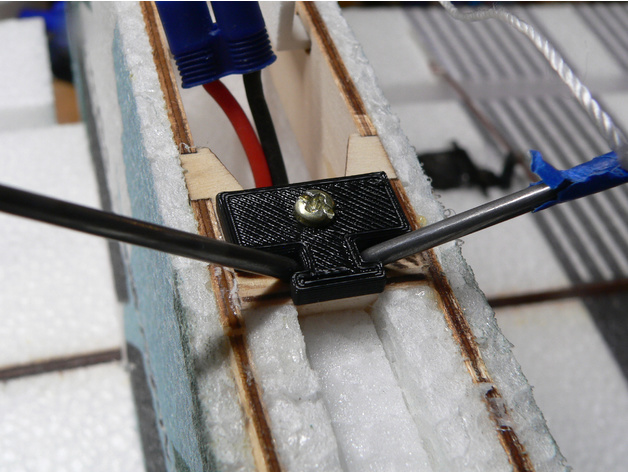
Funmaster RC Plane Parts 3D Print Model
Summary
Some parts for the Hacker Funmaster. I found the landing gear had a tendency to pull out so I made a simple holder. I figured the battery clip would fail after being pulled in and out so I made a spare. -
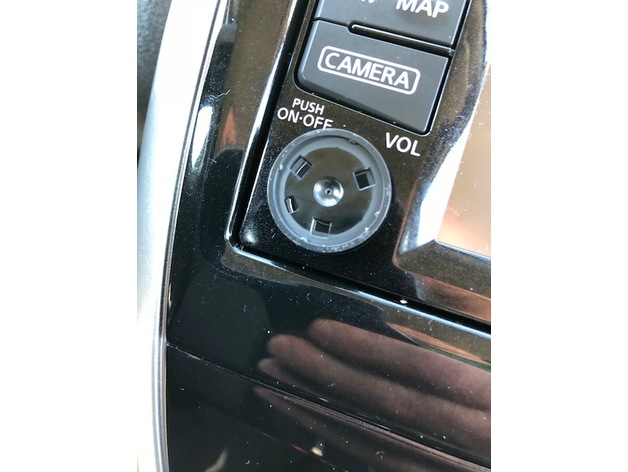
Nissan Versa Note Radio Knob Insert 3D Print Model
Summary
The knobs on my Nissan Versa Note radio consist of three parts. There is a black part that actually connects to the shaft and turns it. There is a chrome piece that goes on top of that, and then there is a black disk that goes on top and has hooks that push through to the bottom piece to hold all three pieces together.
One of mine was missing the top piece, so I built it and printed it. The last two pictures show mine and the original look on another knob. Not perfect, but much better than the blank black knob in the first picture. -
CR-10 Micro SD Card Adapter Holder – No Text + Cleaned version 3D Print Model
Summary
Thanks Motion_0112 for uploading the original! This is a remix that’s just cleaned up a bit (there were some overlapping faces + extra verts) and I removed the text since added text in 3D prints can cause complications + take longer to print… also I just like the way 3D prints look without text 🙂
Enjoy! -
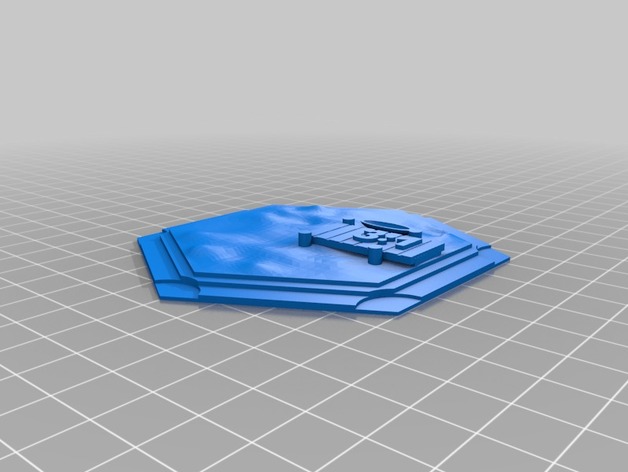
Catan Basic Game Set 3D Print Model
Summary
Complete pieces set for a Settler of Catan game
Print Settings
Printer Brand:
PowerSpec
Printer:
PowerSpec 3D Pro
Rafts:
No
Supports:
No
Resolution:
.1
Infill:
30%Post-Printing
-
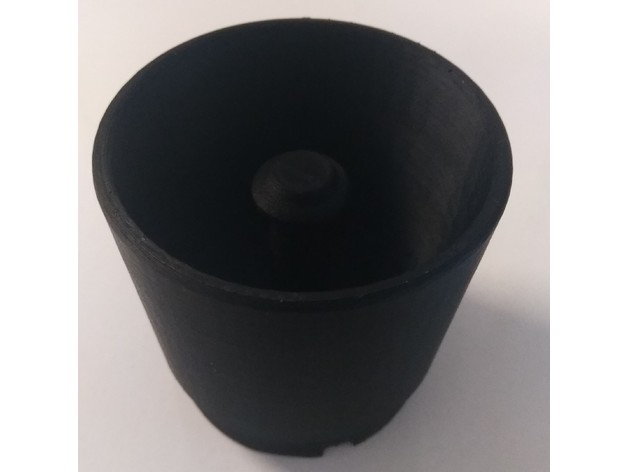
Pythagorean Cup (“Design of Ugur OZGUR” Edition) 3D Print Model
Summary
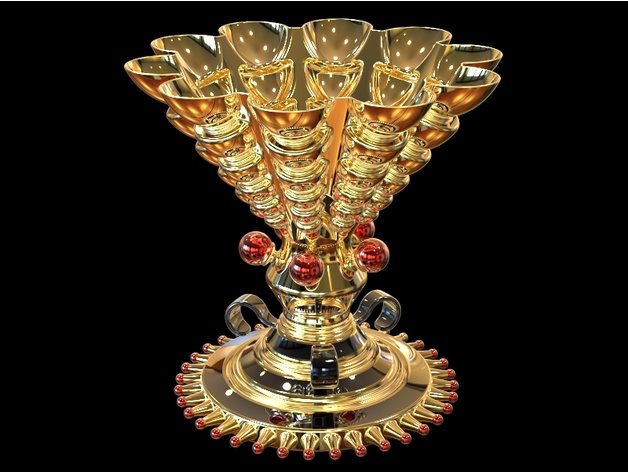
When it is filled beyond a certain point, a siphoning effect causes the cup to drain its entire contents through the base. (Wikipedia)
Print Settings
Supports:
Yes
Notes:
Use water-soluble support material.
Adjust print scale for your needs. -
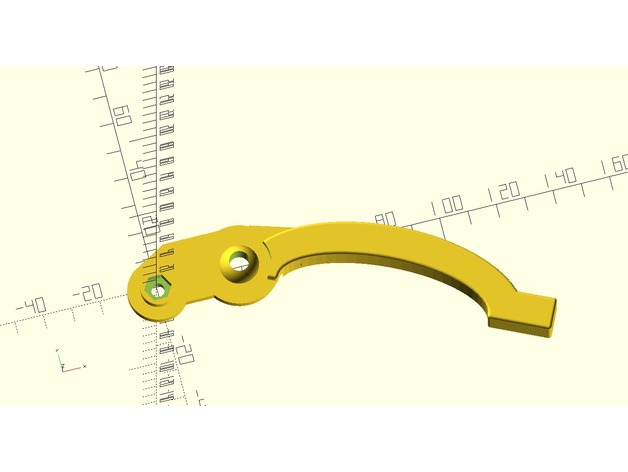
Medline The Platinum Reacher Clamp Replacement Part 3D Print Model
Summary
Replacement grabber clamp. I made this with 50% fill but if you need it stronger use 75% or more.
Print Settings
Printer Brand:
FlashForge
Printer:
Finder
Rafts:
No
Supports:
Yes
Resolution:
Normal
Infill:
50% -
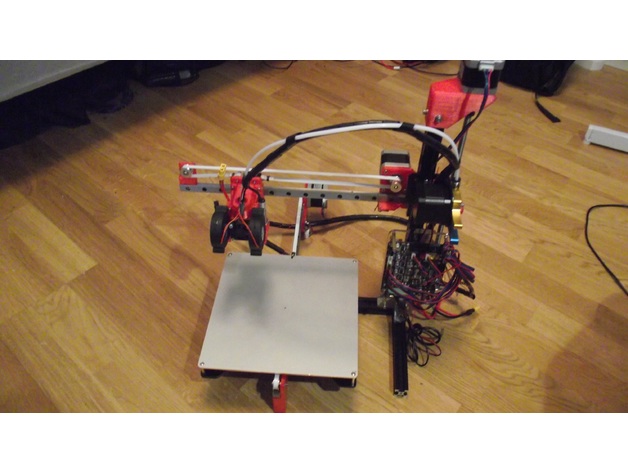
CantiPrintr 3D Print Model
Summary
This is a test printer all parts are provided AS IS and I may never fix errors I find.
This is a printer I designed from the extra parts I have piled up from upgrading my tevo tarantula.
It uses:
E3D-v6 (or clone)
2020 extrusions(1 x 380mm and 3 x 150mm)
MGN12H rails(2 x 400mm and one 300mm)
2 x Idler pulley for 3mm screw
Tevo tarantula parts:
MKS base
Y carriage
200×200 heated bed
375mm lead screw
Stock tarantula gold/blue extruder
Print Settings
Printer:
Tevo tarantula
Rafts:
No
Supports:
No
Resolution:
0.2mm
Infill:
20-100
Notes:
To print these parts strong use many perimeters and many top bottom layers. -
fischertechnik Figur-Hand Containerbrücke rot 32087 3D Print Model
Summary
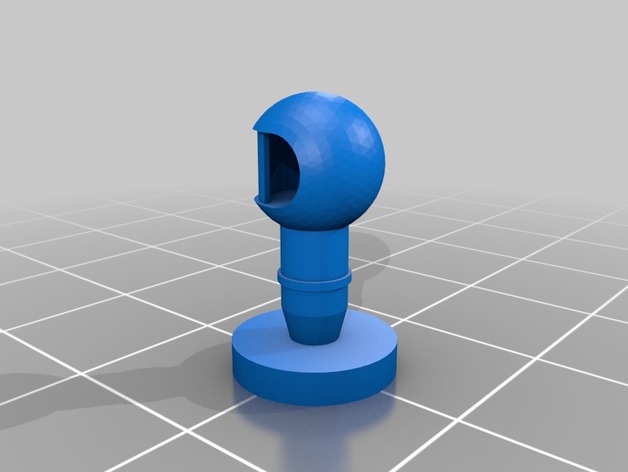
This is a reproduction of another very rare ft part.
The hand of the ft toy man, usually orange, was produced in a dark red as a shackle for the container that came with the ft gantry crane.
Feel free to produce as many as you need… -
Corner Coupling for Lowes Peel and Stick Audio Cable Tubes 3D Print Model
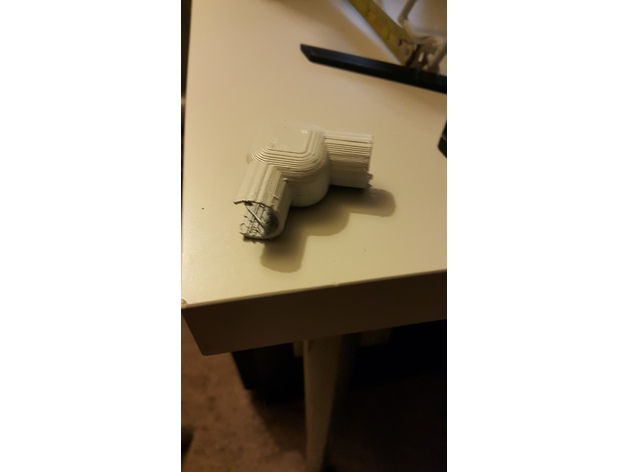
Summary
Lowe’s Peel and Stick Speaker Wire Tubes are great and come with a straight alignment coupler but need a corner piece. This will fit their standard tubes. If unsure, print one and take it with you to Lowe’s or wherever and size it up.
Print Settings
Printer:
XYZ Davinci 1.0 Pro
Rafts:
Doesn’t Matter
Supports:
Yes
Resolution:
.3
Infill:
35 -
ISCO III XL Stand 3D Print Model
Summary
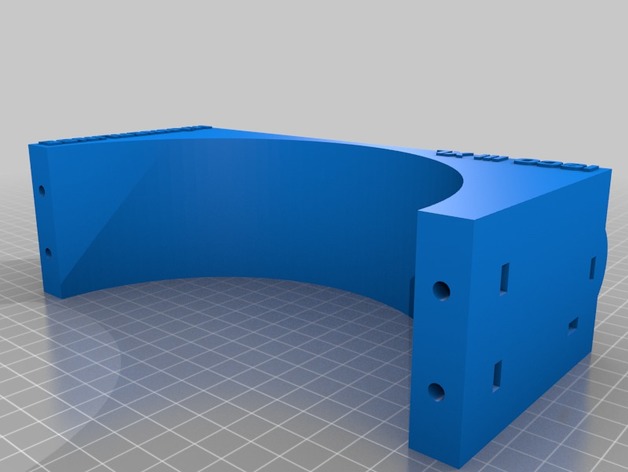
I designed an ISCO III XL Lens holder for my Home Cinema.
I’m still printing the Lens Holder and add some pictures when it has finished.
In the front i labeled it with ISCO III XL and “Männerlinse”. This is an inside Name for this huge Lens.
You need several M4 Screws to fix the Parts together.
I write how much when i’m finished
Print Settings
Printer Brand:
TEVO
Printer:
Tarantula
Rafts:
No
Supports:
No
Resolution:
0.2
Infill:
30% -
Container for cosmetic cotton wool 3D Print Model
Summary
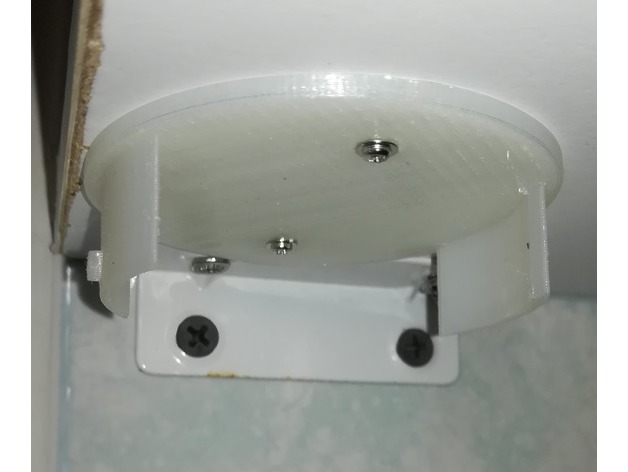
I made a container for cosmetic cotton wool. It consists of a bowl and a lid. The cover has two holes for fastening so that the container can hang. Insert the cotton wool by turning the cover by 45 degrees and removing the cover. To close, insert the cover and rotate by 45 degrees
Video off how it work on : https://youtu.be/1k1UoBPSQj0
Print Settings
Printer:
Anet A8
Rafts:
No
Supports:
Yes
Resolution:
0,2
Infill:
20% up
Notes:
Supports All -
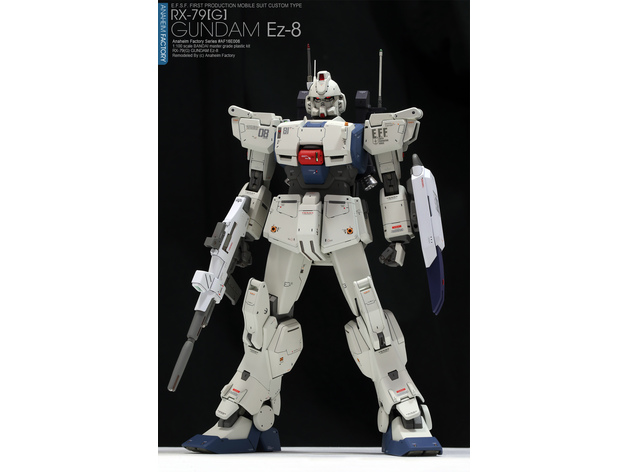
Gundam EZ 8 – 8 th ms team 1/144 scale (1:144) 3D Print Model
Summary
Gundam EZ 8 – 8 th ms team 1/144 scale (1:144)
this gundam model is from psp game gundam vs gundam from the anime gundam 8th ms team, the later model that repaired (dont have classic gundam head)
is in scale 1/144 like all gunpla but not poseable 🙁
the images is from color reference if you paint it in future i slice this in two parts to reduce printing time -
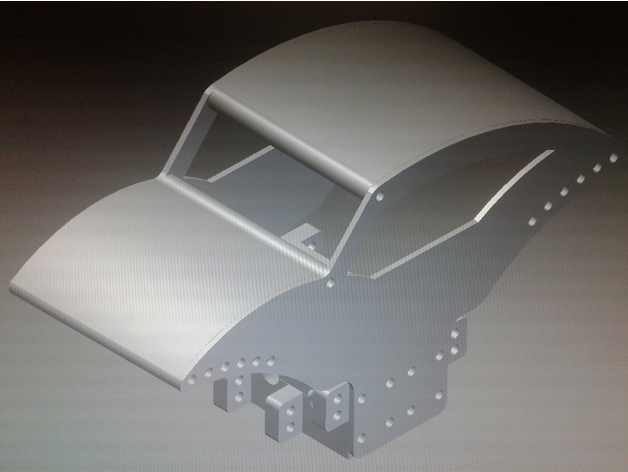
Sumo Micro Crawler Spider Chassis and Transmission 3D Print Model
Summary
Sumo Micro Crawler Spider Chassis with dual motor transmission. Able to use with other 1/24 axles including Losi Micro Crawler or Trekker. Assembly file is included for visual reference only, it wont work if you print that way! 🙂
Print Settings
Printer:
Monoprice Select Mini
Rafts:
No
Supports:
No
Resolution:
.0875 trans .21875 chassis
Infill:
85%
Notes:
This is my adapted Spider chassis so that you may use the trans I posted before. The chassis and trans were both adapted and fit together with 2mm bolts. Extra holes were made to mount links on trans and extra holes were made on chassis to allow the use of trans on forward or reverse. If using this chassis and transmission you no longer need to limit yourself to the sumo,it can also be used for losi axles as well or any other axles you may want to use. -
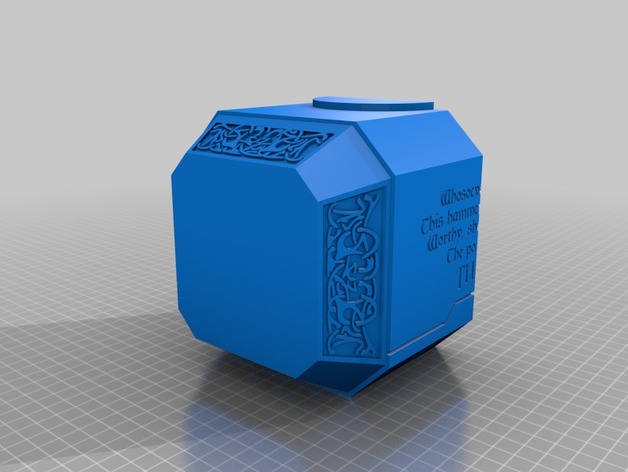
Tzir_Blake’s 1:1 Scale Mjolnir Left Side Fixed 3D Print Model
Summary
Fixed the text on the left side of the hammer. The original was missing the cutouts, making the spacing between the two sides look off. -

Kiss Me I’m Irish Pendant 3D Print Model
Summary
Kiss Me I’m Irish Pendant
Search “wslab” for more designs. -
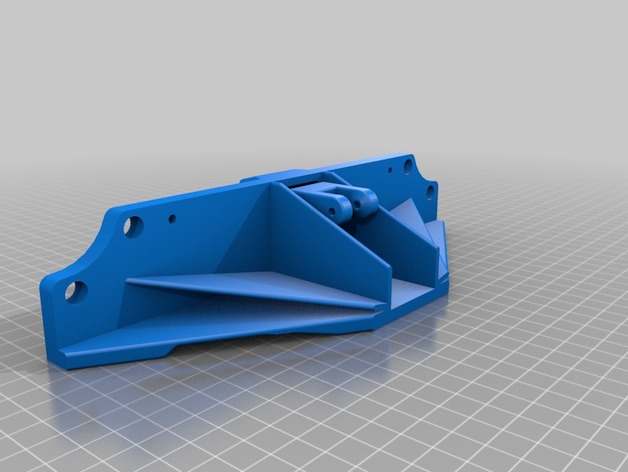
Anet A8 Belt Tensioner and Brace Y-Axis 3D Print Model
Summary
ANET A8 BELT TENSIONER and BRACE Y-Axis
We added this one so people in the community could provide feedback. When we finalize the model we will publish the final version.
The nut traps are very tight. Position the nuts in front of the traps and then use the 12mm screws to draw them in.
When the belt is taught – thread lock can be added to the nut/bolt to secure it in place.
Parts List
1 – Idler Pully 16 Tooth M3 Bore (Purchase Here)
1 – M5 x 12mm Bolt (Purchase Here)
1 – M5 Nut (Purchase Here)
1- M3 x 25mm screw
1 – M3 Lock Nut (Purchase Here)
4 Feet – GT2 Timing Belt (Purchase Here)
Digital Sqrt is an open source company and we strive to make all of our files available to all. The STEP and STL files are in the Thing Files folder.
Change Log:
3/14/2018 – Upload Files for comment by the comunity -
Telescope finder scope mount 3D Print Model
Summary
Eye piece mount for a telescope. mounts with #8 screws and has insets for m3 nuts for tighting.
based on this: https://www.amazon.com/Orion-07215-Schmidt-Cassegrain-Finder-Scope/dp/B0000XMY4C/ref=pd_bxgy_421_2?_encoding=UTF8&pd_rd_i=B0000XMY4C&pd_rd_r=30M3MMWJ0VG3H1DHRPXM&pd_rd_w=ySYI2&pd_rd_wg=fIGYo&psc=1&refRID=30M3MMWJ0VG3H1DHRPXM&dpID=41BkDqiTDKL&preST=_SX300_QL70_&dpSrc=detail -
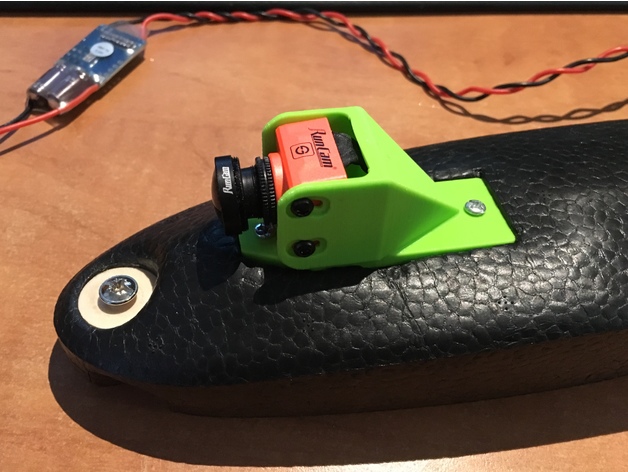
FinWing Traveler T1160 Split Mount 3D Print Model
Summary
Split Mount for FinWingHobby Traveler T1160.
Works best with board mount https://www.thingiverse.com/thing:2829533 -
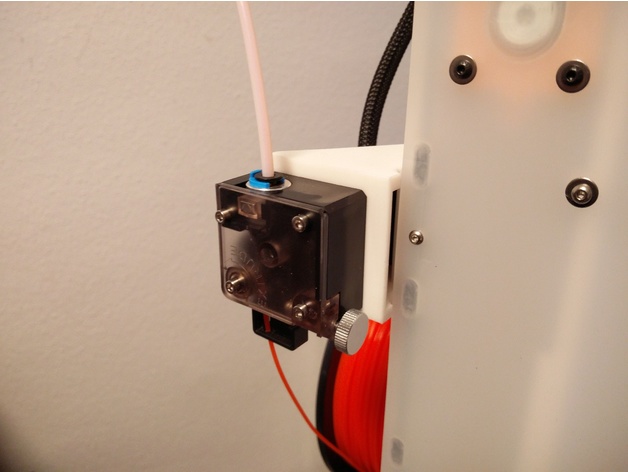
Ultimaker 2 Titan Fixture 3D Print Model
Summary
The motor shaft of most of the steppers is too short as to use it inside the UM2 to connect the Titan Feeder.
Therefore i made this 90° angled fixtures for the Titan to use the existing holes.
Print Settings
Printer Brand:
Prusa
Printer:
Prusa Clone
Rafts:
Doesn’t Matter
Supports:
Doesn’t Matter
Resolution:
0.3
Infill:
20% -
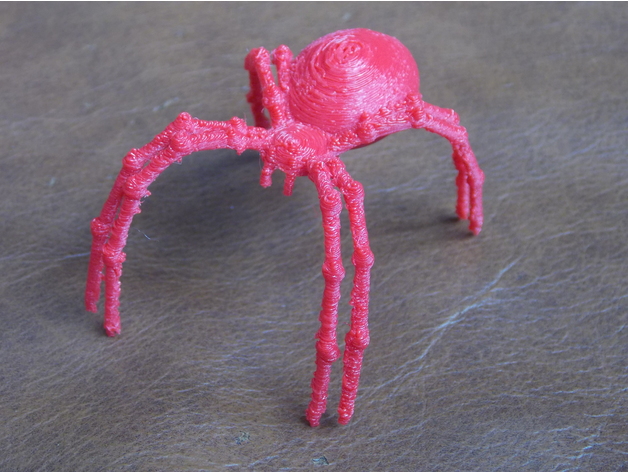
Filament Guide Spider 3D Print Model
Summary
So! Another filament guide to keep my line from getting tangled, and to look kinda cool, like he’s spinning webs for The Machine… He sits on my Y-Axis motor, on a clip that grips the stepper.
(Zip-tied on for now, pending gluing onto the clip…)
Print Settings
Printer:
FLSUN Prusa i3
Rafts:
Yes
Supports:
Yes
Resolution:
0.1mm
Infill:
10% rectilinear
Notes:
Printed in PETG, a challenging print, with the legs being 1.5mm in diameter. I couldn’t have been able to get this resolution and such small diameters printed successfully before I calibrated my E-steps/mm and my extrusion multiplier (with the _40x10.stl ), and these YouTube videos;https://www.youtube.com/watch?v=w_Wb0i0-Qvo,https://www.youtube.com/watch?v=cnjE5udkNEA&t=298s
Got the idea to print upside down from woodk, https://www.thingiverse.com/thing:1619849 -
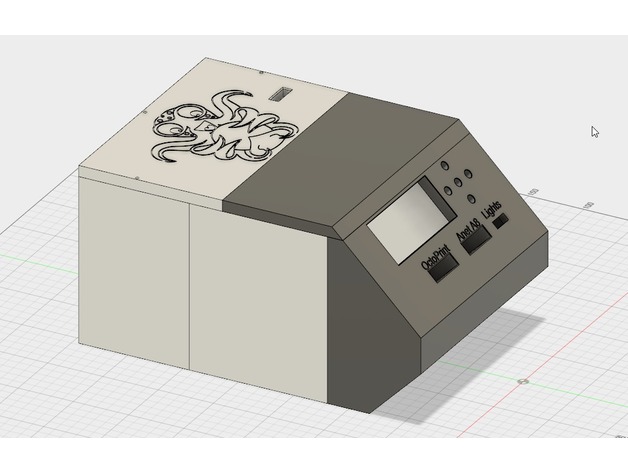
No Touch Screen Remix 3D Print Model
Summary
Just removed the touch screen from the front and move the Anet A8 screen.
Original Thing here: https://www.thingiverse.com/thing:2748195 -
KTM Rear Frame Plug Fender Mount 3D Print Model
Summary
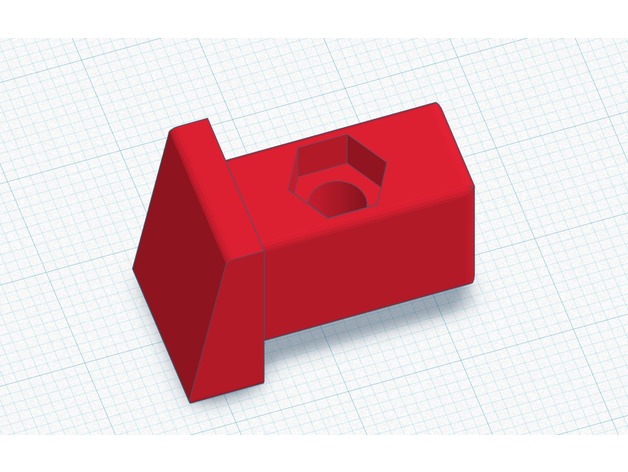
The rear fender on KTM XC, EXC, and XC-W is fastened to the rear of the frame with 2 screws. The tubes on the frame are rectangular and have a plastic plug in the end with a threaded barrel for an M5 screw to go into. My dealer cannot get this part, and I cannot find it online anywhere. This is a perfect replacement for it. It may work on other KTM motorcycles/dirt bikes as well, but I don’t have others to test it on. This one definitely works on the 2013 XC-W. Please let others know in the comments if it works on others.
You will need an M5 metric nut to press into the hex cutout in the plug using a pliers, I picked up the nuts at Home Depot. You should use a stainless one if possible for durability, but any standard M5 nut should work.
Make sure you print with supports and 100% fill.
Print Settings
Printer:
MP Select Mini v2
Rafts:
Doesn’t Matter
Supports:
Yes
Resolution:
.13125
Infill:
100
Notes:
Walls – 1.4mm
Top/Bottom – 1mm
No Coasting
Post-Printing
Remove the supports and clean up the edges with a razor blade or knife.
Press an M5 nut into the hex cutout with a pliers. Use stainless for durability. The edges of the part may need a bit of sanding/filing to fit in the frame, it’s meant to fit tight. You can tap it in with a mallet pretty easily.
How I Designed This
TinkerCAD and 1.5 beers. -
Walnut Block Tesselation 3D Print Model
Summary
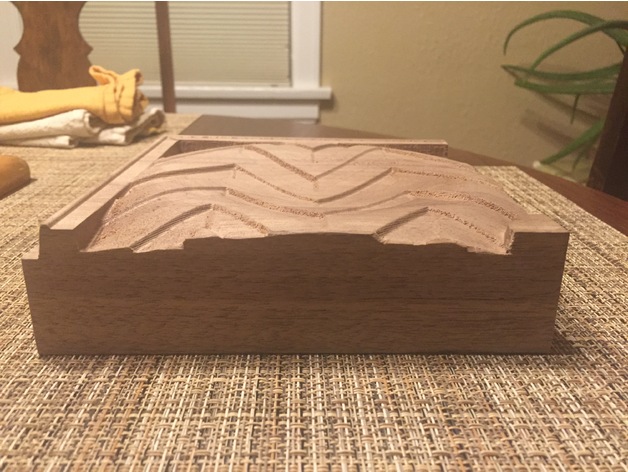
.stl for design that was cut out of a block of walnut using a CNC Mill. Pattern was created with images and gradients in Affinity Photo. -
3d printed led night lamp Remix 3D Print Model
Summary
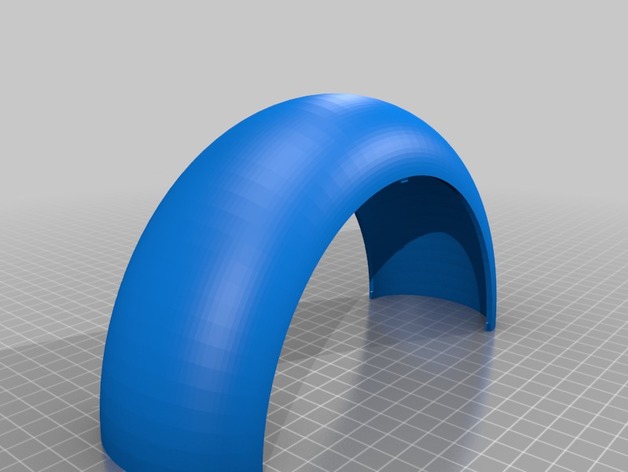
As the auther pointed out the parts dont fit together without shaving off some material.
I tried to fix it in 3d builder, just placing the parts together and the extracing excess from the parts.
There are a very thin line of material that should be removed on the bottom parts, but since its so thin my Slic3r doesnt care about it anyway..
I have not test printed it yet. -
Scalextric chassis with transverse motor rear wheel drive 3D Print Model
Summary
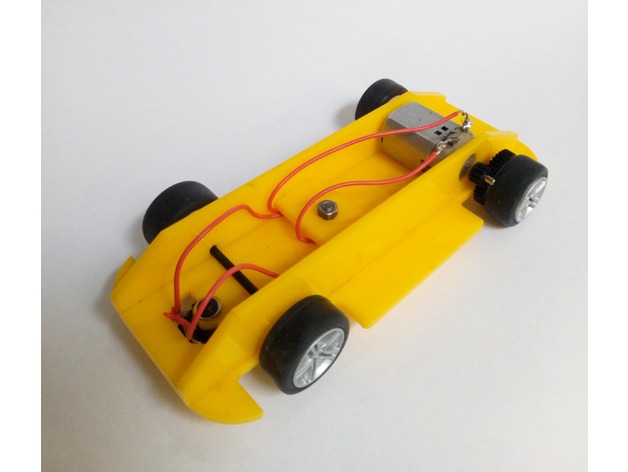
scalextric chassis using the alternative gears to produce a transverse motor position. This set up will allow for shorter chassis to be built if required but you are set on the width.Standards
NGSS
Overview and Background
trying out some simpler versions of the 90 deg drive system for a year 7/8 club and came up with this.
Lesson Plan and Activity
no lesson plan included
Materials Needed
acrylic
4mm bolt
scalextric parts pack -
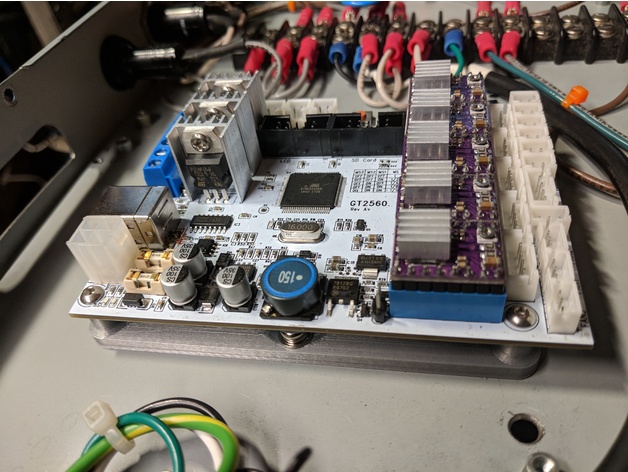
Mounting plate for a GT2560 Melzi board. 3D Print Model
Summary
Simple standoff mount for a GT2560 Melzi board.
The 2 mounting holes in the center are designed for 4mm screws.
Standoffs are designed to be tapped with 3mm threads.
The specific board is here :https://www.amazon.com/gp/product/B074TZC27M/ref=oh_aui_detailpage_o04_s00?ie=UTF8&psc=1
Print Settings
Printer Brand:
Creality
Printer:
CR-10
Rafts:
No
Supports:
No
Resolution:
.2
Infill:
20%
Notes:
Hatchbox silver PLA @ 200°C.
How I Designed This
Tapped standoffs with 3mm tap – holes are printed at 2.6mm. Mounting holes are 4.2mm, designed for 4mm screws. -
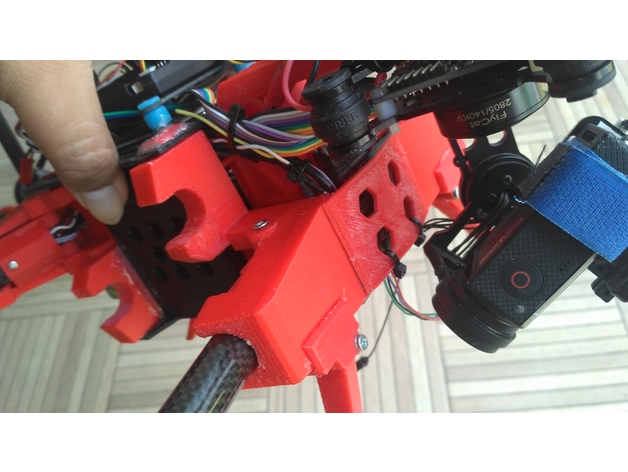
Fatboy front block 3D Print Model
Summary
This block use for enforce voltus (fatboy) frame front arm -
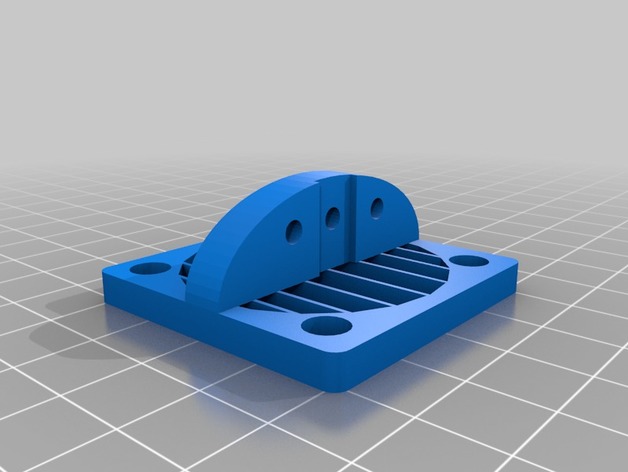
40mm fan bltouch mount 3D Print Model
Summary
just added fan guards, and rounded the corners a little is all -
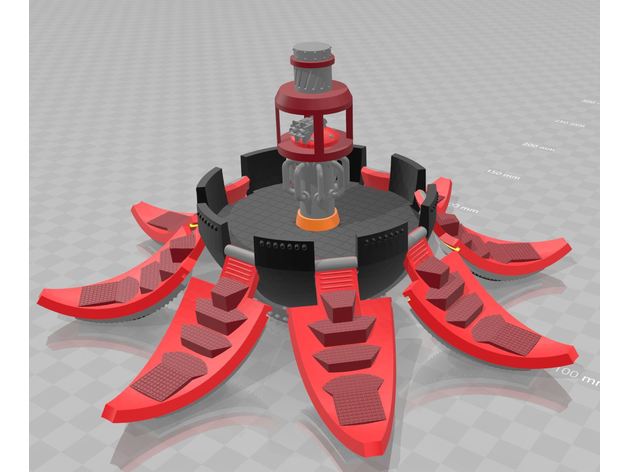
Drop Pod RT Era (28mm) 3D Print Model
Summary
Basic drop pod, recreated as best I could remember with some more modern attachments. Doors should be able to be opened and closed once assembled but a little filing might help.
Enjoy!
As always, please give feedback and/or requests. -
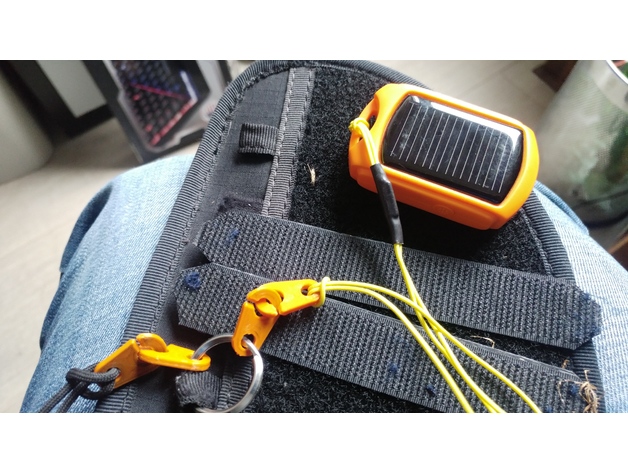
Croc fendu (sister clip) 3D Print Model
Summary
Croc fendu pour sécuriser ses accessoires rapidement. -
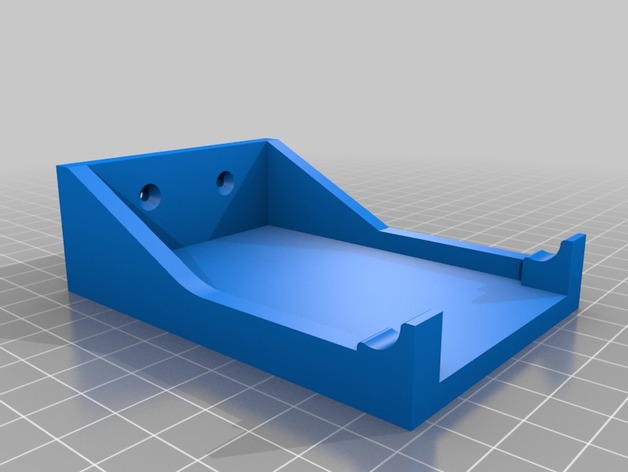
AA Battery Dispenser Wall Mount 3D Print Model
Summary
Wall-mount for LarNIL’s AA battery dispenser.
I added a small step in front of the dispenser to hold the batteries in place.
Print Settings
Printer:
Anet A8
Rafts:
Doesn’t Matter
Supports:
Doesn’t Matter
Resolution:
0.2 mm
Infill:
20-30%