Summary
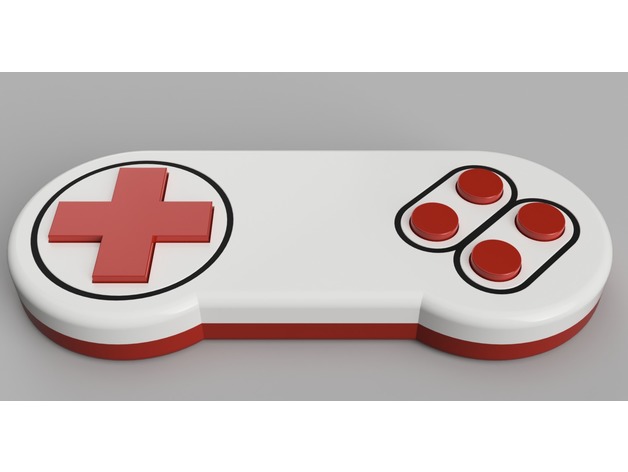
As part of my LED-Matrix Table project (uploaded soon) , I designed this game controller to control the table and to play games. It can be used as an input device for a wide variety of micro-controllers or raspberry pi computers.
Up to 8 controller can be used in parallel with the same control chip. The state of the eight buttons can be read by using the I2C protocol and therefore it only requires 4 wires for connection.
Additional Parts
The chip, included in the controller, is a PCF8574 on a small circuit board from Amazon (8€):https://www.amazon.de/gp/product/B06W564ZSD
And the pushbuttons are from Ebay (1.2€):http://www.ebay.de/itm/10-Stück-DIP-4-Mini-Drucktaster-Printschalter/272861590169
Additionally, you need a few wires for connecting the buttons to the PCF8574 chip and a 4-wire-cable with approx. 2 meter length to connect the controller to the raspberry pi.
Instructions
Print all parts 🙂
Cut out two perfboard pieces with a dimension of 40×40 mm each.
Solder 4 buttons on each perfboard, pay attention to the proper alignment (use the X button as reference, both perfboards require the same alignment)
Connect one pin of each button to the I2C port extender. Connect the other pin of each button to GND on the port extender circuit board.
Slide the two prefboards into their rails and use hotglue to fixate them (check if the align with the corresponding button holes as good as possible.
Connect the long cable to the port extender board. If you use the same board, you have to desolder the i2c connector on both sides.
Fixate the port extender board with some hotglue in the center of the controller as shown in the the pictures above.
Connect the other end to your arduino / raspberry pi and you are done.
Have fun! 🙂
Print Settings
Rafts:
No Supports:
No Resolution:
0.2 mm Infill:
15% Notes:
Multi-color
Multi-color printing of the front side of the controller can be achieved by pausing the print before layer 2 and 4 (0.2 mm layer height). Print layer 2 and 3 in a different color to achieve the colored inset, seen in the pictures above.
I2C Game Controller for Arduino / Raspberry Pi 3D Print Model