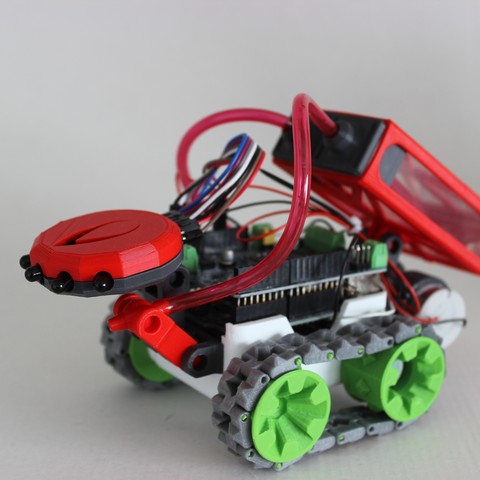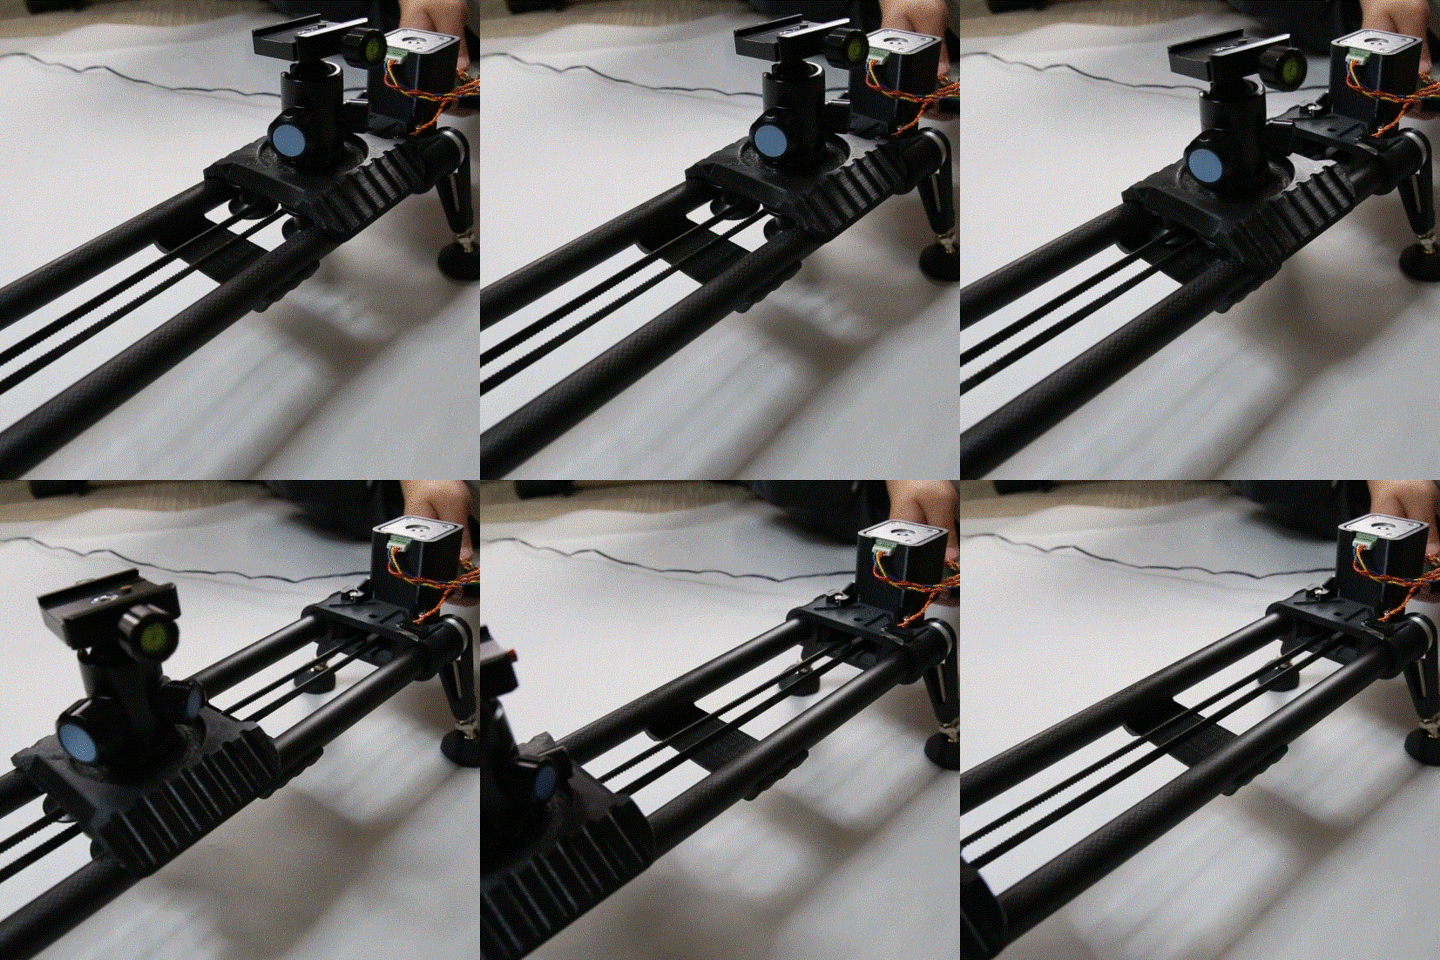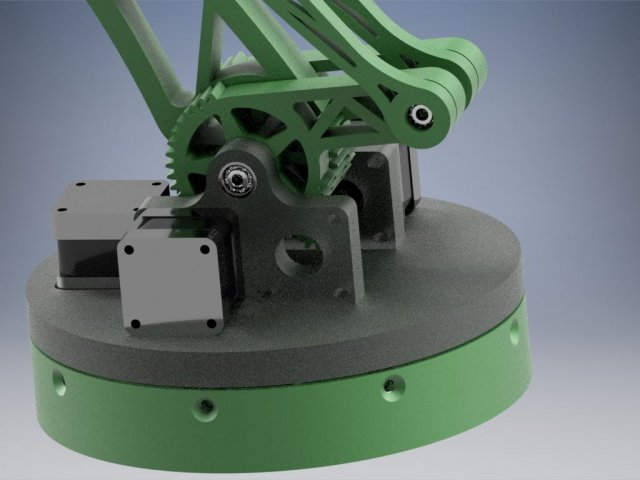
Excellent robotic arm controlled by arduinoStepper motor nema 17Stepper motor 28BYJ48Bearing 608Bearing 625*** ONLY .STL FILES ***without arduino programming.
Tag: arduino
-
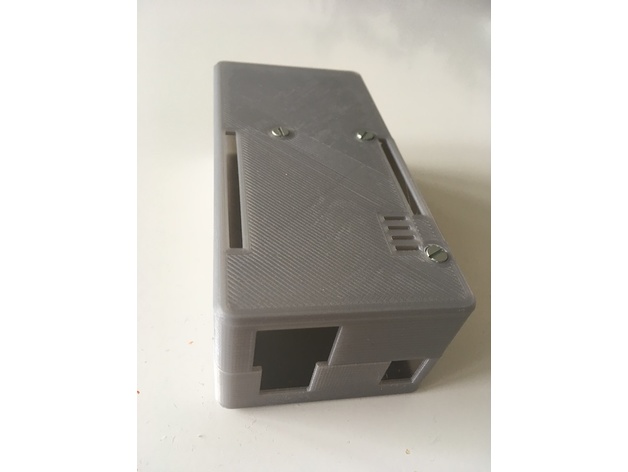
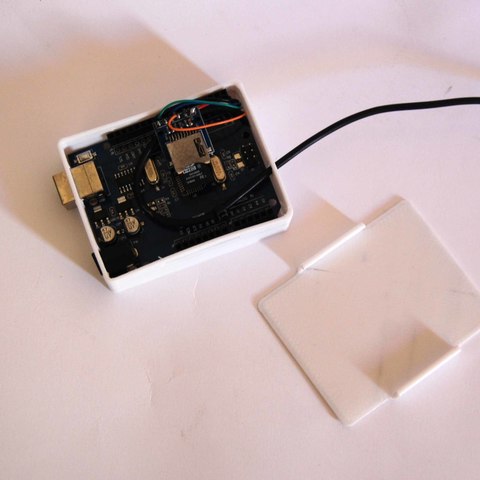
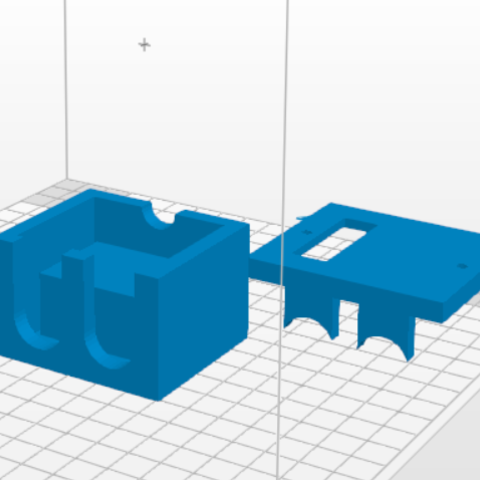
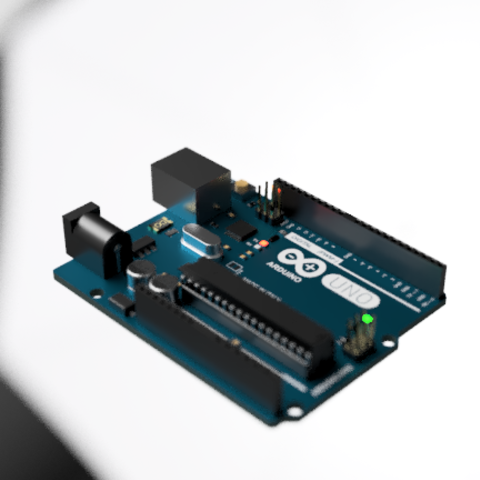
Arduino Uno Rev3 with Ethernet Shield XL-case 3D Print Model
Summary
This design features extra space for battery or circuitry. It requires 40mm M3 screws. Only three screws are used because there is no space left to accommodate the countersink between the pin slot and the screw hole.
Print Settings
Printer:
Geeetech i3 Pro B
Rafts:
No
Supports:
No
Resolution:
0.2
Infill:
20 -
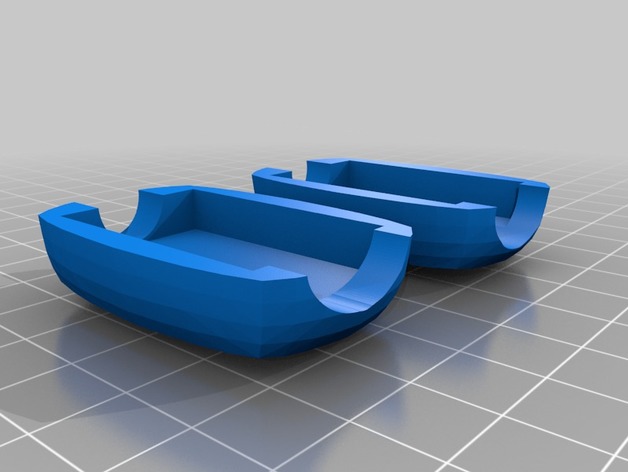
Arduino pro micro case 3D Print Model
Summary
A case for the Arduino Pro Micro. Just hot glue the sides together.
Print Settings
Printer Brand:
FlashForge
Printer:
Finder
Rafts:
Yes
Supports:
Yes
Resolution:
Whatever
Infill:
WhateverPost-Printing
Put the arduino inside and hot glue the pieces together. One side is for wires and the other side is for a USB cable. -
![[HappyKeys] Instagram / Facebook Auto Scroller, Arduino Attiny85 Programmable Macro Key Instruction 3D Print Model](https://3dhunt.co/static/2018/02/f81ac5955f34fe0357220d26f397a57a.jpeg)
[HappyKeys] Instagram / Facebook Auto Scroller, Arduino Attiny85 Programmable Macro Key Instruction 3D Print Model
Summary
———————————— Parts ———————————
Cherry Key Switch http://amzn.to/2BEygaX
Attiny85 http://amzn.to/2FvhOw6
Keycap http://amzn.to/2DO1ydg
Micro USB cable http://amzn.to/2Enrycm
Blu-Tack Reusable Adhesive http://amzn.to/2DQgOlT
Finished Product(soon) https://www.etsy.com/people/xhjkunl8?ref=hdr_user_menu
Material Kit(soon) https://www.etsy.com/people/xhjkunl8?ref=hdr_user_menu
———————————— Tools ———————————
Filament for 3d print (PLA 1.75mm) http://amzn.to/2DhxPpo
Hot melt glue gun http://amzn.to/2CMf8cE
3D printer (P802MA) http://amzn.to/2CWuVZE
Soldering Iron Kit http://amzn.to/2Gv8UA3
———————————— Instruction ————————–
Source Code https://github.com/happythingsmaker/HappyKeys
3D model file (for 3d printer) https://www.thingiverse.com/thing:2777861
Youtube https://youtu.be/Y8Oh4aj96gU
Manual https://github.com/happythingsmaker/HappyKeys/blob/master/README.md
Schematic https://github.com/happythingsmaker/HappyKeys
———————————— Follow Me ———————————
Instagram: https://www.instagram.com/happythingsmaker/
Facebook: https://www.facebook.com/happyThingsMaker/
Blog : http://happyThingsMaker.com -
YABR – Your Arduino Balancing Robot 3D Print Model
Summary
These are the 3D-parts for the famous YABR Selfbalancing Robot, which you can find at http://www.brokking.net/yabr_main.html
All kudos and many thanks go to J. Brokking for his comprehensive building manual and the videos!
Print Settings
Printer Brand:
Prusa Printer:
i3 MK2S Rafts:
No Supports:
No Resolution:
0,2 mm -
I2C Game Controller for Arduino / Raspberry Pi 3D Print Model
Summary
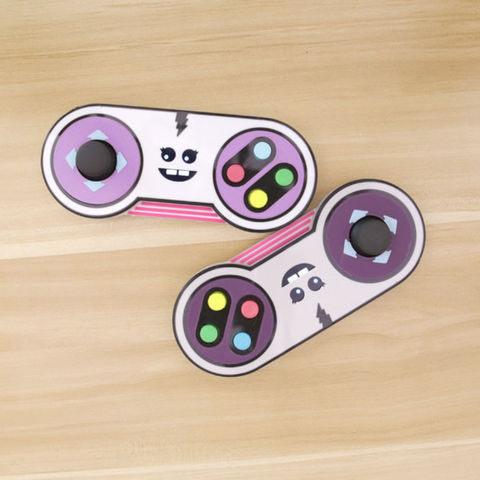
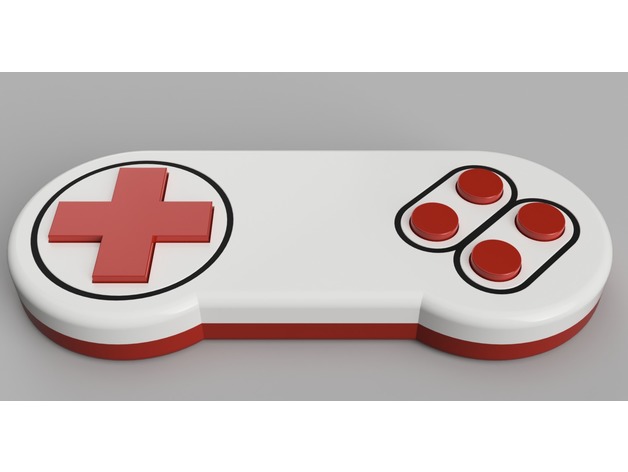
As part of my LED-Matrix Table project (uploaded soon) , I designed this game controller to control the table and to play games. It can be used as an input device for a wide variety of micro-controllers or raspberry pi computers.
Up to 8 controller can be used in parallel with the same control chip. The state of the eight buttons can be read by using the I2C protocol and therefore it only requires 4 wires for connection.
Additional Parts
The chip, included in the controller, is a PCF8574 on a small circuit board from Amazon (8€):https://www.amazon.de/gp/product/B06W564ZSD
And the pushbuttons are from Ebay (1.2€):http://www.ebay.de/itm/10-Stück-DIP-4-Mini-Drucktaster-Printschalter/272861590169
Additionally, you need a few wires for connecting the buttons to the PCF8574 chip and a 4-wire-cable with approx. 2 meter length to connect the controller to the raspberry pi.
Instructions
Print all parts 🙂
Cut out two perfboard pieces with a dimension of 40×40 mm each.
Solder 4 buttons on each perfboard, pay attention to the proper alignment (use the X button as reference, both perfboards require the same alignment)
Connect one pin of each button to the I2C port extender. Connect the other pin of each button to GND on the port extender circuit board.
Slide the two prefboards into their rails and use hotglue to fixate them (check if the align with the corresponding button holes as good as possible.
Connect the long cable to the port extender board. If you use the same board, you have to desolder the i2c connector on both sides.
Fixate the port extender board with some hotglue in the center of the controller as shown in the the pictures above.
Connect the other end to your arduino / raspberry pi and you are done.
Have fun! 🙂
Print Settings
Rafts:
No Supports:
No Resolution:
0.2 mm Infill:
15% Notes:
Multi-color
Multi-color printing of the front side of the controller can be achieved by pausing the print before layer 2 and 4 (0.2 mm layer height). Print layer 2 and 3 in a different color to achieve the colored inset, seen in the pictures above. -
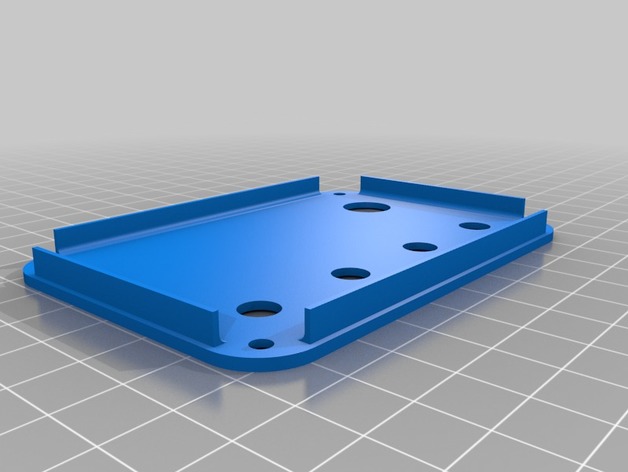
Arduino 8-bit synth case 3D Print Model
Summary
This case was designed after reading a new magazine called Hackspace. In this issue a man named Chris Ball shows how to turn an Arduino uno in to a 8-bit synth.
i like the uno basics kits you can get off Ebay and the Adafruit perma-proto, so i desgined this kit to house those.
holes for the pots and push button are included in design but have not put holes for audio jack and CH340 USB which will vary depending on what one you have.
You will need:
Adafruit perma-proto 1/2 size
CH340G USB TTL Serial Adapter Ebay 162766671421
Arduino Uno FULL kit UK – Ebay 162597203220
4x 10k linear potentiometers
470r resistor
100uF electrolytic capacitor
push button (12mm)
audio jack
Print Settings
Printer:
TronXY P802MA Rafts:
No Supports:
No Resolution:
any Infill:
15-20% -
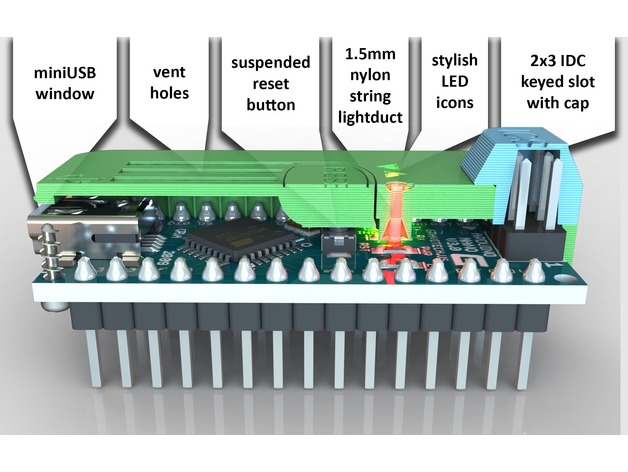
Arduino nano case 3D Print Model
Summary
I designed this Arduino nano case according to:
FDM 3D printable
Integrated suspended reset button
2×3 IDC keyed compatible slot for icsp connector
ICSP connector cap
Cool LED icons
1.5mm translucent nylon string used as lightduct
Side ribs for easy application uninstall
1.8mm self-taping screws ultimately fixes board
Vent holes
Print Settings
Notes:
Print both parts top-down 0.2mm layer (with 0.3mm 1st layer).
Use skirt and brim.
Cap may request supports adding.
Post-Printing
Better use solvent (acetone) bath (with ABS) -
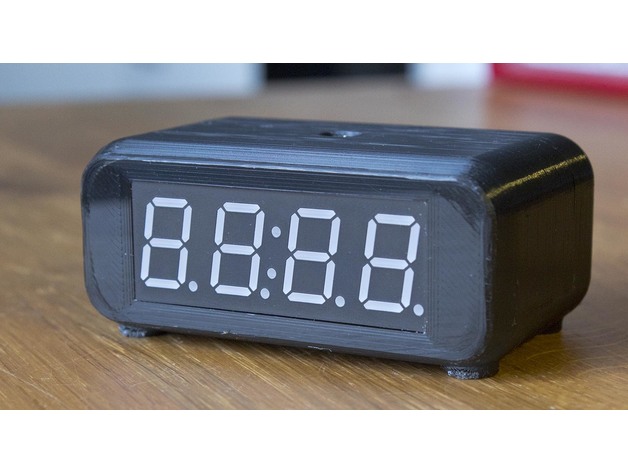
Simple Arduino based clock 3D Print Model
Summary
This is a simple clock based on an Arduino Nano, an RTC module and a serial 7 segment LED display module. It has a fast and easy to use user interface with four buttons to set the time on the back side. The case is 3D printed in two halves that are screwed together with two M3 screws.
Only the STL-files for the case is available here on Thingiverse, schematic and Arduino code is available on my website here: http://axelsdiy.brinkeby.se/?page_id=1485 -
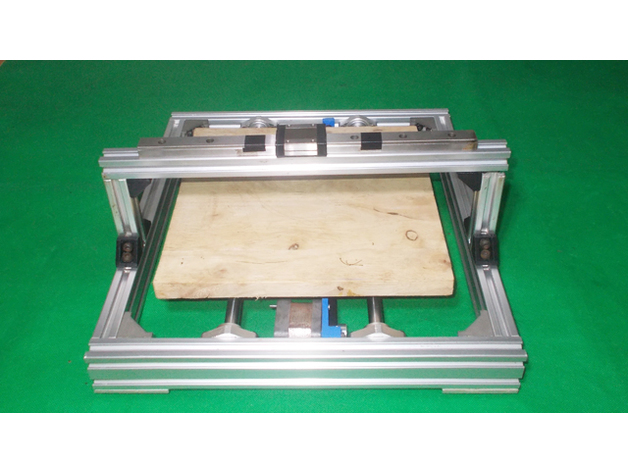
Homemade Laser Plotter Draw Mill 3D Printer Arduino Robotic Drawing DIY Z Axis Slide Linear Frame 3D Print Model
Summary
DIY Y Axis Frame here: https://www.thingiverse.com/thing:2544021
DIY Bed Base Frame here: https://www.thingiverse.com/thing:2490465
DIY Y Axis Bed Base Frame here: https://www.thingiverse.com/thing:2543717 -
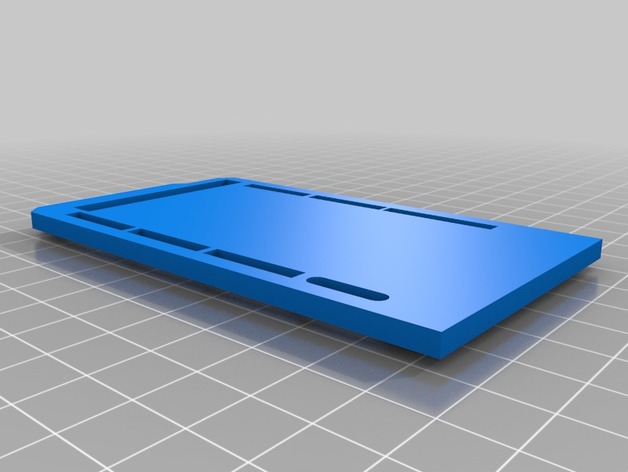
Body for a smart house on Arduino mega 2560 3D Print Model
Summary
Body for a smart house on Arduino mega 2560https://www.youtube.com/watch?v=ISe2zEk1XCM -
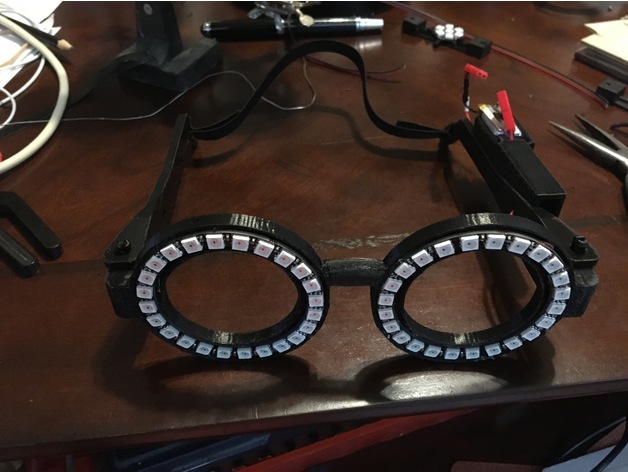
24 LED Neopixel Glasses for Arduino nano 3D Print Model
Summary
This is a remix of 4 existing files in order to make a pair of self contained Neopixel glasses using two 24 LED Neopixel rings, and an Arduino Nano processor.
I tried to hide the wiring inside the frames as much as possible, the bridge between the two rings is hollow for that purpose. Unfortunately one side is heavy, so I added an elastic to the back to keep the glasses on securely.
If you decide to use a different processor, you can mirror the left arm and add what you need instead of trying to remove the box on the right arm used to house the Arduino Nano.
Needed to build:
3D printed parts, – Print one -Glasses new, one left arm, one right arm, and 2 pins
2x 24 LED Neopixel rings- by Adafruit or on Ebay
1 foot – 3 conductor ribbon cable
1/8 inch drill – to clean out the holes in the arm for the arduino wires
3/16 inch drill – to clean out the holes for the arm pins
7.2v LI battery, or a battery of your choice that will run the processor and LEDs (I used 2 3.7v 180mah batteries in series)
connector for the battery
Nailfile emery board – to sand the edges that will be close to the face, and to round the pins so they are easier to move.
soldering iron
hot glue gun
Arduino Nano with no pins.
You will also need to program the Arduino Nano with the code. You will need the Adafruit_NeoPixel library. I reduced the brightness in the code so that you don’t burn out the Arduino 5v regulator. They are still bright enough. Solder the tx wire to pin D3.
The code is from Adafruit.
Credit: Glasses frame:
Harry Potter Glasses – with hinges
by sivar2311, published May 26, 2013
Arduino holder:
Arduino Nano Mount
by tjbn, published May 22, 2017
Pins:
Pin Connectors V3
by emmett, published Nov 5, 2012
Print Settings
Printer:
Anet A8 Supports:
Yes Resolution:
0.15 Infill:
35% Notes:
I used support only when touching the buildplate for the Glasses rings, This makes it easier to use the holes for the arms
The arms need support everywhere. I| use ZigZag, 5mm support line distance. -
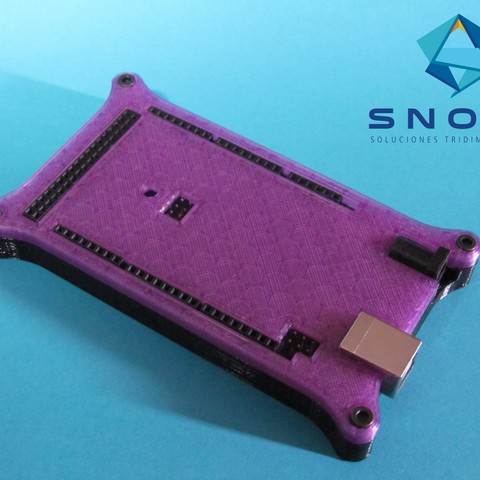
Arduino Mega Case 3D Print Model
The idea of this stylish cover comes because always the development boards have a rustic style and they are unprotected.
-
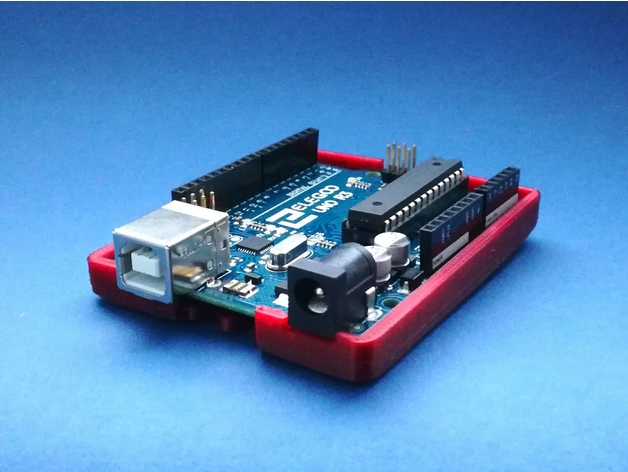
Arduino UNO Spring Case 3D Print Model
Summary
This is a protective cover I made for my Arduino UNO. The springs allow it to stretch around the board and stay in place.
Enjoy! -
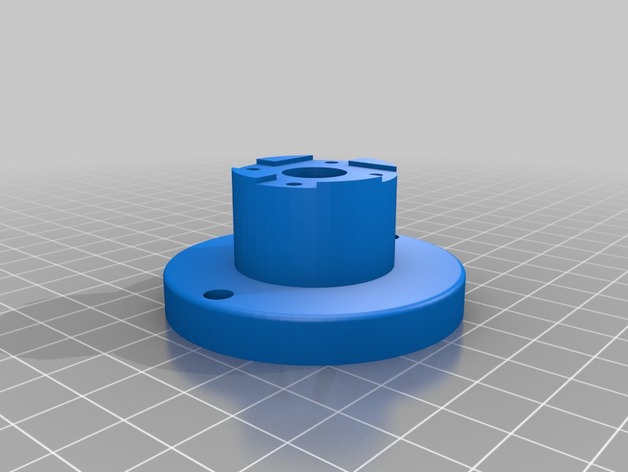
PIECES POUR AEP avec arduino nano (HOME-MADE) 3D Print Model
Summary
Quelques pièces pour fabriquer un allumage électronique programmable pour Véhicules anciens (A allumeur, et rupteur) -
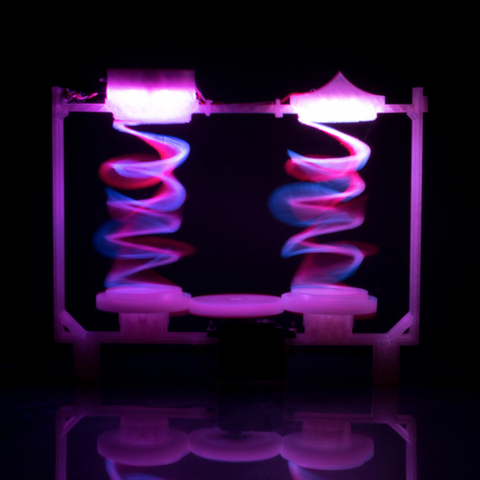
Dancing Springs 3D Print Model
I designed this with Fusion 360. Learn Fusion 360 with my online video courses at https://www.desktopmakes.com/
-
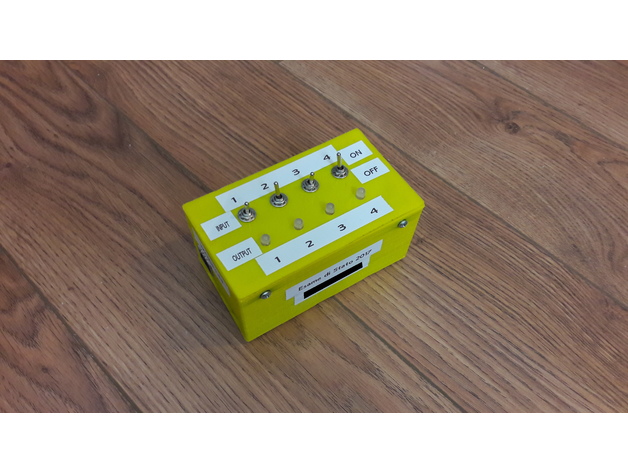
Box/Case for Arduino DUE and ethernet Shield with 4 I/O 3D Print Model
Summary
This is an demonstration box for arduino with ethernet shield.
With this device it is possible to simulate 4 inputs (4 LED two-color) and 4 outputs (4 switches).
If you install the POE (POE 802.3af) module, you can also power the module with an Ethernet cable.
I have designed this thing because i have to demonstrate how to integrate a diy domotic system (arduino) with Asterisk for the state exam of 2017.
You can find my source code (which allows you to control arduino with a web page) on my site.
It is very easy to build:
1, print 2 parts of the box
2, mount: arduino – ethenet shield – poe module
3, install 4 leds and 4 swithes
4, cannect led and arduino swings with wire and panel
5, put arduin inside the box and attach it with some hot glue
6, close the box and secure the cover with 4 screws
7, upload your code
8, show how it works !
This is only for arduino DUE but if you whant you can “remix it” for any other board 😉 -

Boomy The BoomBox 3D Print Model
Say Hi to Boomy! Who’s Boomy? Learn more. Get the files & learning tutorial: https://learn.adafruit.com/boomy-the-boombox/overview
-
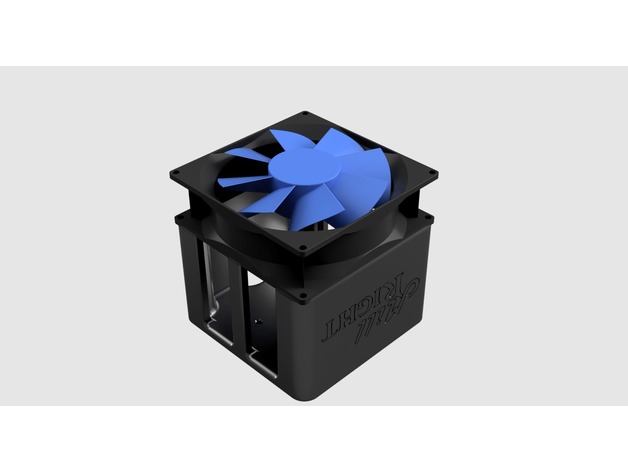
Enclosure for Arduino Stepper Controller Shield (MillRight M3) 3D Print Model
Summary
An enclosure for the Arduino Shield Stepper Controller for the MillRight M3 CNC Machine. -
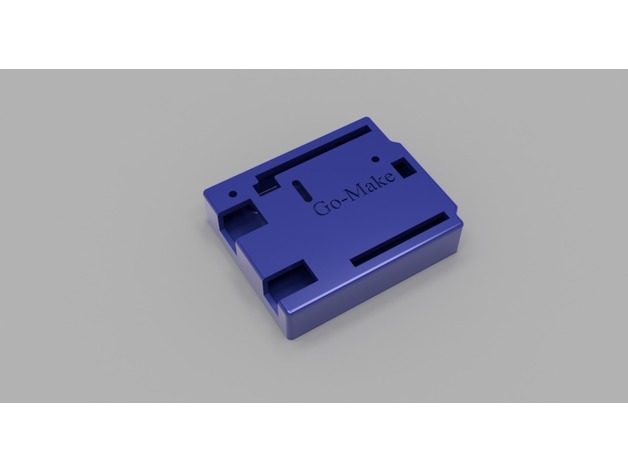
Snug Arduino Uno case – remixed 3D Print Model
Summary
Re-mixed this nice design for a workshop. We are using different types of Arduino clones. This remix will hopfully by the one that all can use. If not, then we will redesign it some more.
Print Settings
Printer:
Go-Make Rafts:
No Supports:
No Resolution:
0.16 mm Infill:
40% -
Retro clock 3D Model
Watch made in the likeness of old