Summary
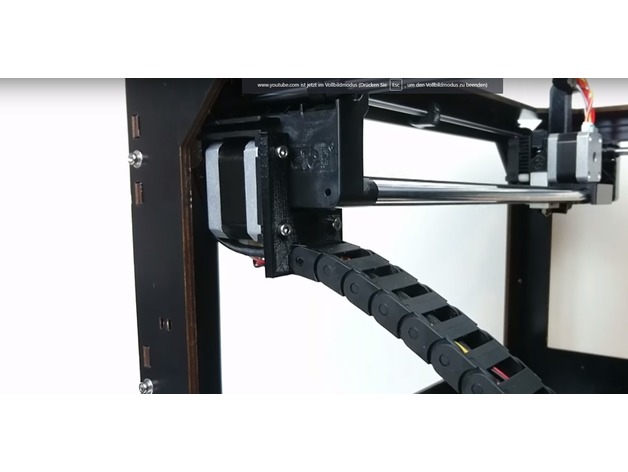
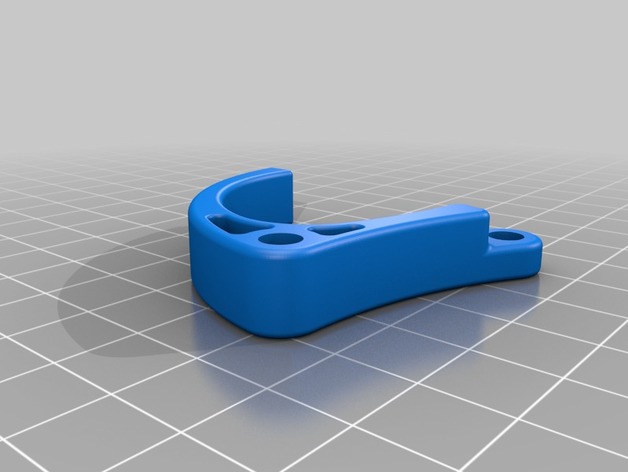
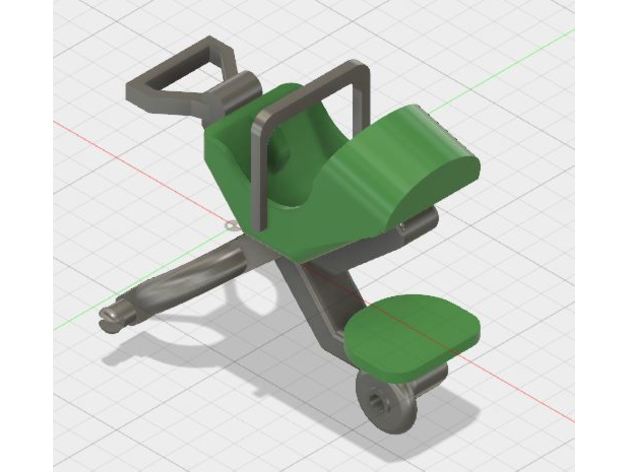
This is a bracket to let you put a flexion extruder on your CR-10.
Author: Thingiverse
-
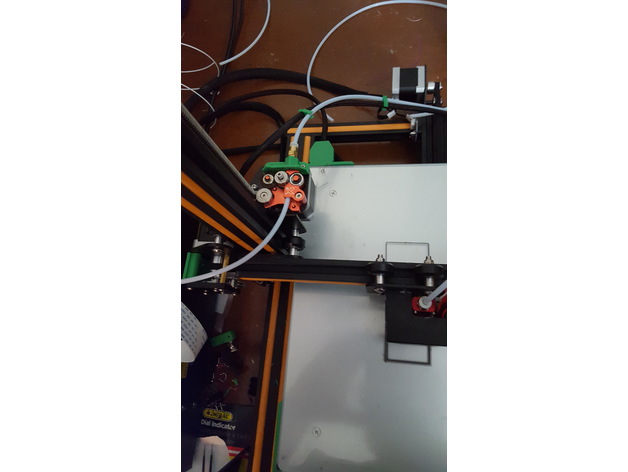
CR-10 Flexion bracket 3D Print Model
-
.25ofEncl 3D Print Model
Summary
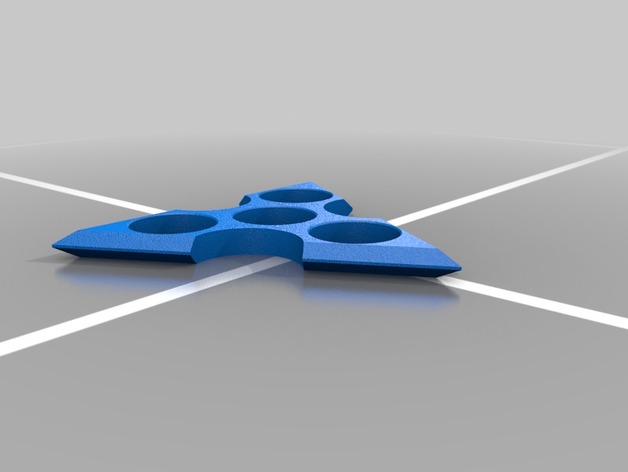
1/4th of Enclosure
Print Settings
Printer Brand:
MakerBot Printer:
MakerBot Replicator (5th Generation) Rafts:
Yes Supports:
Yes -
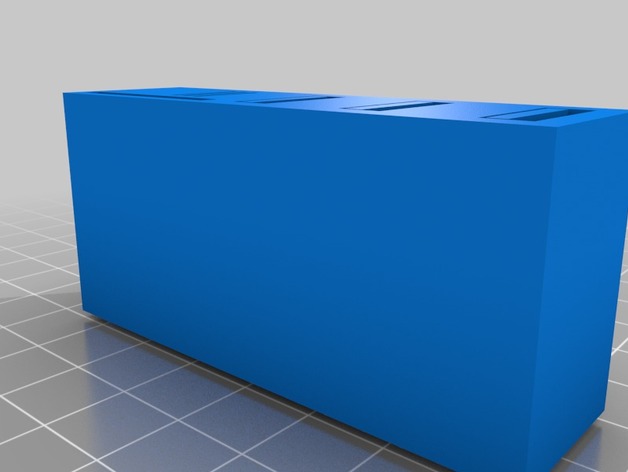
Flashdrive & SD card holder 3D Print Model
Summary
An SD card, and flash drive holder for someone who just loves flashdrives! It’s amazing, and I love mine. Have fun, and keep on printing! -
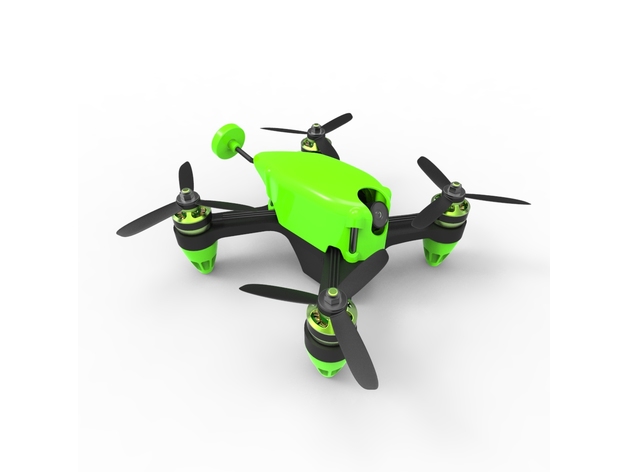
Aurora 3D Printed Drone 180 Racer 3D Print Model
Summary
180 FPV drone racing platform. Depending on the infill settings and printing materials used it will withstand crashes.
Recommended hardware needed:
4 x 4.5 inch props
motors between 2450kv to 2650kv and a 12N14P frame work
small 36mm x 36mm flight controller (tested with Dodo)
4 in one 36mm x 36mm electronic speed controller (tested with Favourite 20Ax4)
small 25mw VTX with fixed antena mount (tested with Foxeer TM25)
small FPV camera (tested with Foxeer Arrow V1)
VTX antena
40mm round aluminum standoffs used to secure the POD (5mm diameter)
steel screws to hold motors (6mm recommended thread length)
Printing recommendations:
POD should be printed with flexible filament, 70% infill and 1mm wall thickness.
Landing skids should be printed with flexible filament, 35% infill and 1mm wall thickness.
Bottom plate must be printed with a rigid filament such as ABS or PLA with the flat part towards the building plate. 35% to 70% infill (anything higher will be to heavy), 1mm to 2mm wall thickness and 3mm to 4mm bottom and top layers.
Setting low infill values will make the frame as light as it carbon fiber counterparts or maybe lighter. Unfortunately this will sacrifice strength. On the other hand setting higher values will make it stronger but heavier. With todays common 3d printed material such as ABS and PLA this frame will never be stronger than CNC carbon fiber parts. If you test the frame with better materials let me know how it goes. -
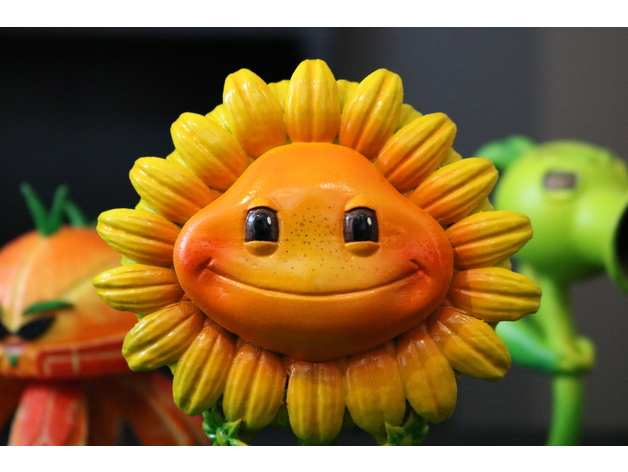
Sunflower (Plants vs Zombies) 3D Print Model
Summary
Watch here: https://youtu.be/39pGLfgecXs
It’s finally time we add another model to our Plants vs Zombies shelf. Citron and Peashooter were getting lonely, so I created the Sunflower to keep them company.
I created the model in ZBrush. I started by shaping the head and pulling out the stem so I can sort of see the proportions and start filling in the rest of the features like the petals and facial details. I mostly created one petal and patterned it around the face. Reusing assets saves a ton of time.
Then I printed it out on my Wanhao D7 resin printer. It was my first real model I printed on it and it came out way better than I thought it would. I had a bit of lifting from the bed, but other than that, it printed absolutely flawlessly.
Then I handed it off to Chelsey to do her magic. She primed it up then began painting it using her airbrush for the main colors and gradients, then using paintbrushes and acrylic paints to add the last details.
Printer: Wanhao D7
Resin: FunToDo Snow White
Layer Height: 0.1mm
Supports: Yes
Print Time: 8 hours -
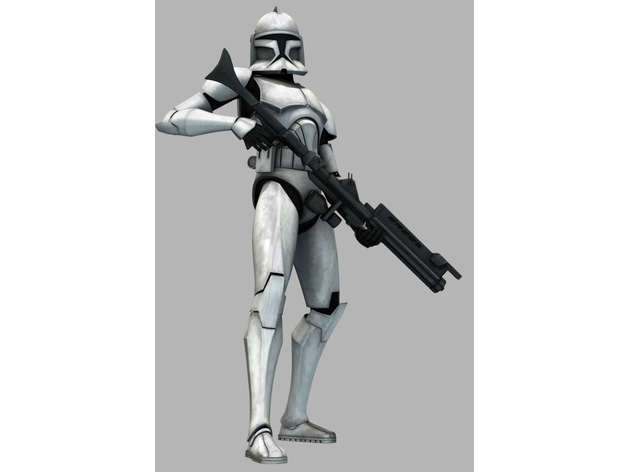
Clone Wars – Phase 1 Armor 3D Print Model
Summary
After 4 months i am finally done i have made the Clone Wars Animated CT
Credits tohttps://www.thingiverse.com/Jace1969/about
For giving me tamplates and showing me the way too make this real 😀 -
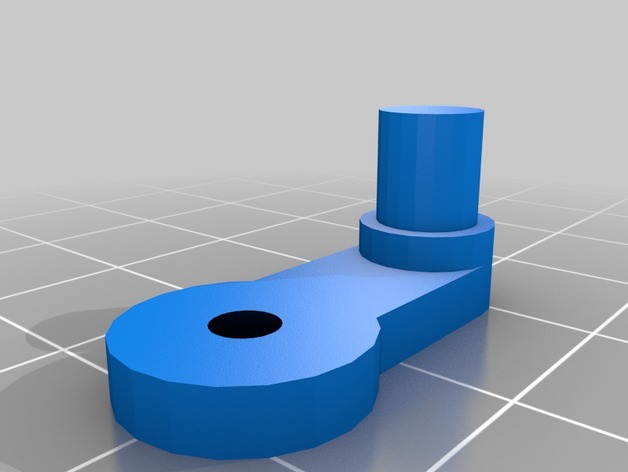
Cabinet glass retainer clip – 5/16″ 3D Print Model
Summary
Glass retainer clip used for kitchen cabinets.
Print Settings
Printer Brand:
Ultimaker Printer:
Ultimaker 2 Extended Rafts:
No Supports:
Doesn’t Matter -
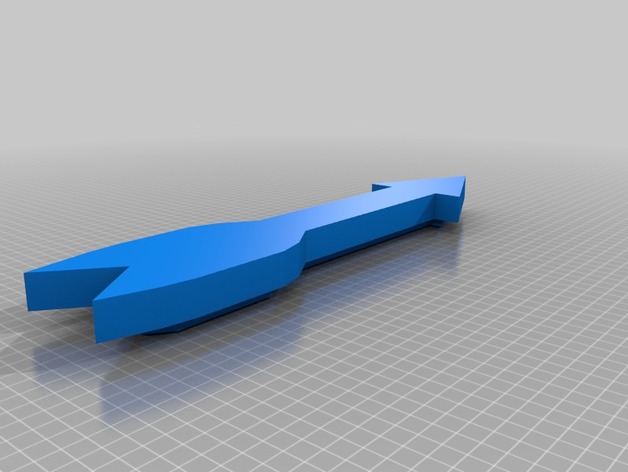
Arrow Box 3D Print Model
Summary
originally designed this for my wife for mothers day, she loves arrows hope you guys like it
Print Settings
Printer Brand:
Wanhao Printer:
Wanhao Duplicator i3 V2 Rafts:
Yes Supports:
No Resolution:
0.2 or 0.3 Infill:
25%-40% Notes:
I used a wood filament from HatchBox at 210 degrees and the bed at 30 degrees and I sprayed some hairspray on the bed and it worked great. It might be because I used the wood filament but I had to sand a little on the side of the lip on the lid.
Post-Printingthe lip on the lid might need to be sanded a little
-
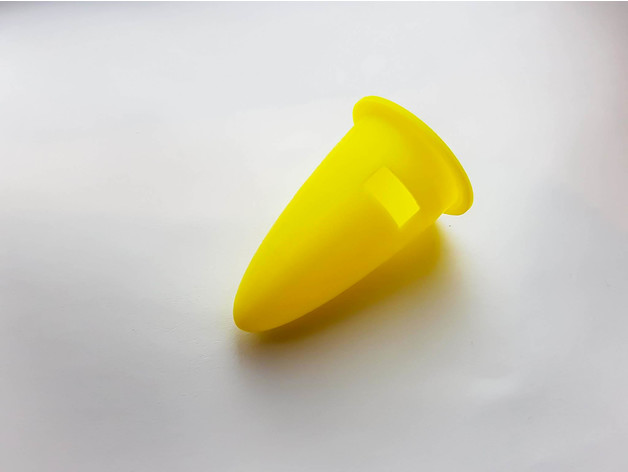
Intra-Bottle Inkwell for Noodler’s 3oz Bottles 3D Print Model
Summary
This is an intra-bottle inkwell for the Noodler’s 3 ounce bottles.
Print Settings
Printer Brand:
Prusa Printer:
Prusa Clone Rafts:
Doesn’t Matter Supports:
Yes Resolution:
0.2 Infill:
10% -
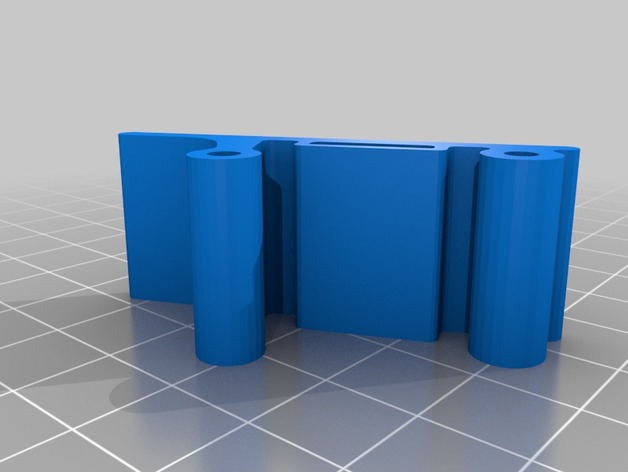
Tomoquads XBL2 DVR Camera mount 3D Print Model
Summary
DVR mount for Tomoquads XBL2
www.tomoquads.com -
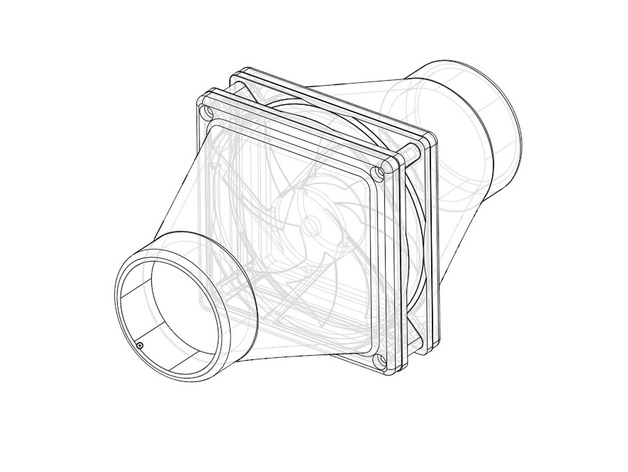
120mm Fan Cowl for 2″ PVC 3D Print Model
Summary
This is a fan cowl for a 120mm fan adapted to a 2″ PVC pipe. They can be joined together to create a forced air chamber.
Print Settings
Printer:
MadCat MKII Rafts:
No Supports:
No Resolution:
.3 Infill:
60% -
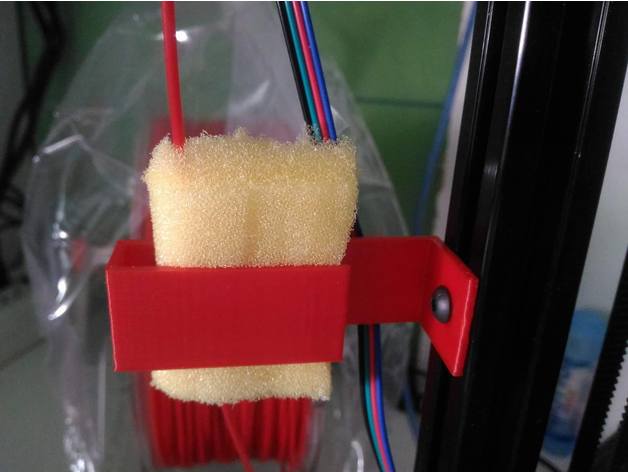
Filament Clean 2020 profile mount 3D Print Model
Summary
1x sponge
Print Settings
Printer Brand:
Deltaprintr Printer:
Deltaprintr Kit Rafts:
Doesn’t Matter Supports:
No Resolution:
0.2 Infill:
/ -
MC grass or mud stand 3D Print Model
Summary
making this for a friend for his bike, to use the kickstand on grass without the bike falling over
feel free to costimize or let me know if you want it with another brand or just plain 🙂 -
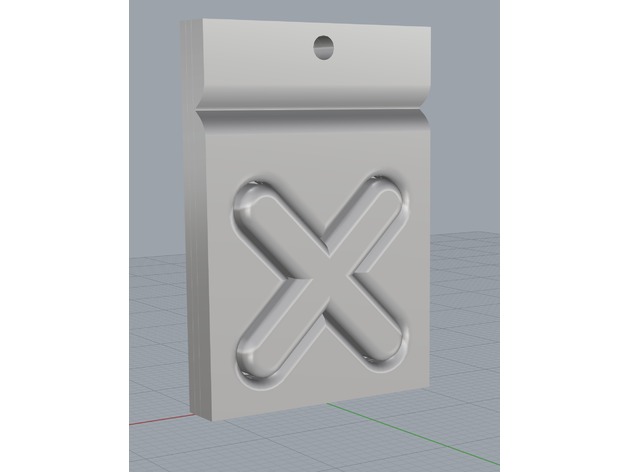
Nier: Automata 9s Pendant 3D Print Model
Summary
9s’s necklace pendant from Nier:Automata. Use jump rings to connect it to the choker -
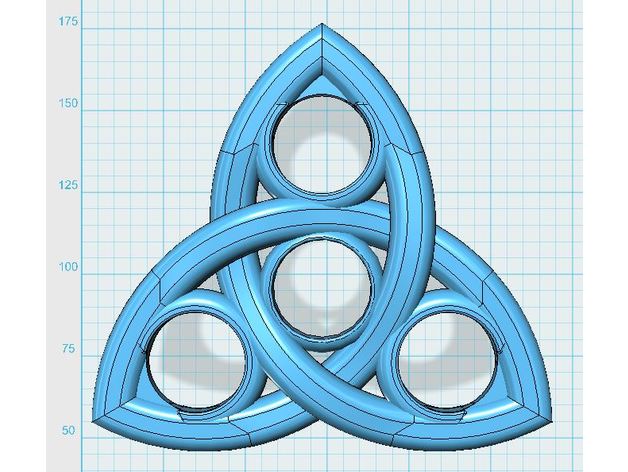
Celtic Knot Fidget Spinnner V2 3D Print Model
Summary
Celtic Knot Fidget Spinner meant to be used with Standard skateboard bearings eg.”608.”
This is version 2, it has slightly more rounded edges than the original.
Be Advised: I don’t have a 3D printer so I am not able to test this model. If you attempt to print this let me know what settings worked for you and I can add it to the description.
PS. I’m pretty new to this and would really appreciate your feedback on any tips you have on modelling for 3D printing. I have no idea what type of tolerances are common so the holes may need a bit of sanding to fit the bearing in.
Be sure to post photos if you do print this out. I’d love to see them! -
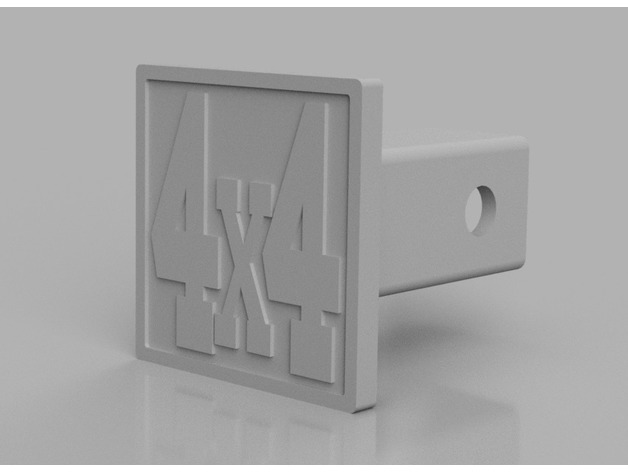
4×4 Trailer Hitch Cover 3D Print Model
Summary
This is a cover plate for a 2″ trailer hitch receiver. I suggest that you print it with supports, with the numbers facing upwards, giving you the option to switch filament colors about 1mm before it finishes. That’ll make the numbers and outline a contrasting color.
Print Settings
Supports:
Yes Resolution:
0.15-0.35mm Notes:
This is in progress and hasn’t been printed yet. -
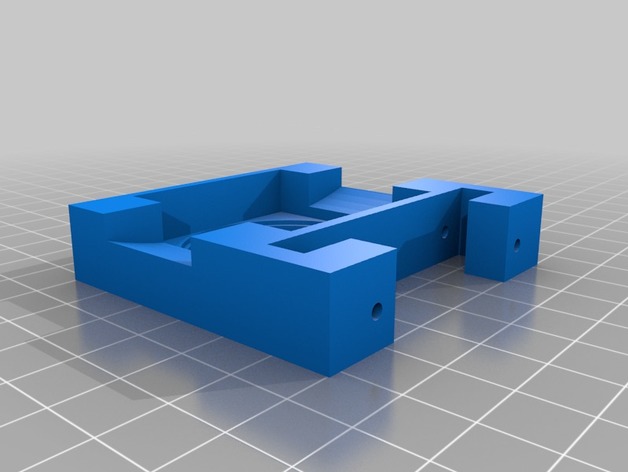
FolgerTech FT-5 + E3D Part Cooling Fan 3D Print Model
Summary
Wanted to design a simple to print part cooling fan for the FolgerTech FT5 with a E3D V6 hotend.
No extra parts required, just some glue.
Dry fit both parts, once happy use some super glue to secure the shroud.
The mount was fitted for a 40mm x 40mm fan.
Print Settings
Printer Brand:
Printrbot Printer:
Printrbot Simple Metal Rafts:
No Supports:
Doesn’t Matter Resolution:
.2 Infill:
20 Notes:
May or may not need supports.
How I Designed This
Designed with TinkerCad -
Cable Management & Switch Upgrade for STARTT (TronXY-100) 3D Print Model
Summary
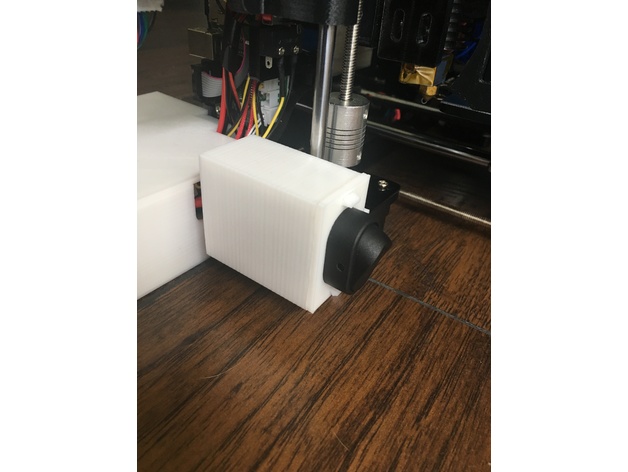
If you are like me and own a STARTT printer you know that the cable management for this printer can use some work. I spent some time trying to use as much of the supplied hardware as I could to route wires and came up with the routing shown in the images. It works very well and drastically cleans things up. To take it a step further I printed a box that hooks to the back of the printer so I could hide the excess wires running to the circuit board.
Additionally, the only way to power the printer off is to unplug from the wall or barrel connector. This is a pain and not good on the machine so I added a LED switch that I purchased from O’Reilly auto store rated at 30amps which is a little overkill, but works great.
Some of the images posted are just to show how I routed the wires and secured the wire bundles in case others are struggling to find a good solution with cable management for this printer.
I had some issues with warping on the parts, but they are functional and look way better than a rats nest of wires. May reprint in the future.
Note: All parts printed with PLA
Print Settings
Printer:
STARTT Rafts:
Yes Supports:
No Resolution:
0.2mm Infill:
10% -
skylander trap crystal stand 3D Print Model
Summary
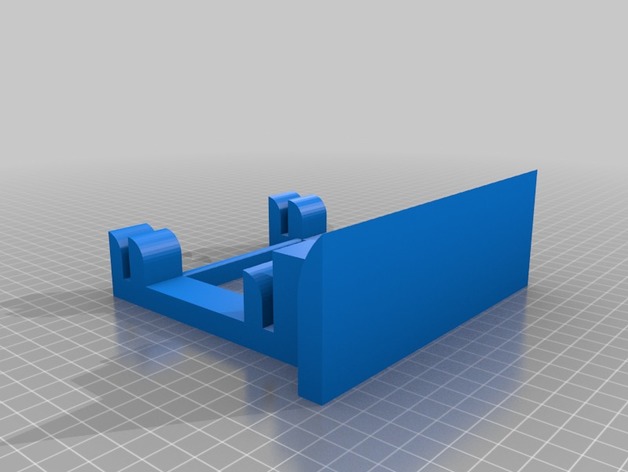
Skylander trap crystal stand.
Print Settings
Printer:
tevo tarantula and geeetech Rafts:
Yes Supports:
No Resolution:
0.25 Infill:
10% Notes:
the stand can carry 2 plates so print 2 if you need it.
best way to print the pate is printing on one side with raft. -
![[WIP] 3d printing filament spool holder 3D Print Model](https://3dhunt.co/static/2017/06/f4d9217058e74b3306cc55390014564f.jpeg)
[WIP] 3d printing filament spool holder 3D Print Model
Summary
A work-in-progress 3D printing filament spool holder.
Currently fits Inland and PolyMaker spools, and spools that are about 66 millimeters wide.
Designed to be cut out of 1/8″ cardboard (we love cardboard).
Laser cutting settings (40 watts laser cutter)
Speed 70
Power 100
Frequency 500
History
06/13/2017
Move to JocoLibrary MakerSpace account
Added .dxf files
06/12/2017
Removed the nested circles for spool centering
Re-generated .emf file (was crashing in Corel Draw)
06/11/2017
Initial upload: .svg and .emf files -
APOLLO A7-L Spacesuit (Study) 3D Print Model
Summary
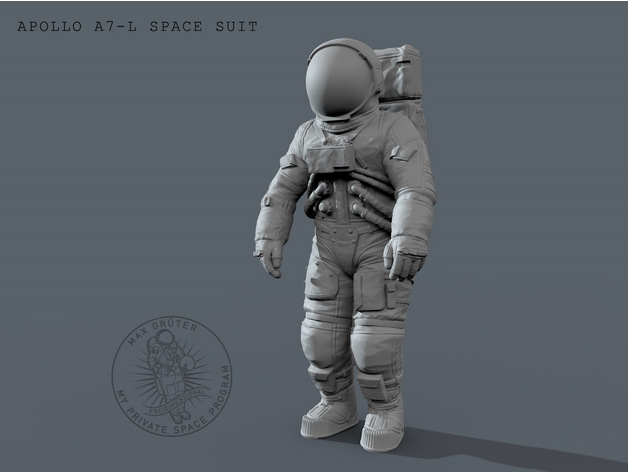
Detailed Figurative Study of an Apollo A7-L Spacesuit.
(Ready to be 3d printed in one single part)
Figure height 190mm -
cradle point antenna support 3D Print Model
Summary
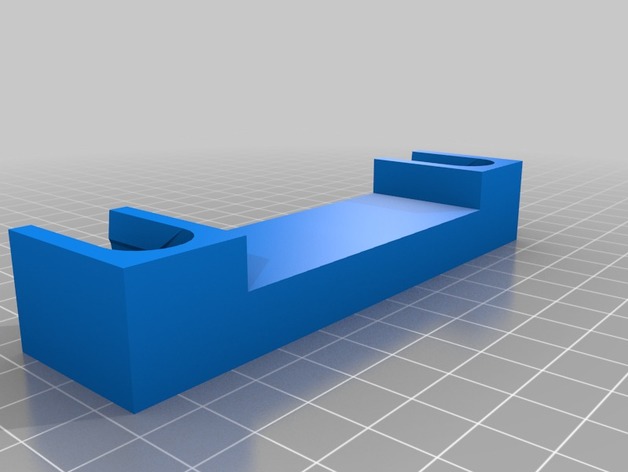
brackets to help hold the antennas upright while mounted in a vehicle.
Print Settings
Printer Brand:
MakerBot Printer:
MakerBot Replicator (5th Generation) Rafts:
Yes Supports:
No Infill:
25 -
Power Supply Cover 3D Print Model
Summary
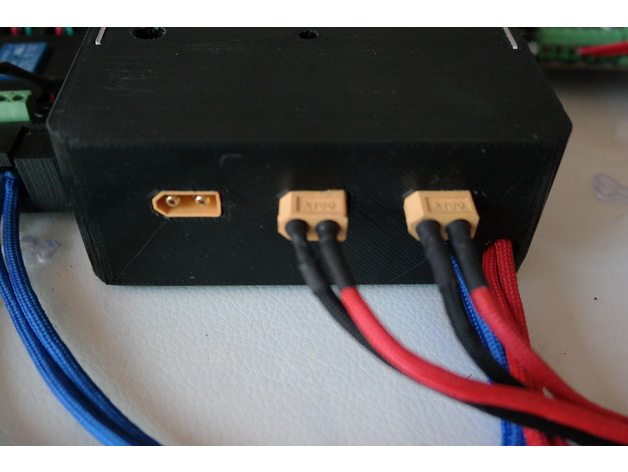
Another power supply for my new printer with lot power and nice quiet
Version 1 with two holes and one on top for my needs.
Version 1.1 for standard setup
I add also a drilling template for the holes on the bottom.
Things i use…Power Supply 24V 17A 400WXT60 on Banggood.com
orXT60 on AliExpress.com
3x M4x8 like this
4x M3
cheers and have a nice day
Print Settings
Rafts:
No Supports:
No Resolution:
2 Infill:
~50% -
Simple Vise 3D Print Model
Summary
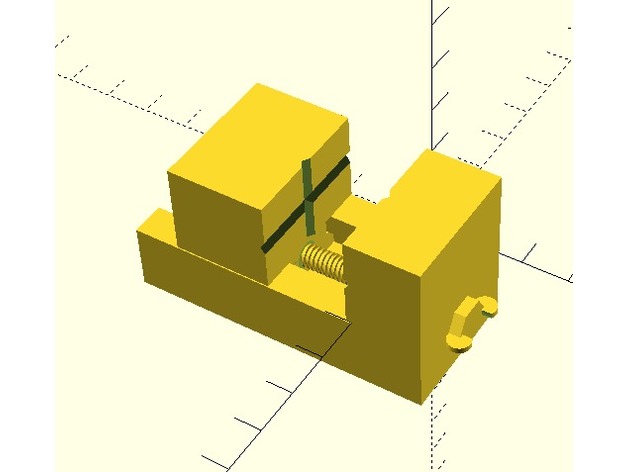
This is a simple vise. There are many like it, but this one’s mine.
Print Settings
Printer Brand:
MakerBot Printer:
MakerBot Replicator 2X Rafts:
Yes Supports:
Yes Resolution:
0.20 Infill:
10%
How I Designed This
I designed this mostly in OpenSCAD, with threaded subcomponents being generated using my python thread library (see python thread library). -
Computer monitor headphone stand 3D Print Model
Summary
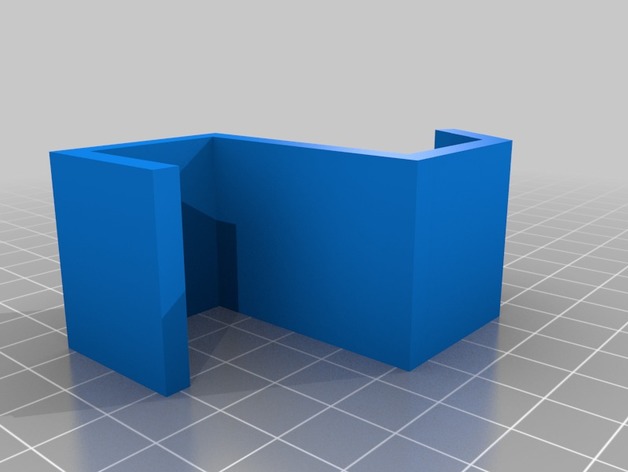
This headphone holder is meant to be placed on top of a computer monitor and hang your headphones off of that. -
Mebi 130 – a 130mm fpv quadcopter frame 3D Print Model
Summary
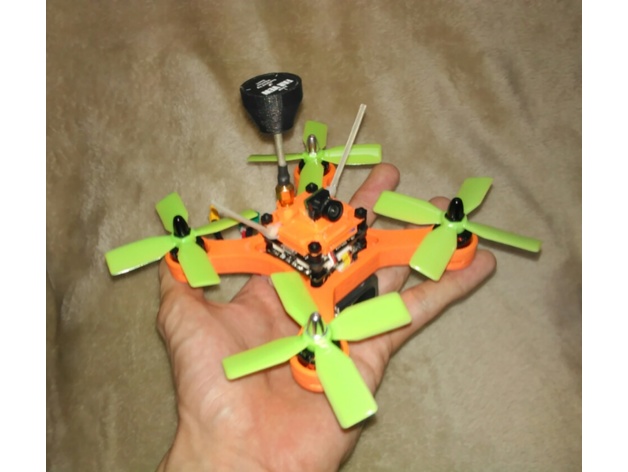
I crashed and broke my Youbi 130 frame, so I decided to design and print a new one. The frame I made is an X style quadcopter that fits all of the electronics from an “Awesome Youbi 130”.
The weight of my printed frame was 36.1 grams. I will see if I can get weight lower and frame stronger. I just printed the first one and am testing it now. Seems great, but I haven’t crashed it too badly yet 😉
Electronics:
Flight controller -https://www.banggood.com/Youbi-XV-130-F3-Flight-Controller-Integraded-25mW-200mW-400mW-40CH-5_8G-VTX-FPV-Transmitter-p-1134566.html?p=WL2504207536201306OF (Any standard size FC will work. The AIO saves space nicely.)
Speed Controllers -https://www.banggood.com/Youbi-XV-130-PDB-XT60-Integraded-4-in-1-BLHeli_S-20A-ESC-Power-Distribution-Board-for-FPV-Micro-Race-p-1134565.html?p=WL2504207536201306OF 4 in 1 20A ESC (any similar size 4 in 1 esc should work)
Motors -https://www.banggood.com/Youbi-XV-130-XV-130-1306-3600KV-Mini-Micro-Motor-2S-4S-For-FPV-Racer-p-1119162.html?p=WL2504207536201306OF 1306 Brushless 3600kv
Propellers –
Up to 3″
I am working on the camera hood now and will post it once I make on that I like.
Thanks for looking!
Print Settings
Printer:
Malyan M180 Rafts:
No Supports:
No Resolution:
0.2 Infill:
100%
How I Designed This
I used a free design program called designspark mechanical -
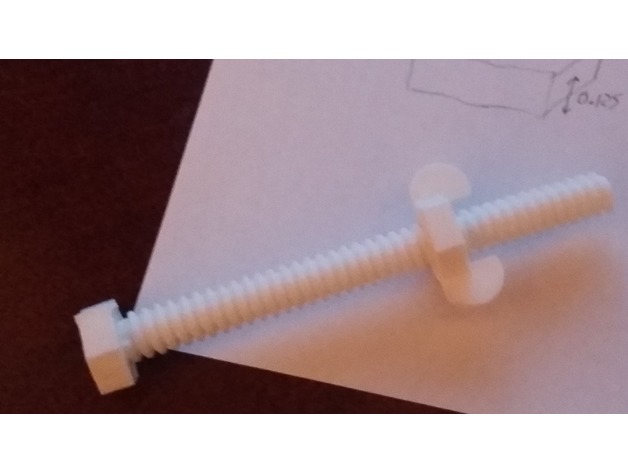
3/8″-10 ACME bolts and wing-nut 3D Print Model
Summary
I didn’t want to keep paying for hardware at home depot. I had a library to make ACME threads in OpenSCAD. This is one of the results (if you want to just grab some hardware and don’t want to mess around with my python thread library). Very addictive fidget toy….
Print Settings
Printer Brand:
MakerBot Printer:
MakerBot Replicator 2X Rafts:
Yes Supports:
Yes Resolution:
0.2 mm Infill:
2 shells, 10% infill Notes:
ABS plastic -
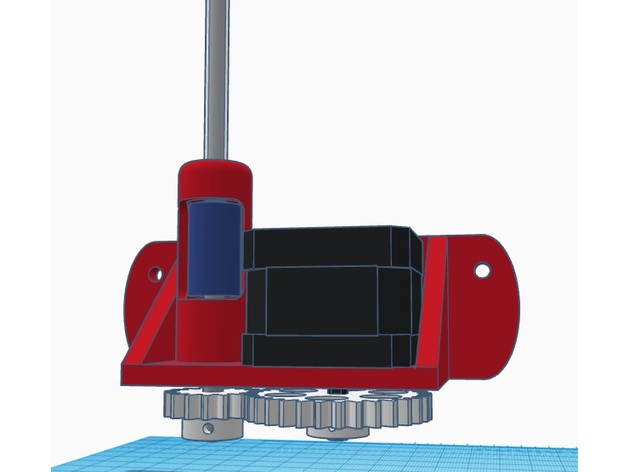
NEMA 17 Multiplier – Mount 3D Print Model
Summary
Experimenting with a 1:2 stepper multiplier for my home made flex drive…
This is a work in progress!
Need (2) bearings: https://www.amazon.com/gp/product/B00Y5W3JYS/ref=oh_aui_detailpage_o03_s00?ie=UTF8&psc=1
&
5mm shaft/axle: https://www.amazon.com/gp/product/B01MTKNWZB/ref=oh_aui_detailpage_o03_s01?ie=UTF8&psc=1 -
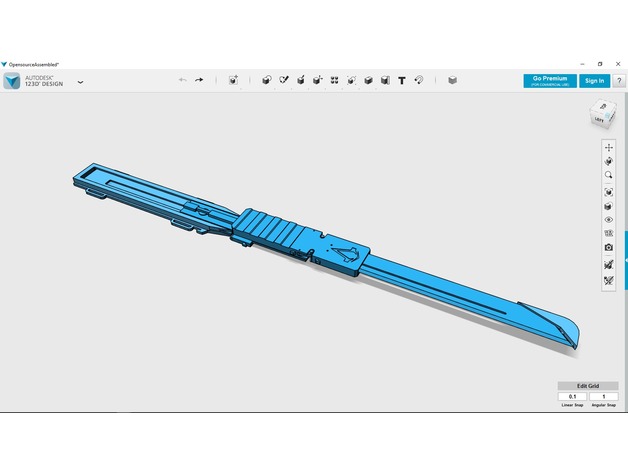
Assassin’s Creed Rotative (Connor Style) Modern Hidden Blade – Open Source (WIP) – By Adrian “Arkotel” 3D Print Model
Summary
ENGLISH:
A modernized design of the Hidden Blade of Assassin’s Creed III mainly conceived for Cosplay. Free/Open Source so anyone could modify and adapt it. Obviously mentioning and giving credit to the original file. The “OsBlade” file has a safety pin that also works as support so no fool thinks it’s a real weapon. It’s Not… It’s your problem if you remove it. (You know how paranoic people might be)
Based and inspired by Chris “Ammnra” Myles’ Connor Hidden blade Prop.
ESPAÑOL:
Un diseño modernizado de la Hoja Oculta de Assassin’s Creed III concebido principalmente para Cosplay. Fuente Libre/Abierta para que cualquiera lo pueda modificar y adaptar. Obviamente mencionando y dando credito al archivo original. El archivo “OsBlade” tiene un “Pin” de seguridad que funciona tambien como soporte para que ningun tonto piense que se trata de un arma de verdad. No lo es… Es tu problema si lo quitas. (Ya saben cuán paranóica puede ser la gente)
Basado e Inspirado en la Connor Hidden Blade Prop de Chris “Ammnra” Myles
Print Settings
Printer Brand:
FlashForge Printer:
Dreamer Rafts:
Doesn’t Matter Supports:
Yes Resolution:
Testing… Infill:
Testing… 20% – 50% Notes:
ENGLISH:
Not printed yet… at least by me. If someone finds a design and/or functionality mistake, please let me know in a comment.
It’s not possible this violates copyright somehow…
ESPAÑOL:
No ha sido impreso aún… al menos por mi. Si alguien encuentra algun error de diseño y/o de funcionalidad, por favor hágamelo saber en un comentario.
No es posible que esto infrinja derechos de autor de alguna forma…
Post-Printing
Additional Materials / Materiales adicionales
ESPAÑOLLija (de ser necesario ya que el diseño esta pensado para salir directo de la Impresora 3D)
Pegamento
Imanes.
Ligas/Bandas elásticas (de preferencia las que usan los dentistas. No temas pedirle a tu dentista que te regale/venda unas cuantas)
Clips o palillos dentales (lo que quepa en los agujeros)
ENGLISH:sandpaper (if needed, because the design was thought to get out directly from 3D printing)
glue
Magnets
Rubber bands (preferentially those used by dentists. Don’t be afraid of asking your dentist to sell/give you some)
Clips or Toothpicks (whatever fits in the holes)
-
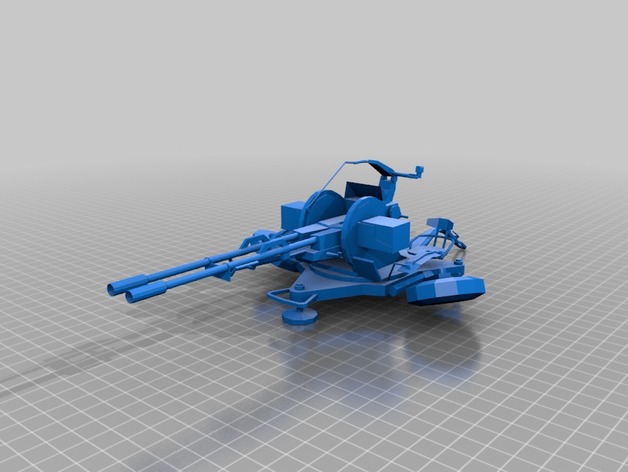
ZsU 23-2 AAG 3D Print Model
Summary
This is not my own design. I found it on a Russian forum, but unfortunately I forgot it’s name. If anyone knows it, let me know it to give credit to the guy. -
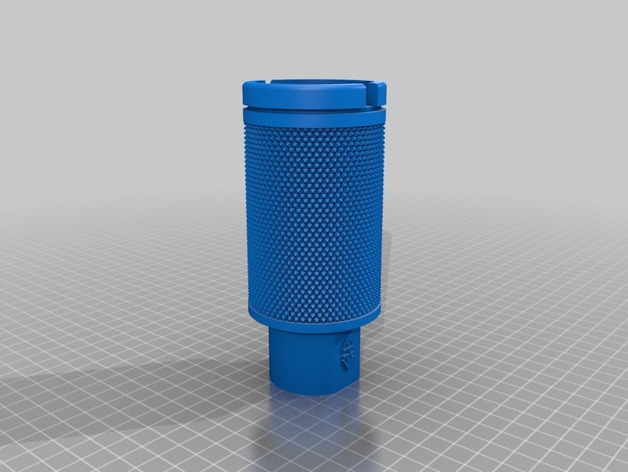
Flash Hider Barrel Attachment v6 3D Print Model
Summary
Flash Hider Barrel Attachment v6
Why we no longer sell it: took a long time to print and a lot of bed space. -
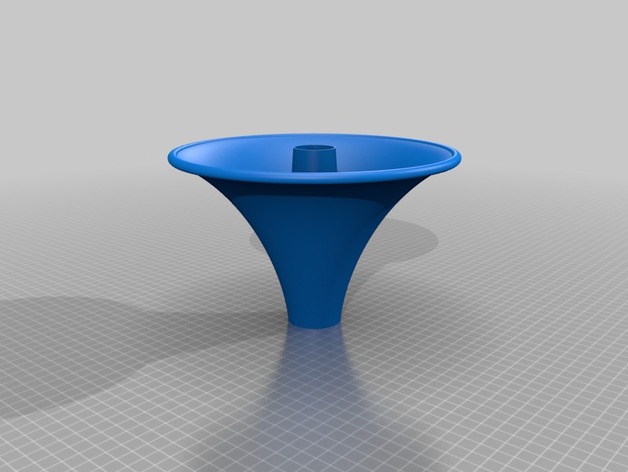
Flash Hider Barrel Attachment v10 (The Blunderbuss) 3D Print Model
Summary
Flash Hider Barrel Attachment v10 (The Blunderbuss)
Why we no longer sell this: Seriously? Look at it, its huge! -
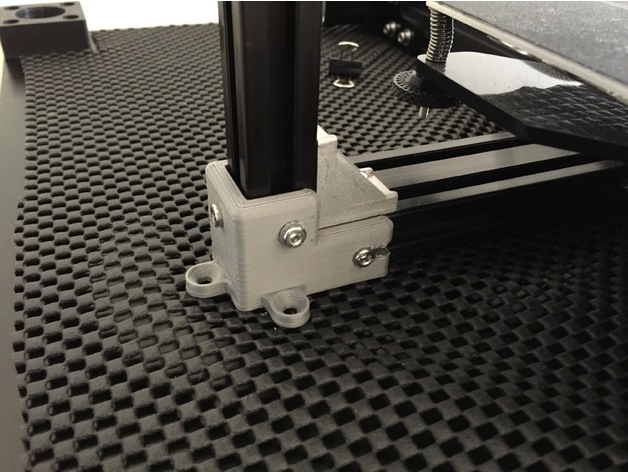
Tevo Tarantula bracket 3D Print Model
Summary
This bracket is to attach the left side of the Tarantula frame to a Lack table or other surface.
It attaches to the frame using 5 x M4 8mm screws and M4 T-nuts. 3 screws are then used to secure it to the surface.
Right hand bracket to come…… -
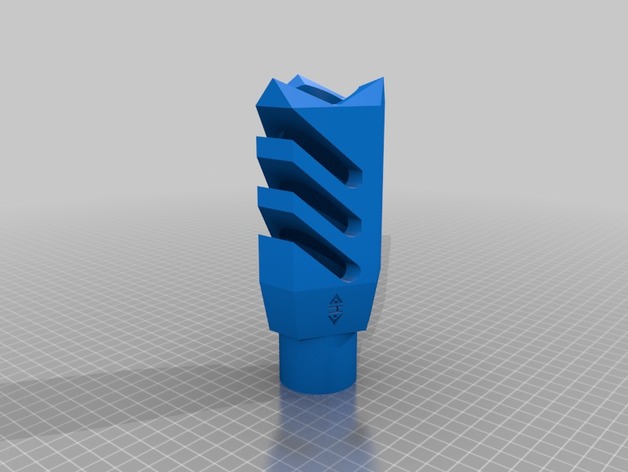
Flash Hider Barrel Attachment v11 3D Print Model
Summary
Flash Hider Barrel Attachment v11
Why we no longer sell it: Took way to long to print -
![[WIP] 3d printing filament spool holder 3D Print Model](https://3dhunt.co/static/2017/06/c687eb201d715418bbadef574b59acb1.jpeg)
[WIP] 3d printing filament spool holder 3D Print Model
Summary
A very much Work-In-Progress 3D printing filament spool holder. Quickly put together after my printed spool holder failed me and a big Inland spool came crashing on my OctoPi. Turned out to be much more durable and convenient than I expected!
Fits 67ish millimeters spools
Design to be cut out of cardboard -
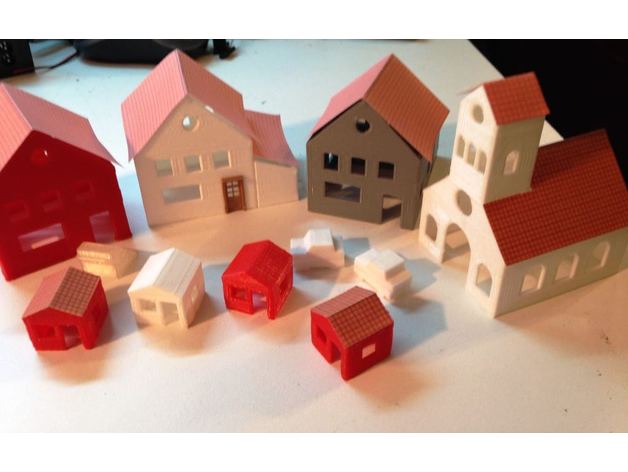
N Scale concept constructions for train layout 3D Print Model
Summary
Here some constructions to use in N scale layout -
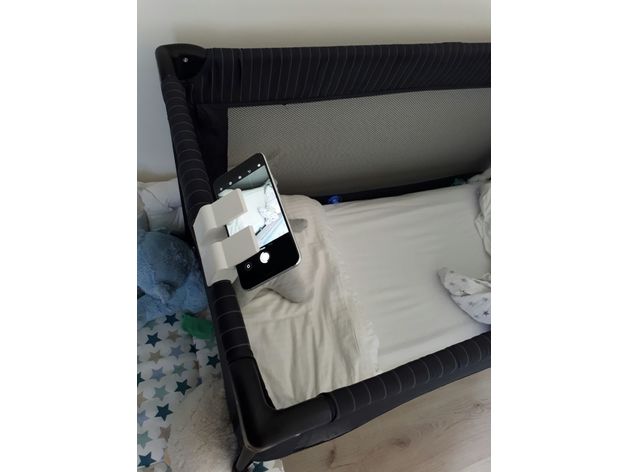
Phone dock for baby’s foldable bed 3D Print Model
Summary
When you are on the go with you baby, you probably use a foldable bed.
However, you probably don’t bring your baby cam along with you…
At least, I don’t.
I designed this thing to fit on our baby’s foldable bed. It allows me to use a smarphone as baby cam
(you can, for instance, use the app https://alfred.camera/ )
The thing contains the Freecad file, so you can adjust it to your own bed.
It also contains 2 stl:
1 part: is the full thing
2 parts: is the thing divided into 2 chunks. Thanks to this trick, you don’t need any support for printing it.
However, you need to glue the 2 parts. -
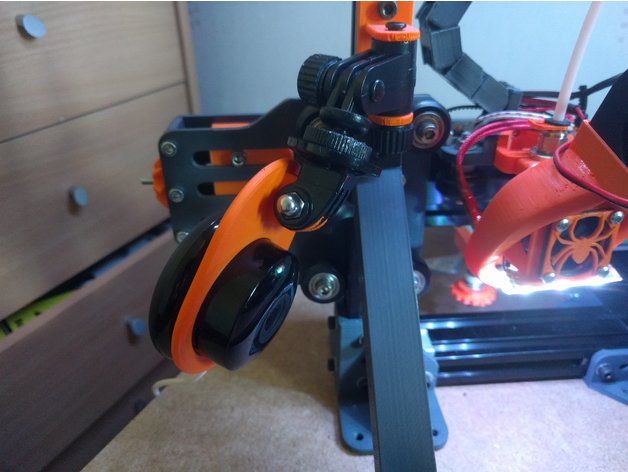
Xiaomi Yi Home (ants cam) Go Pro mount – Printer cam 3D Print Model
Summary
I wasn’t happy with the my old solution for a printer cam. https://www.thingiverse.com/thing:2296449 It was pointed down more as a first layer cam so when I printed larger objects I couldn’t see what was happening past around the 60mm mark.
I found the box my SJ Cam came in and it had loads of adaptors and interconnects and realised I could put them to good use.
This is fully adjustable on all axis. The bit that attaches to the frame is from the suction cup holder, I just broke off the suction cup bit (shown in the photos). -
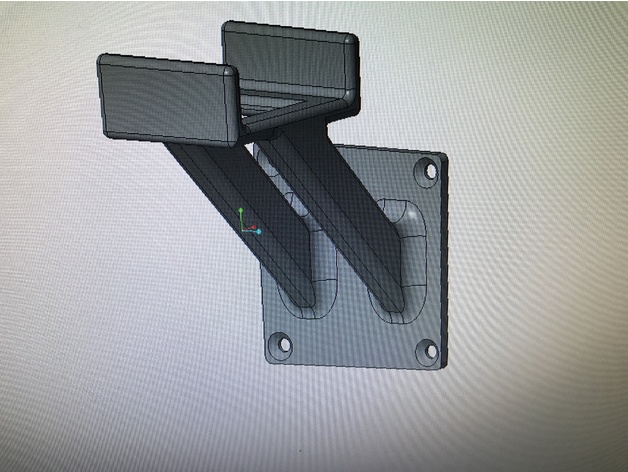
Headsethalterung MK1 3D Print Model
Summary
passend für:https://www.amazon.de/gp/product/B018UGLKZE/ref=oh_aui_search_detailpage?ie=UTF8&psc=1 -
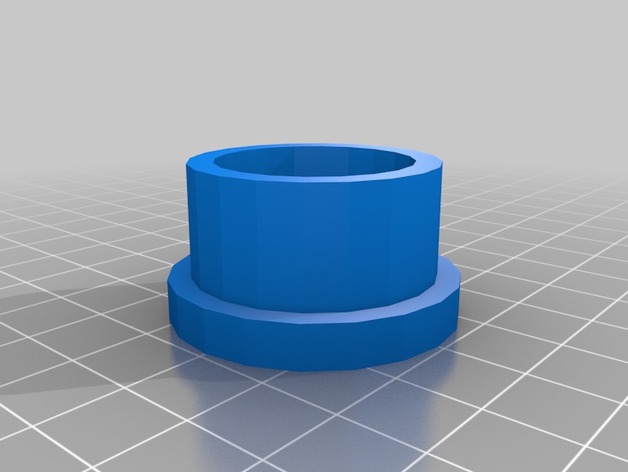
Pivot bushing for cub cadet rzt-50 3D Print Model
Summary
I lost the pivot bushing out of the front axle of my rzt-50 from cub cadet. It’s a tight fit, but works
Print Settings
Printer Brand:
Prusa Printer:
Prusa Clone Rafts:
No Supports:
No Resolution:
.3 Infill:
100 Notes:
printed 100 percent infill for strength -
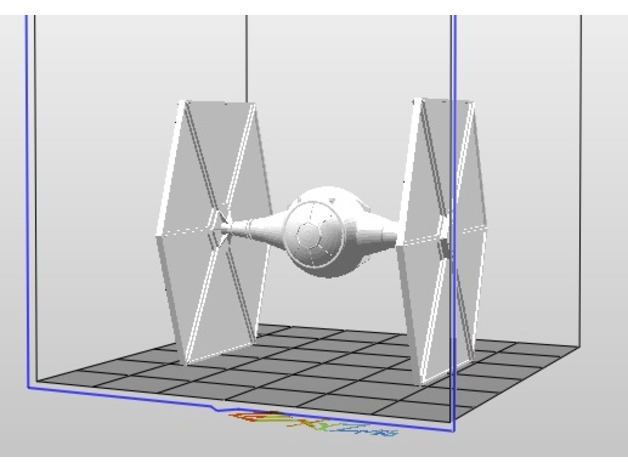
Star Wars Tie Fighter 3D Print Model
Summary
Created as closely to scale as possible with precise measurements used. Based primarily off the design used in Star Wars Rebels.
Print Settings
Printer:
Davinci Jr. -
DE-10 3D Print Model
Summary
The DE-10 blaster pistol was a model of blaster pistol that saw use in the galaxy during the Galactic Civil War. Its heaviest users in the period were members of the Death Watch, a Mandalorian splinter group based on the Forest Moon of Endor at the time. When a spacer infiltrated the Death Watch bunker, their main base on the moon, sometime after the Battle of Yavin, the sentient discovered a schematic for the weapon along with specialized barrels used in its construction. The spacer eventually had one of the weapons created for personal use.
If anyone can please break this up into a full size replica I’d be so appreciative.
Credit goes to MCDLabs on ShareCG for making this model. -
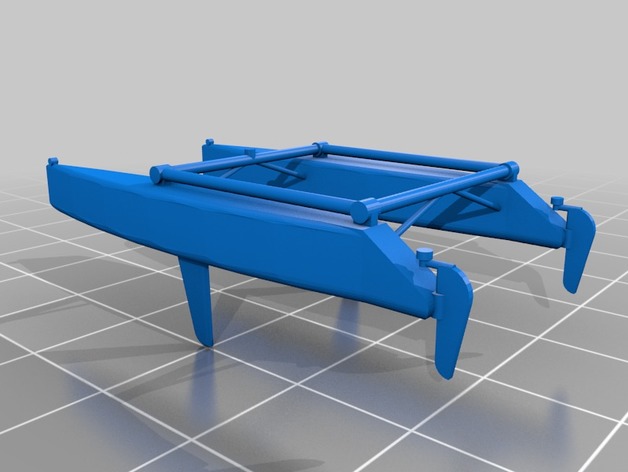
Unfinished Catamaran (double hull) 3D Print Model
Summary
Just for fun, scale up or down to desired size. unfinished. -
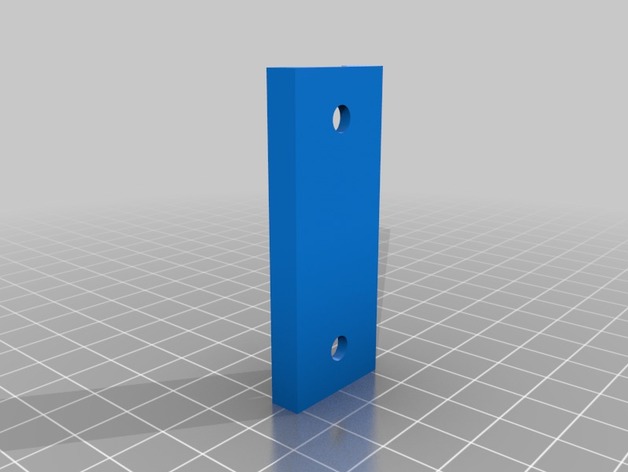
Bimini Hinge Saddle 3D Print Model
Summary
This saddle sits between some boat bimini brackets/hinges and the top edge of the side windshield. It allows an interface between the flat bottom of the bracket/hinge with the curved surface of the windshield. I made this to replace a damaged one from my early 90s Sea Ray. It may fit other models. -
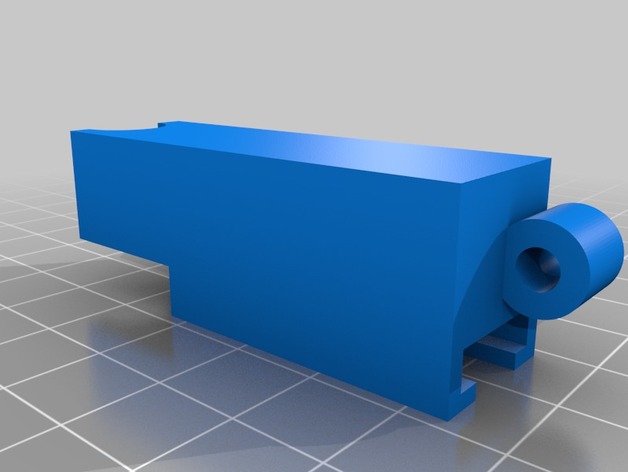
Lee Pro 1000 Reloading Press Case Slider 3D Print Model
Summary
This is a case slider for a Lee Pro 1000 reloading press. I designed this to replace the one on my press that got damaged. The gap for the shell has been sized to match a 9 X 19 shell, but may need some adjustment. The hole where the guide rod fits still needs to be drilled out. I have included the123 D Design file to allow for tweeking -
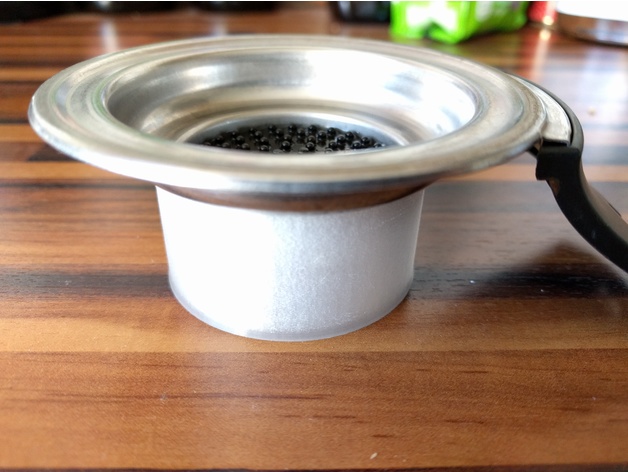
Senseo pad holder cleaner 3D Print Model
Summary
Simply fill with vinegar and place the pad holder on it -
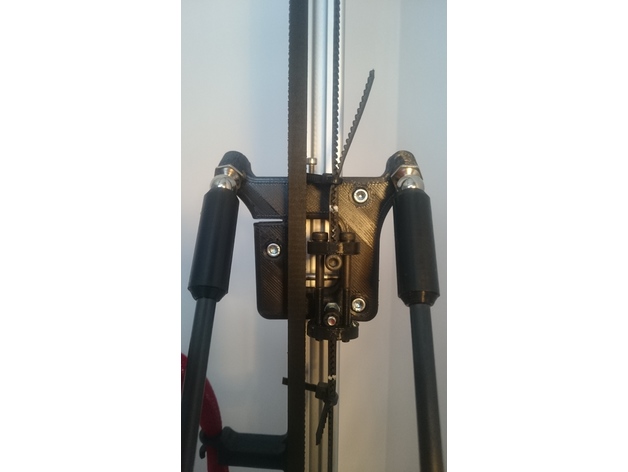
64mm Magnetic Carriages 3D Print Model
Summary
This is a remix of Hayden’s 2020 carriage. I like his idea because makes the carriage very light and has the advantage of fine belt tensioning.
The differences are:
64mm rod spacing to work with the 64mm 3xPiezo Magnetic Effector here https://www.thingiverse.com/thing:2361081
and 3mm holes for M3 bolts to work with Delrin V-Wheels from http://www.think3dprint3d.com and 20mm wide extrusions from Motedis Profile 20 I-Type slot 5 http://www.motedis.co.uk/shop/Slot-profiles/Profile-20-I-Type-slot-5:::999991_99999133.html or Misumi http://uk.misumi-ec.com/vona2/detail/110302684350/?HissuCode=HFS5-2040-%5B50-4000%2F0.5%5D&PNSearch=HFS5-2040-%5B50-4000%2F0.5%5D&KWSearch=HFS5-2040&Keyword=HFS5-2040&searchFlow=results2products&Keyword=HFS5-2040
They have the same wheel spacing so can also work with extrusions and 15mm diameter V-wheels from OpenBuilds or RobotDigg.com if you modify the hole size. I’ve attached CAD files for this. If you need other formats please let me know.
Per carriage, you will need:
3x Delrin V-wheels from www.think3dprint3d.com
2x 10mm ball studs from Haydn http://www.MagBallArms.com
3x M3x30 bolts.
10x M5 nylock nuts
6x M3 washers
2x M3x35 hex bolts for the belt tightener.
2x M3 nuts for the belt tightener.
1x M3x40 hex bolt for preloading the carriage wheels.
1x M3x20 hex bolt for the vertical post for the lower G2 belt attachment.
1x M3x15 bolt for upper belt attachment
1x M2.5×12 hex for fine end stop tunning
9x M3x4mm spacers http://www.ebay.co.uk/itm/142378241665
The spacers are to be placed between the bearings in each wheel. That helps a lot with wheel alignment.
Between every wheel and the carriage, there is one nylock nut and two washers. Is best to fit them first and measure all three with a caliper before you fit the wheels. This way you know all three wheels, when fitted, will be the same distance from the carriage. Nylock nuts can differ by as much as .4mm.
My Kossel is built with Robogigg metal corners and I’ve twisted the belt to run over the idler pulleys. They run very smooth this way.
Cable ties should not be necessary if part “b” and “c” are precisely printed.
Some of Robodigg f623zz bearings started being noisy after 6h of use so I’ve replaced them with some EZO made in Japan.
Enjoy! -
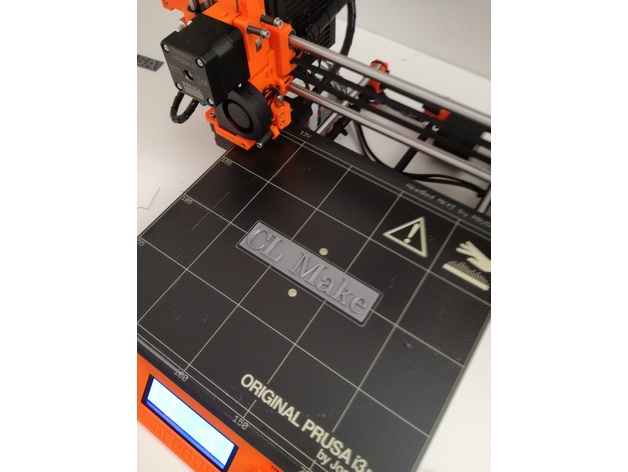
Logo 3d Printed 3D Print Model
Summary
Puoi trovare il file STL e Gcode per riprodurre il mio Logo con una stampante 3D.
Ciao puoi iscriverti al mio canale Youtube:https://www.youtube.com/channel/UCQB4RRae63k2nnA1YA39yZg
e al mio blog all’indirizzo:http://www.clmake.it
Print Settings
Printer Brand:
Prusa Printer:
Prusa Mk2 Rafts:
Doesn’t Matter Supports:
Doesn’t Matter Resolution:
0.2 Infill:
20% -
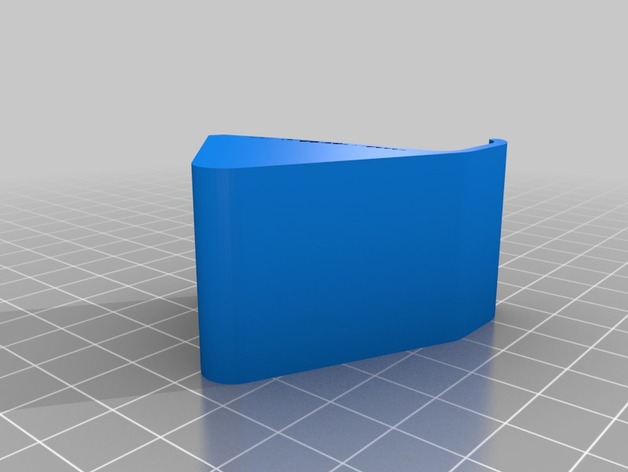
LCD Smart controler stand 3D Print Model
Summary
Full Graphic Smart controler stand fot the Allted’s case -
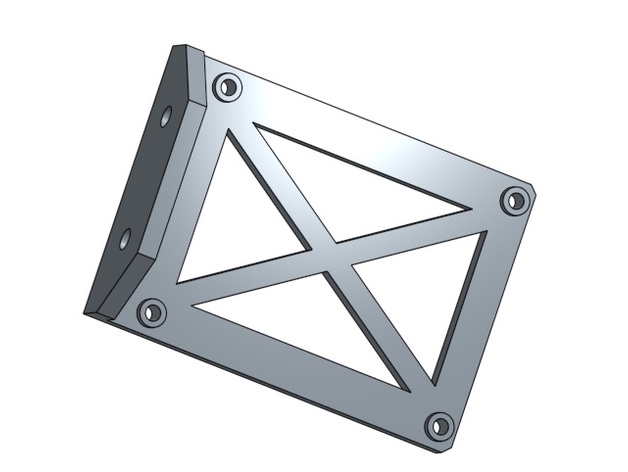
Trigorilla MOSFET mount for 2020 extrusion 3D Print Model
Summary
I made this to mount a Trigorilla MOSFET on my reworked Folgertech i3. Should be suitable for any 2020 extrusion. -
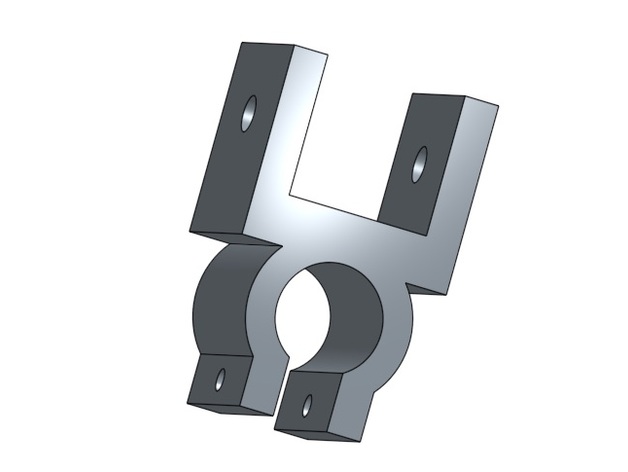
SC8UU mount for 2020 extrusion 3D Print Model
Summary
I’ve built a larger than usual i3 style printer, and made the y carriage from leftover 2020 extrusions from the old smaller frame.
This part mounts SC8UU bearings to the bottom of said 2020. The fit is pretty loose to avoid distorting a Drylin bearing. Carefully tightening with an M3 screw / nylock will secure them well. -
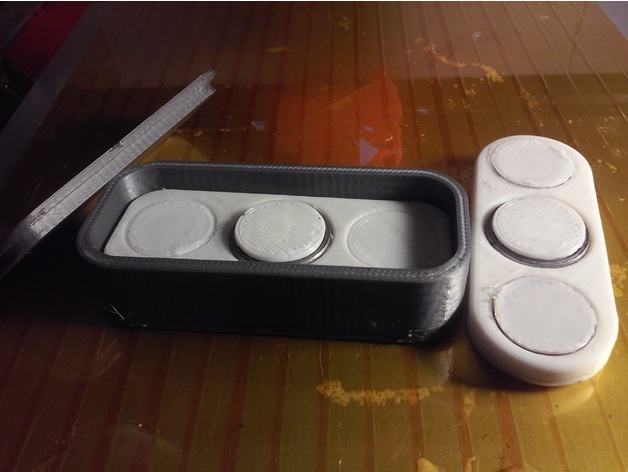
Fidget Spinner with Case Collection 3D Print Model
Summary
Simple elegant design with a nice little case. I made this to be portable and smooth. Each spinner holds 3 Pennies in each slot. The penny covers may need to be glued. The pennies and bearing are a press fit, but you can use any adhesion of your choice. The case has a snap fit lid, and is small enough to fit in your pocket.
Stop by my profile to check out some of my other designs :)https://www.thingiverse.com/Nukeman14x/designs
Print Settings
Printer:
Anet A2 Rafts:
No Supports:
No Resolution:
0.15mm Infill:
20% -
Dial_Backing – Dial Backing for UM1 with 8mm shafts 3D Print Model
Summary
UM1 has 8mm shafts rather than 6mm that UM2/3 uses.
I have re-engineering the part with wider slots and added an offset mould for whom have a longer extruder. -
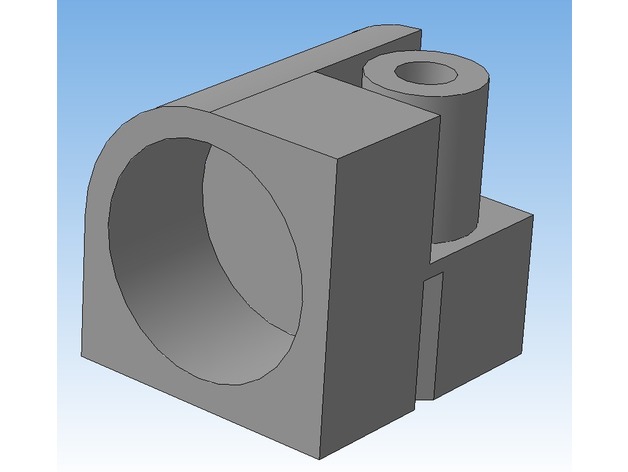
20mm Advanced Test Cube 3D Print Model
Summary
Advansed 20mm test cube
I create this model for PLA test
Print Settings
Rafts:
No Supports:
No Resolution:
0.08-0.15 -
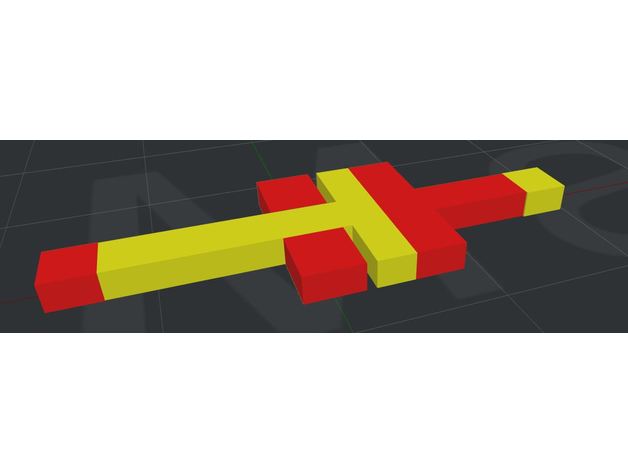
Dual extruder calibration stl 3D Print Model
Summary
Helpfull to choose offset X and Y in the printer setting for double extruder printing.
I use it for raise3d N2 Dual +
After 6 printing – i moved offset X & Y step by step. The calibration was good for bigger printing.
Print Settings
Printer:
Raise3D N2 dual plus Rafts:
Yes Supports:
No Resolution:
0.15 Infill:
30% rectilinear
Post-PrintingHow I Designed This
Tinkercad.com
Dual calibration .stl made with tinkercad.com -
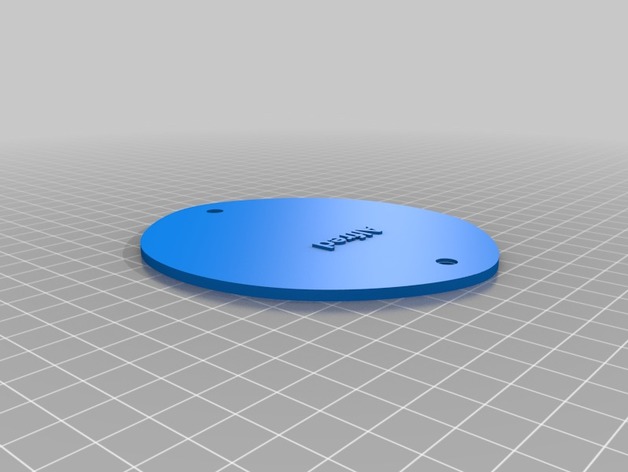
NELO rudder cover 3D Print Model
Summary
This replaces the original NELO rudder cover. No need to, but I plan to put a GoPro connector on this later.
Printing:
I don’t remember if I had to print this at 102% or similar to reach proper size, so you will have to test 😉
Post-print:
To fit, this needs to be bent a little. Just heat it with a hairdryer and slightly bend by hand so it has the required curve.
Print Settings
Printer:
Zonestar 802P Rafts:
No Resolution:
0.2 Infill:
20-30% will do. Notes:
I don’t remember if I had to print this at 102% or similar to reach proper size, so you will have to test 😉
Post-Printing
To fit, this needs to be bent a little. Just heat it with a hairdryer and slightly bend by hand so it has the required curve.
How I Designed This
I used 123d designer. File included. Improve if you need, but don’t sell commercially! -
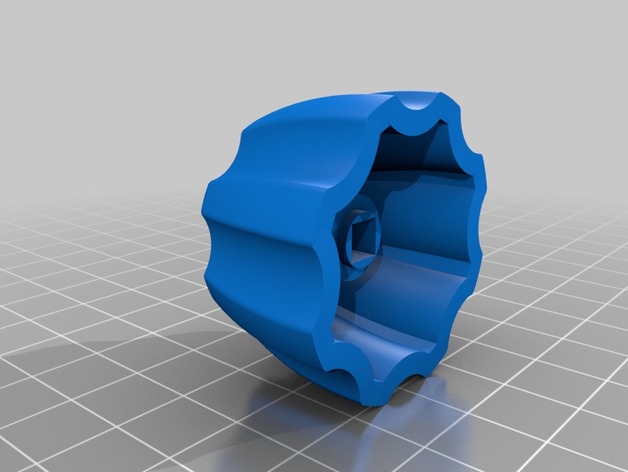
LM27 Enders water tap replacement 3D Print Model
Summary
I created this thing as a replacement for the water tap handle that broke on our LM27 ship.
Print Settings
Printer:
Geeetech i3 Pro C Rafts:
No Supports:
No Resolution:
0,1 Infill:
60 Notes:
I sanded and wiped it with acetone after printing for smooth surface. -
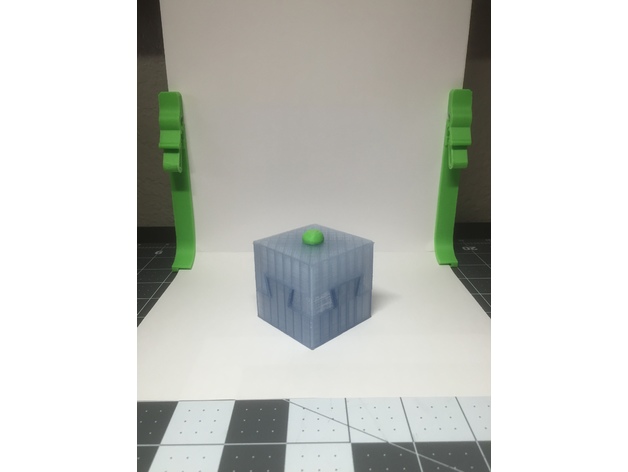
Key Cube 3D Print Model
Summary
Part generated from object seen in youtube video, unknown source.
Print Settings
Printer Brand:
LulzBot Printer:
Mini Rafts:
No Supports:
No Resolution:
0.25 mm Infill:
20% Notes:
Printed using 3 mm PLA
Shell thickness: 1.0 mm
Print speed: 50 mm/s
Printed at 100% scale
Post-Printing
Minimal filing of finished parts. -
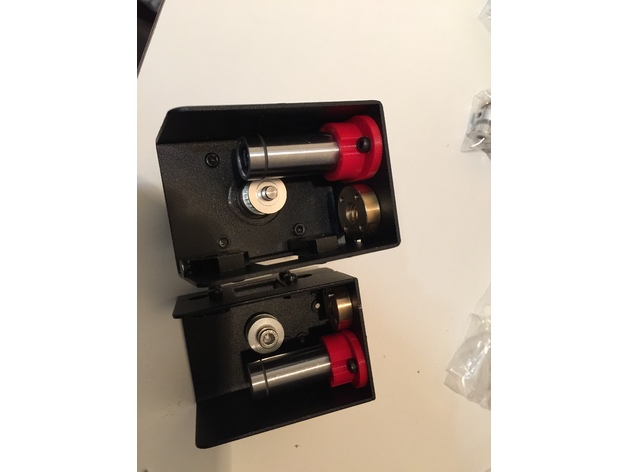
Maker Select v2 Z axis Bearing Mounts 3D Print Model
Summary
previously I created a set of X-ends for the Monoprice Maker Select v2 to replace the stock metal ones because I wanted a way to use standard LM8UU bearings for the z-axis. Those have been installed on my printer for the last couple of months, but I figured I’d try making a set of bearing holders in case any of you want to use different bearings, but are happy with the metal x-ends that your printer came with.
These seem to work pretty well. Just screw them in from the bottom, slide the bearing into place, and you should be good to go.
I printed these in ABS with 4 perimeters and 40% infill, but the walls are pretty thin so you could probably do them 100% infill and it wouldn’t make much difference in print time. -
Screw 3D Print Model
Summary
This is a screw I invented in 30 minutes. I does use supports.
Print Settings
Rafts:
Doesn’t Matter Supports:
Yes Resolution:
40 Infill:
65% -
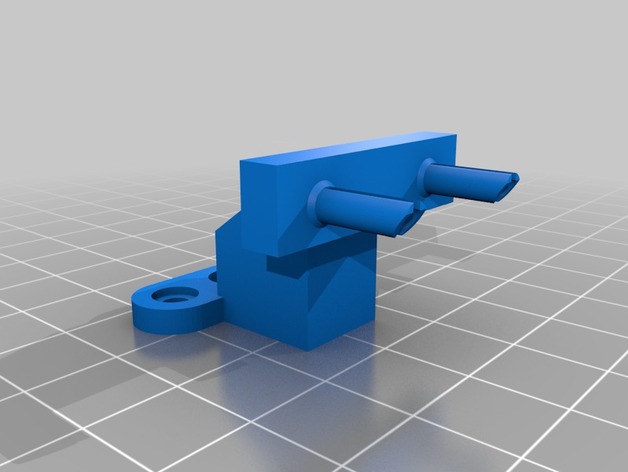
BLTouch/3DTouch rear sensor mount 3D Print Model
Summary
This is a remix of https://www.thingiverse.com/thing:2219963 to allow mounting a BLTouch sensor on the rear bearing of an Anet A8. I’ve included the customizer to allow the height
and many other features to be custom set for any printer . The “Measured Height” parameter is used to calculate the correct height with the 8.3mm offset to the nozzle. You simply need to move the print nozzle so that it touches the bed then measure the distance of top mount screw hole (on the rear lower bearing) to the bed. Enter this in the “measured height” field and create. The mount also includes side clearance to allow it to work on new Anet A8’s. Please note that for this mount, you need a mount to bed distance of at least 52mm or it won’t work.
Stock carriage settings:
define X_PROBE_OFFSET_FROM_EXTRUDER 20
define Y_PROBE_OFFSET_FROM_EXTRUDER 61
define FRONT_PROBE_BED_POSITION 61 -
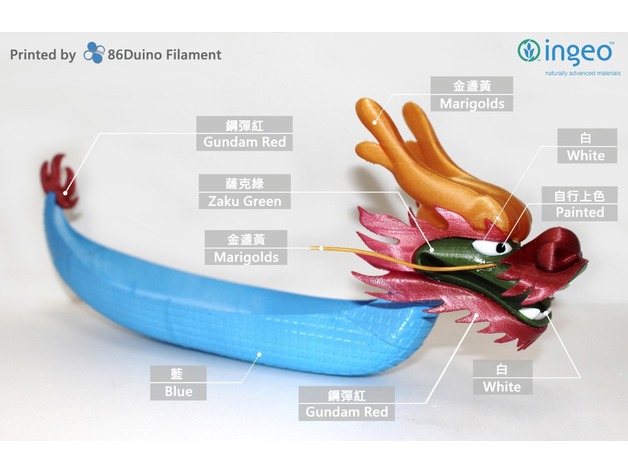
Dragon Boat / 龍舟 — (86Duino Original) 3D Print Model
Summary
龍舟(或稱龍船)是指漢字文化圈的龍形舟,也是中國和琉球端午節競賽活動時使用的人力船隻。
龍舟競渡流傳最廣的起源是,楚國人為紀念投江自盡的屈原,借龍舟驅散江中之魚,期望阻止魚吃掉屈原的身體。
龍舟不單是傳統中華文化的一部分,從其引伸發展出來的龍舟競賽現已發展為體育活動。由於賽龍舟被推廣成為體育項目,因此龍舟同時成為此體育項目的主要用品。
A dragon boat is a human-powered watercraft. They were traditionally made in the Pearl River Delta region of China’s southern Guangdong Province out of teak wood to various designs and sizes.
For more printing object please visit 86Duino facebook and give us a “like” and thanks for the tips…https://www.facebook.com/86duino
喜歡圖檔的好朋友請記得到 86Duino Filament 3D 列印 / 耗材 – 不正經研究中心 粉絲團給我們按讚哦 https://www.facebook.com/86duino
Post-Printing -
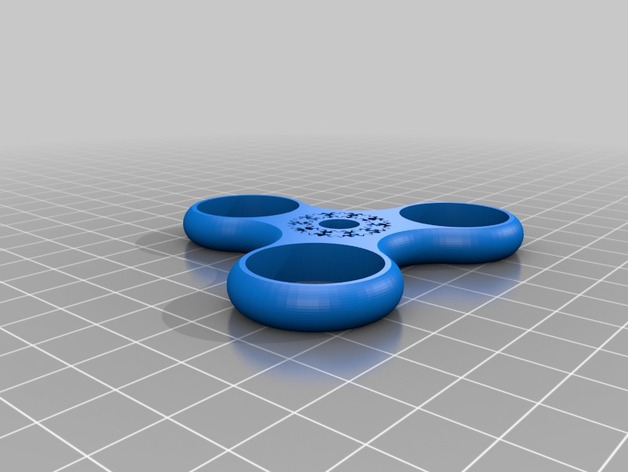
Gear Bearing Fidget Spinner 3D Print Model
Summary
I was able to combine the two designs in the remix to create a fully-printable geared fidget spinner. Just add bearings for weights.
Post-Printing
It will take some work to break the gears free, but take your time and it should work fine. If not, make sure your extrusion % setting is correct. -
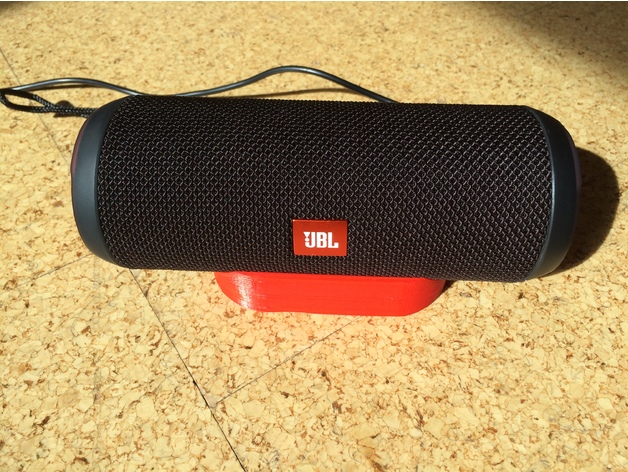
JBL Flip 3 Stand 3D Print Model
Summary
This litte thing will stop your JBL Flip 3 from rolling away!
Print Settings
Printer:
Anet A8 Rafts:
Doesn’t Matter Supports:
No Resolution:
0.2-0.3 Infill:
10% -
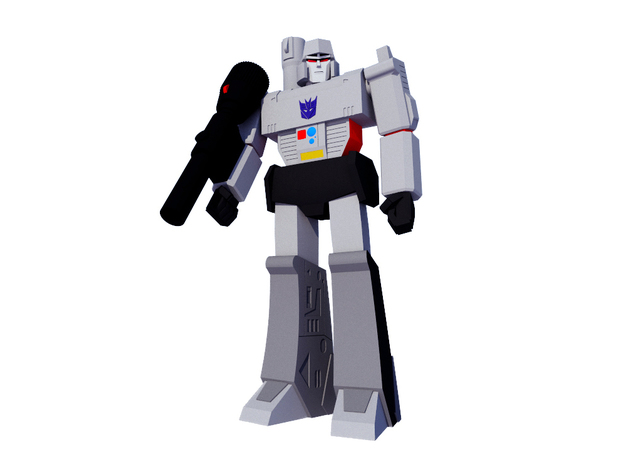
Megatron – Transformers G1 3D Print Model
Summary
G1 Megatron leader of the Decepticons. Modeled in sketchup for fun & practice. Print/share/enjoy. -
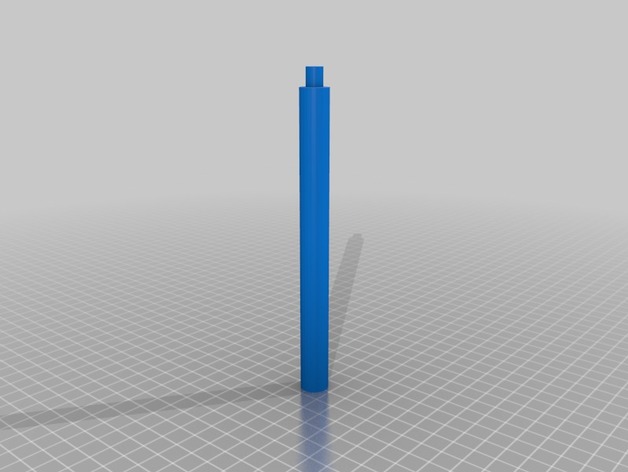
Anet A8 – X Axis Frame – Stabilizing Rod 3D Print Model
Summary
This is stabilizing rod for the main frame of the Anet A8.
Print both parts. put them together and install them as one rod.
The diameter of the outer holes are 8mm (M8 screws).
Print Settings
Printer:
Anet A8 Rafts:
Doesn’t Matter Supports:
No Resolution:
0.2 Infill:
20% Notes:
Use Brim
How I Designed This
Autocad 2017, I share the DWG File if you want -
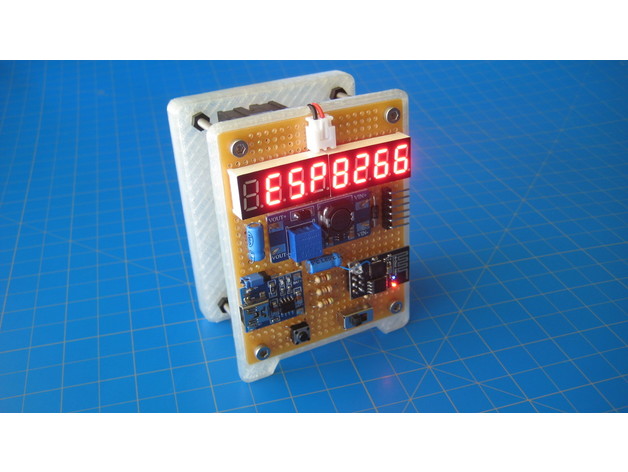
Electronics Project Box 3D Print Model
Summary
Designed a 18650 project box. (box?) Not sure what to call it…anyway, could be used to make cool electronics projects. I made a subscriber counter using an ESP8266…see video….
Proto Board: http://tinyurl.com/ydxndswz
Rocker Switches: http://tinyurl.com/yd6sd3yv
18650 Battery Holder: http://tinyurl.com/y7ysblvs
Nylon Bolt & Nuts Assortment: http://tinyurl.com/y7k8q2am
M3 bolts(40mm): http://tinyurl.com/y7u2d99p
Print Settings
Printer Brand:
PrintrBot Printer:
Play Rafts:
No Supports:
No Resolution:
.4mm Infill:
20 ish Notes:
flip the bottom piece over….so no overhang.
Post-Printing -
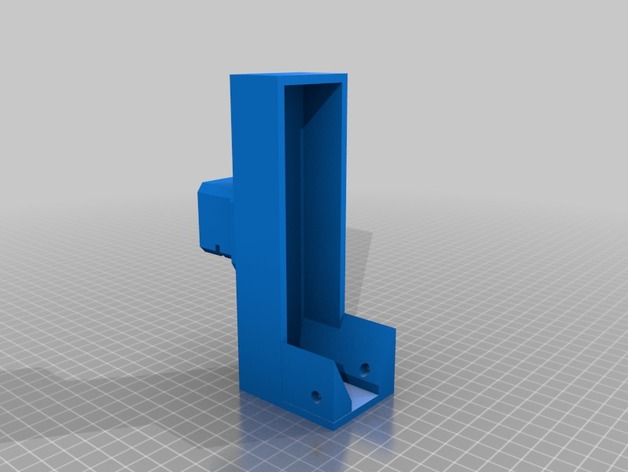
Nerf Rival Zeus Stock Attachment Adapter 3D Print Model
Summary
Shove this onto the end of your Nerf Rival Zeus and then you can attach any Nerf stock to the Zeus! There is a hole that will allow a bolt to go through and secure the adapter very well. You may not even need that, it is designed to fit tight. -
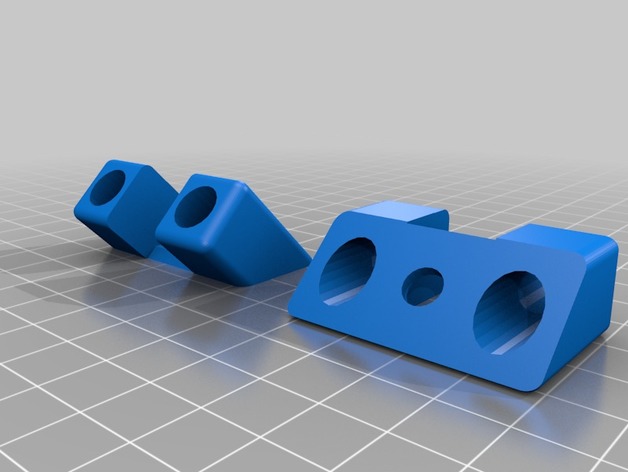
Alien 45 degree vtx mount version2 3D Print Model
Summary
redid after holes of version 1 didnt line up, changed my print angles to see what looks better. -
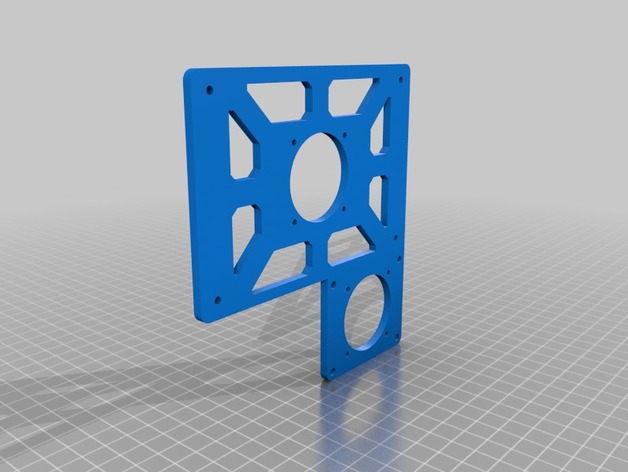
Tevo Tarantula MKS Gen-L Plate w/MOSFET 3D Print Model
Summary
I decided to switch to a MKS Gen-L so I could replace NEMA 17 drivers when/if needed, but I still wanted to use my original plates. While I was designing the new plate, I decided I’d add a side pod to mount a MOSFET out of the way (this MOSFET if you’re thinking of using this https://smile.amazon.com/gp/product/B01HEQVQAK/ref=oh_aui_detailpage_o04_s00?ie=UTF8&psc=1). I’m still very much a beginner with Fusion 360, so if you can do it more elegantly, please feel free to remix it (and drop me a line so I can see what you did and hopefully learn from it).
The MOSFET is taller than the MKS Gen board obviously, so you might need to use taller offsets than the stock ones from the Tarantula. The sketches in 360 should allow you to print the MOSFET cover separately from the MKS cover. I haven’t printed it yet or I’d tell you all for sure if that’s the case. -
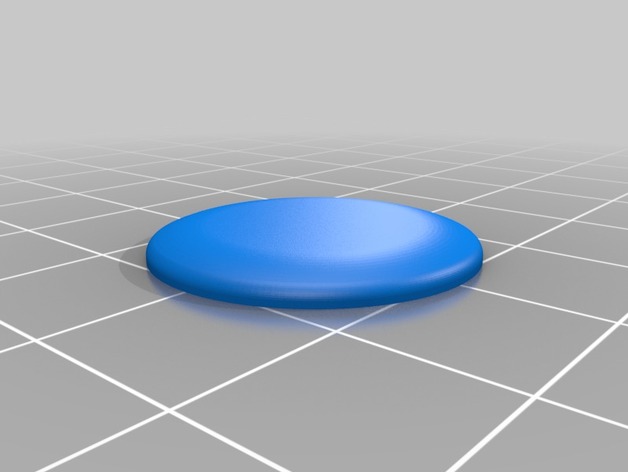
Tapas para arandelas, spinner-Eco 3D Print Model
Summary
Las tapas para arandelas,
una es para trabar y pegar en el circulo, otra se pega externamente..
El pin es de un tamaño de 11mm de diametro pero van a tener que adaptarlo al diametro interno de su arandela. -
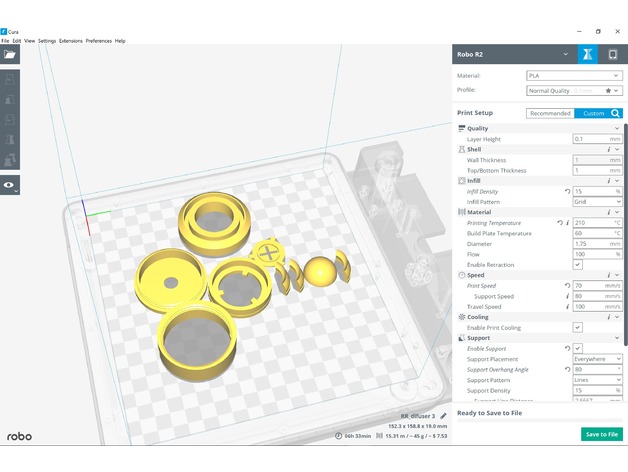
Tali’s Mask – LED Sound Reactive 3D Print Model
Summary
Led is sound reactive heres the code:
Also a youtube video demonstrating it. I will create the mask if enough people have interest but heres something Tali cosplayers can use for their masks.
Code:
include
include
ifdef AVR
include <avr/power.h>
endif
define PIN 6
define NUMPIXELS 1
//==============Defining variables for fix_fft=======================
int x = 0;
char im[128], data[128];
char data_avgs[14];
int i = 0, val, steady;
int l = 0;
Adafruit_NeoPixel pixel = Adafruit_NeoPixel(NUMPIXELS, PIN, NEO_GRB + NEO_KHZ800);
void setup() {
Serial.begin(9600);
pixel.begin();
pixel.show();
}
void loop()
{
//===================FFT algorithm=======================
for (i = 0; i < 128; i++)
{
val = analogRead(A9);
steady = val;
data[i] = val;
im[i] = 0;
}
fix_fft(data, im, 7, 0);
for (i = 0; i < 64; i++)
{
data[i] = sqrt(data[i] data[i] + im[i] im[i]);
}
for (i = 0; i < 14; i++)
{
data_avgs[i] = data[i 4] + data[i 4 + 1] + data[i 4 + 2] + data[i 4 + 3];
data_avgs[i] = map(data_avgs[i], 0, 30, 0, 9);
}
int value = data_avgs[0];
Serial.print(“Time domain: “);
Serial.println(steady);
Serial.print(“Frequency domain: “);
Serial.println(value);
delay(100);
pixel.setPixelColor(0, 75, 0, 130); //change color here by changing RGB values. In this case R=150, G=150, B=150
int bValue = map(value, 0, 30, 0, 255);
pixel.setBrightness(bValue);
pixel.show();
}Custom Section
-
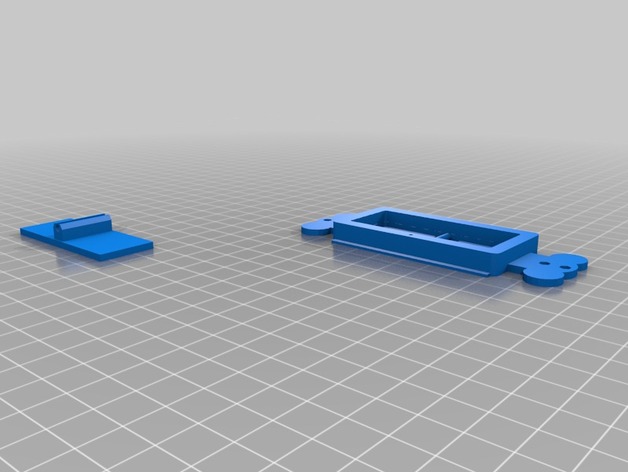
Decora Rocker Switch 3D Print Model
Summary
This is the switch plate I designed as the front for my home automation switch projects… It is set up to use 2 5mm momentary switches and one 3mm momentary switch (as an inset reset button).
Print Settings
Printer Brand:
Prusa Printer:
Prusa Clone Rafts:
No Supports:
No Notes:
Normal settings for your material should work fine. It is an especially easy print. -
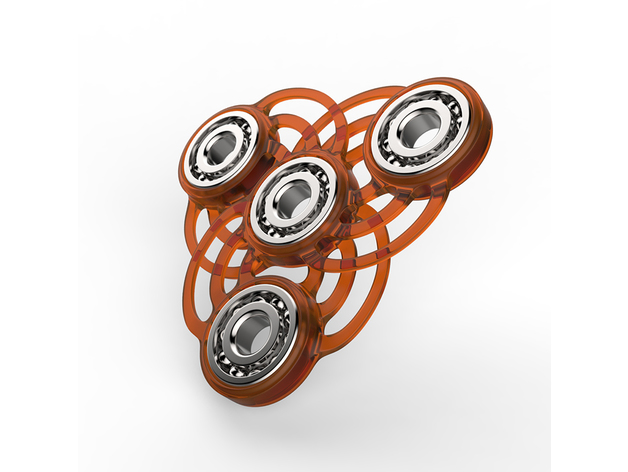
Ornamental fidget spinner 3D Print Model
Summary
Fidget spinner created with VECTARY – free, online 3D modeling tool: https://www.vectary.com
Feel free to customize it! https://www.vectary.com/u/adrianm/ornamental-fidget-spinner
For holes use 608 bearings -
Guía SujetaElevalunas para Audi A4 B5 3D Print Model
Summary
Pieza para sujetar elevalunas eléctrico para Audi A4 B5. Es la pieza que se usa de guía.
Recomendaciones de impresión:Imprimir la pieza con boquilla de 0.2 mm, y un refill del 100% para que quede fuerte. La altura de capa recomendada es 0.2 mm.
Aunque está pensado para PLA, creo que con ABS es posible que dure más y sea más robusta.
Importante: Pieza NO TESTADA -
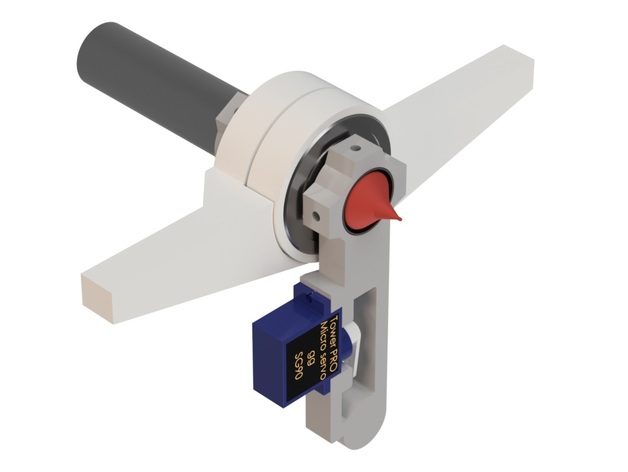
MTvplot 3D Print Model
Summary
After i discovered the wonderful vertical plotter made by rincey12 and his awesome diy-manual (@ makerblog.at) i decided to make a quite similar design from scratch (and try to improve some known problems by throwing in some bearings).
For the gondola-arms i printed them @100% infill and drilled the small holes (for the cord and the set screws to secure it) afterwards to gain some weight and stability. My whiteboard-markers are ~17mm in diameter, so i used a 20mm aluminium tube as gondola-core and some set screws to be able to use smaller pens (whithout changing the mid-point). Between the bearings i used a printed 0.5mm spacer (some more sizes included).
As i wanted to try it on my already mounted whiteboard, i made some ‘front-side’ holders for the stepper motors (to quickly screw them to your wall-of-interest). The gears are sized for a roller blind cord with a sphere diameter of 4,5mm and a distance (mid-sphere to mid-sphere) of 12mm.
To finally operate it, i used the fantastic polargraph-code made by Sandy Noble.
Part-list:
5m roller blind cord 4,5/12
2x deep groove ball bearing 6004 2RS 20x42x12 mm
2x stepper motor – NEMA-17 200 steps/rev, 12V 350mA
1x Geekcreit UNO R3 ATmega328P Development Board For Arduino
1x Motor Drive Shield L293D For Arduino
8x set screws M4 (10mm)
1x aluminium tube (20mm outer diameter, 1mm thick)
some M2/M3/M4 screws to secure the motor holders, servo and gears
(all these parts + shipping to germany cost me around 80€ in the end)
Big THX to all previous makers and coders providing awesome ideas/manuals & software, this was/is a very cool project. Happy for questions/remarks if you have some.
Print Settings
Printer:
Anet A8 Rafts:
No Supports:
Yes Resolution:
.2 Infill:
100 (motor holders 50) Notes:
NGEN with ext/bed 225/80°C on glass
How I Designed This
Fusion 360 -
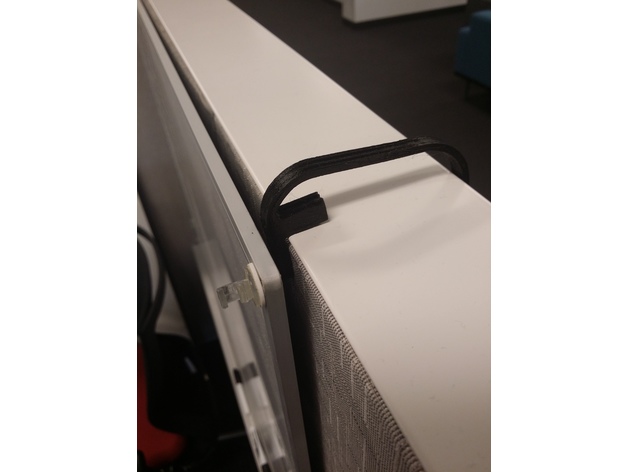
Arched Cube Top Hook / Holder 3D Print Model
Summary
An arched cubical wall holder, designed for plate-topped cubicles. I made this mainly for holding white boards and smaller signs, but it could be used for just about anything that has a standard mounting slot.
Update: Added another hook with the holder knob rotated 90°, for those with side-slotted boards.
Print Settings
Printer:
101Hero Rafts:
No Supports:
No Infill:
20% Notes:
Note that infill is less important due to the design of the thick holder edge. The edge has forced built-in walls across the print axis, making that part stronger than a heavier infill alone could achieve. -
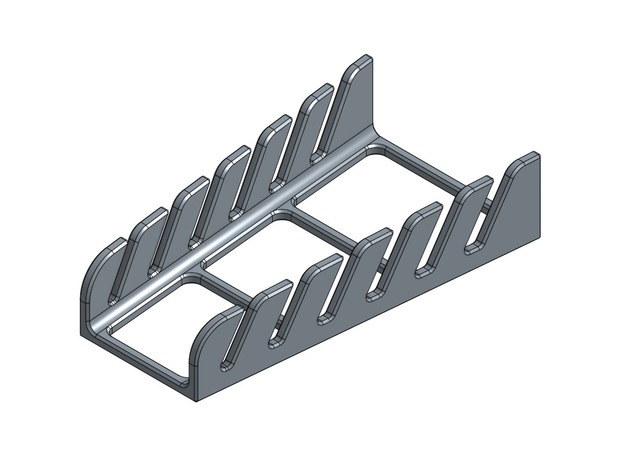
Stubby Wrench Holder – Metric 3D Print Model
Summary
Wrench Organizer for Harbor Freight 12pc Stubby Combination Wrench Set. Tray is designed for Metric wrenches in the set.
Print Settings
Printer:
Anet A8 Rafts:
No Supports:
No Resolution:
0.3 Infill:
20% Grid -
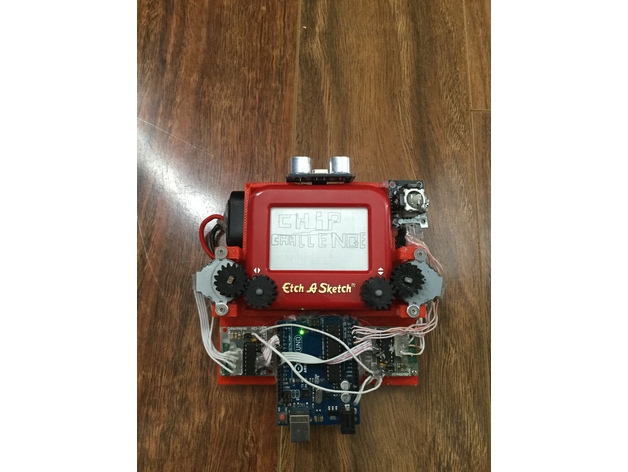
etchachip 3D Print Model
Summary
my version of a CHIP-E
Print Settings
Printer:
prusa i3 pro b Rafts:
No Supports:
No Resolution:
0.2mm layer Infill:
10 % -
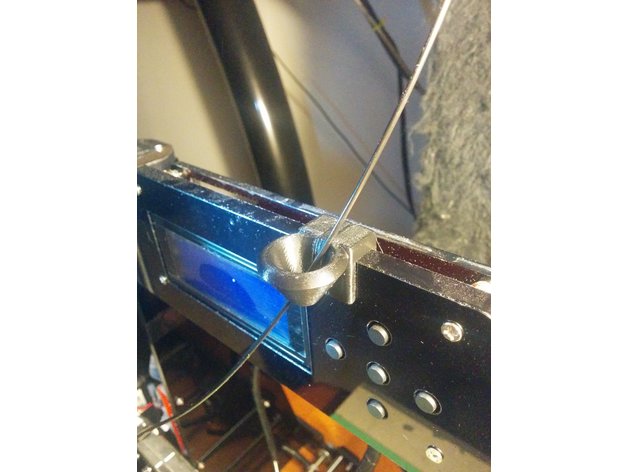
Anet A8 Filament Guide 3D Print Model
Summary
Hi!
This is a simple, clip on/slide on, filament guide that I made for my Anet A8. it’ll fit on anything that is 8mm thick.
It clips/slides on the top part, right between the screen and the buttons.
What’s different about this one is that it’s in two parts (both parts are “joined” by the smallest possible bridge so you print both in one file then detach the side part)… The big part has a gap where you can slide in your filament (you have to take It off the printer to do that), and the small part fills that gap once you’ve put in your filament. I thought it’d look neater that way.
I printed at 60mm/s with 15% infill and it was fine, although printing at 30mm/s gave me a better finish..
sorry for the photo quality, taking good photos of black parts is really hard.
Oh! there are two separate STL files, one has a straight “middle”, and the other one has a cross-shapped notch. I printed the straight one and it sits perfectly, but I thought having a notched one might be more secure. Print whatever you choose and comment about it. -
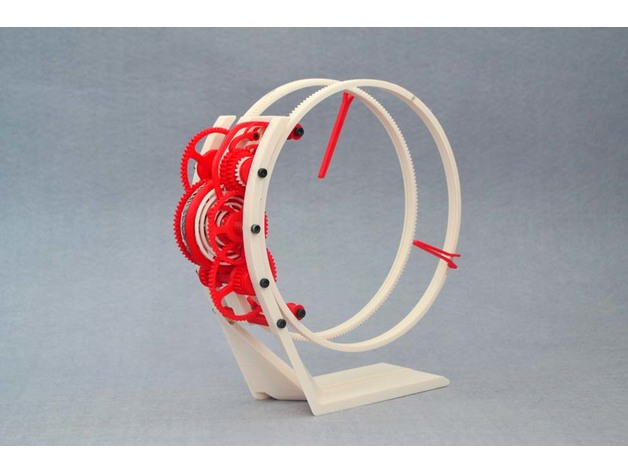
torlo 3D Print Model
Summary
The torlo was born out of the idea of using a simple oscillating motor as a power source. The Voice coil of a scarp laptop HDD fit the bill nicely. The Voice coil with its powerful magnets has enough brunt to push a bunch of 3d printed gears .The basic idea of the torlo was adapted from the previous holo clock and taken further. The gears of the clock hang to one side and the rings to the other side of the frame. The voice coil is located in the center of the drive train and is driven by a attiny pulsing it every 2 seconds. The balance wheel when pulsed pushes a cam and a ratchet to turn the clock 2 seconds further. Rest of the clock is a simple drive train driving the minute and hour rings which display the time..
The clock is a slightly complex project because of the intricate printed parts needed. It is a little finicky to assemble and needs a lot of patience.
All the parts are printed with a 0.4mm nozzle at .2mm – .25mm layer height. The gears need to be a little loose so if the printer is not calibrated nicely they will freeze.
-
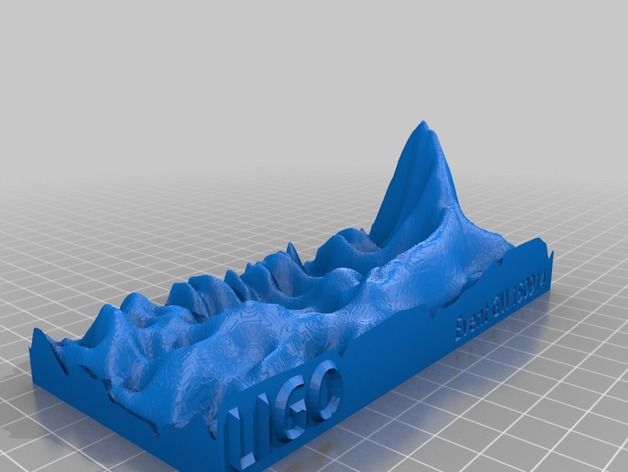
Gravity Wave Spectrogram 3D Print Model
Summary
This is a spectrogram of the gravity wave created by the collision of two black holes and detected by the LIGO detector in Hanford WA during event GW150914 on 14 Sept 2015. The big peak shows the “ringdown” increase in intensity of the high-frequency components as the black holes spiral together faster and faster. From https://losc.ligo.org/events/GW150914/ -
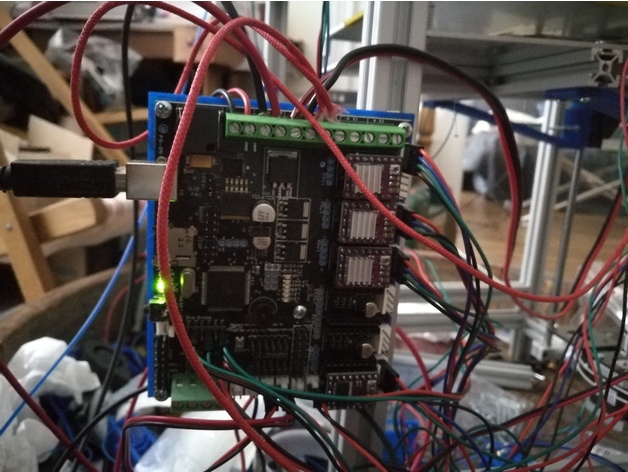
Megatronic card mount 3D Print Model
Summary
Two minimal designs to mount megatronic v3.0 (3.1?) card on 2020 extrusion.
I let some room on each side because I planed to make a cover with fan mount later.
It need 5 M3x10 screws.
I didn’t printed the light version yet as the plain version is more suitable for my case because it protect the back of the card from any accidental contact with the frame.
Print Settings
Printer:
custom Rafts:
No Supports:
No Resolution:
.3 Infill:
25 to 30 -
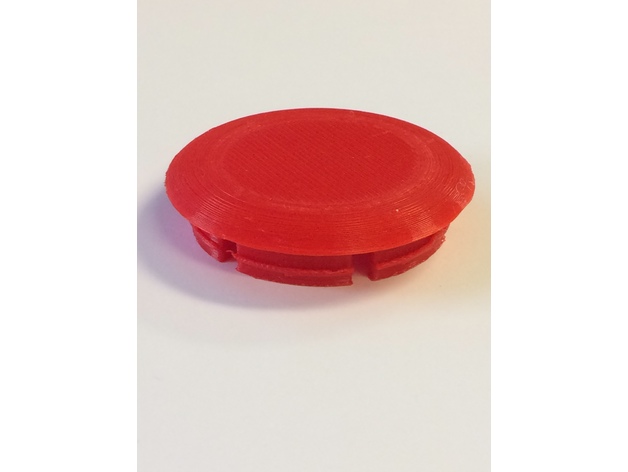
Hubcap for Gen2 Prius 3D Print Model
Summary
This is a small cap to cover the central hole in Toyota Prius wheels from the Gen2 line. The “Touring” model has nice-looking alloy-spoke wheels and you can dispense with the factory hubcaps — but the axle bolt remains visible. This little cap fits in the center of the wheel and snaps into the same small interior groove that holds the center of the factory cap in place.
You can customize it with your own logo/initials/whatever, of course!
Print Settings
Printer Brand:
Prusa Printer:
Prusa Mk2 Rafts:
Yes Supports:
Yes Resolution:
200 µm Infill:
100% Notes:
This is a structural part and I did not skimp on the material.
I printed (and deployed) it in Colorfabb XT material, which is a little tougher than many PLAs, with a bit of springy “give” to it. ABS might be a good choice too. Given the environment I would not print it in PLA.
Print this the opposite way that you might think if you’re used to avoiding bridges — it should look like a mushroom on the print bed, with the cap forming a large bridge. That makes the visible part (the rounded cap) come out cleaner.
I prepared this with Slic3r. Supports were ON (“rectilinear” setting with 3mm support spacing). -
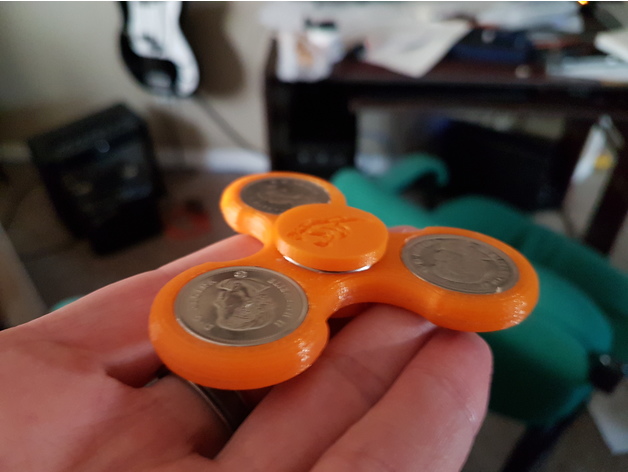
Printable Fidget Spinner 3D Print Model
Summary
A custom fidget spinner using the 608ZZ bearing. Holes in the lobes are designed to hold quarters. Designed for RepRap printers with heated build plates. Print out the spinner frame twice and glue it together. See picture for example.
Print Settings
Rafts:
No Supports:
No