Summary
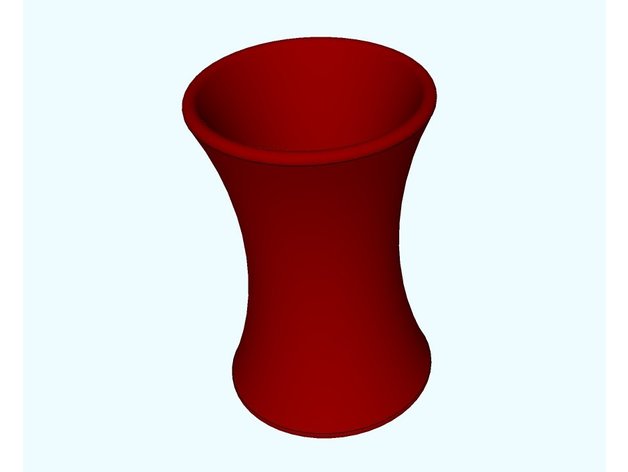
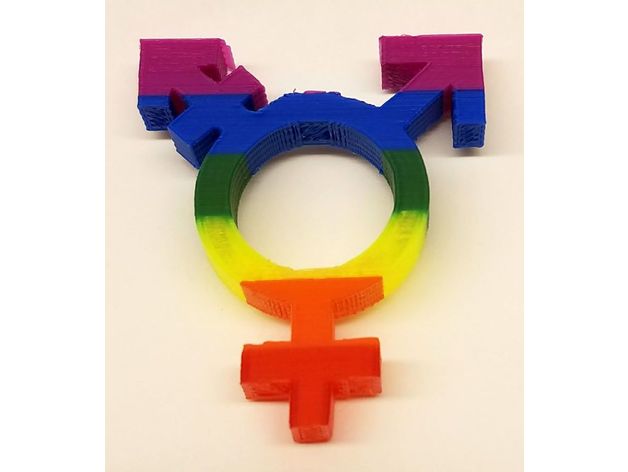
A tripled Venus, Mars and Mars with stroke symbol (“⚧”) to represent transgender people.
Print Settings
Printer Brand:
Wanhao Printer:
Wanhao Duplicator i3 V2 Rafts:
No Supports:
No Resolution:
.2mm Infill:
10% Notes:
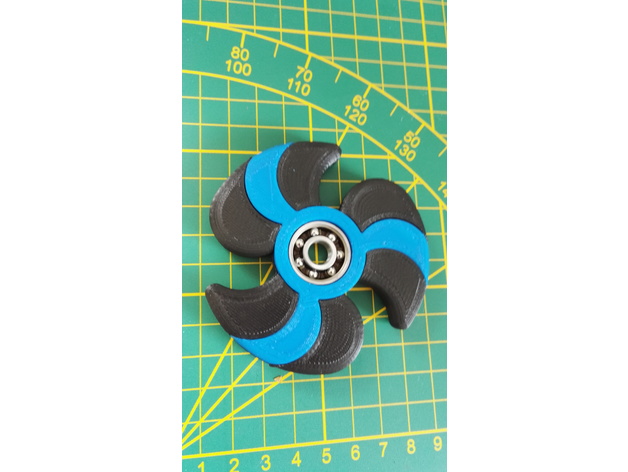
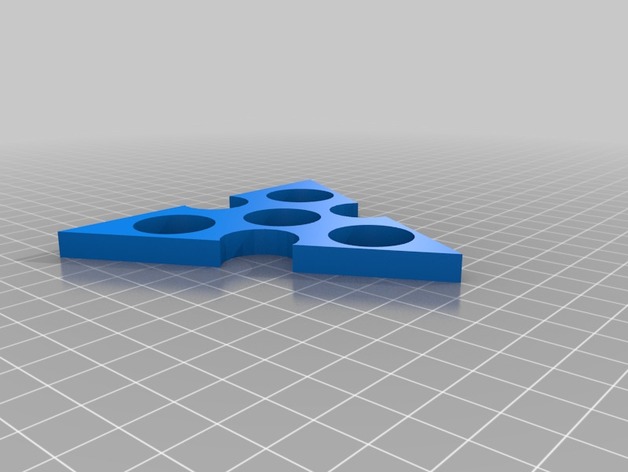
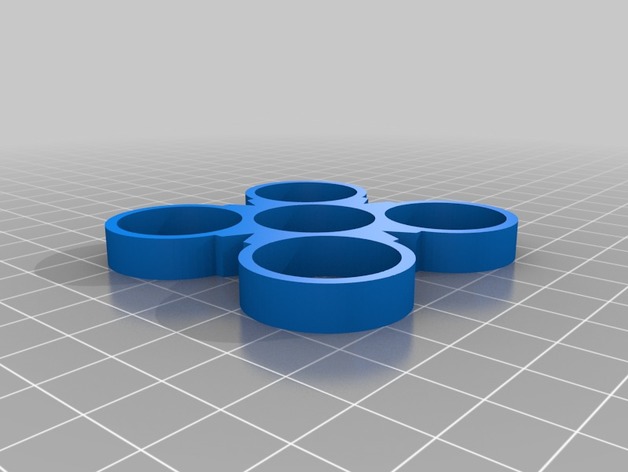
Printed using a single extruder with with five pauses, one for each color change. The photos show the model printed at 110%. Print it larger to get a napkin holder.
Author: Thingiverse
-
Transgender Symbol Ring / Napkin Holder 3D Print Model
-
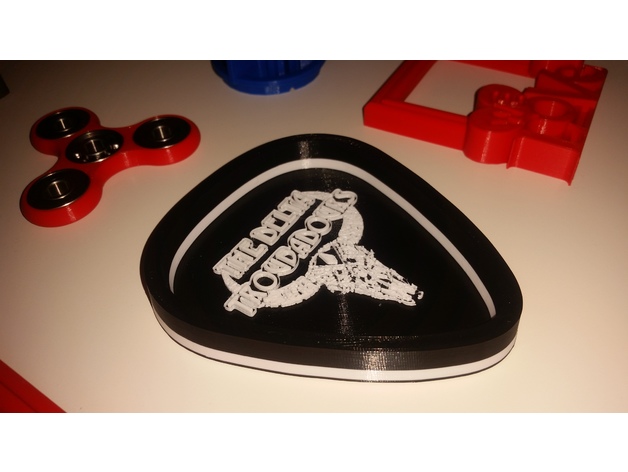
The Delta Troubadours – Guitar Pick Bowl 3D Print Model
Summary
Made this guitar-pick shaped guitar-pick bowl for a dear friend who is in an amazing thriving band – The Delta Troubadours. This pick bowl is a very nice way of keeping track of all your guitar picks, because we all know how often we lose and misplace those!
Check out the talented The Delta Troubadours at https://www.facebook.com/thedeltatroubadours
Print Settings
Printer Brand:
Prusa Printer:
Prusa Mk2 Rafts:
No Supports:
No Resolution:
0.15 or 0.10mm Infill:
10%, or none Notes:
The print is pretty straight-forward, but it looks much better if printed in dual-color. Lay the bowl flat (no duh), and set a color-switch during the layer where the band name starts. Printed really well with PLA, PET, and ABS, all at standard temps. -
Ancient Building 3D Print Model
Summary
Ancient Building -
Monoprice Select Mini extended bed brackets 3D Print Model
Summary
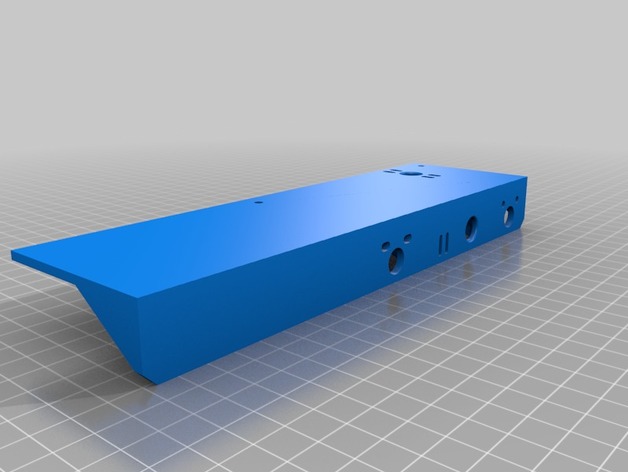
Extended the bed brackets to utilize the 300x200mm Anodized Aluminum Y Carriage Plate XL Upgrade for Prusa i3.
I have not tested, printed or fit as I have yet or order the carriage plate. If successful it will use the carriage, heat bed and borosilicate glass from the prusa I3 for the monoprice select mini. -
Hypercube Evolution Additions/Mods 3D Print Model
Summary
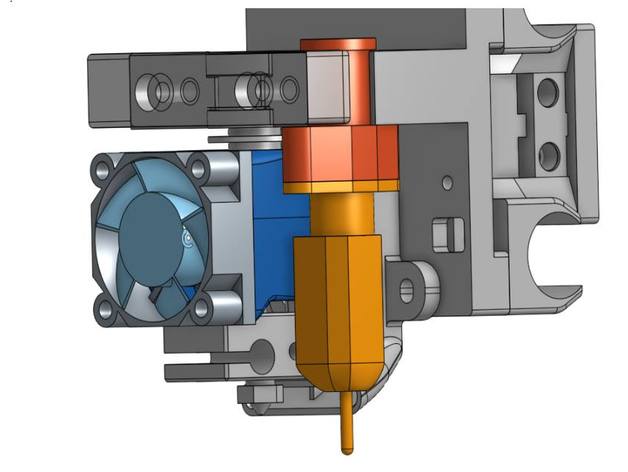
Please try, but I have not actually tried this yet, I’ll try to modify if I get feedback. -
Butterfly House 3D Print Model
Summary
House for the butterflies -
Hydra Star V-1 3D Print Model
Summary
First version of the Hydra Star spinner. Slide in the bearing and it’s ready to go. -
Motorised Marble Machine-switch seat 3D Print Model
Summary
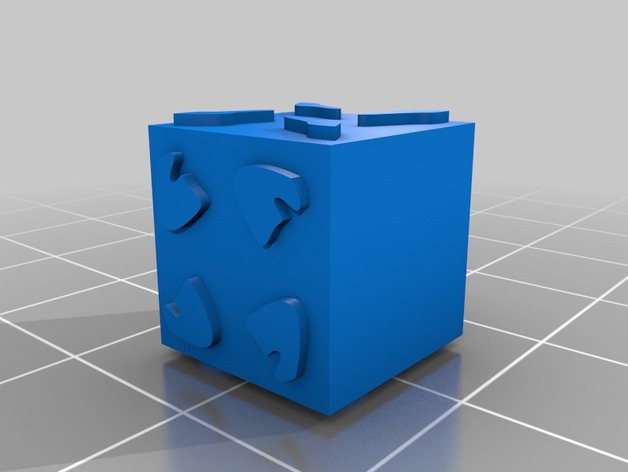
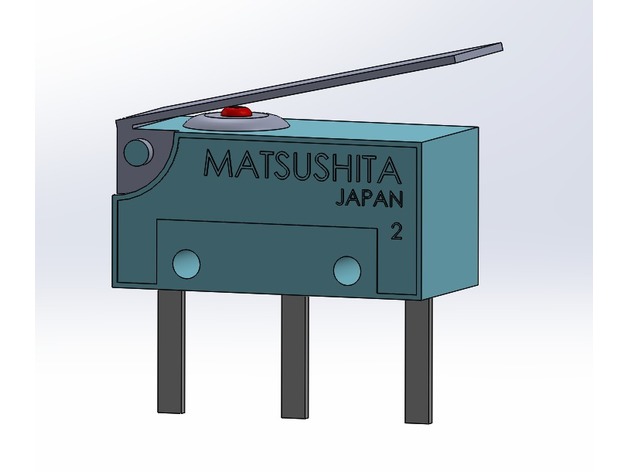
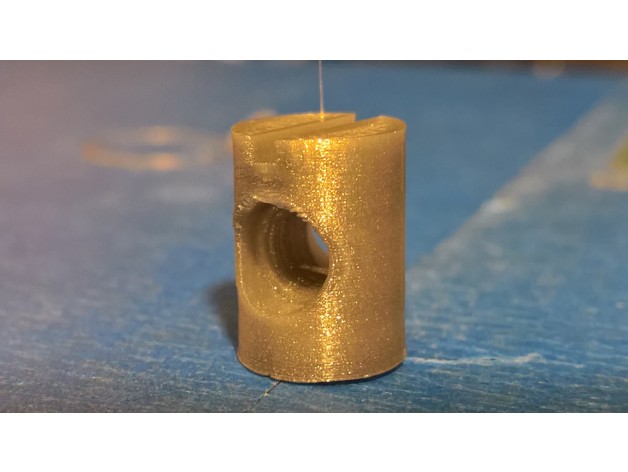
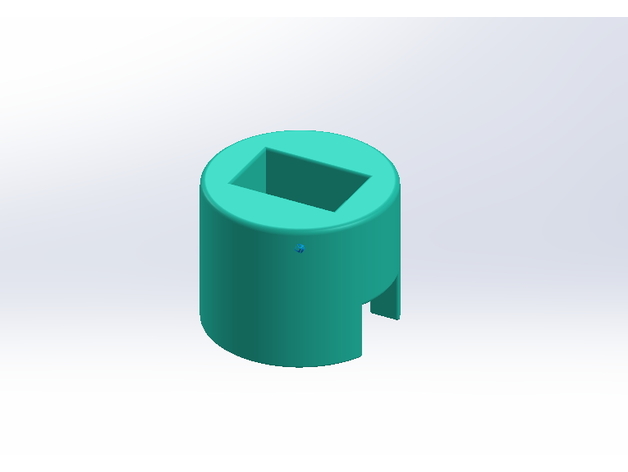
For my switch size.
Print Settings
Printer:
INFINITY X1 Rafts:
No Supports:
No Resolution:
0.2 Infill:
10%
Post-Printing -
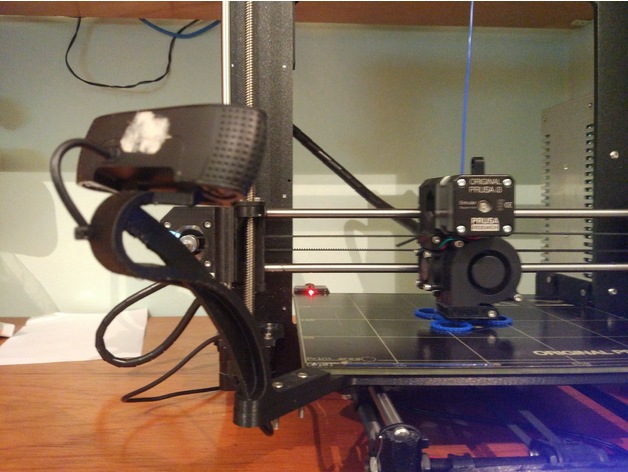
Prusa I3 MK2 Logitech C920 Mount 3D Print Model
Summary
Logitech C920 Mount for Original Prusa I3 MK2 / MK2S
Its a little modification from (https://www.thingiverse.com/thing:2283508) for mount the Logitech C920.
Required unmount the webcam for replace the standard support for this.
The result it’s amazing in terms of stability.
Demo: https://www.youtube.com/watch?v=RylwI2aTmnQ
Print Settings
Printer Brand:
Prusa Printer:
Prusa Mk2 Rafts:
Doesn’t Matter Supports:
Yes Resolution:
0.2 Infill:
50% Notes:
It is recommended to use ABS for the heat of the bed -
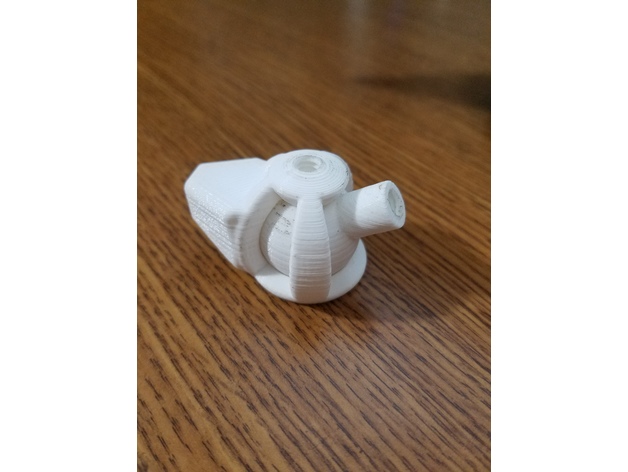
Pivot Ball Lock-01 3D Print Model
Summary
I wanted to have a go at making a “one print” design of a pivoting ball locking device. Here’s what I ended up with. I tapped the holes with a 1/4-20 tap. Use the obvious orientation when printing. I haven’t tried to correct that issue yet. May need to be scaled depending on which slicer is used. I use Simplify3d.
I may make more versions at some point.
Print Settings
Printer:
Alunar A8 Rafts:
No Supports:
No Resolution:
0.2mm Infill:
10% -
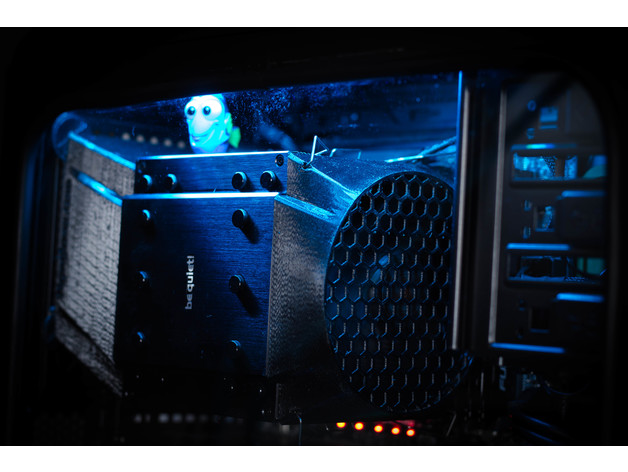
Be Quiet Dark Rock Pro front fan shroud 3D Print Model
Summary
A shroud to fit on a Dark Rock Pro cooler. Does require the original fan to be cut and pressed into the shroud. -
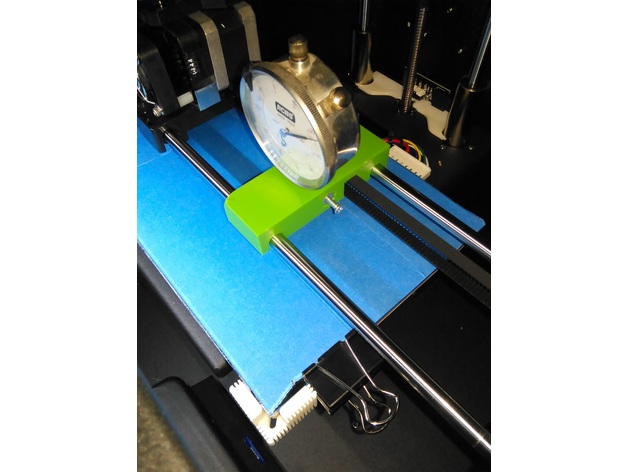
Newest Qidi Tech 1 Bed Leveler 3D Print Model
Summary
For use with a 10mm or smaller shaft dial indicator on the newest release of the Qidi Tech 1 printer with 8mm rods and 78mm outside to outside spacing. M-6 screws and nuts for the pinch bolts. Included some shims if you need to space your dial indicator up and away from the block. -
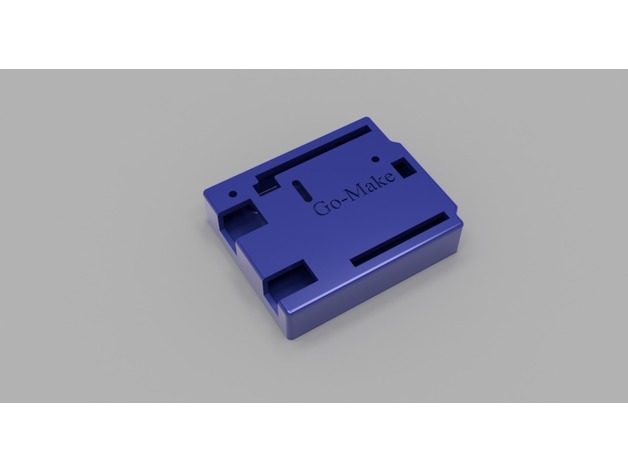
Snug Arduino Uno case – remixed 3D Print Model
Summary
Re-mixed this nice design for a workshop. We are using different types of Arduino clones. This remix will hopfully by the one that all can use. If not, then we will redesign it some more.
Print Settings
Printer:
Go-Make Rafts:
No Supports:
No Resolution:
0.16 mm Infill:
40% -
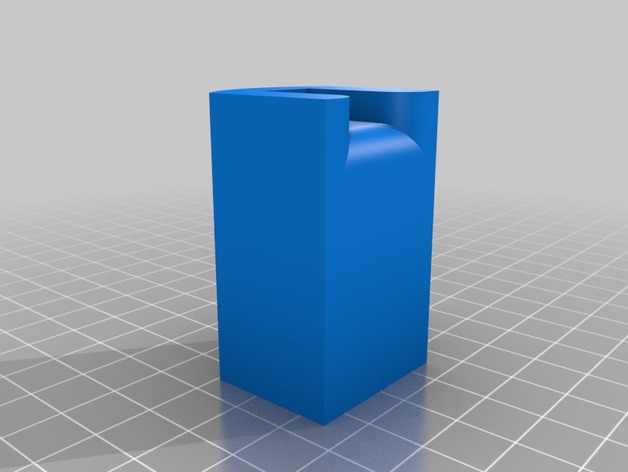
delta legs x y z 3D Print Model
Summary
It’s to remember what tower is what X Y Z
and Feet to X Y Z legs -
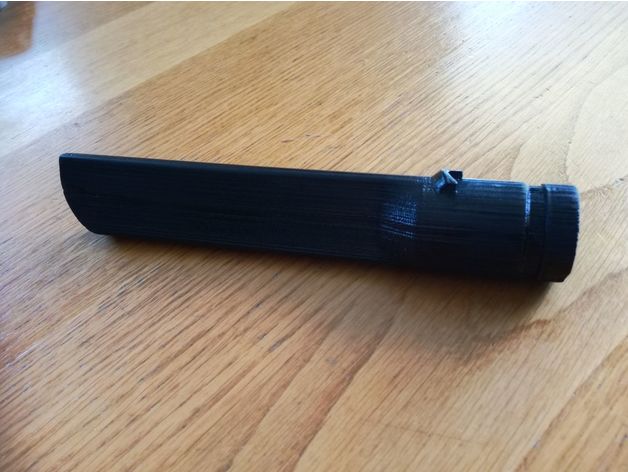
Dyson narrow vacuum tool 3D Print Model
Summary
Narrow vacuum cleaner tool for Dyson DC 37
Part length = 205mm
Nozzle length = 140mm
Nozzle width = 12mm
Print Settings
Printer:
Tevo Terantula Rafts:
Yes Supports:
Doesn’t Matter Resolution:
0.23mm Infill:
20% -
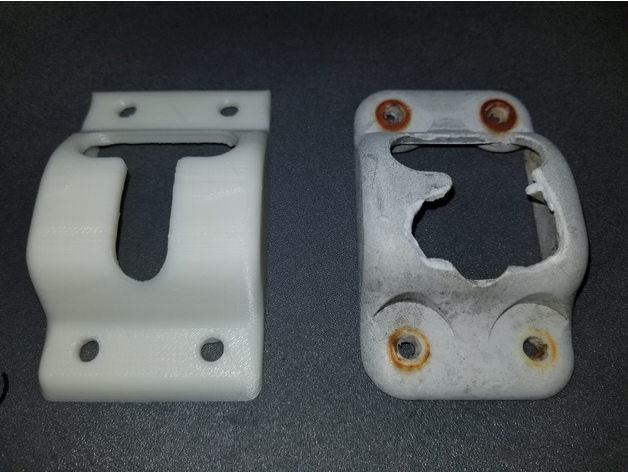
T door holder receiver for a trailer door 3D Print Model
Summary
The receiver part of a t style holder on a trailer.
My first creation. Hopefully someone can find it useful.
Print Settings
Printer Brand:
FlashForge Printer:
Creator Pro Rafts:
No Supports:
Yes Resolution:
0.2 Infill:
100 -
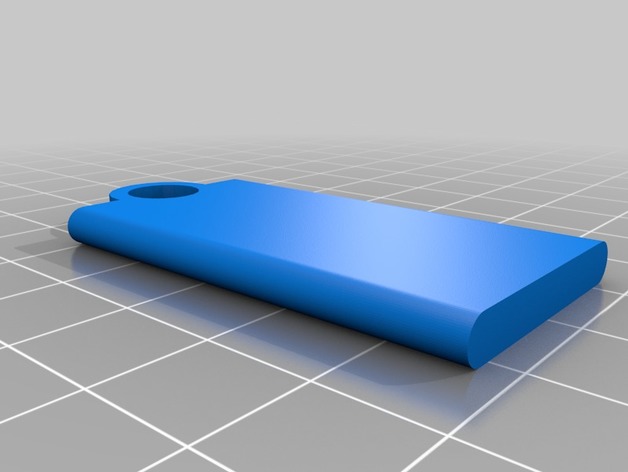
Key Fob 3D Print Model
Summary
Custom Key Fob!! Smooth edges and simple design. Comment If you want a different letter or word on the Key Fob and I will try to add it for you!! -
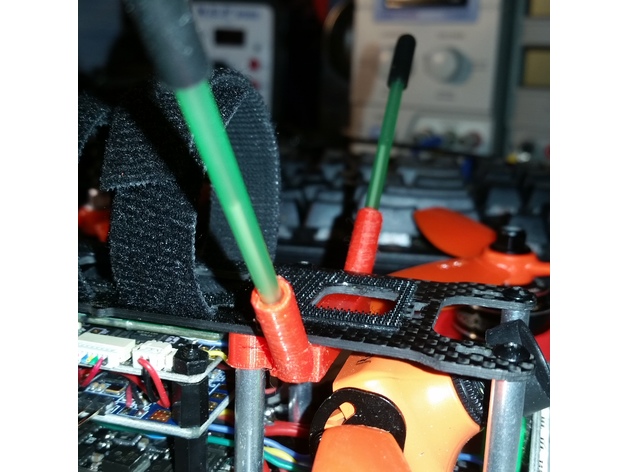
210 quadcopter frame antenna mount 3D Print Model
Summary
Broke antenna twice today on my 210 quad, once clipped the branch which bent the antenna into the prop, destroying antenna tube, and second time flew into the power line and this time antenna got cut off completely.
So this propmted me to design antenna mount which will be on top of the frame under the top plate, and wold clear the propellers. Printed in PLA had to widen holes fraction of mm, with ABS works as is. Printed in resolution 0.8 No supports. In Spmplify3D lower the part until it’s flush with print bed, or trim the excess on the bottom in Tinkercad if your slicer cannot lower the part into build plate. -
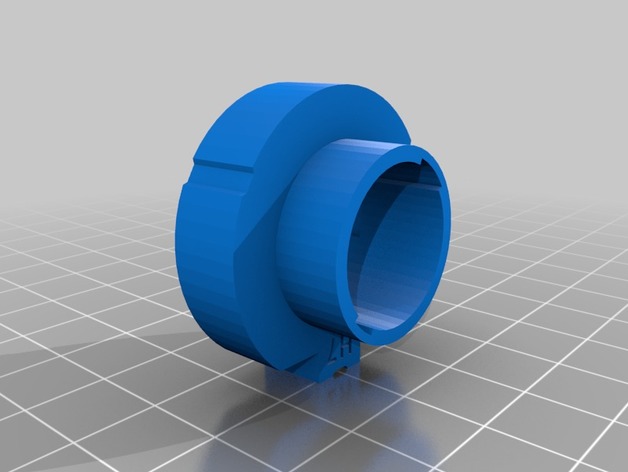
Kawasaki KLR 650 H7 led adapter 3D Print Model
Summary
This adapter is to fit cheap H7 led heahlight on the KLR.
Print on ABS/PETG or PC for temp tolerance.
How to use:
Print it
Remove the headlight cowling from the KLR (the 2 phillips and the 4 M6 bolts).
Disconnect the headlight and turn signals
Remove the light cover
Raise the light lock
Remove the old light bulb
Put the adapter with the widthest part to the front. There is only 1 way to put there.
Lock the adapter in the right location
Remove the OEM adapter from your led bulb
Put the led into the adapter. Be carefull that led bulb have 2 marks, one is bigger.
Once enter, turn the led bulb in clockwise direction until stop it.
You could need to cut the cover in order to fit the led heat sink.
Print Settings
Printer Brand:
Prusa Printer:
Prusa Mk2 Rafts:
No Supports:
Yes Resolution:
200um Infill:
20% Notes:
I use 6 layers as perimeter/border shell -
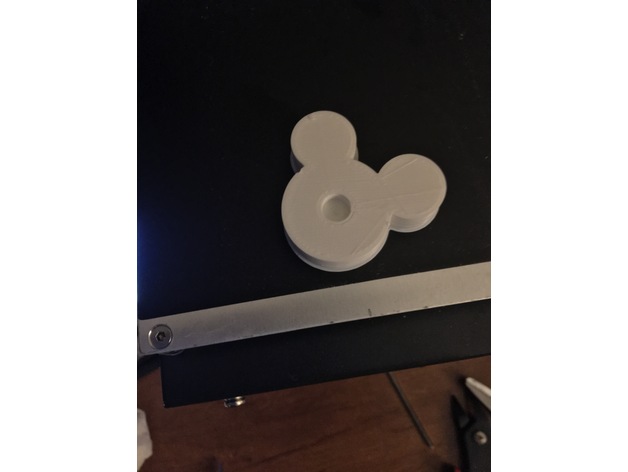
Mickey 510 RTA stand 3D Print Model
Summary
A 510 holder to store tanks or rda, Rdta, rta. Mickey themed very simple but my first design. Make sure to lay it flat when printing with hole on top. I am using cura 2.4 to slice
Print Settings
Printer:
Monoprice maker select mini v2 Rafts:
No Supports:
No Infill:
50% -
Cubo 3×3 3D Print Model
Summary
Cubo de rubik 3×3 -
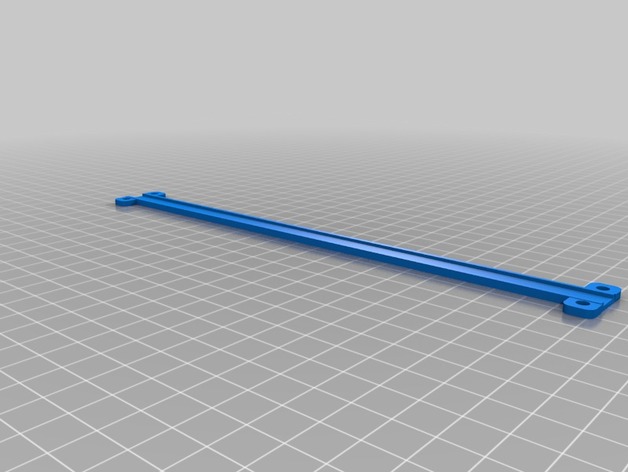
Led Strip Mount for 7.6mm wide strips 3D Print Model
Summary
For use with 7.6mm wide LED strips the type you find inexpensively that often come with a USB connector wired to the end. Remix with mounting screws on ends. 220mm length. -
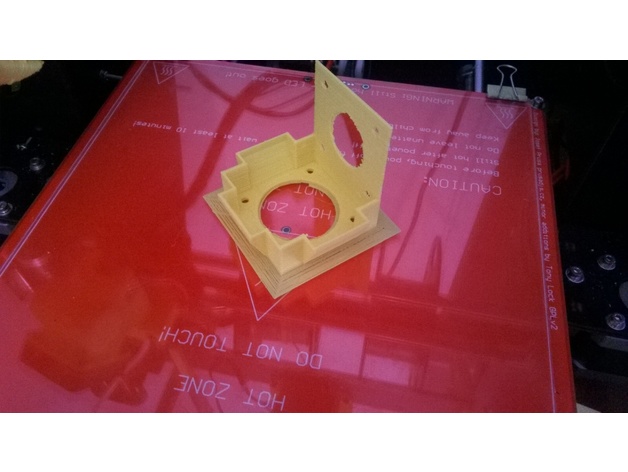
Nema 17 Fan Mount 3D Print Model
Summary
This remix of ChrisMagno’s design was made so the fan could be assembled on the side of the motor in conjunction with beamtech’s Nema 17 mount (https://www.thingiverse.com/thing:1540632). It should also work standalone or with other mounts. -
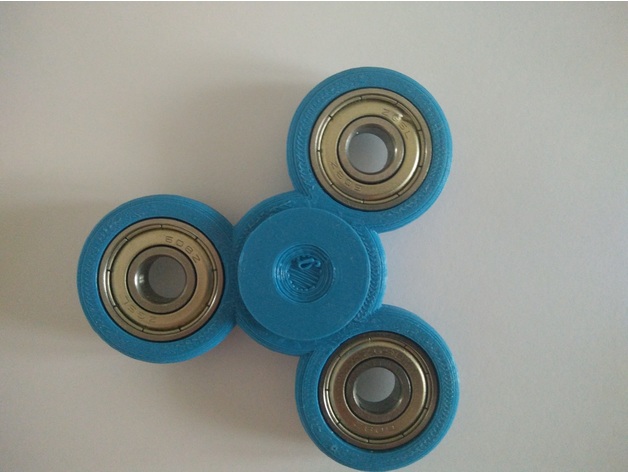
Circular spinner 3D Print Model
Summary
This circular spinner is desgined for 608ZZ 8x22x7 bearings.
Print Settings
Printer Brand:
Prusa Printer:
Prusa Clone Rafts:
No Supports:
No Resolution:
0,2 Infill:
20% -
Flange that accepts pool cleaner hose. 3D Print Model
Summary
A simple flange with a 41mm inner diameter. Can be bolted to a tank.
Print Settings
Printer:
XYZPrintingDa Vinci JR. 1.0 Rafts:
No Supports:
No Resolution:
Doesn’t matter. Infill:
Did mine at 50% no problems. -
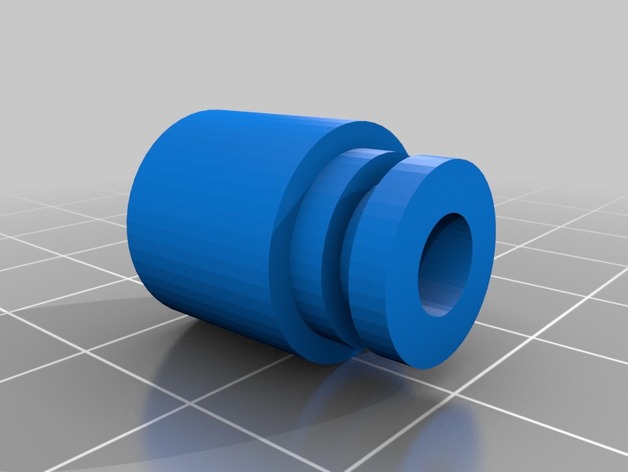
M.Terk Drip Tip 3D Print Model
Summary
I designed this drip tip to work with my M.Terk RDA on a Vaping American Made Rig Mod v3. It fits loosely without the oring, comfortably snug with an oring. The internal shape is tapered/conical to add a bit of restriction to the flow of air (strictly preference).
A single oring is used to help keep it tight/snug. What size works best may vary depending on print quality.
Print Settings
Printer Brand:
Prusa Printer:
Prusa Mk2 Rafts:
No Supports:
No Resolution:
0.15 mm Infill:
20% Notes:
Insert Dimensions: 11mm DIA x 6mm
Mouthpiece Dimensions: 14mm DIA x 12mm
Oring Dimensions: 7/16″ DIA x 1/16″ thickness (~11mm DIA x ~1.7mm thickness)
Print orientation was upside-down (mouthpiece on build plate, insert to the sky). I printed with no supports, but do as you like/require.
Total print time: ~24 minutes
Nozzle/Extruder Temperature: 210°C
Bed Temperature: 55°C
Material: PLA (Any material would likely work. Print settings may need to be adjusted accordingly)
Post-Printing
Finishing
Flashing trimmed from the build plate layer. Light sanding with 220 grit sandpaper to make a smoother “friendly” edge on the mouthpiece opening. -
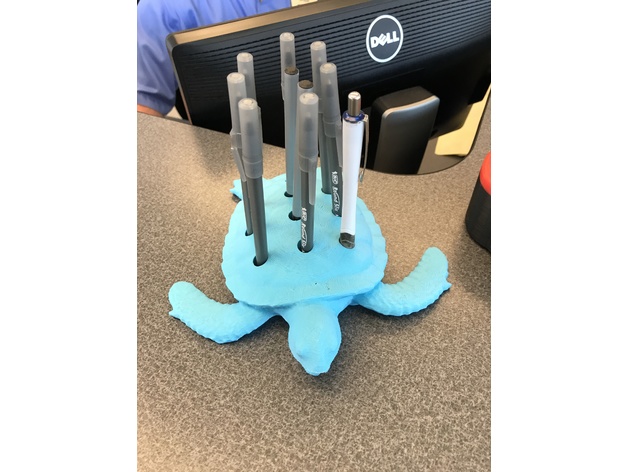
Sea Turtle Pen Holder 3D Print Model
Summary
I included 2 sizes, the big one is 216x210x45mm and the smaller one is 169x174x36mm with 11mm holes in both of them to accommodate regular sized pens/pencils.
WARNING
If you scale the model the pen holes will scale and either be too big or too small to hold pens/pencils reliably.
Enjoy ! -
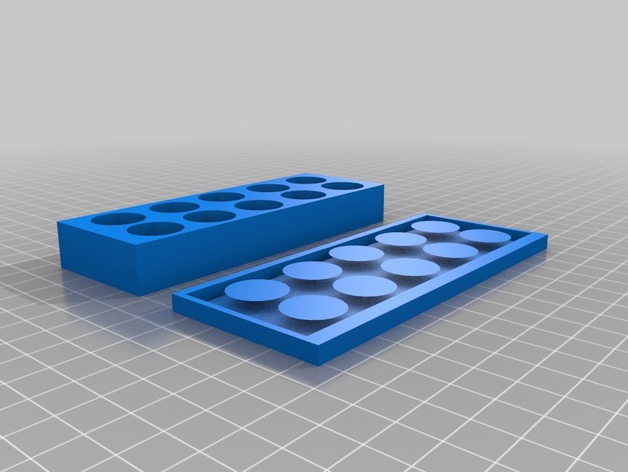
Makeup Palette 3D Print Model
Summary
A small box with wells in it to store make up from broken palettes, samples, and other small amounts of make up. -
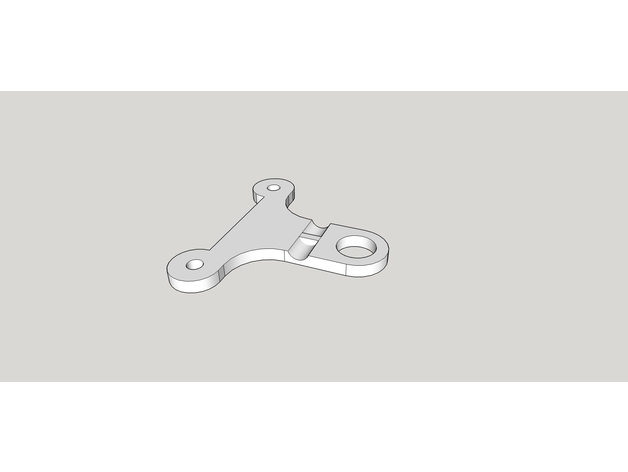
Break away antenna mount for alien style drone or any with 32mm post spread 3D Print Model
Summary
this mount I made because I kept breaking antennas, with this I just have to replace the mount instead of the antenna, lots cheaper, just mount your SMA or RPSMA extension through the hole and attach antenna
Print Settings
Printer Brand:
MakerBot Printer:
MakerBot Replicator 2X Rafts:
Doesn’t Matter Supports:
No Resolution:
High -
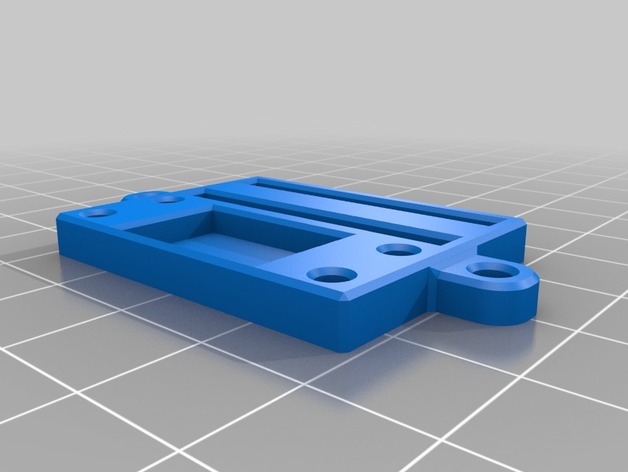
Low Profile RJ45 breakout 3D Print Model
Summary
The original seemed a bit bulky, so I trimmed it down to roughly half the original thickness, leaving all other dimensions the same. -
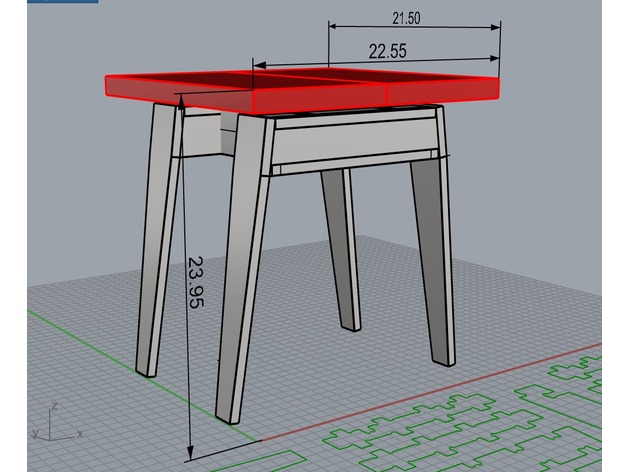
“Trudeau” sawhorse-style midcentury modern side table 3D Print Model
Summary
The Trudeau table is a small side table designed to sit between two chairs. The materials required are about about half a sheet of 3/4″ plywood, plus two larger pieces of wood for the top (or make your own top from plywood or another material).
The joints are cut with 0.02″ clearance on all sides. In practice, this means they are snug, but you can slot them together by hand. They are intended to be sanded flush and glued in place (the legs are attached with finishing nails and glue). There is no cutting profile for the top included in the design (it’s just the crosspieces and legs). I used a pair of pieces of reclaimed 2×12″ Douglas fir (about 19″ long) for the top of my table, but you’re supposed to choose a piece of wood that’s meaningful to you. You attach the top with long wood screws.
There are two toolpaths in the included VCarve file: one which cuts a collection of circles at 0.1″ deep to mark where to put hold-down screws and one to make the profile cuts for the pieces. In the picture of the plywood in the cnc machine above, you can see the circles for the screws. The weight of the plywood was sufficient to hold things in place for the screw-locating circles (at least for me).
I used a 1/4″ upcut end mill (Onsrud 65-025). This worked nicely– though the top edges were a little fuzzy, they cleaned up instantly with a little sandpaper.
Since the table was going outdoors, I finished it with Watco Teak Oil, which makes a nice water-resistant finish. The plywood wasn’t exterior-grade, but I’m not too worried– for the past five years, the side table has been a cardboard laser printer box with a blanket on it! (I’ll update in a year or two to note how everything performed in practice.)
The files included are ordered sort-of-logically:
1) If you use VCarve, I’ve included the whole project laid out as a .crv file. Note that my 3/4″ plywood was actually 0.78″ according to my calipers, so the cut depth is 0.78. You should check your material and reset this before exporting toolpaths.
2) If you use another CAM program, I’ve included just the cutting vectors as dwg and dxf files (exported from Rhino). You’ll have to work out hold-down yourself, as this doesn’t include the screw-locating circles.
3) If you want to alter the basic design, I’ve included the original Rhino file, which has a 3d model of the table as well as the cutting paths.
I’ve also included some conversions to 3d modeling files in case you want to 3d print a scale model of the table (note: the tabletop is not attached in the model), or remix this for another use. -
Predator Chalk Holder 3D Print Model
Summary
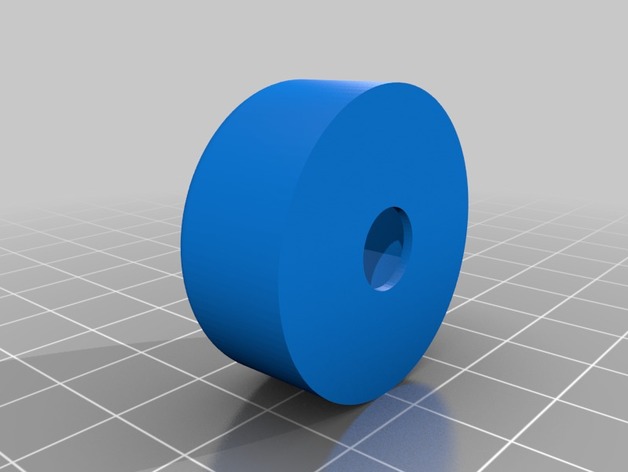
Chalk Holder for Predator 1080 chalk. Set printing size to 106%.
Print Settings
Printer Brand:
Prusa Printer:
Prusa Clone Rafts:
No Supports:
No Notes:
Print size: 106% -
Pollo 3D Print Model
Summary
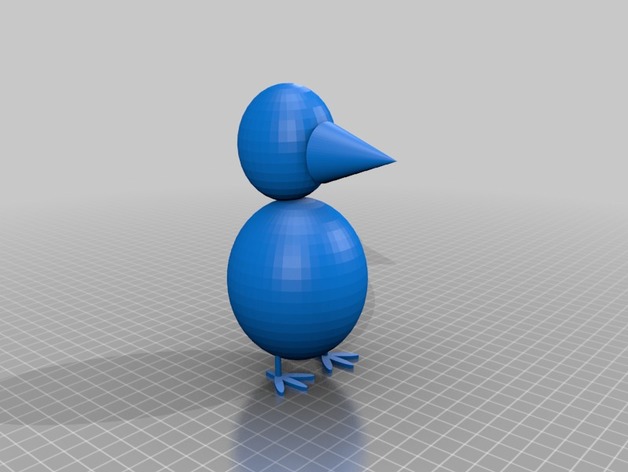
Creado en Tinkercad:DOverview and Background
Lesson Plan and Activity
Actividad creada para trabajo (info.)
Materials Needed
Creatividad -
Soporte de cable de celular 3D Print Model
Summary
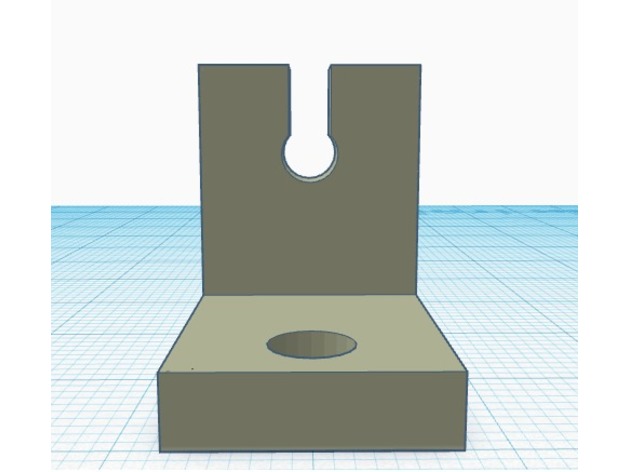
Soporte para sostener el cable del cargador del celular, asi no se cae al piso. -
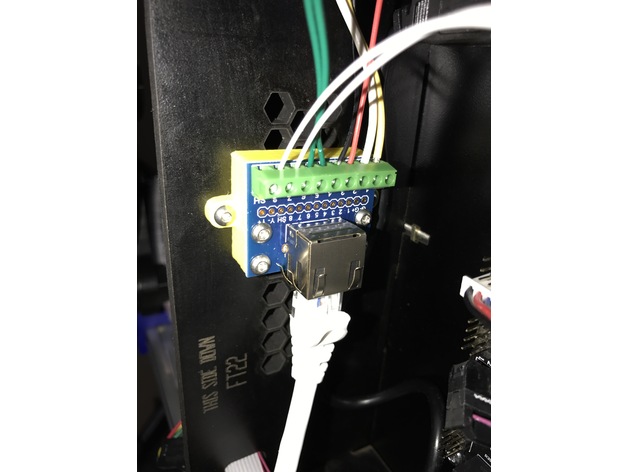
RJ45 Breakout Mount 3D Print Model
Summary
RJ45 Breakout Mount for rewiring with CAT6 network cable.
Print Settings
Printer Brand:
SeeMeCNC Printer:
Rostock MAX v2 Rafts:
No Supports:
No Resolution:
.25 Infill:
30% Notes:
Used ABS -
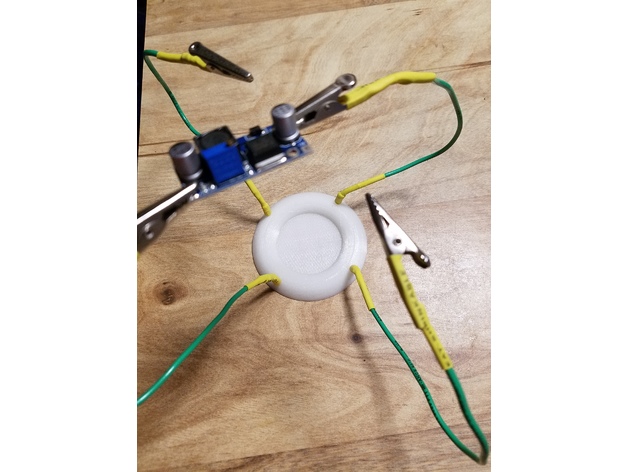
Helping Hands 3D Print Model
Summary
I hated my current helping hands station so I made one better. I’m using solid core wire as the bendable arms. I designed a bowl shape in the center so I can add weights when I need to. Super cheap and easy to assemble.
Print Settings
Printer Brand:
Robo 3D Printer:
R1 ABS + PLA Model Rafts:
No Supports:
No Infill:
15% -
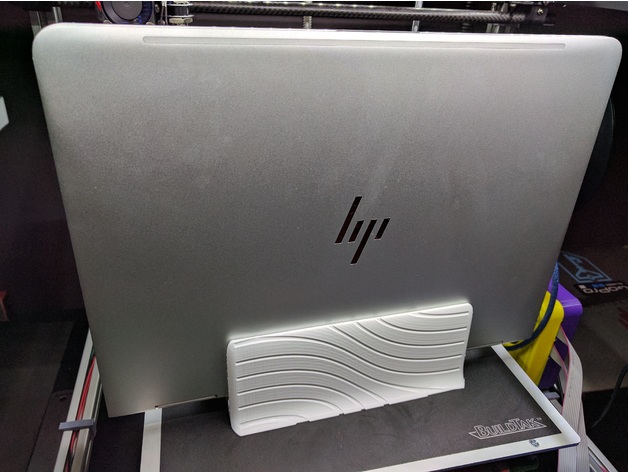
HP Spectre x360 13-w023dx Laptop Stand 3D Print Model
Summary
I wanted a small footprint stand that was sturdy and good looking. Carl’s stand fits the bill, but the opening was too big for my HP Spectre x360 13-w023dx which is 13.7mm thick. I resized it to fit this laptop and its perfect fitting. Now is good fitting and doesnt cover the vents. Hope its useful for others as well.
Print Settings
Printer:
Hypercube Rafts:
No Supports:
Yes Resolution:
0.20 Infill:
22% Notes:
For best quality, print at a slow speed, such as 40mm/s.
@ 55mm/s it took 6 hours 21 mins. -
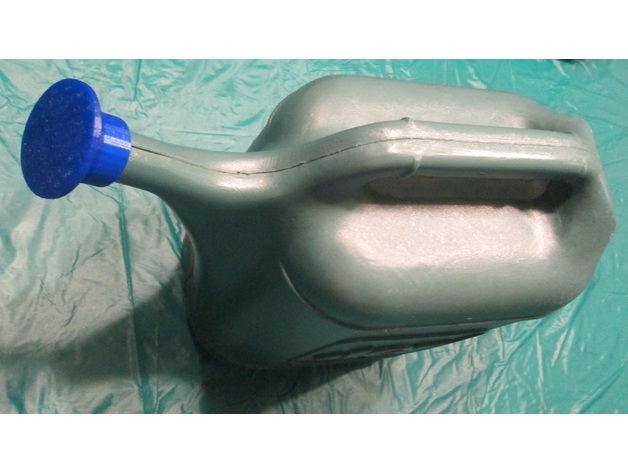
Threaded Water Spout 3D Print Model
Summary
My water can spout broke and I decided to print one but none posted were quite what I was looking for. I modified the spray spout Thing:320603 to include a one inch threaded screw to fit my watering can. Works great!
Print Settings
Printer Brand:
PrintrBot Printer:
Play Rafts:
No Supports:
No Infill:
20% Notes:
Printrbot Simple Metal
Shell thickness 0.8mm
Layer height 0.2mm
Bottom/Top thickness 0.4mm -
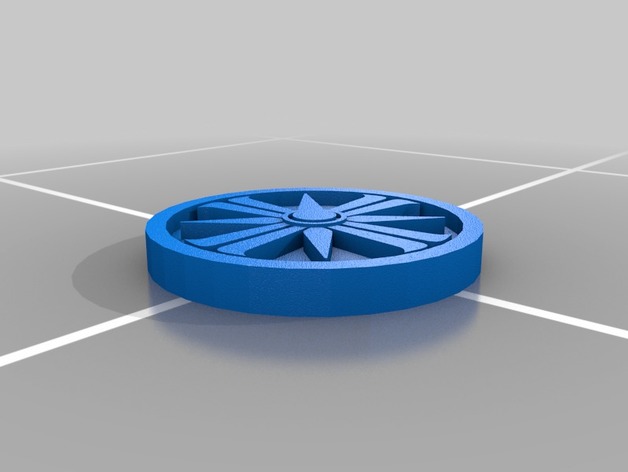
Far cry 5 logo coin 3D Print Model
Summary
A simple coin with the logo of the cult shown in the far cry 5 trailer.
Print Settings
Printer:
Vertex k8400 Rafts:
Doesn’t Matter Supports:
No Resolution:
0.35 Infill:
20% -
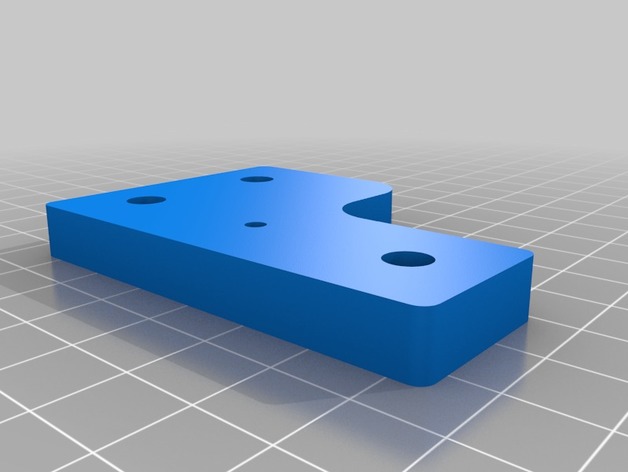
Pauls Y-Idlers for 3mm bearings 3D Print Model
Summary
Someone (no not someone) asked me to make a version for 3mm bearings
This is a redesigned version of this thing -
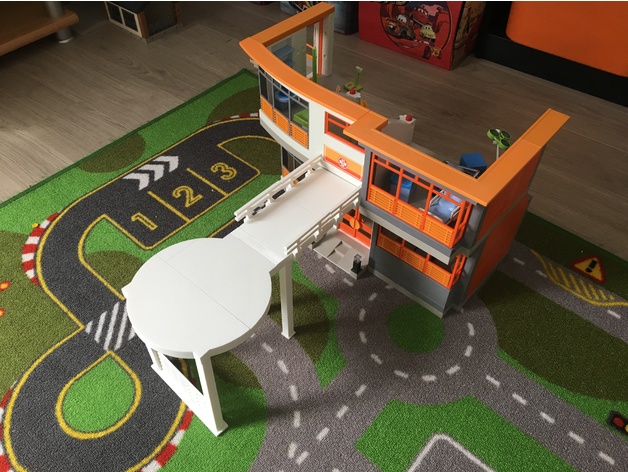
HELIPORT POUR HOPITAL PEDIATRIQUE PLAYMOBIL 3D Print Model
Summary
HELIPORT POUR HOPITAL PEDIATRIQUE PLAYMOBIL
Extension personnel pour heliport
Print Settings
Printer:
dagoma discoeasy 200 Rafts:
Yes Supports:
No Resolution:
0.15 -
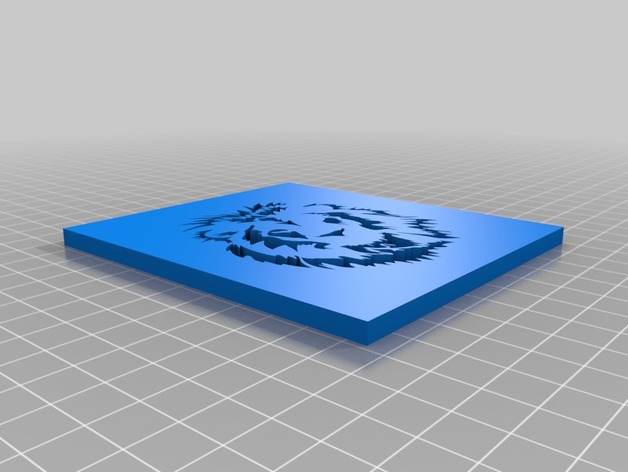
Lion_Stencil 3D Print Model
Summary
a stencil of a lion
Print Settings
Printer:
CR10 Rafts:
No Supports:
No Resolution:
0.25mm Infill:
10% -
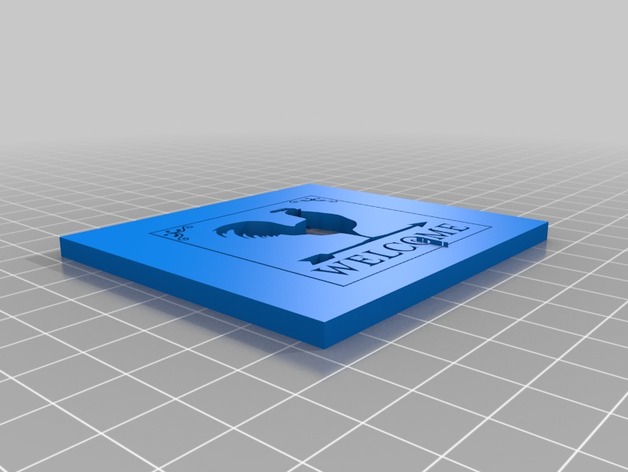
Chicken_Stencil 3D Print Model
Summary
a stencil of a chicken
Print Settings
Printer:
CR10 Rafts:
No Supports:
No Resolution:
0.25mm Infill:
10% -
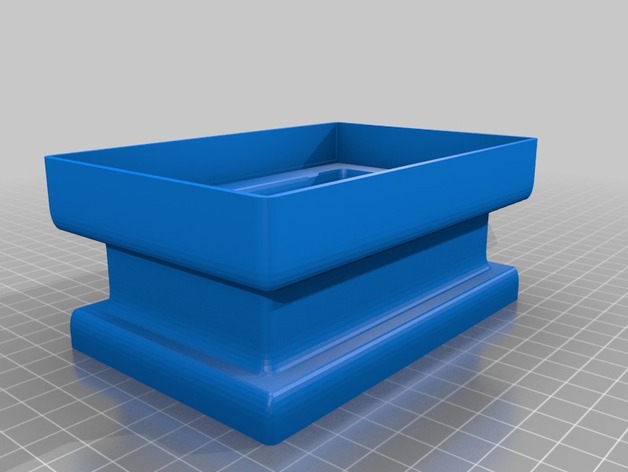
quanum pro screen extension 3D Print Model
Summary
screen extension for the quanum pr v2. The screen was to close to my eyes -
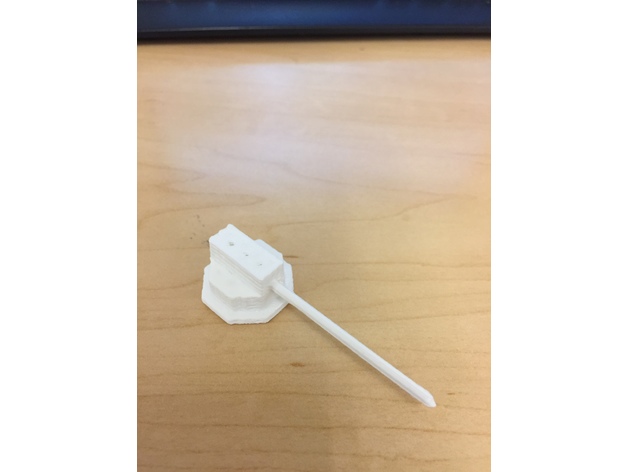
letter opener 3D Print Model
Summary
In this opportunity, SPU engineers make a project to help people in need get a better life. M
Therefore, I made a letter opener, to help people open their letter easier and more efficient.
This letter opener will be installed to the “robot hand” and applied to open a letter
Print Settings
Printer Brand:
Printrbot Printer:
Play Rafts:
No Supports:
Yes Infill:
20% Notes:
Layer height = 0.2 mm
Shell thickness = 0.8 mm
Bottom/Top thickness = 0.8 mm
Print speed = 60 mm/s
temperature = 208 C
Diameter = 1.75 mm
Flow = 100%
Nozzle size = 0.4 mmOverview and Background
Lesson Plan and Activity
-
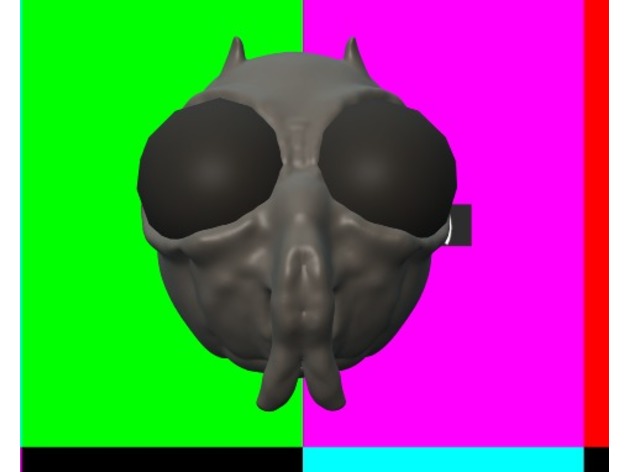
Federation citizen 3D Print Model
Summary
I just started making a head and thought of the Rick and Morty TV show. I love it so I made the head of one of the bug aliens from the federation.
bug2 is not as heavy because I lowered the number of faces in the design. -
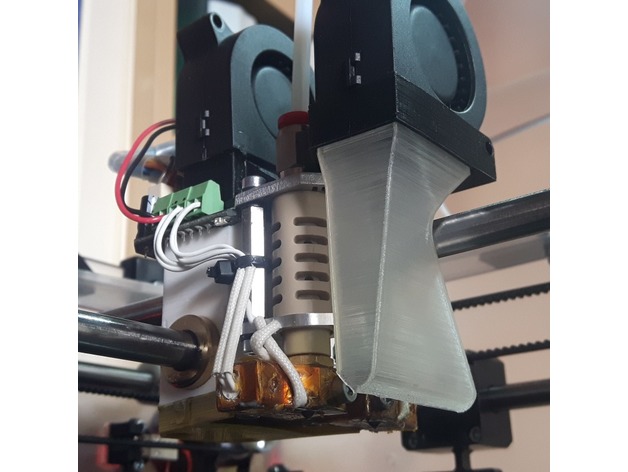
Velleman Vertex K8400 fan duct for 4020 turbine 3D Print Model
Summary
This is spare cooling fan for original small 25×25 one. -
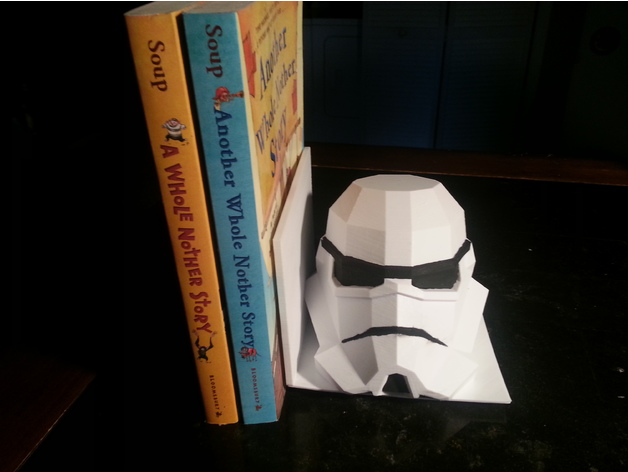
Star Wars Book Ends 3D Print Model
Summary
I created book ends with Flowalistik’s Stromtrooper and Darth Vader heads. These were a birthday gift for a Star Wars fan. -
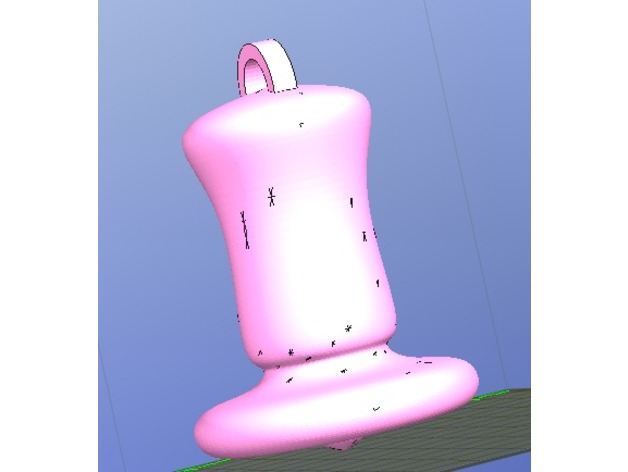
Christmas Ornament 3D Print Model
Summary
This is an ornament that you can hang on a Christmas tree. -
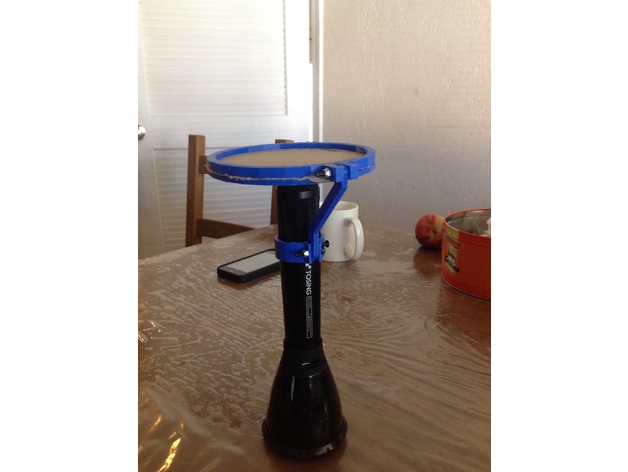
Microphone pop filter for Tosing karaoke k068 3D Print Model
Summary
This is pop filter for karaoke microphone Tosing/Tuxun k068
What You have to prepare :
1.2xm3 screws and nuts
2.sockings >.< lol -
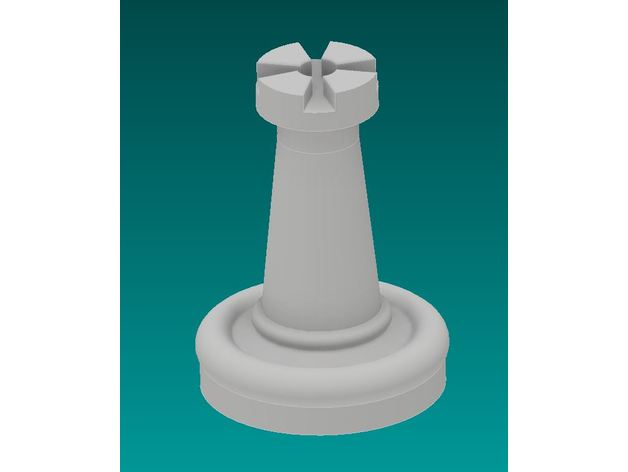
Chess Rock 3D Print Model
Summary
Dies ist ein Schach Läufer den ich nach dem Vorbild eines Glasschachspiels erstellt habe.
Print Settings
Printer Brand:
FlashForge Printer:
Creator Pro Rafts:
Doesn’t Matter Supports:
No Notes:
Filament ABS
Temperatur:
Buildplate 70°C
Extruder 210°C
auf Glas -
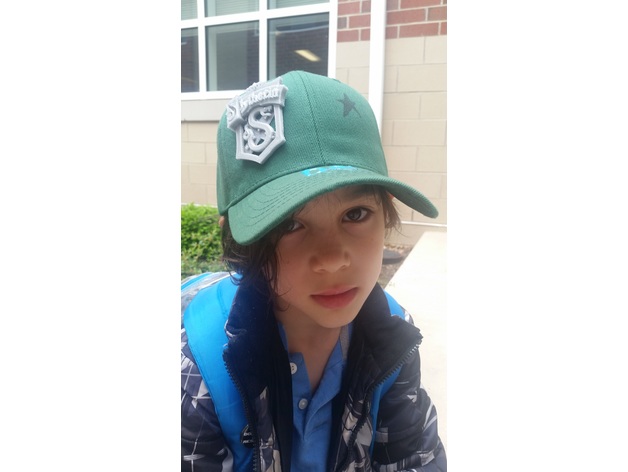
Slytherin Crest with openwork 3D Print Model
Summary
My kid got “Green Team” for Field Day at school and his class was tasked with decorating hats. He immediately said he wanted a Slytherin decoration for it. I had silver PLA on hand and remixed Imminentfate’s crest to have openwork to make it easier to attach to the hat and let the green show through. -
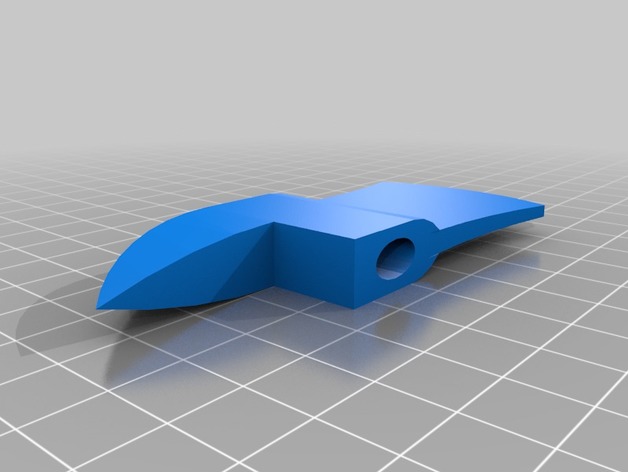
Fire Pick Head Ax 3D Print Model
Summary
This a Pick head ax or known as a firemans ax.
It can be printed in two ways:
1 Ax head and the top and bottom piece
or
1 Ax head and one handle
Use some heat to put it together to get a nice snug fit. -
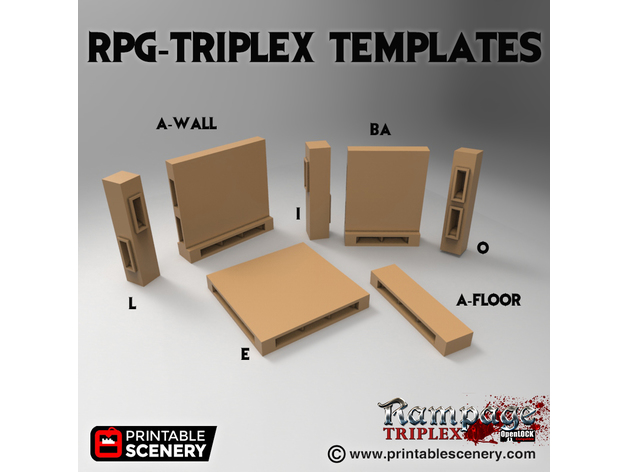
OpenLOCK Triplex Templates 3D Print Model
Summary
This is the Rampage Triplex Templates.
OpenLOCK Triplex allows more configuration possibilities.
The OpenLOCK Triplex if fully backwards compatible with all OpenLOCK systems
You can see more about the Rampage system and OpenLOCK herehttp://www.printablescenery.com/rampage-openlock/
OpenLOCK Triplex system has three OpenLOCK ports for every two inches.
You will need to switch the supports to ‘on’ to print these files
Please use the OpenLOCK Clip 4.3 for all rampage tiles -
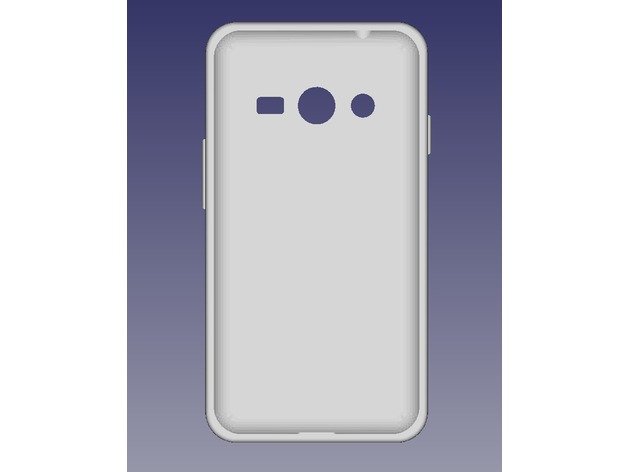
Galaxy Ace 4 case (Flex only) 3D Print Model
Summary
This is a case for the Galaxy ACE 4 for printing only with flexible filaments, otherwise it will not fit
Print Settings
Supports:
Yes Notes:
Print it slowly -
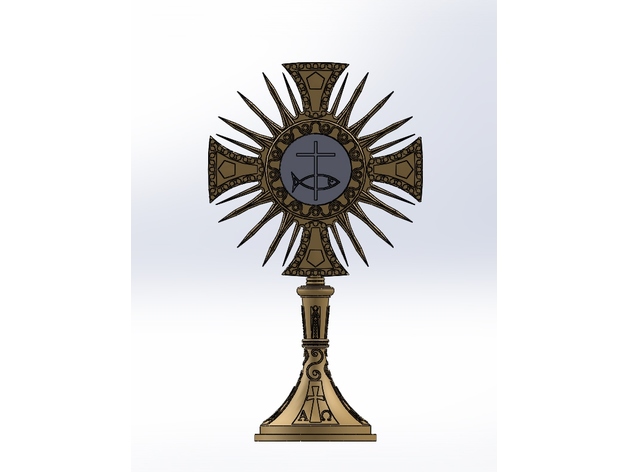
CUSTODIA ARTE SACRO 3D Print Model
Summary
If you like it you can support giving a like to the page https://www.facebook.com/Protocreaideas/
Print Settings
Printer:
zonestar Rafts:
Yes Supports:
Yes Resolution:
.15 Infill:
35
Post-Printing -
Door Hinge Straight Pin 3D Print Model
Summary
A storm door had failed due faulty parts that help the hinges to the door frame. The faulty parts were hard to find. Instead of buying a whole new storm door, they were 3D printed. The door is now in working order!
More details on the story and process can be found here:https:[email protected]_techem/3d-printing-saved-a-storm-doors-life-24e50143ad08
Essentially, the print is a straight cylinder object. A total of three hinges needed two of these prints each, making for six total prints. The build is thick enough so they will not slip out of position. A pair of pliers are needed for installing the door hinge “straight pins”.
Updates to the print to come (if the 3D prints fail).
Post-Printing
Necessary Modifications to Build
Layer Height: 0.20mm (instead of 10mm)
Infill: 15% (instead of 10%)
Number of Shells: 3 (instead of 2)
The changed settings above reflect a much stronger print. Necessary for holding a heavy door’s hinges in place to the door frame. The stock parts were a material material.
The rest of the settings were left alone.
How I Designed This
Medium Post with Detailed Steps Taken
https:[email protected]_techem/3d-printing-saved-a-storm-doors-life-24e50143ad08 -
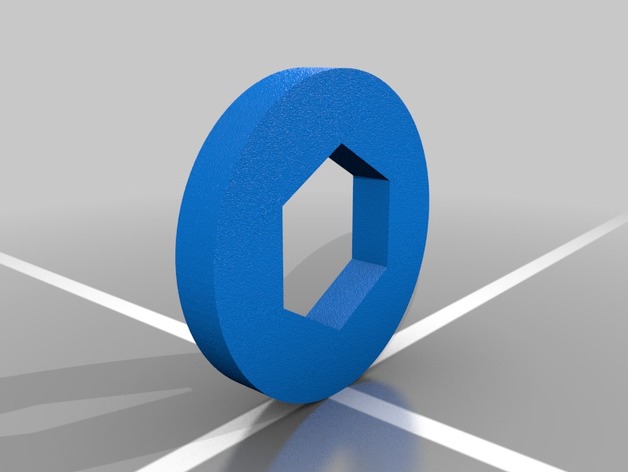
Fidget Spinner Hex Bolt Replacement Piece 3D Print Model
Summary
Don’t want to use a bearing as weight in your fidget spinner? Print this and use a hex bolt in your fidget spinner. This actually works! -
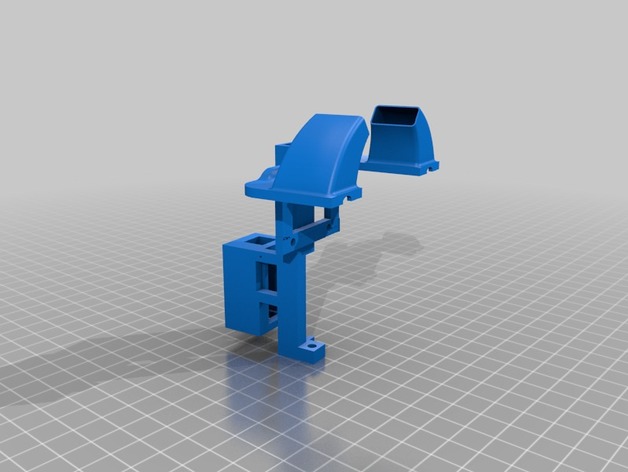
The Scorpio: Dual Blower Fanduct + SG90 Servo for Tevo Tarantula 3D Print Model
Summary
This is a remix marrying two beautiful and functional designs into one: https://www.thingiverse.com/thing:1850163 (Dual Blower fan duct) and this wonderful servo bracket https://www.thingiverse.com/thing:930292.
Printing is difficult, and the design might change in future to try and make it easier to print. Best is to use custom supports, and if you have good adhesion print it upside down. If you don’t have custom supports, print it lying on the ‘box’ and with supports from build plate. You will likely have a lot of cleaning up to do, as there is a lot of bridging.
main body can be printed at 0.2, medium infil. The arm and gear should be printed at around 0.1, no brim, solid. -
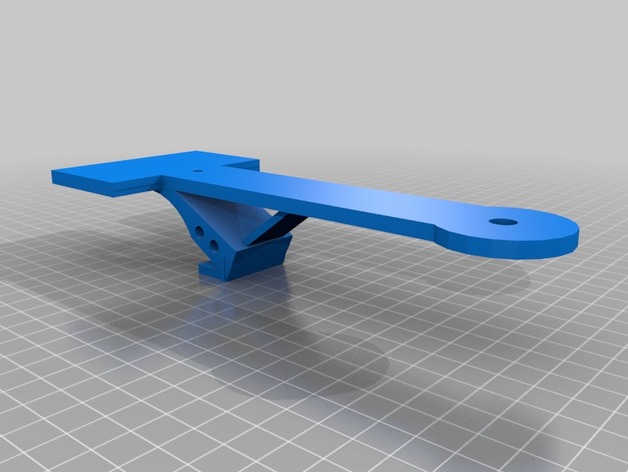
brushless motor arm for grass cutting 3D Print Model
Summary
arm i made to mount a brushless motor to cut gras or a battle bot -
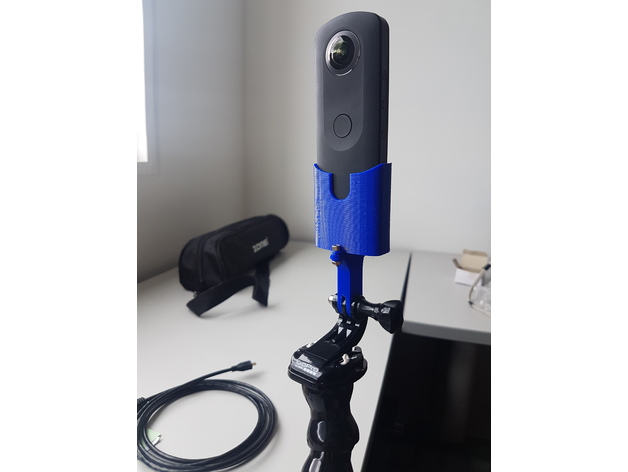
Ricoh Theta – GoPro adapter 3D Print Model
Summary
This is an adapter for using Ricoh Theta camera with GoPro accesories.
It will need two M3x10mm screws. You can access all ports from below.
Please note that the camera is expected to be in a vertical position as it is not tightened with any mechanism. -
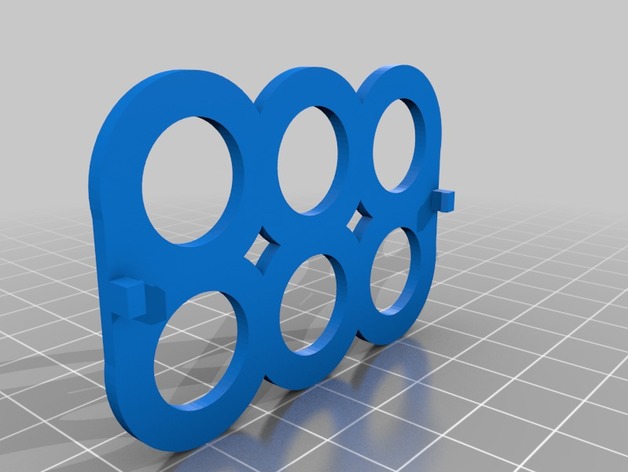
Mundus Novus Money Tray 3D Print Model
Summary
A simple holder for the doubloons in the Mundus Novus card game. Holds each denomination in two stacks. Includes lid.
Print Settings
Printer:
MP Select Mini V2 Rafts:
No Supports:
No Resolution:
0.175 Infill:
10 -
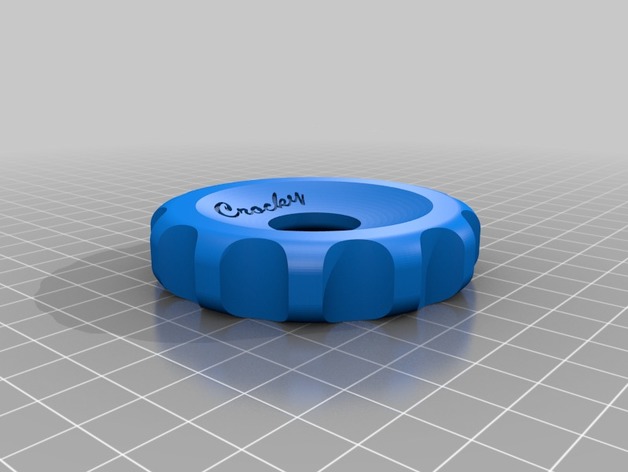
Crocky Stubby Opener 3D Print Model
Summary
This is a simple opener for a stubby screw top bottle. Just thought I would make it a useful thing while I was learning to use some software. -
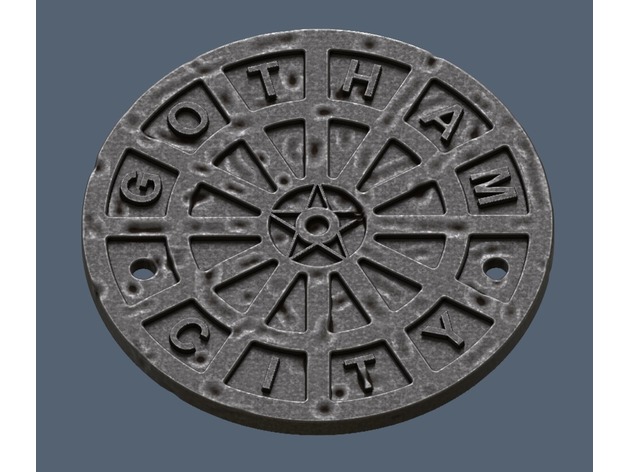
Gotham City Manhole Cover Coaster (Batman) 3D Print Model
Summary
This is a Gotham City manhole cover drink coaster. I thought it would be a great addition to someone’s man cave or batcave.
I made two versions a clean and a weathered version. -
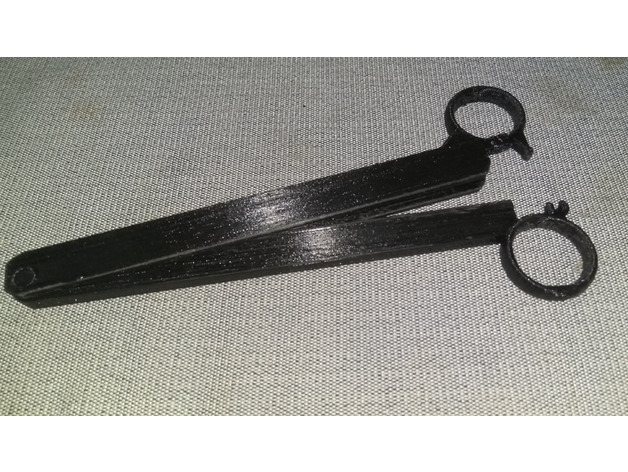
Scissors Clip (improved) 3D Print Model
Summary
Just another clip, an improved design
Print Settings
Printer Brand:
Prusa Printer:
Prusa Mk2 Rafts:
Doesn’t Matter Supports:
Yes Infill:
10% Notes:
Print at slower speed and 5mm brim will help to counter warping -
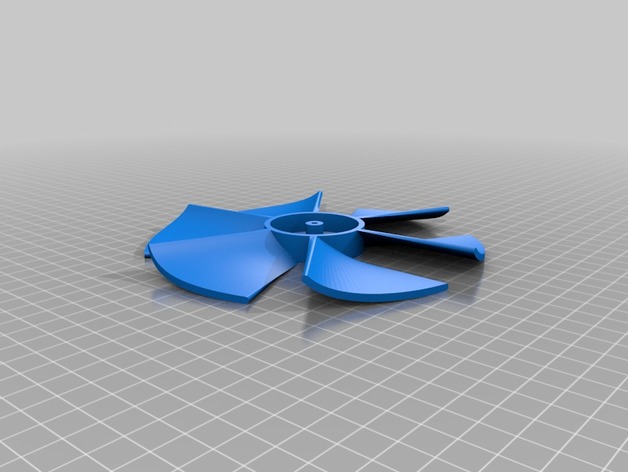
Roof Vent Fan Blade 3D Print Model
Summary
Replacement fan blade for bathroom roof vent in a 2001 Jayco 23B Travel Trailer. These are common vents, and should work with many other models.
Post-Printing
Center hole is 3mm, the motor shaft for my fan was .125″. I used a drill bit to open hole, then heated the motor shaft and pressed blade on.
How I Designed This
Fusion 360 -
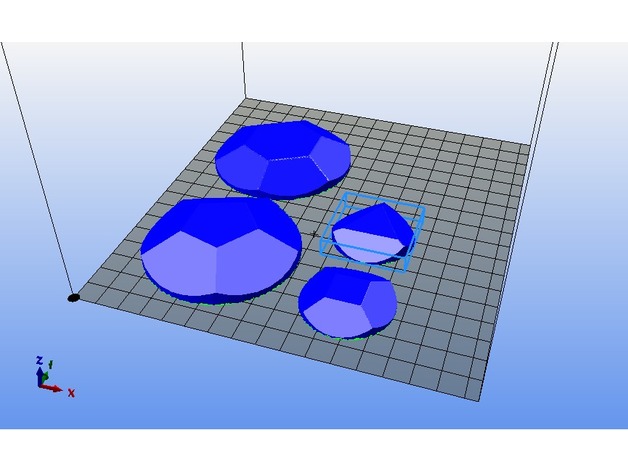
Steven Universe Gems (Sapphire, Ruby, Rose, Amethyst, Garnet) 3D Print Model
Summary
Steven universe Gems. I used them to make epoxy casts for my SU cosplay group.
You might need to scale them in order to fit.
Good sizes I found: Ruby/sapphire/Garnet: 4-5cm, Amethyst/Rose: 7cm -
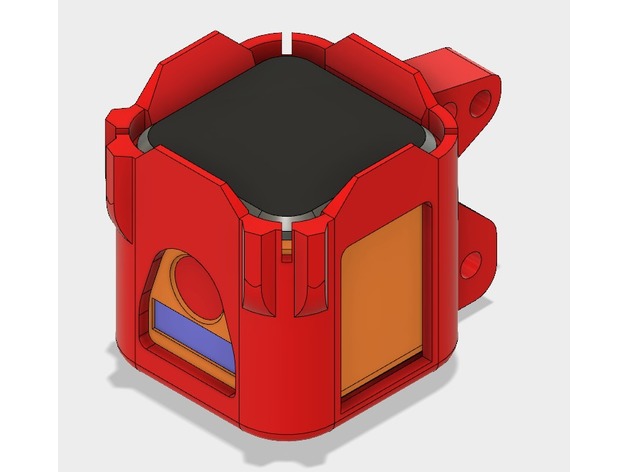
RealAcc 210x (QAV210 clone-ish) 3D Print Model
Summary
Based originally on BMC3d (https://bmc3d.co/ ) designed gopro mount, this is a ground-up custom version. Due to original adaption issues I had with the RealACC 210x differences with the QAV it was based on, I needed a mount that would work with the frame and its funky top-deck design.
Fusion files attached for the intrepid or interested.
If you need a true QAV mount, BMC3d has phenomenal print quality and fast service that cannot be beat.
Print Settings
Printer:
e3d BigBox Rafts:
No Supports:
Yes Resolution:
.2mm Notes:
Working copy printed using sainsmart TPU with supports generated by Simplify3d. -
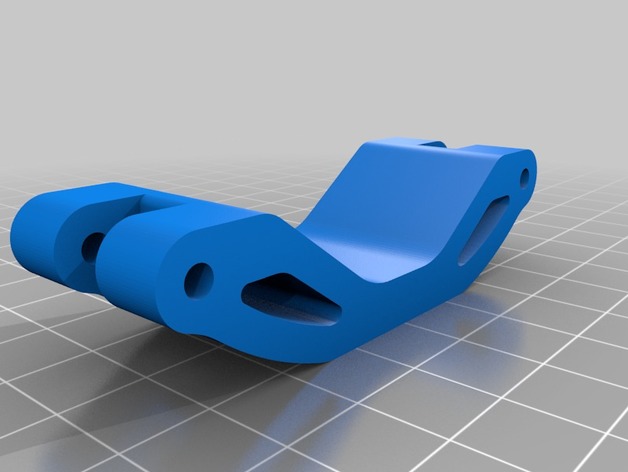
VKar Bison suspension Braces 3D Print Model
Summary
Good day,
Since I acquired a VKar Bison, it broke on a few occasions. The way the suspension is mounted, I think it’s a week point. I do believe that using these braces will make the suspension more sturdy. Also using longer stainless steel screws will greatly improve the sturdiness. You will also get rid of the spacers that gets lost when the suspension breaks.
Try at your own risks. You will need screws at least 30 mm long.
Bonjour,
Depuis que j’ai fais l’acquisition d’un Vkar Bison, j’ai eu mon lot de bris. La façon dont la suspension est raccordée, je crois que c’est un point faible. Je crois que ces supports vont renforcirs l’arrangement général. Je crois aussi que d’utiliser des vis plus longues en acier innoxidable contribuera à rendre le tout plus rigide. Ces supports éliminent aussi les petites baques d’écartements qui sont généralement perdues lors d’un bris.
Utiliser à vos risques, l’utilisation de vis d’au moins 30 mm de long est requis. -
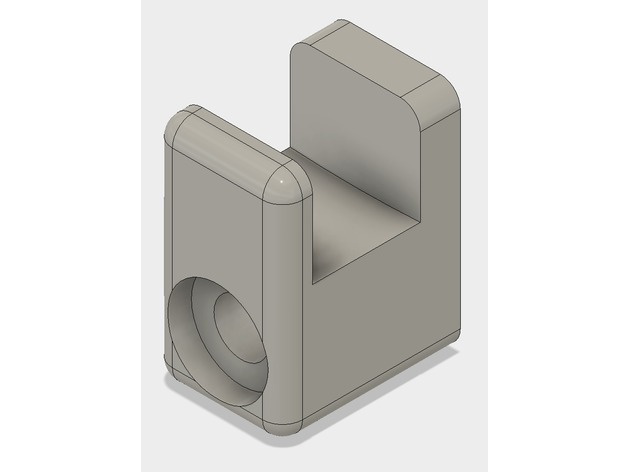
Plate Clip – Parametric 3D Print Model
Summary
I had a couple things artsy things around the house that have just been sitting around on tables collecting dust or worse and I decided to hang them up.
I designed this parametrically in Fusion 360 and i’ve included the Fusion 360 file here so you can make one that fits your needs.
Though it probably doesn’t make much difference… since I’ve designed this for a round flat object, instead of a flat mating surface on the clip it actually takes into account the curvature of the plate when it draws the clip. -
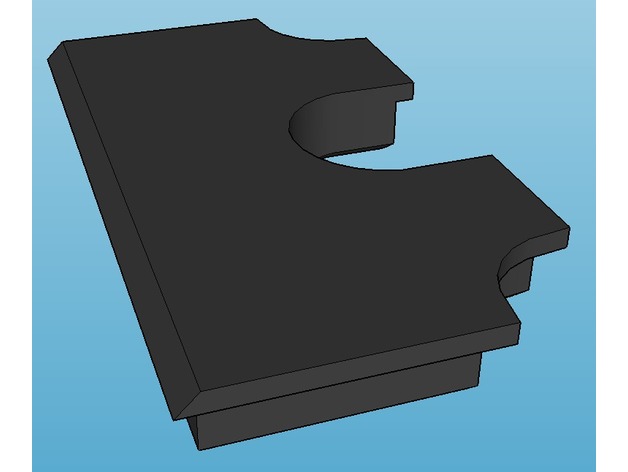
Ultimaker Hotend Cap 3D Print Model
Summary
I liked maggiman2001’s design but wanted the opening to be in the middle since my SanjiuPrinter is dual extruder. I also used a chamferred edge on the long side.
Print Settings
Printer:
SanjiuPrinter Z360 Rafts:
No Supports:
No Resolution:
.1 Layer height .4 nozzle Infill:
20% -
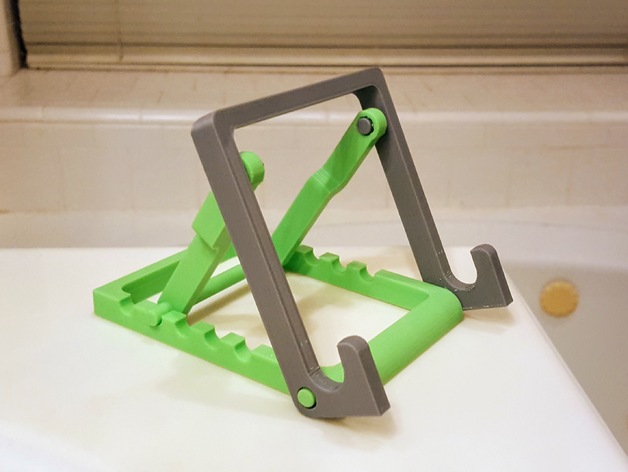
Adjustable tablet stand 3D Print Model
Summary
A remix with some small adjustments
Shortened the base to make it easier to print on smaller printers
Flattened the bulge on one side of the frame so that the piece sits flat on print bed
Shortened the hooks
Print Settings
Rafts:
No Supports:
Yes Resolution:
0.2mm Infill:
30% -
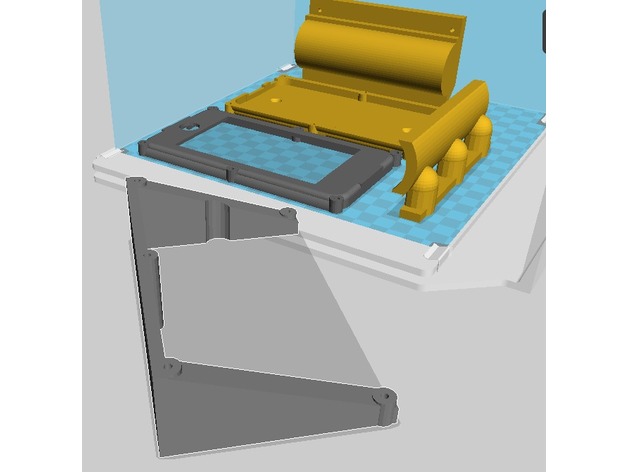
This iphone holder for the motorcycle or bike 3D Print Model
Summary
This iphone holder I made for the motorcycle or bike. He is specially meant as speedometer for your iphone 6 -

Wanhao door hinge 3D Print Model
Summary
Wanhao removable door hinge
That door made me a little angry some times so I made this hinge that I can just remove the door when its in the way.
Has magic inside that holds the door open when its open. I didn’t make it that way, it just happened.
Could do with tightening where it clips together, but it seems to work fine how it is. -
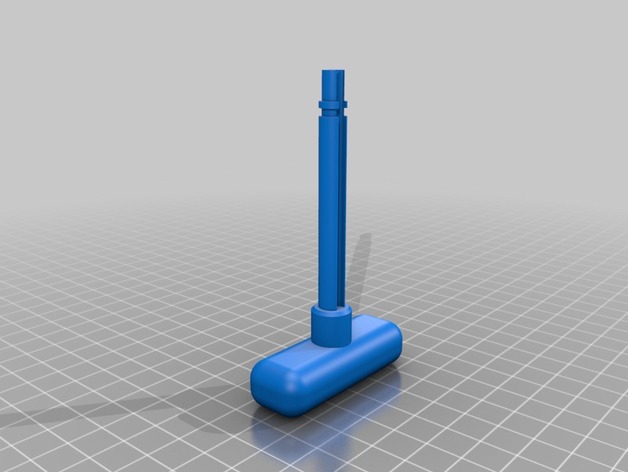
Caravan door retaining shaft 3D Print Model
Summary
The door retainer on my Abbey Aventura snapped, so I drew another one. Fits well, maybe too well 🙂 I would scale to 99% to print again, though a light sand should sort it.
Print Settings
Printer:
CTC Prusa i3 Pro B Rafts:
Yes Supports:
Yes Resolution:
0.15 Infill:
50% Notes:
I printed this laid on it’s side with supports for the shaft, as you need it so that the strength is in the right place -
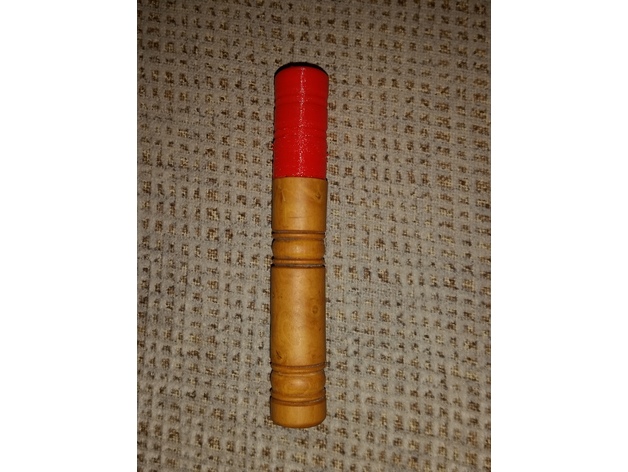
Tapón de reemplazo para guardaagujas 3D Print Model
Summary
Pieza para reemplazar un tapón perdido. Diseñado con inventor.
Print Settings
Printer:
BQ Hephestos Rafts:
No Supports:
No Resolution:
0.2 Infill:
20% -
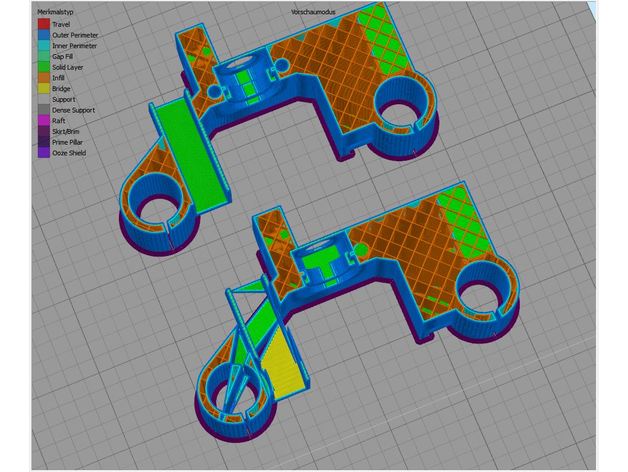
Fixed Direct Drive Anet A6 E3D Hotend_for_S3D 3D Print Model
Summary
Ich habe dieses Objekt für einen Freund Repariert.
Auf dem Foto könnt ihr die Fehler sehen, die S3D gemacht hat / gefunden hat.
Cura sliced die Original Datei ohne Probleme.
I have repaired this object for a friend.
In the photo you can see the mistakes that S3D has made / found.
Cura sliced the original file without any problems
(Translated by Google) -
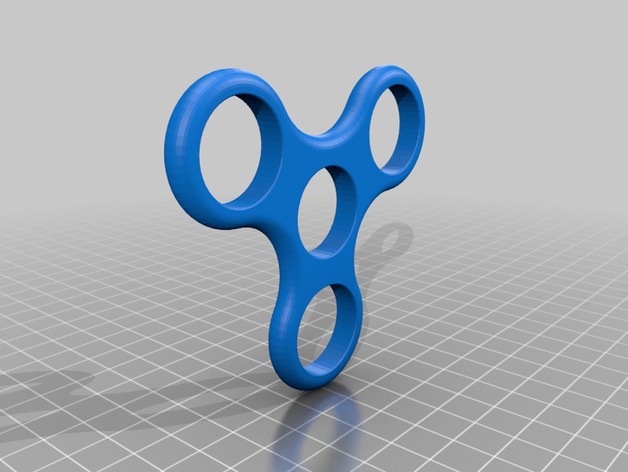
Spinner para moneda de un peso argentino 3D Print Model
Summary
Este spinner está hecho para poner monedas de un peso en los costados y un rodamiento de 22mm en el centro. -
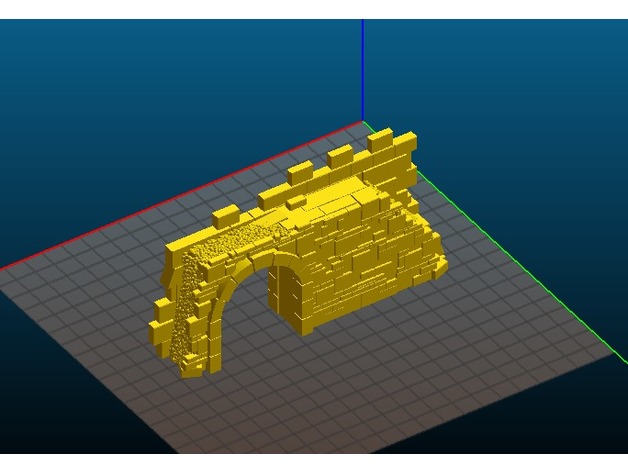
Roman Archway – REMIX – Miniature Terrain 3D Print Model
Summary
I really like a lot of Earsling’s work, but I especially liked the Roman Archway. I wanted more compatible pieces to go with it, so I made these.
I used Meshmixer to mirror the original piece. I used Netfabb Basic to cut the parts and XYZWare to rejoin them. I stretched the corner halves to make the second corner piece.
I’ll post prints as I get them done, but most show 7-8hrs to complete.
They all need supports. -
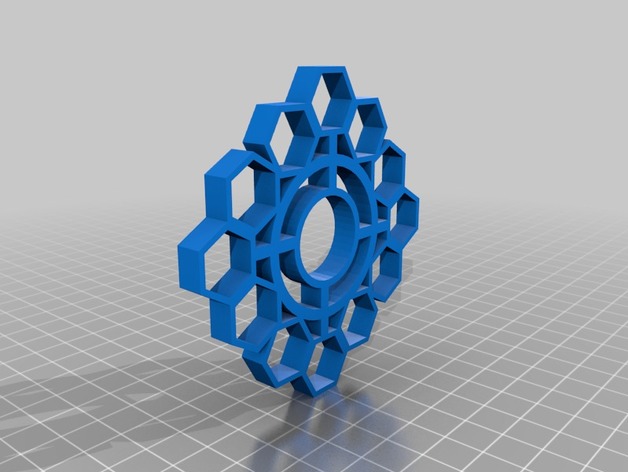
Fidget Spinner with M8 nuts 3D Print Model
Summary
Haven’t printed it yet so may need to make some changes but my 3d printer isn’t working right now so hopefully i can get some feed back thanks. It is made to fit M8 nuts in the 12 outer rings. thye second one has a .5mm filet on both faces.Update Completely changed the design I now know how big it needs to be this one should work now
Print Settings
Printer:
Anet A8 Rafts:
No Supports:
No Resolution:
.2 mm Infill:
20% -
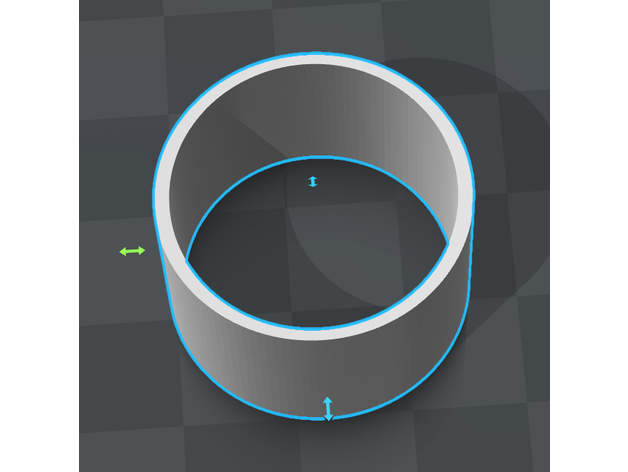
Coupler Adapter Ring 3D Print Model
Summary
I was connecting some odd sized PVC and needed an adapter on one end of the 3/4″ coupler, so I did what every 3Der would do… I made one. It is less than 3/4″ OD by about 1 mm but that was by design so it worked for what I was doing today.
Print Settings
Printer Brand:
MakerBot Printer:
MakerBot Replicator+ Rafts:
Yes Supports:
No Resolution:
200 microns -
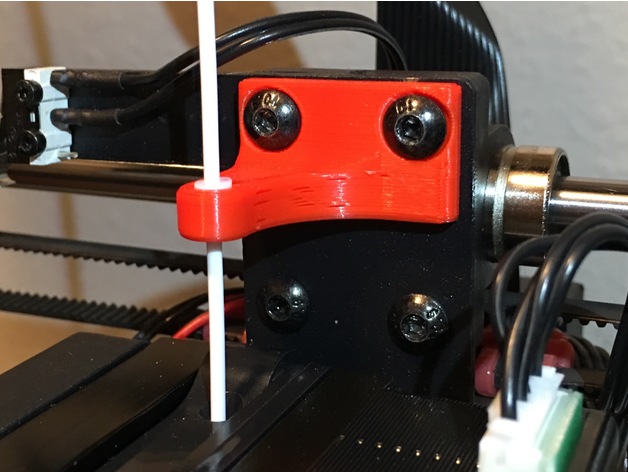
Filament Guide for Wanhao i3 plus 3D Print Model
Summary
A teflon tube assisted filament guide for your Wanhao Duplicator I3 Plus! Also fits the I3 (non-plus.)
Print Settings
Printer Brand:
Wanhao Printer:
Wanhao Duplicator i3 Plus Rafts:
No Supports:
No Resolution:
0.20 Infill:
~20%
Post-Printing
5mm of Teflon tubing required.
Cut Teflon with razor blade to prevent making out-of-round.
Slightly persuade tube into appropriate hole with blunt object.
Use existing screws!
You’re done! -
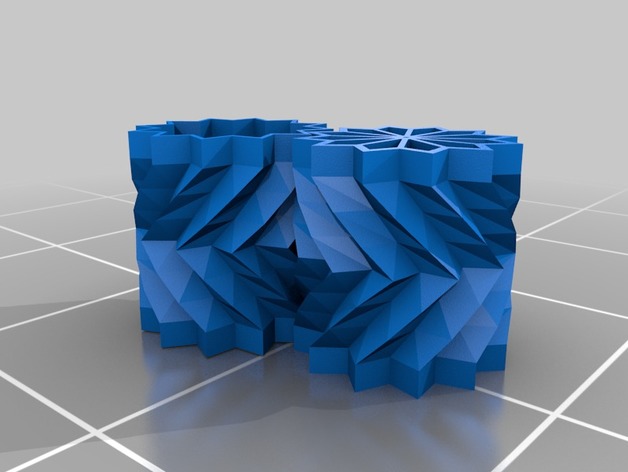
Cog Wheel 3D Print Model
Summary
I made this gear from scratch, it prints fast as it is quite thin, it can be used for what ever you want or you can modify it. I just wanted to see if I could do it in Sketchup.
enjoy!
Print Settings
Rafts:
No Supports:
No Infill:
10 -
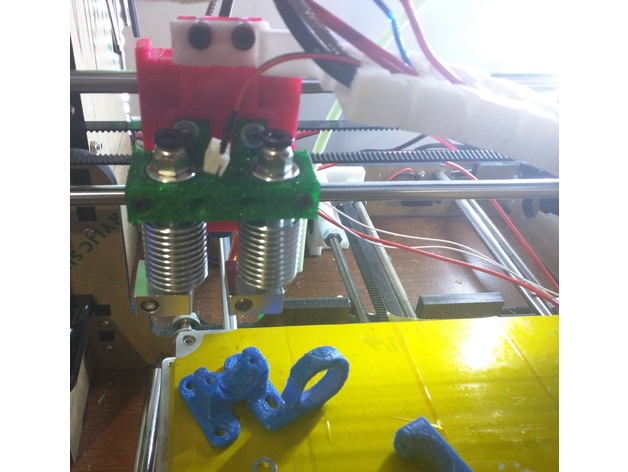
Prusa i3 Remix Multi-Hotend Mount 3D Print Model
Summary
I liked aaroncm’s minimal/simple hotend mount, I had been using it for a while.
But I want to use two hotends on it, so I measured the original model and got it close to the original in OpenSCAD.
Everything is square in my scad because I don’t know how to make rounded shapes that won’t deform their original size in OpenSCAD.
I designed this so the values are all in variables that someone can change.
There is also a setting to specify how many hotends you want. I only needed two, but it works past 10… I have no limit on it.
If there is any suggestions, or ways I can improve my program, please let me know. I’m a fluent programmer, but I’m a novice with OpenSCAD still.
I did not design this with a proximity sensor mount because I am using a modified rear one that attaches to the back of the i3 remix carriage. -
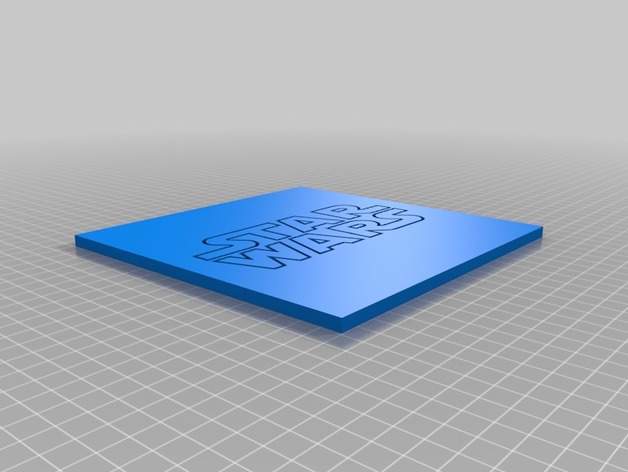
Star Wars Coaster 3D Print Model
Summary
an other worldly coaster for your drinks
Print Settings
Rafts:
No Supports:
No Resolution:
0.2mm Infill:
5% Notes:
i recommend a cool honeycomb or other nice infill style. -
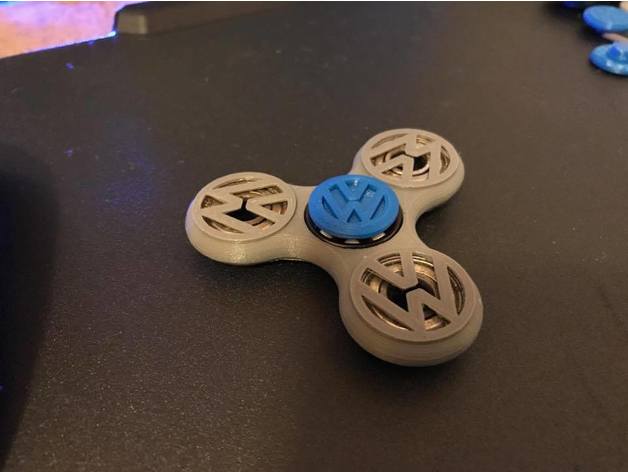
Vw Spinner Caps! 3D Print Model
Summary
This is just an addition to the Volkswagon Hand Spinner by Epicpyrobee. -
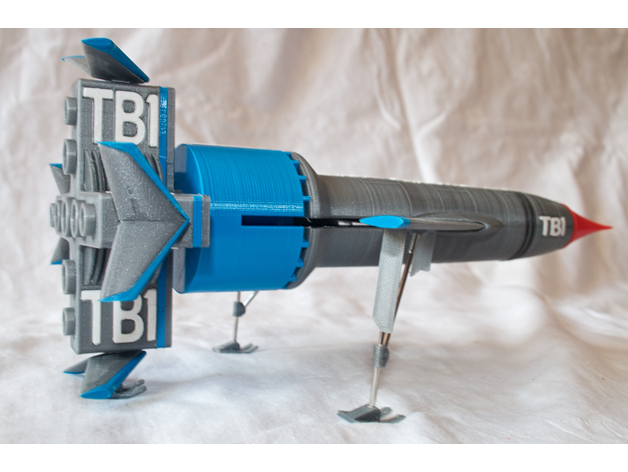
Thunderbird 1 3D Print Model
Summary
First two requests:
1) Please print this.
2) Then take a picture and create a “Make” to show us all how well it worked.
Thanks. 🙂
This design is very much inspired by Len Hickman’s excellent Thunderbird 2 and 3 models, both of which I enjoyed printing and building.
https://www.thingiverse.com/thing:440767https://www.thingiverse.com/thing:406777
There was no similar multi-part model of TB1 that had the detail that I wanted, and my painting skills are such that I like everything to print in the right colour, so I created my own.
It prints in over 80 parts, but a lot of these are letters, so don’t get worried!
Part
Colour
Support
Brim
Print
Notes
Body
Silver
No
No
1Body_Clips
Black
No
No
1Body_HText
White
No
No
1Body_VText
White
No
No
1Body_Thruster
Silver
No
No
1Engine_Bottom
Silver
No
No
1Engine_Blue
Sky Blue
No
No
1Engine_Discs
Silver
No
No
1Engine_IntakePlug
Black
No
No
8Engine_Intake
Silver
No
No
1Engine_Text
White
No
No
2FuelDrum
Sky Blue
No
No
1FuelDrum_Text
White
No
No
1Nose
Red
No
No
1
Lots of cooling near tip.
Winglet_Trim
Sky Blue
No
Yes?
4
Cooling and print a few at once.
Winglet
Silver
No
Yes?
4(*)
May get away without brim.
Winglet_Whole
Silver
No
Yes?
4!
Use if winglet+trim too fiddly.
Winglet_Inc_Gear
Silver
No
Yes?
1(*)
For rear landing leg.
Wings
Silver
Yes!
Yes
1(*)
Sky Blue for 1st 5.2mm.
Wings_Inc_Gear
Silver
Yes!
Yes
1(*)
Sky Blue for 1st 5.2mm.
Covers
Silver
No
No
1(*)Covers_Inc_Gear
Silver
No
No
1(*)Gear_Mounts
Silver
No
No?
2(*)
Small but I did without brim
Skid
Silver
No
No
3(*)Stand_Cloud
White?
No
No
1Stand_Base
Black
No
No
1Stand_Text
White
No
No
1See next section regards (*) items.
Gear and Stand
You have a few options regards whether to print landing gear and use stand.
1) No gear, no stand
Print 4x “Winglet” all without “Inc Gear” and ditto 1x”Wings”.
Print “Body_Thruster” to fit into stand hole.
The wings can be moved between launch and horizontal flight modes, and you need to use your throat, lips and tongue to make the right noises as you switch.
2) Might want gear later
Print 3x”Winglet” and 1x”Winglet_Inc_Gear”. The one with the gear hole goes at the bottom!
Print 1x”Wings_Inc_Gear”
Print 1x”Covers” as these can be fixed into the cutouts under the wings with double-sided tape.
Decide for yourself regards using stand or printing “Body_Thruster”.
3) Want gear and stand!
Print winglets and wings as per option (2) above.
Print 1x”Covers_Inc_Gear”, 2x “Gear_Mounts”, and 3x”Skids”
Assemble gear using 2mm bicycle spoke as shown in picture. Long section of spoke is 58mm and short 48mm, but this is rough. Threaded end of spoke goes into short mount. This mount and the covers are then fixed to the cut out in the wing as shown. You’ll also need a very short length of spoke to attach the rear foot to the winglet. Adding more infill to engine and fueldrum also helps balance as it does tend to be nose heavy.
Pretty much all printed parts will need chasing out with a 2mm drill, and the gear is fiddly and delicate so use the stand!
Feedback
All feedback welcome, as are better designs for the exhaust cloud. Or maybe someone with great painting skills can make it look more like hot rocket exhaust and less like shaving foam!
Print Settings
Printer Brand:
Wanhao Printer:
Wanhao Duplicator i3 Plus Rafts:
No Supports:
Yes Resolution:
0.2 Infill:
10% to 20% variable Notes:
Everything prints oriented as shown.
I’m not big on brims, and pretty much never use rafts, but you know your printer.
I didn’t use a brim on anything other than the wings, but I’ve noted some other parts where you may want to consider it. I only used supports on the wings and am not sure it was required.
Up the resolution to 0.12mm (or 0.1mm) anywhere you think the quality will benefit, such as on the text and the nose. Print small parts such as the trims, clips, as winglets as many up as you can (I did them all at once) to prevent the nozzle over heating them. I also used 0.12mm on these parts.
The wings require a filament swap from sky blue to silver at about the 5.2mm mark. Adjust this if you use a raft.
I used Cura’s “infill steps” to have 10% in most of the insides rising to 20% just below top layers. Maybe set higher for the fuel drum and engine as this will help with balance as it’s otherwise rather nose heavy.
Post-Printing
Assembly
Parts should just need simple clean up and supports removing.
I’ve provided clearance for the letters and numbers, so they should just press fit, but may need a needle file taking to the edges. Note the side of the letters that was against the print bed goes bottom down in the model. Also note the letters are contoured on the top, so match thicker parts to deeper holes. Keeping the sets of “TB” and “TB1” separate in small boxes helps. Also note that “Thunderbird” has two Rs and two Ds in it and they need to go into the right holes!
Some parts have 1.8mm holes to push filament into – clean then out with a 1.75mm drill (yes, buy one!) or a 1.5mm hex key if the filament won’t fit. This holds things together as you assemble and check fit, and it then provides location during glueing. I use a methylene chloride plastic weld and it works very well.
The two halves of the winglets glue together and then the trims glue on top. The fixing tab will then maybe just need a file before pressing into the engine bottom, and once it’s fitting well, remove and refit with glue. I was worried about this part of the design but it works well. If you struggle, print the “whole” part but you’ll have to paint on the blue trim.
The wings just wiggle into place. If you can’t get them in, file the pivots, but don’t overdo it!
As the stand plugs into the hole that the belly VTOL thruster slots into, don’t glue this into place.
Winglet halves glued together and trims glued on top.
How I Designed This
I measured everything from some blueprints found via google and wrote OpenSCAD code to create all the required parts. Let’s just say that I learned a lot as I progressed!
I used a lot of sources (referenced in code) but particularly the excellent scratch built TB1 by David Sisson.
http://www.davidsissonmodels.co.uk/thunderbird1.htm
I’ve included notes on working with the code at the top of the TB1.scad file. -
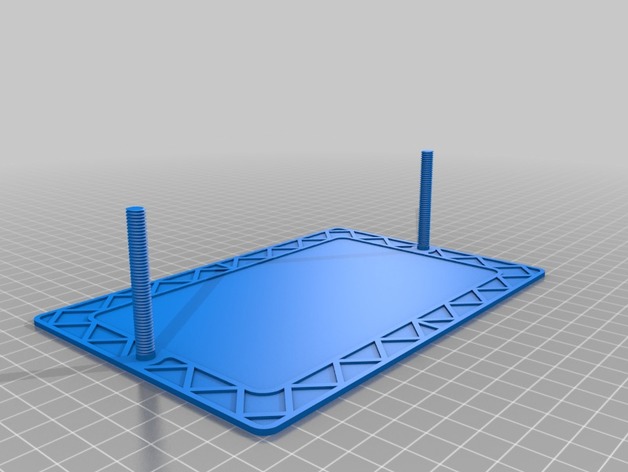
Wanhao Duplicator 7 Vat Covers 3D Print Model
Summary
This is a set of vat covers (top and bottom) for the stock Wanhao Duplicator 7 resin vat. I made these because it seemed easier than cleaning all the vat out so i could tinker with the printer.
there are two versions of the bottom plate, one with printed threads, and one with holes for M6x50 bolts. NOTE: i have not tested the bolts version for fit, on account of i don’t have any bolts but it prints okay
The printed thread version works, though definitely make sure your printer is up to scratch accuracy-wise.
Print Settings
Printer Brand:
Prusa Printer:
Prusa Mk2 Rafts:
No Supports:
Yes Resolution:
0.2 for the printed threads version, 0.3 otherwise Infill:
¯_(ツ)_/¯ Notes:
Again, the bottom plate with the holes for the bolts is untested so caveat printor. -
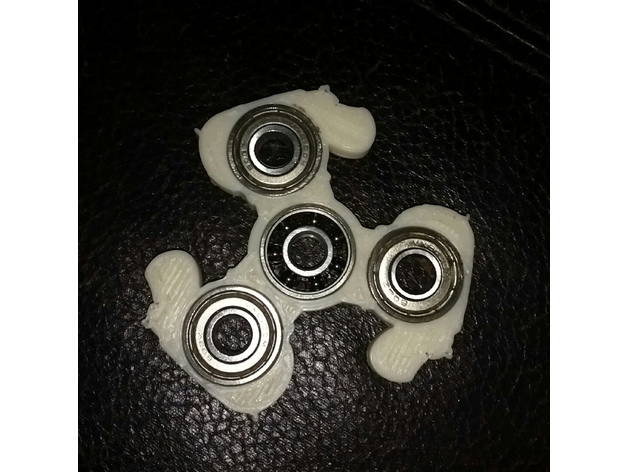
Tri Spinner Hippopotamus Style 3D Print Model
Summary
A flair on the traditional fidget spinner other than flames, spikes, or run-of-the-mill shapes. Cutest dang hippo I’ve ever spun at a rapid rate. Balances nicely and, for my printer, the bearings fit well, maybe a little snugger would be great. At the very least, my boy’s happy.
Print Settings
Printer:
Markerfarm Prusa I3 Rafts:
Doesn’t Matter Supports:
Yes Resolution:
HeyIt’sJustATriSpinner Infill:
Whatevsworks Notes:
I used a Makefarm Prusa I3 8″ that is getting finnicky about Z height on that crucial first layer. Please make sure your printer is treating you better than mine or consider threatening to upgrade it’s sensors.
Post-PrintingHow I Designed This
I use freecad to trace an image that I scanned and then openscad to add the holes, center, and remaining arms(?-do we call them arms???).