Summary
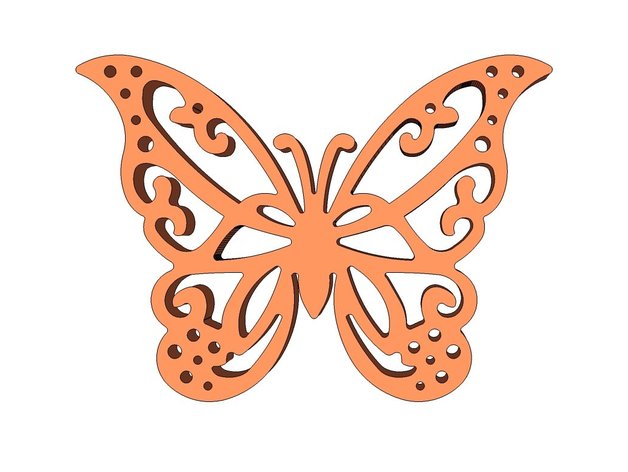
A 2017 Typing Reward Keychain. 2 Color and single color available. Simple and fast to print.
Print Settings
Printer Brand:
FlashForge Printer:
Creator Pro Rafts:
No Supports:
No Resolution:
.2mm Infill:
20%
Post-Printing
Simply add a keychain after printing.
How I Designed This
Tinkercad
Author: Thingiverse
-
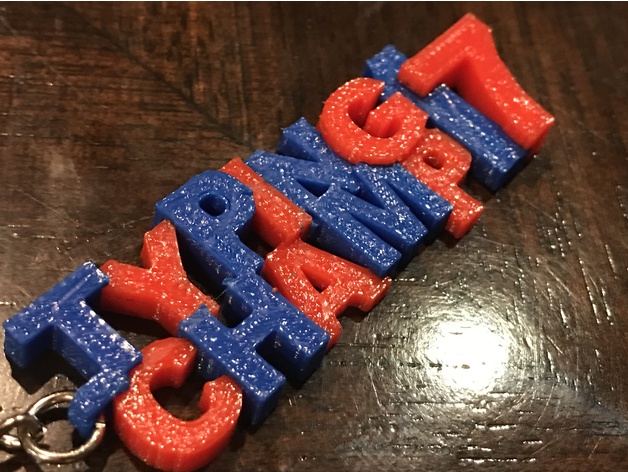
Two Color Typing Champ Keychain 3D Print Model
-
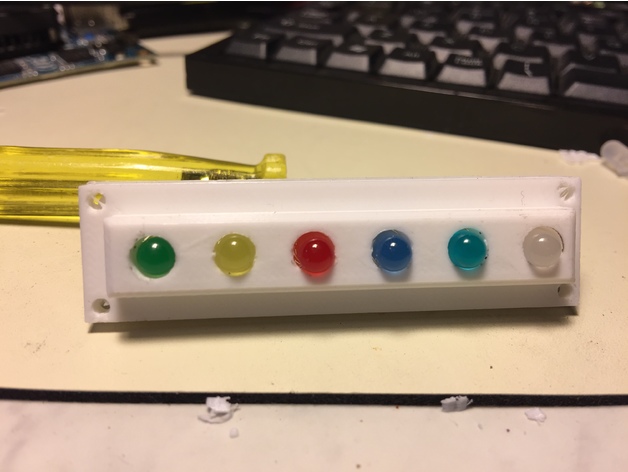
6 LED Status Bar 3D Print Model
Summary
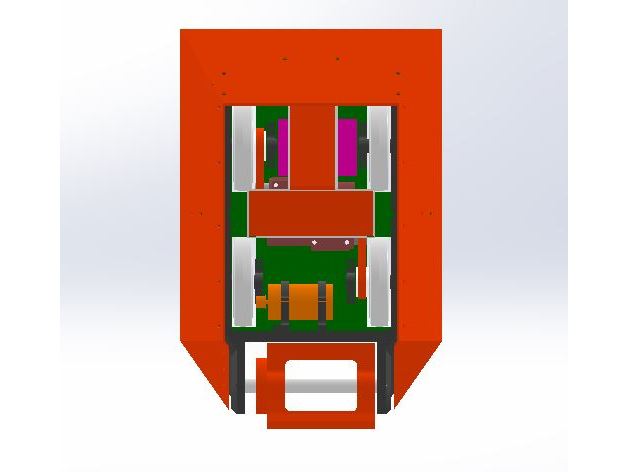
A lilttle panel made to hold 6 LED’s mostly for robot status but could work for anything. I’m including the Freecad file in case you need different size holes or anything.
Print Settings
Printer Brand:
Printrbot Printer:
Printrbot Simple Metal Rafts:
No Supports:
Yes Infill:
15 -
2040 Extrusion Leg 3D Print Model
Summary
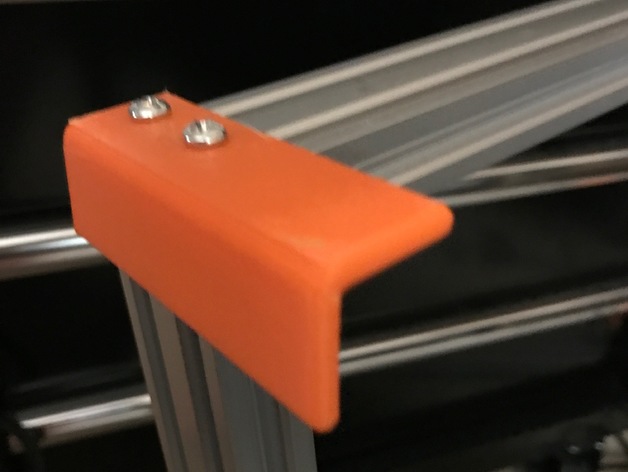
There are two files the first is a pair of legs that will work well on 20x40mm extrusion with a length from the bottom of the extrusion of 40mm. If you don’t want to print sets or two (left and right) just print the Universal leg which can be reversed and used on any corner. -
Senate Guard Helmet (Star Wars) 3D Print Model
Summary
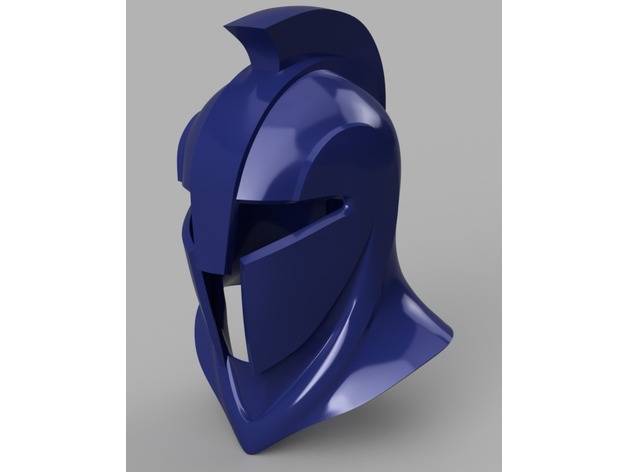
This is the Senate Guard Helmet from Revenge of the Sith.
I hope I’m getting better at sizing these helmets. This “should” fit an adult male head. Please check the pdf for measurements. The units are in millimeters. If you do print this out before me please let me know what scale fit your head. -
10mm Smooth Rod with T8 Leadscrew Version of Blackrocks X-Carriage 3D Print Model
Summary
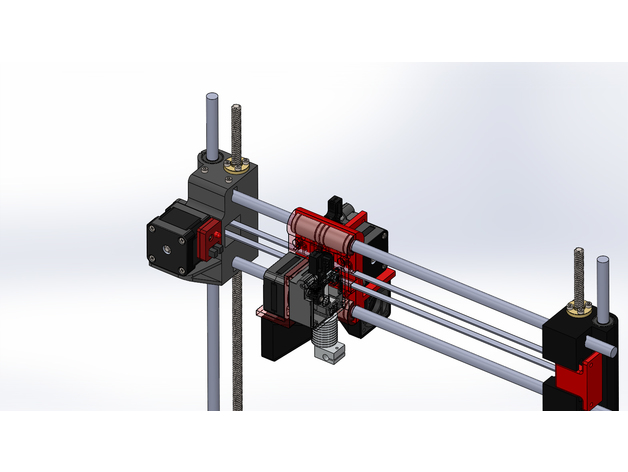
Im on a mission to eliminate z banding, so 10mm smooth rods and Leadscrews is the goal.
Once im finished with the design will upload solidworks files.
I know there was a request for a 10mm version quite some time ago, and if there are anymore requests now is the time 😀 -
Calibration Steps 3D Print Model
Summary
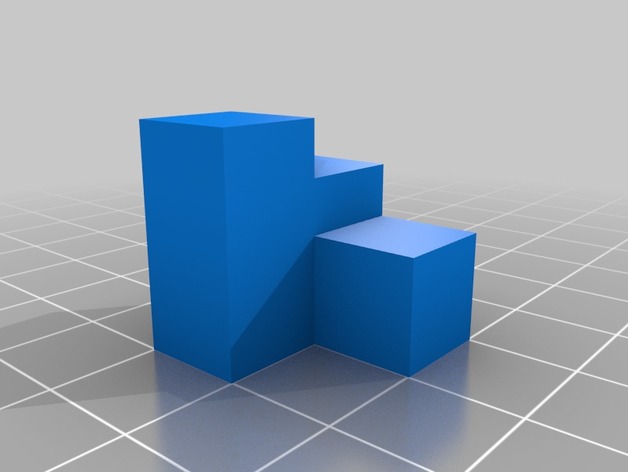
A simple calibration test made in Solid works.
Long sides are 20mm, short sides are 10mm and the middle square height is 15mm (just for fun). This way you have a few different lengths to test your printer calibration while using less filament then printing a 20mm cube. -
Grinder Holder Ø 41,5mm 3D Print Model
Summary
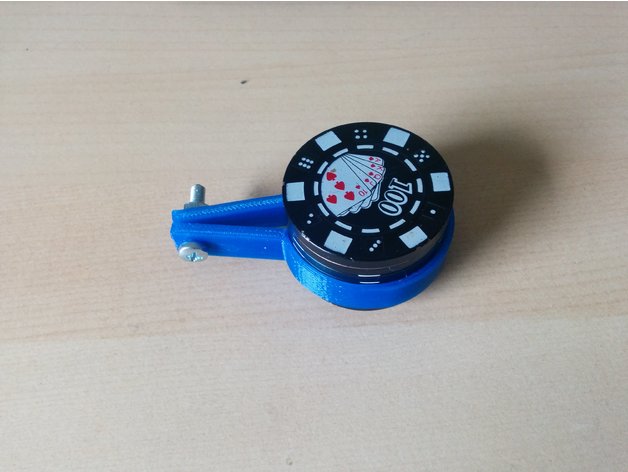
Just a simple holder for a Grinder with a size of Ø 41,5mm. -
Little cute marble spinner 3D Print Model
Summary
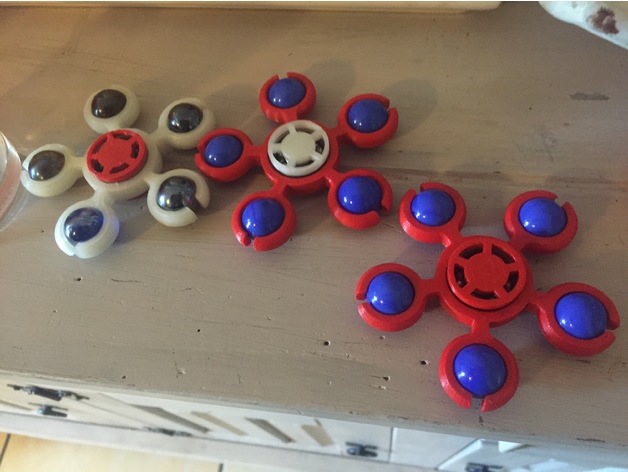
Un petit spinner que j’ai crée pour ne pas avoir à utiliser les roulements à billes comme contre poids. Il en existe plusieurs de ce type, mais je voulais un spinner qui permettent à la fois une introduction facile des billes et qui les empêchent vraiment de sortir du fidget lors de la rotation. A moins de jeter le spinner par terre. Les billes resteront en place.
J’ai crée aussi ce petit cap afin qu’il permette de voir le roulement à billes… parce que c’est cool de les voir tourner.
A small spinner that I created for not having to use the ball bearings as counterweight. There are several of these, but I wanted a spinner that allow both an easy introduction of the marbles and that really prevent them from getting out of the fidget when rotated. Unless throw the spinner on the floor. Marbles will remain in place.
I also created this little cap that it allows to see the ball bearing … because it’s cool to see them turn.
Print Settings
Rafts:
No Supports:
No Resolution:
0,1 to 0,2 Infill:
25 % for the spinner 50% for the cap Notes:
Les roulements à billes peuvent être chers et difficiles à trouver.
Voici un petit spinner qui fonctionne avec des billes. Il est prévu pour un roulement à billes 608. Vous pouvez utiliser des billes classiques de 15 à 16,5 mm environ.
Pour insérer les billes, posez les du coté du chanfrein à l’emplacement prévu à cet effet. Une petite pression de la bille avec le pouce sur son emplacement suffira à l’enfoncer. Vous entendrez un “clic” qui signifiera qu’elle est bien enfoncée. Les billes tiennent tres bien dans leurs orifices, n’ayez pas peur de tourner votre spinner donc. Si toutefois les billes avaient tendances à partir, changer de calibre pour ces dernières ou rajouter un point de super glue à leur base.
Veillez à bien choisir les billes que vous mettrez dans le spinner, elles doivent avoir sensiblement le même poids.
Si vous voyez un trop gros déséquilibre lorsque vous faites tourner le spinner, tenez le verticalement entre vos doigts et laissez le bougez tout seul. Si il ne tourne pas du tout, c’est que le roulement est peut être désaxé. Si il tourne doucement et s’arrête, recommencez en mettant la bille qui se trouvait en bas après l’arrêt de la rotation de l’autre côté du spinner. Si le spinner se remet à tourner et que la même bille se retrouve à nouveau en bas; c’est qu’elle est trop lourde. Changez là et recommencez l’opération jusqu’à ce que vous obteniez une rotation stable.
Si le modèle apparait à la verticale dans le slicer, tournez le de maniere à ce qu’il soit à plat. Vous n’aurez pas besoin de raft ou de supports.
Have fun.
Ball bearings can be expensive and hard to find.
Here is a small spinner that works with marbles. It’s designed for a ball bearing 608. You can use conventional marbles of about 15 to 16.5 mm.
To insert marbles, a small pressure of the marble with the thumb in its position will be enough to push it. You will hear a “click” that will mean it’s pressed down. The marbles hold very well in their holes, do not be afraid to turn your spinner therefore. If, however, the balls had a tendency to go out, change their caliber for the latter or add a point of glue to their base.
Be sure to choose marbles you want to be in the spinner, they must have substantially the same weight.
If you see too much imbalance when you spin the spinner, hold it vertically between your fingers and let it move by itself. If it does not rotate at all, it is that the bearing is may be off-axis. If it turns gently and stops, start again by putting the marble which was at the bottom after the rotation of the other side of the spinner stopped. If the spinner starts to rotate again and the same marble is again at the bottom; Is that it is too heavy. Change it there and repeat the operation until you get a stable rotation.
If the model appears vertically in the slicer, turn it so that it is flat. Then you will not need raft or supports.
Have fun. -
MakerFaireInWallonia 3D Print Model
Summary
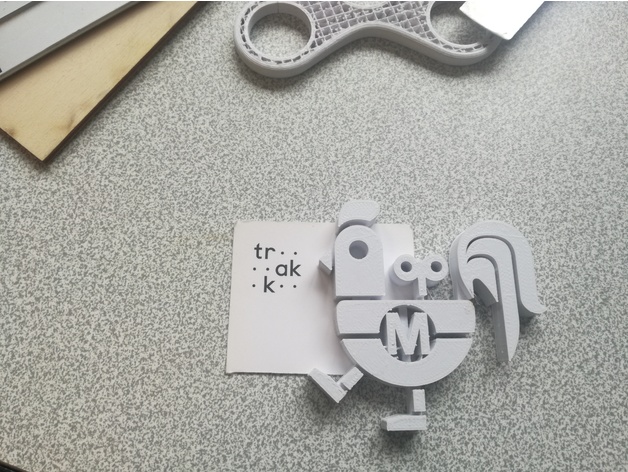
Maker faire goodies inspired by the the Maker faire in wallonia logo!
(Logo designed by N-Zone) -
Illinois License Plate 3D Print Model
Summary
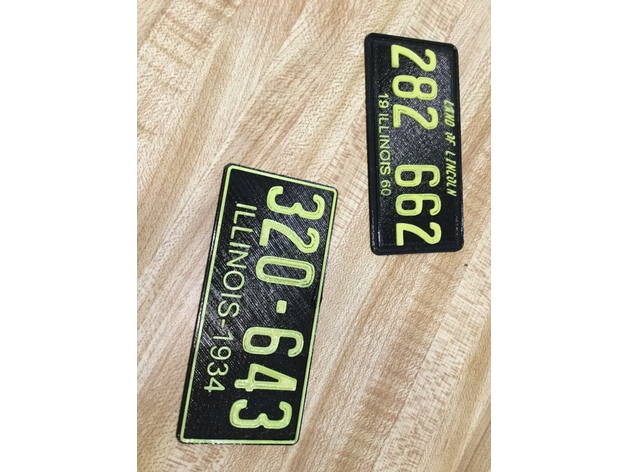
A small Illinois License plate for school state float project.
Print Settings
Printer:
Geeetech i3 pro c Rafts:
No Supports:
No Infill:
30%
How I Designed This
Fusion360. Looked at pictures of Illinois license plates and recreated.
Downloaded TTF (true type font) for license plate text, put in the windows font folder and printed the text in Fusion360.
This is designed for dual extruder. If you have a single extruder you can still combine the files and paint the text by hand. -
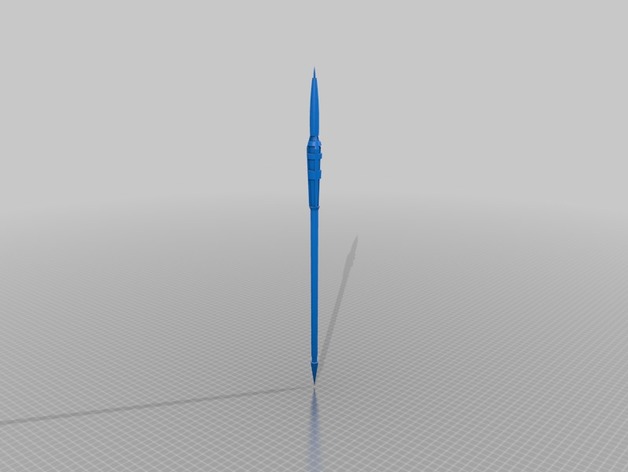
Yondu’s arrow 3D Print Model
Summary
Not made to canon, made how I thought looked cool. I am currently working on slicing it into parts, as it is 16 inches long. -
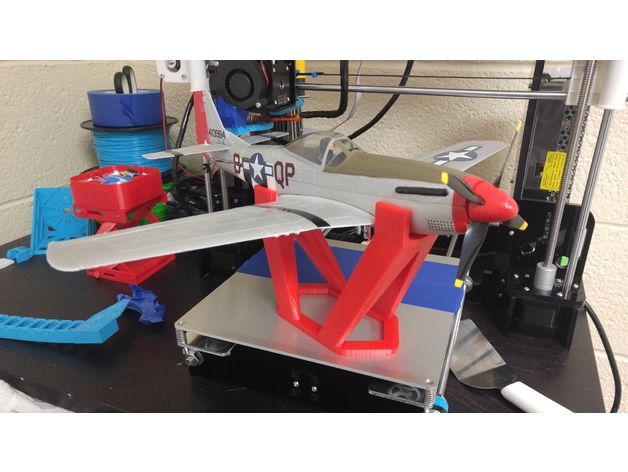
Parkzone UMX P-51 display stand 3D Print Model
Summary
Just a nice little stand for the Parkzone umx P-51D 🙂 Prints In about 4-5 hours
Print Settings
Printer:
Anet A8 Rafts:
No Supports:
No Resolution:
.2mm-.3mm Infill:
20% -
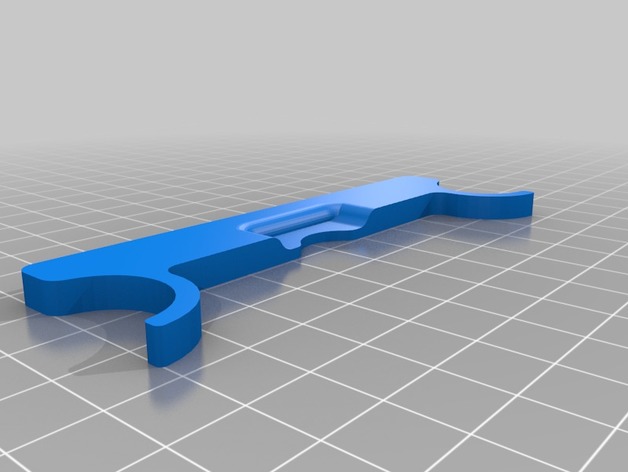
3mm/5mm Z-Axis Shim for Flashforge Creator Pro Glass Bed 3D Print Model
Summary
3mm/5mm Z-Axis Shim for Flashforge Creator Pro Glass Bed -
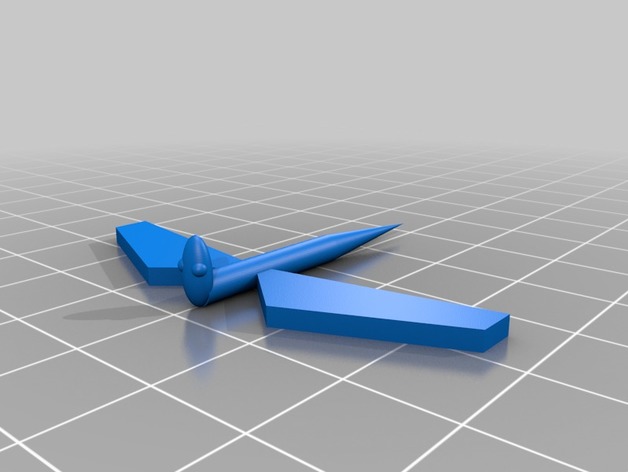
Lego Quetzalcoatl 3D Print Model
Summary
A Lego feathered serpent. It’s not great, but hey, 10 minutes aint bad. I’ll likely be editing this a good bit. -
SPEAKER MOD ace 2 case 3D Print Model
Summary
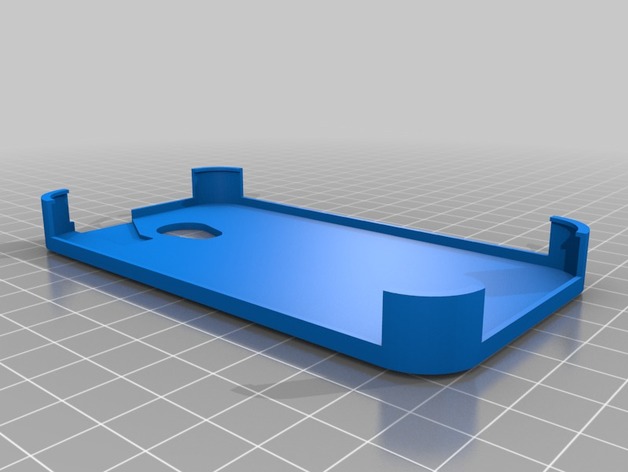
Small mod for ace 2 case + Amplifier (like a front mounted speaker) – glue on case
or use ace 2 case with up mounted speaker
The 2nd version of this case is curved and nicer to touch !
Speaker mod version is curved too ! -
Left fanduc for prusa i3 L3K extruder & SimpleOne Hotend 3D Print Model
Summary
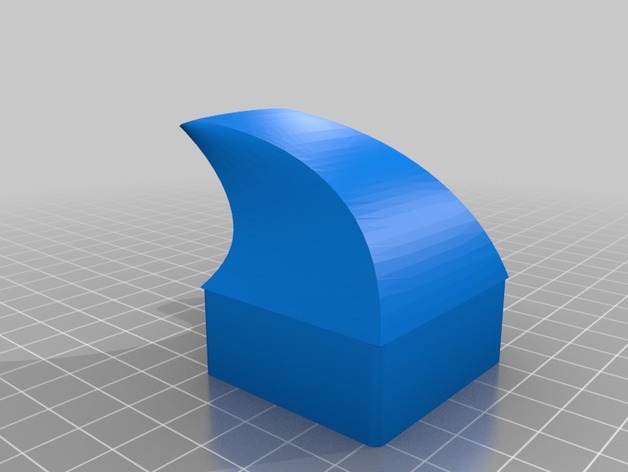
Left fanduct for L3K extruder with a Simple One hotend.
Small change of original part, just a little too small for me.
Ventilo de refroidissement d’impression pour le très bon extruder L3K équipé d’une hotend Simple One. Petite modification du modèle original qui est 4 à 5mm trop haut dans mon cas et qui souffle sur la hotend. -
Arc Templates for regimental wargames (e.g. Warhammer, Kings of War) 3D Print Model
Summary
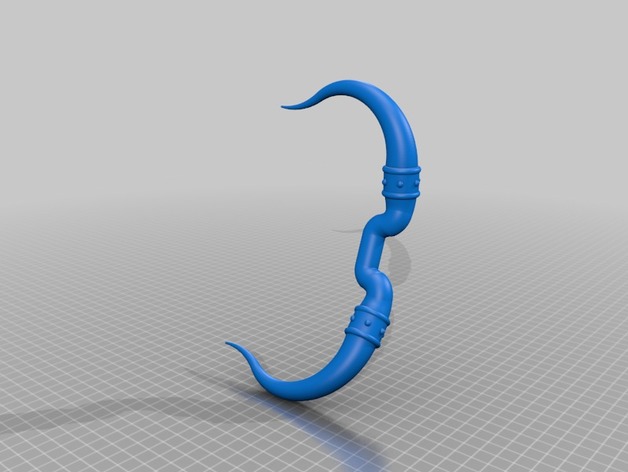
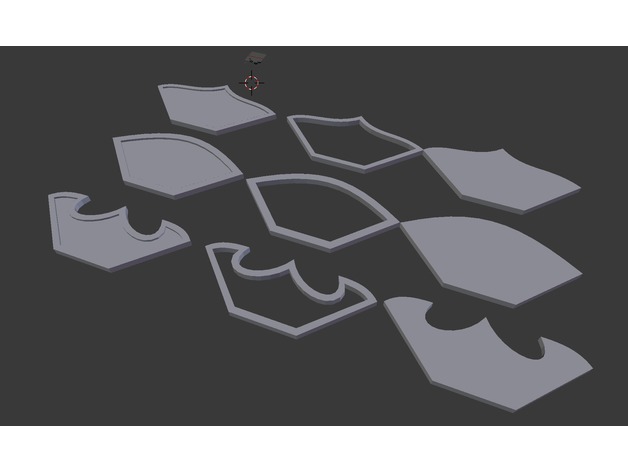
Arc templates for wargames such as Kings of War, Warhammer Fantasy etc. These can be customised easily in a program such as 3D Builder. Load the template you want into 3D builder, then go to Insert>Add>Load Image. Select a logo or some text in a black and white image file (png, jpeg, bmp etc), then resize to fit in the template. There are two examples included.
Post-Printing -
Fidget Spinner – 3 Curved Wings 3D Print Model
Summary
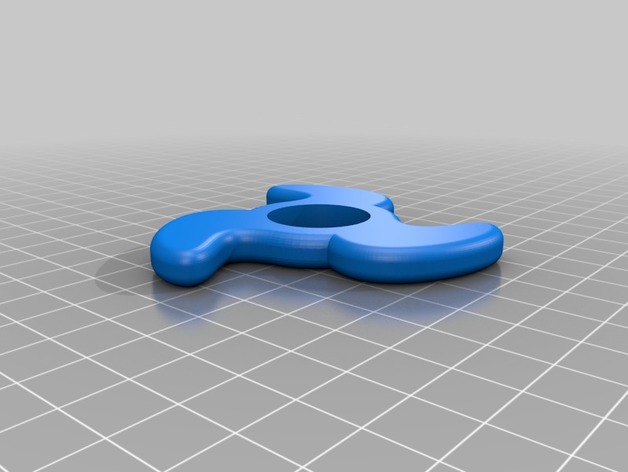
Simple design requiring a 608 bearing and 2 end caps. I use PLA and have calibrated my printer so that the hole is a press-fit with the bearing.
How I Designed This
Fusion 360 is really excellent for design these days. It is free for hobbyists as well. Takes a while to learn, but they’ve added integration with 3d-printers, so you can send your design directly to your software, such as Repetier Host. It also exports to stl (which is how I get the files for thingiverse). My 10-year-old can now design his own spinners. -
608 Bearing Fit Test 3D Print Model
Summary
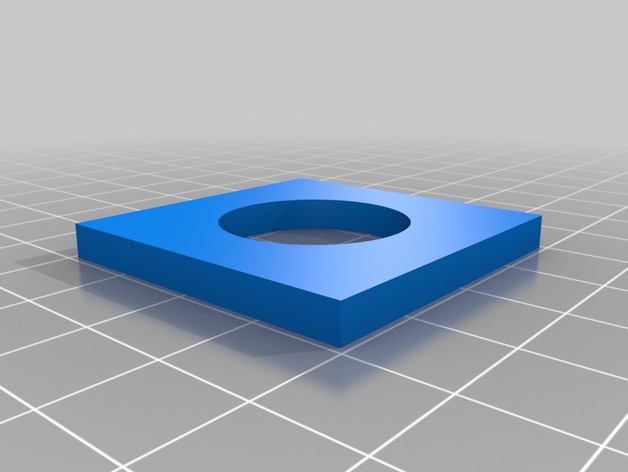
This is my test for 608 (repeat… “608” bearings. I had a typo of “609” that is in the filename.) I used it to calibrate my printer so that the hole fits a 608 bearing with a press-fit. You can also compute a multiplier for scaling a fidget spinner with this. Hope it helps.
How I Designed This
Fusion 360 for the win. -
Linear Servo HiTEC HS-645MG 3D Print Model
Summary
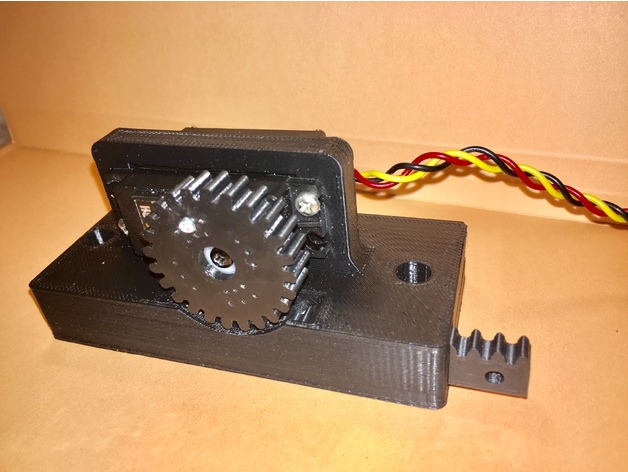
A linear servo for HiTEC HS-645MG Ultra Torque metal gear servos capable of lifting ten pounds, with a 50mm reach. After searching thingiverse for a robust, 3D printable linear servo, I found several with very fine teeth which would not provide enough holding force and would require tight tolerances. Furthermore, the 3D-printed gears had nothing to prevent slipping on the servo axle. I designed my own last night using a HiTEC MG servo and created a gear with holes aligned to the HiTEC servo horns. It can work with any HiTEC servo of this size. The metal gears just make it stronger for robotics and less likely to wear out.
Print Settings
Printer Brand:
FlashForge Printer:
Creator Pro Rafts:
No Supports:
No Resolution:
.2mm Infill:
20% Notes:
Makerbot TrueBlack ABS at 230 degrees C, with Kapton tape over table at 110 degrees C -
Fidget Spinner – 608 Bearing Cap 3D Print Model
Summary
I designed this end cap to be able to remove them without breaking them. I have printed a dozen in every color I have, and the neighborhood kids love to swap them in and out for the spinners we print, as well as the ones they buy or trade for with friends. Not much to it, but they like the variety of colors.
Tip for printing… don’t just print 1 at a time. Print at least 4. This allows the thin layers at top to cool while the printer moves to the next piece. I do 12 at a time, and have a bowl full now. -
Nema17 Motor Strap 3D Print Model
Summary
While working on a couple of xyz da vinci jr 1.0 units I noticed they kept having issue’s with feeding which was due to the pneumatic fitting loosing strength and allowing the bowden tubing to come loose causing complete loss of tension for pushing the filament through the hotend. To resolve the issue I took the feeder motor out of the unit and replaced the feeder portions attached to the motor with an aluminum extruder block off amazon (https://www.amazon.com/gp/product/B014SB12Q2/ref=oh_aui_detailpage_o03_s00?ie=UTF8&psc=1)
One other thing to note, I also replaced the hotend of the unit using a hotend off amazon as well (https://www.amazon.com/gp/product/B01GD8LCFO/ref=oh_aui_detailpage_o04_s00?ie=UTF8&psc=1) so I am not sure if the pneumatic fitting from the stock bowden tube works with the block linked above.
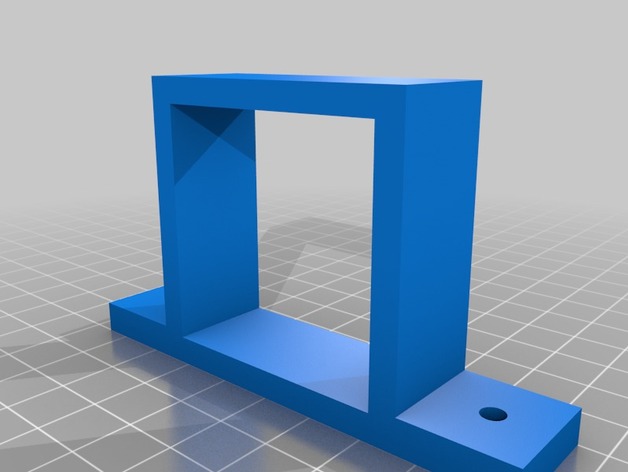
I then needed a way to mount the moto back to the framing and after searching around thingiverse and not finding something usefull I came up with this simple design.
Some day I will get around to creating an actual hot end mount that is compatible with the xyz da vinci jr carriage. Until then I just used one I found on here.
Print Settings
Printer Brand:
Robo 3D Printer:
R1 ABS + PLA Model Rafts:
Doesn’t Matter Supports:
Doesn’t Matter -
Totally useless gripper 3D Print Model
Summary
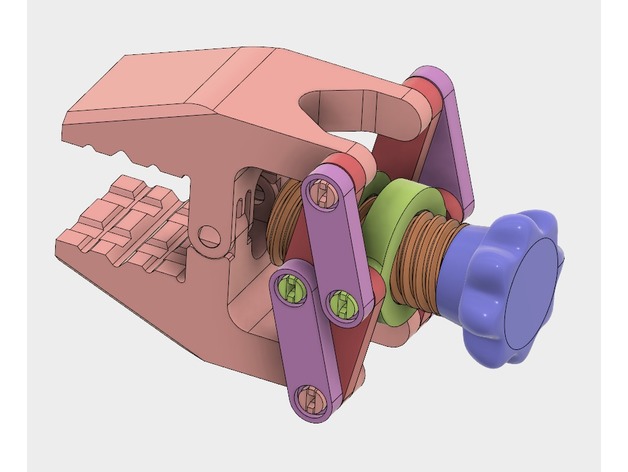
This is my first project in Fusion 360, made only to test the software.
The little rod clips are a bit tricky to clean after printing, but it’s functional.
To build one you need :
2x Pince
1x Vis
1x Poignee
1x Anneau1
1x Anneau2
4x Biellette1
4x Biellette2
Fusion360 file is available at http://a360.co/2pKUgvJ -
Mother’s Day Vase 3D Print Model
Summary
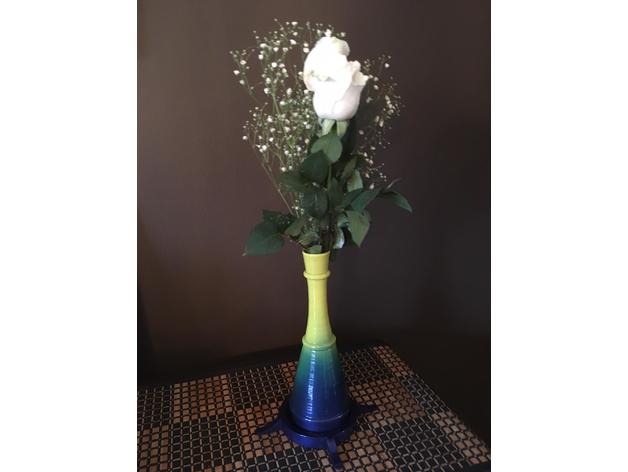
The model is kind of ugly and the base doesn’t fit the stand quite right but I am proud of how it turned out never the less. This vase is meant to be printed at 100% scale in 2 sections then joined together (allowing it to print on a Wanhao Duplicator).
Print Settings
Printer Brand:
Wanhao Printer:
Wanhao Duplicator i3 V2 Rafts:
No Supports:
No Resolution:
0.2mm Infill:
100% vase, 30% base Notes:
I decided to print the top section upside down so the seam where it joins is high quality
Post-Printing
Sanded down the upper and lower section seam a bit to achieve a tight interference fit. Glued together with epoxy.
Roughed the whole outer surface with Scotch-Brite to prep for paint (could have used various sand papers and got a better finish)
Painted with Porsche Yellow and Ford Blue allowing gradient. Clear coated to seal. -
Anet A8 Spool Rollers Top Mount 3D Print Model
Summary
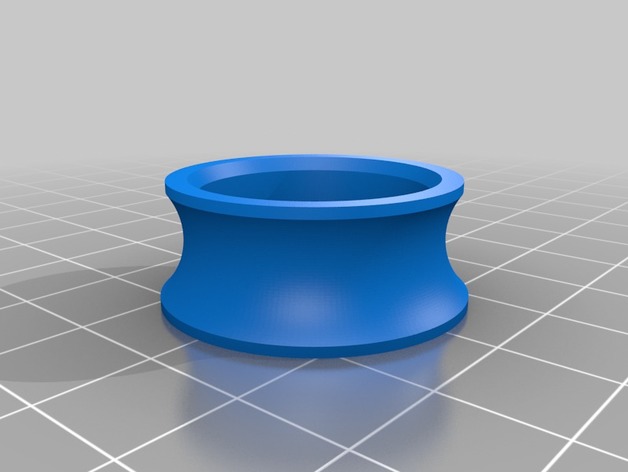
This is a really tidy spool holder that sits nicely on top of your Anet A8 printer. You can fit up to 3 spools on top of the printer with this design. This is a remix of Thing 2016985
You will need:
4qty 608 bearings for each spool you want to hold
2qty 26cm 8mm OD bar
Enjoy!
Print Settings
Printer:
Anet A8 Rafts:
Yes Supports:
No Resolution:
0.2 Infill:
100% -
FanDuct_2in1_40mm_E3Dv6 3D Print Model
Summary
Note: Design still underwork for further optimization.
if you try it please leave a comment with any suggestions or improvements.
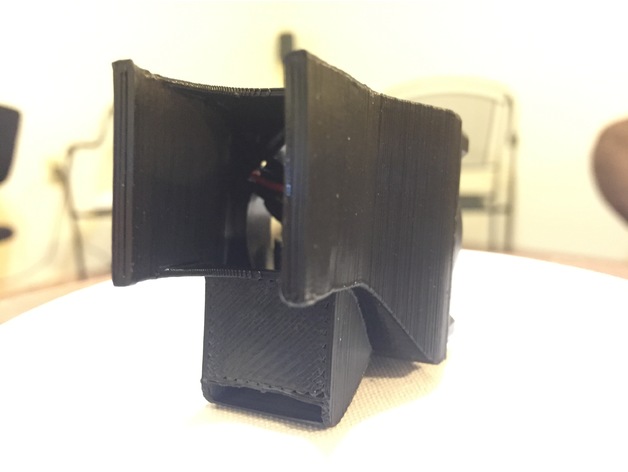
This fan duct is for E3Dv6 hot end and 40mm cooling fan. Most of the air flow will go to the hot end, while the rest will be channeled to the nozzle for the print coolling.
Use a fan with enough airflow as it will work as two fans in this case.
if you have any issue to make the duct fit your hot end try heating the duct with hot air gun or even a lighter and tighten the hot end holder a little. I made the radius 22.6 which should be a tight fit.
Note: i didn’t have a chance to test the performance yet, use this design on your own risk !
Print Settings
Printer:
Q3D ThreeUp Rafts:
Doesn’t Matter Supports:
Doesn’t Matter Resolution:
0.2 mm Infill:
20% Notes:
Rotato -90 degrees on the Y access before printing.
How I Designed This
Design
I made the design in onshapehttps://cad.onshape.com/documents/3356695e1da2314ad442feda/w/59279bd06eb41761369fb7fe/e/b5880c6902c8ea97b1940c04
It is public so if you would like to make your own changes you are welcome.
I put in mind:
1) Air flow to hot end cooling and print cooling
2) Fit on the hot end ( shouldn’t fall down while printing ! )
3) Distance from the nozzle and the heating block
4) minimum size that doesn’t interfer with other parts in the printer.
This is the 4th print, in every print i test all of my criterias and optimize further. -
Tent Support Tip 3D Print Model
Summary
Why spend $5.95 (US) on a replacement part when you can spend $$$ on a 3D printer, filament, replacement parts, etc.? Because you can!
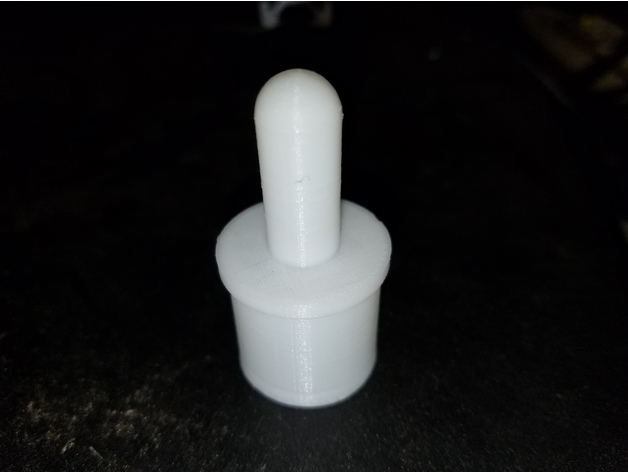
This is my first creation, start to finish. It is a replacement tent support tip for my Coleman popup tent trailer. The original tip had sheared off. I had to drill it out in chunks, because of the tight fit.
I made this in OpenSCAD, printed a hollow .1mm thick test on quick print settings (Cura 15.04, Hictop 3DP-17), and adjusted the model in OpenSCAD once (test print was the same diameter as the outside of the pole – forgot to subtract wall thickness). This is the final version.
I printed it in high quality mode with 45% infill for strength, using PLA (I haven’t gotten any ABS yet). Took a bit of sanding to get it to fit in the support pipe, but the tip turned out perfect. And it only took 1.5 hours to do the final print, which I installed just before the rains hit (otherwise the roof would collect water and leak).
Print Settings
Printer:
Hictop 3DP-17 Rafts:
No Supports:
No Resolution:
High Infill:
45% -
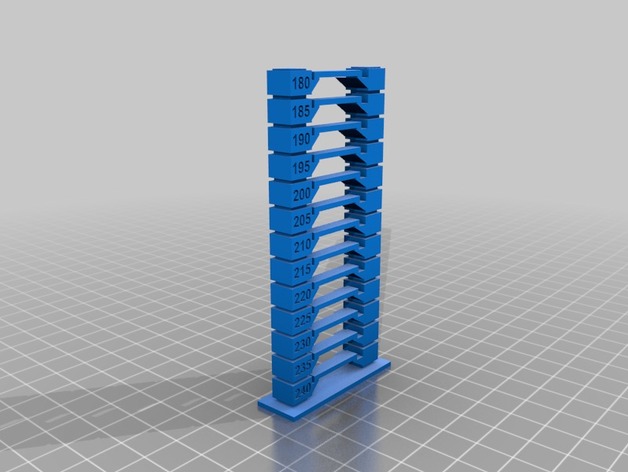
Better temperature tower v5 240-180 3D Print Model
Summary
Original author created a 240-160 version, I have no need to test any temp below 180 as I purely print ABS. -
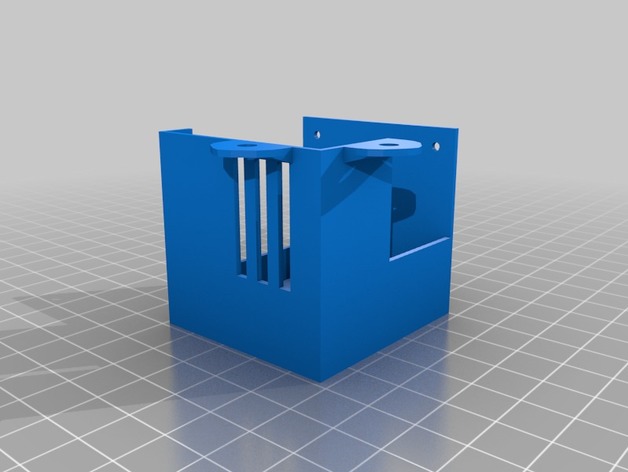
Creality CR-10 Fan Mount by SmilingImpact 3D Print Model
Summary
Virtually the same basic fan mount that shipped with the printer just not as electrically conductive!
Created with blender.
Print Settings
Supports:
Yes Notes:
It will need supports for the outer two screw tabs. -
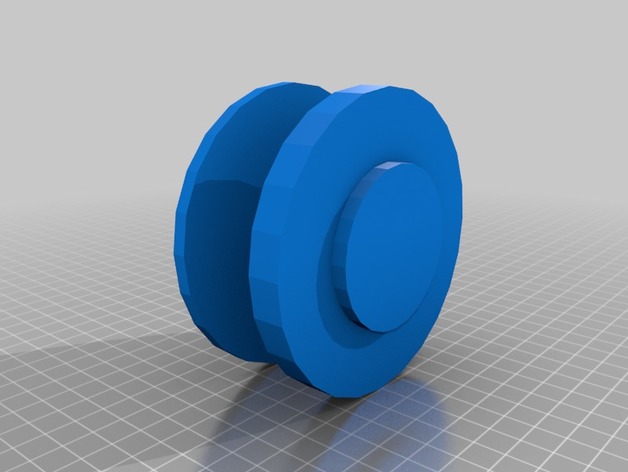
simple OWI Edge Robotic arm model 3D Print Model
Summary
These are 3d files required for the SImple OWI Edge GUI -
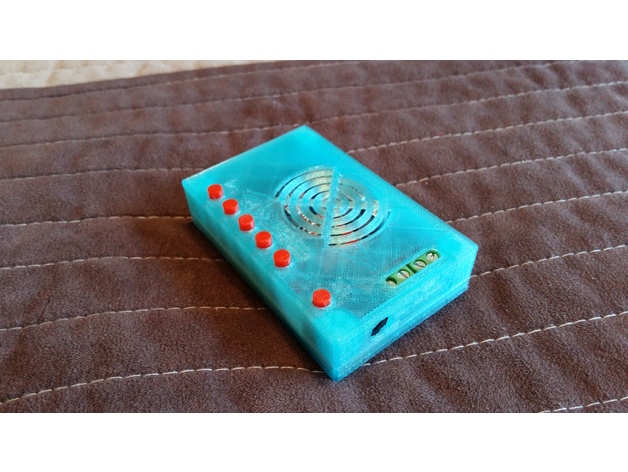
Yet another TDA7492P enclosure 3D Print Model
Summary
Enclosure of TDA7492P 25W + 25W bluetooth mini amplifier.
It stays together without screws or you can use M3X10 countersunk bolts for assembling.
Print Settings
Printer:
Tevo Tarantula Rafts:
Doesn’t Matter Supports:
No Resolution:
0.2 Infill:
30% Notes:
You need to print 5 pieces of long and 1 short button for power function. -
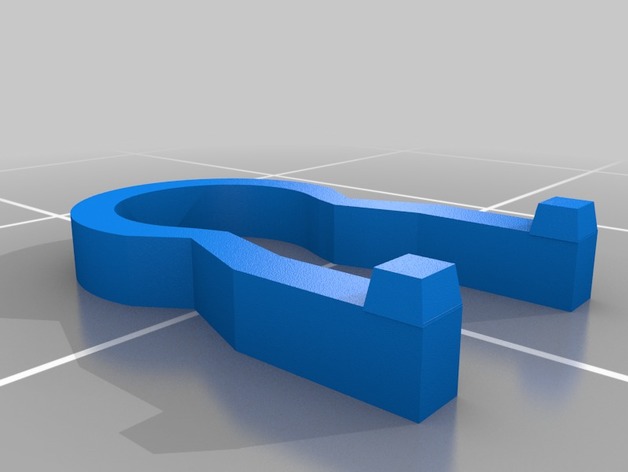
2017 remix of baloon turbine by petropixel 3D Print Model
Summary
Converting the original design to smoother faces to see if it will run smoother. Used Freecad an imported the original stl and recreated using basic geometric shapes and a couple of sketches. I am attempting to print this as this is being published. Will update with info as soon as I have tried it. -
Mr. Immortal Logo 3D Print Model
Summary
Presenting the original Great Lakes Avenger – Mr. Immortal’s Logo!!!Custom Section
-

Robot foot inspired by K2SO 3D Print Model
Summary
Robot foot inspired by K2SO
See collection “Robot inspired by K2SO” by NordwickDesign for all the parts.
Suggested print scale 2x. -
Candle Shade 3D Print Model
Summary
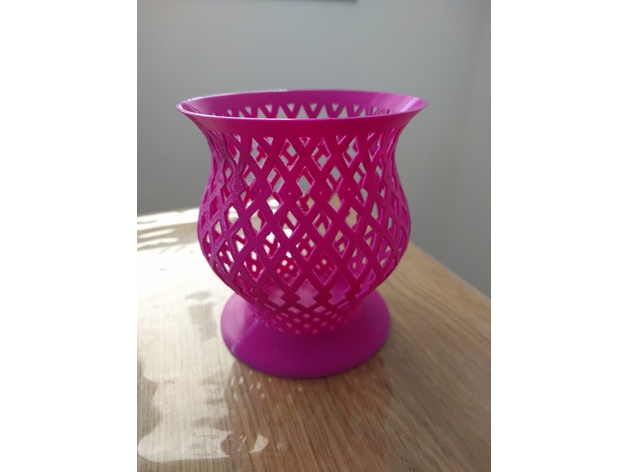
Candle Shade
Print Settings
Rafts:
No Supports:
No Resolution:
0.2 Infill:
15% -
SDR Amplifier PCB Case 3D Print Model
Summary
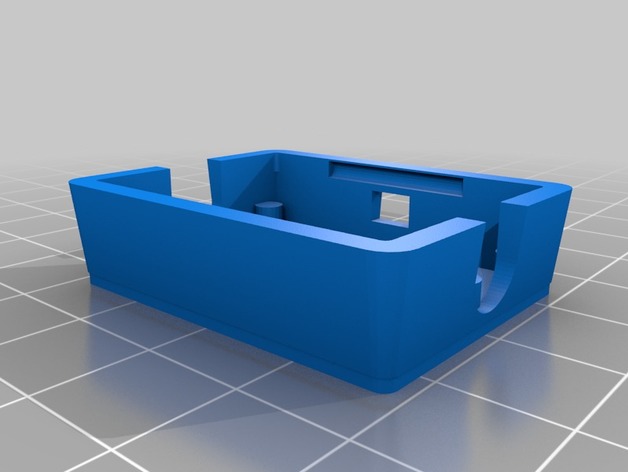
Based on the Case of 3cky i adjusted a bit the code to create a case for my SDR LNA. All the credits go to him. -
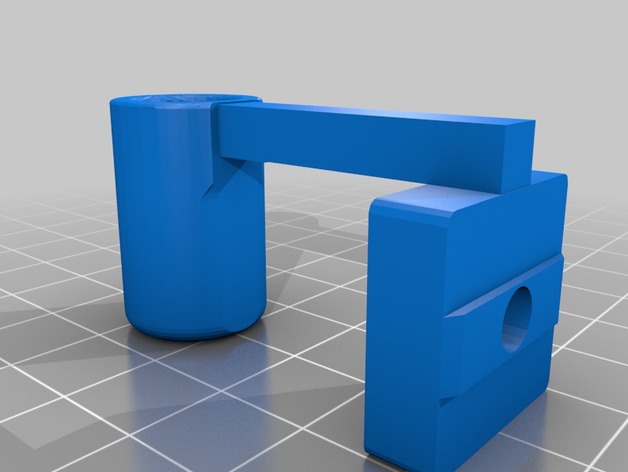
AM8 2020 2040 Filament Guide 3D Print Model
Summary
Just a filament guide if your using my spool holder remix. -
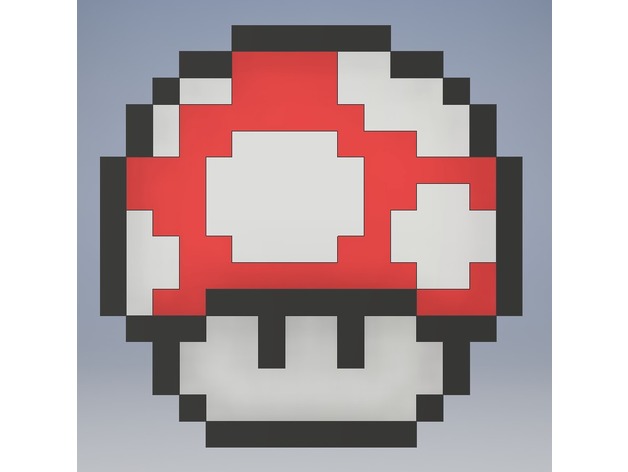
Mario-Mushroom 3D Print Model
Summary
…
Print Settings
Rafts:
Doesn’t Matter Supports:
Doesn’t Matter Infill:
20 -
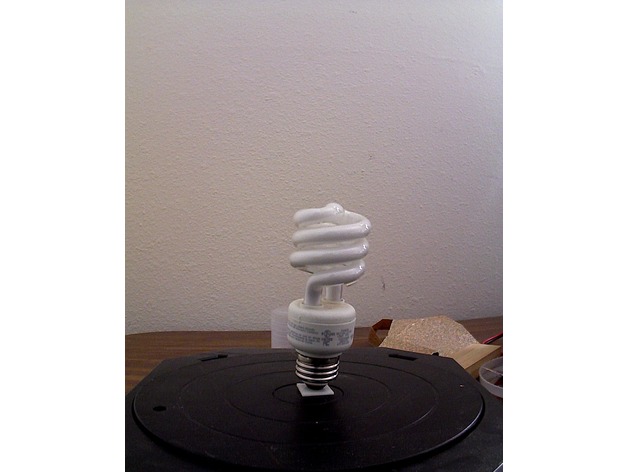
dummy CFL best made with glow in the dark filament 3D Print Model
Summary
dummy compact florescent light for filling in empty light sockets best made with some sort of glow in the dark filament acts as a night light without electricity -
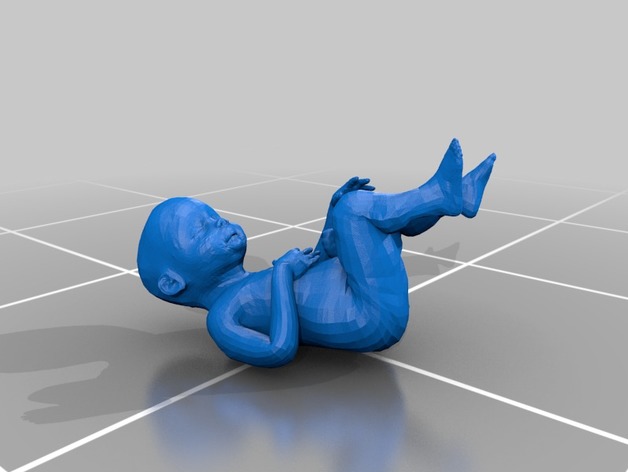
Human Fetus 3D Print Model
Summary
Made it for complete part of my research about surgery training techniques using 3d printed models, so you can print and use as a test model or other purposes too. =]
p.s: The source file is in! So you can modify the pose and other details of the mesh but don’t forget the credits =]!
Print Settings
Printer:
Minibot 130 Rafts:
Yes Supports:
Yes Resolution:
0.1mm or 0.2mm Infill:
10 -15% -
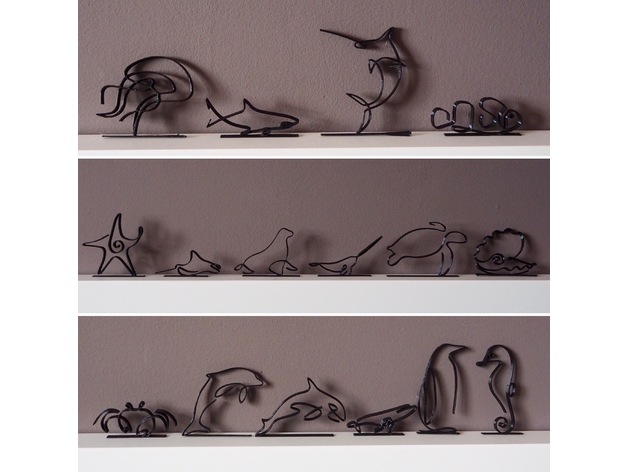
One Line Animals Part 2 (with base) 3D Print Model
Summary
Description in progres. Soon published.
Print Settings
Printer:
BQ Hephestos 2 Rafts:
No Supports:
No Resolution:
0.3 Infill:
0% -
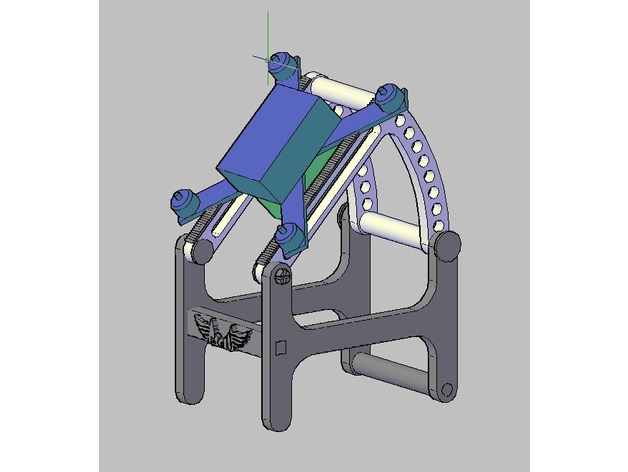
Rampa de despegue para Dron Racer 3D Print Model
Summary
RAMPA DE DESPEGUE DE 0º A 45º LA HE FABRICADO PARA AQUELLOS QUE LE GUSTA EL HOBBY
Print Settings
Printer Brand:
Prusa Printer:
Prusa Clone Rafts:
Yes -
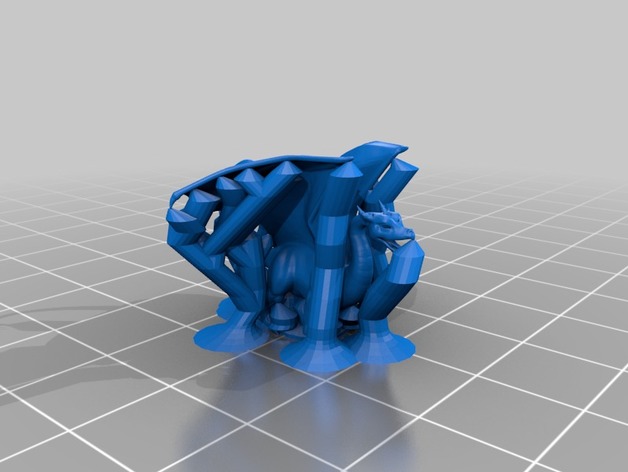
Dragon Supports 3D Print Model
Summary
Rafts:
No
Supports:
No
Notes:
Support is included in the model. -
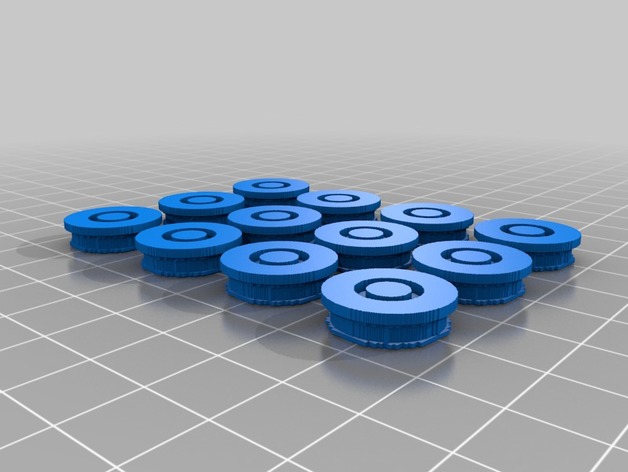
Bullet Casings for Revolver Fidget Spinner 3D Print Model
Summary
This is a tweak to the bullet casings for the Revolver Fidget Spinner by iTzOminous Tic.http://www.thingiverse.com/thing:1977070
I added a “lip” to the bullet casings so there is no need to glue them in. These should just pop into the holes without glue. I also hollowed out the inside of them to hold a standard size metal BB pellet (4.5mm) between each cover to add weight to the spinner. I am very new to 3D printing (this is only my 2nd day) so the lip looks pretty rough when printed but it works great and you can’t see it anyway. Hopefully someone with more experience can tweak these to be prettier.
This download includes all 12 covers needed in one print.
Print Settings
Printer:
Monoprice Select Mini V1 Rafts:
No Supports:
No Resolution:
.1 Infill:
30 -
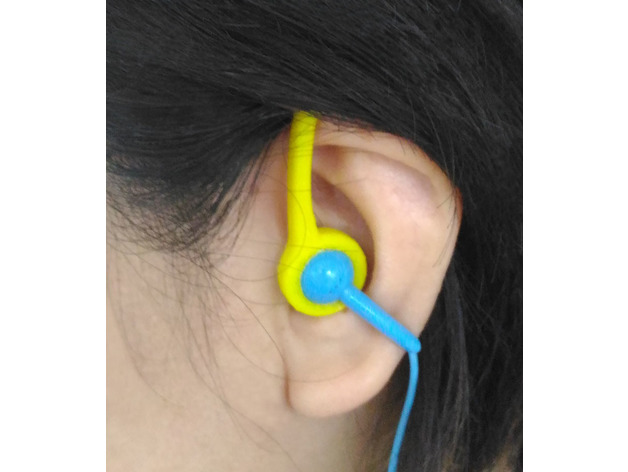
Earphone hanger 3D Print Model
Summary
My earphone diameter is 13.4mm.
I printed this thing in TPU filament.
Print Settings
Printer:
YouLight 3D Printer Rafts:
No Supports:
No Resolution:
0.2 -
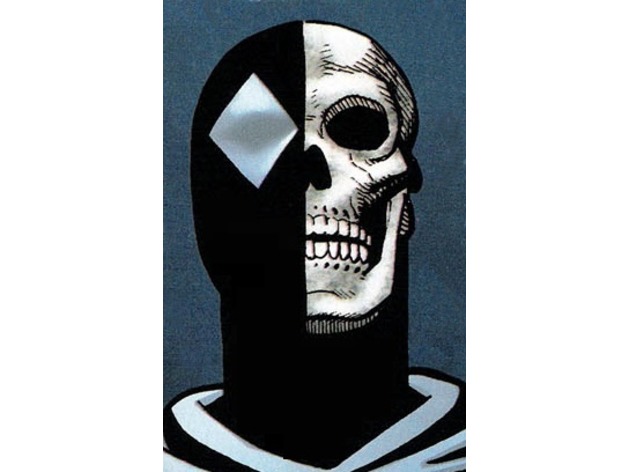
Doorman’s Death Sense 3D Print Model
Summary
Yes, it’s that great super hero from the Great Lakes Avengers….. err…. Great Lakes X-Men….. uhhh….. Great Lakes Initiative…. or is it that they are back to being the Avengers???? Whatever the team is called, Doorman is there for them, being a doorway and all that. With his newly added powers from Dethurge, he now has a ‘Death Sense’.
Pic taken from the Great Lakes X-mas Special (2006)Custom Section
-
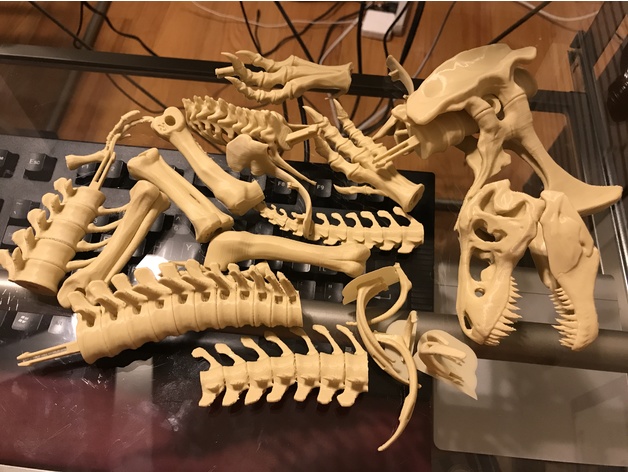
T-Rex Skeleton fixed and printable 3D Print Model
Summary
MakerBot’s T-Rex Skeleton is a masterpiece. Too bad the designed refused to fix some quite obvious shortcomings. I made the following fixes to make the model printable:
–Fixed tail parts A and B. Both original parts, particularly B, were broken at the second piece. It made B utterly unprintable and A very fragile, if printable. I solidified both parts.
–Separate arms, tails and all ribs. These tall and thin parts are high risk prints to begin with. Printing multiples at a time makes it almost certain to fail. In fact the nozzle moving from part to part is the biggest danger. In addition, the frequent retraction makes the parts (if successfully printed) very poor quality. Printing individually is the way to go.
–Extracted the neck H clip and merged it into the H clip file.
Printing note:
–Only left arm and ribs are included. Mirror them to print the right counterparts.
–Use 8mm of brim is strongly recommended for all parts except the H clips.
–You need very strong bed adhesion. On my Prusa i3 MK2S, the naked bed simply doesn’t offer enough adhesion. The glue stick worked occasionally but mostly not. My best friend is Aqua Net Super Hold hairspray. It is great because 1) adhesion is stronger than ever and not a single peel off; 2) after removing the parts you don’t need to do anything but can just go on printing the next part. Don’t buy at Amazon. It’s sold for only $3 at Walgreens! https://www.walgreens.com/store/c/aqua-net-professional-hair-spray-extra-super-hold-3-unscented/ID=prod5458027-product
–For think parts such as ribs and tail and maybe arms, be sure to slow down to 50% or so to allow it to cool.
Happy printing! -
Anki Servo Car Top 3D Print Model
Summary
This model was used to mount an FPV pan/tilt camera.
Print Settings
Printer Brand:
LulzBot Printer:
TAZ 6 Rafts:
No Supports:
Yes Infill:
100% Notes:
Best print was with ABS for strength, but PLA did well also. -
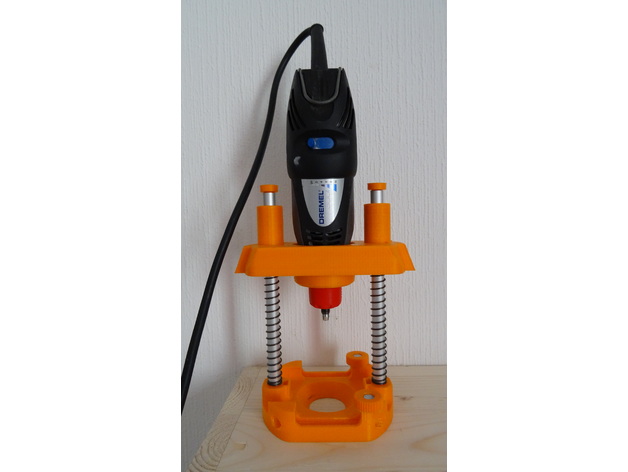
Dremel Plunge Router / Défonceuse 3D Print Model
Summary
!!! Non complète !!!
Butée, écrou et poignées à venir!
Accessoire défonceuse pour Dremel.
Imprimé en 0.2 avec 15% d’infill, les supports sont intégré aux pièces pas besoin d’en rajouter.
2x Vis à tête hexagonale M5x12
2x Barre creuse diamètre 10 longueur ???
2x Barre pleine diamètre 8 longueur au choix
1x Tige filetée M5 longueur ???
2x Vis à tête cyl M5x10
8x Écrou M5
2x Vis à tête cyl M3x??
2x Écrou M3
2x Ressorts de compression diamètre 12 longueur 100mm
Print Settings
Printer:
Dagoma Rafts:
No Supports:
No Resolution:
0.2 Infill:
10-15% -
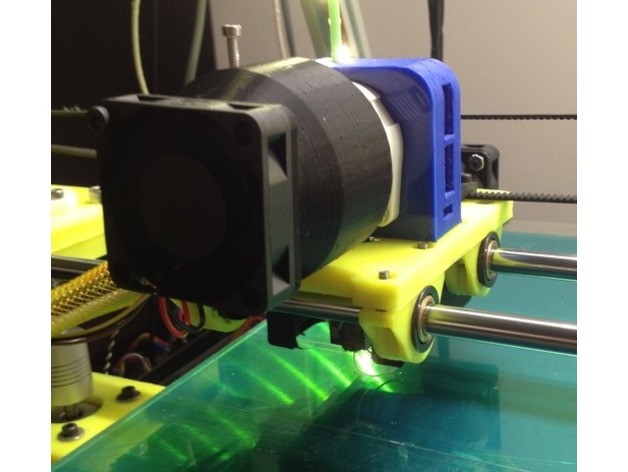
MendelMax X Carriage 3D Print Model
Summary
This MendelMax X Carriage has recesses in the bottom side for the flange of the SDP bronse bearing. It retains the bearing and helps minimize uneven bearing pressure.
This is a remix from the MendelMax and Lulzbot carriages. -
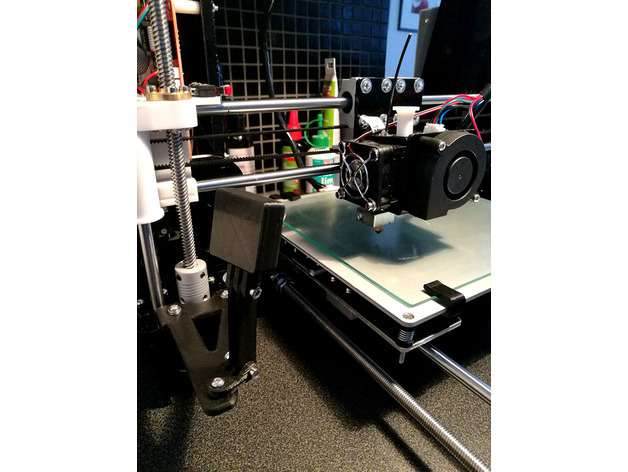
Anet A8 Pi Camera Motor Mount 3D Print Model
Summary
Pi camera bracket for Anet A8 I use the camera housing/mount to thingiverse user anoved http://www.thingiverse.com/thing:403712
Print Settings
Printer:
Anet A8 Rafts:
Doesn’t Matter Supports:
No Resolution:
0.2 Infill:
25
How I Designed This
Fusion 360 -
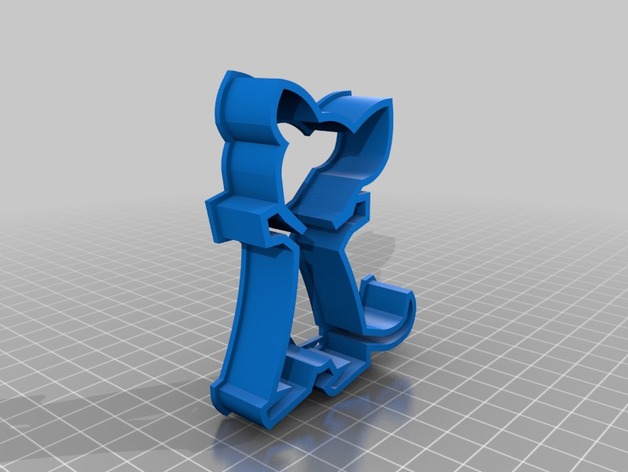
Mouse Cookie Cutter 3D Print Model
Summary
I created a mouse cookie cutter for the book “If You Give A Mouse A Cookie”. -
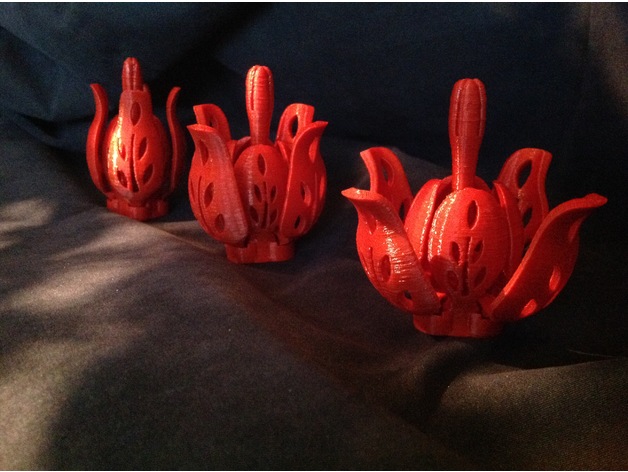
the blossoming flower 2 3D Print Model
Summary
A knick-knack in form of a fretworked blossoming flower !
See the video https://youtu.be/xKz_oPZ20LU
Move the pistil to let four petals open and the flower blossom !
Printed all in once and inseparable.
It is possible you have to clean some material at the beginning in the moving parts.
I have loaded two models : ” fiore 110 ” is 4x4x6 cm; ” fiore 111″ is 3.5×3.5×6 cm.
Look at my ” The blossoming flower 1 ” at http://www.thingiverse.com/thing:2290058 -
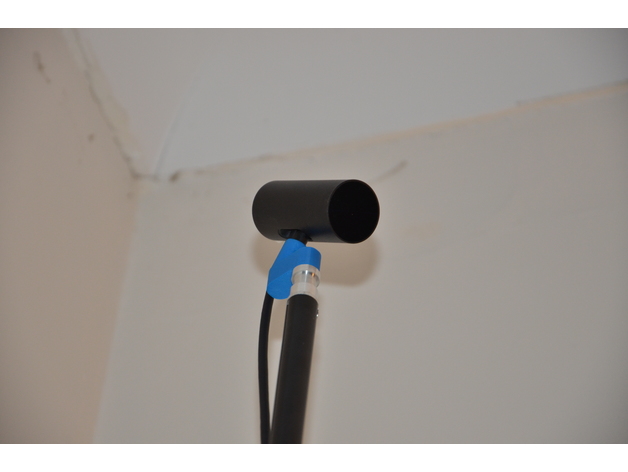
Angled adaptor for Oculus Rift sensor camera 3D Print Model
Summary
This adaptor screws onto a standard photography tripod, or onto the original rift sensor stand. It is designed to give the sensor more downwards coverage, for when the sensor is positioned in a high corner.
I implemented a “kink” or offset in an attempt to keep the correct center of gravity, but in retrospect, it really wouldn’t have mattered – the sensors are quite light-weight.
See this for good roomscale setup tips:https://www.oculus.com/blog/oculus-roomscale-tips-for-setting-up-a-killer-vr-room/
I use this app to visualise and tweak the sensor placement/coverage from within VR:https://www.wearvr.com/apps/desk-scene-check-your-camera-bounds -
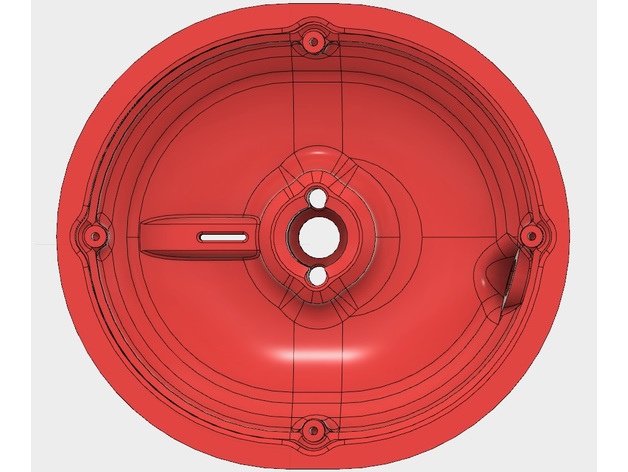
Open Alpha Headphones Bass Adjustable Ear Cups 3D Print Model
Summary
This is a remix of the Open Alpha headpones given to the diy community by MrSpeakers Dan Clark. He designed the original as a production product. Later on he gifted the design to the community. My remix replaces the vent holes on the original with an adjustable vent. Just thread an M3 set screw into the hole on top and adjust them as desired. This is basically the same as his Alpha Prime design. I would start with M3x12 it can totally seal the vent and also leave it completely open, though a little of the screw will be sticking out the top of the cups when the vent is totally open. If you want to go totally open or close to it maybe an M3x10 or M3x8 would be a better choice. The .iges file is included for editing and remixing.
Print Settings
Printer:
Custom Rafts:
Yes Supports:
Doesn’t Matter Resolution:
0.1mm Infill:
10% Notes:
You may need to make walls around the cups or use a raft/skirt to prevent curling. Experiment with wall thickness, infill pattern and density to see how well they isolate. Please report any comparisons in sonic properties that you discover if you print multiple patterns/densities.
How I Designed This
Autodesk Fusion 360 -
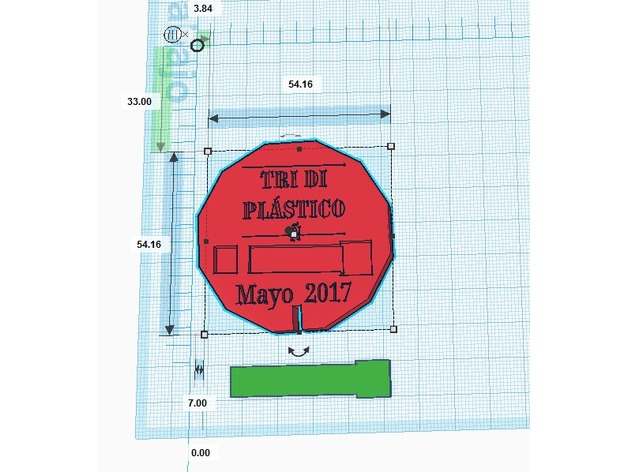
Flying Maker Coin 3D Print Model
Summary
My Maker’s Coin is a flying one!
Print Settings
Printer:
Tronxy X3 Rafts:
No Supports:
No Resolution:
0.2mm Infill:
30% Notes:
nozzle 0.4mm
PLA
bed temp: ambient
filament temp: 200 °C first layer, other layers 195 °CCustom Section
-
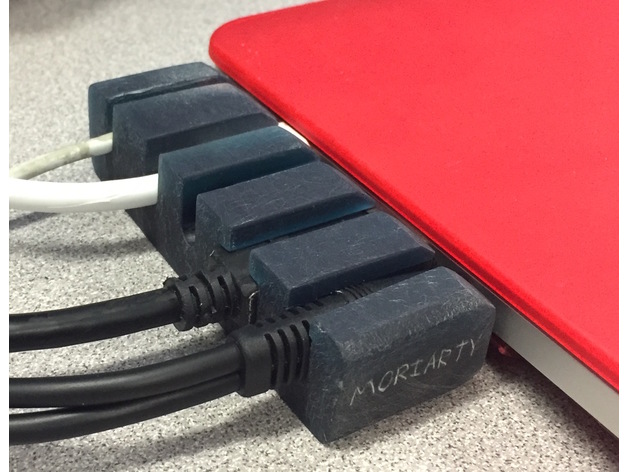
Macbook Pro Connector Hub 3D Print Model
Summary
After reviewing the available parts on Thingiverse (of which there are many!) for laptop connector hubs, I decided to create a custom part for my own cables. The hardware this part is designed for is the Macbook Pro 15 inch retina (mid 2014). Ports included are: power supply, both Thunderbolt ports, USB, and headphone jack. I used a micrometer to measure the size of my current apple power supply terminal, and designed all cable terminal-hub interfaces to have a -0.2 mm fit (hub is smaller than cable terminal housing). USB and Thunderbolt terminal housings vary quite a bit in all dimensions, so there is a chance this may not fit your specific connectors.
Part is available at: https://cad.onshape.com/documents/a196b600e6f6e8c0ad7bfc9e/w/2082e1db4c7cc63f5996dca5/e/627410629d75fce8e1e79e2c
To change width and height of each connector’s housing interface, modify the bottom dimensions of sketch 1. Extrude 1-4 determine the housing depth. Enjoy!
Print Settings
Printer Brand:
Formlabs Printer:
Formlabs Form 2 Rafts:
Doesn’t Matter Supports:
No Resolution:
.1 mm Infill:
100% Notes:
Resin used for this print was the Formlabs Tough v2. Parts printed with this resin tend to be a bit more flexible than I like, if your cable terminals aren’t snug enough I would recommend shrinking the hub interfaces with Autodesk Meshmixer or like .STL editing program. -
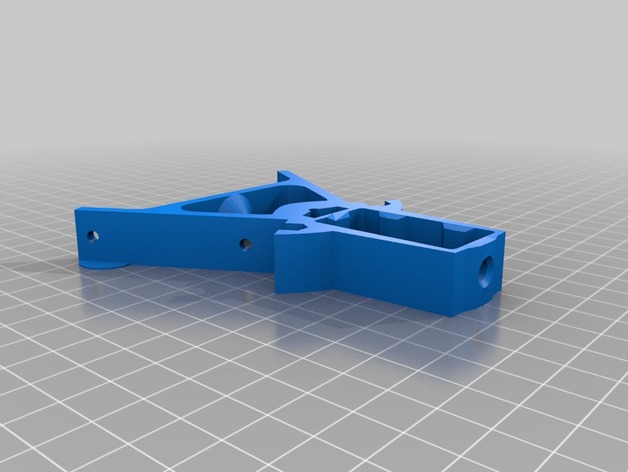
Monster Kossel Mixed Frame 3D Print Model
Summary
These are the frame parts I modified from the original Kossel frame to work with the 2040 tower extrusions for a larger size.
The carriages are designed to snugly fit on the 20mm side when using original v-roller wheels from openbuilds.
The motor frames could use an additional tweak to allow for easier mounting of the NEMA 17 steppers in place, but that will be an upcoming edit. I increased the height of the bottom frame bits to get a more rigid feel between the tower and bottom frame.
Print Settings
Printer Brand:
RepRap Printer:
RepRap Kossel Rafts:
No Supports:
No Resolution:
0.2 Infill:
25-30% Notes:
Select infill to taste based on the strength needed. I found that 30% was more than sufficient to handle the requirements for the 1m tall extrusions.
How I Designed This
I imported the files in Blender, imported the Openbeam 1515 and OpenBuilds 2040 profiles to use a boolean operation around them. I then slightly scaled the extrusion size to give enough tolerance to print such that the extrusions will fit. -
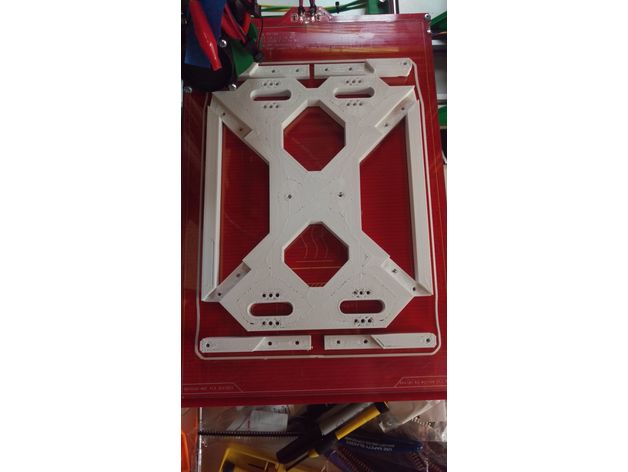
Prusa i3 MK2 Y carriage printable bed 3D Print Model
Summary
This is a fully printable Y carriage plate for mounting your heated bed. I adapted the Prusa i3 MK2 dxf file and modified it so that you can bolt on the arms in order to make this a fully printed part rather than having to rely on cutting one out of wood or having one laser cut or machined for you. It is 10mm thick, and the legs go in the slots only one direction each so that you cant mix them up and they use 3mm screws to bolt down. I printed mine with cubic infill to give it some additional rigidity, but it’s a very solid piece once it’s complete.
I adapted this version to use 4 lm8uu bearings instead of the 3 that are called for in the plans. However if you want to modify it back to a 3 bearing design, i’m including the sketchup file itself for your reference. I may improve this design by making it a little thinner so it’s lighter. it comes in at about 159 grams. You can print this on a standard 200mm square build plate.
I also added additional 3mm holes for extra zip ties or screws for the bearings. Some of you like to use blocks so I gave plenty of options to tie them all down however you see fit.
May come back and add some lm8uu bearing brackets in the future if there is interes.
Print Settings
Printer:
Wilson II reprap mjrice Rafts:
No Supports:
No Resolution:
.25 Infill:
30% Notes:
I printed this with .25mm layer height (since it’s a large unseen part, you dont need to do fine details on this) and a .5mm nozzle on my Wilson II printer. I used a top/bottom thickness of 1.5mm and a wall thickness of 2mm, but this is way overkill. you can use a 1mm thickness all around to speed up print time. as is, i printed it in about 8.5 hours.
Setting to 1mm wall/top/bottom thickness it drops to about 6.5 hour print at 60mm/sec.
Post-Printing
use 8x m3x12 cap head or pan screws with nuts on the other side to attach the legs to the body. Legs mate to their slots in only one direction flush and tight. -
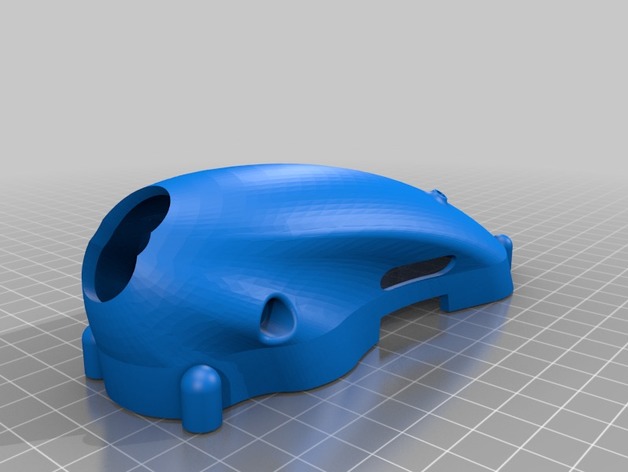
Eachine Wizard X220 POD 3D Print Model
Summary
Remix of spaceone pod. Not pretty, and haven’t even tested to see if this fits or not. Made to replace top section of drone. The battery will have to be bottom mounted. Havent figured this one out yet. Work in Progress -
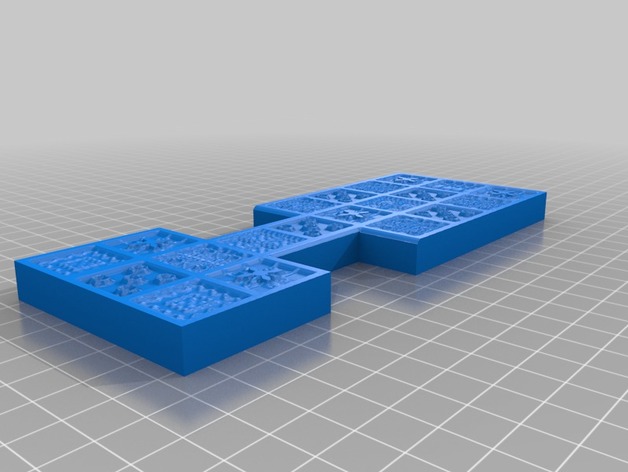
The Royal Game Of UR Kit 3D Print Model
Summary
This is my reproduction version of the olddest playable known boardgame.
https://en.wikipedia.org/wiki/Royal_Game_of_Ur -
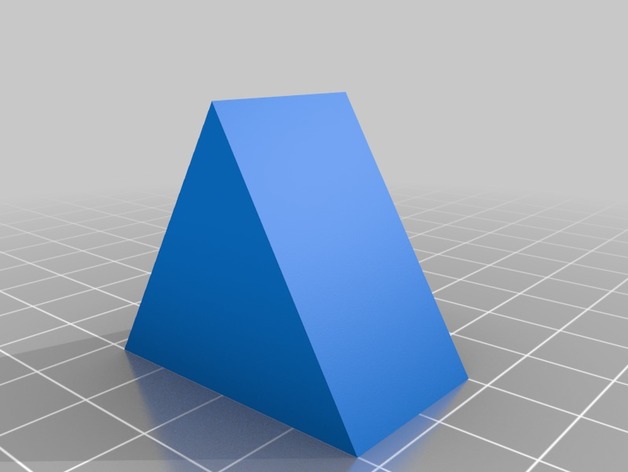
Catapult 3D Print Model
Summary
A Catapult
Print each part once (1x Catapult_Lever, 1x Stand_1, 1x Stand_2)
You may need to rotate the models
Print Settings
Printer Brand:
Prusa Printer:
Prusa Clone Rafts:
Doesn’t Matter Supports:
No Resolution:
0.1 Infill:
15% -
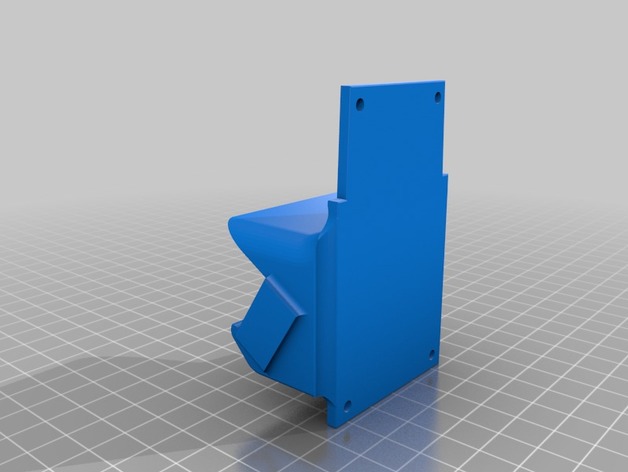
Realacc Martian III – Go Pro/ Top Plate 3D Print Model
Summary
This top plate can replace or be added as an addition to the Realacc Martian III x200/220/250 quadcopter frame. The GoPro holder is designed to accomodate a GoPro HD Hero 3.
There is space underneath the GoPro mount to attach a velco band for securing the GoPro to the quadcopter.
Print Settings
Printer Brand:
Prusa Printer:
Prusa Clone Rafts:
Doesn’t Matter Supports:
Doesn’t Matter Resolution:
0.05mm Infill:
20% Notes:
I haven’t tried printing this with anything except PLA. Results may vary depending on material chosen. -
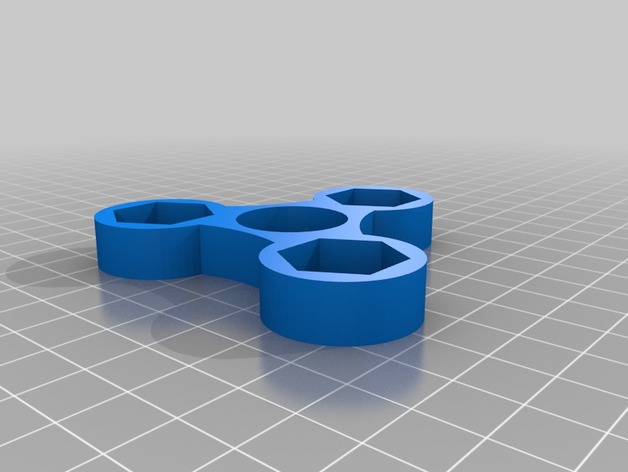
Smooth Widget Spinner 3D Print Model
Summary
A fidget Spinner that uses 3 1/2 in hex nuts in the sides and one 608ZZ ball bearing in the middle. Except this one, unlike http://www.thingiverse.com/thing:2300929, is smooth. If you know how to use OpenSCAD then you can make this yourself, if not, there are instructions but I thought I’d save some people the time. -
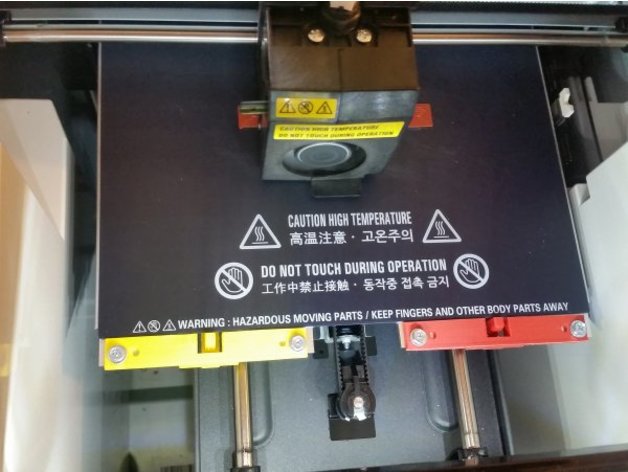
Bed Latch for Sindoh 3DWOX 3D Print Model
Summary
Here is my attempt at a better latch , I printed it in ABS with brim
Use at your own risk and be careful that bed gets hot
Print Settings
Printer:
Sindoh 3DWOX Rafts:
No Supports:
Yes Resolution:
.2 Infill:
33% -
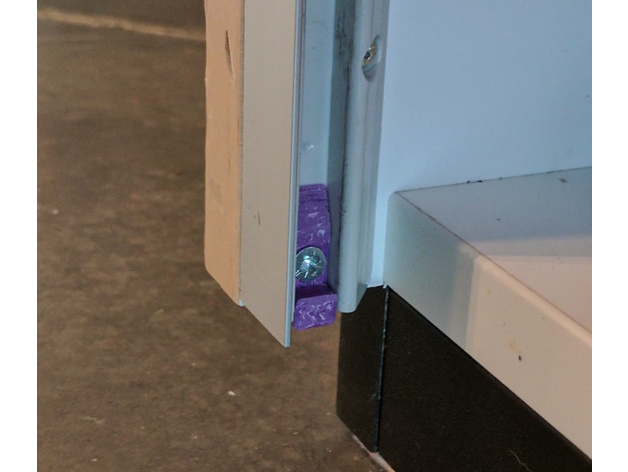
IKEA GALANT roll-front cabinet (replacement door stop) 3D Print Model
Summary
Love these IKEA GALANT roll-front cabinets. But the plastic stop is too delicate. Make your own replacement part! -
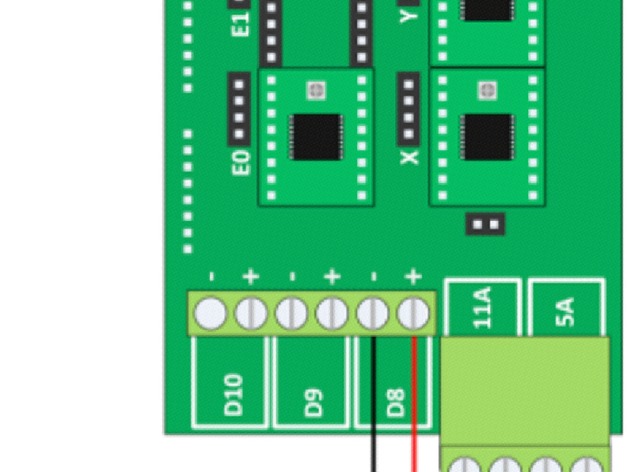
Slicon Heated Bed Use an AC SSR 3D Print Model
Summary
Heated Bed e.g.
Use an AC SSR, not a DC SSR, they look very similar.
Look Teardown SSR Videos.
DC to DC SSR Good Idea… But…Dangerous…Many Electronics Breaks in a moment. -
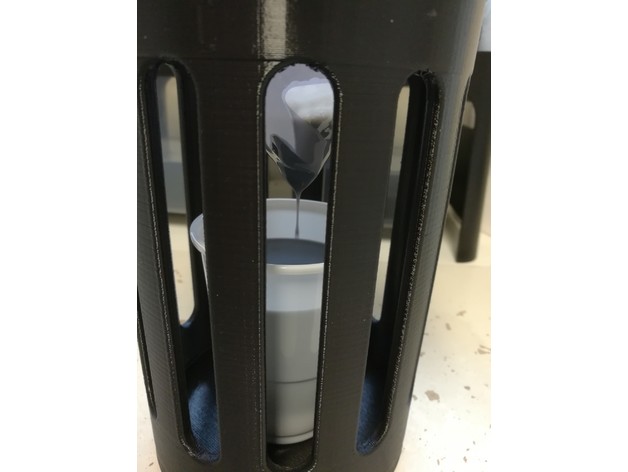
Paint filter support for SLA printers 3D Print Model
Summary
Paint filter support for SLA printers (Formlabs Form 2, …)
Print Settings
Rafts:
Doesn’t Matter Supports:
No Resolution:
200 microns -
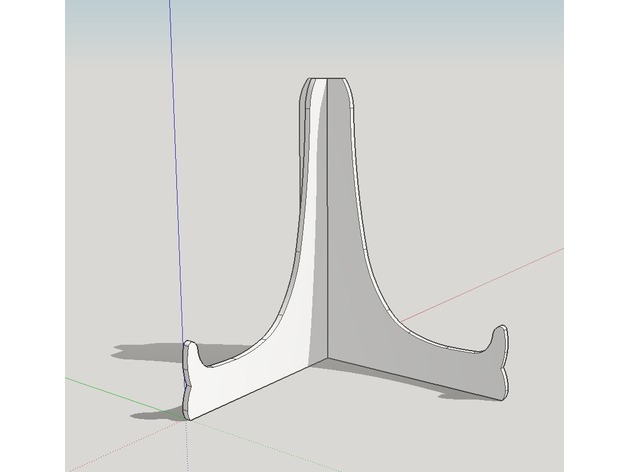
General Purpose Holder 3D Print Model
Summary
This is a general purpose holder.
Scale it down, and it will hold your phone/tablet.
Make it larger and use it as a decorative plate holder.
Go nuts! (hahaha :D)
Print Settings
Printer Brand:
Prusa Printer:
Prusa Mk2 Rafts:
No Supports:
No Resolution:
0.2 – 0.4 Infill:
30% – 50% Notes:
It should be fairly easy to print with any printer… -
Mother’s Day Heart-Shaped Business Card Holder 3D Print Model
Summary
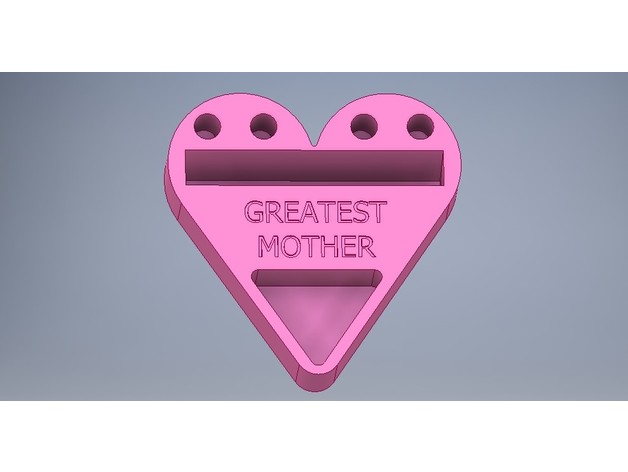
I made this for Mother’s Day. It’s a three part heart-shaped holder that your mother will love. It will hold her business cards, 4 pens/pencils, and small paperclips or tacks in the front pocket. -
Customized Clinton Band Spinner Caps 3D Print Model
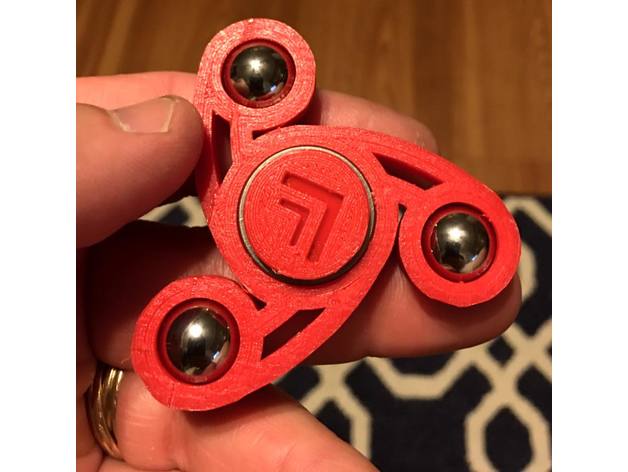
Summary
This is a remixed spinner cap I made for my children who are members of the Clinton School Band. Edited in tinkercad.
Print Settings
Printer Brand:
Prusa Printer:
Prusa Clone Rafts:
Yes Supports:
No Resolution:
1mm Infill:
100% Notes:
Printed at 200/50 with 1mm layer height, 100% infill. Fan speed 20% -
Steven Universe Aquamarine Keychain 3D Print Model
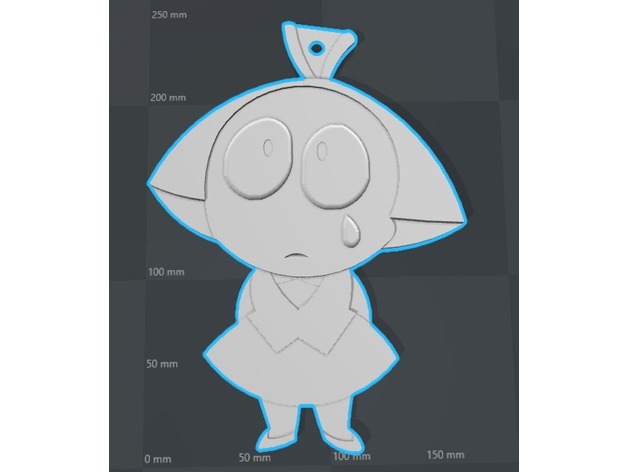
Summary
This is a keychain of the latest character from Steven Universe Aquamarine. The size is a little large (9.43 in.) and i’d recommend tuning it to 2.5 in for best results. This is my first build, so I apologize if its not up to your standards, but enjoy! -
Custom Die (Dice) 3D Print Model
Summary
Make your own custom dice for games.
Print Settings
Printer Brand:
FlashForge Printer:
Creator Pro Rafts:
No Supports:
No Infill:
45 Notes:
I used infill of 45% to get the target weight of 5 grams for a 16mm die. -
Babyhawk Soft Motor Mounts 3D Print Model
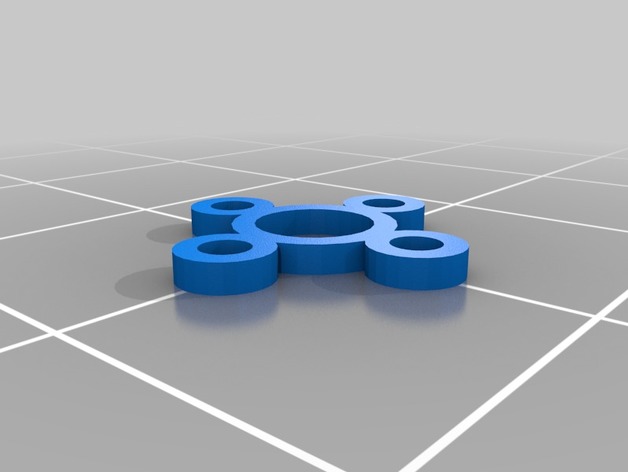
Summary
The 1mm soft mount is good for TPU and the 1.5mm soft mount is good for ninja flex.
Print Settings
Printer:
HicTop Rafts:
No Supports:
No Resolution:
.2 Infill:
N/A Notes:
Works best with a .4mm nozzle. -
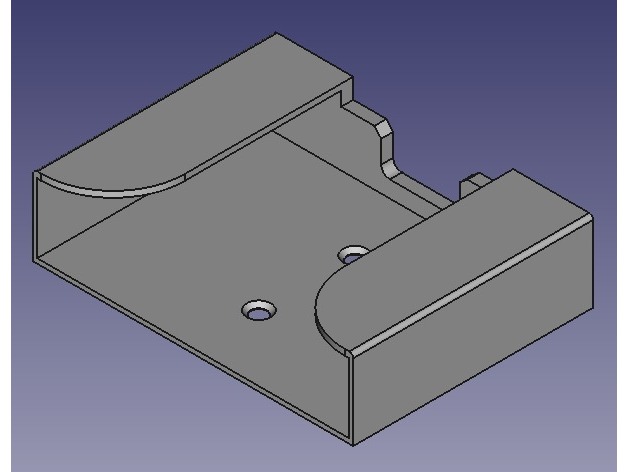
Universal Phone Wall Mount 3D Print Model
Summary
This Wall Mount should fit to every Phone, i designed it for my Huawei P8 Lite. -
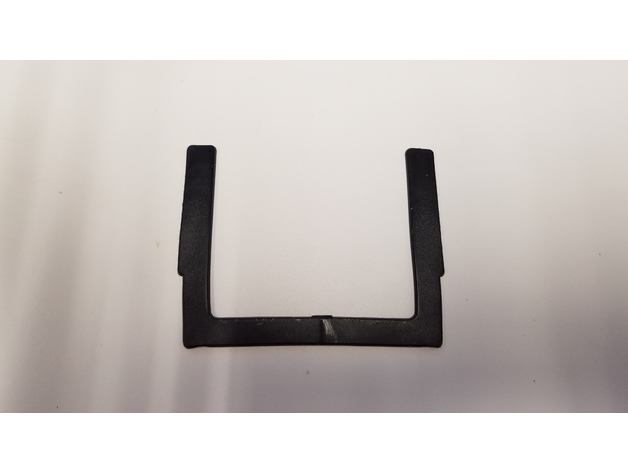
APC UPS Battery Divider (for SMART UPS battery modules) 3D Print Model
Summary
This is an incredibly simple design that replaces the battery divider in larger APC UPS battery banks. The full battery module is comprised of several smaller lead acid batteries, each battery is seperated by one of these small dividers to keep the batteries from touching each other. This is handy when batteries start expanding.
The APC battery modules come with these preinstalled, but they are easily broken when removing swollen batteries from a defective module. Hence why I’m uploading this design.
APC modules that use these are usually in the Smart UPS series (4000, 5000, 6000, etc)
Print Settings
Printer Brand:
Prusa Printer:
Prusa Mk2 Rafts:
No Supports:
No Resolution:
.2 Infill:
100 Notes:
Part is only 2mm thick and I recommend making it a solid piece. -
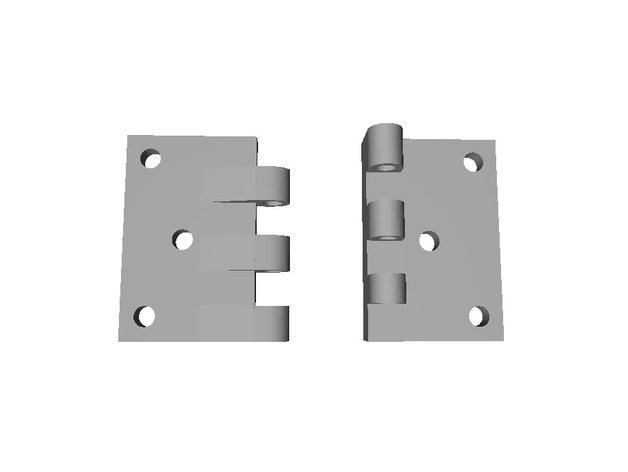
Hinge for different heights 3D Print Model
Summary
I made this hinge, cause I had two different layer heights to connect. -
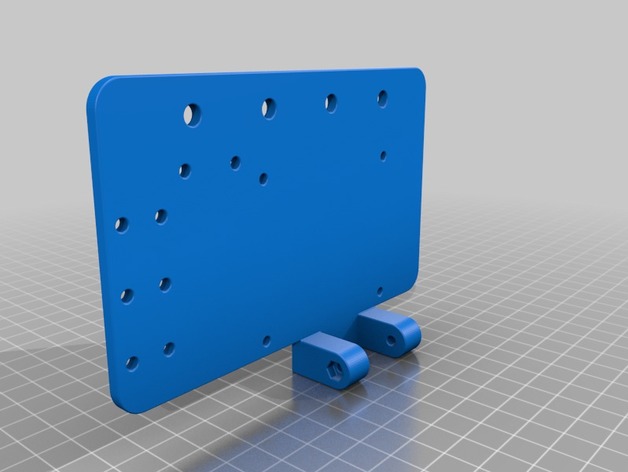
Raspberry Pi Holder Folgertech FT-5 Pi Cam 2020 Frame Octoprint 3D Print Model
Summary
Raspberry Pi Holder for Folgertech FT-5 with Pi Cam.
For 2020 Alu Profile, Octoprint.
With place for 12V to 5V Step Down and and holes for cable managment. -
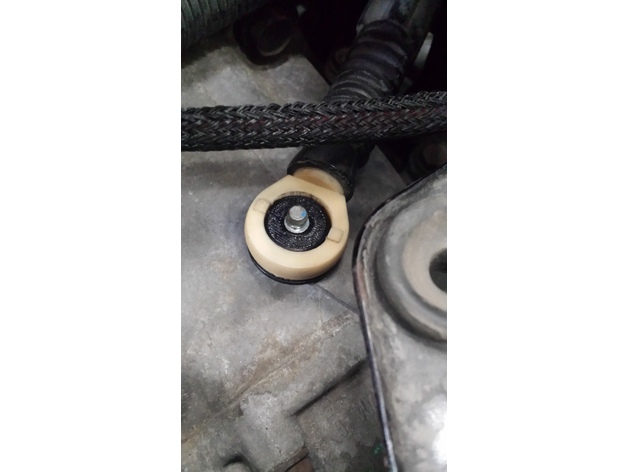
shift linkage bushing – 2009 pt cruiser 3D Print Model
Summary
I’ve gone through a couple linkage bushings for my PT cruiser, so I decided to start printing them to save time and money. Feel free to remix, this is currently the functional version I’m utilizing and “driving on” with 🙂
Print Settings
Printer Brand:
MakerBot Printer:
MakerBot Replicator Rafts:
No Supports:
No Resolution:
.3mm Infill:
15% Notes:
currently ABS -
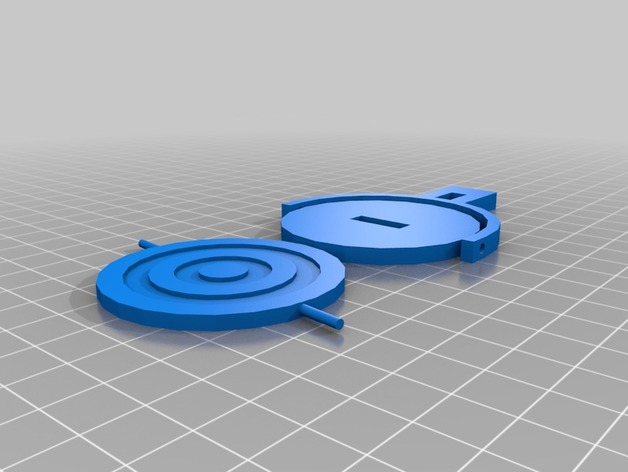
Nerf Target with stand 3D Print Model
Summary
This was made from the “Nerf Target” by stumphopper (http://www.thingiverse.com/thing:149606). I added a base to hold the revolving target. I added some length to the pegs of the target to have more room to move freely. I made the peg holes bigger to allow the target to move when hit (it was to tight). Also, i thickened the “Y” stand and added more length to the part where the holes are to avoid breaking when inserting the target in the “Y” stand and when the target moved.
Print Settings
Printer Brand:
Wanhao Printer:
Wanhao Duplicator i3 V2 Rafts:
Yes Supports:
Yes Resolution:
0.2 Infill:
25% -
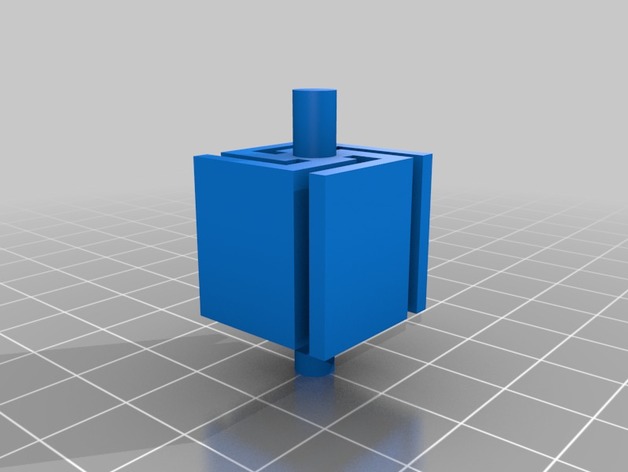
Scotch Tape Dispenser Insert 3D Print Model
Summary
This is an insert to go inside standard office rolls of Scotch tape, to adapt them to the most common dispensers.
It isn’t really a swastika, as you’ll see if you look closely at the end. The spiral arms give springiness, and I was too lazy to implement this in a non-square geometry.
Print Settings
Printer Brand:
Prusa Printer:
Prusa Mk2 Rafts:
Doesn’t Matter Supports:
Yes Resolution:
100 micron Infill:
N/A Notes:
I printed this at 100 micron resolution in PLA. It took about 40 minutes on my machine.
For best results, print it with the spindle vertical so that it turns smoothly in the dispenser. You’ll need supports switched on. With slic3r’s default settings it’s easy to tear off the spindle while separating the raft. I tried with “honeycomb” and just 1 raft layer between the support and the body. That worked fine and separated easily. -
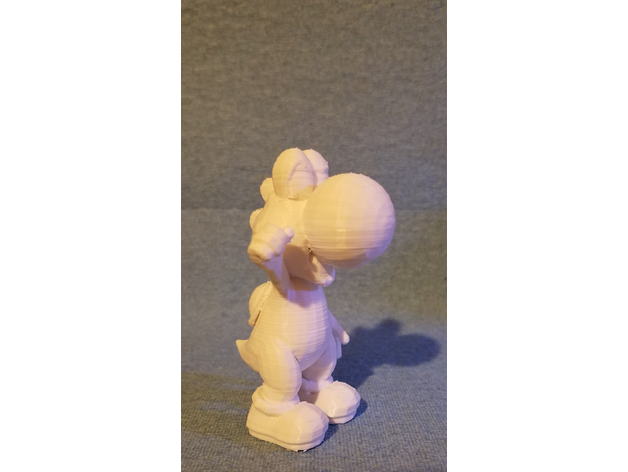
Yoshi 3D Print Model
Summary
I found the model online and posed it up in Blender. I hope you enjoy!
Print Settings
Printer:
Einstart-S Rafts:
Doesn’t Matter Supports:
Yes Notes:
Print with full supports. -
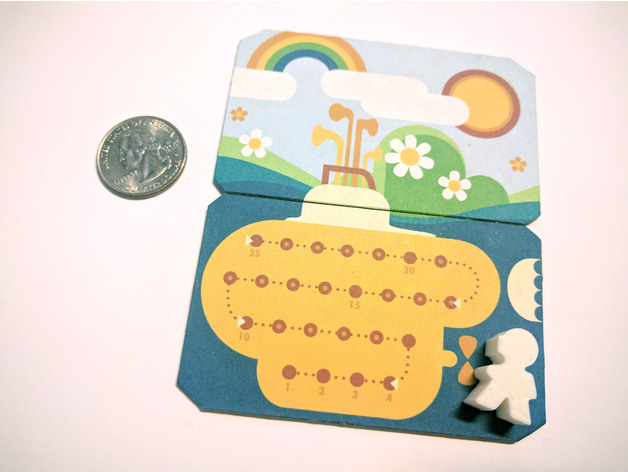
Diver Meeple 3D Print Model
Summary
You will probably want to increase the thickness of the diver, depending upon what size you need. My divers needed to fit in a mint tin, and thus were short but thick. Bigger meeples could be tall and proportionally thinner. Experiment! -
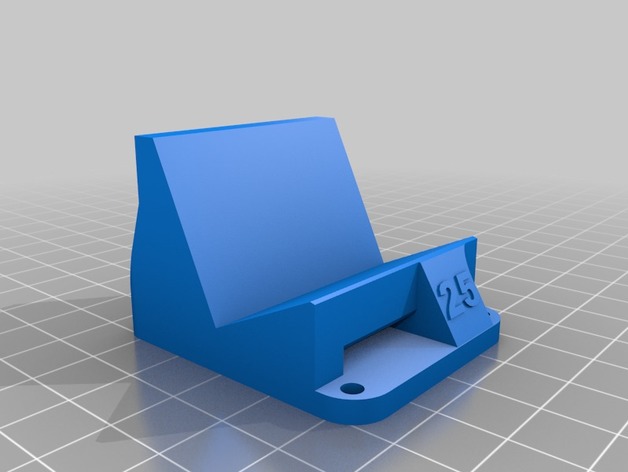
Eachine Wizard 220 gopro mount 25deg 3D Print Model
Summary
simple quick design for a gopro mount for the eachine wizard x220.
I based the bolt spacing on Brandoncook’s design, its a very similar design, but made from scratch.
not printed or tested yet,
suggest ABS or TPU/TPE, at least 50% infill, better 100% for strength!)
Supports probably needed for the strap hole. -
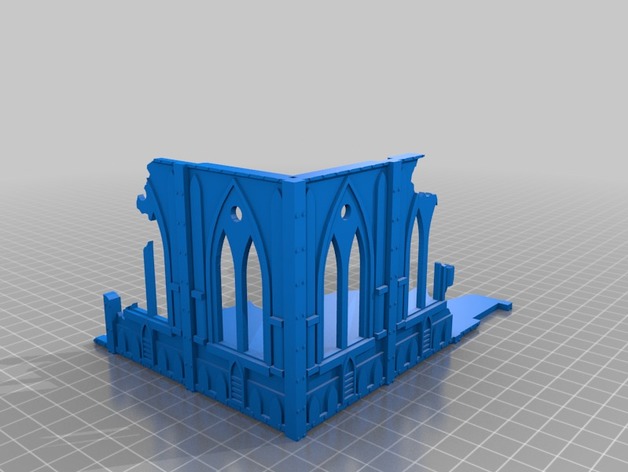
Modular Imperial Sector Building 3D Print Model
Summary
Ey! I took BiancaW’s great model and ‘sliced’ it to make it printable by my Prusa I3. Besides that, my project is provide them with magnets and have multiple terrain configurations. Soooo… Just go for it!!! -
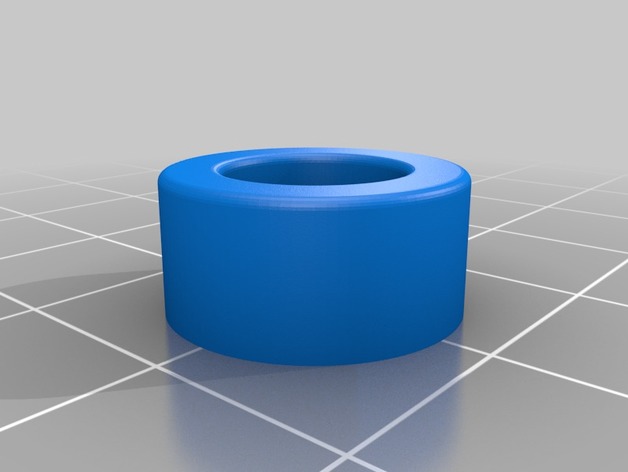
microscope foot 3D Print Model
Summary
foot for microscope. Need a dimameter 4mm bolt to be screwed.
2 models. 1 for flat head bolt / 1 for hexa head bolt -
FLUX Delta Lid Lifts 3D Print Model
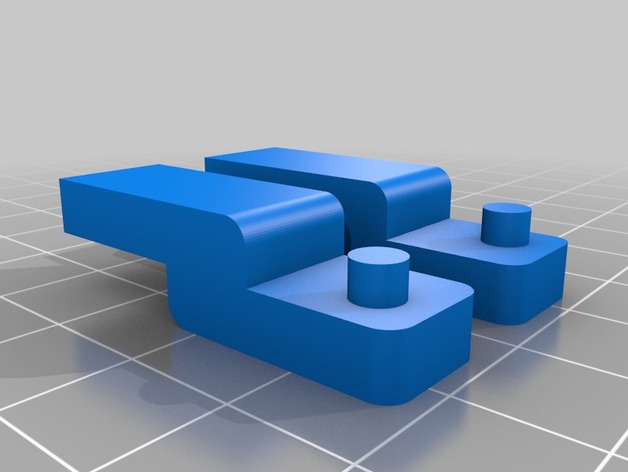
Summary
Lid lifts for the FLUX Delta printer so that the original lid can be used with an off-board filament spool.
Also allows accessory mounts such as the FLUX9001 & FLUX9002 & FLUX9003 and FLUX9004 to hang off the printer lip and not interfere with the lid.
Print Settings
Printer:
FLUX Delta Rafts:
No Supports:
Yes Resolution:
Low Infill:
20% Notes:
Note that only the left and right lifts need to be printed with support. Also note that those mounts are not symmetrical, and the left must be mirrored to get the right.
All the parts will press-fit into place. Some minor cleanup may be needed, especially around the support. -
ocular protection for microscope 3D Print Model
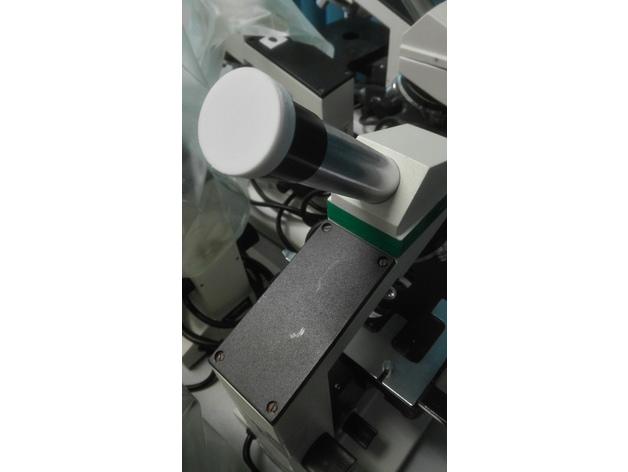
Summary
an ocular protection for microscope or other obervatory material.
Use Flex wire.
Diameter 28mm but with the freecad file you can easily modify it. -
EOD Challenge Coin Display 3D Print Model
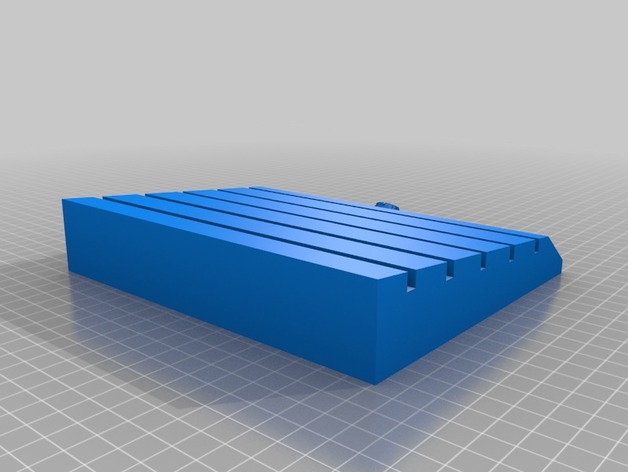
Summary
Remake of my other coin display. This one has the EOD Master Badge. -
ER250 Front Plate Stock Replacement 3D Print Model
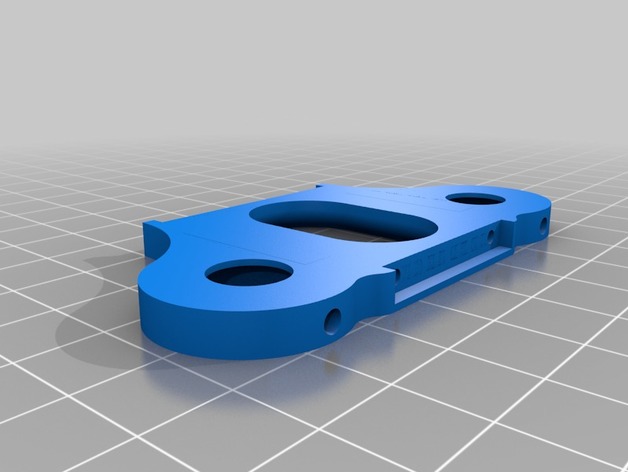
Summary
This is a replacement part for the Eachine 250 Racer front plate.
It has a larger camera port.
I’m waiting on a printed copy .. I like Nylon best so far has a nice finish.