Summary
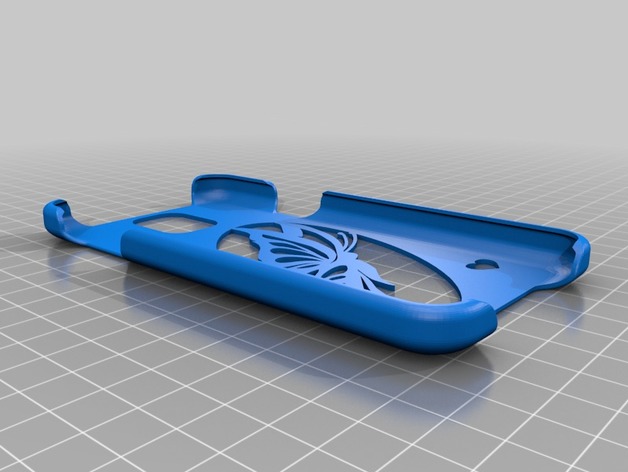
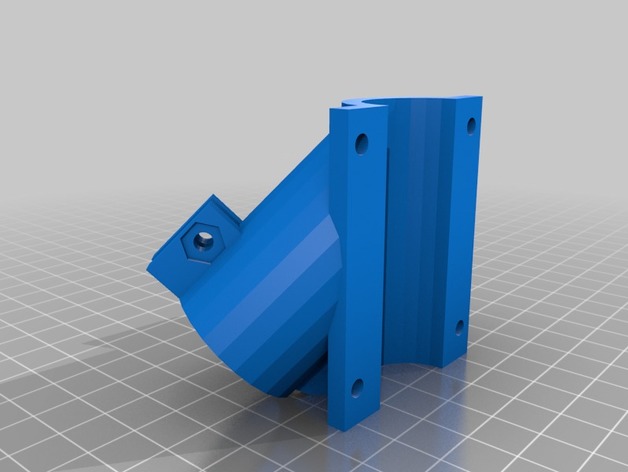
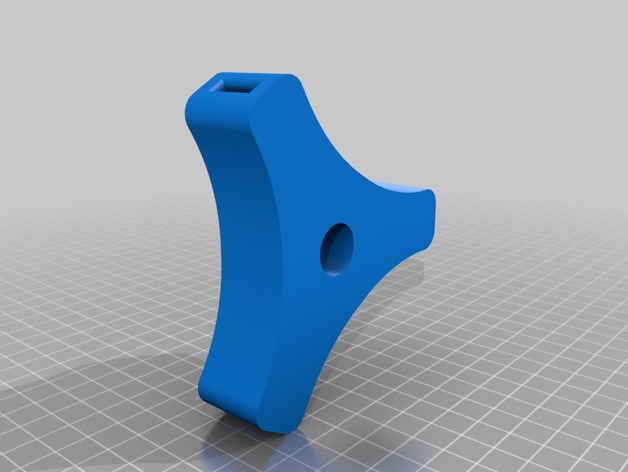
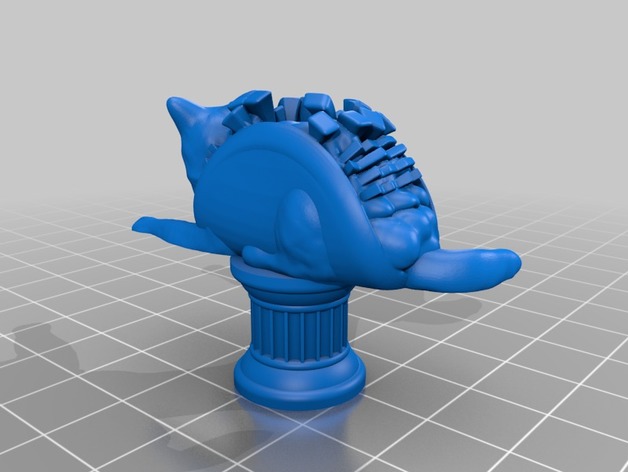
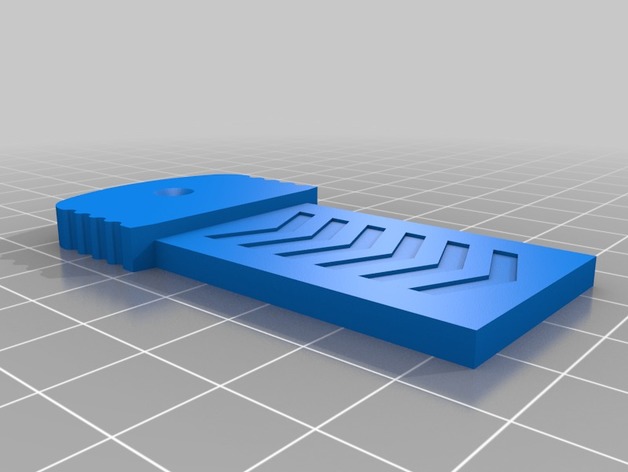
I recently purchased a used Proform C42 treadmill model PCTL2932.0 which did not come with the safety key needed to run it, so I made this one.
I also made a clip to attach to my clothing while using the treadmill, and connected it to the key via a string. With this, if i fall or otherwise leave the treadmill during use, the safety key will be removed from the treadmill bringing it to a stop.
Author: Thingiverse
-
JAL- Treadmill safety key and clothing clip for Proform C42 model PCTL2932.0 3D Print Model
-
dragonfly lamp 3D Print Model
Summary
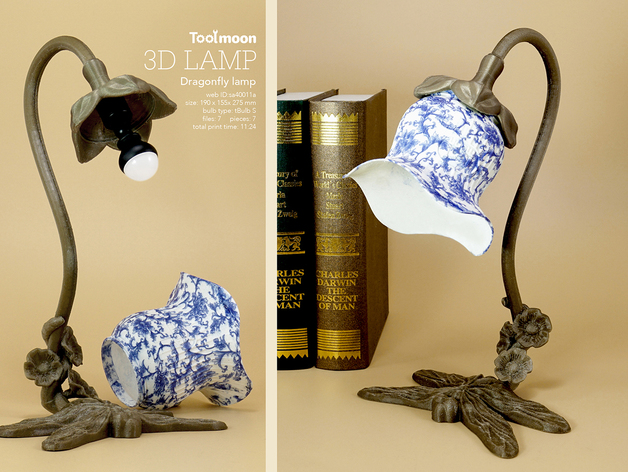
id : sa40011a7
name : dragonfly lamp
size : 190 x 155 x 275 mm
files : 7
pieces : 7
maximum size of the component : 273 x 85 x 27 mm
total print time : 11h:24m
raft : yes
support : no
Applicable Bulb type : tBulb S
Instructions :
1.lampshade infill 100% , Best results
2.Can be used with lampshade http://www.toolmoon.com/lampshade-model.htmlhttps://youtu.be/Zum2mgSkSBY -
Vesa Spacer 100mmX100mm 3D Print Model
Summary
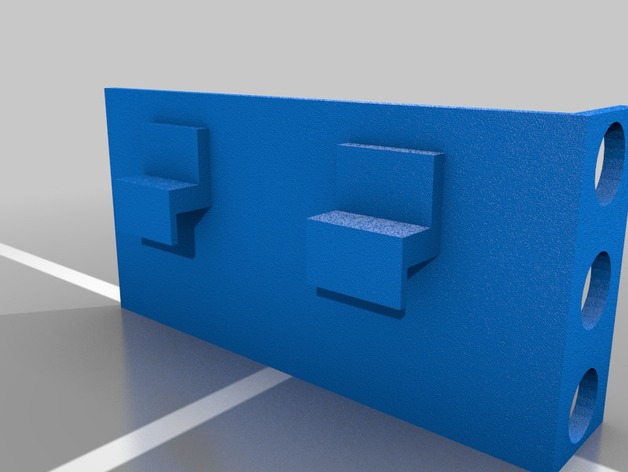
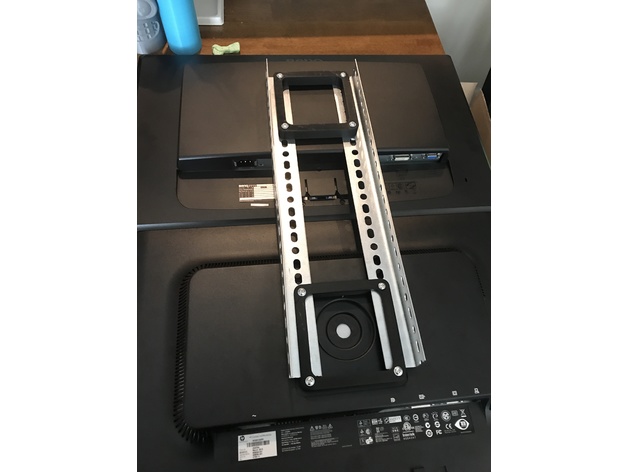
Basically I needed a spacer that was more than just tubes. So I drew this up using free cad. Its easy to make it different thicknesses just turn off uniform scaling and move the z up and down as you need.
feel free to remix. Its a bit of a long print and uses some plastic. I needed it to be structurally substantial not just a spacer.
Having all 4 hole connected made installing it a lot easier than if you have for separate tubes.
Print Settings
Printer Brand:
Wanhao Printer:
Wanhao Duplicator i3 V2 Rafts:
No Supports:
No Resolution:
what every you feel like. I did 0.2 Infill:
50% more than that takes a long time. Notes:
The resolution walls and infill are all up to you it really doesn’t matter for successful print. What matter is where and how you are going to use it.
I did 4 walls, 50% infill, @ 0.2. My printer struggles with 0.3
How I Designed This
Free cad
this one is simple. The spec is 100 x 100 mm on center.
1 Make a square that is 120 x 120 mm and center it on the X Y plain
2 Place holes 100 x 100 MM centered on x Y plain.
3 Pocket square I think 80 X 80 or maybe 90 x 90
4 Fillet inside corners and outside corners 10 mm fillets. -
6x RJ45 mount 3D Print Model
Summary
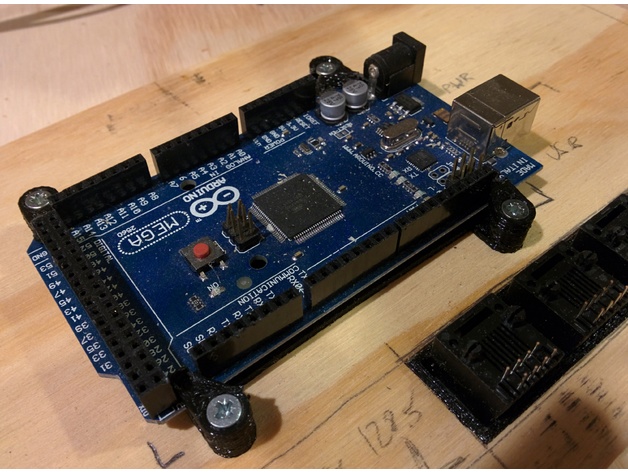
For my Ramps 1.4 box this bank of RJ45 plugs is used for the stepper and endstop cables. Each cable feeds only one stepper with two leads for each connection. Pressure fitted into the box and the connectors into the mount.
-
Soda Can Crusher 3D Print Model
Summary
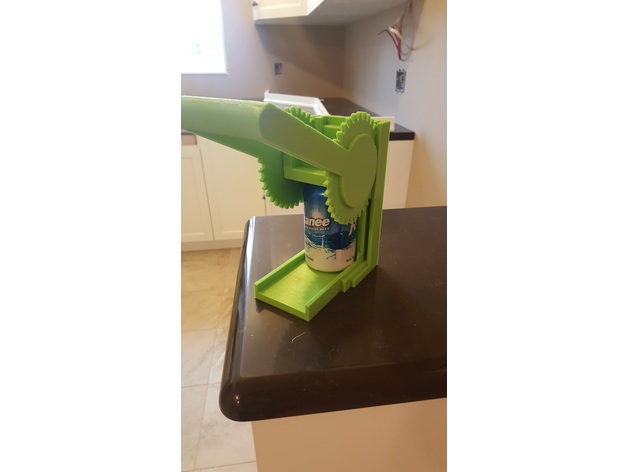
This actually works. I usually just slightly dent the side of the can before crushing, because it makes it a LOT easier to crush. There is no reason to print the Can, it is just included to help visualize where it goes.
This was sized to almost exactly fit the size of my print bed. I had to print the handle with the gears vertical, and the handle laying down (at an angle) in order to fit it. Some of the teeth didn’t print properly, but those teeth were not actually used.
I didn’t mark this as configurable yet, as I have only ever tried the one set of settings.
This requires two ball bearings where the handle/gear meets the top piece that slides up and down. You will have to measure the bearings that you are using to make them fit, the dimensions are in the .scad file.
When assembling the unit, insert the handle such that the handle is almost horizontal when on an uncrushed can, you need the leverage. (not the way it shows in the file).
Also make sure to lubricate the top slider using vaseline or grease.
It does not crush the can as flat as some can crushers, it basically gets it down to about 20-25% of the full size.
Each part was taking 15 hours to print, and I got bored with waiting so did not do a lot of experimenting with slightly better designs. Please give it a try, make some modifications/derivatives and insert comments.
I had fun making it, I hope you enjoy it.
Print Settings
Printer Brand:
FlashForge Printer:
Creator Pro Rafts:
No Supports:
Yes Resolution:
0.2 Infill:
30 Notes:
Support needed for Lever only because of the gear teeth.
I printed with 3 outside layers for strength.
The bottom piece was modified for extra strength as it broke right at the corner in initial testing. -
Ball bearing suport – 625z 3D Print Model
Summary
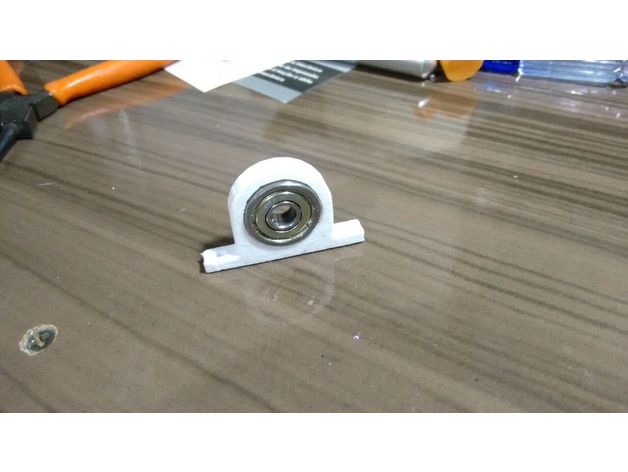
Ball bearing suport.
Print Settings
Printer Brand:
Prusa Printer:
Prusa Mk1 Rafts:
Doesn’t Matter Supports:
Yes Infill:
25% -
B-Bot Probe test 3D Print Model
Summary
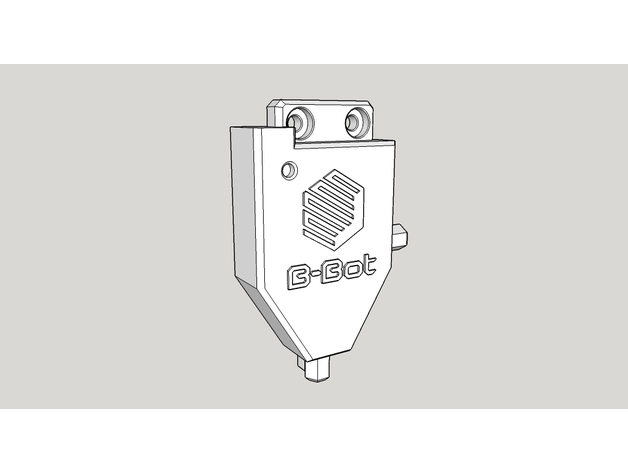
Printable installation test for B-Bot Probe with holder and jamb. -
Kayak paddle holder 3D Print Model
Summary
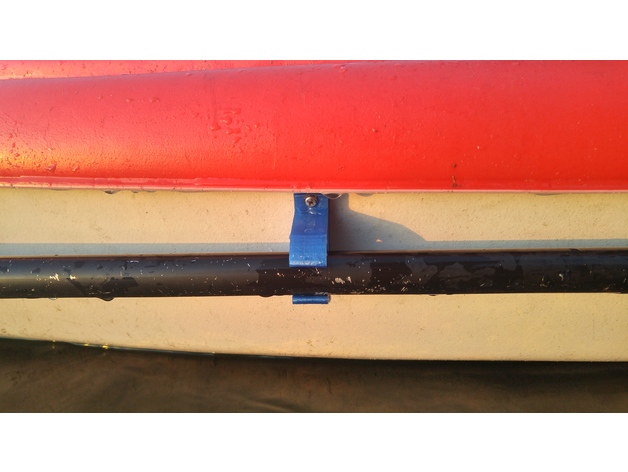
I bought this kayak paddle holder (black) from Canadian Tire and it broke at the first use (split from the bonding line). It is molded in 2 pieces and bond together. I modified the design cut the opening bigger for screw easy access. It works beautifully. It is printed in a piece therefore it won’t break like the last one. Printing time about 7 hours.
Print Settings
Printer Brand:
Wanhao Printer:
Wanhao Duplicator i3 V2 Rafts:
No Supports:
No Resolution:
0.2 Infill:
100% Notes:
I am using T-Flex filament
How I Designed This
Modify commercial design sold from Canadian Tire -
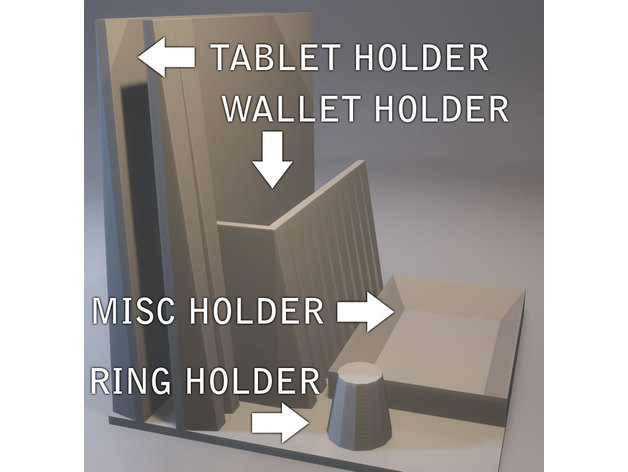
Daily Organizer (fully customizable scad) 3D Print Model
Summary
A basic organizer for EDC objects.
I had found myself piling common items I carry every day from work on top of my shelf.
I decided to make a customizable holder for these items instead.
You can customize the
organizer size
tablet thickness
wallet holder size
ring inner and outer thickness
note Scad file requires https://www.thingiverse.com/thing:220868
Print Settings
Printer Brand:
Wanhao Printer:
Wanhao Duplicator i3 Plus Rafts:
Doesn’t Matter Supports:
No -
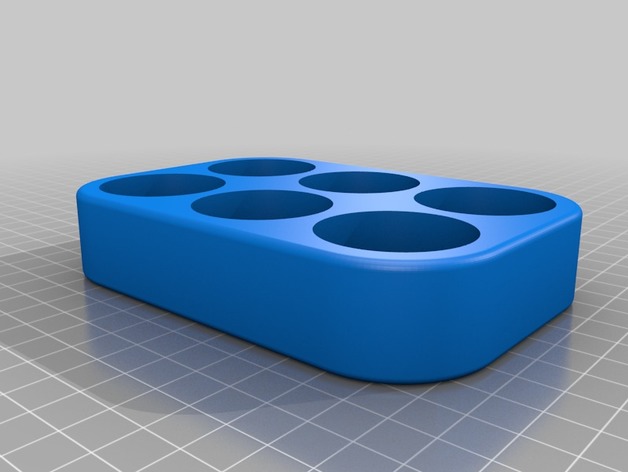
Paint bottle tray 3D Print Model
Summary
For MR.Color 10ml. bottle
Print Settings
Printer Brand:
RepRap Printer:
RepRap Kossel Rafts:
No Supports:
Yes Resolution:
0.2 Infill:
20% -
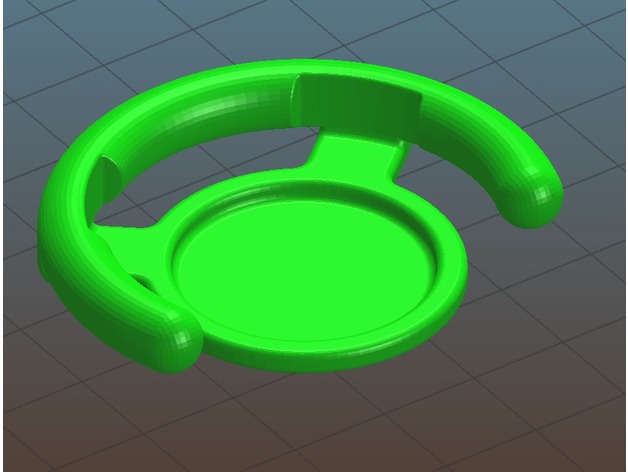
PopClip for PopSocket 3D Print Model
Summary
Modeled this after one as close as I could to the real thing for a buddy who needed an extra one. I’m still new to the 3D Printing world but do a lot of modeling in Fusion 360 and MasterCam for my day job.
Printed this one with a 90% infill because I couldn’t get my slicer to do a 100% infill without a lot of gaps for some reason. It does work as it should with the PopSocket platform. Can provide a .step file if anyone would like to make some modifications.
Print Settings
Printer:
Qidi Tech X-One Rafts:
No Supports:
Yes Resolution:
.1 Infill:
90% -
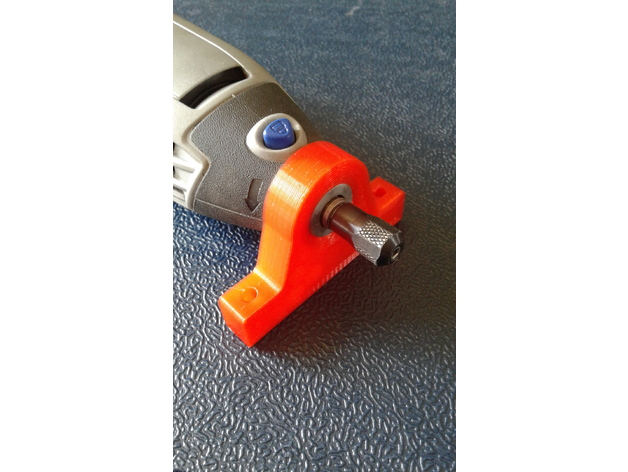
Dremel 3000 thread on holder. 3D Print Model
Summary
Tried a couple on here and they didn’t work or were too weak. When tight the buttons on your Dremel also point out which is pretty important. I posted the SketchUp file too so you can mod it as needed. It’s manifold and prints flat. Enjoy!
Print Settings
Printer:
Monkey Shit Fight Rafts:
No Supports:
No Resolution:
.2 Infill:
50 or better Notes:
Brim, 5 perimeters, 50% or more fill -
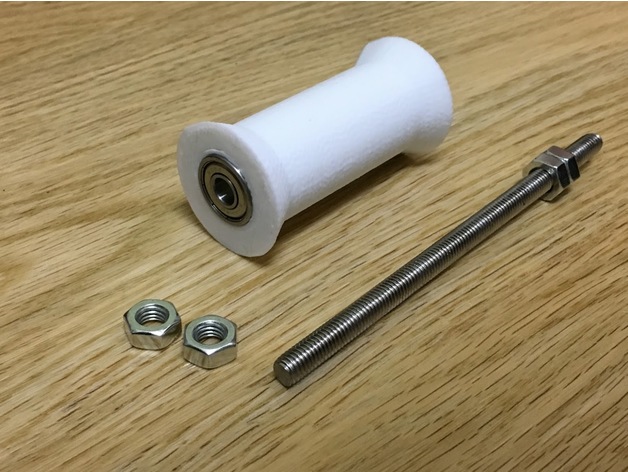
Anet A6 Spoolholder(w/608 bearing) 3D Print Model
Summary
Anet A6(DIY Kit) have a default spoolholder that is not smooth, not built with bearing.
So I build spoolholder with two 608 bearing.
Print Settings
Printer Brand:
Prusa Printer:
Prusa Clone Rafts:
No Supports:
No Resolution:
0.3mm Infill:
30% or any Notes:
Printed with Anet A6 printer
Post-Printing
After printing, Indentate two 608 bearing at both side. -
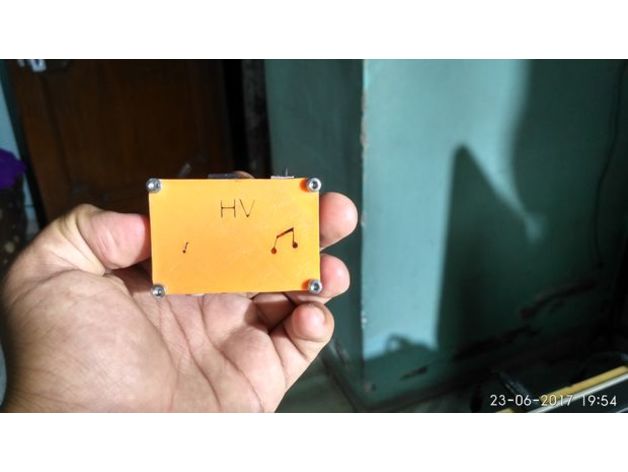
DIY Awesome Mp3 Palyer 3D Print Model
Summary
Check Here for full guide :-https://www.instructables.com/id/DIY-AWESOME-MP3-Player/
Also check my blog for more stuff:-
hardiqv.blogspot.com
Print Settings
Printer:
Anet A8 Rafts:
No Supports:
No Resolution:
0.2 Infill:
100% Notes:
No. of shells = 2
No. of bottom layers = 3
No. of Top layers = 3
Infill = 100%
Layer Height = 0.2
How I Designed This
I designed this in Fusion 360 -
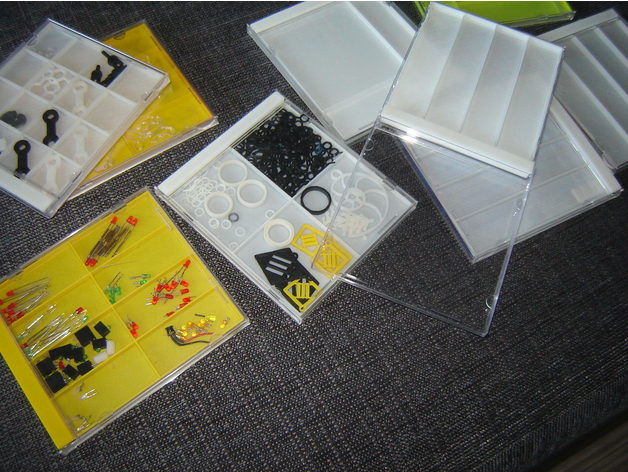
compartment box to CD Jewel case 3D Print Model
Summary
Compartment box designed into CD Jewel case. STL files are ready for case with 4 booklet holders with 9 compartment cobinations.
I made additional 5&6th (booklet) holes and vertical / horizontal boxes in source FreeCAD file. You can combine it freely. -
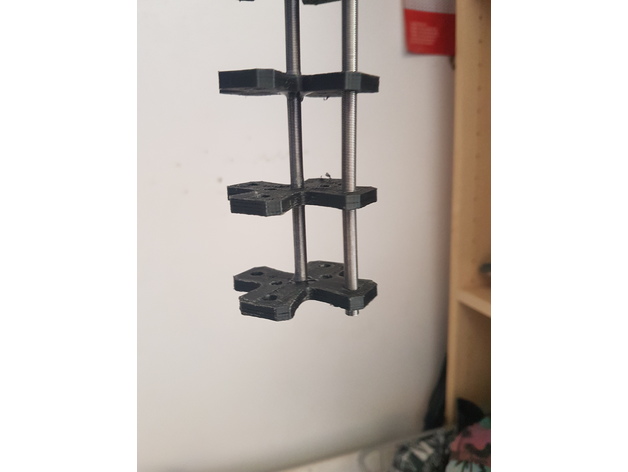
Tentacle Arm Plate 3D Print Model
Summary
Plate for tentacle arm
Print Settings
Printer:
CTC Rafts:
Yes Supports:
Yes Resolution:
0.2mm Infill:
10% -
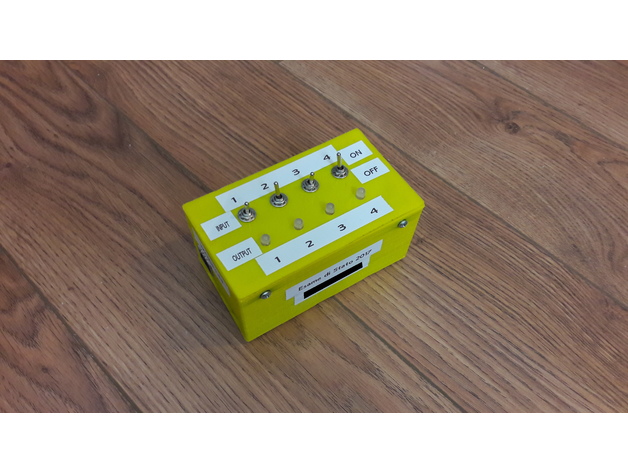
Box/Case for Arduino DUE and ethernet Shield with 4 I/O 3D Print Model
Summary
This is an demonstration box for arduino with ethernet shield.
With this device it is possible to simulate 4 inputs (4 LED two-color) and 4 outputs (4 switches).
If you install the POE (POE 802.3af) module, you can also power the module with an Ethernet cable.
I have designed this thing because i have to demonstrate how to integrate a diy domotic system (arduino) with Asterisk for the state exam of 2017.
You can find my source code (which allows you to control arduino with a web page) on my site.
It is very easy to build:
1, print 2 parts of the box
2, mount: arduino – ethenet shield – poe module
3, install 4 leds and 4 swithes
4, cannect led and arduino swings with wire and panel
5, put arduin inside the box and attach it with some hot glue
6, close the box and secure the cover with 4 screws
7, upload your code
8, show how it works !
This is only for arduino DUE but if you whant you can “remix it” for any other board 😉 -
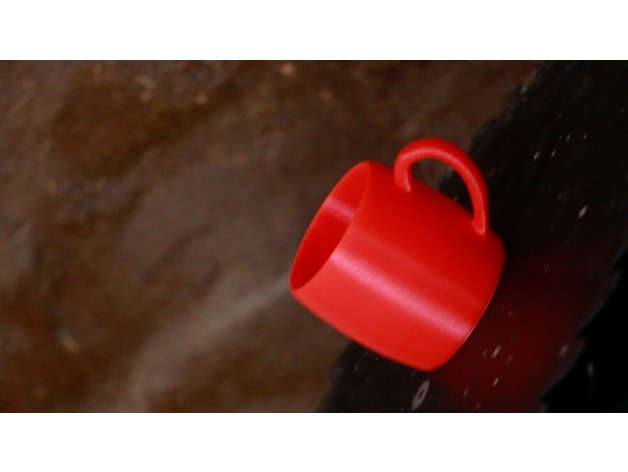
Kitchen Cup/Mug/Glass 3D Print Model
Summary
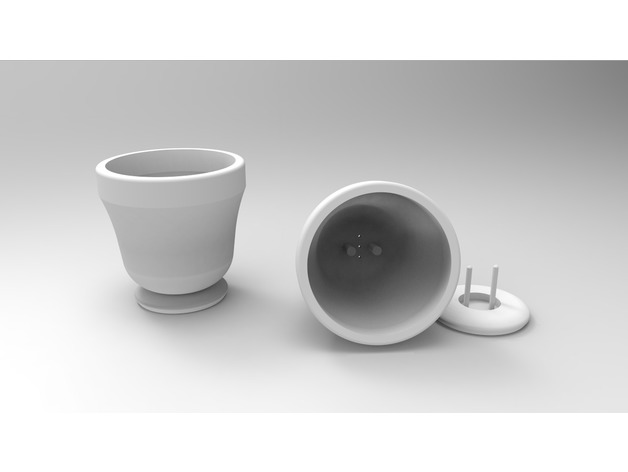
This model was made with Blender. It’s a bit small but you can make it any size you want!
Make it as big as your printer can make! X-)
Hope to see you make It!Custom Section
-
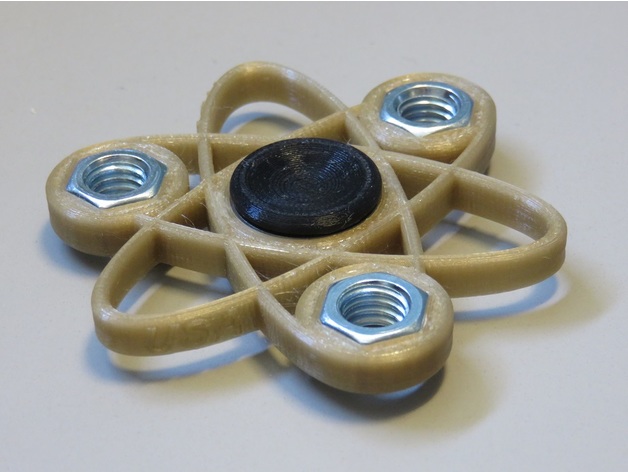
Atomic Nut Spinner 3D Print Model
Summary
Atomic themed spinner. This one fits smaller hands. For bigger hands try my Atomic Bearing Spinner.
Insert a 22 mm skate bearing 608xx and 3 3/8 inch nuts. Fix them in with superglue.
Add a pair of Super Bearing Caps or your favorite caps to finish it off.
Print Settings
Printer Brand:
FlashForge Printer:
Creator Pro Resolution:
0.20 mm or finer Infill:
25% -
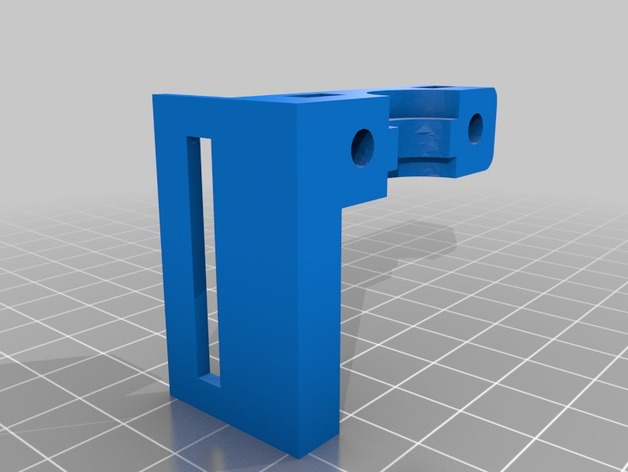
Raiscube R2 E3D Clone Mount, Clamp, and Parts Cooler 3D Print Model
Summary
Parts to upgrade Raiscube R2 to an E3D clone. -
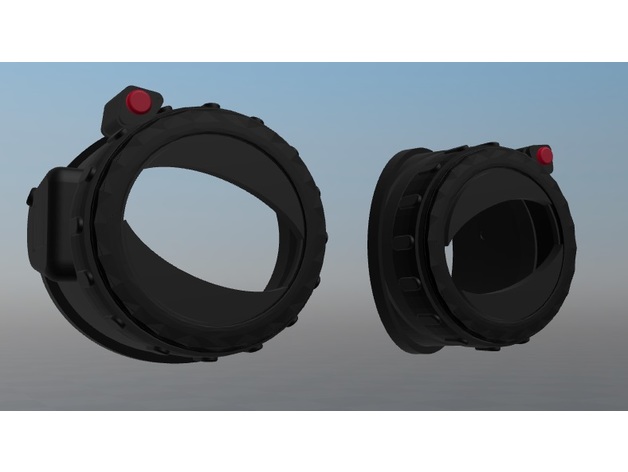
Spiderman Homecoming Goggles 3D Print Model
Summary
this is not done yet but thought id get is up ive been workinging with it for a few days.
it is curently set up to use a peice of filiment for the cable on the side to the sensor.
all parts should print as is with some supports -
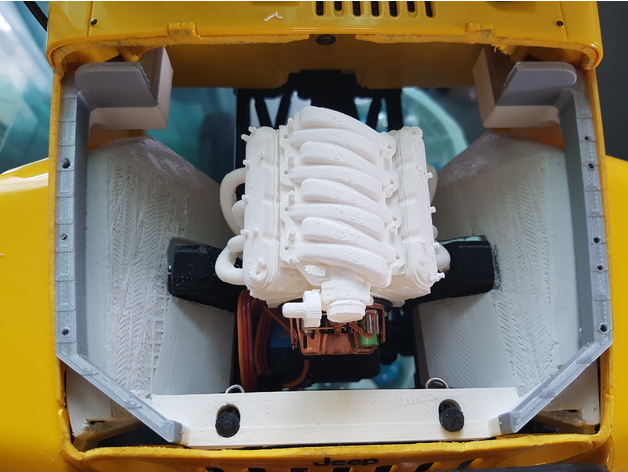
1:10 Scale Engine 3D Print Model
Summary
This is a work in progress
All printed using PLA with the following settings:
Exhaust Manifold—>0.25 nozzle, 0.06 layer, 80% infill (no support), adhesion Brim only
Cylinder Head and Intake Manifold —> 0.4 nozzle, 0.15layer, 20% infill
Block (Motor mount) —>0.60 nozzle, 0.15 Layer, 20%infill
Print Settings
Printer Brand:
Ultimaker Printer:
Ultimaker 2 Rafts:
No Supports:
Yes Resolution:
0.06~0.15 Infill:
20%~80% -
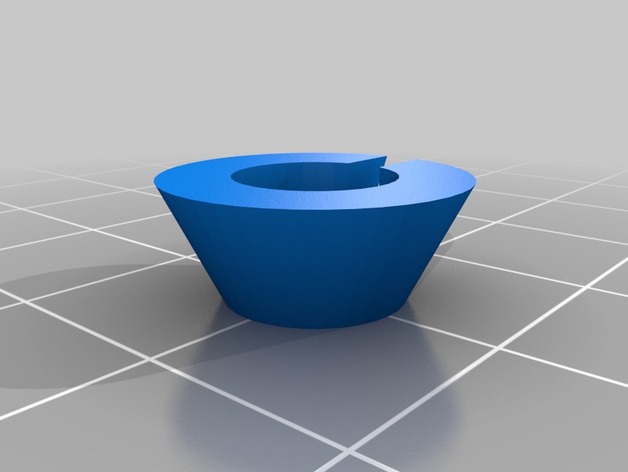
Fijación eje 8mm 3DE 3D Print Model
Summary
Soporte para eje 8 mm
Post-Printing
Soporte
Soporte
How I Designed This
Soporte
SoporteCustom Section
soporte
soporte -
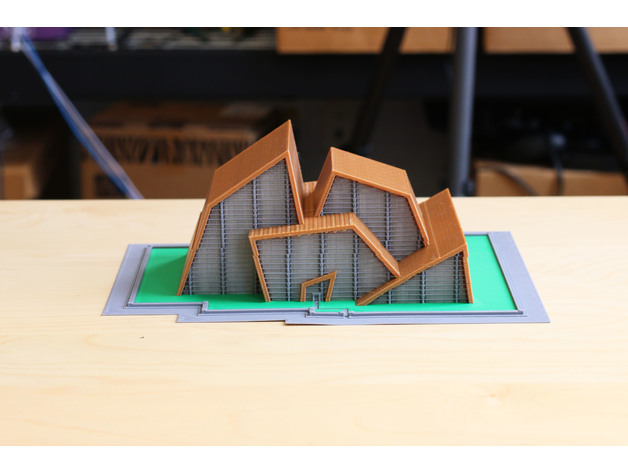
Nordic-Inspired Multi-color Architectural Model 3D Print Model
Summary
This architectural model’s sharp peaks were inspired by a Scandinavian golf club and Canada’s Mount Rundle, while the thickness and space of the scaffolding in the glass was inspired by Isaac’s Lightfield Building.
We’ve also included the Simplify3D Factory File to show exactly how this was sliced (10% infill, no top/bottom layers on the Windows.stl model) and the original Inventor file for those who have the software and want to mess with the model.
Inspired by:
Mount Rundle: http://static.thousandwonders.net/Mount.Rundle.original.11855.jpg
Scandinavian Golf Club: http://c1038.r38.cf3.rackcdn.com/group1/building5531/media/vhli_scandinavian_golf_club_kontraframe_01.jpg
Isaac’s Lightfield Building: https://cults3d.com/en/architecture/lightfield-building
Print Settings
Rafts:
No Supports:
No Resolution:
0.2mm Infill:
10% Notes:
2 shells (but no top and bottom layers on the Windows.stl)
We printed this at about 25 cm x 20 cm x 10cm -
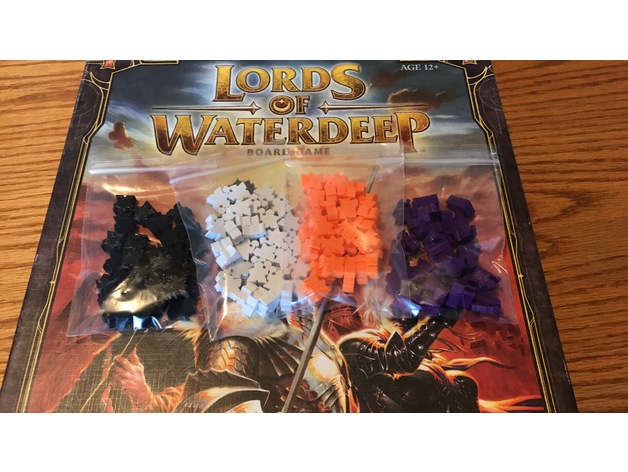
Lords of Waterdeep meeples 3D Print Model
Summary
I liked the meeples by maboulton. They were the closest to the wooden parts I bought many years ago. I separated them into individual files and scaled them to match the size of the wooden ones that I have. -
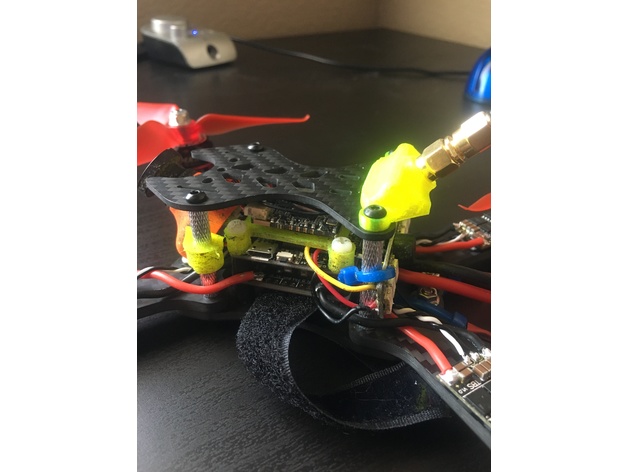
RDQ Mach 1 Video Antenna Mount 3D Print Model
Summary
This is specifically for the unify pro pigtails but you may be able to modify it to accept different pigtails.
Print Settings
Printer:
Prusa i3 MK2 Supports:
Yes Resolution:
0.2 Infill:
20% Notes:
Print takes about 20 min at 60 mm/s. I use Sainsmart TPU. -
HandSpinner pour le Concour (MERCI EASY3D) 3D Print Model
Summary
Merci à EASY3D pour le concour d’un HandSpinner
Post-Printing -
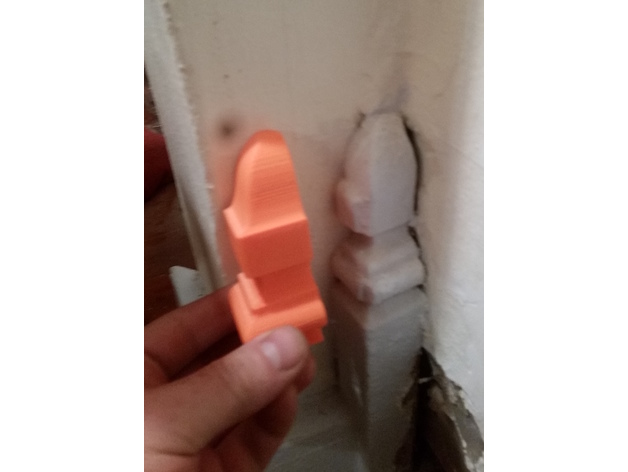
Baseboard trim corner decoration 3D Print Model
Summary
Roughly 1-3/8 inches wide, 3-3/4 inches tall. Designed to be stacked on a wooden base. We cast multiples from plaster, but any number could be printed and painted. -
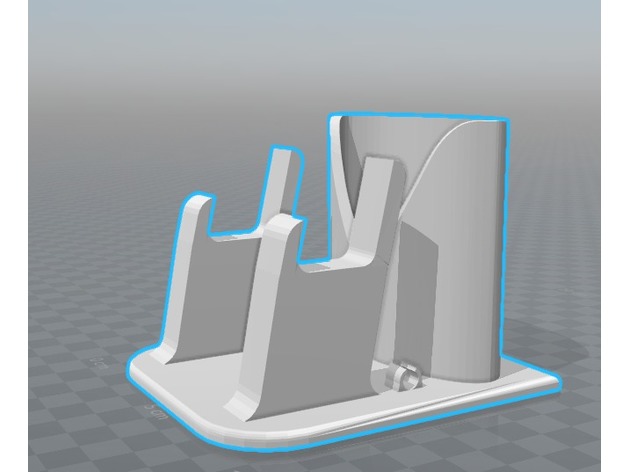
Small Phone dock and Desktop organizer 3D Print Model
Summary
Just a smaller version of other project.
As I don’t write paper notes, and don’t use any pens, I just adapted it for me.
Print Settings
Printer:
Clone3D Rafts:
Doesn’t Matter Supports:
No Resolution:
2.5 ~ 3.5 Infill:
25~50% Notes:
If you want to write something on it’s base, just as I, Use a smaller resolution.
Feel free to remix this project, since I haven’t had any further ideas to increase it.
How I Designed This
Windows 3DBuilder fast remixing project ~1hour -
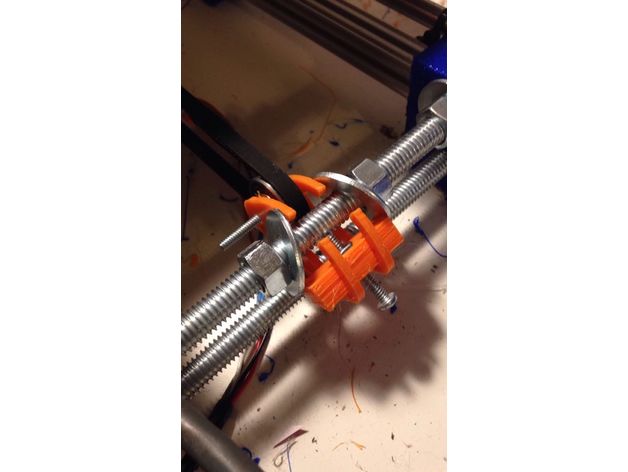
Idler no remove 3D Print Model
Summary
This is a remix of https://www.thingiverse.com/thing:461824 but with holes in the side part so that you can install it without having to remove the y-axis frame and take it all apart. Instead just tilt them to the side, slip them in, and then screw it all together! -
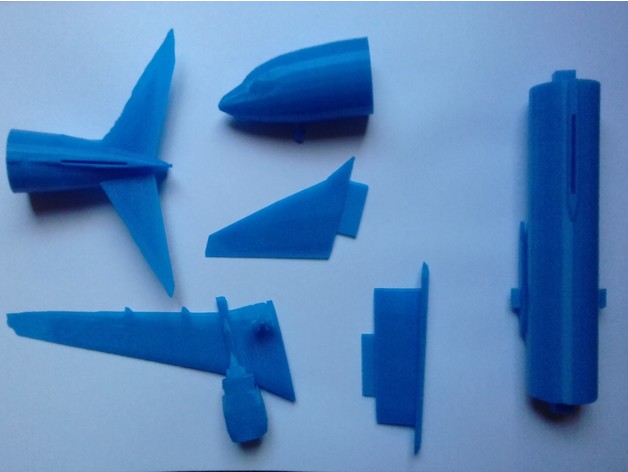
E7A Wedgetail Aircraft 3D Print Model
Summary
E7A Wedgetail Early Warning Aircraft Model. It is split into pieces with alignment keys / slots for easy printing and reconstruction. The orientation and scale how you print I will leave to the user as every printer is different. See my printer settings for what I did.
Print Settings
Printer Brand:
Wanhao Printer:
Wanhao Duplicator i3 V2 Rafts:
No Supports:
Yes Resolution:
0.2 Infill:
20% Notes:
You will need to scale down to 20% for my Wanhao. I orientated all the parts so they stand vertically except for the radar which you can decide on the best way to print.
Depending on your printer you will need to customise some supports. The undercarriage is the trickiest part of the model to get right and not break off. Note that the wings have some small non manifold areas that I could not easily repair but it does not change the print.
Post-Printing
All the pieces should just slot together. Add glue and you have yourself a E7A Wedgetail Model.
How I Designed This
This model was built from a VRML model that I had. I have fixed areas that were too thin to print and obviously split the model into parts for easy printing. I added the slots and keys to make alignment and gluing easy. Have fun and let me know how your build goes. -
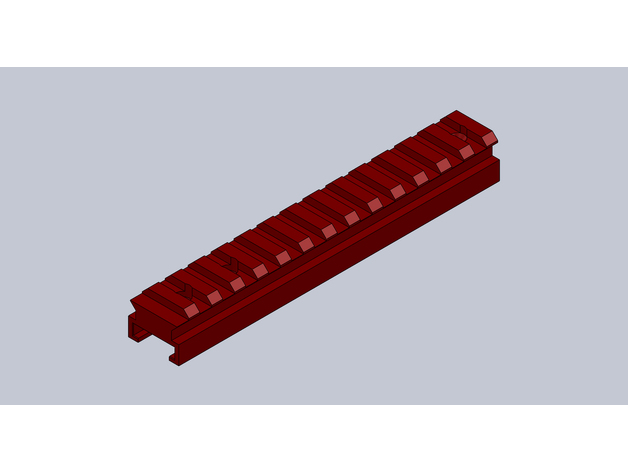
Nerf Stryfe Top Gun Rail 3D Print Model
Summary
“top run rail Part B.STL” Needs 2x M3 8mm Countersunk Screws you can Tap the holes with M3 Taps but i would suggest you don’t just screw them into the plastic.
“top run rail Part A.STL” Needs 2x M3 8mm Countersunk Screws you can Tap the holes with M3 Taps but i would suggest you don’t just screw them into the plastic.
Both parts can be bolted together with one 15mm M3 countersunk Screw.
This is designed to fit the Worker “Front Tube Adapter for Stryfe” Picture shown… -
AAA Battery Case 8×4 3D Print Model
Summary
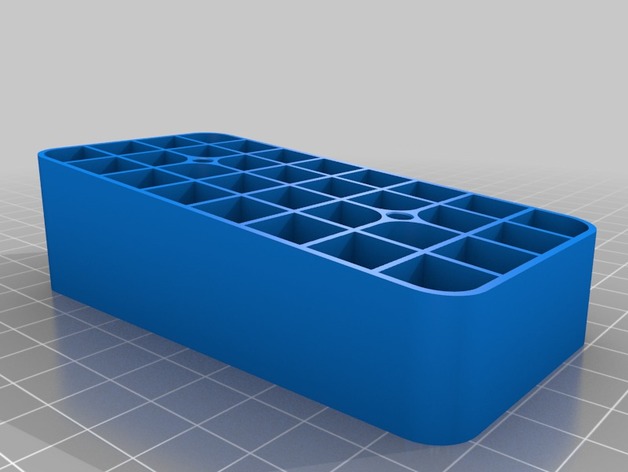
This is a battery transportation case that can hold up to 8 packs of 4 AAA battery cells.
I based my design on the following battery case adding some improvements: http://www.trpscale.com/miniz/product/discharger-trp-battery-box-jonathan-version/The cells have bigger space to rest. It will be possible to put cells with an adittional label.
Space for 4mm diameter/4mm height magnets: printing 2 cases and adding the magnets, you will be able to create a completely close case for perfect tranportation.
Print Settings
Printer Brand:
Deltaprintr Printer:
Deltaprintr Kit Rafts:
No Supports:
No Resolution:
0.2 Infill:
10 Notes:
1.2mm bottom and walls. -
Transformers CW Posable Hands 2.0 Knuckles (remix) 3D Print Model
Summary
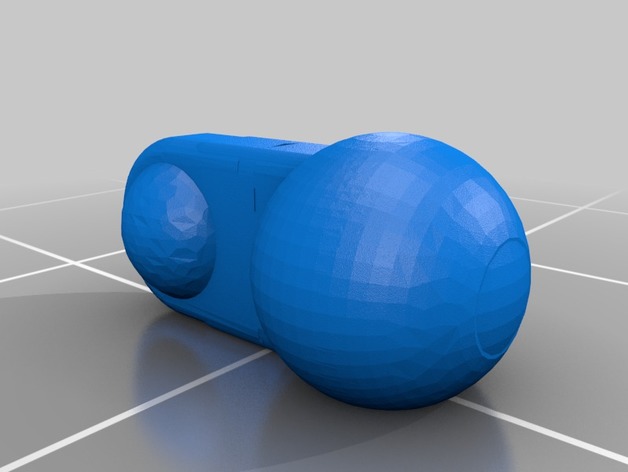
This is a simple remix to re-orient the ball-joint version of the first knuckle on the fingers and thumbs of the Combiner Wars hands made by Sickofyou. The vertical orientation led to parts that would sheer off and cause breakage, while laying them vertically should produce greater durability and the ability to handle a little more force applied.
I used Tinkercad to orient the parts, move the flat spot of the ball joints to the side it rests on, and reinforce the issues with the mesh caused by importing it into Tinkercad. Print with the same settings you would use for the originals! -
Stl_Import 3D Print Model
Summary
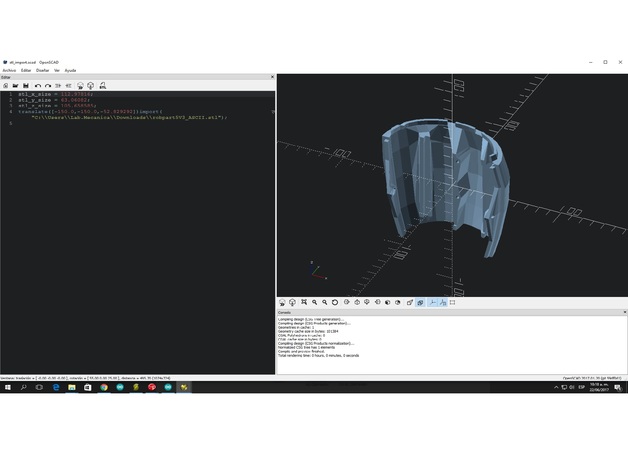
This is a Processing based utility that imports an ASCII stl file into OpenScad in the center of OpenScad´s space, also, it give us information about the size of the model -
Slim spinner 3D Print Model
Summary
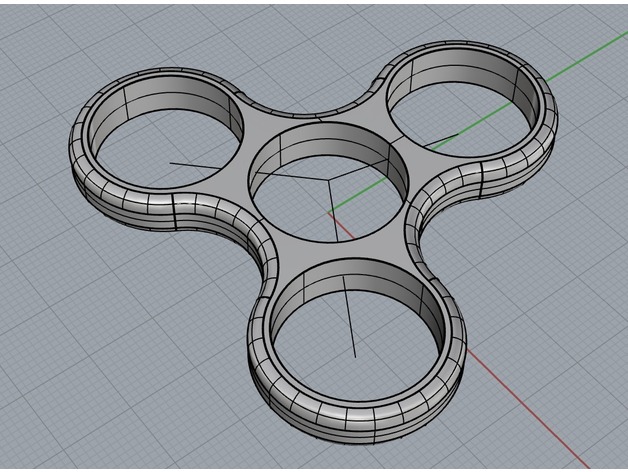
I wanted a minimalistic spinner to carry in a pocket.
this is as small I dared to go with the risk it will break at my first drop.
Print it as solid your printer can without the material shrinking the holes. -
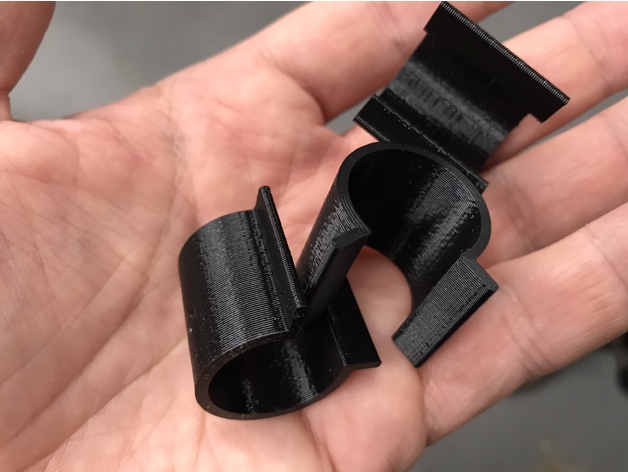
1/2 inch pvc pipe clips 3D Print Model
Summary
These are clips for 1/2 pvc pipe. They are used to clip 4mil plastic sheeting to the pvc to make a simple enclosure. Inspired by the MatterHackers article below.
https://www.matterhackers.com/news/how-to-build-a-3d-printer-enclosure
Print Settings
Printer Brand:
Prusa Printer:
Prusa Mk2 Rafts:
Doesn’t Matter Supports:
No Notes:
I printed them with no infill so they would not be too stiff to click onto the pipe. -
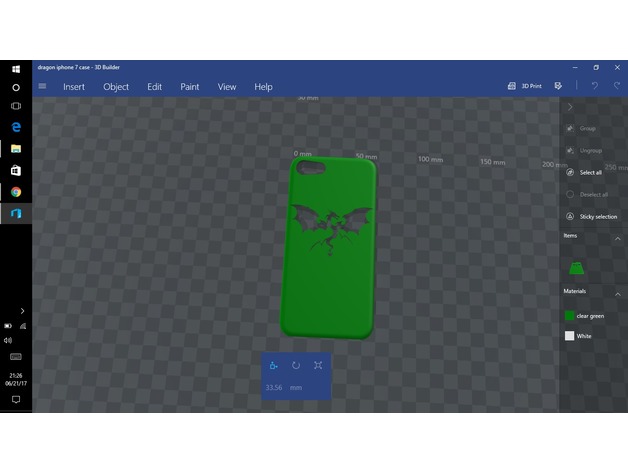
iphone 7 dragon case 3D Print Model
Summary
I wanted to make a new phone case since mine is starting to fall apart so i found a iphone 7 snap case and used the extrude and subtract tool in 3D builder to punch a whole in the back. I’ve always had interest in dragons and if you do to then here you go.
How I Designed This
i designed this using “3D Builder” on my pc. -
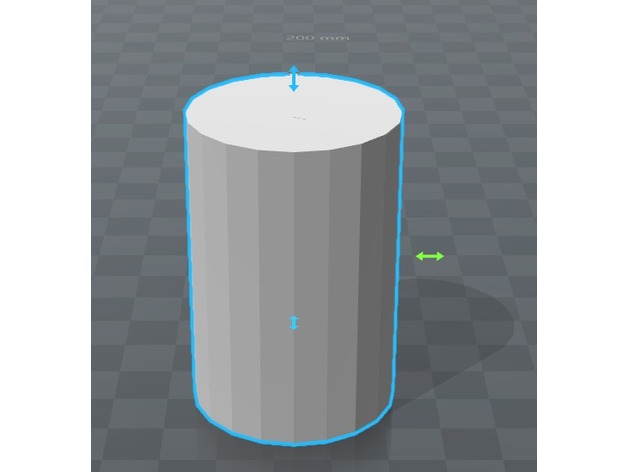
Tardis_Tea_Candle_Stand 3D Print Model
Summary
This is a stand that will allow a standard electric tea candle to be held to the top of the tardis and light up the top. -
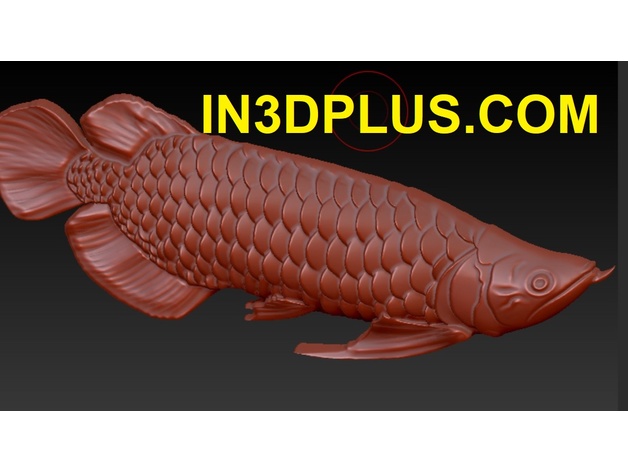
Dragon Fish 3D Model 3D Print Model
Summary
For the file is too large. I uploaded it onto Sketchfab, you can download it too!
This DRAGON FISH was designed in ZBURSH.
Right now, its very hard to make it by FDM 3DPRINTER. I suggest using 3DPRINTING SERVICE ( SLA, DLP, SLS…)
MÔ HÌNH CÁ RỒNG 3D, MẪU THIẾT KẾ CÁ CẢNH 3D
View 3D FILE: https://skfb.ly/68OGn
Shared by: Dịch vụ máy in 3D : https://in3dplus.com
Print Settings
Printer:
MÁY IN 3D PLUS Rafts:
Yes Supports:
Yes Resolution:
0.1 Infill:
10 Notes:
I havent printed it yet! Try out! -
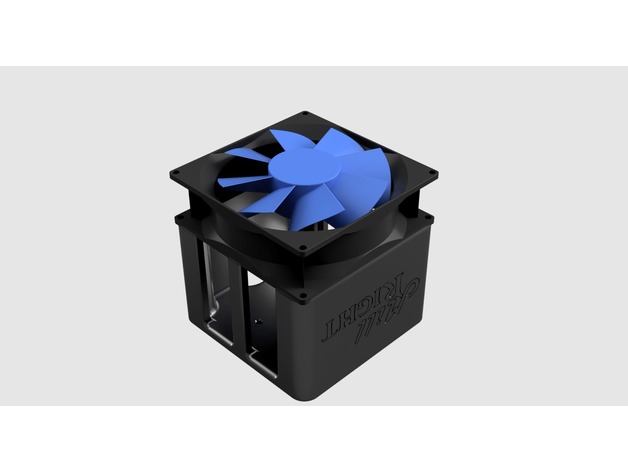
Enclosure for Arduino Stepper Controller Shield (MillRight M3) 3D Print Model
Summary
An enclosure for the Arduino Shield Stepper Controller for the MillRight M3 CNC Machine. -
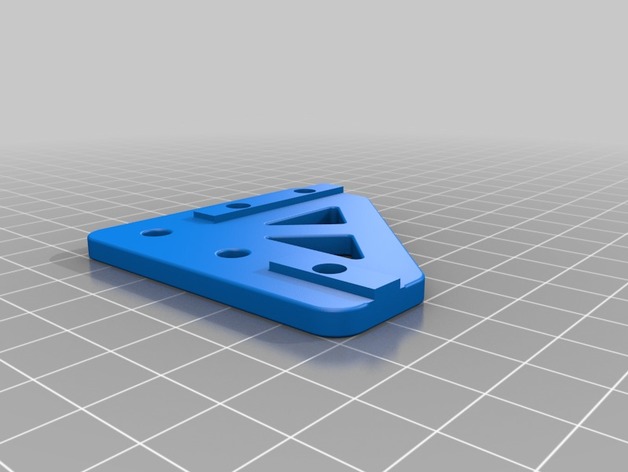
T-slot Re-D-Bot (for rails+rods kit) 3D Print Model
Summary
6mm slot
Also check:
T-slot rod Z axis modhttps://www.thingiverse.com/thing:2393319
T-slot linear rail upgrade kit https://www.thingiverse.com/thing:2394696 -
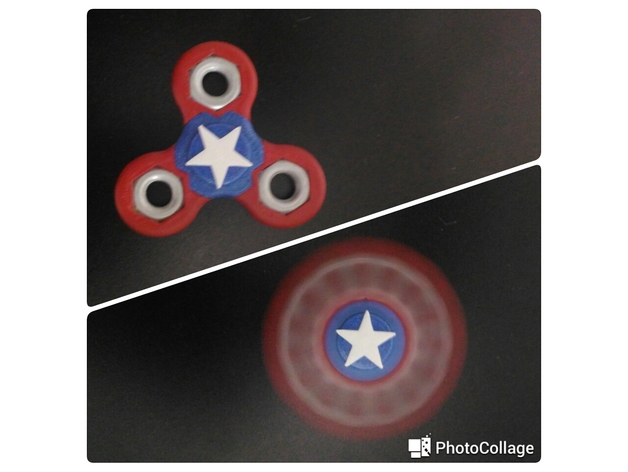
Spinner Capitão América Modelo Tradicional 3D Print Model
Summary
Eu colo a parte azul com super cola
Contra porca M12 -
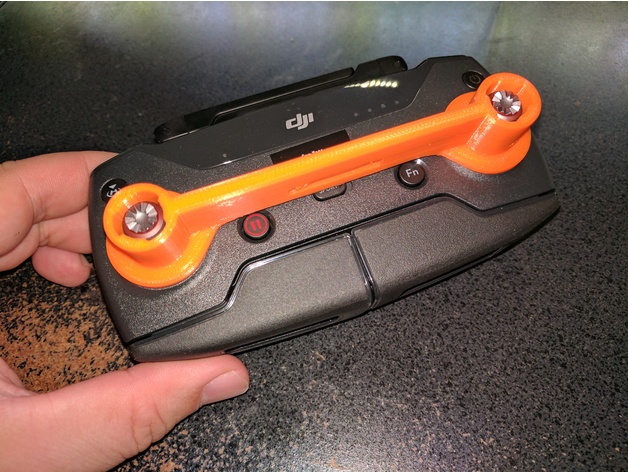
DJI Spark Remote Stick Guard 3D Print Model
Summary
Stick guard for your DJI Spark remote. Flat disks to stabilize both sticks and a raised center to avoid contact with the buttons. The slot in the center can be used to further secure the guard with a velcro strap. It might be possible to use this for a Mavic remote as well as (the distance between the sticks should be the same for both) but I have not personally tested this on a Mavic remote.
Print Settings
Printer:
Qiditech 1 Rafts:
No Supports:
Yes -
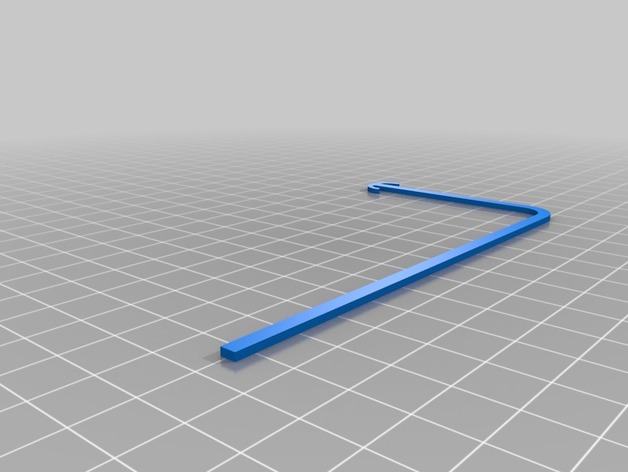
Gone Fishin’ Pole 3D Print Model
Summary
A replacement fishing rod for the game Gone Fishin’
Enjoy!
Print Settings
Printer Brand:
MakerBot Printer:
MakerBot Replicator (5th Generation) Rafts:
Doesn’t Matter Supports:
No Resolution:
.2mm Notes:
Optimized for .4mm nozzle -
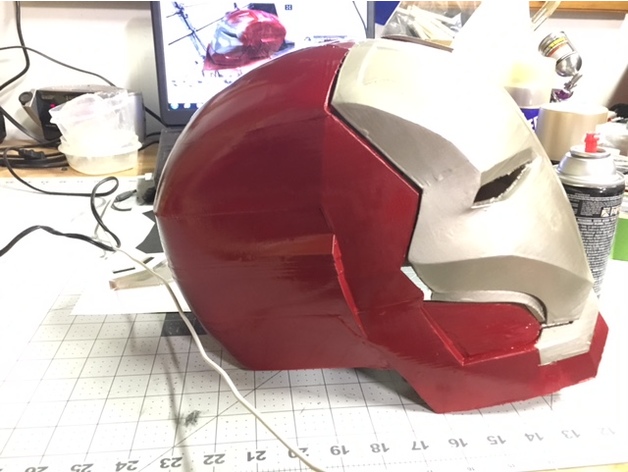
Iron Man Mark 46 Helmet (Civil War) 3D Print Model
Summary
I just recut Killonious STL file to 7 pieces. hardly any Support is needed. started print on Friday night and was finished by Sunday evening.
Print Settings
Rafts:
No Supports:
Yes Infill:
.2 -
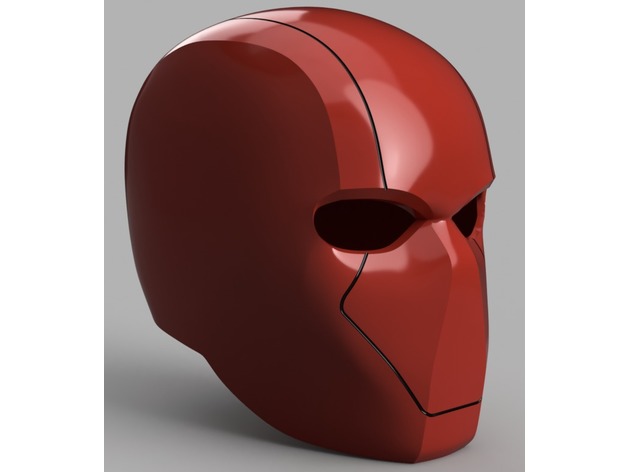
Red Hood Helmet (Batman) with Details 3D Print Model
Summary
So after I posted my previous Red Hood Helmet, I was asked if I could add the details to the helmet. So here they are. Enjoy.
This helmet is sized for an adult male. Please check PDF file for dimensions. Units are in millimeters. -
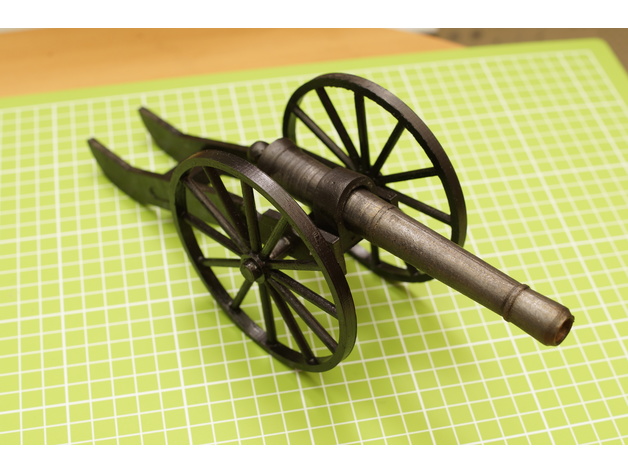
Constructor gun 3D Print Model
Summary
I create a series of prefabricated 3D printed constructors. Currently, three ready-made designers are ready. In this article I will talk about the national team gun. The purpose of the project is the development of 3D printing for educational purposes.
The printing material is white PLA. The reason for choosing the material is simple:
low shrinkage. And since the elements of the designer should be approached to each other without fitting, shrinkage is the most important factor.
Excellent adhesion. Since the cannon itself is printed standing upright, a good adhesion of a small area is extremely important. However, you can still print only with the raft.
Safe.
The advantage of printed constructs is obvious.
Low cost price
you can select the desired scale
a fascinating process of printing and assembling the designer.
The cannon consists of eight parts. You can collect both on glue and without it. To paint details (if there is a desire) it is desirable still in the disassembled kind.
Print Settings
Printer:
Picaso PRO250 Rafts:
Yes Supports:
No Infill:
20% -
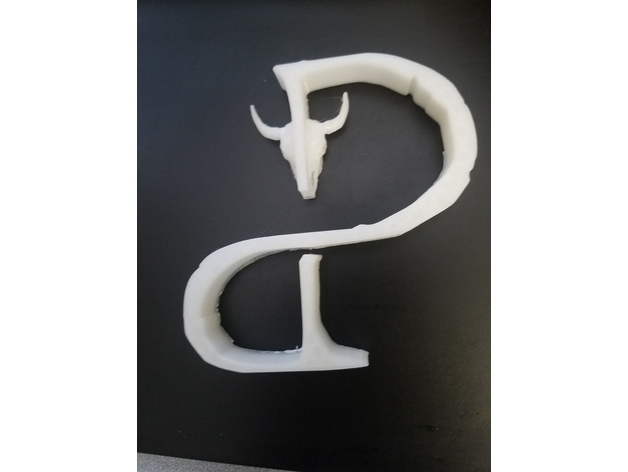
Dally Down Roping Logo 3D Print Model
Summary
Printed this for a friend of mine that does roping in the High Desert in California.
Print Settings
Printer Brand:
FlashForge Printer:
Finder Rafts:
No Supports:
Yes Resolution:
Standard Infill:
20% -
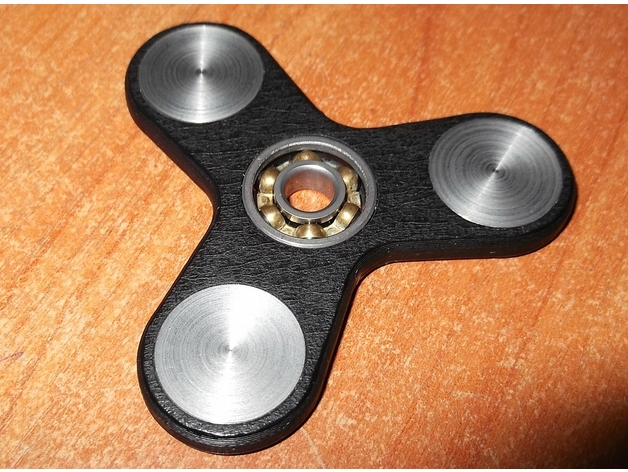
NEW 3D-model Hand Spinner 3D Print Model
Summary
Reinforced version of the spinner.
Bearings 607 (according to GOST 17) 19×6 mm. Weights are steel pentaks of the same size.
This is my first spinner which I did and I really like it!
You can also download this model and print it out for yourself! I’m always happy to share something new!
My work was done on a 3D printer called Prusa I3 3D Printer (https://goo.gl/hdP131). -
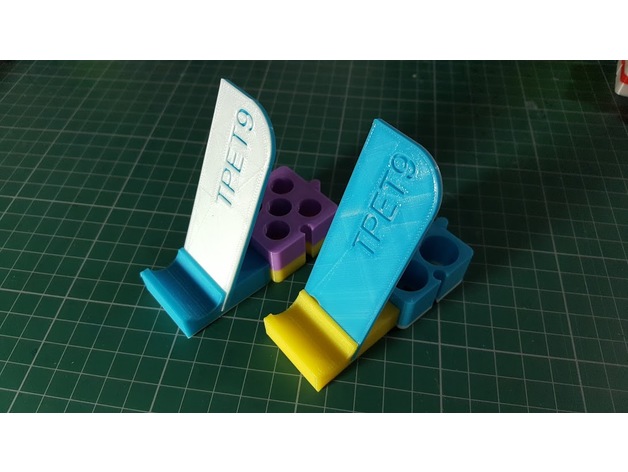
hand-phone holder with latch 3D Print Model
Summary
This is a hand phone holder with latch. With this you can combine with other latch. -
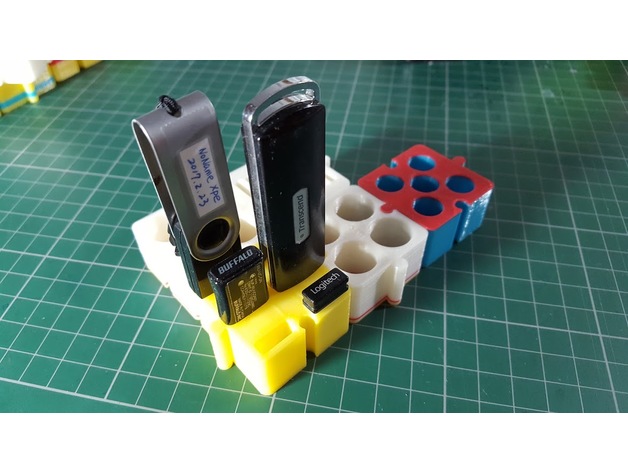
USB holder with latch 3D Print Model
Summary
USB設備越來越多,很容易變得凌亂,這個USB holder可以容納6個USB,如果不夠,可以再接一個,再多USB也不怕亂。 -
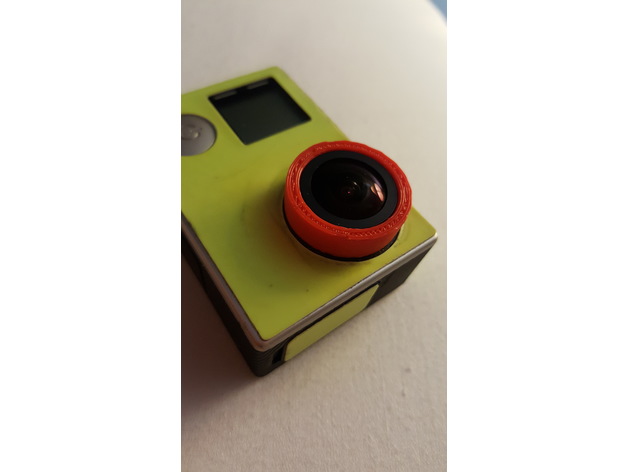
Gopro Lens Ring 3D Print Model
Summary
I made this because the plastic ring around my gopro lens broke in half. So my options were to spend $15 on amazon or go through the process of sending it in and getting a new gopro. This might require a little bit of sanding to get it to fit just right. I would say print at 100% infill just so its more durable. -
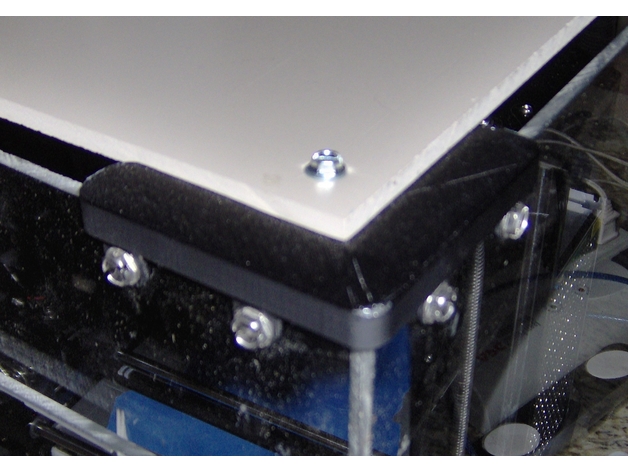
Corner brackets for printer enclosure, two widths 3D Print Model
Summary
Top and bottom brackets for two thickness’s of material. Top has a shelf for top material. Post acts as a support for shelf when printing. -
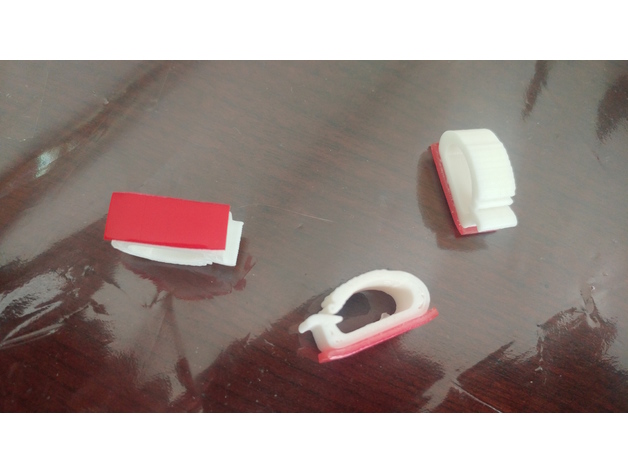
Cable Clamps 3D Print Model
Summary
Clamps snap closed with finger pressure and can be released with a quick twist of a screwdriver blade or your finger. Just add an adhesive-backed foam mounting pad for allows the clamp to be applied quickly to almost any clean, smooth and grease-free surface.
I also add 3DM file for (rhinoceros) in case someone wants to change anything.
Print Settings
Printer Brand:
FlashForge Printer:
Creator Pro Rafts:
No Supports:
No Resolution:
0.2 Infill:
15 -
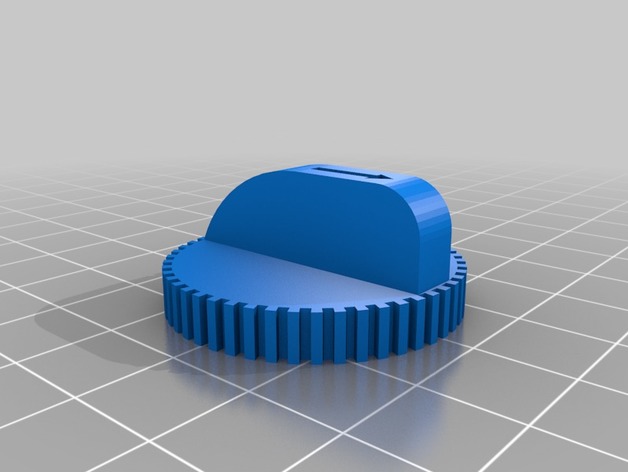
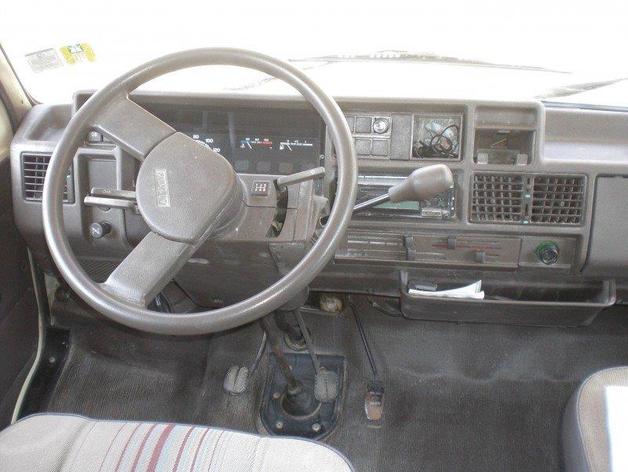
Pontiac Grand Am Air Control knob 3D Print Model
Summary
This should work with a few grand am’s because I believe a lot of there air flow knobs are the same. I made the hole a little small due to the tolerances of my printer so you may need to make it slightly bigger if it does not fit. Other than printing with no supports print settings shouldn’t matter. -
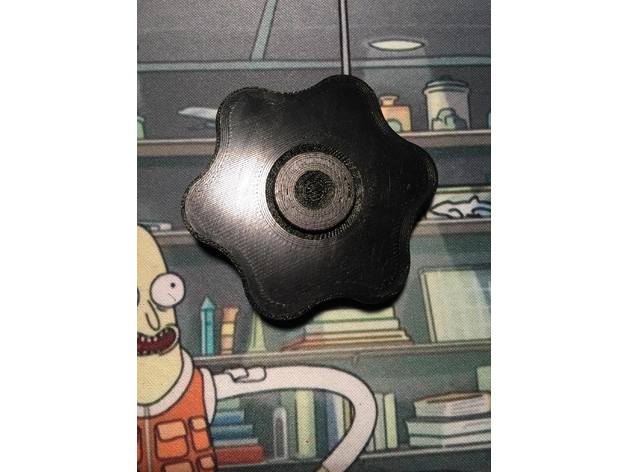
Print-in M8 Fidget Spinner 3D Print Model
Summary
Designed to fit a 608zz bearing and 6 M8 hex nuts.
This fidget has the hex nuts inside of the print, so in order to get them in you must have your printer stop the layer before it begins covering the hex nuts. I recommend printing at a 0.2mm layer height and stopping it the layer before it begins to fill over the nuts, the height at which this occurs is 8.4mm. I achieved this by separating the process into two using Simplify 3D, however you can achieve the same effect using another slicer by editing the gcode to add in a pause at that layer. Make sure you push the nuts all the way down, they should fit nicely and the nozzle shouldn’t touch them when the next layer begins.
Enjoy!
Print Settings
Printer:
Micromake D1 Rafts:
No Supports:
No Resolution:
0.2mm Infill:
30 Notes:
Feel free to show your support by tipping me with bitcoin:
1QaLWG5rsPkLyCriwrX6DQonhbXRbEqK1 -
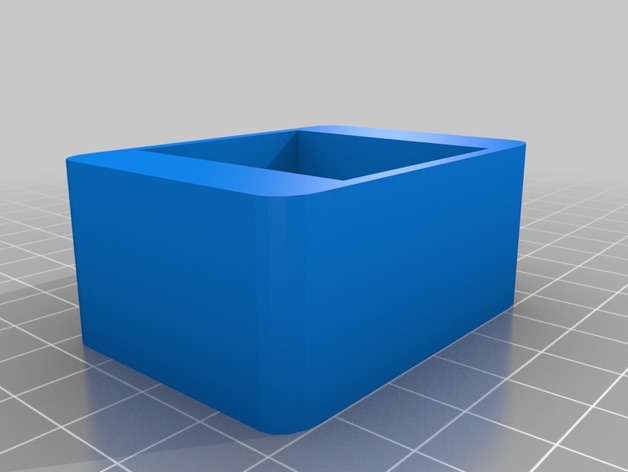
XWING TMG TIE Advanced Bin (Harbor Freight) 3D Print Model
Summary
Remix using RbRoss’s TIE Advance Blank. -
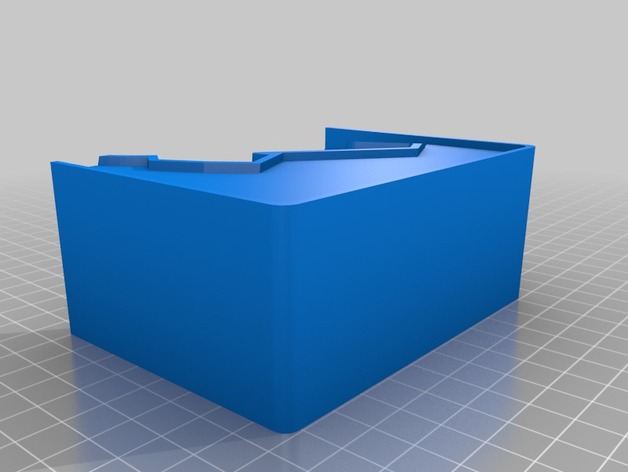
XWING TMG Millenium Falcon Bin (Harbor Freight) 3D Print Model
Summary
Split Bin Remix of RbRoss’s Amazing Falcon Bin.
My Print bed isn’t large enough so I had to split it in half like the decimator bin I made. -
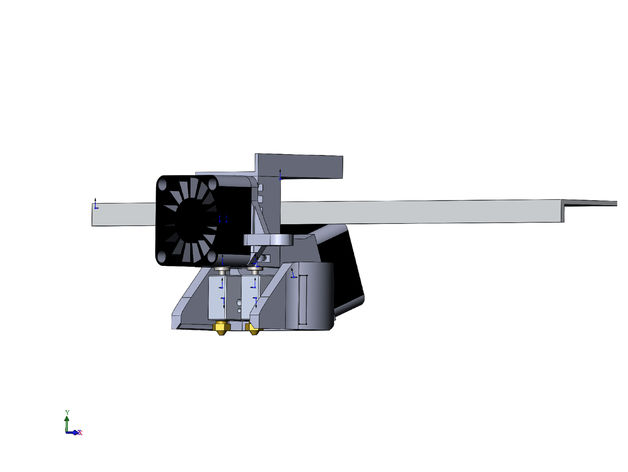
FAN holder for ZAV hotend (chimera) with volcano 3D Print Model
Summary
Model ONLY for ZAV hotend
It’s beta version. Not tested yet V0.1.
You can test it and write comments
Print Settings
Printer:
ZAV Rafts:
No Supports:
No Resolution:
0,2 Infill:
20 Notes:
I print it without support -
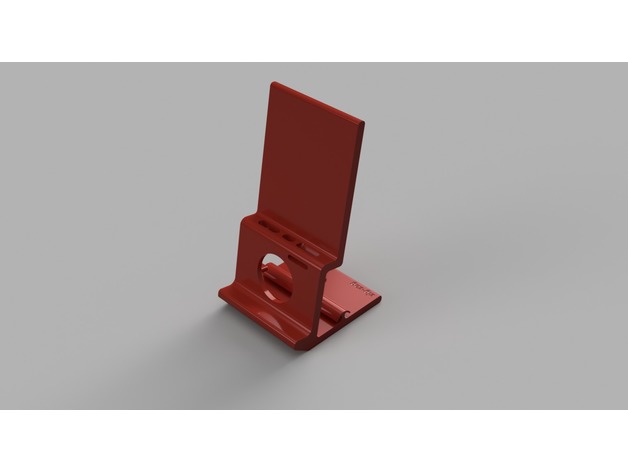
Zigzag- iPhone and Apple Watch table stand 3D Print Model
Summary
Hi folks,
yes, I know, is boring to have ANOTHER iPhone and bla bla stand, and that almost 90% of the ones that we print are a good for a couple of days…but, this one is going places 😉
Zigzag comes from my disappointment that all the stands only focus in one thing: hold the d… phone/watch and charge it. Ok, is fair enough, but nobody thinks about the f… cables! (unless I am de only one around here how still charges his devices with cables).
I have a obsession agains cables. I hate so much that the cables of all my electronic devices are always a salat, and that no stand/holder takes consideration about this; so after years of suffering an idea came to my mind: “Hey, you are a mother*** designer, so design one!”. So I did it.
Zigzag tries to work on the cable problem mentioned above, and tries to do it in a elegant and simple way. Still is needed to say that this is a prototype (that works) but that is still to be refined, so I upload also the original 3D files to adapt it to your phone size (in this case is modelled for an iPhone SE), make the cable holder bigger, rounder, etc… So feel free to work on it, and as me, to feel the exciting sensation of a “less messy” cable salat at home 😉
Print Settings
Printer Brand:
Ultimaker Printer:
Ultimaker 2 Extended Rafts:
No Supports:
Yes Resolution:
100% Infill:
20% Notes:
Made with Fusion 360 -
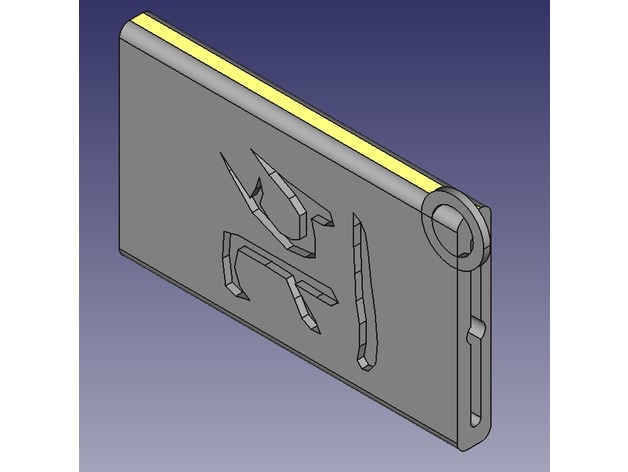
razor blade case necklace 3D Print Model
Summary
this is a razor blade case necklace or keychain or also a charm , the words written on the sides are pain and death in japanese
Print Settings
Printer Brand:
RepRap Printer:
RepRap Kossel Rafts:
Yes Supports:
Doesn’t Matter -
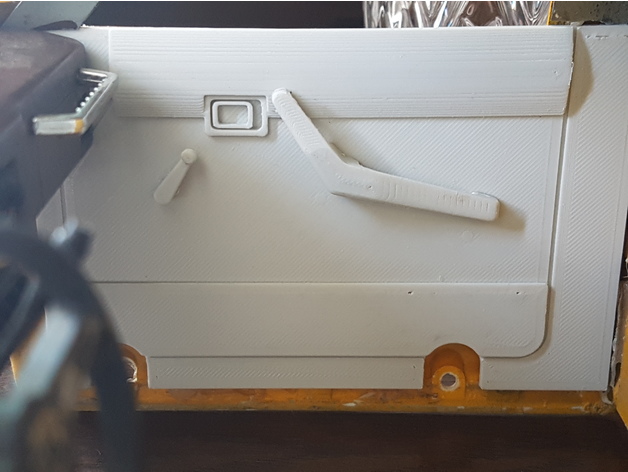
Toyota 1/10 interior door panel 3D Print Model
Summary
Use mirror feature on Cura for the pairing part -
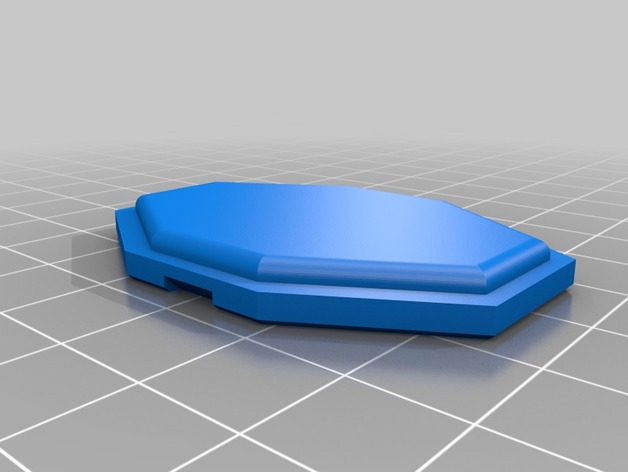
7mm Smol Drone 3D Print Model
Summary
This drone is designed for the e011 flight controller or anything smaller and 720(7mm by 20mm) motors. Can fit propellers 68mm or lower. -
Lucky Pig Bobble 2 3D Print Model
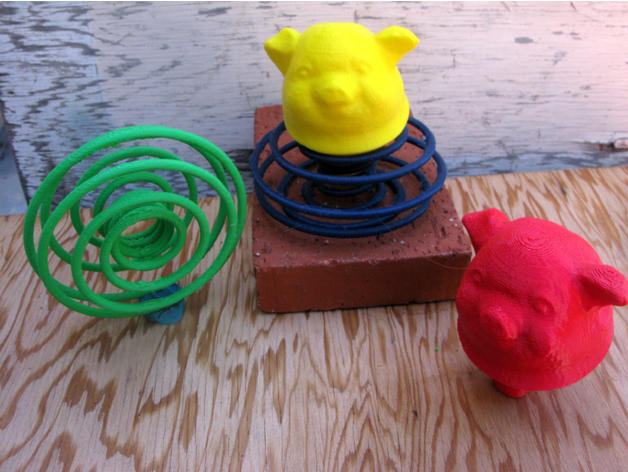
Summary
A second lucky pig bobble – see thing:1828478. The bobble is composed of two parts that print more readily than the original. A recursive curve is used as a spring. The bobble was designed to work when printed in PLA but adjustments can be made for other materials.
The spring was calculated using the program included with thing:2377518 – Closed Recursive Curves. The input parameters were: 5,10,4,180,2,17,0,1,0,2,bobble_base.stl”. The final “2” in the list is the radius of the spring – 2 mm. To make a stiffer spring increase the radius to 2.5 mm.
Print Settings
Printer Brand:
MakerBot Printer:
MakerBot Replicator (5th Generation) Rafts:
Yes Supports:
Yes Resolution:
0.3 mm Notes:
The spring needs support; the head can be printed without support. -
Runcam Mini low profile mount 3D Print Model
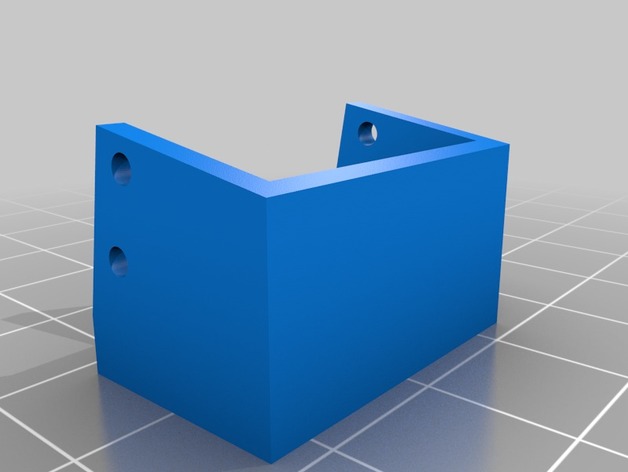
Summary
I made up a quick 10 deg. low profile camera mount for the Runcam Swift mini. This was in tandem with the Runcam mock up I did to test fit the setup.
This is the file I used to make this mount.https://www.thingiverse.com/thing:2391750
Print Settings
Printer Brand:
LulzBot Printer:
TAZ 5 Rafts:
Doesn’t Matter Supports:
Doesn’t Matter Notes:
scaled up the mount 1.02 in cura andit fit the camera great
How I Designed This
This was drawn in Autodesk Fusion 360http://shop.runcam.com/runcam-swift-mini/ -
Metallica DIBUJO 3D 3D Print Model
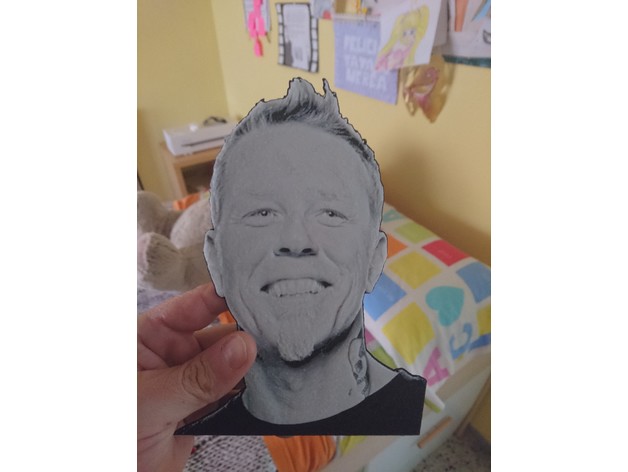
Summary
Dibujo 3d James Hetfield
Imprimir las 10 primeras capas con filamento negro
de la 11 hasta terminar en filamento blanco…
respetar la altura de capa
0.2 mm la primera capa
0.1 mm la altura de capa
100 % relleno
velocidad 45 mm/s máximo
boquilla 0.4 mm
DRAWING 3D James Hetfield
Print the first 10 layers with black filament
From 11 until finished in white filament …
Respect layer height
0.2 mm the first layer
0.1 mm layer height
100% filler
Speed 45 mm / s maximum
Nozzle 0.4 mm
3dlito -
Pool Robot Water Outflow Nozzle 3D Print Model
Summary
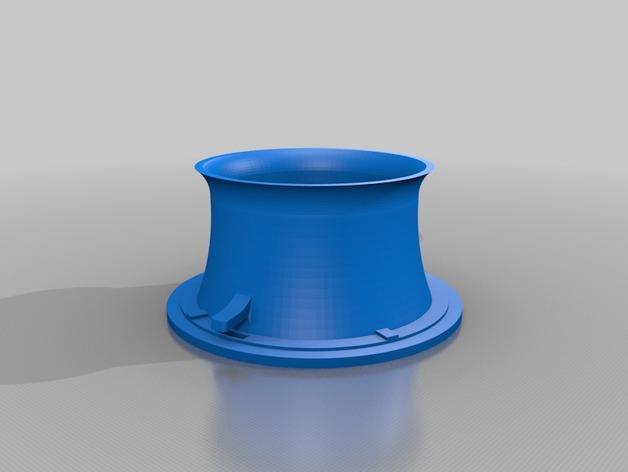
This optimized water outflow nozzel was designed to improve water throughput of the Maytronics DOPLHIN Dynamic Plus pool cleaning robot. Especially cleaning steep walls, the robot has to provide good suction which directly depends on its flow rate.
I designed the part with Sketchup, sliced it with Simplify 3D and printed it with a German RepRap X400 Pro printer. I finally came to PLA (black colored due to better outdoor resistance compared to semi-transparent PLA) after four flops with ABS (warping).
Print Settings
Printer:
German RepRap X400 Rafts:
No Supports:
Yes Resolution:
0.22 mm Infill:
25% Notes:
Printed with 1.75 mm PLA (Black) by German RepRap with a 0.4 mm Nozzle.
Nozzle temp was 193°C, heated bed temp was 58°C.
First layer speed reduction set to 20%. Default printing speed was set to 2000 mm/min. Layer thickness was set to 0.22 mm.
I used a brim (1 layer) with 15 turns.
Thin walls were prohibited to be filled with infill.
Three outline perimeter were used. Printing time was about 4 hrs (exclusive preheating machine).
Post-Printing
Optimized water outflow nozzle for Maytronics pool robot DOLPHIN Dynamic Plus
In order to improve water thoughput of the robot for more efficient cleaning I re-designed the original part with a slightly longer tube with funnel shape. In opposition to the original part this new design encloses the propeller entirely. Due to the higher tightness between propeller and outflow an better flow guiding, an improved water throughput can be assumed.
First 5 testruns of the robot looked very promising.
Presumably this thing could fit also for other Maytronics pool robots.
How I Designed This
Made with Trimble (Google) Sketchup
The part was fully designed by the help of Sketchup Pro 2017. Difficulties with the bended blades inside the funnel were solved by the very helpful plugin “Bezier Surface”. -
Cyclone PCB Modified Electronics Cover 3D Print Model
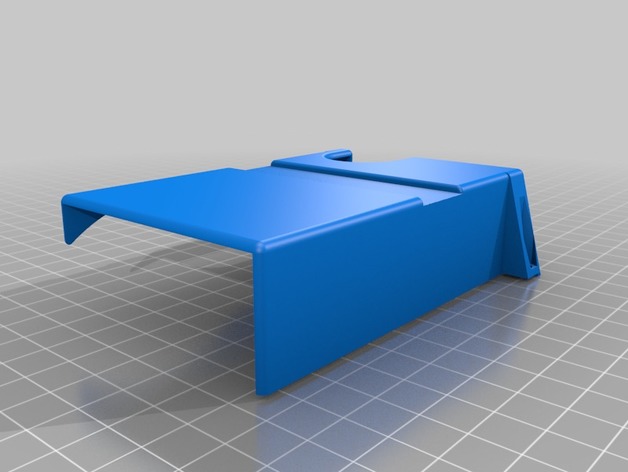
Summary
The zip ties on the Y linear bearing holders were rubbing against the electronics cover on my machine. So I made this new one that has a channel to give more clearance for the zip ties.
But really, it’s probably better to just relocate the electronics elsewhere. -
Eachine VR D2 Side Cover for glasses 3D Print Model
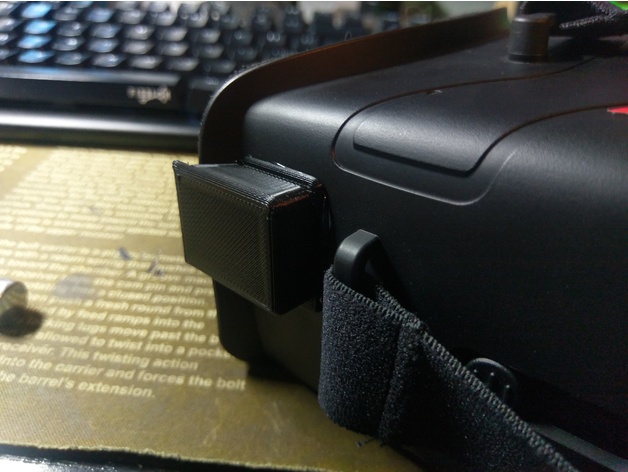
Summary
I wear glasses and cannot fit the Eachine VR D2 goggles on with my glasses. I took apart the goggles, cut out a small section on each side and hot glued this printed cover to block out light. Simple print, works pretty well!
Print Settings
Rafts:
Doesn’t Matter Supports:
Yes Resolution:
.2 Infill:
25% -
Runcam Micro Camera Mount 3D Print Model
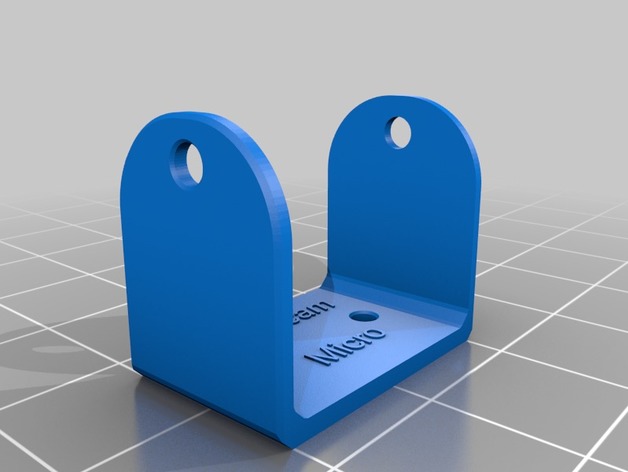
Summary
Have not printed it yet but going to. Work in progress. -
Star Wars Vintage Figure Variant Stand 3D Print Model
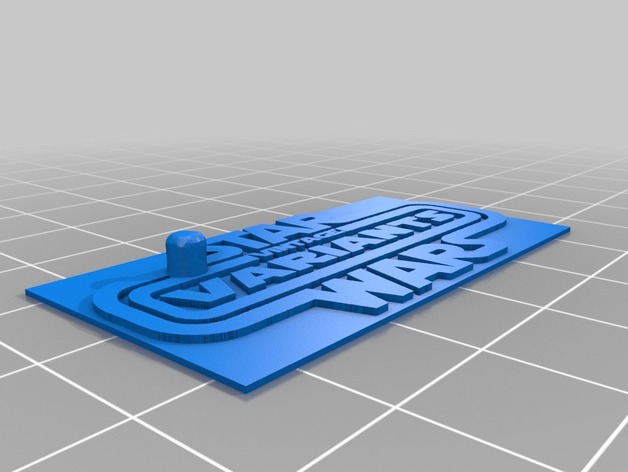
Summary
Fits vintage Star Wars figures.
PLA recommended -
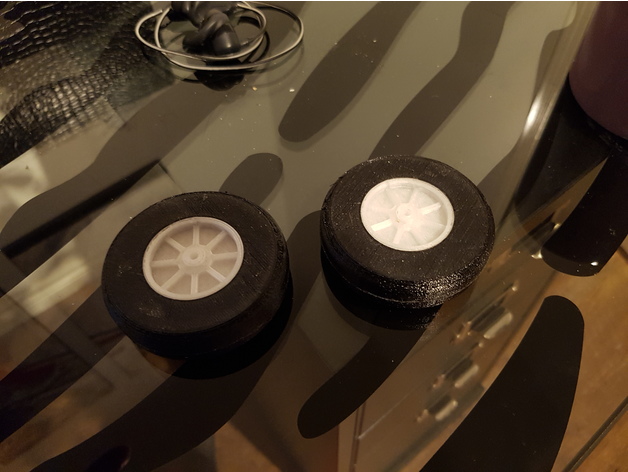
RC Plane Wheel 65mm 3D Print Model
Summary
I’ve designed these wheels for my Hall Bulldog Racer plane.
They are 65mm diameter and 20mm wide, fit perfectly in the wheel pants I designed for them (check that other design).
I printed the hub in ABS and the tyre in TPU, but I think PLA for the hub will work just fine. -
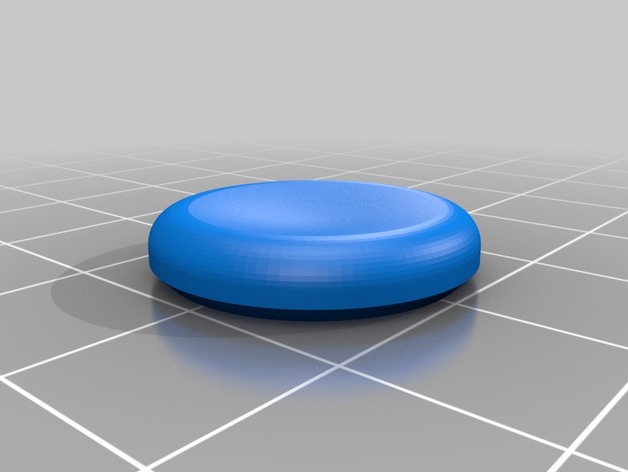
Fidget Spinner Thumb Rest 3D Print Model
Summary
I really liked the thumb rest on this adafruit spinner design. However, one side is form-fitted for the thumb the other side wasn’t. Most thumb rests I see on Thingiverse were 2 parts where one side was completely flat. Not very comfortable. So I redesigned it so both sides were the same. It made it into 3 parts instead of 2, but the end result is much better. -
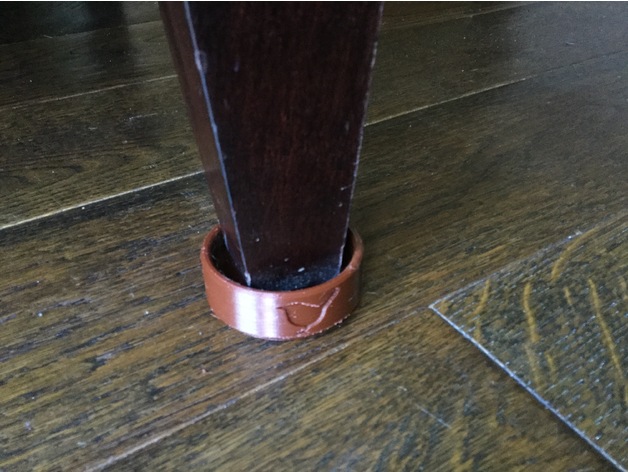
Furniture Floor Protection Coasters 3D Print Model
Summary
2 furnature floor coasters.
Small is 45mm internal diameter
Large is 50mm internal diameter
Print Settings
Printer:
Fisher delta Rafts:
No Supports:
No Infill:
30% Notes:
It may be wise to have a higher infil due to the pressures these could experience. -
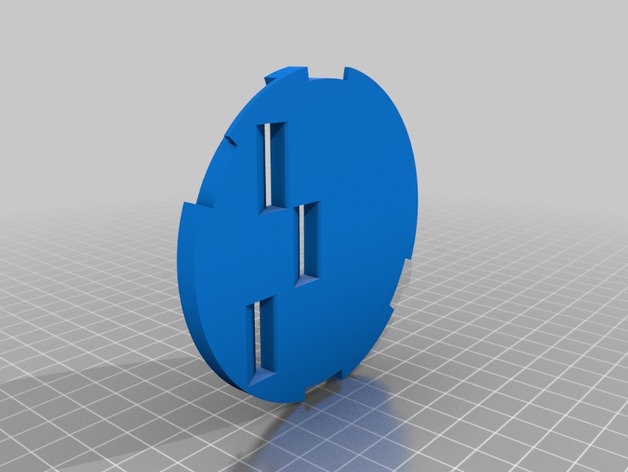
Unifi AC LR custom backpalte 3D Print Model
Summary
Custom backplate for to replace the stock backplate for the wifi access point Unifi AC LR. Should be compatible with any other Unifi mount.
Differrnces to the stock backplate:
No latching mechanism: the stock backplate has a latch that is very difficult to release. Therefore I wanted something that made tanking the acces point off the backplate easier.
Designed to be mounted with Tesa powerstirps (Large, example here) and not with screws as the original backplate
Designed in autodesk fusion 360, the *.f3d file can be imported to make further modificaitons.
Print Settings
Printer:
Anet A8 Rafts:
No Supports:
No Resolution:
0.15mm Infill:
5% -
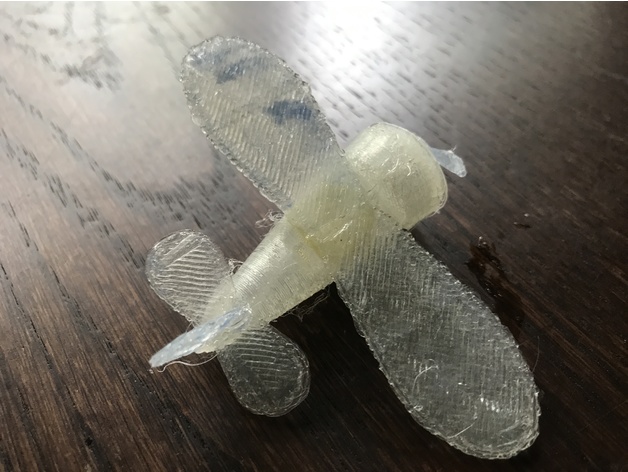
Small Plane Toy 3D Print Model
Summary
Originally designed with Tinkercad, this plane is quick and easy to print and with minimal assembly (all that is required is some kind of tape or glue to attach wings and propellor)! All the parts are in one file for easy access, and the print time is less than an hour (on most printers).
Post-Printing
Assembly
The simple assembly only has 5 steps.Attach the front plane face (the disc) to the fuselage (the cone). All of the steps including this one require the tape or glue, although hot or gorilla glue is recommended.
Attach the propeller (the bowtie-looking object) to the front of the plane. Sadly it does not spin without modifications, and I may try to make an MK-2 of this with a spinning propellor.
Attach the large set of wings to the flat part of the fuselage (on top) and wait until glue is dry. Make sure the wings are centered or angled to your desire.
Attach the small set of wings to the back of the fuselage (near the tip, but still on the same side as the other wings).
Attach the tail fin perpendicular and over the middle of the small wings to create an “upside-down T shape”.
Your plane is now finished, so fly away with your imagination! -
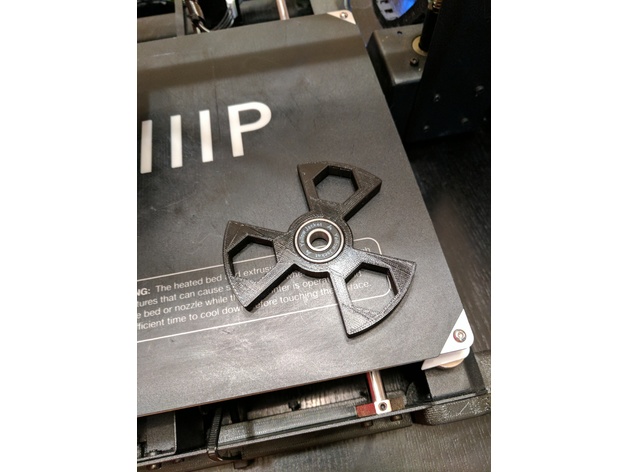
Radiation Fidget 3D Print Model
Summary
Uses 1 608 bearing and 3 0.5 inch nuts. Can be printed with no raft and low infill. Tested with 15% tetrahedral infill and rock solid. Printer calibration is key here as the bearing and nut will not fit snugly if marginally off sized.
Print Settings
Printer:
MonoPrice Maker Select V2.1 Rafts:
Doesn’t Matter Supports:
No Resolution:
0.2 mm Infill:
15% tetrahedral or equiv. -
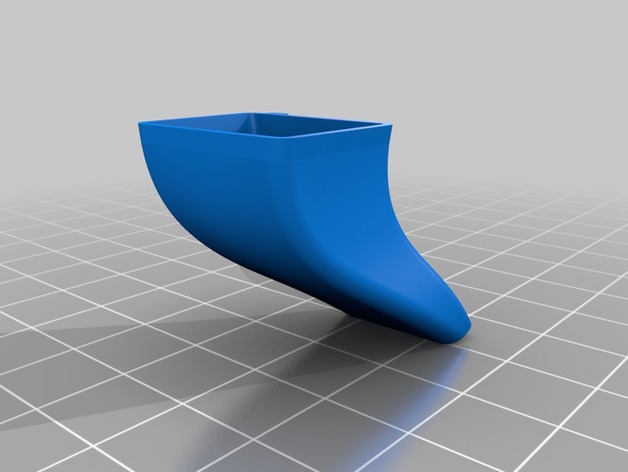
Fan ducts remix – Flsun cube printer 3D Print Model
Summary
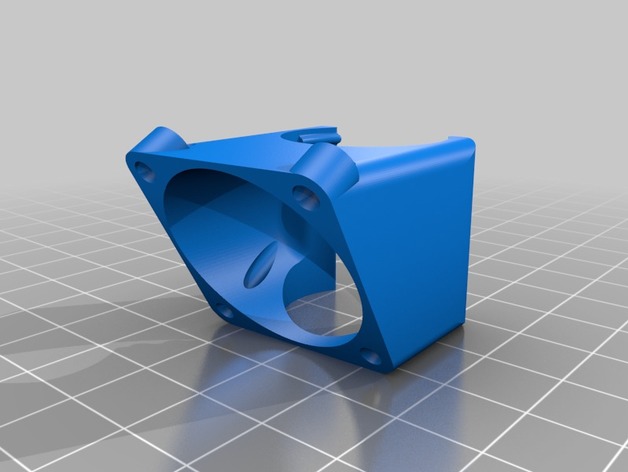
Another crudely remixed file.These are the fan ducts I’m using for the Flsun Cube printer. Hopefully this helps someone else out.
The ducts work with this fan mount https://www.thingiverse.com/thing:2358917 -
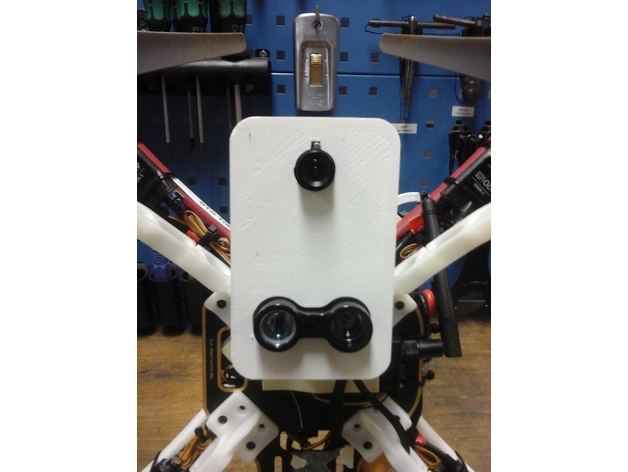
Enclosure for IR-Lock Landing System Sensors 3D Print Model
Summary
This is an enclosure designed to contain a Pixy camera (CMUCAM5) and a Lidar-Lite V3 for the IR-Lock precision landing system. The grid of holes at the bottom of the enclosure are spaced 3.4mm from each other and serve to provide a flexible way to mount the enclosure a drone frame. It was initially designed to fit the mounting slots on a DJI F450 bottom PCB.
The enclosure uses M3 screws. All the holes on the bottom part of the enclosure can be drilled out using 2.5mm dia drill and tapped directly using M3 screws. The holes on the top part of the enclosure, drilled out using a 3.1mm dia drill, serve as through-hole for the M3 screws. The clearance between top and bottom part of the enclosure is 0.25mm providing a loose fit for pieces printed on our printer. -
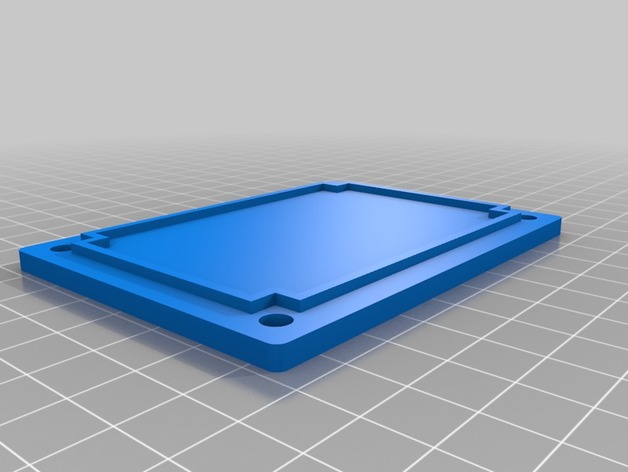
DNA 75C Mod 2 3D Print Model
Summary
Second Edition of my DNA 75C box mod
Print Settings
Rafts:
Doesn’t Matter Supports:
Yes Resolution:
.1 – .2 Infill:
40 Notes:
Case needs support (Others do not) -
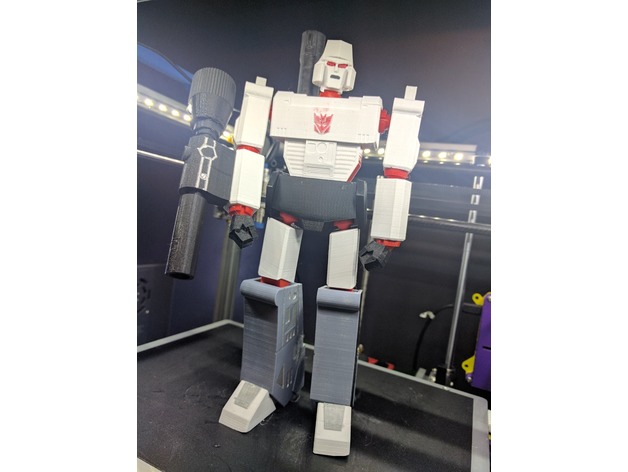
Megatron Transformers 1Gen 3D Print Model
Summary
I kept certain elements from Caution’s model such as chest, head, gun, abdomen and shoulders. Rest of the parts i went ahead and re drew them from scratch. I like when models
use joints that are ball and socket, as it allows more movement and poses. My print was a first prototype print. I have since them changed the clearances on the ball/sockets to fit better compared to the pic. So the print as its now, should be better. I googled as many images as possible to try retain as much details as possible as the cartoons.
Second pic is next to the Optimus i entered on the cults3d contest few months back.
Parts are already positioned as i printed them.
Note certain parts have the quantity required on the name.
Print Settings
Printer:
Hypercube Rafts:
Doesn’t Matter Supports:
Yes Resolution:
0.20 Infill:
15%-20% Notes:
Some parts require supports such as the waist, legs and -
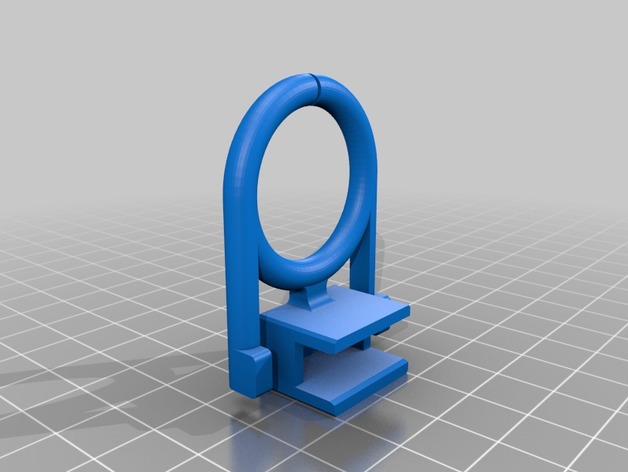
Filament Guide 3D Print Model
Summary
Filament Guide for Anet A6 or Anet A8.
Print Settings
Printer:
Anet A6 Rafts:
No Supports:
No Resolution:
First Layer 0.3 rest 0.2 Infill:
20% -
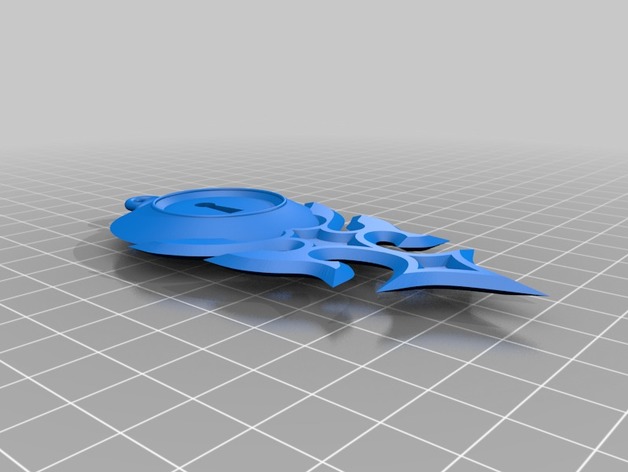
nisekoi pendant single extruder STL 3D Print Model
Summary
I’ve extracted the STL files form thew THING file and combined them into one so that it may be easily printed on a single extruder printer -
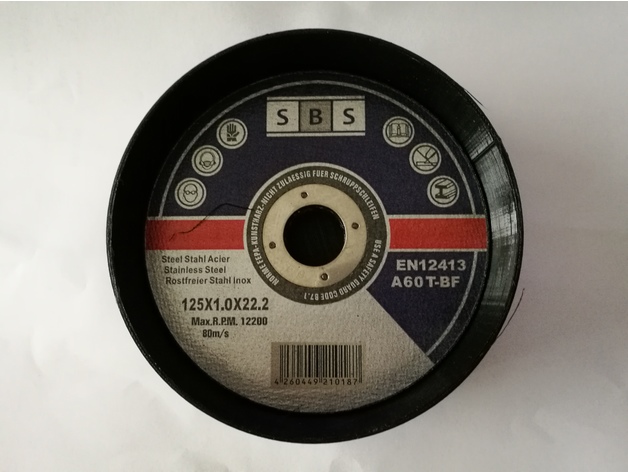
Box Trennscheibe cutting disc 125mm 3D Print Model
Summary
Box für 125mm Trennscheibe cutting Disc
Box for 125mm cutting disc -
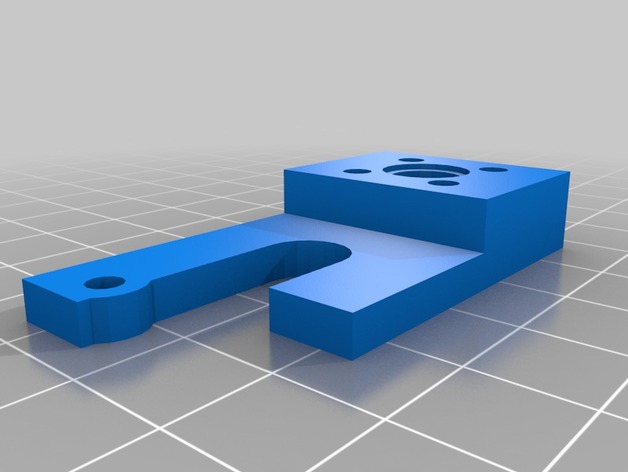
Geeetech improved Z adjust 3D Print Model
Summary
Geeetech prusa i3 axis wobble fix
by shawdreamer, published Sep 17, 2016
Added adjust screw stabilizer, reversed Z Nut to make better. Included Prt. to modifly as needed -
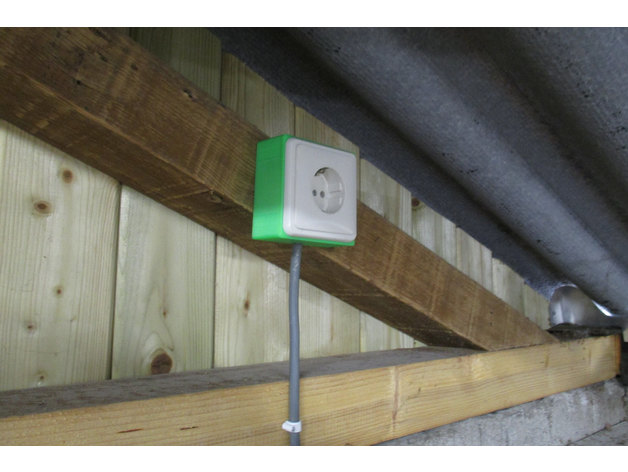
Wall Socket Case 3D Print Model
Summary
This is a casing for a built-in mains wall socket that can be found in most mainland European countries. I had such a socket lying around but needed a box to mount it on the wall instead of in the wall.
You basically have two options: Either you print the full box “Mains Box Full”, but then you need support for the rims. Or you print the “Main Box” and the “Box Rim” separately. You can then glue that on but in my case it had a tight fit with the socket so I could screw it all together.
I know there are tons of different sockets out there. Therefore I have included the sources. Use them or be inspired to create one for your own type of socket.
Print Settings
Printer:
Custom Prusa i3 Rafts:
No Supports:
Yes Resolution:
0.5 mm nozzle, 0.2 mm layer height Infill:
30% Notes:
Use supports only for the Mains Box Full. Always check your preview if the supports are configured adequately.
Post-Printing
Insert M3 nuts
Put three M3 nuts in the back of the box.
Position the Box
Screw the box to the wall using the two inner holes.
Wire it
Switch of your electricity for safety. Insert your sockets and connect the wires. Screw the socket with 4 M3 screws into the box. Add the rim (if you printed it separately).
Add cover
Attach the cover plate. Now turn on the electricity again and you’re done. -
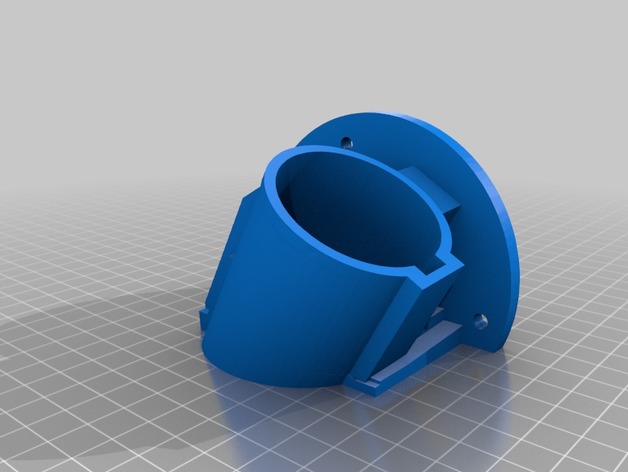
Side Wall J1772_Holster Ver 2 with 4 degree Angle 3D Print Model
Summary
Modified the angle of the holster by 4 degrees out… just to give more room away from the concrete wall.
Thanks to the originators… great design.