Summary
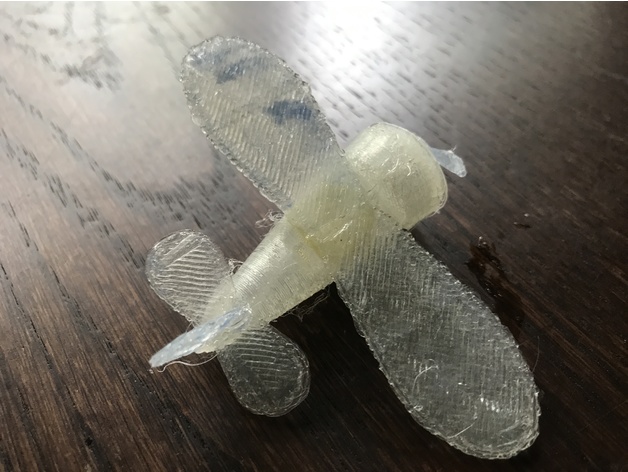
Originally designed with Tinkercad, this plane is quick and easy to print and with minimal assembly (all that is required is some kind of tape or glue to attach wings and propellor)! All the parts are in one file for easy access, and the print time is less than an hour (on most printers).
Post-Printing
Assembly
The simple assembly only has 5 steps.
Attach the front plane face (the disc) to the fuselage (the cone). All of the steps including this one require the tape or glue, although hot or gorilla glue is recommended.
Attach the propeller (the bowtie-looking object) to the front of the plane. Sadly it does not spin without modifications, and I may try to make an MK-2 of this with a spinning propellor.
Attach the large set of wings to the flat part of the fuselage (on top) and wait until glue is dry. Make sure the wings are centered or angled to your desire.
Attach the small set of wings to the back of the fuselage (near the tip, but still on the same side as the other wings).
Attach the tail fin perpendicular and over the middle of the small wings to create an “upside-down T shape”.
Your plane is now finished, so fly away with your imagination!