Summary
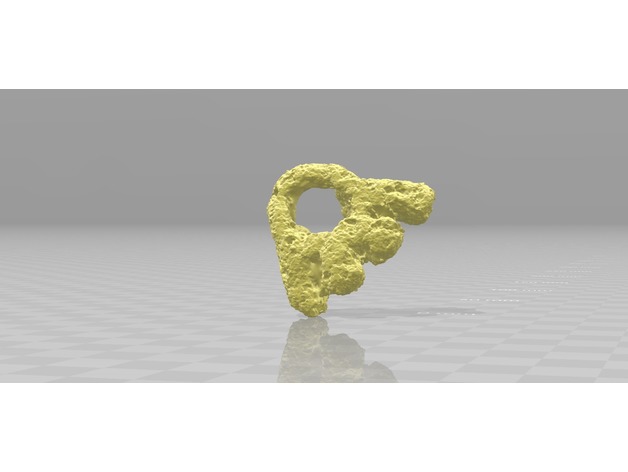
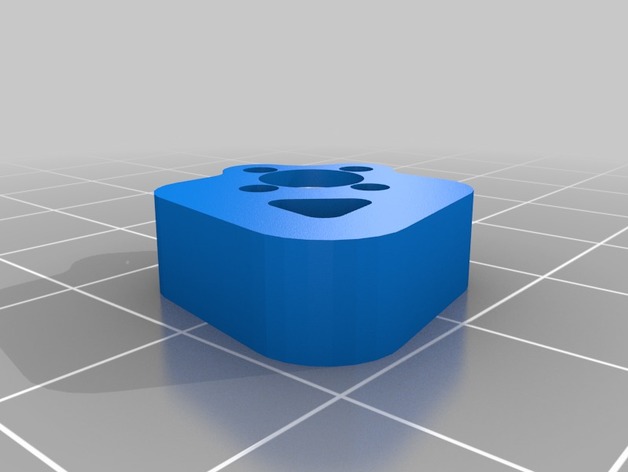
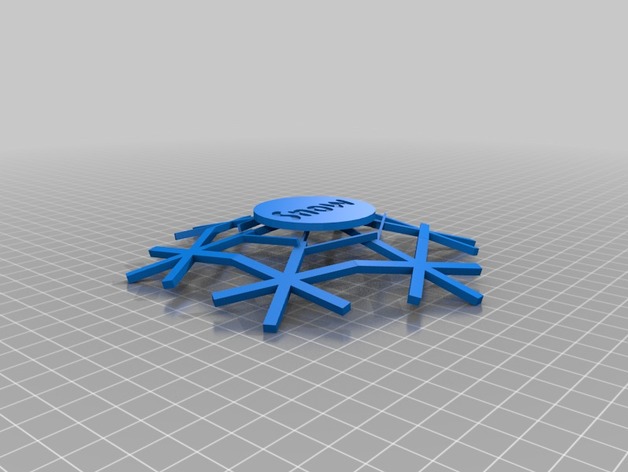
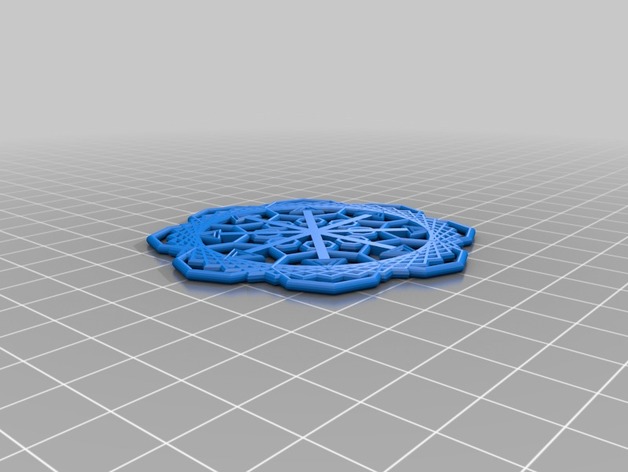
A snowflake that is based on a very famous fractal! A line of infinite length that binds a finite Area! Fractal dimension ln(4)/ln(3) !!!!!!!1!1!!one!1!!11!!!eleven!
Category: Free 3D Models
Free 3D models ready to be used in your CG projects such as films, visualizations, games, VR etc. All 3D Models and Free 3D Print Models are available for download in several formats including .MAX, .STL, .FBX, .3DS, .C4D, .OBJ, .BLEND, .DWG, .DXF, .LWO and much more. If you’re in search of high-quality Free 3D assets, we have a huge library of 3d models for all your needs. Also you can visit 3D Models and 3D Print Models category.
-
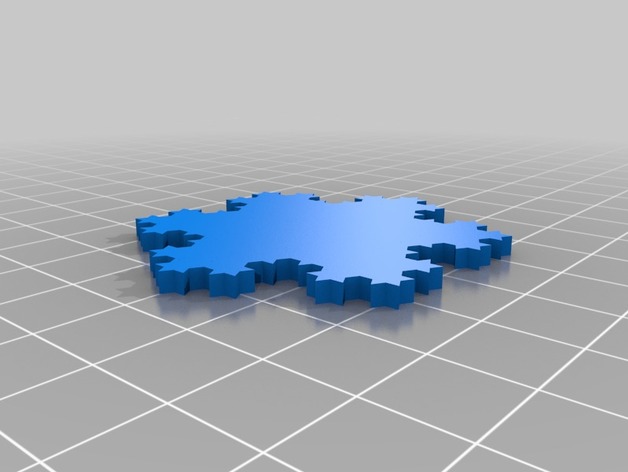
Koch Snowflake 3D Print Model
-
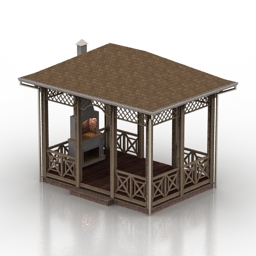
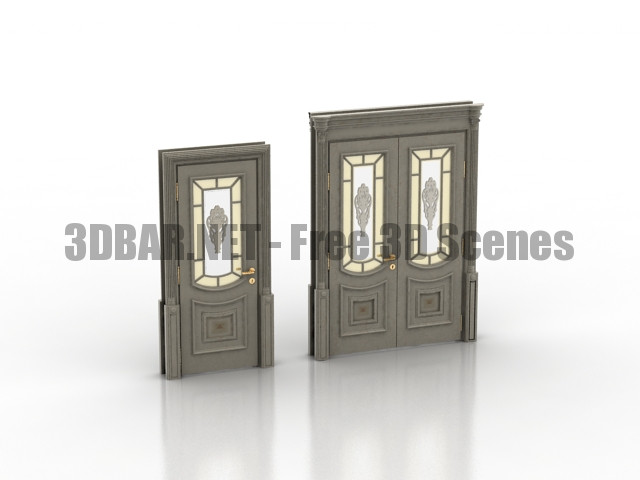
Arbor 3D Model
Additional Info: Arbor N021217 – 3D model (*.gsm+*.3ds) for exterior 3d visualization.
-
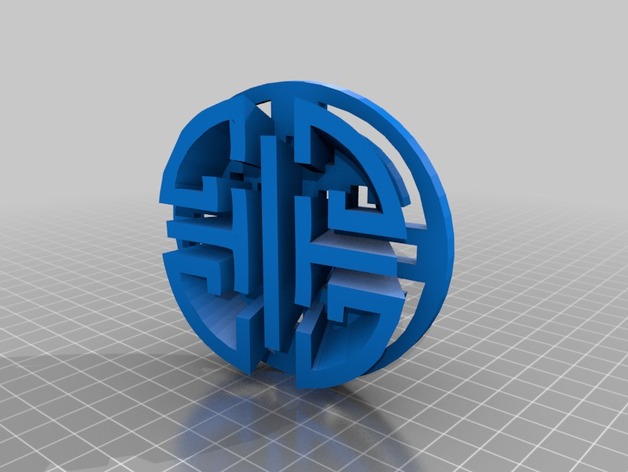
Magic Box Challenge 3D Print Model
Summary
This is a cool project I Made- if anyone can use a CAD software to open it and find out what is inside post a comment saying you succeded. Only use Cad software- don’t print it and break it open.
Have Fun!! -
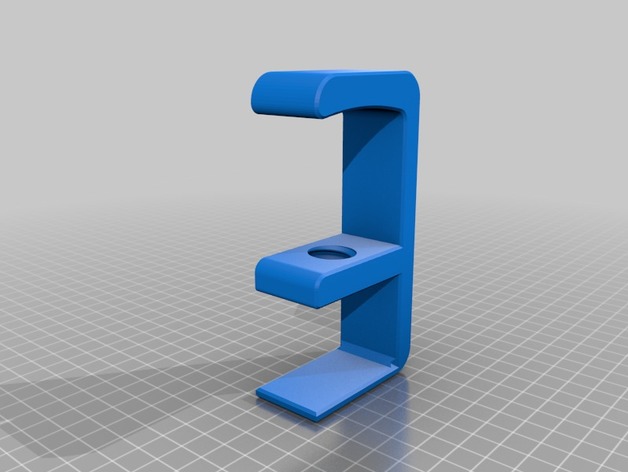
Headphone holder desk mounted 3D Print Model
Summary
Headphone holder to mount on your desk. Headphones get hung in inwards in case there is no space on the side of your desk. Most headphone holders hang the phones sideways. I wanted it the other way around. -
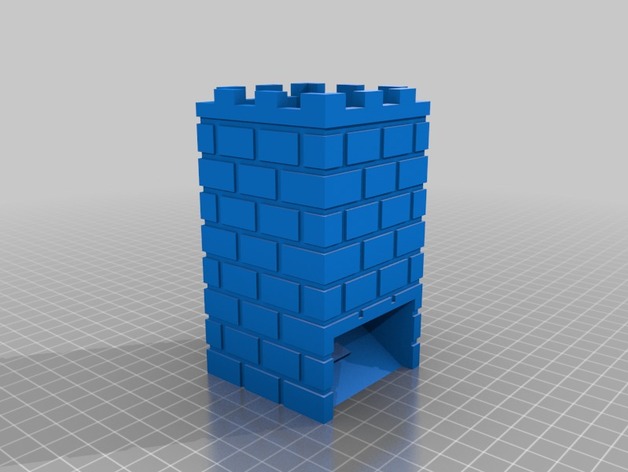
Dice Tower for Descent2 3D Print Model
Summary
Dice Tower for Descent2
Print Settings
Printer:
FLUX Delta Rafts:
No Supports:
No
Post-Printing -
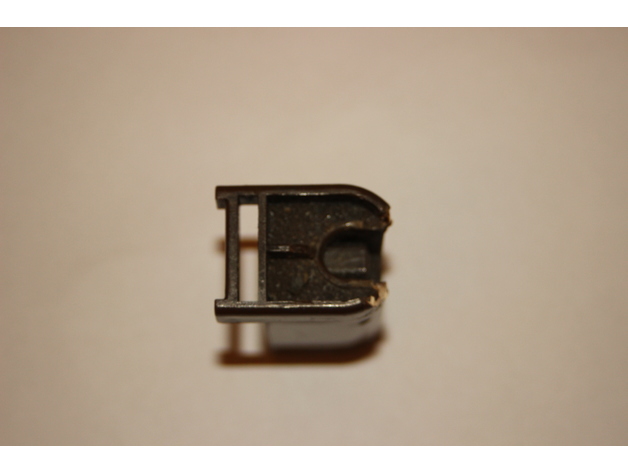
Foldable door hanger 3D Print Model
Summary
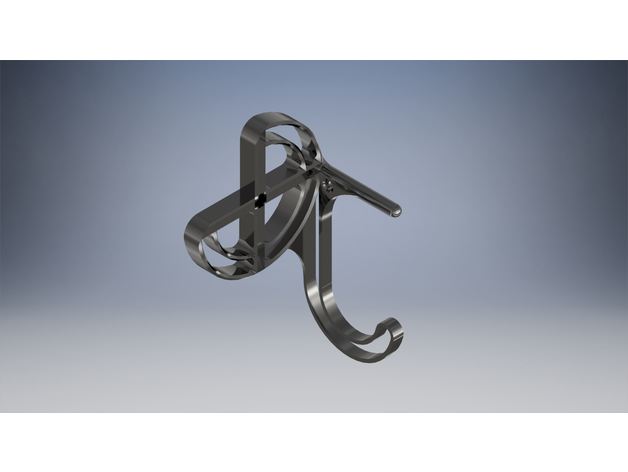
This is an replacement pastic hanger for an aluminium door. -
Friends Plaque 3D Print Model
Summary
A Friend is one who walks in when other walk out -
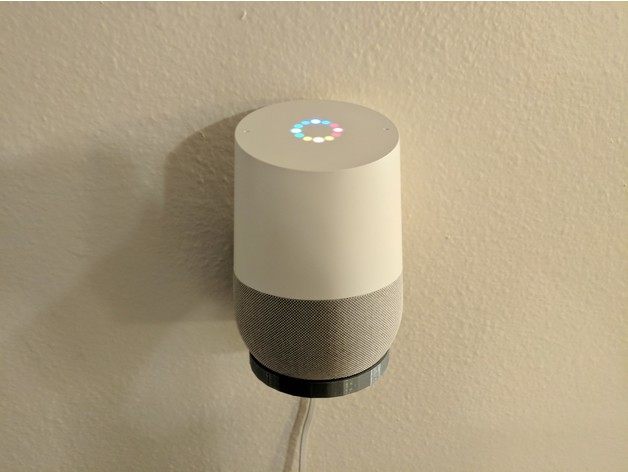
Google home wall mounting bracket 3D Print Model
Summary
This wall bracket works well.. Just dont over-tighten it because it will crack like in the picture.
Also, be sure that the cable is in place before screwing it down.
Print Settings
Printer:
Anet A8 Rafts:
No Supports:
No Resolution:
.2mm Infill:
20% Notes:
Easy print. -
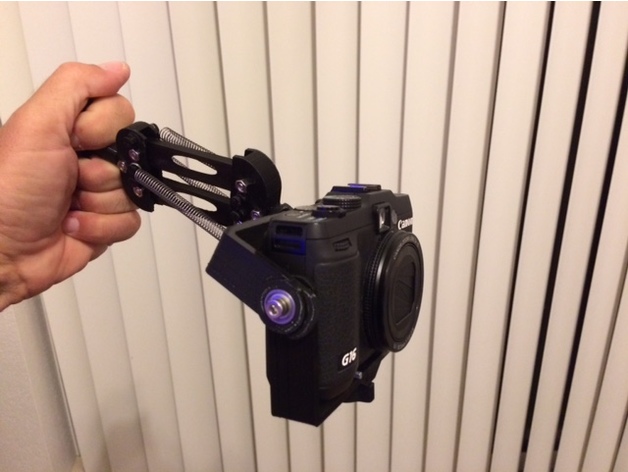
Mini Camera Gimbal 3D Print Model
Summary
Alright, well don’t get your hopes up. Without dampers, better bearings, stiffer chassis and the ability to make fine adjustments a selfie stick still works better. However this does demonstrate the general principle.
It is designed to use 624ZZ bearings like these: https://www.amazon.com/gp/product/B071CFN91S
M4 nuts/bolts like these: https://www.amazon.com/gp/product/B017N7ZI72
Springs like these: https://www.homedepot.com/p/Everbilt-Spring-Assortment-Kit-84-Pack-13554/203133714
However you can get the general idea using the printed bearing and pin with a few rubber bands.
Print Settings
Printer Brand:
Prusa Printer:
Prusa Clone Rafts:
No Supports:
Yes Resolution:
I used 0.2 with a 0.3mm nozzle Infill:
20% Notes:
Lay the struts, gimbal and platform pieces down flat so the “grain” goes the right way for strength.
Post-Printing
Assembly:
Press in the bearings and screw the parts together. The Mount piece has a slot to insert a nut.
There are several pegs to use for the springs, pick a set of springs and pegs that work with the weight of your camera.
The mount was made for my G16 which is a larger point and shoot camera. You will probably have to shim the camera up until it just rights itself.
Warning! Use a wrist strap attached to the camera or photograph over a pillow. -
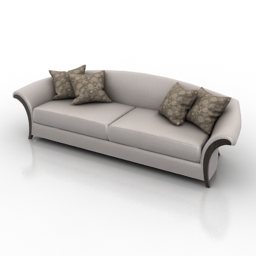
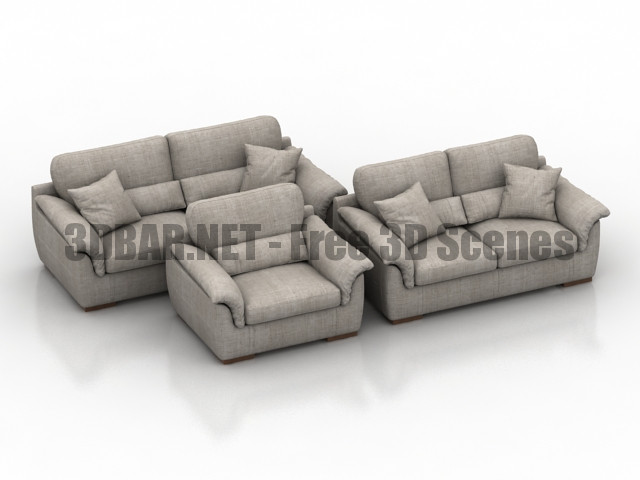
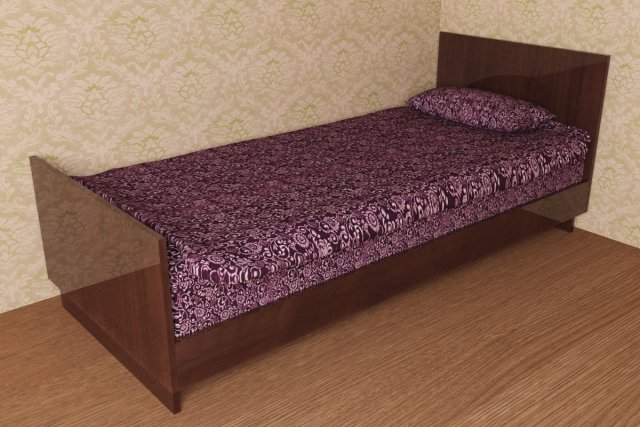
Sofa 3D Model
Additional Info: Sofa Christopher Guy Intemporel N291017 – 3D model (*.gsm+*.3ds) for interior 3d visualization.
-
Microscope Clip 3D Print Model
Summary
This is original PNNL microscope clip (see pnnl.gov and midcolumbiastem.org) with customizable hole diameter. This way you are not limited to glass beads of specific diameter but you can also use your own lens. For example lenses from laser pointers as described in instructables.com.
How I Designed This
STL to OpenSCAD conversion
Thingiverse customizer will not let you import STL files to OpenSCAD script due to arbitrary limitations (see customizer.makerbot.com/docs#limitations). So I wrote simple script that automates the conversion – off2polyhedron.sh. Works as follows:
get your STL file and open it in OpenSCAD
select File > Export > Export to OFF…
run my script on the OFF file
e.g. ./off2polyhedron.sh model.off > model.scadthe SCAD file is clean OpenSCAD code and can be used as is or copy-pasted to another SCAD file
Download the conversion script here – off2polyhedron.sh. -
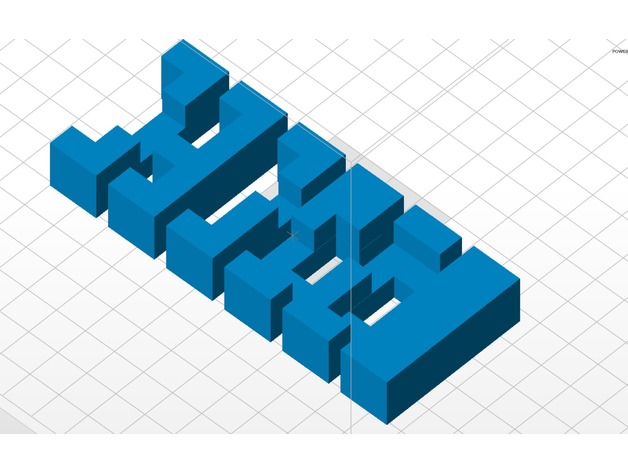
Burr Puzzle 3D Print Model
Summary
Went overseas and bought a puzzle, Printed a few on the zortrax M200 and they came out perfect. Burr Puzzle- Enjoy -
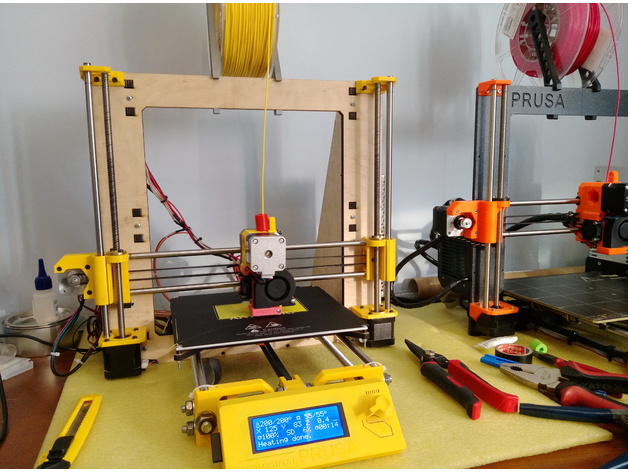
MK2 Clone – complete 3D Printer 3D Print Model
Summary
Complete set of STL files required to make a MK2 Clone 3D Printer.
Whole story about the printer can be found there:https://prusaclone.wordpress.com/ -
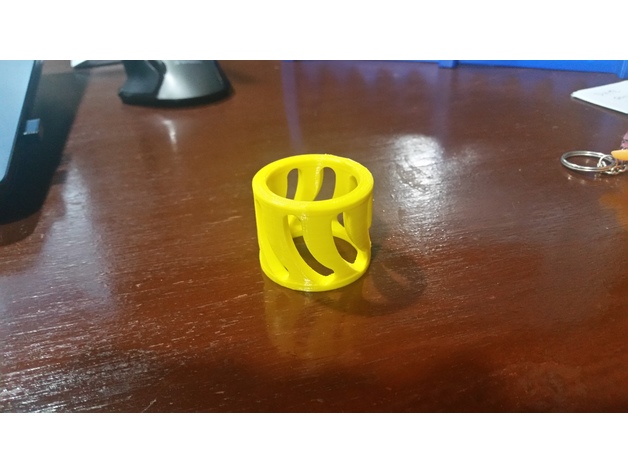
Cr-10 Spool Adapter and Spacer 3D Print Model
Summary
I didn’t like the way the spools rode on the shaft for the Cr-10, so I designed up this spool adapter. If you print one for each side of the spool, they fit over the shaft and inside the spool ID for a much better fit. This also ensures the nut holds the material on, without over tightening. Designed for the Inland 1.75mm 1Kg spools, but works for others as well.
I also recently picked up smaller test spools for glow in the dark and color changing material, and found they were thinner causing the adapters to walk out during printing, so I designed up a quick spacer to solve that problem as well.
Thanks,
Johnny Mac
Print Settings
Printer:
CR-10 Rafts:
Yes Supports:
No Resolution:
.1 layer thickness Infill:
25 Notes:
I used the raft to keep the spool flat against the build plate, but it would likely print without. PLA works fine as these take no load. -
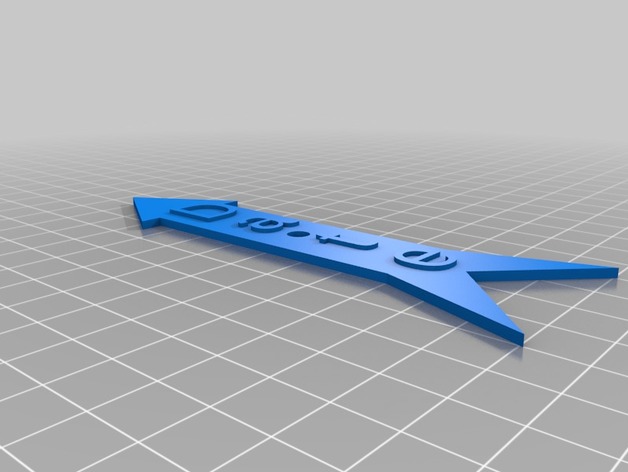
Spinner Arrow with Words 3D Print Model
Summary
I needed a spinner to point to different items, and couldn’t find anything on thingiverse, so whipped this up.
You can modify the text and length, etc. in openscad. I suppose it’d be nicer if I made this customizable, so maybe I’ll come back to this at some point.
If you stop the print after layer 10, you can switch filament color, and the words will stand out more.
Print Settings
Printer Brand:
Prusa Printer:
Prusa Clone Rafts:
Doesn’t Matter Supports:
Doesn’t Matter Resolution:
.2 Infill:
10% Notes:
Very easy to print. The .STL file has “DATE” in it, but if you download (free) OpenSCAD, you can modify it to say whatever you want.
Post-Printing
None
I use large brims in general, so I just had to trim it a little to clean it up. -
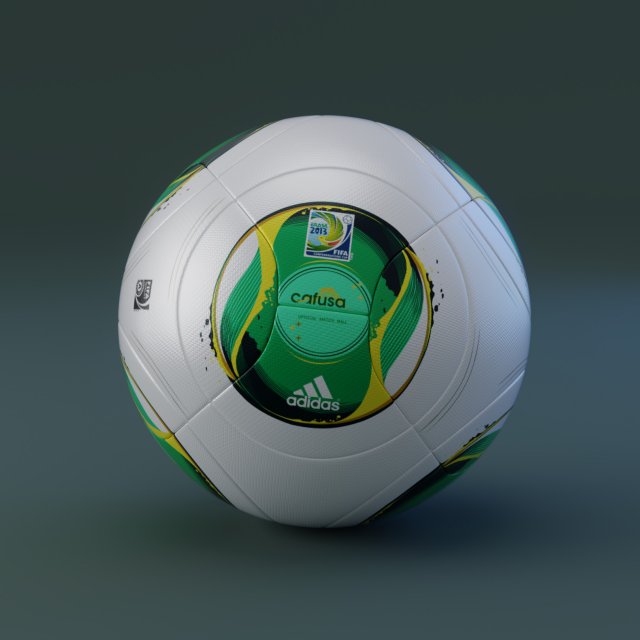
Cafusa – Adidas – 2013 Confederations Cup Ball Free 3D Model
3D model of the Adidas offical match ball for the 2013 confederations cup.Download it for free!!Modeled in Blender, subdivision ready, UV unwrapped, and with 4096 px textures.Available in the following formats:-.blend (includes Cycles materials and the studio setup used to render the preview images)(for Blender 2.77 or later)-.fbx (with basic material)-.obj (with basic material)SUPPORTIf you have any problem with the model or want to ask questions before you buy it or request some other format, please contact me.
-
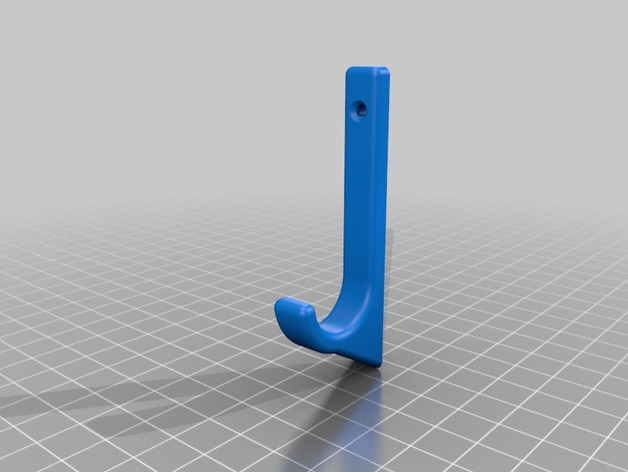
wall hanger 3D Print Model
Summary
Wanted to make something to mount my fly rod on my wall, could just use some nails, but theres always a reason to print something.
Haven’t tested it to see how much weight it can hold but I imagine its a pretty good amount for something 3D printed
Print Settings
Printer Brand:
Wanhao Printer:
Wanhao Duplicator i3 V2 Rafts:
Doesn’t Matter Supports:
No Resolution:
.2 Infill:
70-100% Notes:
lay on its side, as it will give more strength and support -
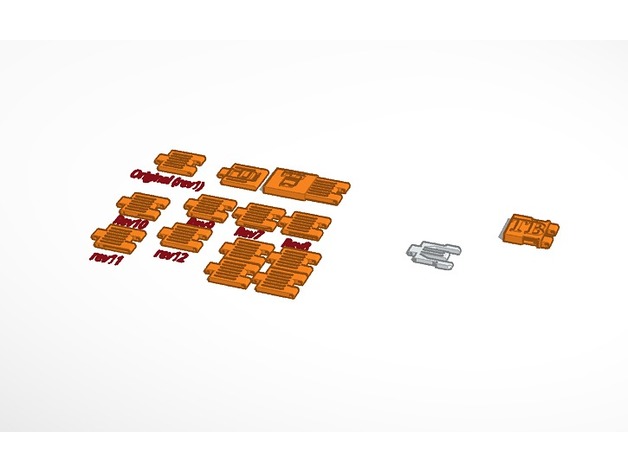
Belt 3D Print Model
Summary
This is a 3d printed belt that I designed in Tinkercad, (I haven’t learned how to use Autodesk yet). To assemble you need a paper clip that you stick in the hole then fill the hole with hot glue. The buckle is still a work in progress.
Print Settings
Printer:
Qidi Tech x-one2 Rafts:
No Supports:
No Resolution:
Medium Infill:
20 -
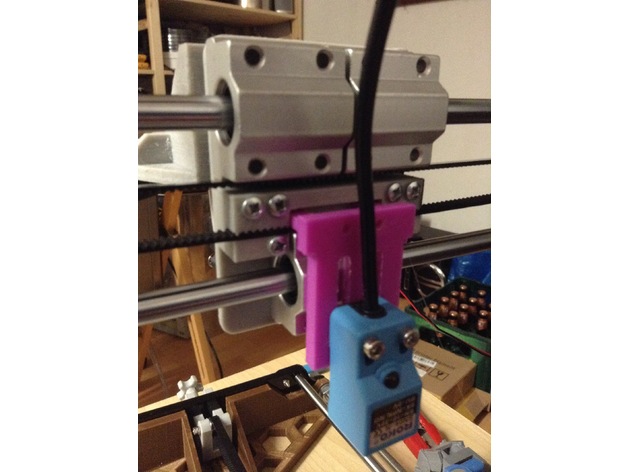
Anet A8 Stock Bed Level Sensor Mount for Bowden Setup 3D Print Model
Summary
Made for the original Anet A8 Auto Bed leveling Sensor to fit on these Beltholders: https://www.thingiverse.com/thing:1433295
which i used to upgrade to this bowden setup: https://www.thingiverse.com/thing:2099577
Works just like the original Anet one, but smaller. Uses the two screws that come with it and two screws to screw it to the belt holder.
Happy Printing 😉
Print Settings
Rafts:
Doesn’t Matter Supports:
Doesn’t Matter Resolution:
0,2 Infill:
10% -
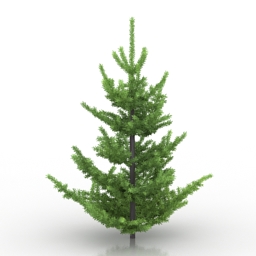
Tree 3D Model
Additional Info: Tree Abies Pardei N151117 – 3D model (*.gsm+*.3ds) for exterior 3d visualization.
-
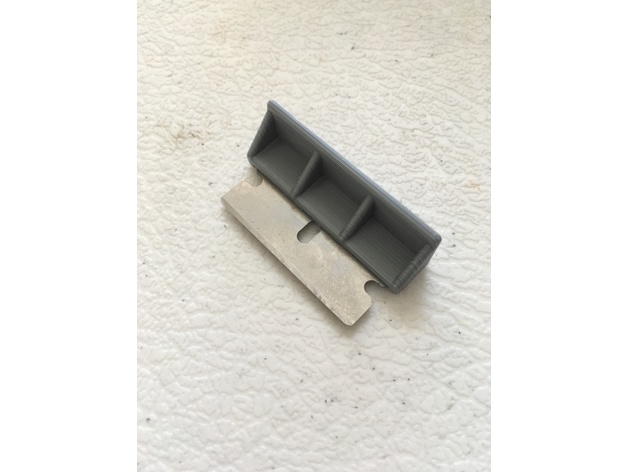
Part Remover Razor Scraper 3D Print Model
Summary
Protect your fingers. You need them for printing!
HOW TO USE:
Gently slide razor under print
Slide putty knife under razor
Rejoice!
Your bed surface will now last forever and your fingers will remain pain free.
ASSEMBLY INSTRUCTIONS
Buy cheap razor blades from hardware store
Hold blade sharp edge down on cutting board
Push part down onto non-sharp edge of blade -
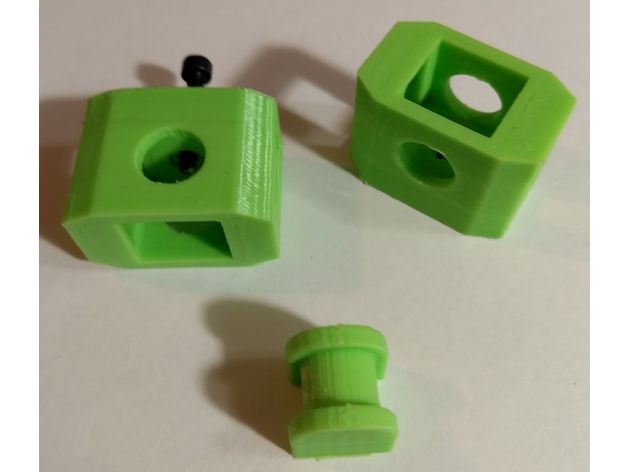
Yet another belt tensioner 3D Print Model
Summary
Belt tensioner.
It will accept up to a 7.5mm width belt.
You will also need a 3mm screw and nut.
I printed at .2 mm layer height and 100% infill.
1) Insert the nut in the recess inside the body.
2) Thread a nut from the otherside through the nut.
3) Put the tensioner inside the body.
4) Thread belt through assembly.
Make sure the tensioner doesn’t hit or interfere with anything.
5) Tighten screw to tighten belt.
I like them
This will way over tighten your belt if your not careful.
“THE BEER-WARE LICENSE” (Revision 42):https://www.thingiverse.com/kwg08/ wrote this file.
As long as you retain this notice you
can do whatever you want with this stuff (for non profit uses only.)
If we meet some day, and you think this stuff is worth it, you can buy me a beer in return. -
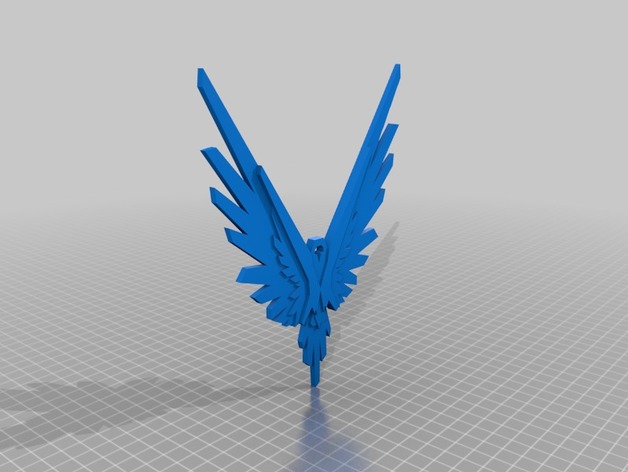
Logan Paul Maverick printable 3D Print Model
Summary
Logan Paul Maverick printable
Print Settings
Rafts:
Doesn’t Matter Supports:
Doesn’t Matter Resolution:
0.2 Infill:
20 -
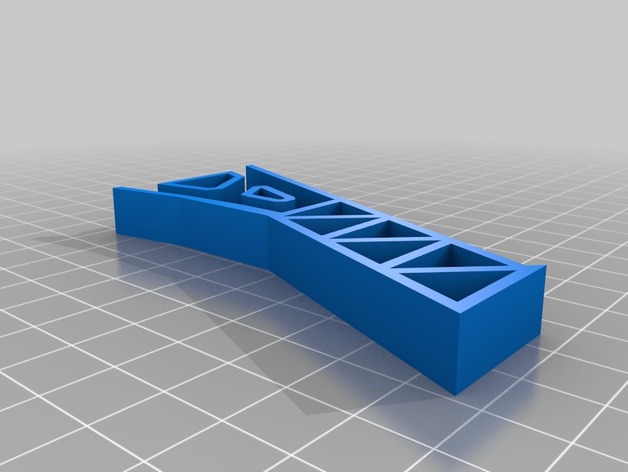
Landing Gear Trem de pouso – F450 – F550 – TBS Discovery 3D Print Model
Summary
Trem de pouso para braço HF, F450 e F550.
Print Settings
Printer:
TEVO Tarantula Rafts:
Doesn’t Matter Supports:
No -
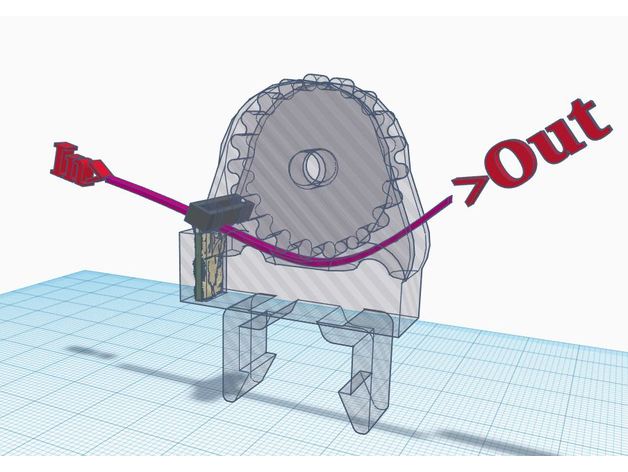
TronXY X5 Snap On Filament Guide/Cleaner 3D Print Model
Summary
TronXY X5 Snap On Filament Guide/Cleaner
Cura File attached -
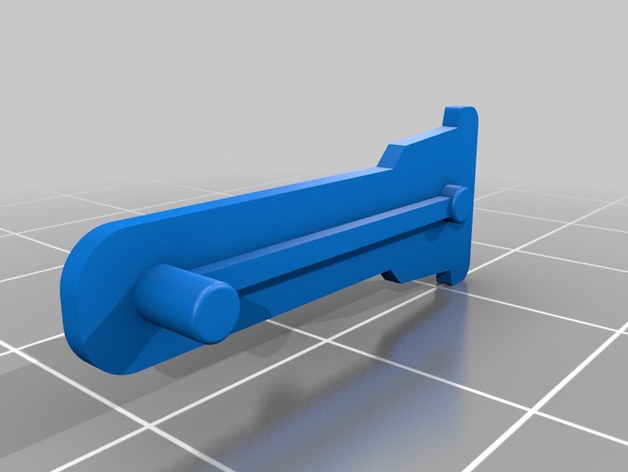
GSG / SIG 1911 magazine base lock 3D Print Model
Summary
GSG / SIG 1911 magazine base lock piece.
Have yet to print, measurements and fitment has not been double checked. -
Key chain yamaha szr bike 3D Print Model
Summary
Simple key chain for Yamaha SZR model name -
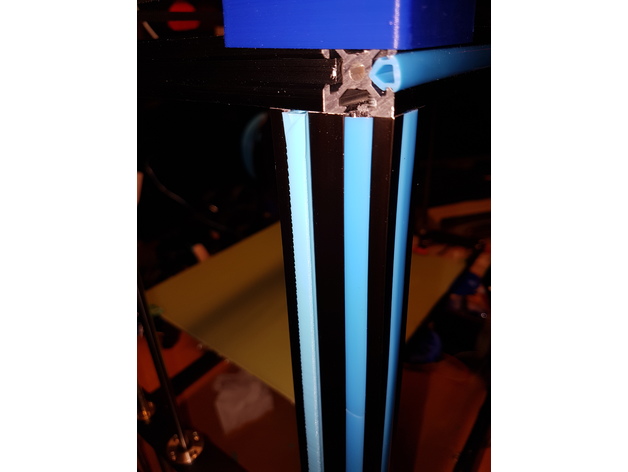
Tronxy & CR-10 Rail insert 3D Print Model
Summary
Found this Rail insert made by Moby2112, and re-saved it in 100-400mm for easy printing.
Really nice to be able to swap/print color.
Print in vase-mode. No raft needed (atleast on a CoreXY-printer).
The last 100-150mm might be a bit shaky due to the hight.
Print Settings
Printer:
Tronxy X5S Rafts:
Doesn’t Matter Supports:
No -
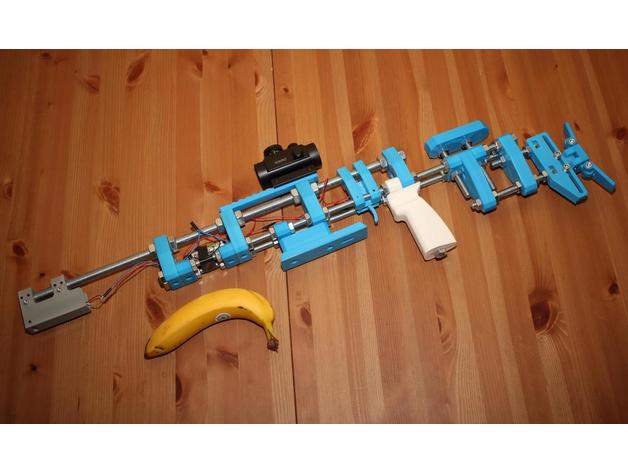
Open Laser Rifle 3D Print Model
Summary
This is Open Laser Rifle, a special laser rifle for Home LASER Shooting Simulator project (http://homeless-eng.webnode.com/). This rifle is for training purpose and can not be turned into firearm.
Main parameters:
Two axis adjustable LASER.
Fully adjustable frame.
Picatinny rail or 11mm rail (sights are not included yet).
Powered by two AA battery.
RC timed LASER system.
File “OpenRifleParts.zip” contain all files sorted to directory.
Parts to print
Frame
1x frame_D10
3x frame_M6
2x frame_support_D10
3x frame_support_M6
1x frame_support_D6
2x butt
1x cheekpiece
2x tm_holder
Palmrest
1x palmrest
1x palmerst support
Rail
1x mount_rail_11mm_70
1x mount_rail_11mm_155
or
1x mount_rail_picatinny
Grip
1x grip
or
2x grip_splited (one of these must be mirrored)
Buttplate:
1x holder
1x slider_M6
1x rotator_M6
1x wing_A_M6
1x wing_B_M6
Trigger mechanism
1x body_bottom
1x body_top
1x trigger_v2
Laser Adjust:
1x case_v2b
2x case_holder_v2
1x horizontal_adjuster
1x vertical_adjuster_v2
Parts to buy
All dimensions are in millimeters.
Frame
1x M14x600 threaded rod
2x M10x600 threaded rod
2x M10x140 threaded rod
3x M10x80 threaded rod
1x M6x35 screw (for grip)
8x M14 nut
48x M10 nut
Palmrest
2x M6x35 screw
Rail
2x M4x8 (per rail)
Buttplate
5x M6x25 screw
5x M6 nut
2x screw washer for M6
Trigger mechanism
2x M3x6 screw
1x M4x4 set screw
1x 2mm diameter spike from bicycle
Laser Adjust:
4x M4x8 screw
4x M3x6 screw
8x M4x4 set screw
1x M3x6 set screw (for vertical adjust)
1x M3x10 set screw (for horizontal adjust)
1x M3x4 set screw (for laser holder)
Electrical
1x Capacitor 2200 uF, 6.3 V (higher voltage is possible)
1x Microswitch (ON-ON, some similar for RepRaps)
1x Battery clip (AA or AAA)
1x Laser module (some simple with 10mm diameter max, red dot, 3 mW is enough)
1x wires (about 1 meter red and blue)
Tools
3D printer 😀
saw
file
screw tap (M3, M4, M6)
sandpaper
soldering iron
etc. -
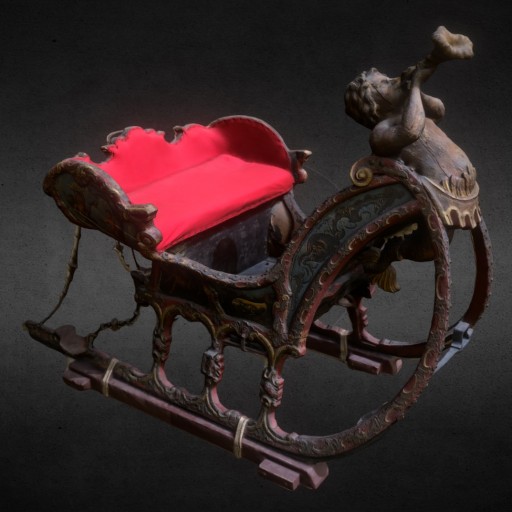
Sledge with Mythological frieze Free 3D Model
Sledge with Mythological frieze, Second half of the 18th century, Liege (Belgium), wood, sheet, metal. Musee du Cinquantenaire (Brussels, Belgium). Made with ReMake and ReCap from AutoDesk.
-
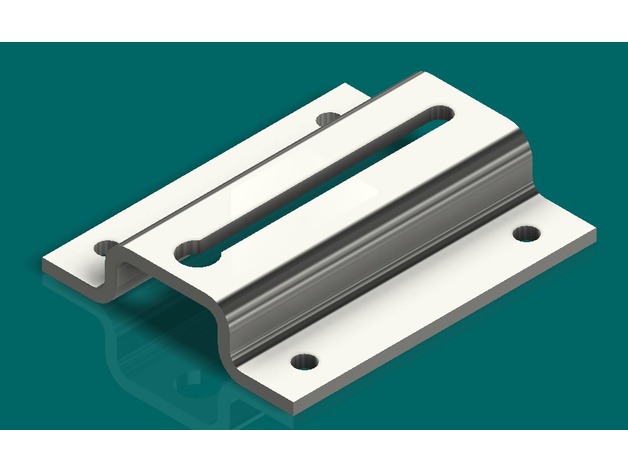
Door Chain Lock 3D Print Model
Summary
I made this for my door because the other got damaged, for this designed I added the .ipt file so you guys can change the dimensions if needed.
Made in Inventor. -
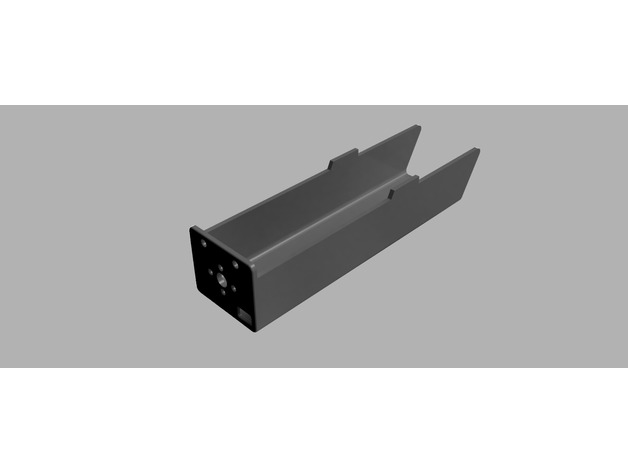
FT Power Pod 182mm 3D Print Model
Summary
A printed power pod for your FT designs! Don’t worry about cutting out any more firewalls or folding foamboard; just hit print! I have tested this on the following FT planes: Bloody Baron, Simple Cub, Nutball, Bloody Wonder. Versawing, FT Delta. Leave a comment if it works for you on other aircraft.
This is slightly shorter than the FT power pod plans, but is designed to print in one piece vertically, with the firewall facing down, on most printers.
Includes stl file with and w/o holes for motor mounting. Holes are 4mm at standard 16mm and 19mm widths.
Also has cutout in bottom of pod for XT60 connector pass through.
Enjoy!
JGplanes
Print Settings
Printer Brand:
Prusa Printer:
i3 MK2S Rafts:
No Supports:
No Resolution:
.20 or .30 Infill:
10% fast honeycomb at 90* offset Notes:
Print with PLA or PLA+
Print with firewall flat on print bed. For a solid firewall, make the bottom 11 layers solid if your software supports this.
The included gcode is with the following settings:
Layer height: .30 (works well with .20 also, but adds 1hr to print time)
Bottom solid layers: 11 (this is for a solid firewall when printed vertically)
Outline perimeter shells: 1
Top solid layers: 3
Infill: 10% fast honeycomb with 90 offset
Extruder temp: 210
Bed temp: 75*
Support material: Yes (probably not needed since it is only for the XT60 connector hole.
Post-Printing
Drill your own holes in the sides for barbecue skewers to pass through, since this differs for different designs.
Dispose of support material in XT60 pass through if desired. -
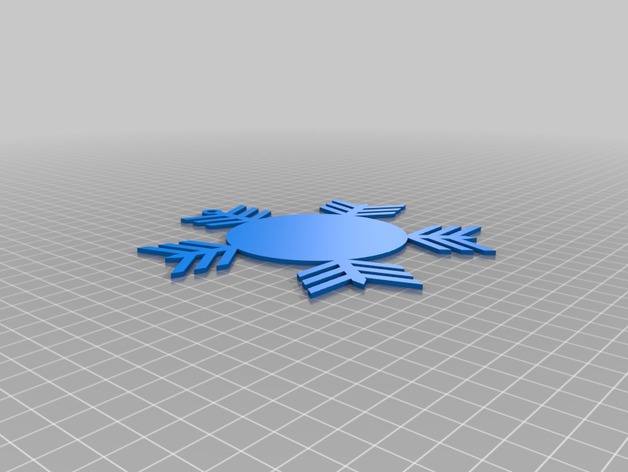
snow flake star 3D Print Model
Summary
I created this star to use as a base for gluing a lithophane picture to, for gifting to friends -
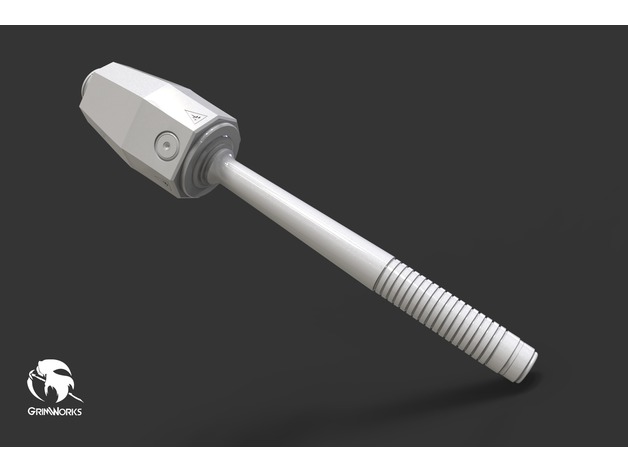
Wolfenstein: The New Order | Grenade 3D Print Model
Summary
Wolfenstein: The New Order | Grenade
Inspired on the concept art of Axel Torvenius
Dimensions:
361 mm length
64 mm width
This is part of the 12 days of X’mas of Grimworks.
http://www.facebook.com/GrimworksMX
Have fun XD
See my profile here:https://www.myminifactory.com/users/AltairV -
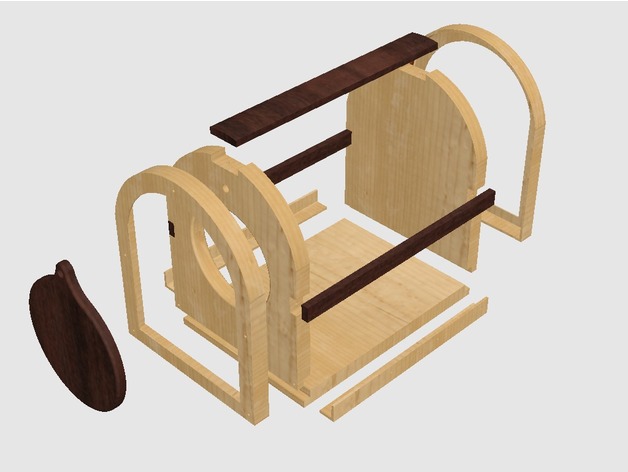
Insect Cage V2 3D Print Model
Summary
Insect cage for kids, Made to be printed on a 200mmx200mm bed
Screen goes under side and top struts, us a stapler to tack to bottom, small finishing nails to hold struts in place
Use flat thumb tacks to hold screen guard flashings in place. -
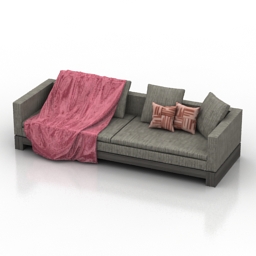
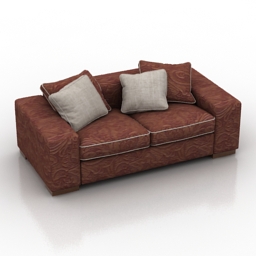
Sofa 3D Model
Additional Info: Sofa Minotti Klimt N021217 – 3D model (*.gsm+*.3ds) for interior 3d visualization.
-
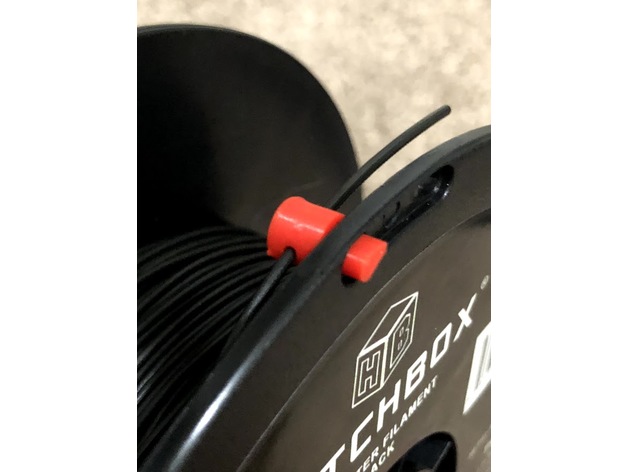
Hatchbox Filament Plug 3D Print Model
Summary
This plug was designed for Hatchbox 1.75 PLA may work with others.
I was using other “Clips” but they kept flying off so I designed this plug. It is pretty tight – so it has a better chance to not fall off. Note that not all holes in the reel are the same size. I found two on my test reel that are too small for the plug. If you can’t get it through the hole from the inside, insert it from the outside then try to insert it from the inside again.
Snip any melted/deformed filament from the end, insert the plug from the inside of the reel and thread the filament through the plug.
Print Settings
Printer:
Creality CR-10S Rafts:
Doesn’t Matter Supports:
No Infill:
100 -
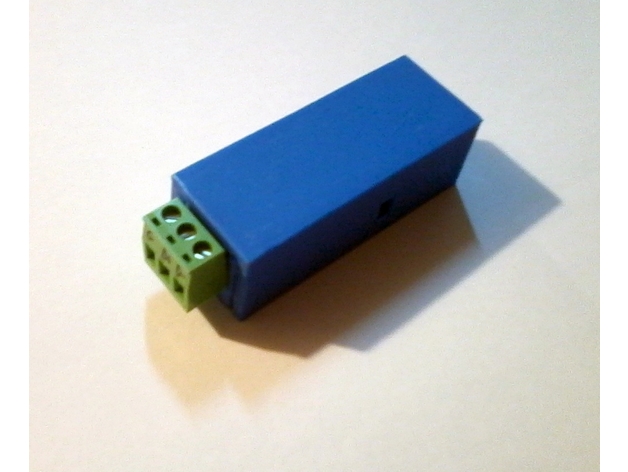
Case for PCB USB to RS485 3D Print Model
Summary
This box to house a small usb to rs485 converter. Box without holes, with side latches.
Print Settings
Printer:
RepRap(Marlin) Rafts:
Doesn’t Matter Supports:
Doesn’t Matter Resolution:
0.2 Infill:
30% + -

Cellular automaton snowflake in OpenSCAD 3D Print Model
Summary
This cellular automaton uses Stephen Wolfram’s rule that a filled cell stays filled and an unfilled one becomes filled if it has exactly one filled neighbor. -
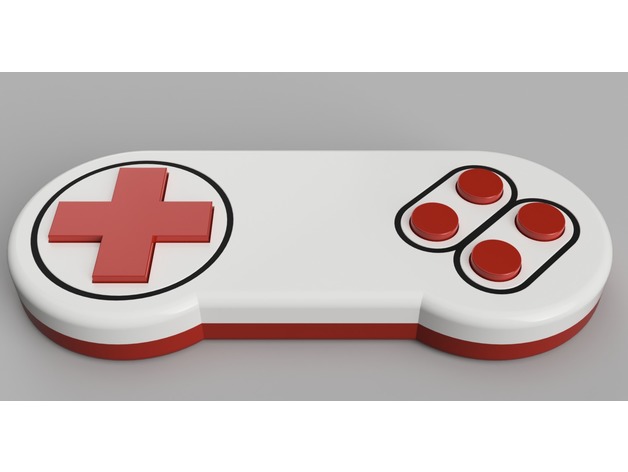
I2C Game Controller for Arduino / Raspberry Pi 3D Print Model
Summary
As part of my LED-Matrix Table project (uploaded soon) , I designed this game controller to control the table and to play games. It can be used as an input device for a wide variety of micro-controllers or raspberry pi computers.
Up to 8 controller can be used in parallel with the same control chip. The state of the eight buttons can be read by using the I2C protocol and therefore it only requires 4 wires for connection.
Additional Parts
The chip, included in the controller, is a PCF8574 on a small circuit board from Amazon (8€):https://www.amazon.de/gp/product/B06W564ZSD
And the pushbuttons are from Ebay (1.2€):http://www.ebay.de/itm/10-Stück-DIP-4-Mini-Drucktaster-Printschalter/272861590169
Additionally, you need a few wires for connecting the buttons to the PCF8574 chip and a 4-wire-cable with approx. 2 meter length to connect the controller to the raspberry pi.
Instructions
Print all parts 🙂
Cut out two perfboard pieces with a dimension of 40×40 mm each.
Solder 4 buttons on each perfboard, pay attention to the proper alignment (use the X button as reference, both perfboards require the same alignment)
Connect one pin of each button to the I2C port extender. Connect the other pin of each button to GND on the port extender circuit board.
Slide the two prefboards into their rails and use hotglue to fixate them (check if the align with the corresponding button holes as good as possible.
Connect the long cable to the port extender board. If you use the same board, you have to desolder the i2c connector on both sides.
Fixate the port extender board with some hotglue in the center of the controller as shown in the the pictures above.
Connect the other end to your arduino / raspberry pi and you are done.
Have fun! 🙂
Print Settings
Rafts:
No Supports:
No Resolution:
0.2 mm Infill:
15% Notes:
Multi-color
Multi-color printing of the front side of the controller can be achieved by pausing the print before layer 2 and 4 (0.2 mm layer height). Print layer 2 and 3 in a different color to achieve the colored inset, seen in the pictures above. -
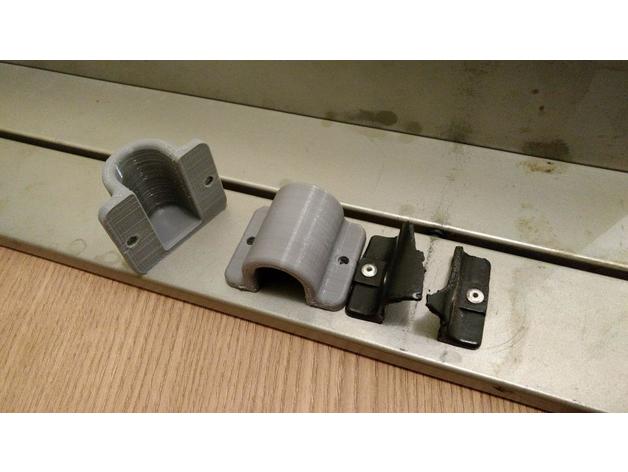
Camping_Table_Part 3D Print Model
Summary
Hi friends, I drew this piece to the camping table because mine broke over time, I hope it will be useful for everyone who comes down.
Print Settings
Printer:
FLSun Cube Rafts:
No Supports:
No Resolution:
0.2mm Infill:
30% Notes:
I did use ABS and 0.2mm layer high, but recommend 0.1mm to best finish. -
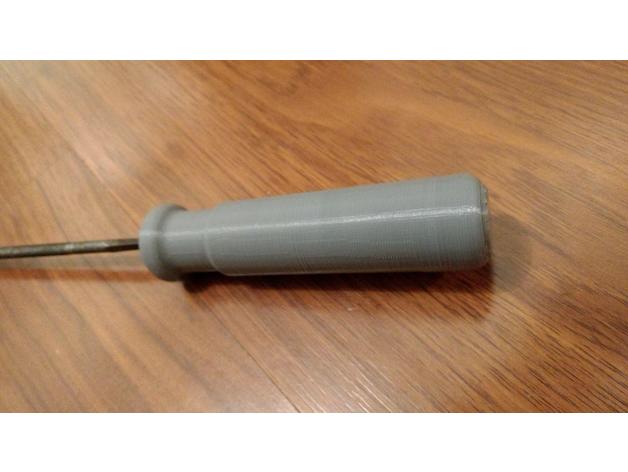
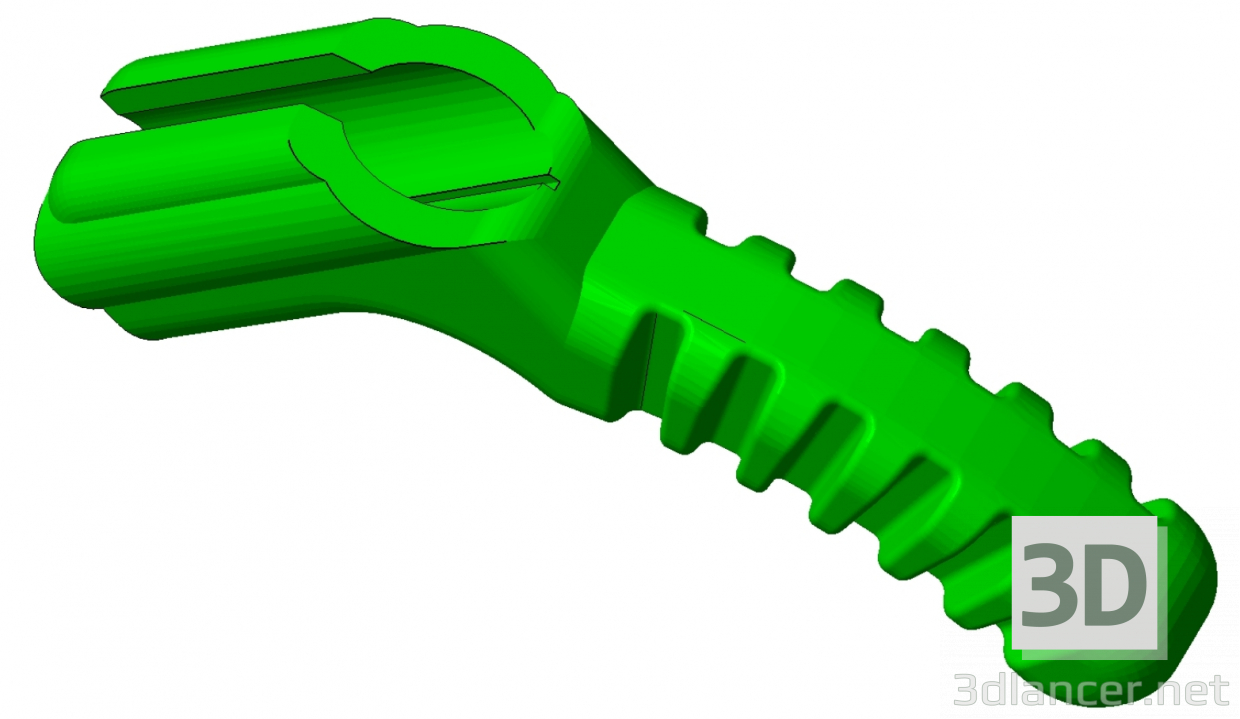
Generic_Handle_Tool 3D Print Model
Summary
Nice generic handle tool
Print Settings
Printer:
FLSun Cube Rafts:
No Supports:
No Resolution:
0.2mm Infill:
40% -
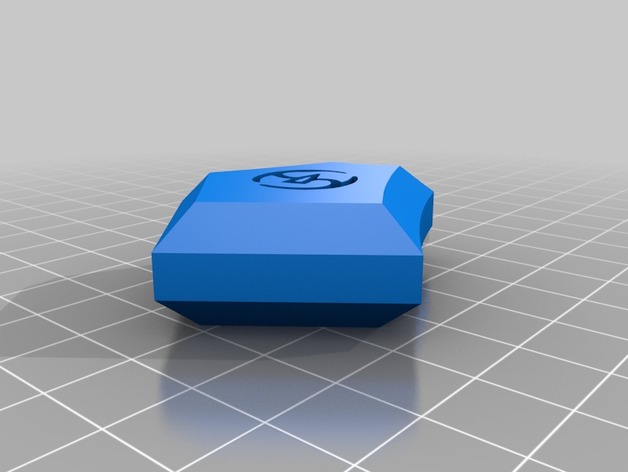
Samurai Soul Stone FFXIV 3D Print Model
Summary
Inspired by Titor’s collection of Soul Stones: https://www.thingiverse.com/thing:1694618 I finally got around to expanding on them. Here’s the Samurai. -
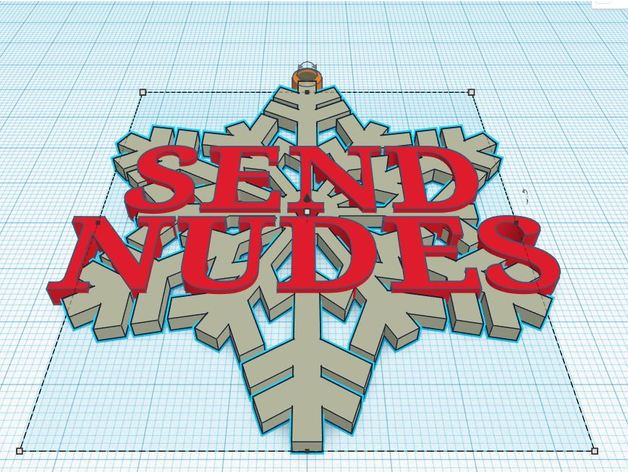
Send Nudes Snowflake Ornament 3D Print Model
Summary
What better way to bring the warmth of the holidays to someone you love than with an ornament for the tree. This remix of a snowflake simply added some basic text, and a loop for hanging. Enjoy!
Print Settings
Printer:
CR-10 Rafts:
No Supports:
No Resolution:
.1 Notes:
I had the most success at 220 filament at 55 bed, but it’s up to you and your PLA. Print it in white and paint the letters red or green for extra fest. Perhaps even a light coat of glue and glitter!
How I Designed This
Threw this inter Tinkercad and put in very little effort. -
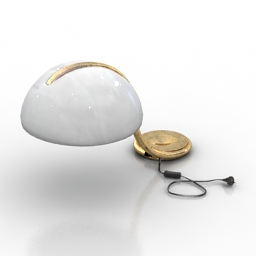
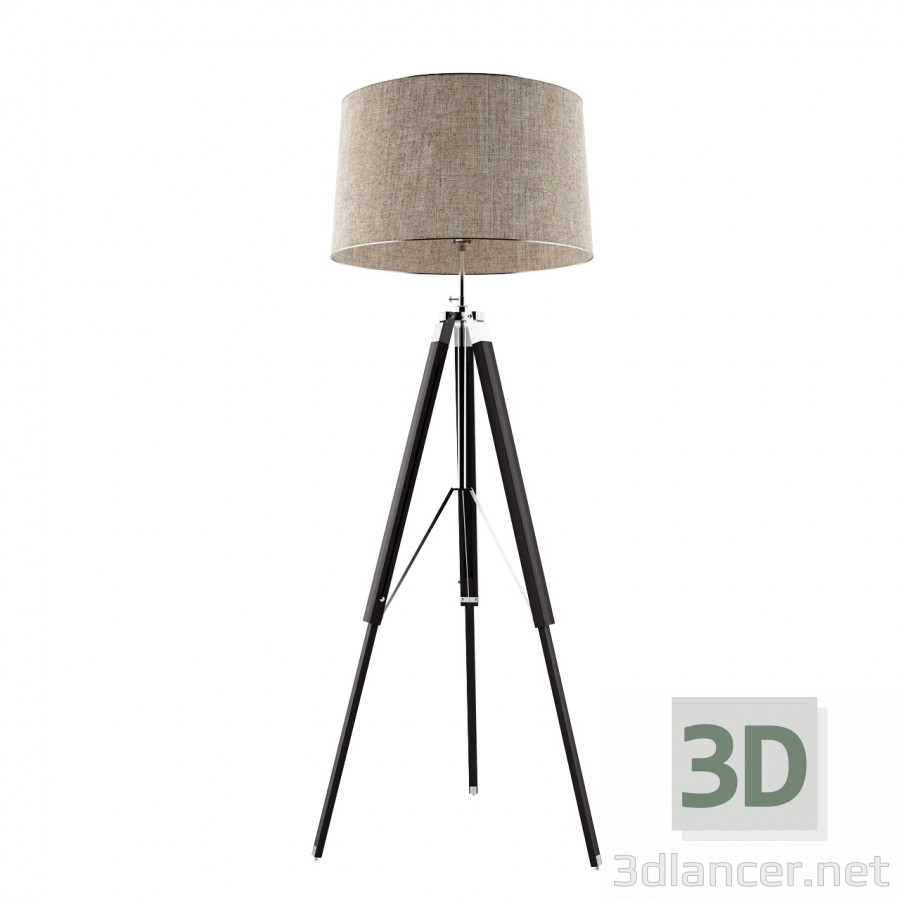
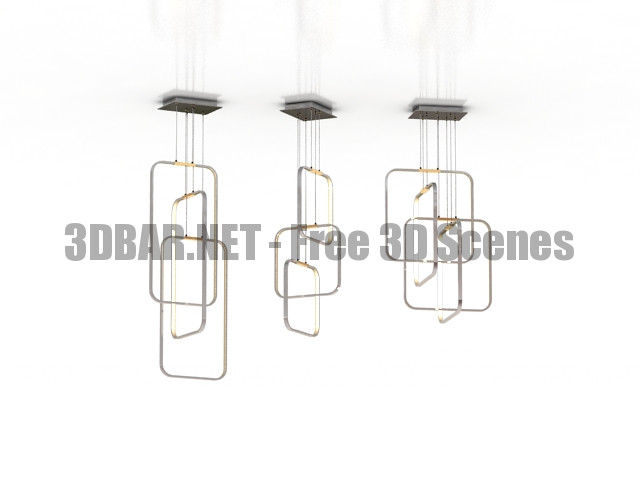
Lamp 3D Model
Additional Info: Lamp SERPENTE N131017 – 3D model (*.gsm+*.3ds) for interior 3d visualization.
-
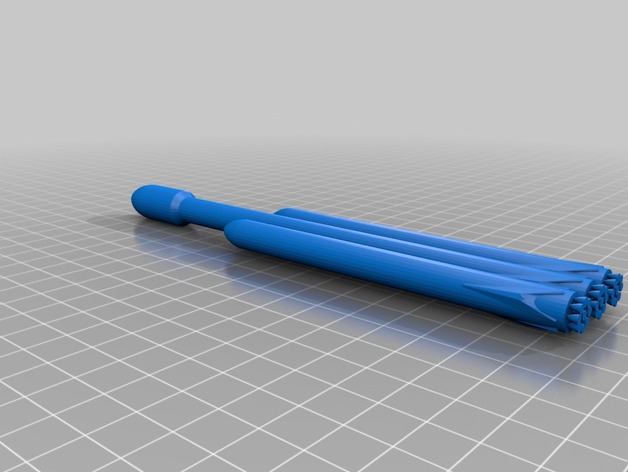
Falcon Heavy 3D Print Model
Summary
This is a simple falcon heavy model that doesn’t have to be printed in a ton of pieces and assembled.
Timelapse of this model being created and printed: https://youtu.be/–wyzDblfzI
The best way to build this is to print 1x – falcon heavy top.stl and 3x – falcon_heavy_engines.stl then glue them together
Flacon_heavy.stl is the complete model with engines attached -
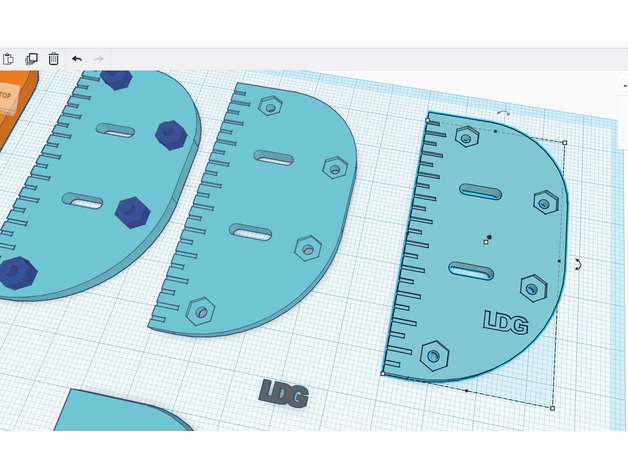
Barebow fingertab Plate 3D Print Model
Summary
Plate that can be added to the leather of an archery FInger tab. The regular stripes make it easier to use this tab for the stringwalking-technique.
4 designs: RH and LH medium-size, RH and LH small size.
(Small design only has 3 bolts) -
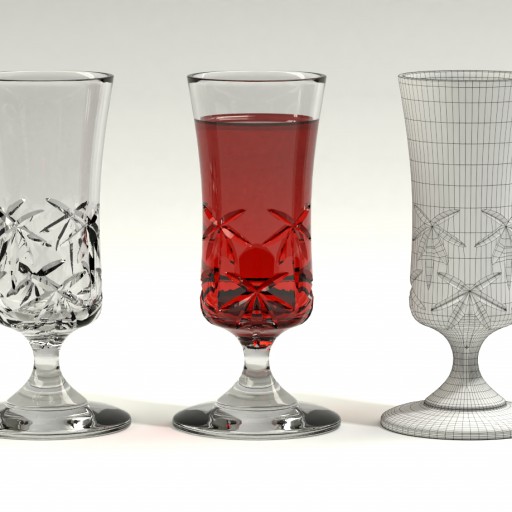
Cut Glass Sherrt Scooner Free 3D Model
Title says it all really. I made this just for something to do really while I have mind block.
-
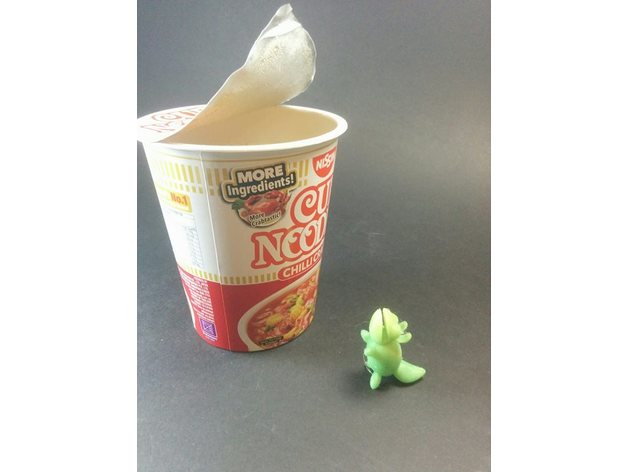
Clippy the Instant Noodles Pal 3D Print Model
Summary
Clippy was born out of the eternal frustration of having to find heavy, flat and somewhat heat proof object to lay over an instant noodle cup while it is cooking.
While the first iteration of this was a simply clip, we decided to take it further to make it look cuter and double up as a fork holder so say hello to Clippy, everyone! =)
Have fun with Clippy! =)
(PS: This is not an endorsement to scoff down copious amounts of instant food, use with moderation!)
===
This model is not to be uploaded or sold in any form and is intended for personal use only.
Check out more of what we are up to over at our Facebook Page (http://www.facebook.com/FunbieStudios) or website (http://www.FunbieStudios.com)
Support us on Patreon – https://www.patreon.com/FunbieStudios -
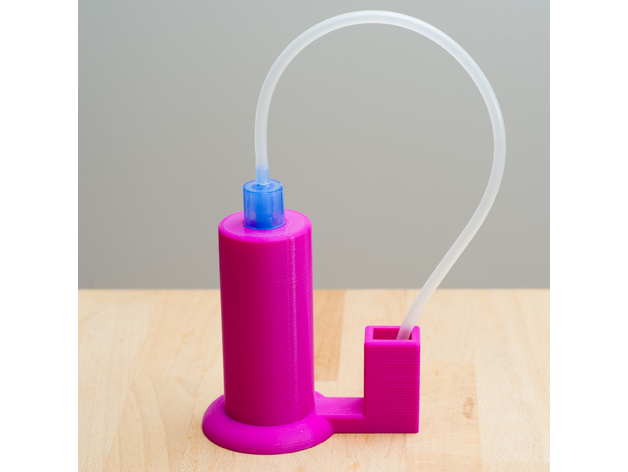
NoseFrida Snotsucker Stand 3D Print Model
Summary
This is a stand to store the NoseFrida Snotsucker. The tube fits into the stand and there’s a sidecar to store the mouthpiece.
Print Settings
Printer Brand:
Prusa Printer:
Prusa Mk2 Rafts:
No Supports:
No Resolution:
.3 Infill:
20% -
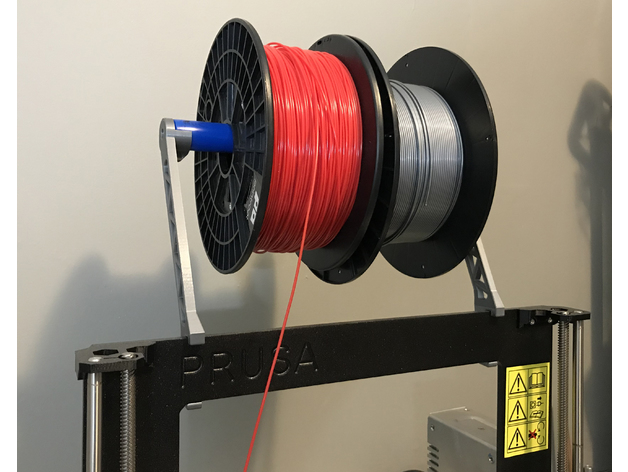
Prusa i3 spool holder arm 3D Print Model
Summary
This is a spool holder for a Prusa i3 that will hold a 1/2 to 3/4 dowel or pipe allowing you to add another spool as well as easily changing spools without removing the arms. I used a piece of PEX piping I had sitting around the house for mine.
Print Settings
Printer Brand:
Prusa Printer:
Prusa Mk2 Rafts:
No Supports:
No Resolution:
.2 Infill:
20
How I Designed This
Designed in Fusion 360. -
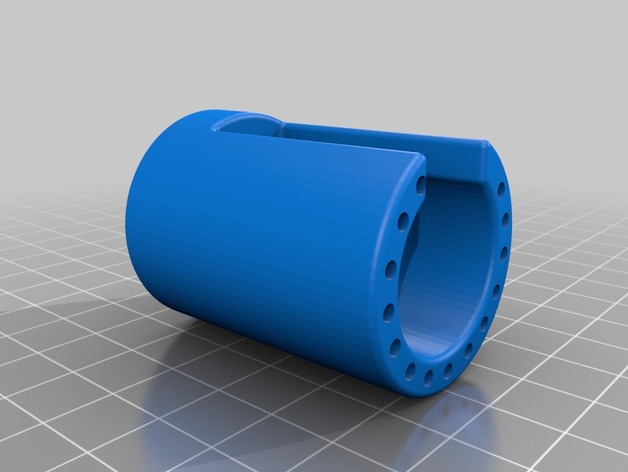
Clippard Valve Cover 3D Print Model
Summary
This is a valve cover for a EC-PM-05-6025-V (likely any EVP Proportional Electronic Valve) mounting to a 15490-5 manifold.
I haven’t tried this yet so it’s still experimental. -
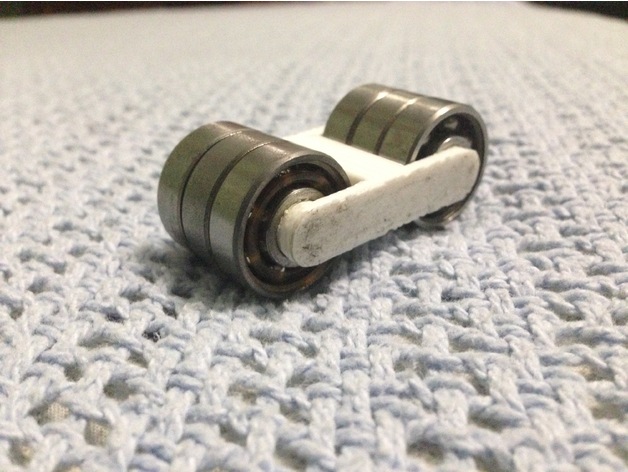
Fidget Hand Roller/Spinner Toy 3D Print Model
Summary
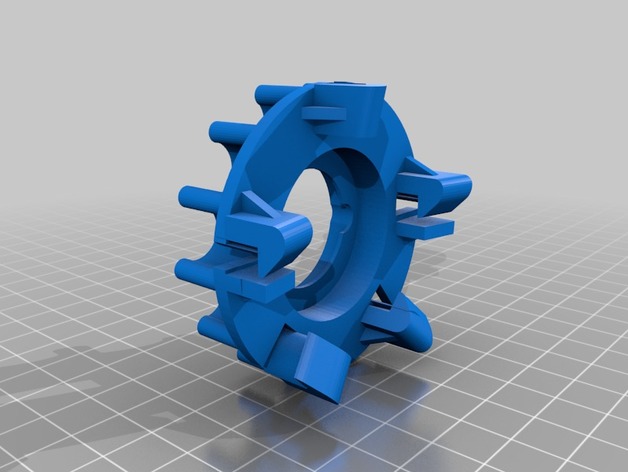
This is SUPER FUN to use and addicting. In my opinion it is better than a fidget spinner. Just find 6 608 bearings (fidget spinner bearings) and put them in. Then push the other plastic peice on the top to keep the bearings in. btw If you have small hands then it might be hard to play with it.
Also check out this video
l l
l l
V
How I Designed This
Made using Onshape.comCustom Section
-
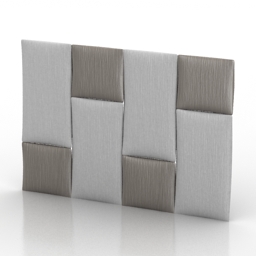
Panel 3D Model
Additional Info: Panel decor wall N181016 – 3D model (*.gsm+*.3ds) for interior 3d visualization.
-
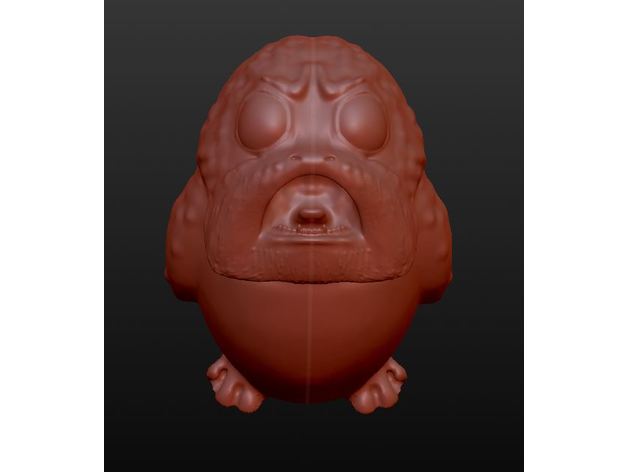
The Octopus099 3D Print Model
Summary
aersgfbvsrgtzbf -
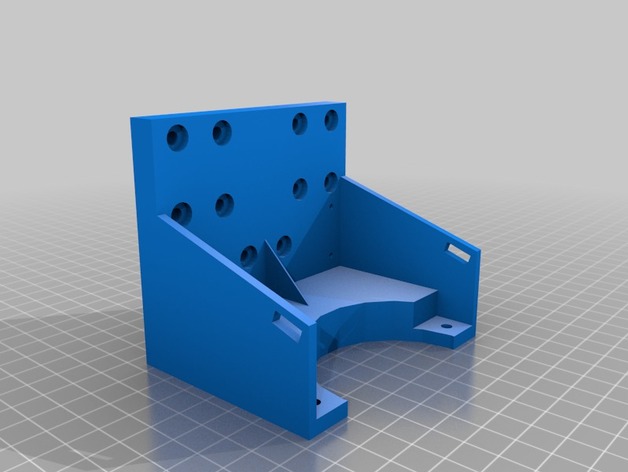
MK8 Dual Etruder Mount 3D Print Model
Summary
Dual extruder mount that I made for my Tronxy Prusa 3.
I wanted to keep all my original single extruder in tact for easy replacement so this one has the mountings for Hictop Linear Bearings which by the measurements are the same as my originals.
Print Settings
Printer:
Tronxy Prusa I3 PM802 Rafts:
No Supports:
No Resolution:
0.1 Infill:
30 Notes:
The X belt tensioners were later glued on as mountings are slightly off -
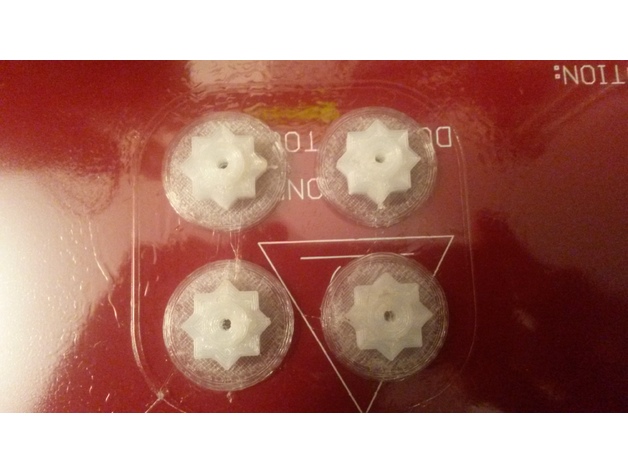
Geeetech i3 Hotbed adjustment nut 3D Print Model
Summary
First thing printed !! The wingnuts to adjust the hotbed are not very confortable to turn, it is a two hands job, so the first thing I printed are these knobs. As I had only some nylon to print with, I added a .5mm skirt to make the piece stick better to the bed as in the first try it got loose and went moving around. I printed without supports, and when the print was high enough, I paused and drop the M3 nuts in, so the top side would have something to lay on. -
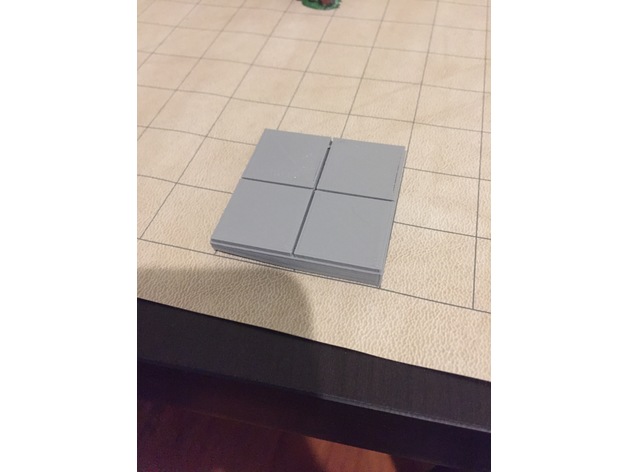
2×2 Dungeon Floor Tile 3D Print Model
Summary
Rafts are encouraged so you dont damage the print removing it but not needed.
Print Settings
Printer Brand:
Wanhao Printer:
Wanhao Duplicator i3 Plus Rafts:
Yes Supports:
No Resolution:
.2 Infill:
20 -
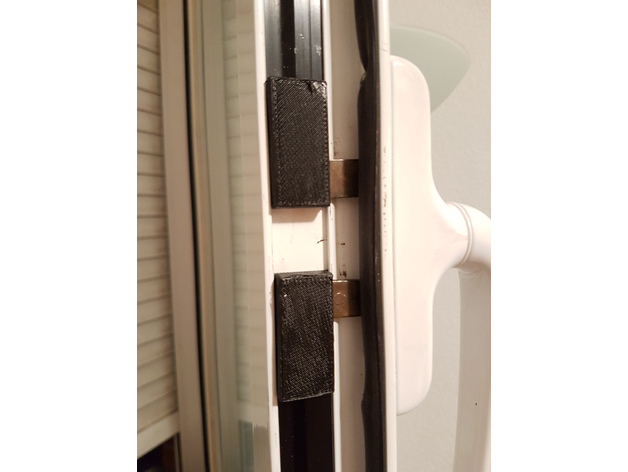
Replacement for the closing system of a PVC Window 3D Print Model
Summary
These are plastic replacements for a PVC window I had to repair.
Print Settings
Printer Brand:
Up! Printer:
Up Plus Rafts:
Yes Supports:
Doesn’t Matter Resolution:
0.25 Infill:
Maximum Notes:
Place the pieces carefuly NOT to put the Z axis of the printer along the axis of force, to ensure durability.