Summary
I still use my Taz 4 which I bought in 2014. One thing that always annoyed me was the fact that the hot end assy holder which only has one screw at the top (for quick assembly) allows the weight of the extruder and hotend parts to allow the bracket to pull forward at the top corners of the bracket. I usually use some plastic clamps to pul the bracket back at the corners to the X-carriage and double bearing holder. I would be happier if the design used screws at the corners. The result of the corners pulling away from the carriage is some slop in the hotend which causes deviations and irregularities in the paths as the hot end changes direction. Some of that can be seen as patterns over a large flat surface. The clamps help some, but the entire system has play so you cannot get rid of all of it. Also, poor adjustment and leveling of the bed can make this issue worse.
Anyway, I have used some cheap plastic clamps from Harbor Freight but they pop off easily because of the geometry, and I decide to do something to improve the clamping.
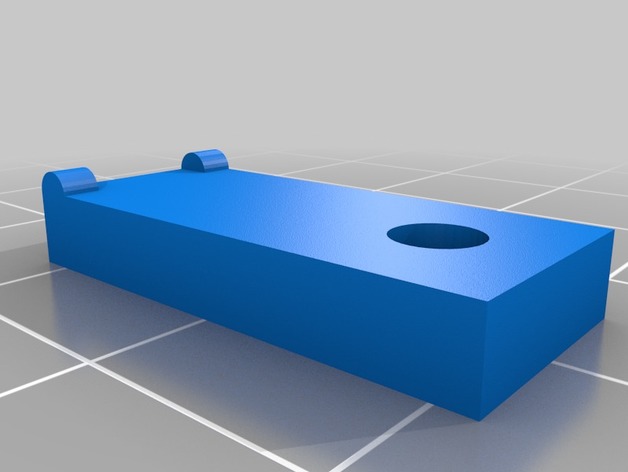
The result is what you see here. It uses two different clamp pieces and a 6-32 x 1.25″ long machine screw and two #6 nuts (because that’s what I had). You could use M3 hardware of the same length. On each corner the existing outer top double bearing holder screw and washer is used to hold the shorter part of the clamp. It is a bit too short for my taste so I will get an M5-.5x15mm screw when I get a chance. The stock one is a bit short even though I recessed it into the clamp. But it works for now. Note that the long clamp has two bumps on one side that go against the extruder bracket. On the left side those two bumps actually straddle the gusset. The extra nut is to help keep the bracket straighter. As you can see it starts to tilt as it is tightened. You only need to tighten it enough to pull the bracket against the X-carriage; just lightly tightened. If I figure out something better, I will revise this. This design will fit both the V1 Budahschnozzle and V2 all metal extruder brackets. (The heights are different). You may need to clean up the holes with a .140″ and .130″, or close, bit to insert the screws more easily. I used a fairly high fill: 90%. I used ABS with a .5 nozzle, .20mm layers and slowed it down about 20% to get the parts to stick well.
There are other solutions involving a major overhaul to the X carriage parts, but this is a fairly easy improvement.
Taz 4 (or 5) Hot End Extruder Bracket Clamp 3D Print Model