Summary
Transformers G1 Frenzy or Rumble cassette hip replacement. .2mm, no supports, 100% infill (if that even matters due to size) some sanding may be required depending on condition of hip/leg areas. Happy to report Frenzy has recovered from his hip surgery and is back in the fight!
Tag: or
-
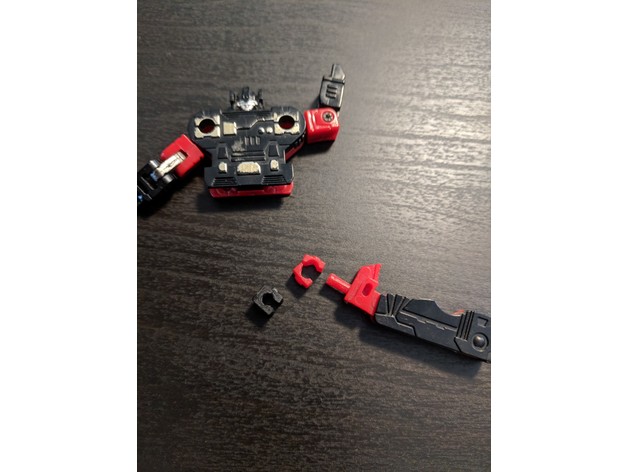
Rumble or Frenzy hip replacement 3D Print Model
-
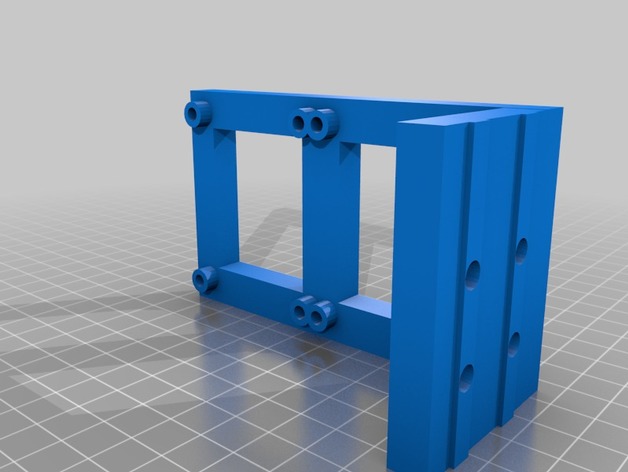
AM8 Duel Mosfets Mount (Or other 2040 Extrusion Frame 3D printers) 3D Print Model
Summary
This is a duel mosfet mount for a am8 frame. Do to the the size of cheap eBay mosfet you might have to drill the holes out very little. This will work with any 2040 Frame printer. -
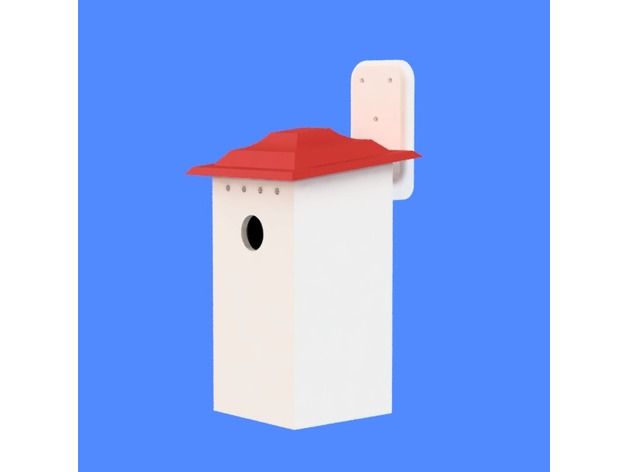
Two Piece Birdhouse for Chickadee, Titmouse, Nuthatch, or Woodpecker 3D Print Model
Summary
This two-piece bird house is designed to attract Chickadees, Tufted Titmouse, Nuthatches, and woodpeckers. It needs to be mounted 8-10 feet above the ground.
The design includes:
Four drain holes
Four ventilation ports above the entrance
A slip-fit roof for easy cleaning
A built-in mounting arm
Please post any comments and Makes – I’d love to see these in their new homes!
Print Settings
Supports:
Yes
Resolution:
.04
Infill:
At least 20% -
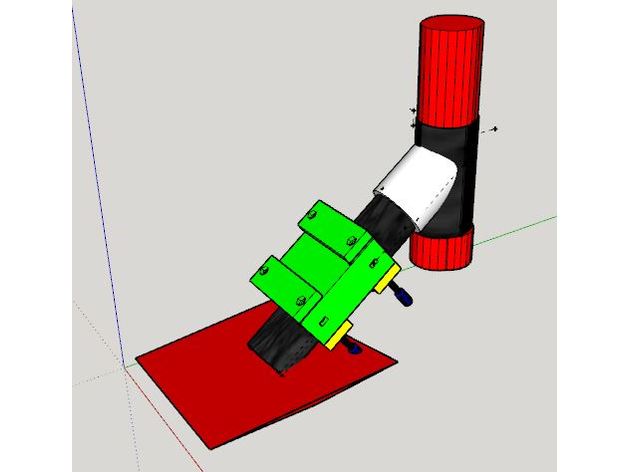
Xiaomi m365 Clamp (scooter Frame Mounting) to add a box or bag – Plateau et Collier de serrage pour rajout de boite ou sac 3D Print Model
Summary
Participant à un groupe Telegram d’entraide/optimisation de la trottinette Xiaomi m365, j’ai modélisé ce plateau équipé de colliers de serrage s’intégrant sur le cadre entre la fourche avant et le deck pour rajouter une boite ou un sac rigide en les pinçant avec les éléments intérieurs,
A assembler avec des vis M5 x 60 à 70 (suivant l’épaisseur de votre boite) à tête cylindrique hexagonale et boulons associés
N’hésitez pas à me faire vos retours pour d’éventuelles améliorations, adaptations nécessaires… -
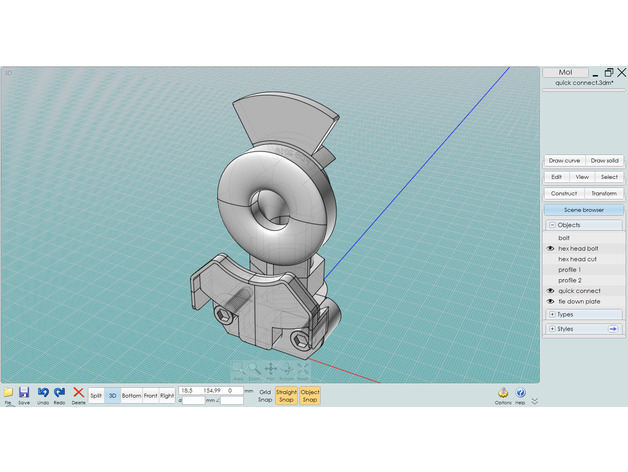
Quick Air Connect or Disconnect aka ( gladhand ) 3D Print Model
Summary
This quick disconnect is use on large trucks for air line connections.
It is known as a GLADHAND -
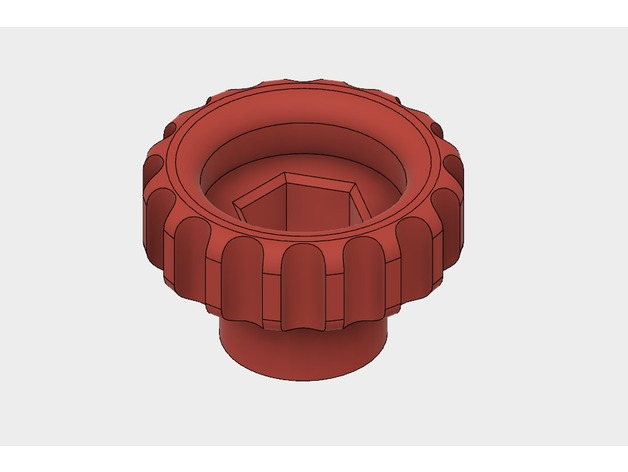
Knob to Hold a 1/4 inch bolt or nut. 3D Print Model
Summary
You can snap in a 1/4 inch bolt or nut . Use to replace a wing nut. -
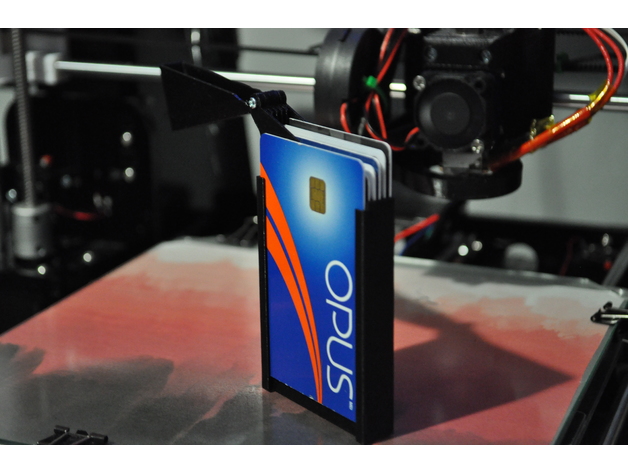
Slim Wallet for 6 cards or under 3D Print Model
Summary
This is still a work in progress
Features:Rails to lead every cards6 possible card spots (1 that is outside of the case for either a magnetic bus card or money)
*A cap to close the wallet
Things needed:
1x 12mm M2 screw
If you have a longer M2 screw, just take two pliers and twist the screw untill it breaks (try until you reach 12mm)
This is a slim wallet inspired by https://www.thingiverse.com/thing:1756637 “Slim Wallet V4”
I had issues using more then 4 cards inside the Slim Wallet V4 so I decided to create a wallet that would be perfect for 5 cards. I added rails to lead every cards. Since I take the bus often, there is a spot for either cash or a bus card.
The wallet is bigger then the Slim Wallet V4 and does not use any mechanism to pull up the cards. This is why every card spots are leveled +2mm everytime.
I am working on fixing some issues of this wallet such as1mm gap between the cap and frame after placing the screweasier removal of cards
Print Settings
Printer:
Anet a8
Rafts:
No
Supports:
No
Infill:
20 -
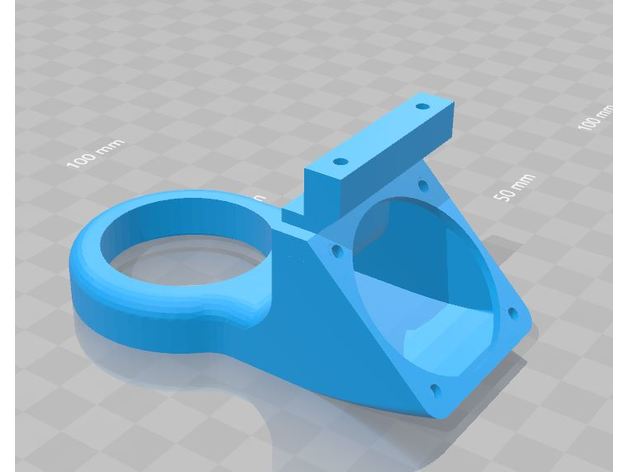
Duplicator i3 Plus (or Clone) Cooling Duct 3D Print Model
Summary
I was looking for a cooling duct for my Balco Touch 3D Printer (duplicator i3 Plus clone) that used the stock 40mm fan and liked the one created for the i3 (https://www.thingiverse.com/thing:969338) However the position of the cooling ring, the mount, fan mount and the depth did not fit my printer. I therefore modified the design to offset the cooling ring, correct the mounting, depth and fan mount to fit. This is the result which should fit any i3 Plus or clone with a stock 40mm fan. -
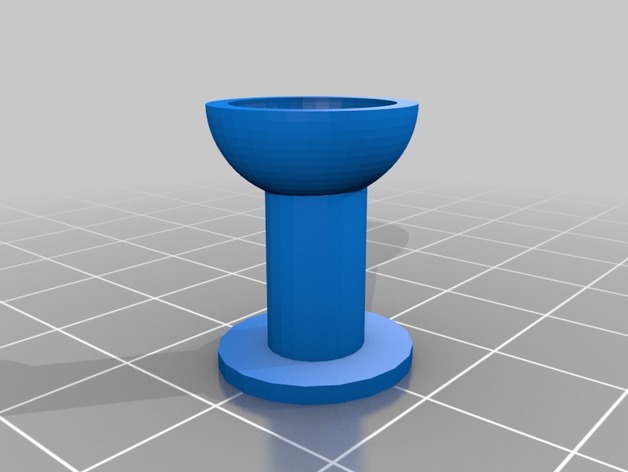
Laver (Simple) for Tabernacle or Temple 3D Print Model
Summary
Simple laver for tabernacle or temple models. -
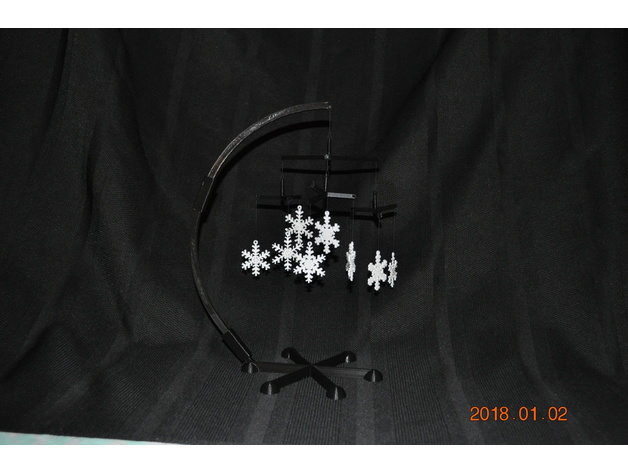
SnowFlake Mobile – Desktop or Free Hanging 3D Print Model
Summary
This is a snowflake mobile created in BlocksCAD. This can be either a desktop mobile or a (simpler) free hanging mobile.
It uses the “earring” snowflakes from https://www.thingiverse.com/thing:2728193 for the snowflakes.
The xml files used to create the geometry in BlocksCAD are also provided.
PRINT INSTRUCTIONS FOR DESKTOP MOBILE:
suggestion: white snowflakes
print 9 “earring” snowflakes from https://www.thingiverse.com/thing:2728193
suggestion: black mobile pieces
print 3 small arms
print 1 large arm
print 1 base
print 1 lower arm
print 1 upper arm
print 1 connector straight
print 1 connector curved
ASSEMBLY INSTRUCTIONS FOR DESKTOP MOBILE:
I used heavy duty black thread to connect the snowflakes to the arms.
Attach 3 snowflakes to outer ends of the arms of the small arm using black thread. The distance between the top of the snowflake and the small arm should be about 1 to 5 cm. Repeat for the other two small arms. Varying the thread lengths provides a more esthetic display.
Attach the center of one of the small arms to one of the outer end of one of the arms on the large arm using black thread. This thread length should be about 2 cm. Repeat for the other two small arms
Attach the center of the large arm to the hole in the top of the large arm using black thread. The length should be about 2 cm.
Assemble the straight end of the lower arm to the base using the straight connector.
Assemble the upper arm (& snowflakes) to the lower arm using the curved connecter.
NOTE WELL:
The small arms and large arms will not hang level with random snowflakes with different weights. The thread length has an insignificant impact on whether the arms hang level.
ENGINEERING INSTRUCTORS: A student challenge would be to compute the equilibrium position of the small arm based on the weight of the individual snowflakes attached. It would be considered cruel and unusual punishment to ask students to compute the equilibrium position of the entire assembly.
OPERATION:
No batteries required.
The slightest breeze will set the mobile in motion when thread is used.
put it near a heating register and the air currents will set it in motion
when all else fails:
— gently spin the top of the center large arm
— or blow on it
PRINT INSTRUCTIONS FOR FREE HANGING MOBILE:
suggestion: white snowflakes
print 9 “earring” snowflakes from https://www.thingiverse.com/thing:2728193
suggestion: black mobile pieces
print 3 small arms
print 1 large arm
ASSEMBLY INSTRUCTIONS FOR FREE HANGING MOBILE:
Attach 3 snowflakes to outer ends of the arms of the small arm using black thread. The distance between the top of the snowflake and the small arm should be about 1 to 5 cm. Repeat for the other two small arms. Varying the thread lengths provides a more esthetic display.
Attach the center of one of the small arms to one of the outer end of one of the arms on the large arm using black thread. This thread length should be about 2 cm. Repeat for the other two small arms
Attach a long piece of black thread to the center of the large arm.
Hang the assembly at a convenient location. -
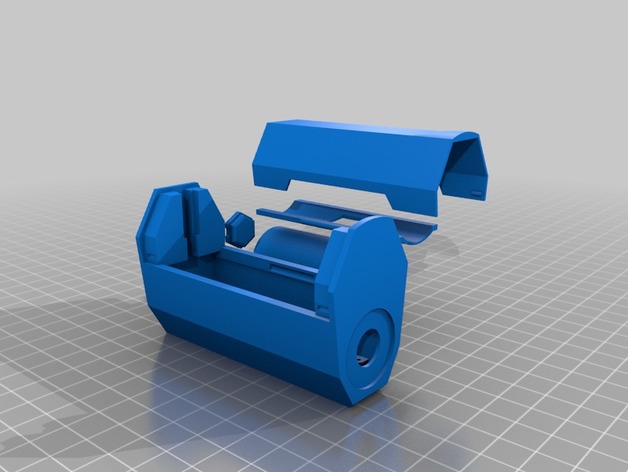
SX350J vape mod with 26650 or 18650 adapter V2. 3D Print Model
Summary
SX350J vape mod with 26650 or 18650 adapter V2.
For YiHi SX350J Boxer mod by Ginger Vaper, just disassemble the mod and transfer everything (except lower battery connector) into this enclosure. This enclosure only use 1 battery (26650 or 18650) so you can charge the battery directly using USB port. -
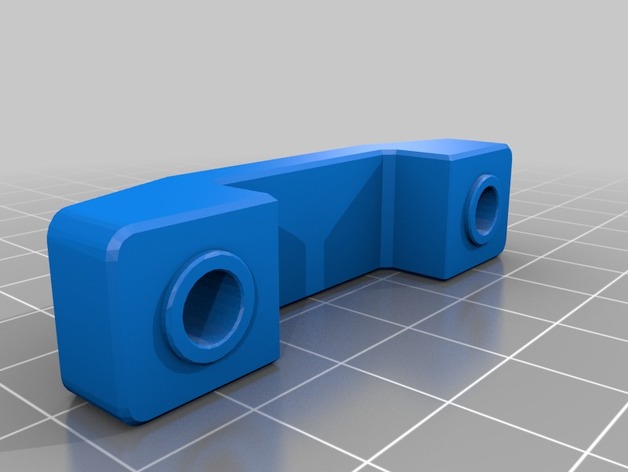
Tronxy X3 or X3A Y-Stabilizer 3D Print Model
Summary
Just another remix! I kinda feel like a model DJ… Hahaha
Anyways I wanted to use the original but the bolt heads that came with my bed and from the local hardware store where all to large to fit in the recess, fortunately the nuts for the bed are smaller than most “Chinese” I guess. So now you can use large heads on this thingi but flipping them around. Hope its useful. 🙂 -
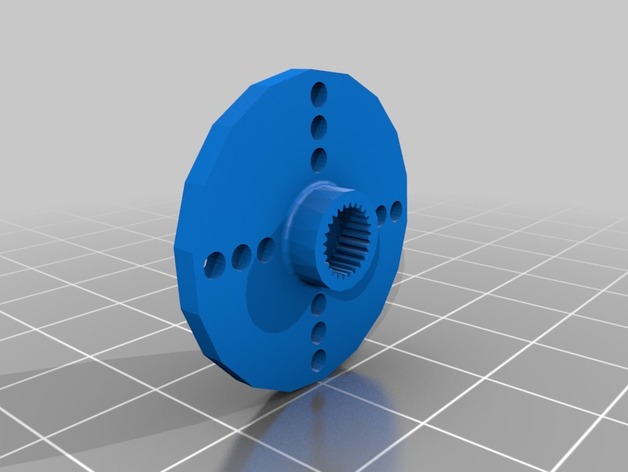
Servo Horn Compatible with Futaba 3F or Hitec H25T 3D Print Model
Summary
My hobby projects often find me needing a servo horn that I don’t have. I wanted to model a horn with the correct splines to fit the standard size servos that I typically use. This Thing includes the model for a round servo horn with splines that are compatible with either Futaba 3F or Hitec H25T spline servos (this covers most newer standard size servos).
The horn is a tight fit and you may need to slightly scale the model to account for your printer’s particularities.
The DesignSpark Mechanical source model is provided. This allows you to make a custom servo horn.
Print Settings
Printer:
Malyan M150 Rafts:
No Supports:
No Resolution:
0.2 Infill:
25% Notes:
Material: PLA
Slicer: Kisslicer v1.5 -
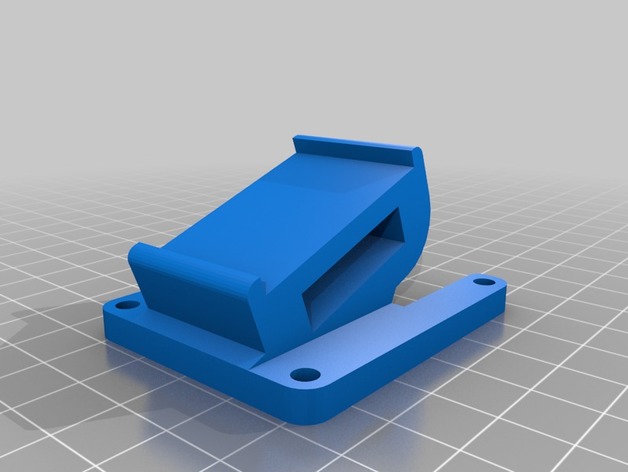
MQC-ONE or 40Width x50Length bolt, session mount 3D Print Model
Summary
40width by 50 length gopro session mount or runcam cube. -
Taz 4 (or 5) Hot End Extruder Bracket Clamp 3D Print Model
Summary
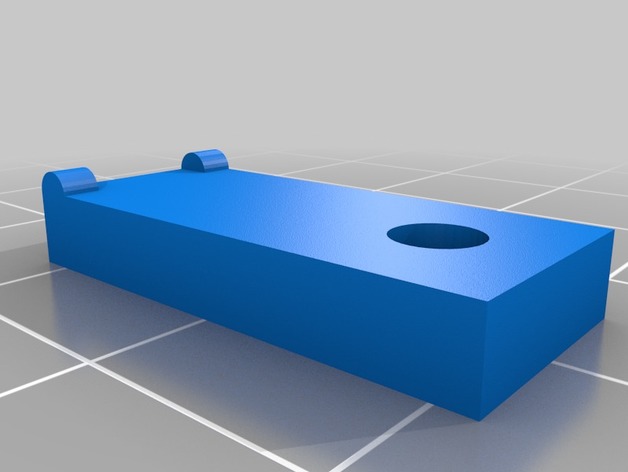
I still use my Taz 4 which I bought in 2014. One thing that always annoyed me was the fact that the hot end assy holder which only has one screw at the top (for quick assembly) allows the weight of the extruder and hotend parts to allow the bracket to pull forward at the top corners of the bracket. I usually use some plastic clamps to pul the bracket back at the corners to the X-carriage and double bearing holder. I would be happier if the design used screws at the corners. The result of the corners pulling away from the carriage is some slop in the hotend which causes deviations and irregularities in the paths as the hot end changes direction. Some of that can be seen as patterns over a large flat surface. The clamps help some, but the entire system has play so you cannot get rid of all of it. Also, poor adjustment and leveling of the bed can make this issue worse.
Anyway, I have used some cheap plastic clamps from Harbor Freight but they pop off easily because of the geometry, and I decide to do something to improve the clamping.
The result is what you see here. It uses two different clamp pieces and a 6-32 x 1.25″ long machine screw and two #6 nuts (because that’s what I had). You could use M3 hardware of the same length. On each corner the existing outer top double bearing holder screw and washer is used to hold the shorter part of the clamp. It is a bit too short for my taste so I will get an M5-.5x15mm screw when I get a chance. The stock one is a bit short even though I recessed it into the clamp. But it works for now. Note that the long clamp has two bumps on one side that go against the extruder bracket. On the left side those two bumps actually straddle the gusset. The extra nut is to help keep the bracket straighter. As you can see it starts to tilt as it is tightened. You only need to tighten it enough to pull the bracket against the X-carriage; just lightly tightened. If I figure out something better, I will revise this. This design will fit both the V1 Budahschnozzle and V2 all metal extruder brackets. (The heights are different). You may need to clean up the holes with a .140″ and .130″, or close, bit to insert the screws more easily. I used a fairly high fill: 90%. I used ABS with a .5 nozzle, .20mm layers and slowed it down about 20% to get the parts to stick well.
There are other solutions involving a major overhaul to the X carriage parts, but this is a fairly easy improvement. -
608ZZ rubber or tire 3D Print Model
Summary
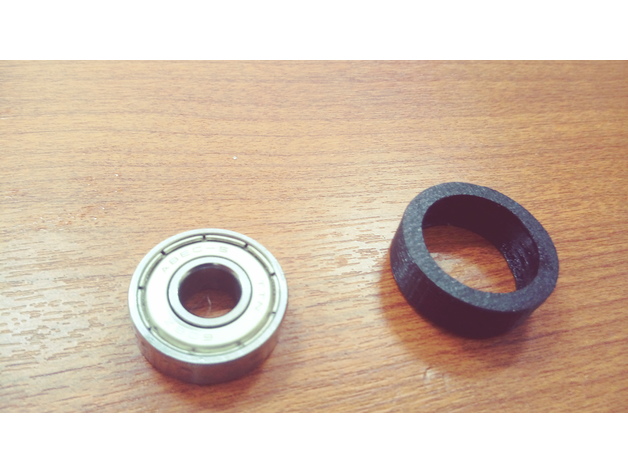
When you need transform a 608zz bearing into a tire or simply add to it some rubber for 3d carriage application or make the bearing can roll over an alluminium profile, you can use this thing. It’s a rubber with the dimmensions of the 608 bearing. You can use the solid work model to modify it in accordance to your need.
IMPORTANT: You must use flexible filament.
Remember for flex fil:
print SLOW speed (no more 30mm/s)
No retract
Enjoy it!
Print Settings
Printer Brand:
Prusa Printer:
Prusa Clone Rafts:
Doesn’t Matter Supports:
Doesn’t Matter Resolution:
0.2mm Infill:
40% -
Bacchus or satyre 3D Print Model
Summary
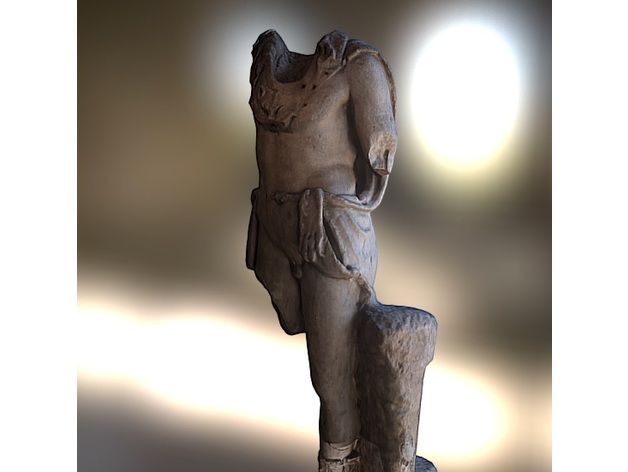
Bacchus or satyre, roman copy 2nd century CE from a greek original, Rome (?), marble. Musée du Cinquentenaire (Brussels, Belgium). Made with ReCap and ReMake from Autodesk.
Young man wearing a panther clothe on his back, the head of the panther on his chest. The baseboard and the foot are modern.
For more updates, please follow @GeoffreyMarchal on Twitter. -
Air Pump Nozzle for Air Mattress or Inflatable 3D Print Model
Summary
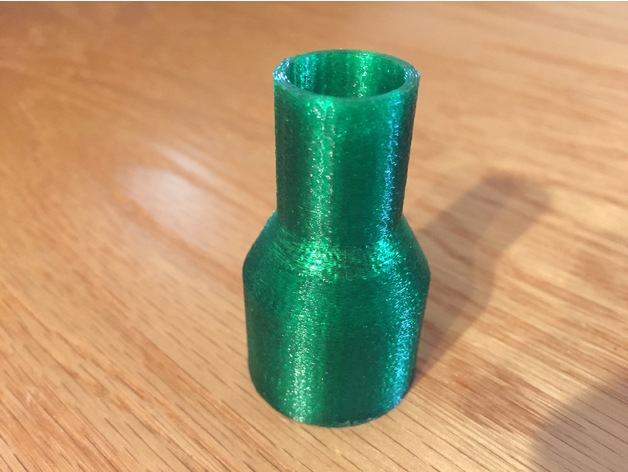
Did you loose your air pump nozzle too? This nozzle was designed to fit those cheap air pumps that may have come with an air mattress or were sold separately. Nozzle fits on the outside of the pump and fits in the air mattress. I have uploaded the STL that is 20mm inner diameter to fit the pump and 17.5mm outer diameter to fit inside the air mattress or inflatable. If your dimensions are different, I have uploaded the SCAD file so that you can tweak the measurements to your needs. -
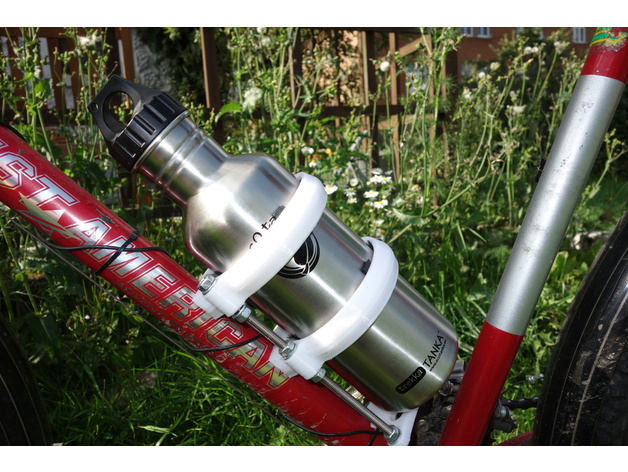
ECOtanka or SIGG Waterbottle holder for bike 3D Print Model
Summary
This is a easy to print bottleholder for Bikes. It fits for SIGG and ECOtanka bottles with the size of 1 litre. The holder is for bikes with 35mm frame diameter. But it fits also on a bit bigger or smaller one.
This holder is super stable! Use M6 bolts for fixing the parts.
Tape some foam or felt in the holder to get this thing very silent and safe for your bottle! -
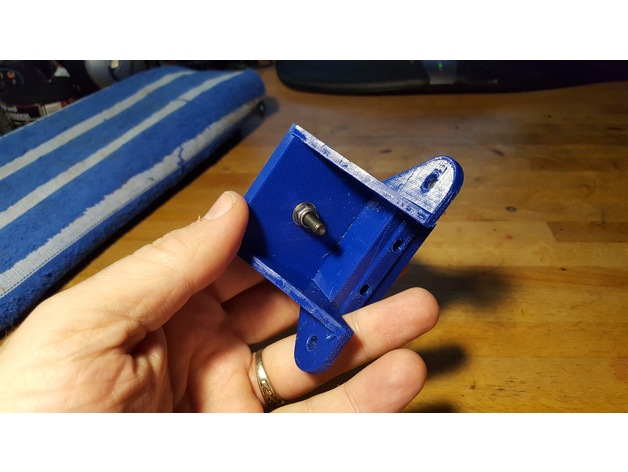
idler pulley mount for M5 bolt hole, mounts on 2020 or larger v-slot 3D Print Model
Summary
This is a simple mount for attaching to a 2020 or 2040 v-slot rail, to hold a single 5mm bore idler pulley. I needed this for my installation of a 3-leadscrew Z axis system on my D-bot.
It’s useful to help take up the slack if a belt is a little longer than needed, or to change the direction of the belt, or whatever.
A much smaller and more compact mount could be designed to hold a single 5mm bore pulley, but I just started with the Z axis bearing mount assembly that I’d remixed as part of my bearing assembly for 3 leadscrew setups.
The following thing has a photo that includes this bearing mount as part of my installed 3-leadscrew Z axis.https://www.thingiverse.com/thing:2401504
The Z axis bearing mount in that thing is a remix of the original Z axis stepper motor mount. I typically include sources in my things, but in this case I don’t have any sources. I edited the original D-bot stepper mount in Tinkercad to produce the version I used in my 3-screw bearing assemblies. For this 5mm bore pulley mount I simply filled in the hole that held the flanged bearing, filled in the screw holes, and then added a single 5mm diameter hole in the center of the mount surface.
In my case, a single M5 washer and a 7mm high aluminum spacer raised the pulley up to the same height as my other geared pulleys used in the 3-leadscrew Z axis system. Whatever spacing you need you can either fulfill by finding an appropriate spacer, stack of washers, printed spacer, or whatever.
I printed this in PETG at 260/70 C with a .4mm nozzle onto PEI. I used 98% infill to make it nice and solid. You can print this with whatever settings work with whatever filament you choose on your printer, but I’d recommend it be printed solid, since this pulley may be under considerable sideways strain if it’s being used to take up slack in a fairly tight belt. -
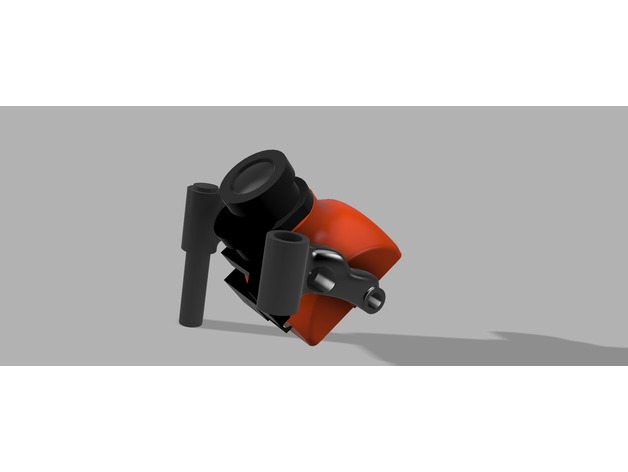
HS1177 or Micro FPV Cam Mount – 30.5 mm spacing 5mm standoff 3D Print Model
Summary
This mount will work for either an hs1177 or a micro fpv cam -
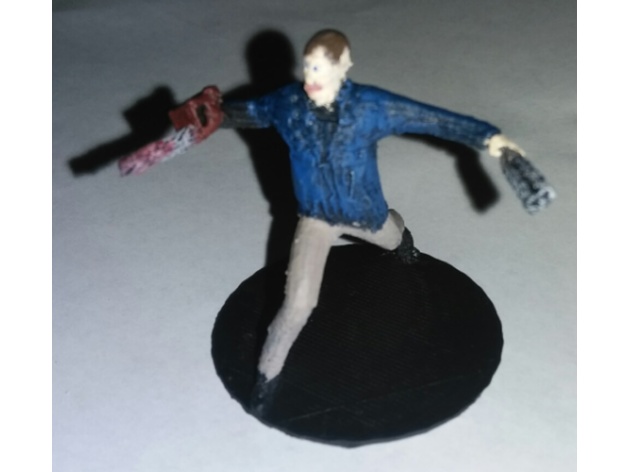
“Ash”, or a close facsimile thereof 3D Print Model
Summary
I don’t want to step on any toes, so he’s not a 100% faithful reproduction of Ash. But, he’s got a boomstick, a chainsaw for a hand, and prints ok at 50-55mm scale.
I included the .blend and graphscad .scad saves if you want to remix it. The character is from makehuman, so composed of multiple meshes.
The boomstick is done in SCAD then moved to blender for sculpting.
The chainsaw was done in SCAD and brought over to blender for compositing with the other models.
Print Settings
Printer:
Bender (RAMPs on a Monoprice Mini) Rafts:
Doesn’t Matter Supports:
Yes Resolution:
0.13125 Infill:
5% Notes:
You can increase the infill if you like for a heavier figurine. -
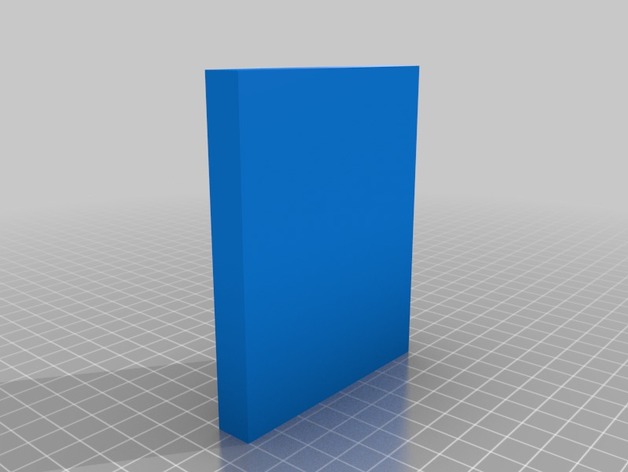
MC grass or mud stand 3D Print Model
Summary
making this for a friend for his bike, to use the kickstand on grass without the bike falling over
feel free to costimize or let me know if you want it with another brand or just plain 🙂 -
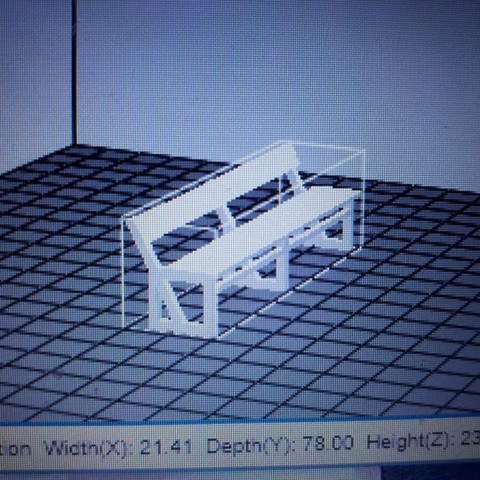
bench 3D Print Model
My friend builds R C model boats and he asked me to make some benches for a Hong Kong harbour Ferry he was making. They don’t work but they look like the back should flip one way and then the other so might be ok for a tram as well anyway. I thought I would share. Its only a bench but your welcome to use the benches as you please but not for sale of the model or the files and you should be able to rescale and your welcome to do so
-
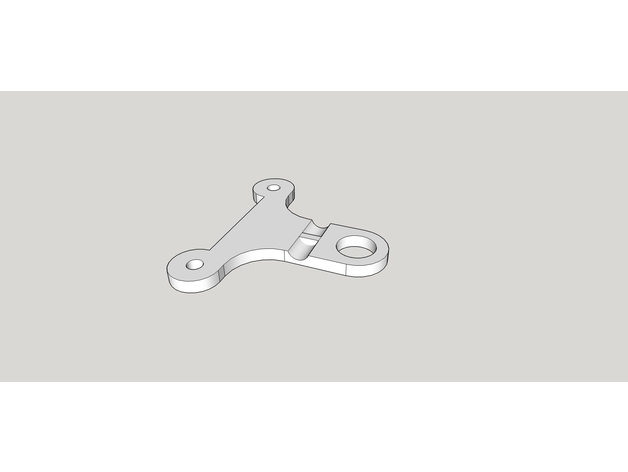
Break away antenna mount for alien style drone or any with 32mm post spread 3D Print Model
Summary
this mount I made because I kept breaking antennas, with this I just have to replace the mount instead of the antenna, lots cheaper, just mount your SMA or RPSMA extension through the hole and attach antenna
Print Settings
Printer Brand:
MakerBot Printer:
MakerBot Replicator 2X Rafts:
Doesn’t Matter Supports:
No Resolution:
High -
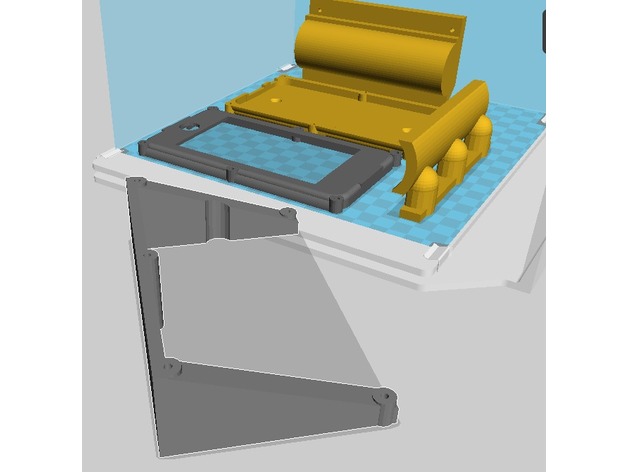
This iphone holder for the motorcycle or bike 3D Print Model
Summary
This iphone holder I made for the motorcycle or bike. He is specially meant as speedometer for your iphone 6 -

3D Saturn SD365 Inflatable Boat model 3D Model
This is a realistic model of the Saturn SD365 Inflatable Boat.The model is highly accurate.This model consists of great geometry, fantastic detail, and the materials and textures are included.The files are 3ds Max 2011,obj,fbx.The 3ds Max 2011 scene is also optimized for V-Ray.This Saturn SD365 Inflatable Boat is ideal for photorealistic visualizations.With Smoothing :Poly Count: 419792Vertex Count: 460877* Real-world scale (Millimeters)File formats other than 3ds Max exported as base mesh (not smoothed)
-
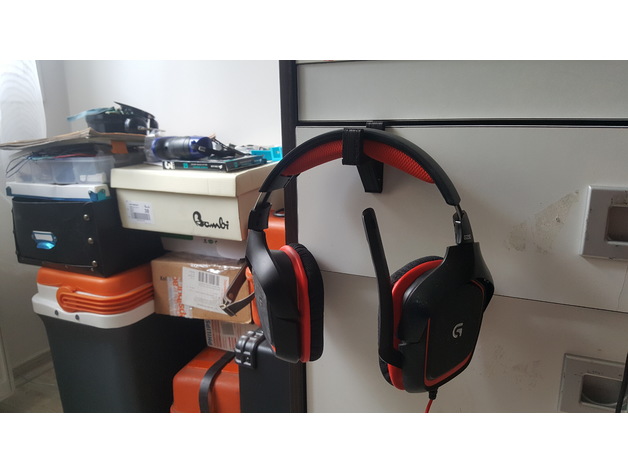
Headset or headphone holder 3D Print Model
Summary
easy to print, Small and strong holder.Headphone/headset holder for drawer or screen
Print Settings
Printer:
pursa i3 Rafts:
Doesn’t Matter Supports:
No Infill:
20 -
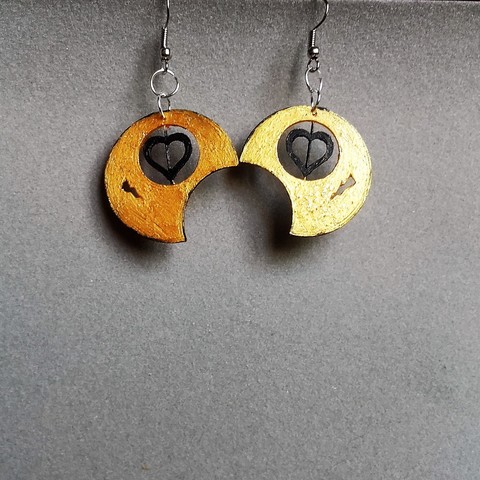
boucle d’oreille coeur rond
voici des boucles d’oreilles que j’ai créée, il y a quelques mois et que je viens de remettre au goût du jour.
-
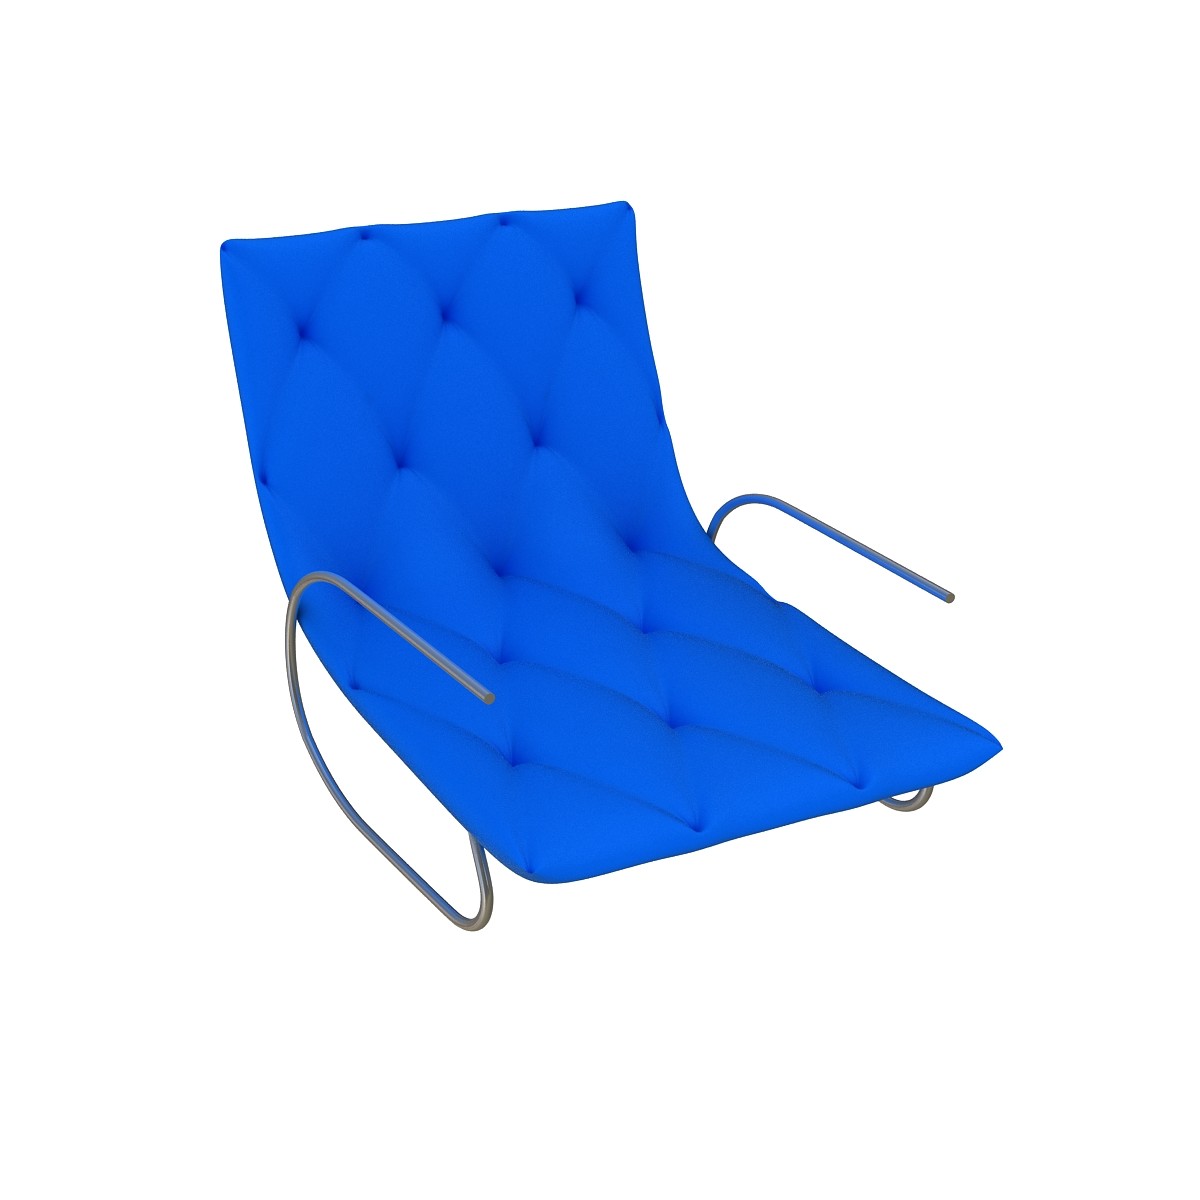
barcelona chair 3D model
This ‘barcelona chair ‘ is a high quality, photo real model that will enhance detail and realism to any of your rendering projects, detailed design that allows for close-up renders, and was originally modeled in 3DS MAX 2009 and rendered with V-RayAvailable in the following file formats:- 3ds Max 2009 with V-Ray 2.0- FBX 2009- OBJ 2009- 3ds 2009Turbosmooth is applied..- You can make the Poly count higher by the Meshsmooth and TurboSmooth level.- Colors easily modified- Highly detailed model- Just put model in your scene and render- Completely ready for use in visualization- Ideal for photorealistic visualizations- Ideal for close up- All scene files are included.- All scene images are from Vray.- All Materials are logically namedThe main format is in 3ds max 2009.Thanks
-
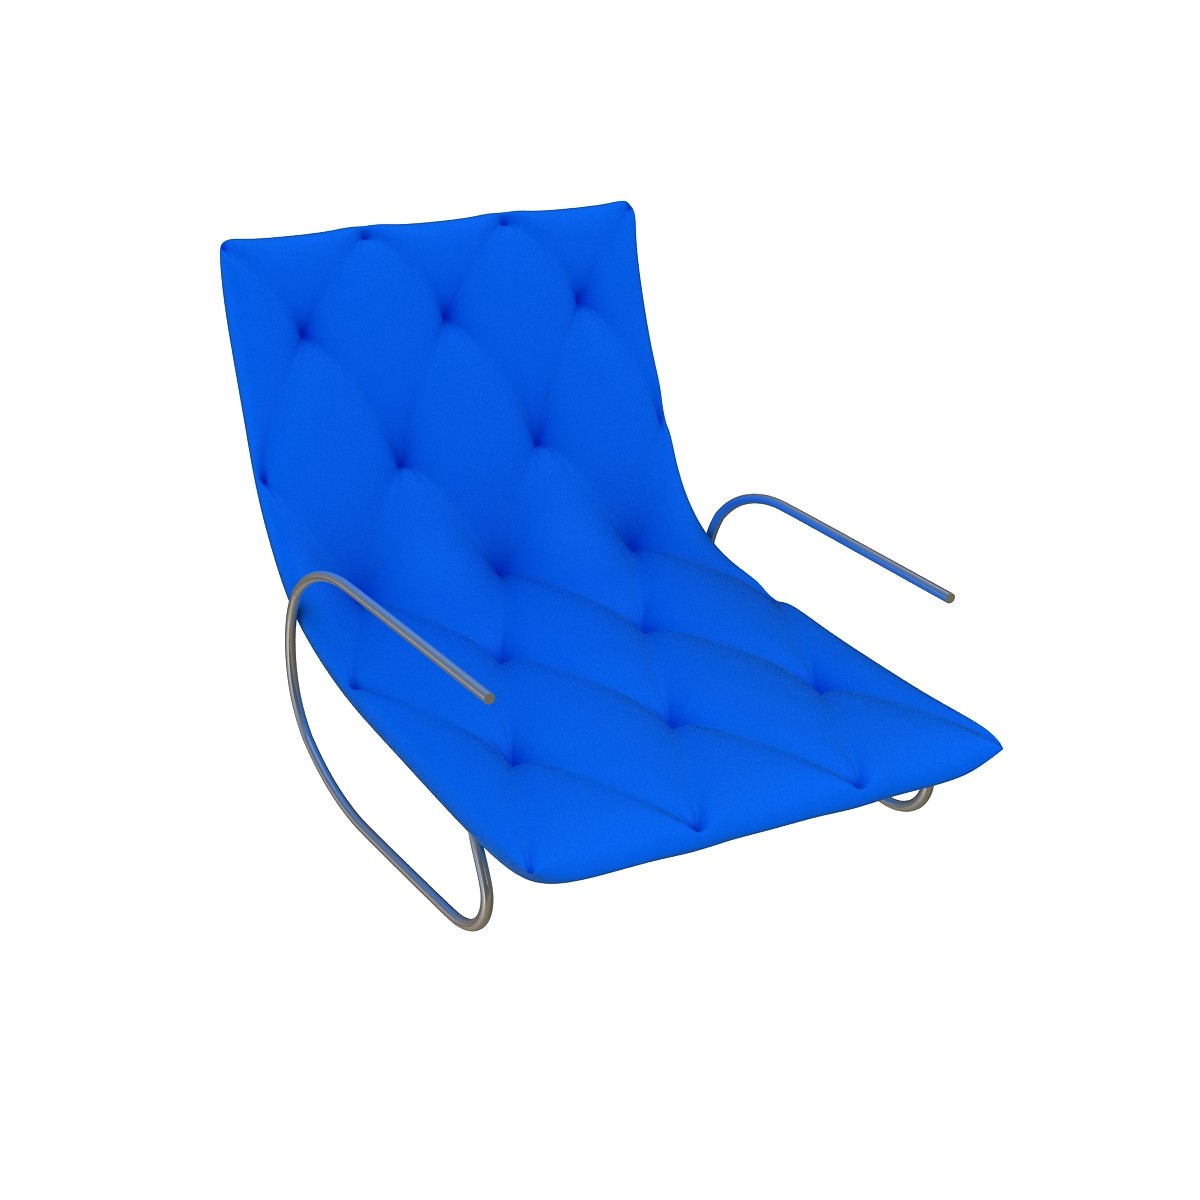
barcelona chair
This ‘barcelona chair ‘ is a high quality, photo real model that will enhance detail and realism to any of your rendering projects, detailed design that allows for close-up renders, and was originally modeled in 3DS MAX 2009 and rendered with V-RayAvailable in the following file formats:- 3ds Max 2009 with V-Ray 2.0- FBX 2009- OBJ 2009- 3ds 2009Turbosmooth is applied..- You can make the Poly count higher by the Meshsmooth and TurboSmooth level.- Colors easily modified- Highly detailed model- Just put model in your scene and render- Completely ready for use in visualization- Ideal for photorealistic visualizations- Ideal for close up- All scene files are included.- All scene images are from Vray.- All Materials are logically namedThe main format is in 3ds max 2009.Thanks
-
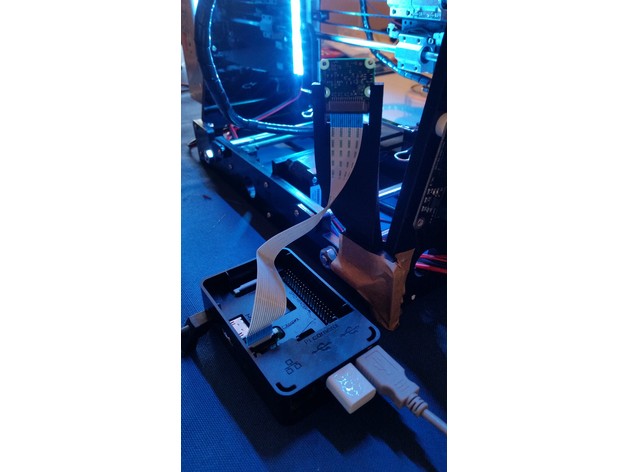
Raspberry Pi Camera 1.3 holder for Anet A8 (or any 3D printer with 8mm frame)
Summary
Simple one piece holder for Raspberry Pi Camera 1.3, i made this for the Anet A8 but as long your 3Dprinter frame is 8mm and you have clearance, it should be compatible.
Can be printed without supports.
Print Settings
Printer Brand:
Prusa Printer:
Prusa Clone Rafts:
No Supports:
No Resolution:
0.2 Infill:
10-20% -
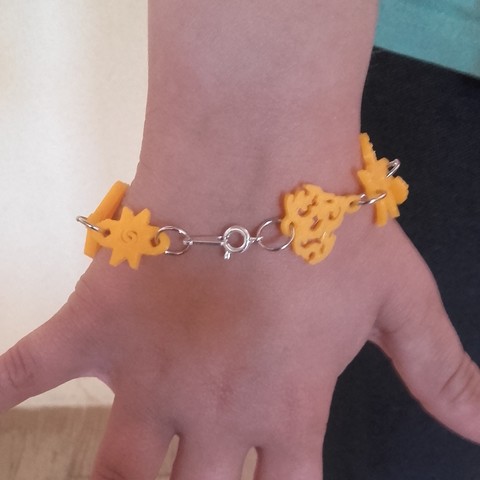
bracelet
j’ai réalisé différents petits pendentifs qui rassemblé peuvent former un bracelet ou un collier ou même des boucles d’oreille.