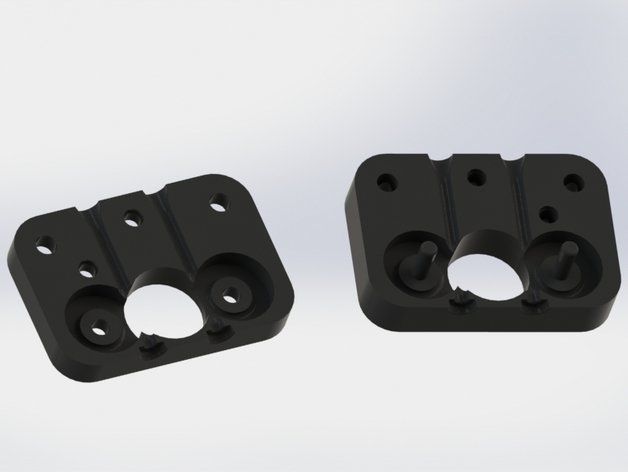
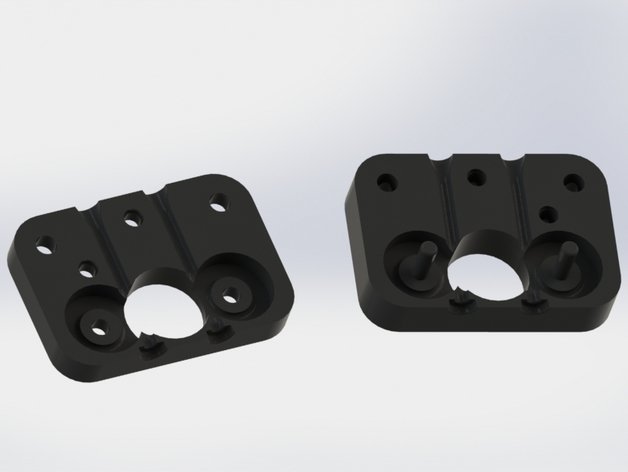
Summary
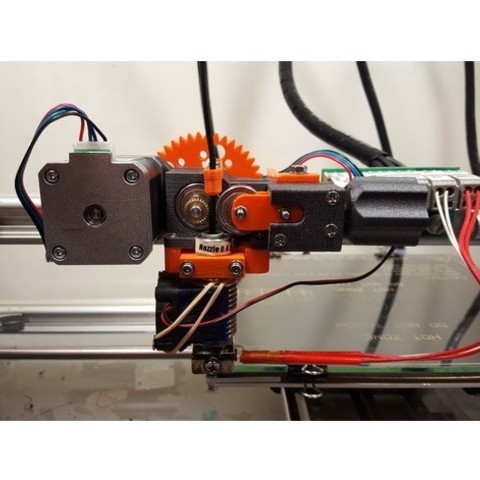
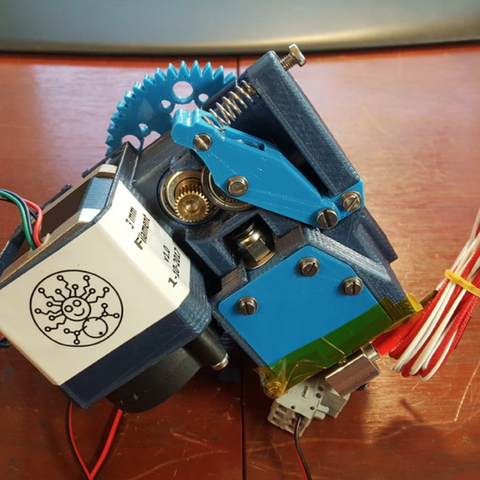
These are the remixed gears I used in my Pitan make (https://www.thingiverse.com/make:493744) that are 5mm thick and have very tight D shaft and Hex Bolt Head fit. I ended up using Nylon because the small gear D shaft warbled out when I used PLA. Also as I mentioned in my make, I bought the hardware in bulk so send me a message if you would be interested in a set that includes the nuts, bolts, screws, washer, bearings (a 623 and two 695s or 625s), mk8 gear, spring, 3 meters of Nylon filament (enough to print gears twice), metal bowden groove mount, and some ptfe tube.
Tag: extruder
-
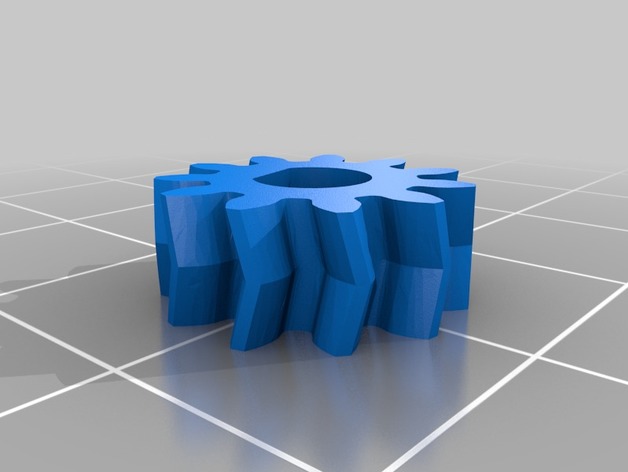
Pitan Geared Extruder (thinner tighter gears remix) 3D Print Model
-
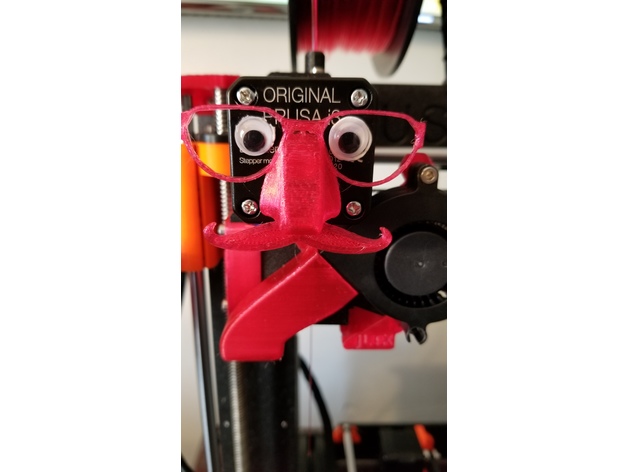
Novelty Glasses Mustache Extruder Indicator 3D Print Model
Summary
Just a funny Extruder Indicator i had to do up after adding the eyes lol
https://youtu.be/InjhvkvRYXw
Print Settings
Printer Brand:
Prusa
Printer:
i3 MK3
Rafts:
Doesn’t Matter
Supports:
Yes
Resolution:
.2
Infill:
30
Notes:
Just secure an 6-8MM magnet to the post and let’er spin -
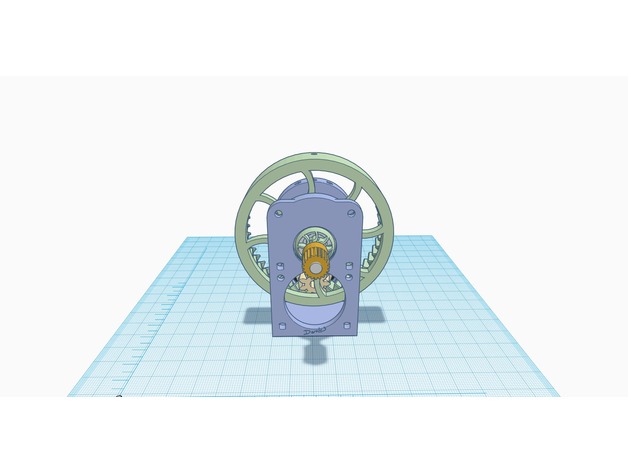
DanO’s BIg O Extruder 3D Print Model
Summary
This is a Geared extruder I designed to be compact.
The gear ratio is 1:5.22
Printed with PLA
You will need
2x 609zz bearings
1x 5mmX70mm bolt
8x 3mm screws
4x 3mm nuts
Print with supports except for the large gear (causes binding if not cleaned fully)
Assembly
If you are mounting to a base Do it now
Press in Bearings
Attach drive gear to the motor. align gears.
Assemble large gear assembly.
Add the motor to the housing. Do not tighten.
Align gears.
Secure the motor
Add Direct drive extruder of your choice.
Have a beer for a job well done.
Please allow 2-4 hrs of use to break-in for smoothe action. (realign and retighten bolts)
Print Settings
Printer Brand:
Prusa
Printer:
Prusa Clone
Rafts:
No
Supports:
Yes -
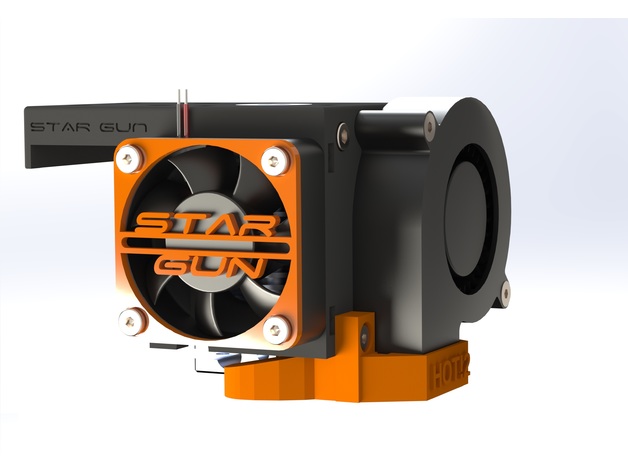
BLV E3D V6 Bowden Extruder Mount 3D Print Model
Summary
This is a remix of the Pruisa i3 MK3 bowden extruder mount for the BLV linear rail mod with the E3D V6 Extruder.
I wanted to have a minimal and stiff mount which suits a 40 mm fan and the common BL-Touch (Smart).
Print Settings
Rafts:
No
Supports:
Yes
Notes:
Resolution and Infill is up to you – I used fairly high infill percentage to make it reliable and stiffAssembly
Nozzle to probe offset is in the images.
Assembly and what I used:
11x M3 – nuts
2x M3x30 – putting the 2 parts (base and cover) together
2x M3x23 – mounting the 5050Fan
4x M3x18 – 40 mm Fan + Cover (use whatever you’d like to)
3x M3x10 – Nozzle-Fan and BL-Touch
4x M3 screws to mount the base to the linear carrier -> see BLV -
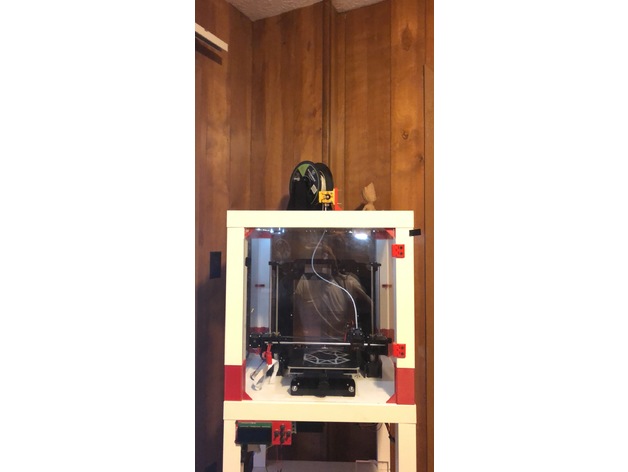
enclosure bowden extruder mount 3D Print Model
Summary
This is a bracket used on the top of an enclosure to mount an hot end extruder. This allows you to change the filament easily from the outside of the extruder.
Print Settings
Printer:
Anet A6
Rafts:
No
Supports:
No
Resolution:
user option
Infill:
20 percentOverview and Background
I wanted to make a mount for the extruder motor for outside of my ikea enclosure so it was very easy to change filaments.
Lesson Plan and Activity
To make it easy to change filaments from outside of the enclosure. -
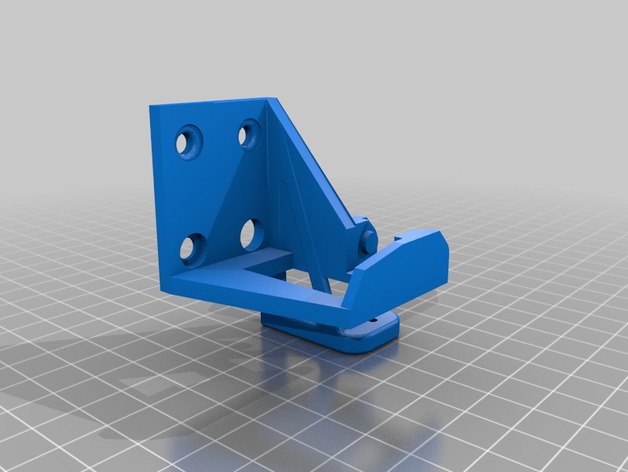
Anet A8 Extruder chain and BL touch mount 3D Print Model
Summary
Combined https://www.thingiverse.com/thing:2354864 and https://www.thingiverse.com/thing:2773637 so you can have a chain and the mount at the same time. -

Removable Extruder Fan Holder A8 with Z probe 3D Print Model
Summary
This design allows you to easily replace your filament by manually removing the extruder fan.
The extruder fan sits on on sliding slot, and to remove it you just need to pull it up.
I have add a Z-Probe ring if you have a sensor..
This is a remix from petiz ( https://www.thingiverse.com/thing:2822215 )
What you need to know:
print the design
remove the heatsink and fan cover
use the same two 50mm screws to put the mount in place
add the Z-Probe
simply slide the fan in!
Feel free for comments and photo if you make it
Print Settings
Printer:
Anet A8
Rafts:
Doesn’t Matter
Supports:
No
Infill:
15% – 20% -
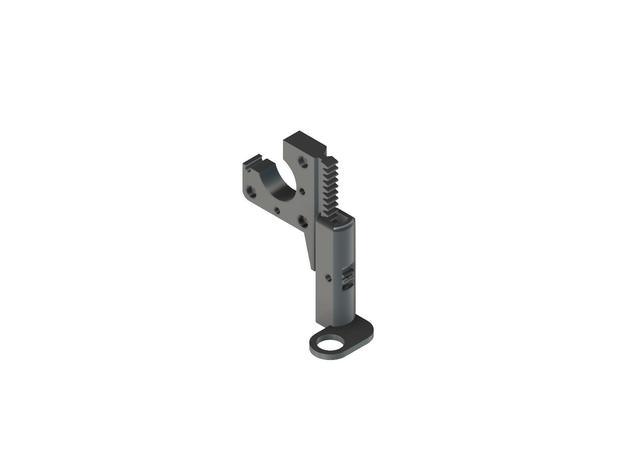
INDUCTIVE SENSOR RACK AND PINION – DRAKON EXTRUDER BODY 3D Print Model
Summary
THIS IS A MANUAL ADJUST SENSOR CARRIAGE FOR AUTOMATIC BED LEVELING.
-THE MAIN PROBLEM I HAVE WITH AUTO LEVELING WAS THAT SOME TIMES MY BED (MADE OF 3MM PLYWOOD) WOULD POSSIBLY WARP.
-ANOTHER POSSIBILITY IS THAT MY X_AXIS WOULD FLOAT OFF OF THE LEAD SCREW A LITTLE BIT IF I DIDN’T PRE-HEAT BEFORE I AUTO LEVELED.
-THIS ALWAYS MEANT I HAD TO REDO ALL THE ADJUSTMENTS BETWEEN THE X-AXIS AND THE SENSOR HEIGHT. I ALSO NEVER QUITE LIKED THE ADJUSTMENTS IN AVAILABLE IN THE FIRMWARE REGARDING SENSOR HEIGHT.
-THAT IS POINT OF THE RACK AND PINION CARRIAGE FOR THE SENSOR. TO DECREASE TIME SPENT ADJUSTING ANYTHING MECHANICALLY AND IN THE FIRMWARE/SOFTWARE.
-DECREASING THE WEIGHT AND SIZE WAS ALSO MY GOAL, TRYING TO KEEP THE SENSOR AS CLOSE TO THE NOZZLE AS POSSIBLE.
THE PINION HAS A PRESS FIT INNER DIAMETER THAT SHOULD STAY IN ITS PLACE PRETTY WELL AN IF THERE IS ANY MOVEMENT I ADDED A HOLE FOR INSERTING EPOXY TO REALLY STICK THE GEAR TO THE BOLT.
HARDWARE USED* [NOT INCLUDING ALL HARDWARE USED WITH THE DRAKON MOUNT ITSELF]
1- 4MM X 16MM WINGED BOLT (I IMPROVISED ON THIS MYSELF WITH A WING NUT AND A BOLT, USING PLIERS)
1- 4MM LOCK NUT
THERE IS A TOOL ADDED THAT IS USED TO HOLD THE GEAR IN PLACE AGAINST THE RACK WHILE YOU THREAD THE BOLT THROUGH THE GEAR TO KEEP IT FROM MOVING. -
Flexion Direct Extruder 18mm ABL Mount 3D Print Model
Summary
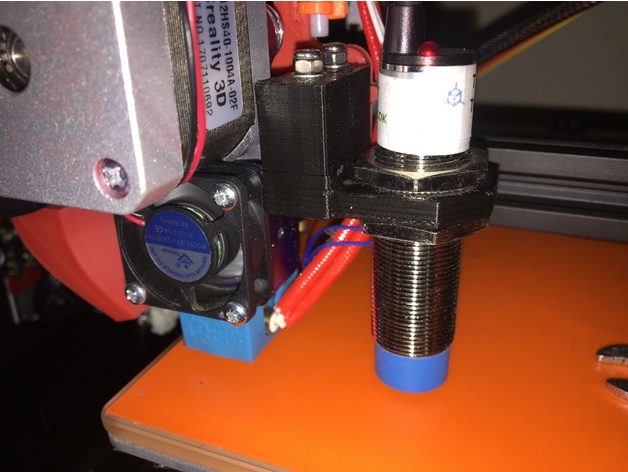
ABL mount for the “Flexion Direct Extruder Mount V2 for CR-10” by Bratan, seriously took me 20 minutes, if i was good it would of taken me 5, it worked for me on the first print so that being said, nowhere near a finished product…. just thowing this up so it can help somebody else out that cut their cables before designing something that worked with the new direct extruder setup. -
Yoda Extruder Spinner for MonoPrice Mini V2 5mm hole 3D Print Model
Summary
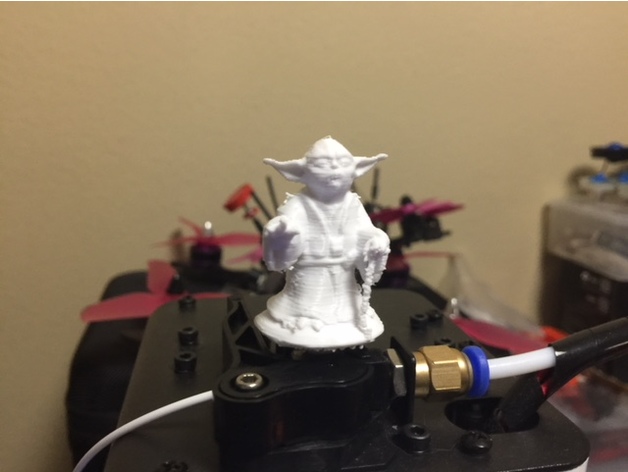
This is a remix of Force Yoda https://www.thingiverse.com/thing:2781362 reduced in size with a 5mm hole stand so it can be put on your Monoprice Select Mini v2 Extruder Rod.
Used:
PLA
220c on Extruder
50c on Bed
Supports: on all
Quality is up to you but in the Cura screenshot, you can see my inputs.
I used Speed 40
20% fill -
Mk.10 Extruder Silicone Cover Mould 3D Print Model
Summary
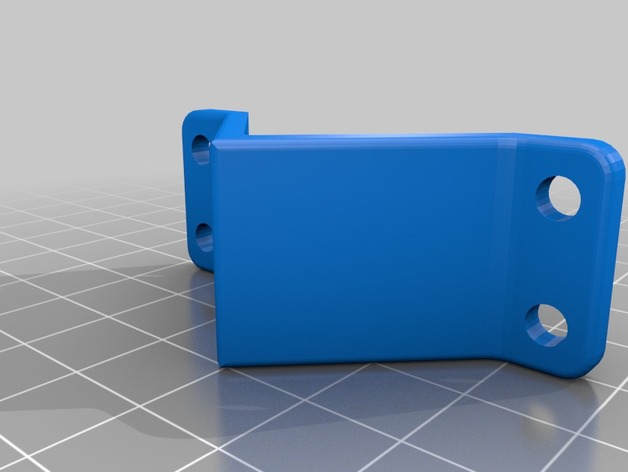
This is a mould for a high temperature silicone insulator for the MK10 heater block as fitted to the Wanhao i3 Plus and other printers. Gives a 3mm insulating shell around the outside of the block with ports for the cartridge and thermistor wiring.
Post-Printing
Parts required
You’ll need 4xM4 screws and nuts to bolt the two halves of the mould together. The flanges are 3mm thick so M4x10 should just about do it.
To mould you’ll need to fill half the mould with your silicone – if you can’t get a runny 2 part mix then try to pipe it into the corners. Push the insert in and make sure the silicone is flush with the top. The cross on top should allow the cover to be removed over the insert once cured. -
monoprice mini select Extruder Lever Arm 3D Print Model
Summary
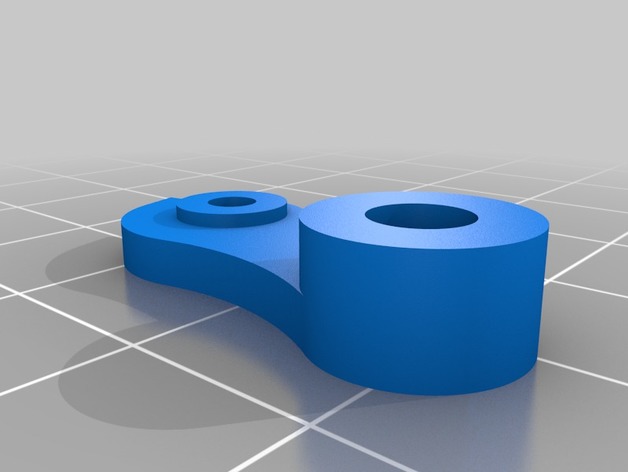
Warning: The cover is as of yet untested. Tell me in the comments if it needs to be adjusted. This is a drop-in replacement for the monoprice mini select extruder arm and cover. After mine broke the day after my printer was delivered, I found Makerbot’s Replicator 2 extruder design to be the same except for the bearing size. I modified it in Onshape, and the bearing from the MP Select Mini fits snugly. If you had to replace parts other than the arm or cover of the extruder, Makerbot’s other parts should fit fine. I can’t find any dimensional differences between my part and the original, but your experience may vary. Tell me if it works in the comments! doesn’t seem to have any issues with it but if you do end up with problems, download the “fixed” version and try that. I also added a file with both the cap and the arm.
Print Settings
Printer:
monoprice mini select Rafts:
Doesn’t Matter Supports:
Doesn’t Matter Resolution:
0.2 Infill:
40-100%
Post-PrintingHow I Designed This
-
TL-Smoother BIGTREETECH extruder mount Wanhao i3 Plus 3D Print Model
Summary
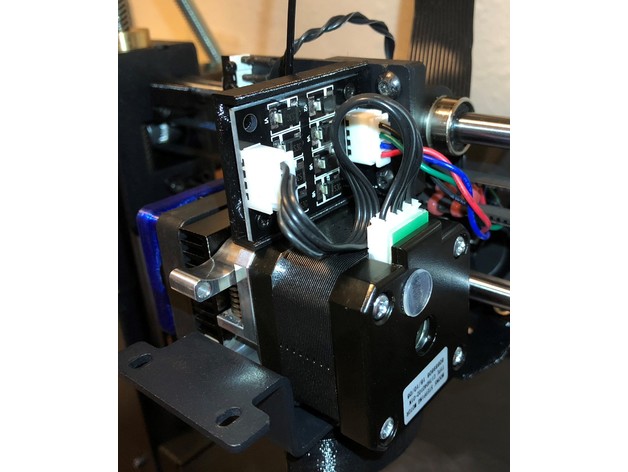
This is a BIGTREETECH TL-Smoother mount for the Wanhao i3 Plus.
One of the files includes, in which I recommend, the previous filament guide I had designed.
You can use the “no guide” version included but the filament will drag the mount more.
Check out instructions for filament guide here https://www.thingiverse.com/thing:2349460
This seems to take away some Z height. I usually don’t print very high so it is not a problem.
Print Settings
Printer Brand:
PowerSpec Printer:
Duplicator I3 PLUS Rafts:
No Supports:
No Resolution:
0.20 Infill:
20% -
G-Bustr Logo (version 1) for Single Extruder 3D Print Model
Summary
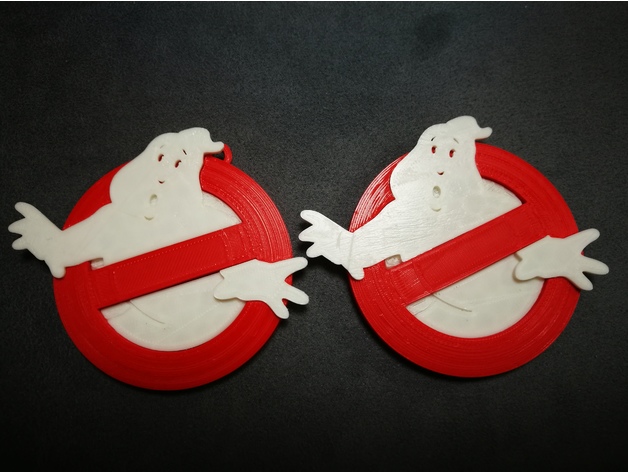
This is an improved version from the previous: https://www.thingiverse.com/thing:2642466
To completely get rid of the sharp edge at the left hand of the lower ghost body part, make sure all the printed support residuals are cleaned.
Happy Printing! -
Extruder mounting Plate with adjustable height ver.2 3D Print Model
Summary
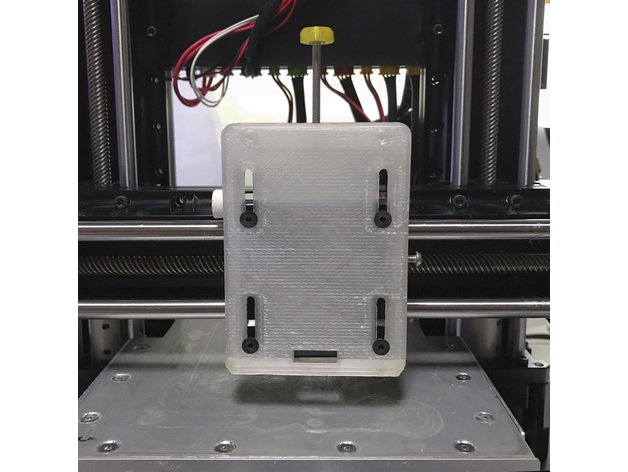
【 Slide-type Extruder mounting Plate with adjustable height / KODAMA TRINUS 】
先日作成した【Extruder mounting Plate with adjustable height】が強度的に弱くて、使用しているうちに変形してきたので各部を補強したバージョンを作りました。
オリジナルのExtruder mounting Plateをこれに変えれば、ホットエンドの高さ調整が一度で決まり、微調整も簡単に出来ます。
(ヒートベッドの水平の調整が完了している前提です)
ホットエンドをホームポジションからヒートベッドの真ん中に移動してから、紙を挟んで高さ調整用のネジで適度な摩擦になるように調整して側面の固定ネジを締めるだけで、ホットエンドの高さ調整が完了です。
【 別に用意するもの 】
プリントしたスライド式エクストルーダー用マウンター
M3の25~30mm以上のネジ×1
上側のネジ穴には、M3で25〜30mmのネジを使いエクストルーダーの高さを調整します。
M3の8~10mmのネジ×1
側面のネジ穴には、M3で8~10mmのネジを使います。
このネジはホットエンドとヒートベッドのクリアランス調整をした後、エクストルーダーを固定します。
(このネジの長さが長すぎたり、ネジの頭が大き過ぎるとエクストルーダーが右端に移動した時にスライダーのフレームに当たります。)
【 ホットエンドとヒートベッドのクリアランス調整の手順 】
1.まずヒートベッドの水平をしっかり調整します。
2.オリジナルのエクストルーダー用マウンターを外して、スライド式エクストルーダー用マウンターに取り替えます。
取り付けネジは元のネジ(4本)を使ってください。
この時、完全に固定せずにプレートがスムーズにスライドできる程度にネジを軽く締めます。
3.マウンターの2本の調整用ネジは仮止め程度に締めてください。
4.エクストルーダーを元のネジ(2本)を使ってスライド範囲の上端に取り付けて上部の高さ調整用のネジで落ちないように調整します。
(2のマウンターの取り付けネジが緩めでもエクストルーダーによって押えられるので外れることはありません)
5.エクストルーダーをホームポジションにセットしてから、ヒートベッドの真ん中付近に移動します。
6.適当な厚みの紙(コピー用紙等)をヒートベッドに置いて、上部の高さ調整用のネジを緩めてエクストルーダーを下げ、ホットエンドのノズルが紙の上に軽く乗るようにします。
7.ホットエンドのノズルとヒートベッドに挟んだ紙が適度な抵抗で動くように、上部の高さ調整のネジで高さを調整します。
8.マウンター横の固定ネジを締めて、紙を外したらクリアランスの調整は完了です。
最後に確認のため【 First Layer Calibration 100 x 100 x 0.1mm 】を印刷します。
綺麗に印刷できたら高さ調整は完了です。
詳しくはこちらの【 ブログ 】を参考にしてください。
【 印刷のパラメーター 】
printer:Kodama TRINUS 3DPRINTER
nozzle:0.4mm
layer height: 0.15mm
ExtruderTemp:225℃
HeatedBedTemp:105℃
PrintingSpeed:30mm/s
FillPattern:Rectilinear
Infill:100%
rafts:Yes
supports:Yes
Single outline corkscrew mode:No
filament : I use ABS 1.75mm
Print Settings
Printer:
KODAMA TRINUS3D Rafts:
Doesn’t Matter Supports:
Yes Resolution:
0.15 Infill:
100% Notes:
ガタが出ないように要所々のマージンが少ないので、削ったりの修正が必要かもしれません。 -
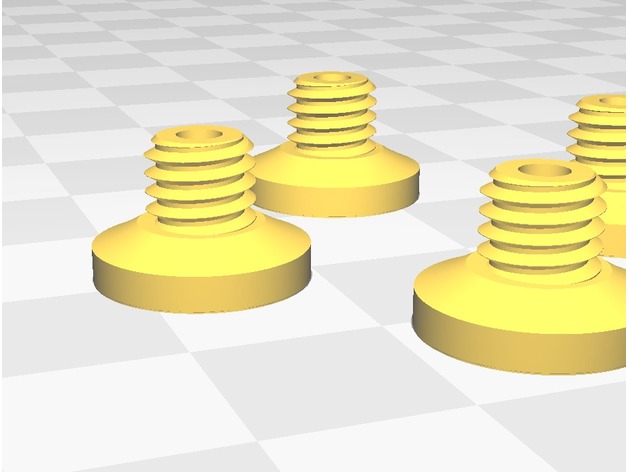
Boweden Extruder Feeder 3D Print Model
Summary
This is a M6 insert for a Bowden extruder to help feed filament into the opposite side.
Print Settings
Resolution:
0.1mm Infill:
100 -
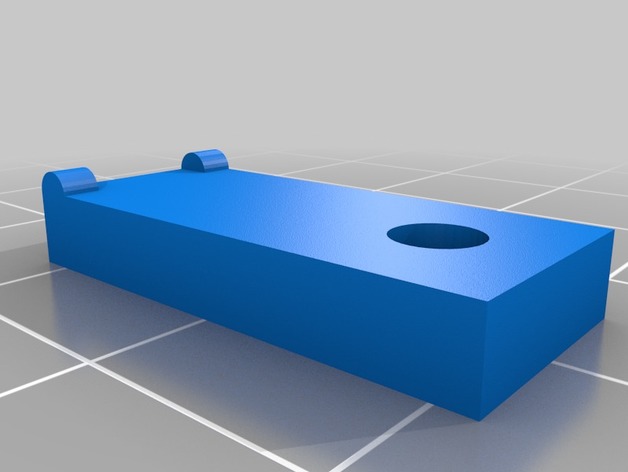
Taz 4 (or 5) Hot End Extruder Bracket Clamp 3D Print Model
Summary
I still use my Taz 4 which I bought in 2014. One thing that always annoyed me was the fact that the hot end assy holder which only has one screw at the top (for quick assembly) allows the weight of the extruder and hotend parts to allow the bracket to pull forward at the top corners of the bracket. I usually use some plastic clamps to pul the bracket back at the corners to the X-carriage and double bearing holder. I would be happier if the design used screws at the corners. The result of the corners pulling away from the carriage is some slop in the hotend which causes deviations and irregularities in the paths as the hot end changes direction. Some of that can be seen as patterns over a large flat surface. The clamps help some, but the entire system has play so you cannot get rid of all of it. Also, poor adjustment and leveling of the bed can make this issue worse.
Anyway, I have used some cheap plastic clamps from Harbor Freight but they pop off easily because of the geometry, and I decide to do something to improve the clamping.
The result is what you see here. It uses two different clamp pieces and a 6-32 x 1.25″ long machine screw and two #6 nuts (because that’s what I had). You could use M3 hardware of the same length. On each corner the existing outer top double bearing holder screw and washer is used to hold the shorter part of the clamp. It is a bit too short for my taste so I will get an M5-.5x15mm screw when I get a chance. The stock one is a bit short even though I recessed it into the clamp. But it works for now. Note that the long clamp has two bumps on one side that go against the extruder bracket. On the left side those two bumps actually straddle the gusset. The extra nut is to help keep the bracket straighter. As you can see it starts to tilt as it is tightened. You only need to tighten it enough to pull the bracket against the X-carriage; just lightly tightened. If I figure out something better, I will revise this. This design will fit both the V1 Budahschnozzle and V2 all metal extruder brackets. (The heights are different). You may need to clean up the holes with a .140″ and .130″, or close, bit to insert the screws more easily. I used a fairly high fill: 90%. I used ABS with a .5 nozzle, .20mm layers and slowed it down about 20% to get the parts to stick well.
There are other solutions involving a major overhaul to the X carriage parts, but this is a fairly easy improvement. -
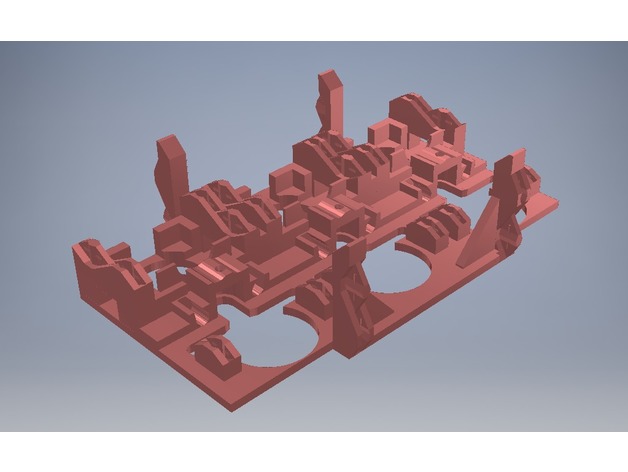
RepRap Snappy jhead platform triple extruder 3D Print Model
Summary
I took the jhead extruder mount and patterned it so that two more extruders can be added. I’m not 100% happy with how the extruders stick out, so the part will probably be modified after a little testing. -
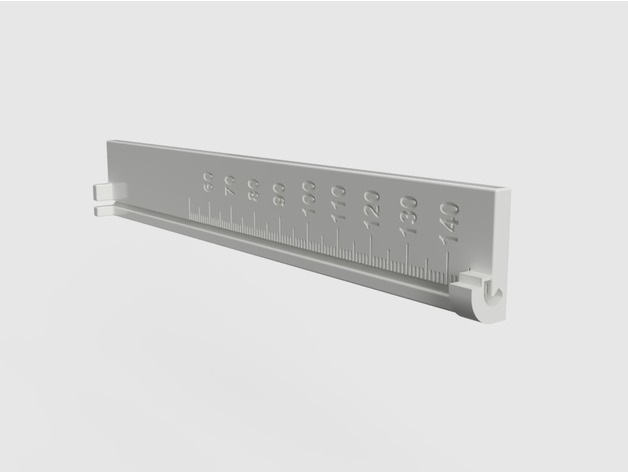
Extruder Filament Feed Calibration Ruler 3D Print Model
Summary
A ruler designed to mark the filament at 15 cm before feeding and reading off the actual length fed afterwards.
The filament snaps into the bottom and top of the ruler and fits into the grove to make reading off the length easier.
The length of the ruler is 15 cm with a ledge at the top that can be used as a guide for a sharp razor mark or marker line.
The markings on the ruler are in mm of actual fed filament to be read off where the mark lines up after feeding 10 cm of filament through the extruder.
Print Settings
Printer:
TEVO Little Monster Rafts:
Doesn’t Matter Supports:
No Resolution:
0.2 mm layer height Infill:
30%, not critical Notes:
I printed mine with ABS but see no reason why this would not work in PLA.
Print settings
0.2 mm layer height
30% infill, not critical
no support, already included in the model
raft does not matter
Post-Printing
You need to clip off the tiny support holding the end of the clamp at the bottom of the ruler.
How I Designed This
After realizing that the extruder feed accuracy needs to be tested for new filaments I decided to make a ruler designed for the task that allows easy marking and measuring of the extruder filament feed length and does not require three hands to hold the filament in place.
I am new to 3D printing and find Fusion 360 to be the easiest to use when taking an idea to a working model.
I use parameterized dimensions to allow easy tweaking and reducing the model size for faster test prints.Custom Section
Marking 15 cm before filament feed
Snap the filament into the top and bottom clamps of the ruler and press into the grove along the scale.
With the bottom of the ruler resting on the extruder intake mark off 15 cm using the top of the ruler as a guide. Only the bottom of the mark is relevant so don’t worry about how thin it is.
Reading actual feed length
After feeding 10 cm of the filament with:
G92 E0; reset extruder origin
G1 E100 F120; feed 10 cm of filament at 120 mm/min (adjust this to your usual feed rate
G92 E0; reset extruder origin
Read off the actual length from the bottom of the mark aligning with scale printed on the ruler. Numbers are in mm of actual feed. In the image, I adjusted my extruder steps/mm to compensate for always underfeeding by 5mm on 100mm feed so it is showing 100mm. -
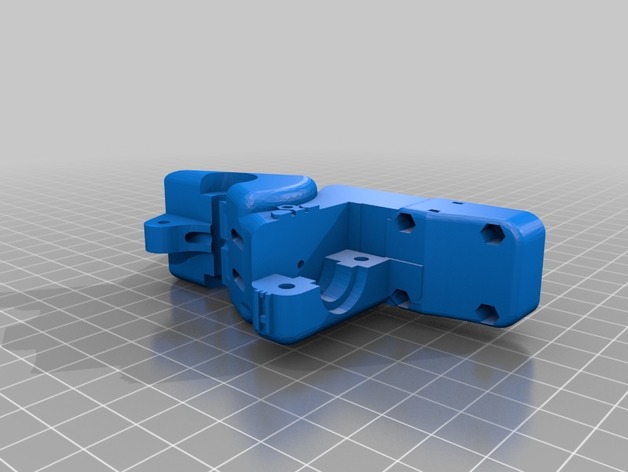
Direct drive extruder for Hypercube 3D Print Model
Summary
remixed to fit the hypercube mount, for the rest of the files use the original’s from the 3D 75 Geared Extruder
Print Settings
Printer:
Hypercube Rafts:
Doesn’t Matter Supports:
Yes -
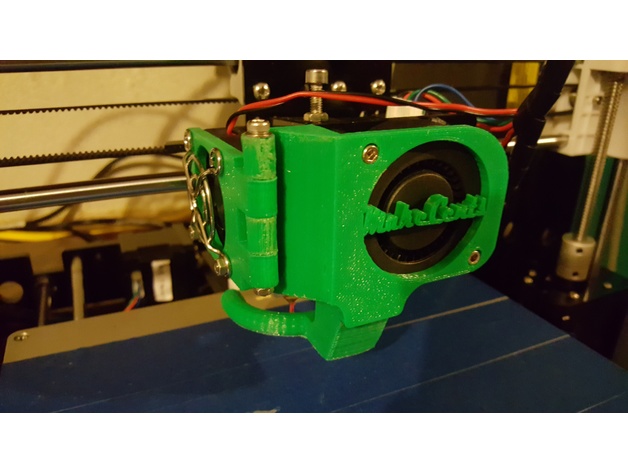
Anet A8 Remix of Extruder Fan Mod V2 by hadoko 3D Print Model
Summary
I added a slot on the bottom of the front of the front mount, and a tab on the half moon shape fan nozzle to hold it in place.
Print Settings
Printer:
Anet A8 Rafts:
No Supports:
Yes Resolution:
.2 Infill:
10 Notes:
Check out his original mod for instructions. Hardest part is drilling to flush mount the screws.https://www.thingiverse.com/thing:2290361
I added my logo to the front of mine, but the files uploaded I removed it. -
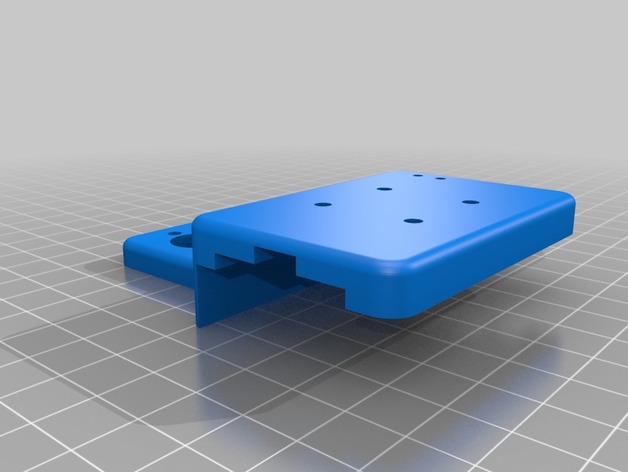
Modular Tevo Tarantula Dual Extruder X Carriage for MGN12H Linear Rail 3D Print Model
Summary
This is an X carriage for the Tevo Tarantula with dual extruder option. It is designed to be mounted on an MGN12H block on a linear guide rail. Make sure you get a block that has the same spacing as an MGN12H block (20mm distance between mounting holes).The belt is attached to the lower portion only and the upper portion screws on top of it (through it and into the MGN12H block). This allows the upper portion that holds the hotend, endstop, fans to be removed without detaching the belt. I designed it this way because I intend to have several different versions of the upper part to hold a single extruder or to hold other hotends.
Lastly, the top part has intentionally been left clear so as to accomodate other parts that can be bolted on later. I am currently working on cable management attachments that take advantage of this feature. It can also be used to attach fans, lights, etc.
Print Settings
Printer:
Tevo Tarantula Rafts:
Doesn’t Matter Supports:
Yes Resolution:
0.2mm Infill:
20% Notes:
Make sure your printer is calibrated correctly specially in the X and Y axes to ensure that the screw holes line up. -
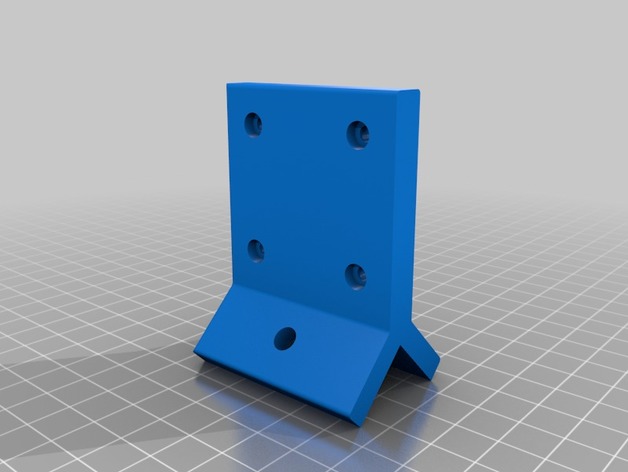
Little Monster Tower Extruder Mount 3D Print Model
Summary
This mont allows you to move the extruder from the hanging belts to a tower. Its best to attach this mount before attaching the top aluminum plate. -
Greg´s Extruder 9:47 3D Print Model
Summary
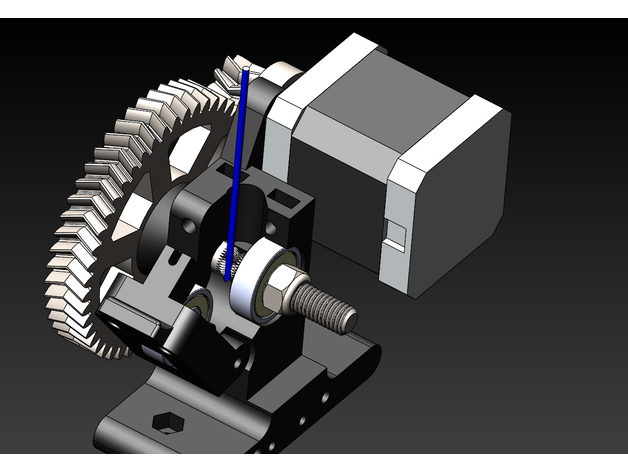
Well this is a remix of https://www.thingiverse.com/thing:961630 extruder, with very little changes to satisfy my needs. One of that is 9:47 gears ratio that in my case give me a 24mm3/s filament flow with 1.75mm filament. This design use:
3 – 608 bearing
1 – M8 50mm Hobbed Bolt with hob centered at 23.5mm (this can be changed with washers to your needs).
1 – M8 Self Locking Nut
1 – Nema 17 Motor
2 – M4 Allen Bolt 54mm long
2 – M4 Hex Bolt
2 – M4 Washer (to hold pressure springs)
2 – Extruder Pressure Springs
1 – M3 shaft to hold idler. A m3 bolt with nut can be used. -
nisekoi pendant single extruder STL 3D Print Model
Summary
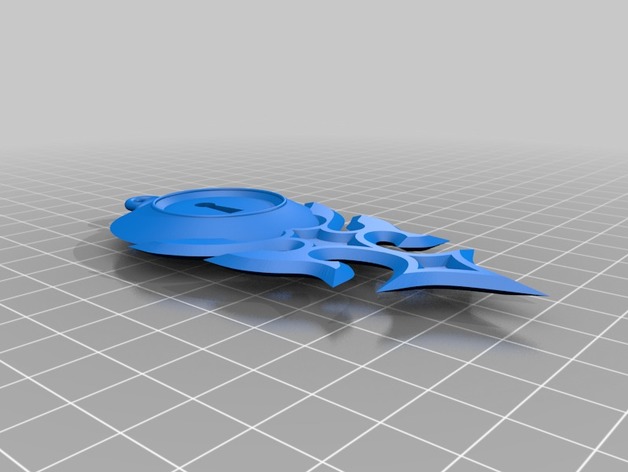
I’ve extracted the STL files form thew THING file and combined them into one so that it may be easily printed on a single extruder printer -
Dual extruder calibration stl 3D Print Model
Summary
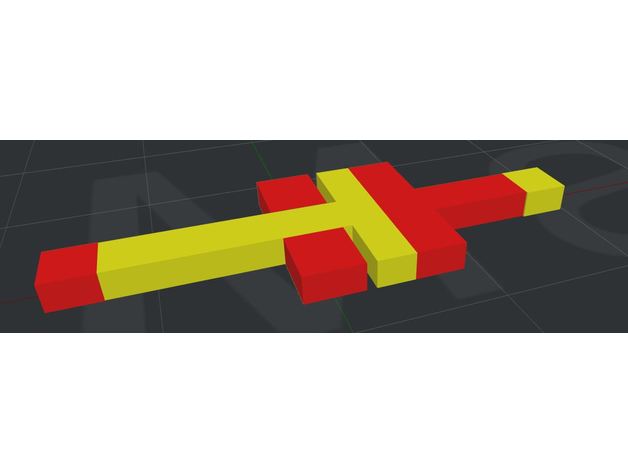
Helpfull to choose offset X and Y in the printer setting for double extruder printing.
I use it for raise3d N2 Dual +
After 6 printing – i moved offset X & Y step by step. The calibration was good for bigger printing.
Print Settings
Printer:
Raise3D N2 dual plus Rafts:
Yes Supports:
No Resolution:
0.15 Infill:
30% rectilinear
Post-PrintingHow I Designed This
Tinkercad.com
Dual calibration .stl made with tinkercad.com -
Anet A6 J-Hotend mod 3D Print Model
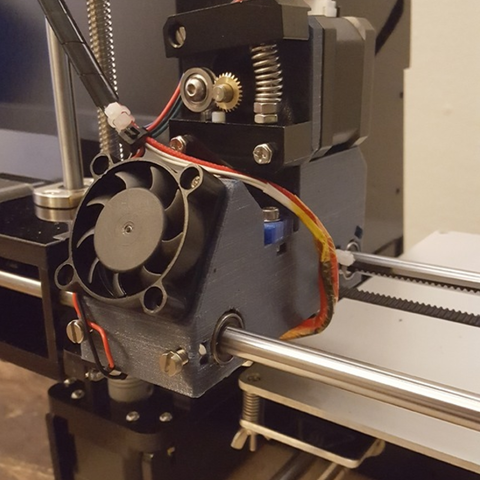
I wanted to mount a chines J-hotend to a A6 Anet printer, but for that i had to make a new X wagen.
The dimentions for the cooling fins/parts are: diameter 22,25mm X 26mm. -
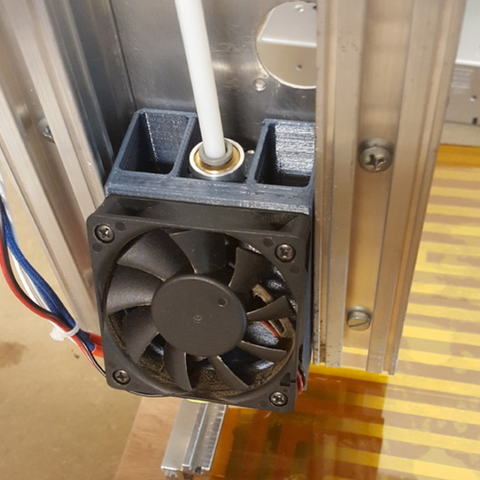
Hotend setup for custom router 3D Print Model
This is a hotend setup for my custom router. The idea behind it is that the airflow can reach the cooling fins of the hotend without cooling the printed object. It’s ment for ABS & PET-G printing. Sorry PLAérs ;-).
-
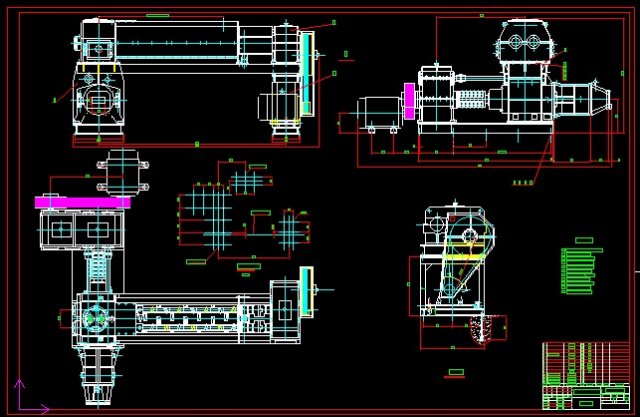
JZK50-45D vacuum extruder 2D drawings 3D Model
JZK50-45D vacuum extruder 2D drawings,,Is a complete set of drawings, after downloading can understand the production. This product is produced, no problem. The format is DWG and can be edited. All drawings are on a DWG file.
-
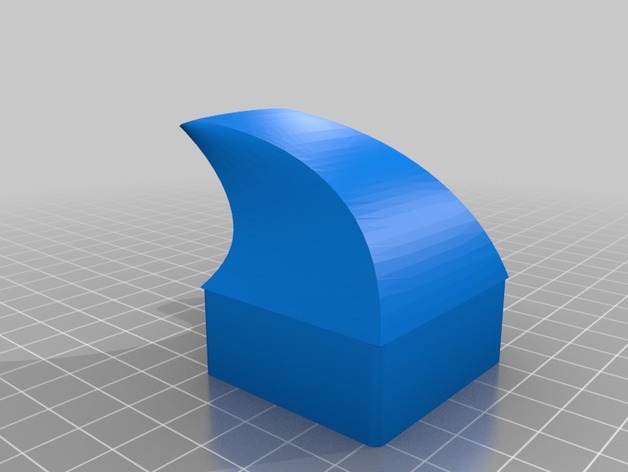
Left fanduc for prusa i3 L3K extruder & SimpleOne Hotend 3D Print Model
Summary
Left fanduct for L3K extruder with a Simple One hotend.
Small change of original part, just a little too small for me.
Ventilo de refroidissement d’impression pour le très bon extruder L3K équipé d’une hotend Simple One. Petite modification du modèle original qui est 4 à 5mm trop haut dans mon cas et qui souffle sur la hotend. -
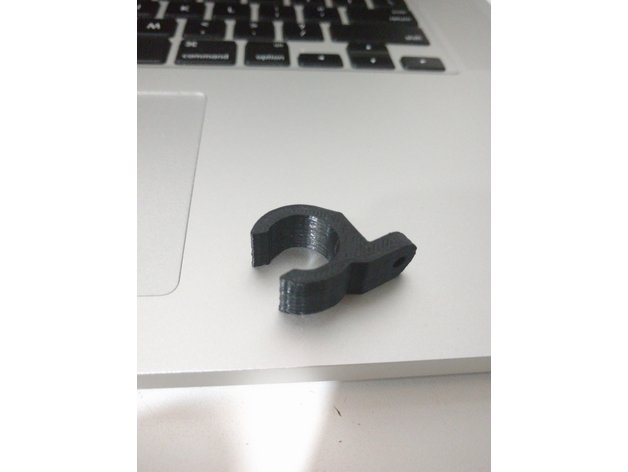
Extruder Cable Support 3D Print Model
Summary
This is 3d printer part for support the cables of extruder and hot end.
Print Settings
Printer:
Graber Pro Rafts:
No Supports:
No Resolution:
0.2 Infill:
15% Notes:
Printed with ABS Premium -
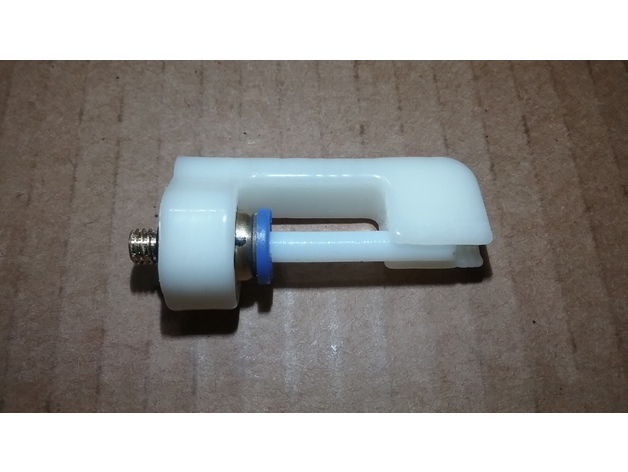
Bowden tube strain relief used on extruder motor 1.75mm 3D Print Model
Summary
I created this to relieve the strain on the bowden tube pneumatic connector on the extruder motor for 1.75mm filaments. It has been tested and is working great. This should pretty much fit all pneumatic connectors with 10mm diameters from face to face on the flat sides and can be used on the extruder motor or the effector end.
Print Settings
Printer:
FLSUN Delta Supports:
Yes Resolution:
.2 mm Infill:
30%