
Download Free 3D Model E-Step Calibration Jig (3mm filament) 3D Print Model
Summary
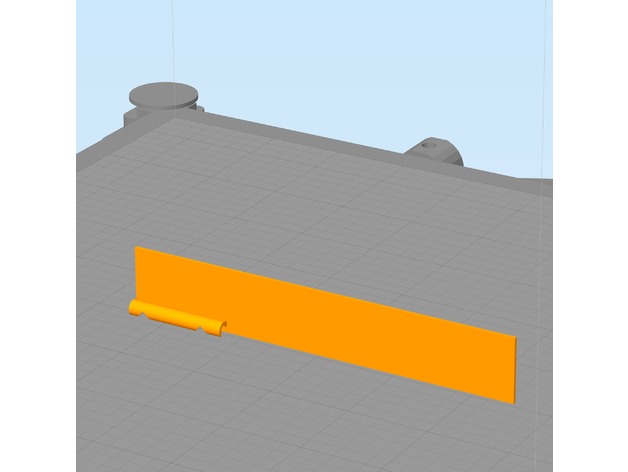
Trying to hold calipers or a ruler next to my filament while marking it for E-Step Calibration isn’t always easy, especially if your printer is in an enclosure. This jig has 2 notches. The lower notch is at 100mm the upper notch is at 120mm. Snap the filament channel onto the filament and lower the jig until it touches the top of the extruder. Then use a fine point marker to mark inside the V slots as shown in the photo. This jig requires your printer to be reasonably dialed in. You can use calipers to inspect the printed part for accuracy. I have found this tool to be quite handy.
E-Step calibration guides can be found in many places, I follow this: http://reprap.org/wiki/Triffid_Hunter%27s_Calibration_Guide#Measure
This is designed to be printed with the filament channel facing downward and a wide brim. The model was also designed to print with a .5mm nozzle but should print fine with smaller nozzles. The brim secures it to the build platform. Remove the brim after printing. See photos for usage.
Print Settings
Printer Brand:
LulzBot Printer:
TAZ 6 Rafts:
No Supports:
No Resolution:
.2 mm Infill:
none Notes:
This is designed to be printed with the filament channel facing downward and a wide brim. The model was also designed to print with a .5mm nozzle but should print fine with smaller nozzles. The brim secures it to the build platform. Remove the brim after printing. See photos for usage.
Categories: 3D Print Models, All 3D Models, Free 3D Models
Sorry, comments are closed for this item.