Summary
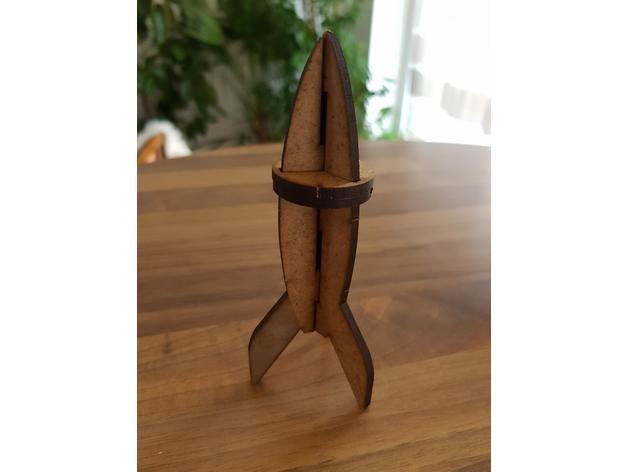
Petite fusée en découpe laser.
Tag: 3mm
-
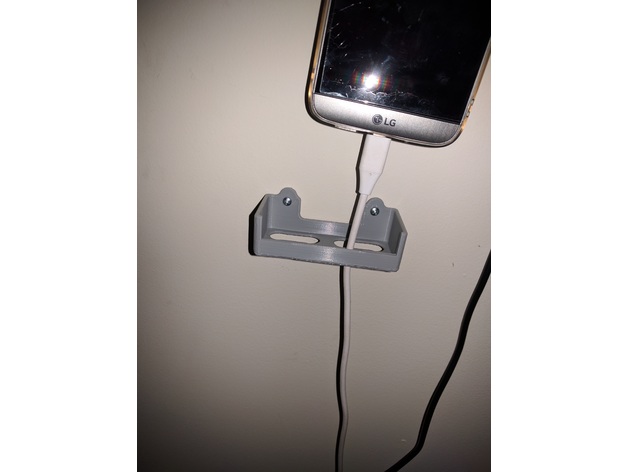
Gadget Wall Mount 3mm Remix 3D Print Model
Summary
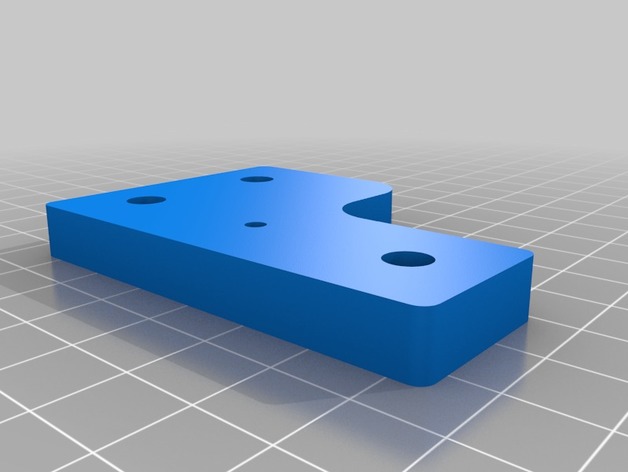
Original Credit to PrintTo3D’s Gadget Wall Mount found here: https://www.thingiverse.com/thing:4738
I did printed off his original thing but it ended up breaking on me due to the holes being to small for the screws I was using while I was trying to drill them out to make them bigger. I also created bigger openings on the bottom so I could fit my usb-c charger to my phone while it sat in the holder.
Remixed to make the holes a little bigger to 3mm, dropped the holes down a little bit from the top for more stability, and I ended up cutting off the diagonal front in case someone wants it and doesn’t have a long screwdriver, as it accomodates shorter fatter ones vs precision screw drivers.
Print Settings
Printer:
Maker Select v2.1 Rafts:
Doesn’t Matter Supports:
No Resolution:
.1 Infill:
100 Notes:
I suggest 100% infill. -
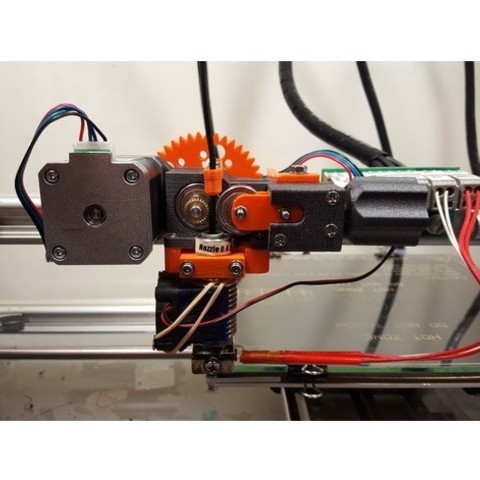
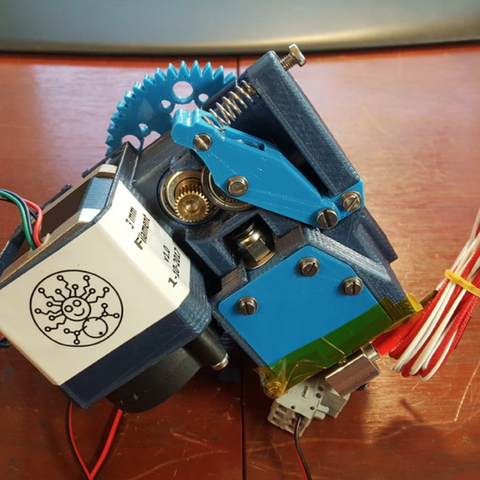
E-Step Calibration Jig (3mm filament) 3D Print Model
Summary
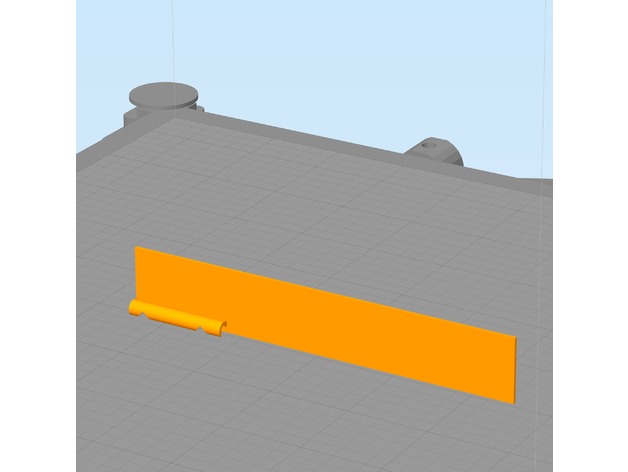
Trying to hold calipers or a ruler next to my filament while marking it for E-Step Calibration isn’t always easy, especially if your printer is in an enclosure. This jig has 2 notches. The lower notch is at 100mm the upper notch is at 120mm. Snap the filament channel onto the filament and lower the jig until it touches the top of the extruder. Then use a fine point marker to mark inside the V slots as shown in the photo. This jig requires your printer to be reasonably dialed in. You can use calipers to inspect the printed part for accuracy. I have found this tool to be quite handy.
E-Step calibration guides can be found in many places, I follow this: http://reprap.org/wiki/Triffid_Hunter%27s_Calibration_Guide#Measure
This is designed to be printed with the filament channel facing downward and a wide brim. The model was also designed to print with a .5mm nozzle but should print fine with smaller nozzles. The brim secures it to the build platform. Remove the brim after printing. See photos for usage.
Print Settings
Printer Brand:
LulzBot Printer:
TAZ 6 Rafts:
No Supports:
No Resolution:
.2 mm Infill:
none Notes:
This is designed to be printed with the filament channel facing downward and a wide brim. The model was also designed to print with a .5mm nozzle but should print fine with smaller nozzles. The brim secures it to the build platform. Remove the brim after printing. See photos for usage. -
Pauls Y-Idlers for 3mm bearings 3D Print Model
Summary
Someone (no not someone) asked me to make a version for 3mm bearings
This is a redesigned version of this thing