Summary
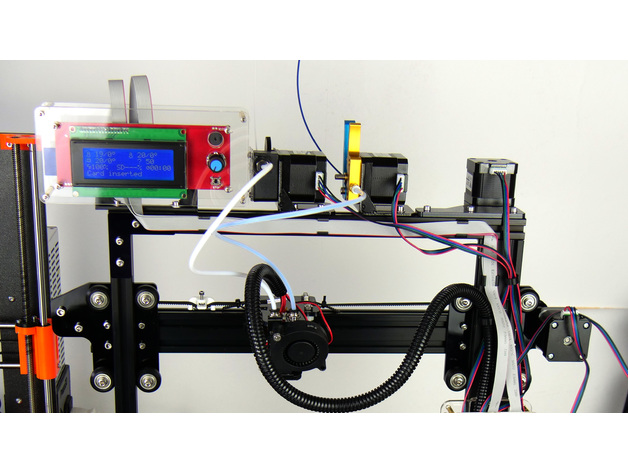
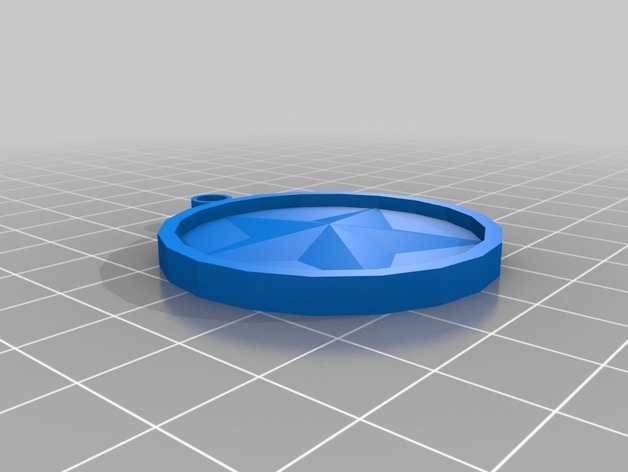
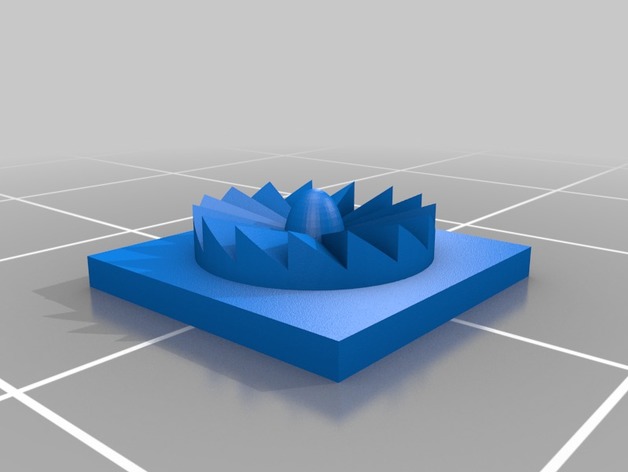
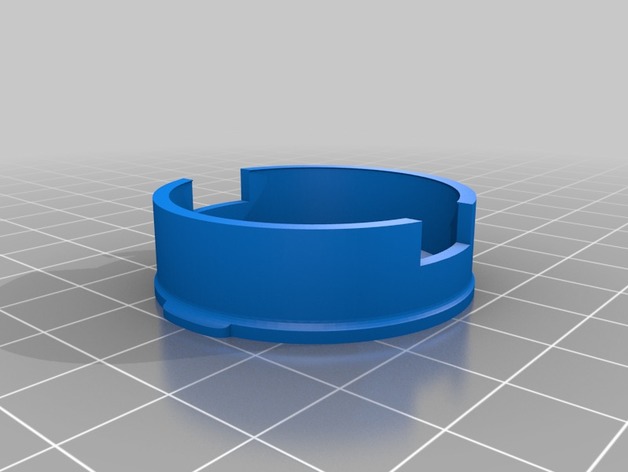
Works best when printed with flex material like TPU to snugly fit on the lens. The inner diameter is like 0.1mm narrower than the lens so the cap doesn´t fall of.
Author: Thingiverse
-
Rollei 35 S Lens Cap 3D Print Model
-
BBQ 97mm to 40mm Blower Server Fan Duct press fit 1012 KH302 3D Print Model
Summary
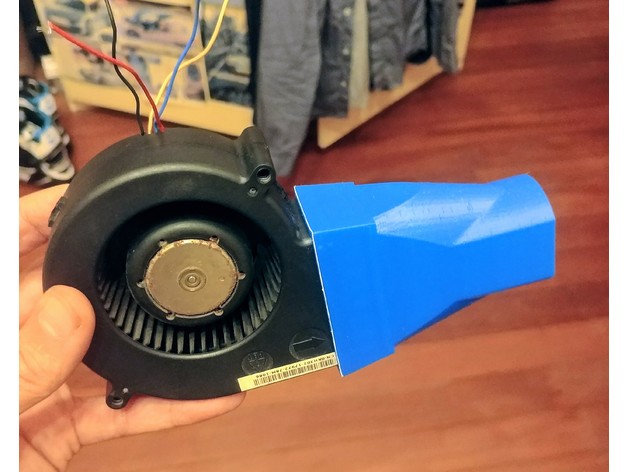
this should also fit ANY fan with a output size of ~58mm x ~33mm
i designed this blower duct to attach to a Delta KH302 BFB1012EH blower fan, to use for stoking a fire pit which had a 50mm pipe put through it with air holes. to allow the middle of the fire to suck in air from outside
the outside of the top circle is 40mm and 33mm between the two flat sides.
it is a press fit onto the output of the fan.
thickness of the walls is about 2mm, however it does get quite thin in a couple of spots where the fan presses in.
Haribo Prusa i3 mk2
printed at 60mm/s
0.2mm layers
ABS @ 245C with a 40% fan in a enclosure which reaches about 50C
supports are required for the lip where the fan pushes in until.
this lip is about the same thickness as the fan case, so has a nice smooth airflow.
yet to test this on the fire pit, hoping that a 12v 3amp fan, moving a lot of air through the plastic will keep it cool enough to not melt. (thus why the walls are only 2mm thick)
Print Settings
Printer Brand:
Prusa
Printer:
Prusa Clone
Rafts:
No
Supports:
Yes
Resolution:
0.2
Infill:
20% -
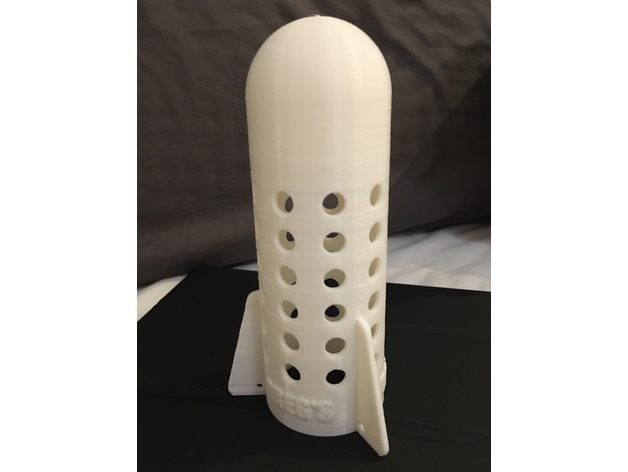
Greg’s Bait Bomb – Bait Rocket – Spod – Carp Fishing 3D Print Model
Summary
A simple Bait Rocket (Spod) Design. the original one is small, you can cast it with a regular carp rod. no support required, the inside has a dome shape. I tried it in my bathtub and it works and floats properly, still need to test it in real conditions.
Print Settings
Printer:
CR-10s
Rafts:
No
Supports:
No
Resolution:
0.2
Infill:
No
Notes:
few infill or none in order to make it float correctly. Walls are 1.5mm to make it as watertight as possible. I still advice you to spray a lacquer coat or two on it, you don’t want any water to enter in the head/float part.
How I Designed This
Fusion 360 -
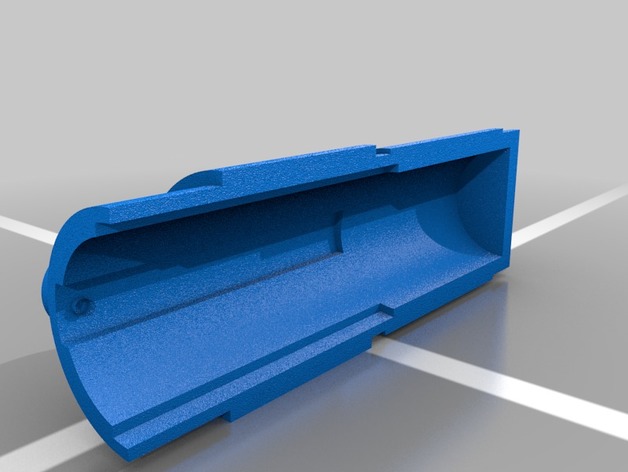
Lightsaber Conversion Handle for Night Ize LED Glow Stick 3D Print Model
Summary
Convert LED glow stick into a miniature lightsaber toy. I found these at Home Depot and couldn’t help but make a handle for them to make them look more like a lightsaber for my daughter. I just printed the two halves and you can either glue them together or use a zip tie. -
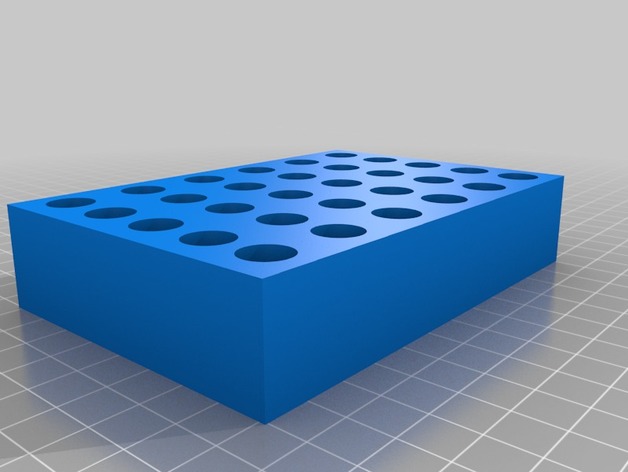
Battery case for 30 AAA batteries 3D Print Model
Summary
Probably there are allready many around but still i designed and printed a battery case for 30 AAA batteries. I had cases for 4 or 8 batteries and had a few of them so i decided to make one case for all of them. This is it.
Print Settings
Printer Brand:
Prusa
Printer:
i3 MK3
Rafts:
No
Supports:
No
Resolution:
0.20
Infill:
20%How I Designed This
Designed in Tinkercad -
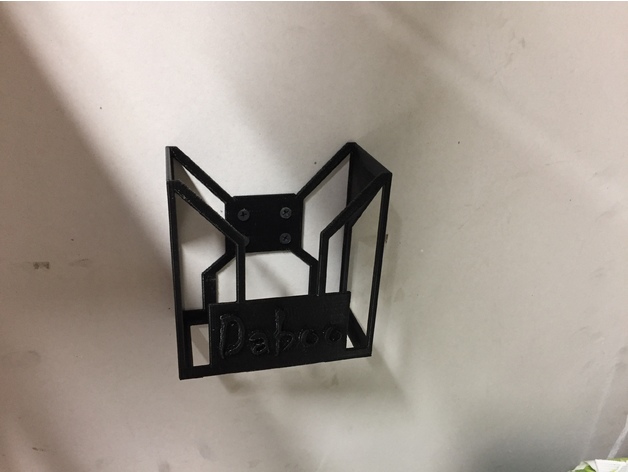
Harbor Freight Nitrile Glove Dispenser 3D Print Model
Summary
I designed this Harbor Freight Nitrile Glove Dispenser so I could free up a bit more valuable workspace from my desktop, and still have readily available. In order to decrease print time, I cutaway the side walls and used angles less than 45 degrees so that support material wouldn’t need to be generated.
While my pics display “Daboo” on the front, which is my nickname, I’ve removed it from the uploaded file here.
Print Settings
Printer:
Cetus Extended
Rafts:
Yes
Supports:
No
Resolution:
.36
Infill:
15%
Notes:
I printed this in fast mode at a .36 layer height so that it would print in ~3hrs. Being a tool that is only holding a box of gloves, this provides enough strength and while the finish isn’t perfect at this speed, it looks fine and functions perfectly. -
Potentiometer with 2 Tactile Switches 3D Print Model
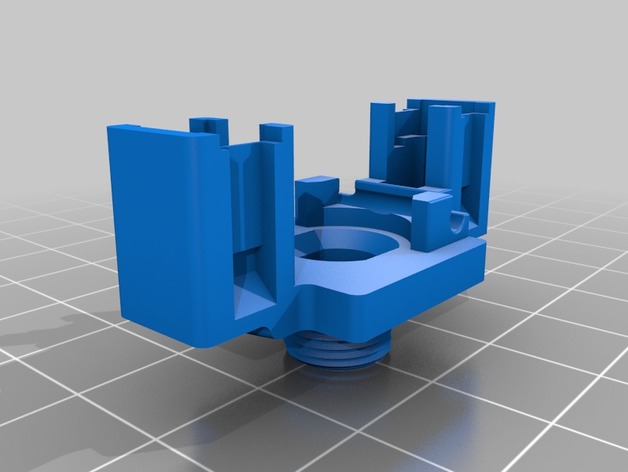
Summary
This is a set of widgets to incorporate two switches into a potentiometer. The potentiometer shaft can be moved side to side to activate one or other of the switches, or axially to activate both switches at the same time. I created it for use in my electric (synth) guitar: https://youtu.be/sHcr7bk1pW0 -
Evil Space elf Generator-Spire 3D Print Model
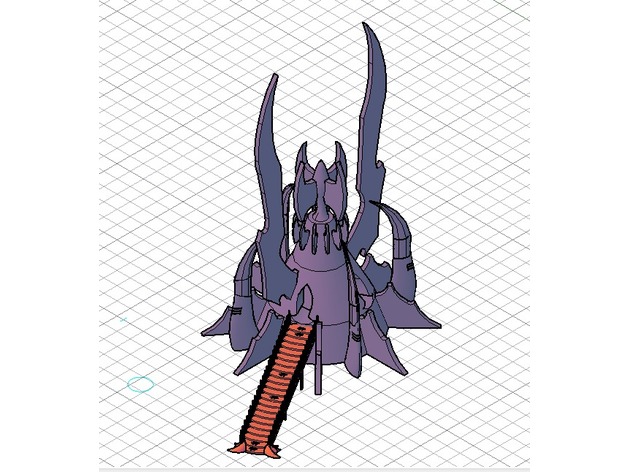
Summary
A base-generator-spire for my evil space elf army.
Not spliced yet. The stairs could be printed 4 times if you want for the whole entries.
Enjoy it!!! -
Knight 600A Tube Tester Lever Cap 3D Print Model
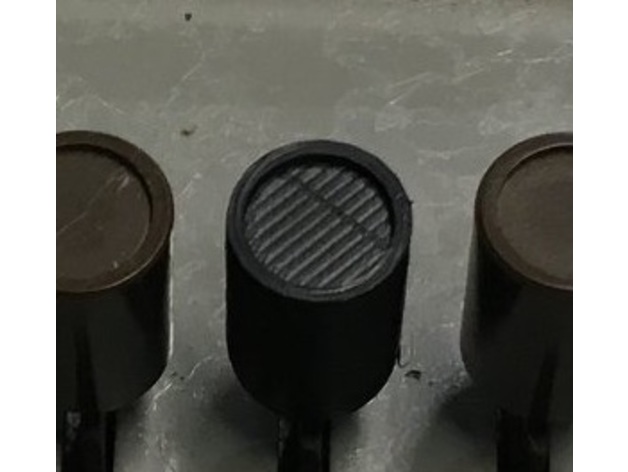
Summary
This is a replacement lever cap for a Knight 600A tube tester. It probably will fit other Knight models.
Print Settings
Printer:
Monoprice Select Mini V2
Rafts:
Yes
Supports:
No
Infill:
20% -
USB Cable Organizer 3D Print Model
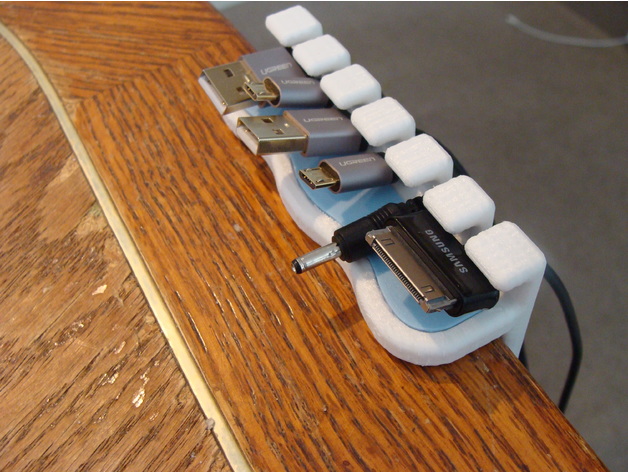
Summary
I designed this USB cable organizer so that I would be able to move it if I necessary.
I have included 4 different versions, a straight and a curved version with a snap-in insert and also a straight and a curved version without an insert
This was the first time I tried to design an snap together Thing, and it turned out fairly well.
Please let me know if you have any problems.
I designed this for a standard (1 1/2″) (38 mm) thick table. If your table is a different thickness, message me with the size, and I will try to help you out.
Print Settings
Rafts:
No
Supports:
No
Resolution:
0.2
Notes:
Main bodies at 25% infill
Inserts at 100% infill
Post-Printing
Make sure you clean up the inserts and the holes for the inserts. -
2020 & 2040 Extrusion for .8 nozzles 3D Print Model
Summary
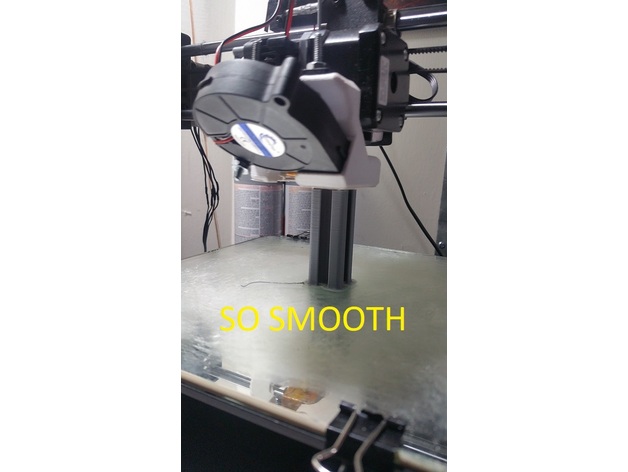
I designed this 2020 and 2040 extrusion to be easier to print with a .8 nozzle. A lot of the ones currently on thingiverse have issues with small areas that cause issues with blobs and retractions.
This is perfect, no infill needed.
Print with these settings
.8 nozzle
1.6 wall
0% infill
.4 layer height -
Turbowing Cyclops 3 DVR Camera to Runcam adapter 3D Print Model
Summary
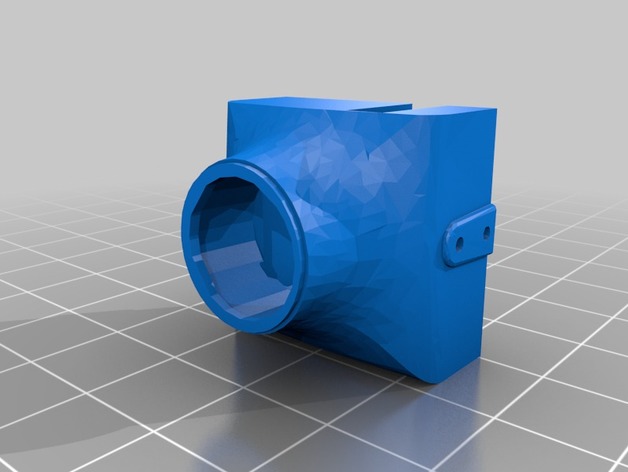
This is a Turbowing Cyclops 3 DVR camera to runcam adapter so it can be mounted in almost all runcam camera mounts. This has not been tested please comment if it don’t work. thank you -
Brake Gear for Clicgear Golf Cart ver 3 3D Print Model
Summary
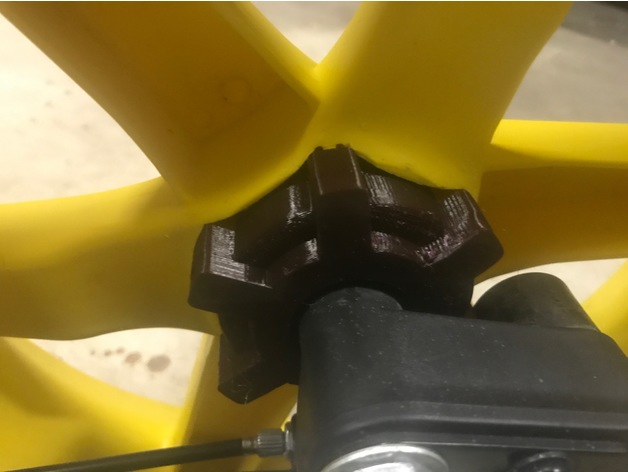
This is version 3 and hopefully the final version of my Clicgear brake gear. Version 1 was modeled as closely as I could manage to the original from Clicgear. It proved to be too weak when 3D printed. I beefed up the cogs for version 2, and it worked better, but still broke too easily. Version 3 has been tested and modified for two golf seasons now and has held up well.
Along with the beefier cogs, I also made the part that goes into the wheel the same size and shape as the holes that they fit into. This gives a good friction fit and a lot more plastic to take the abuse of forgetting to release the brake before trying to move the cart. I also did away with the little pins that broke off every time I tried to put the gear on the wheel and the groove in the center of the hub that doesn’t seem to have any purpose (at least not on my cart).
I included a picture of what was left of my factory gear that I broke. This is what started me designing my own version.
Print Settings
Printer Brand:
FlashForge
Printer:
Creator Pro
Rafts:
Doesn’t Matter
Supports:
Yes
Resolution:
.2 mm
Infill:
100%
Notes:
I made the previous versions with ABS, but I had PLA loaded when I got ready to print the newest one, so thought I’d give it a try. I think it’s going to work out great. -
Headphone Holder, Hook, Desk Mount, Clamp 3D Print Model
Summary
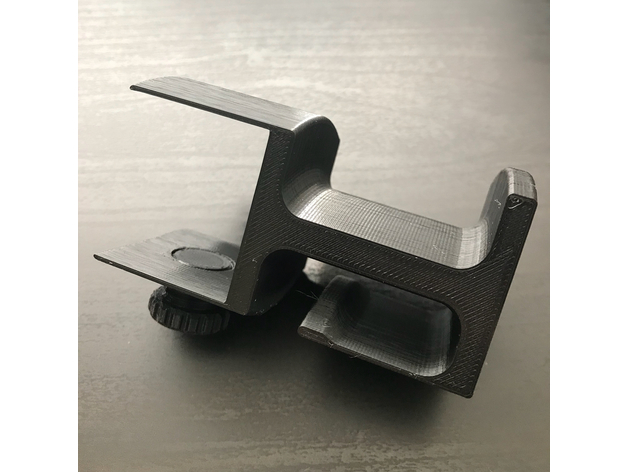
Though the overall design isn’t tremendously unique, but the sizing and specifications are unique to my setup. This was designed to mount on an Ikea Linnmon desk table top, which is 34mm thick, and the headphone holder is a perfect fit for my Audio-Technica ATH-M50x headphones. There’s also a hook under the holder for cable management and a hole on the end to hold a 1/4″ stereo jack adapter.
Print Settings
Printer Brand:
Prusa
Printer:
i3 MK3
Rafts:
No
Supports:
No
Notes:
You’ll need to scale down the screw to match your printer’s tolerances. On my Original Prusa i3 MK3, I scaled it down to 97% on the X and Y axis.
How I Designed ThisModeled in Fusion 360
-
New Razer Blade 14 Power Brick Cord Organizer 3D Print Model
Summary
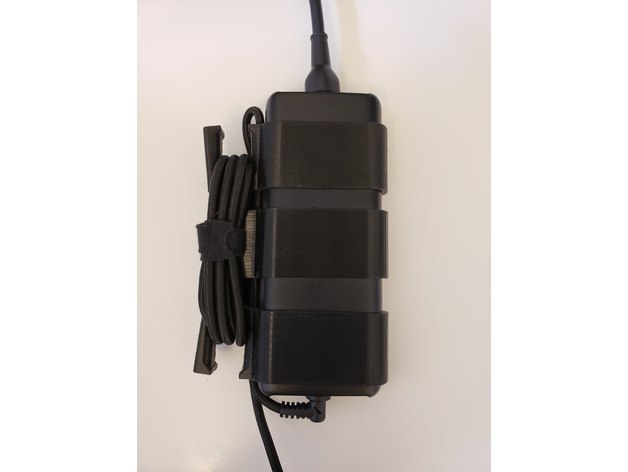
The New Razer Blade 14 laptop’s power brick cord organizer. The cord passes thru the harness to lessen the stress on the 90 degree cable.
The middle piece is optional, but can use a Velcro tie to further tidy up the long cord.
Print using flexible material.
Print Settings
Printer Brand:
Prusa
Printer:
i3 MK2S
Rafts:
No
Supports:
No
Resolution:
200
Notes:
NinjaFlex -
![Mr Poopybutthole! [Rick and Morty] 3D Print Model](https://3dhunt.co/static/2018/05/665a0eca6b9cb903b738c6c94f4990d0.jpeg)
Mr Poopybutthole! [Rick and Morty] 3D Print Model
Summary
Watch here for more information: https://youtu.be/pfs3QbhC05g
It’s time for more Rick and Morty! This time up we have Mr Poopybutthole.
Modeling Software: ZBrush
Hollowed in Meshmixer
Supports in XYZWare Nobel
Slicer: Cura Moai Edition
Printer: Peopoly Moai
After modeling and printing, Chelsey worked her magic with the post processing. She filled the holes with wood filler. Then she went around fixing the support marks with wood filler for divots and a file for bumps. After that she primed him and used acrylic paints with paintbrushes to paint him. -
filament gate-in 3D Print Model
Summary
hello friend.. this is my first project uploaded to Thingiverse..
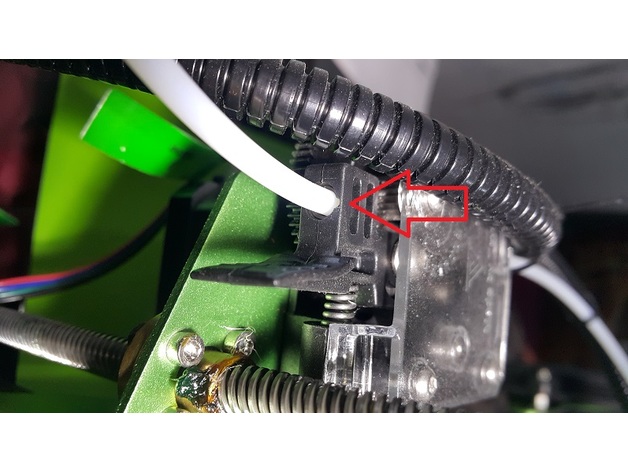
actually it’s a filament guide attached to superior 2020 frame..
i make it because suddenly after printing 1 roll of filament then i noticed a rub mark on the extruder gate-in..
for simple solution, you can cut PTFE about 5-10cm and attached it on extruder gate-in, but i think, it’s better if i leave it just like stock, maybe i need it someday..
Print Settings
Printer Brand:
TEVO
Printer:
Tornado
Rafts:
No
Supports:
No
Resolution:
0.2
Infill:
25
Notes:
i use temp around 200-220 C
speed 50mm/s (60% speed for outline perimeter)
How I Designed This
i use AutoCAD to draw design and use “stlout” menu to convert object.
slicer use was a S3D, set without any raft & support.Materials Needed
Requirements
you can use any filament include ABS, PLA and PLA+
spare PTFE tube
drill bit 2.5, 4 and 5 mm
tap bit M5x0.7
screw 5×10 mm
allen screw M3 & M4
attention
you have to disassembly superior 2020 frame before tapping it by M5x0.7. don.t worry if you make mistake when tapping, 2020 frame has 2 ends.
you have to drilling all holes to make it fit perfectly. size 2.5 for filament’s hole, 4mm for PTFE’s hole and 5mm for screw’s hole. -
Vertical Power Supply Holder 3D Print Model
Summary
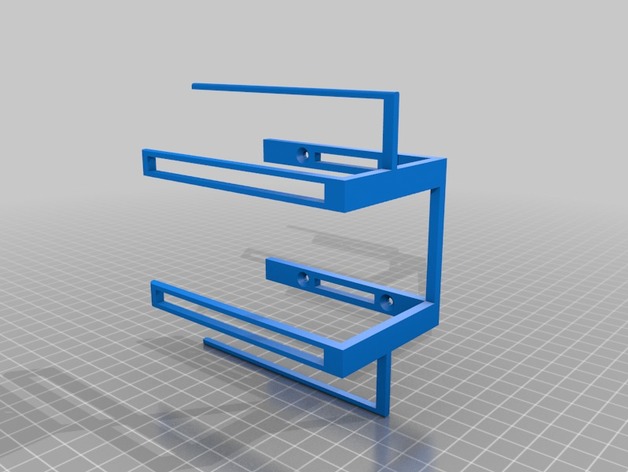
I could not find a power supply holder for vertical surfaces. So I made a quick design with Fusion 360. Enjoy!
Print Settings
Printer Brand:
TEVO
Printer:
Tarantula
Rafts:
No
Supports:
No
Resolution:
0.3
Infill:
0.2 -
Glowing Mushroom Lamp 3D Print Model
Summary
I wanted a cool lamp to bring to work and I decided to design this awesome glowing mushroom lamp. I love how it turned out! The lamp shade is printed in red and glow in the dark filament (https://amzn.to/2jtqzOt). I designed the lamp around these pendant sockets (https://amzn.to/2JK8vur) and LED bulbs (https://amzn.to/2Ic76Q0). The design files can be accessed on OnShape, feel free to copy and edit them as you wish: https://cad.onshape.com/documents/149155a608e981cce66e01c0/w/a4a462f8daeb471994462d1f/e/cf1a11f45fc8f5112a8762cb
Print Settings
Printer Brand:
Prusa
Printer:
i3 MK2 MMU
Rafts:
Doesn’t Matter
Supports:
Yes
Resolution:
0.15 mm
Infill:
20%
Notes:
Lamp Shade is printed on prusa i3 multimaterial with red and glow in the dark filament. Lamp Shade Base is printed in glow in the dark filament. Lamp Stem is printed in ivory filament. The stem and shade base do not need supports, but the lamp shade requires supports under the top of the dome. -
Dial Indicator X Axis Mount 3D Print Model
Summary
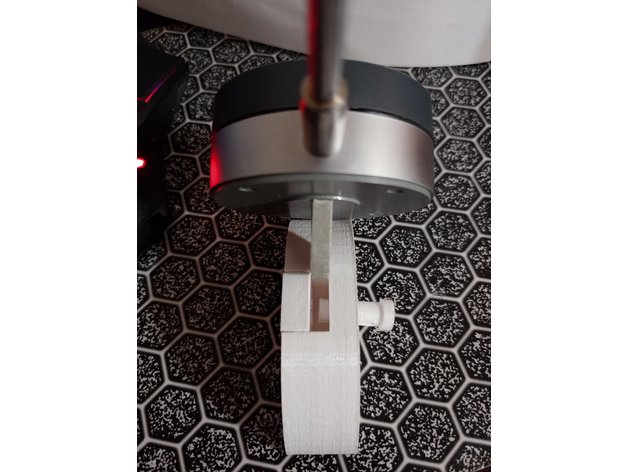
This is a mount I made to hold a dial indicator on my X-Axis of my Maker Select v2 (Wanhao Duplicator i3 V2) rails to check my bed for true. The part is held in place by a mix of tension and the magnets inserted into the holes in the back.
The magnets are the round “Buckyball” brand magnets, but any of their variants or even cylindrical magnets will work. Mine were measured and the holes sized to about 95% of that, so they are tight, but you should be just fine to use some sort of adhesive to hold in any type of magnet you want. One of the things that worked out well was I made the holes deeper than the diameter of the magnets, so they sit about .5 mm below the surface and never touch the rails.
The dial indicator is an ‘eoteck’ brand I found on Amazon and was oddly enough reviewed about a month later by AvE on YouTube (if you are a fan). It’s plenty accurate for 3D printing. I did verify this by buying a Mitutoyo gauge block and testing my calipers, then my calipers against my dial indicator.
Overall accuracy is such that I discovered my build plate was bowed a bit and has since been replaced. I don’t use this much, but when I did it was an incredible lifesaver.
The second piece by itself it due to me not accounting for the space needed between parts. I just sliced the parts out of the main body, but when assembling the hole was misaligned. This part should rectify that. I did end up using a very thin strip of masking tape to make the fit super tight to eliminate wiggle.
Thanks, and happy printing!
Print Settings
Printer Brand:
Wanhao
Printer:
Wanhao Duplicator i3 V2
Rafts:
No
Supports:
No
Resolution:
.2mm
Infill:
25%
Notes:
Should not need any supports when printing. Overhang droop in magnet holes is great for retention. The holes are about 95% the size of the magnets, so the tight is very snug. The pin will be tight at first but should loosen up.
The extra part is due to not accounting for the pieces being exact slices off the main body, and fitting together so well that the hole lines up. The “insert” was added to compensate for this. Included both files so you can modify either as needed. -
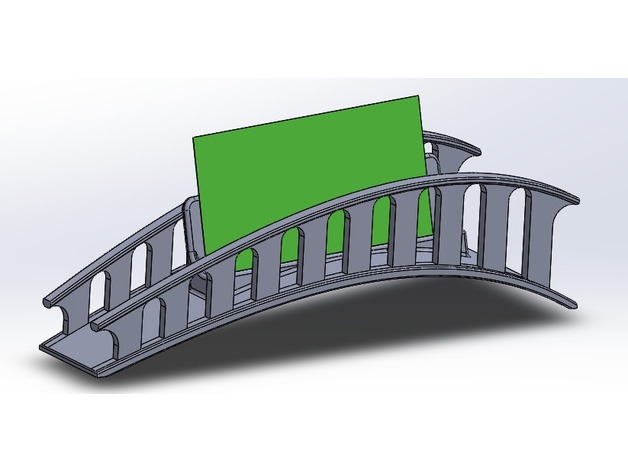
Bridge Business card holder 3D Print Model
Summary
Cool bridge to hold business cards. It’s a metaphor (the business card bridges you to the next deal) er something like that -
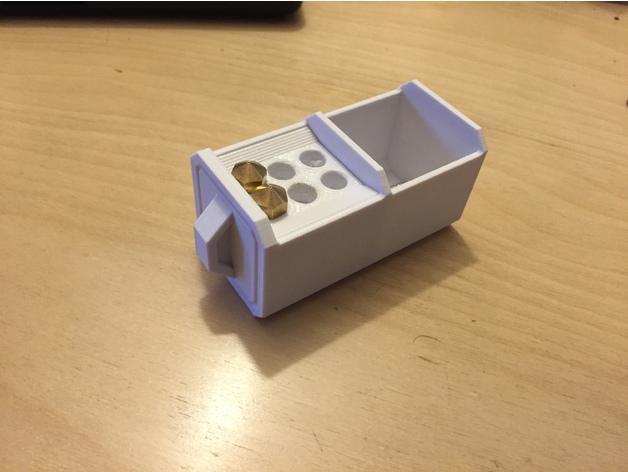
MK10 Nozzle Block Insert 3D Print Model
Summary
Super easy print, keep in mind it will only fit snugly in the front section of the divided drawer due to inconsistencies in Andrew’s original model.
Print Settings
Printer Brand:
Wanhao
Printer:
Wanhao Duplicator i3 V2
Rafts:
Doesn’t Matter
Supports:
No
Resolution:
.28
Infill:
20% -
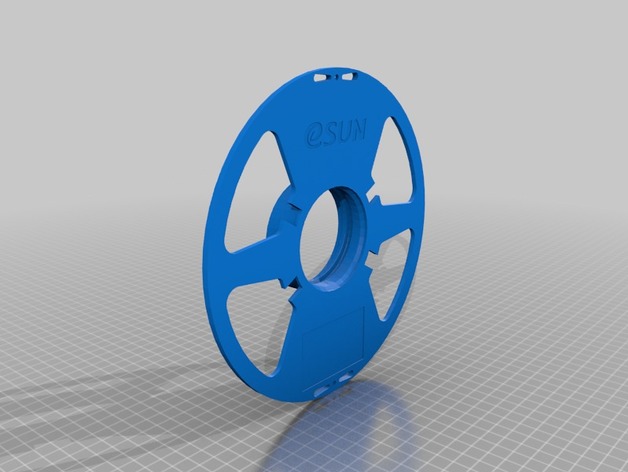
eSUN MasterSpool 3D Print Model
Summary
One kind of 3D printing spool, including two parts of the disc and pressure plate.Remove, loading consumables quickly and easily
Print Settings
Printer:
Raise3D N2
Rafts:
Doesn’t Matter
Supports:
No
Infill:
20-50Post-Printing
How I Designed This
use solid worksStandards
NGSS
Overview and Background
3D
using for 3D printer filament
Lesson Plan and Activity
maybe need three step
Materials Needed
PLA or ABS
Skills Learned
Duration of Lesson
12h+
Preparation
okay
Rubric and Assessment
why so many
References
3DprinterCustom Section
cond -
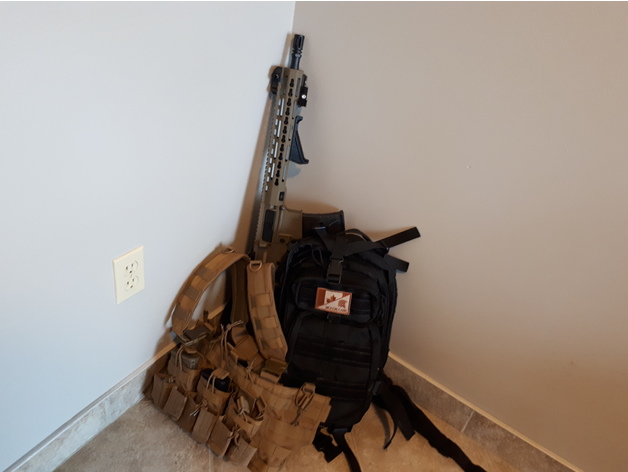
Keymod angled foregrip 3D Print Model
Summary
Foregrip for keymod rail. 2mm spacing is indented into the rifle side to accommodate for the keymod nuts.
Keymod nuts required!!! -
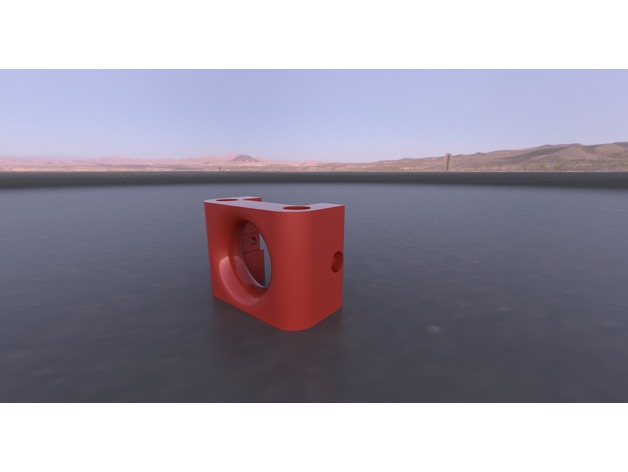
Realacc X210 CAM MOUNT Eachine C800T CCD 3D Print Model
Summary
As the standard Realacc X210 Frame cant hold CCD cameras I came up with a solution.
This is a holder for the “Eachine C800T 1/2.7 CCD 800TVL 2.5mm” (banggoods name if u search it, u ll find it) or other FPV Cams which use a 25mm x 25mm housing.
It is not able to do high camangles.
Max is about 10 degrees. It´s design denies this, so u cant break your FC board by bending the cam onto it and destroying it when u crash.
Contact me if u need any other format / informations / changes. -
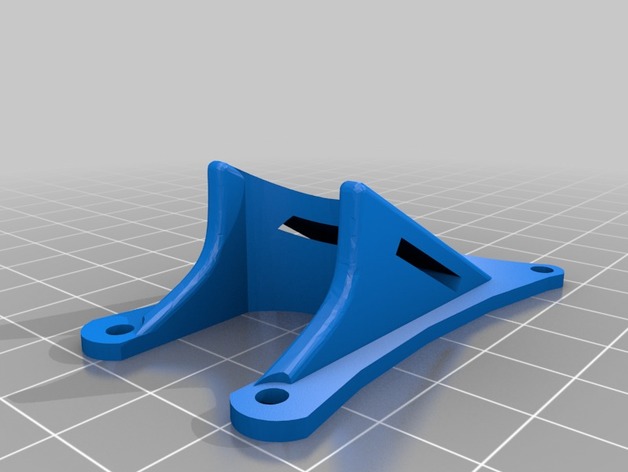
Rad-X (Kwad Box) gopro mount 3D Print Model
Summary
a gopro mount i made for the Kwad Box Exclusive Rad-X frame.
Print Settings
Printer Brand:
TEVO
Printer:
Tarantula
Rafts:
No
Supports:
No
Resolution:
.2mm
Infill:
100
Notes:
Printed with SainSmart Tpu
Bed – 70C
Hotend – 215C
30mm/sec -
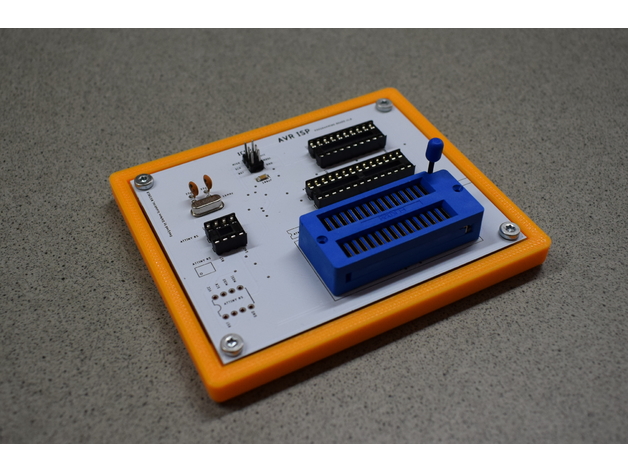
AVR ISP Programming Board v1.0 3D Print Model
Summary
AVR ISP Programming Board case
https://app.box.com/s/913ihy23mmxu5hemftgme2fgq0jbtyng -
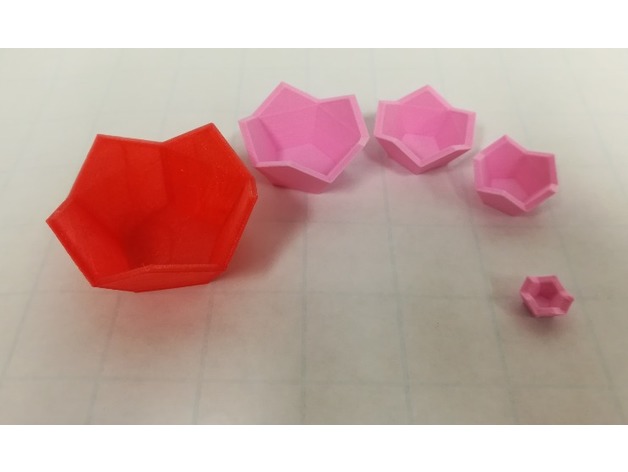
Nested Dodecahedra, Russian Dolls 3D Print Model
Summary
Nested Dodecahedra
Nested structures are everywhere in mathematics–recursive functions. Here is a sequence of 15 dodecahedron shells, ranging from 48mm to 6mm in terms of exterior edge length. You could choose any number from them and make a nested structure. It takes two halves to make a whole, of course. Each shell is 2mm thick; its edge length drops by 3mm. By the way, how does the volume of each dodecahedron change, as the side length goes down by 3mm?
Print Settings
Rafts:
No
Supports:
No
Resolution:
.1 to .2mm
Infill:
5-20% -
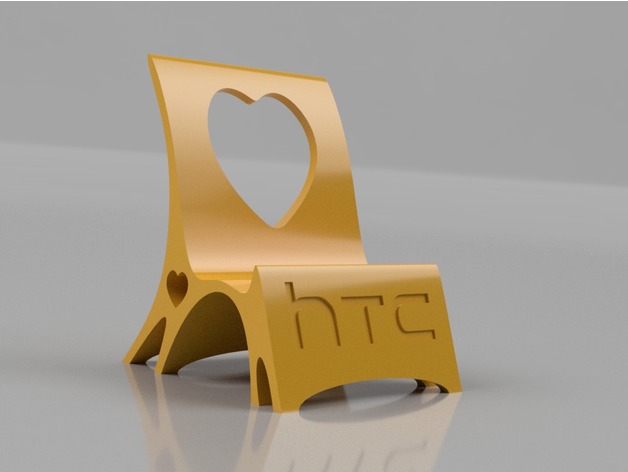
HTC Phone Stand 3D Print Model
Summary
Simple stand for us HTC users!
Print Settings
Printer:
Anycubic i3 mega ultrabase
Rafts:
No
Supports:
No
Resolution:
0.2mm
Infill:
Whatever you like! -
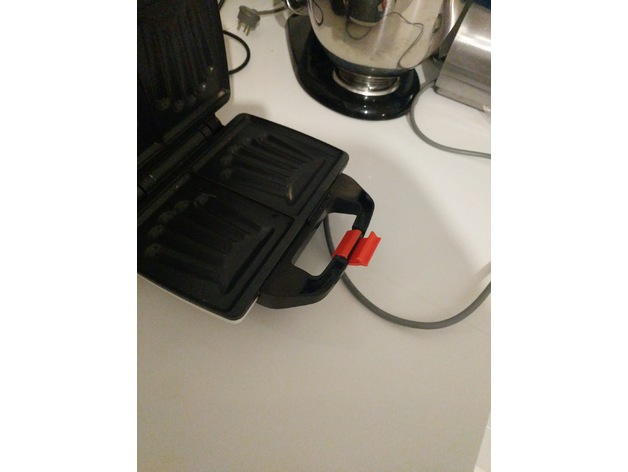
Tefal sandwich maker latch 3D Print Model
Summary
This is a latch for an old Tefal sandwich maker I have.
The original latch broke and any attempt to glue it failed.
I ended up taking a photo of the broken piece from above, uploading to Onshape, tracing the contour and finally extruding it to a 3D model to exact size.
Fit precicely on first print!
Enjoy…
How I Designed This
onshape
https://cad.onshape.com/documents/06c5bcd43da3a37daf8c8e32/w/a21f5db9f321106fd3ba6dc6/e/518bcfde518925ddbc11c1ff -
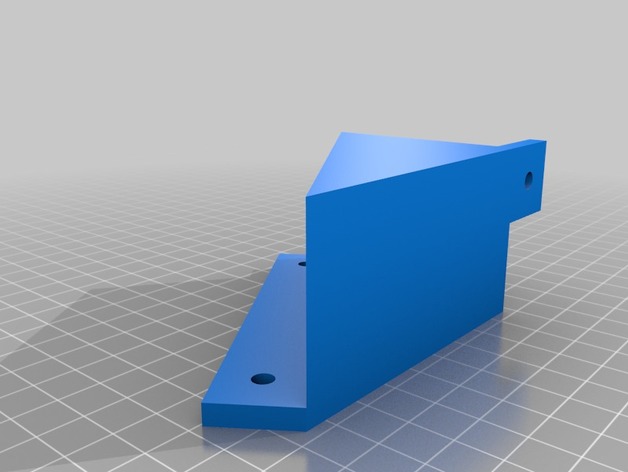
35 Degree Triangle for Conveyor belt printer 3D Print Model
Summary
I used this triangle in the conveyor belt prototype printer to align the bed to the hypercube printer.
A newer dedicated infinite printer design is here: https://www.thingiverse.com/thing:2818937 -
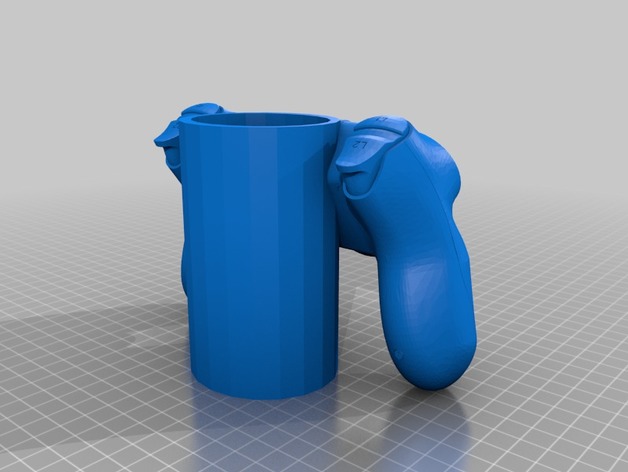
ps4 controller pen cup 3D Print Model
Summary
this is a full scale model of a ps4 controller that I turned into a pencil holder
Print Settings
Printer:
Anycubic i3 mega
Rafts:
No
Supports:
Yes
Resolution:
.2
Infill:
15%Post-Printing
Standards
NGSS
Overview and Background
Lesson Plan and Activity
instructions
make sure you use support set to 65% and at least 15% infill
Materials Needed
PLA,PETG -
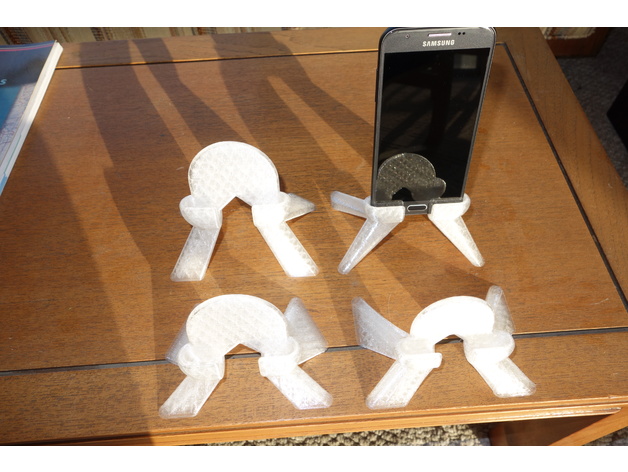
Parameterized phone stand 3D Print Model
Summary
This is a parameterized phone stand.
The parameters are currently set for the Samsung Galaxy Luna Pro
This was done in both OpenSCAD and FreeCAD
To adjust this design to match your phone, in FreeCAD, edit the spreadsheet, in OpenSCAD, edit the variables at the beginning of the file.
I did this project as a way to learn how to use FreeCAD
I did this first in OpenSCAD, and completed it fairly quickly. I was figuring out what I was designing at the same time as I was designing it, so the code is horrible. It was a rather straightforward design in OpenSCAD, just a bunch of manual geometry.
In FreeCAD, I already knew what I was trying to design since I had done it in OpenSCAD. In FreeCAD it was mostly fighting the tool, figuring out how I was causing it to break, and how to avoid the pitfalls of FreeCAD. I had a lot of much appreciated help from the people at the FreeCAD forum.
FreeCAD had just come out with version 0.17 as its stable version. I had tried 0.16 and found it unstable, I had tried early versions of 0.17, and it looked promising, but was too much in flux. the stable version of 0.17 seems just stable enough to be usable.
I must have started over in FreeCAD at least 20 times. As a result the final design is much more polished than the OpenSCAD design.
Things I learned in FreeCAD:
Bodies can be rotated and translated, but the boolean tools for Bodies will ignore the rotation and translation, and use the original position of the body.
When working on a body, there is no way to translate or rotate what has already been done, so everything you are working on must be done in the final position.
You can create a reference plane (or a set of reference planes) that are rotated and offset from the default coordinate system, so you can work in this alternate coordinate system. This gets the same effect of rotating what you had previously done, but you must effectively rotate and move your coordinate system before you start building the part you wish to rotate or offset.
You can build your object with parameters in a spread sheet, but not all operations will update when parameters are changed.
There are multiple different workbenches. Operations in one workbench are not always available in another.
Objects designed in one workbench are not always usable in another.
In this design I did most of the initial work in “Part Design”, but I needed to do a loft that was only available in the “Part” workbench. The loft can use a face, or a sketch, but if you have a body from the Part Design workbench, you can’t select a face on it and use that in a loft. One must first make a clone of the object, then go to the “Draft” workbench, select the face you wish to use, select “Create Facebinder Object”, then you can go back to the “Part” workbench, and use that Facebinder Object as a face for the draft. The loft can use a sketch from the “Part Design” workbench, but if it has links to a spreadsheet as it will in a parameterized design, it will break. Instead, one must put the sketch in a body, Pad it into a 3D object, and then go through the above procedure so that you can for a face so you can select the face that was defined in the sketch, and use that as part of the loft.
The sketch tool has some issues one needs to know about. It does not always catch when an object is over constrained. One of the most common failure here is when a line with an horizontal constraint has its endpoints mirrored by the vertical axis, the horizontal constraint becomes redundant, but this is not noticed by the tool. This often causes problems later, and is sometimes difficult to trace back to the redundant constraints. If there is a problem with a sketch, sometimes it won’t let you edit numerical constraints to fix the problem, and one must delete some constraints before you can re-add the corrected constraints.
FreeCAD has some architectural issues. whenever the number of edges in an object change, they are arbitrarily renamed. Since later steps are often linked to earlier steps, they end up being linked to the wrong edges. 0.17 added a work around to this issue by allowing sketches to be linked not to the object, but to reference planes. Fillets are still a problem though since they must be linked to edges. The common suggestion is to do the fillets last. Fillets also have trouble when their edges overlap.
Boolean operations have trouble with tangential surfaces. If you wish to do a boolean operation on two objects which have a face in common, it is very likely to fail. The work around is to offset faces so the objects overlap, or don’t touch. It can sometimes be difficult to find the offending face or edge.
FreeCAD does not allow adding comments to sketches, about the only place comments can be added is to the spreadsheet.
Print Settings
Printer Brand:
LulzBot
Printer:
TAZ 6
Rafts:
No
Supports:
No
Resolution:
0.4 mm layers
Infill:
20
Notes:
All overhangs are limited to about 45 degrees, so no support was needed. -
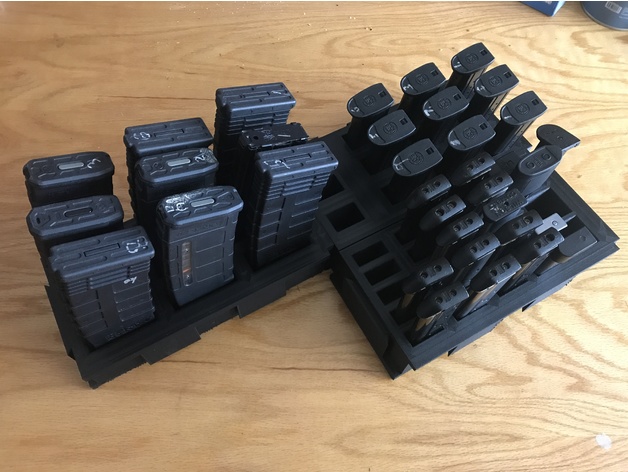
Modular magazine storage 3D Print Model
Summary
Modular magazine storage:
AR-15: 9 AR-15 magazine (molded from P-mag )
Double stack: 15 Double stack magazines (molded from M&P 9)
Single stack: 20 Single stack magazines (molded from 1911 9mm)
Shotgun: 4, 25 round boxes of 2 3/4″ shotgun shells.
Each unit dovetails together.
They can be used in a cart or a in a safe
I used 20% fill for PLA it seemed to work good.
Each unit uses about .5 KG of filament. -
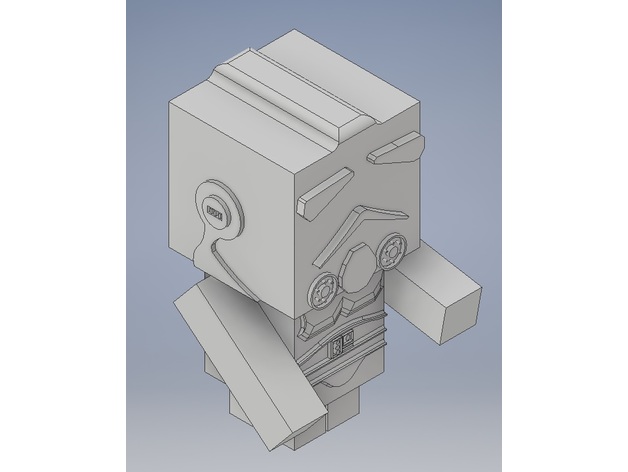
Cubeecraft Stormtrooper 3D Print Model
Summary
fun cube mini-figure. Created to look like Cubeecraft mini-figure! -
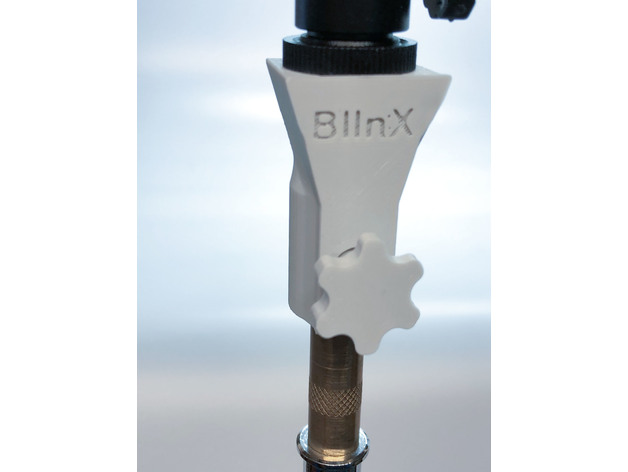
Background Stand – Hotshoe Adaptor 3D Print Model
Summary
I created this adaptor to allow me to reuse a couple of very old background stands that I had in storage, I repurposed them to act as lighting stands for my two LED panels, both of which come with hot-shoe attachments as standard.
Printed in Fillamentum PLA Extrafill Electric Grey
The initial release is a little bit rough and ready but works perfectly for me, I will be refining the design and adding other options in the future.
For info, the hole that the background pole slides into is 11mm in diameter -
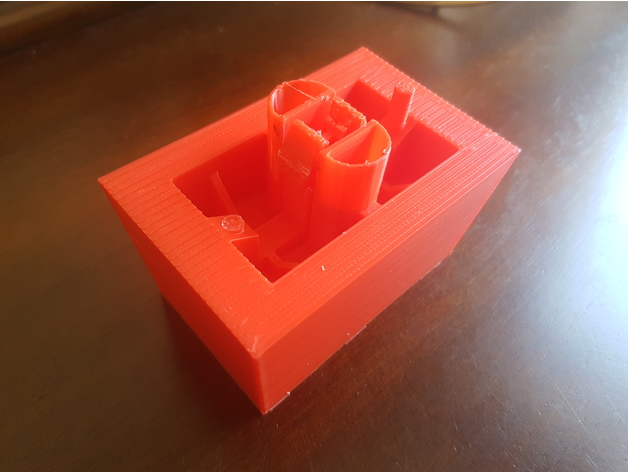
Saab Jack Support 3D Print Model
Summary
I designed this for my 2008 Saab 93. The support works very nicely for all 93 models from 2003 to 2011. This is a Jack support for Saabs, mine broke off after i went over a curb.
This is a great alternative to the actual part as they can very to over $80.
THIS MODEL IS NOT FULLY FINISHED AND WILL BE UPDATED!!
As you may know the original part has a pin that helps to take the support off when needed. I will create the support with the extra pin very shortly.
If you have any questions or concerns please don’t hesitate and feel free to contact me. I will take requests to design more Saab parts for everyone out there! -
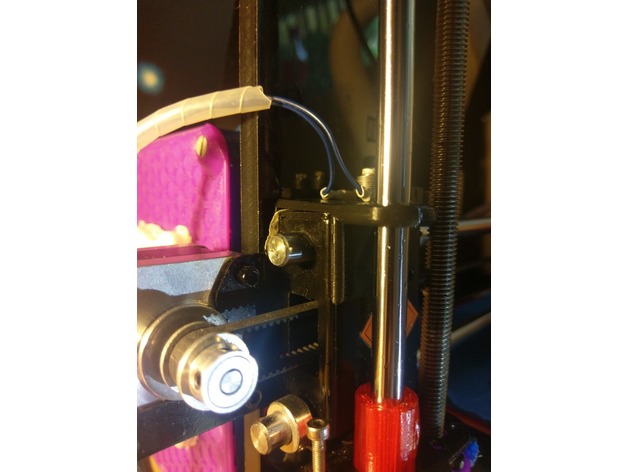
X-Axis-Ghosting Fix Geeetech Pro Series 3D Print Model
Summary
This is a Ghosting fix for the Metal X-axis Carriage.
The Uploaded OBJ is made for the left side of the axis (where the motor is) and can be mirrored to fit on the right side.
it might doesn´t fit instantly but it works as good as it looks.
Any questions/suggestions are welcome in the comments -
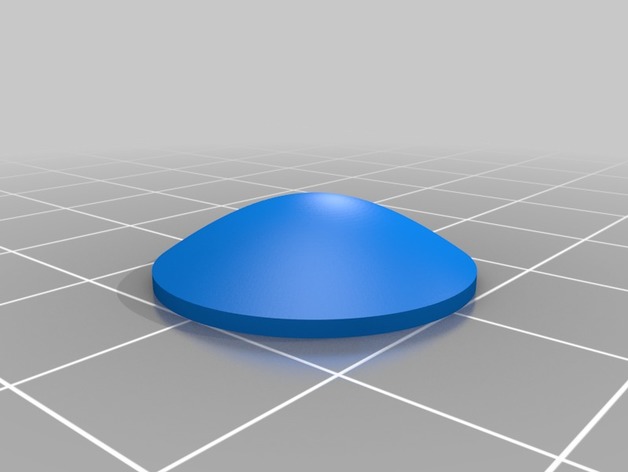
Aspheric lenses 3D Print Model
Summary
With transparent PLA it is possible to print (asperic/ideal) lenses. Here I offer
hyperboloid lenses with 20mm diameter and a (theoretical) focal length of 20mm and 50mm.
The lenses must be printed with 100% infill.
It is possible to design lenses of any kind. However the transparent PLA material is not transparent enough to make high quality optical instruments. However for condensors to focus a light beam, this already works.
Have fun. If you want me to make another lens with different diameter and different focal lengh (convex or concav), let me know. If you make one, please measure the focal length, so that we can collect data about the PLA materials in use. -
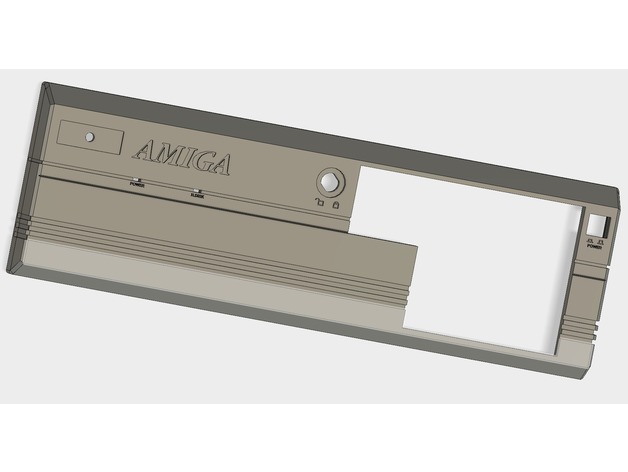
A4000 Front Cover 3D Print Model
Summary
Old computers are great, but the plastics don’t stand the test of time, yellowing through brominated flame retardants, or just getting brittle with age.
The Amiga 4000 is one of those affected, and due to the limited numbers they were produced in, replacement parts are difficult to get hold of.
I created this front cover to sit alongside some of the other case replacement projects out there, and in particular, efforts to reverse-engineer and provide spares for worn-out parts.
This is a bit of a work-in progress still, but from my first attempts, fitment seems good.
There are two versions, one with some clips which is designed to be split in half for those with smaller printer beds (It fits perfectly on the Prusa I3 printers), and another full-size one for those with larger printers.
You’ll want to split the print in half in your favourite slicer/editor, right through the keyboard lock, the three clips should then hold the alignment when you join the parts together – superglue is fine for both PETG and PLA.
I’m still working on the pegs which hold the cover onto the chassis – at the moment the print alignment isn’t great for strength – I’m looking at making recepticles for them so the can be printed separately and glued in place.
Another option I’m looking at is designing a magnetic attachment version, but that will come later…
The .step files are included if you want to customise further, or do something crazy, like adapt it for CAM and carve it out of a block of aluminium…
Print it slow for accuracy – clearance seems okay, but there may still be a few places which need adjusting with sanding. -
Chevy Colorado phone mount for Samsung galaxy S9 3D Print Model
Summary
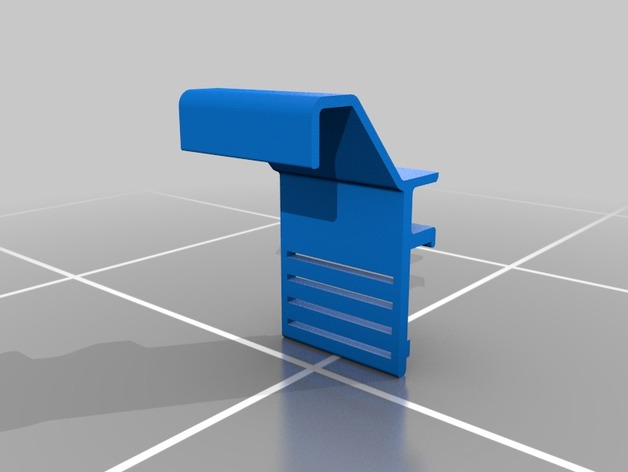
Fits 2nd generation chevy colorados, intended to hold a galaxy s9 with a case however it should hold other phones. Phones/cases under 15mm thick, and 80mm wide should work just fine.
Prints on it’s side. No supports should be needed, all bridging is small.
Will need to be fastened to the truck in some way, glue, tape, or screws will work.
Print Settings
Printer Brand:
Prusa
Printer:
i3 MK2S
Rafts:
No
Supports:
No -
CR-10 LED light bar 3D Print Model
Summary
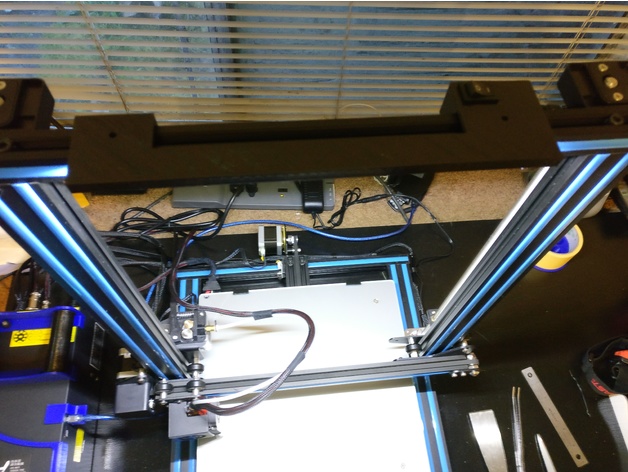
This is a LED light bar for the CR-10. Designed to fit about a 10 inch strip of 5630 LED, plus a mini rocker switch and a 2.1 DC jack. I’m using external DC power because I didn’t want to splice into the printer’s wiring, plus I wanted light to be available even when the printer is off. I have the wires hidden behind using some spare pieces of the decorative plastic. Also, can be mounted with M4 screw + T-nut or just 3M tape.
The opening for the switch is 12.3mm x 20mm, and the opening for the DC jack is 8mm.
Print Settings
Printer Brand:
Creality
Printer:
CR-10S
Rafts:
No
Supports:
No
Resolution:
.2 mm
Infill:
30% -
Mavic Air copro phone holder 3D Print Model
Summary
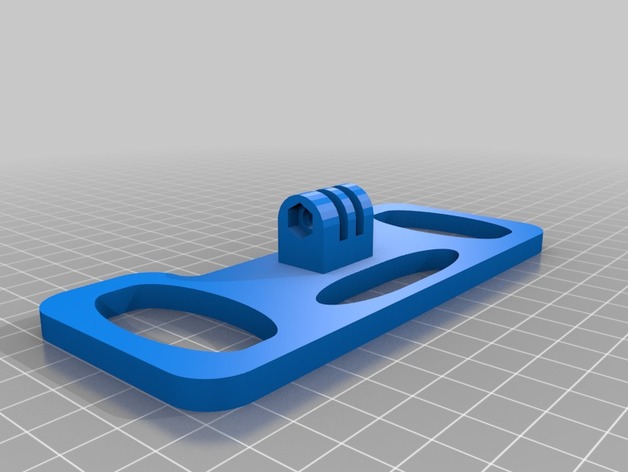
This will allow you to use various gopro accessories to create your own phone mount with all sorts of position options. I use a short gopro coupler to a tripod mount… then I can screw anything I want to it. So far, so good. Very stable and light.
Print Settings
Printer Brand:
Robo 3D
Printer:
R1 ABS + PLA Model
Rafts:
No
Supports:
No
Resolution:
Medium, .2
Infill:
.25
Notes:
This will allow you to use various gopro accessories to create your own phone mount with all sorts of position options. I use a short gopro coupler to a tripod mount… then I can screw anything I want to it. So far, so good. Very stable and light. Developed in tinkercad. -
Remix Folding Brass Catcher 224 Valkyrie 3D Print Model
Summary
This is a remix! I like the design and made some changes. The mount can use more work.
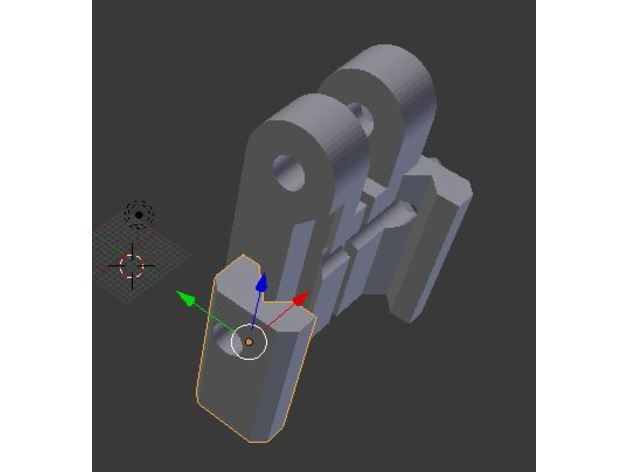
You can Sew up a bag from old blue jeans with a zipper to catch the brass, or just use it as a brass deflector. Make shorter or longer as needed for Mlok or Pic rails.
Enjoy! -
Milwaukee Pack out Grinder Fuel Ultimate Setup 3D Print Model
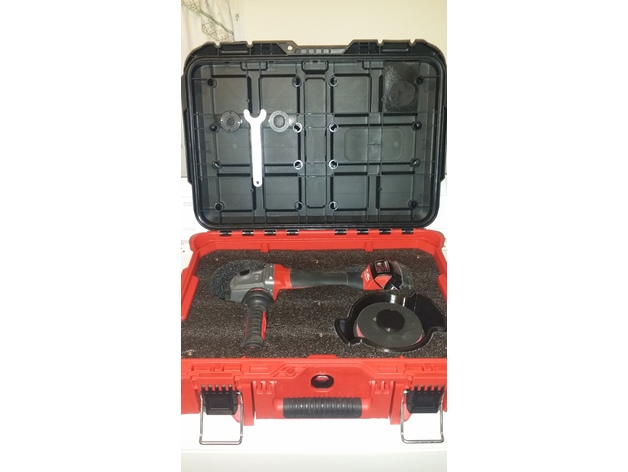
Summary
I made these part to hold my milwaukee grinder accessories neatly in a packout case.
Designed for use with 12mm diameter – 4mm thick – 4mm hole countersunk magnets I got off ebay with #6 flathead bolts that are 3/4″ inch long.
I am placing this on public domain so that every sentient being may used this at their own discretion.
Please give a like if you like this.
Computer Aided Designed on Bobcad V30
Computer Aided Manufactured on Simplify 3D V4
Printed on Creality CR-10
Stop Human Trafficking
Stop Title IV-D
Live long and prosper -
Moto 360 fix 3D Print Model
Summary
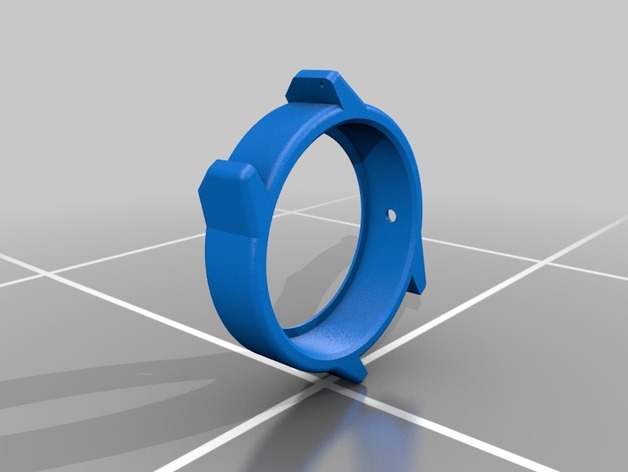
This is a fix for the poorly designed moto 360 gen2 sport. It does require taking apart the watch but works great in the end. Might require some light sanding depending.
Print Settings
Printer Brand:
FlashForge
Printer:
Finder
Rafts:
No
Supports:
No
Infill:
10
Notes:
Do 5 shells for best results -
Star Wars Keychains! 3D Print Model
Summary
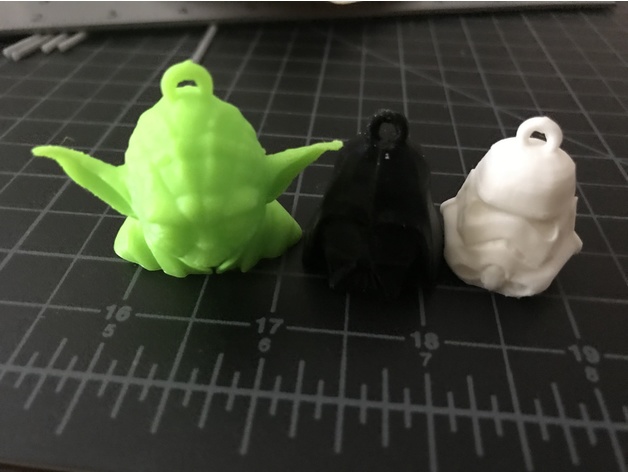
Star Wars Day is coming up! So, I thought I would upload some cute keychains to call your own! I have Darth Vader, R2D2, Yoda, and a Storm Trooper. Enjoy!
Note: I haven’t printed the R2D2 yet, so I will update the pictures once I do. -
Lamborghini Veneno 3D Print Model
Summary
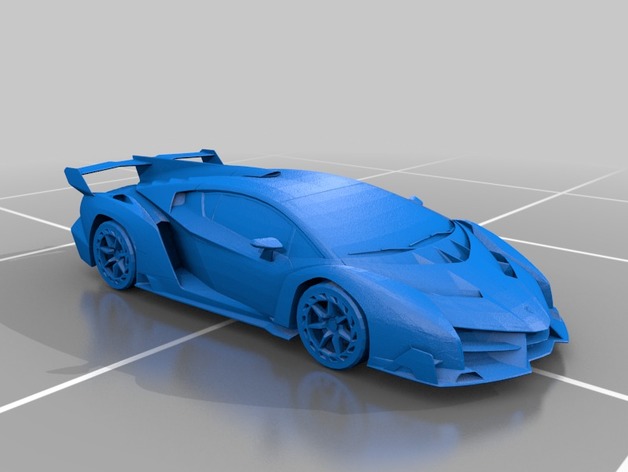
Model of an Lamborghini Veneno.
It has no special scale and should be printable. If anything is wrong with the files, contact me. -
6×12 Pinhole Camera 3D Print Model
Summary
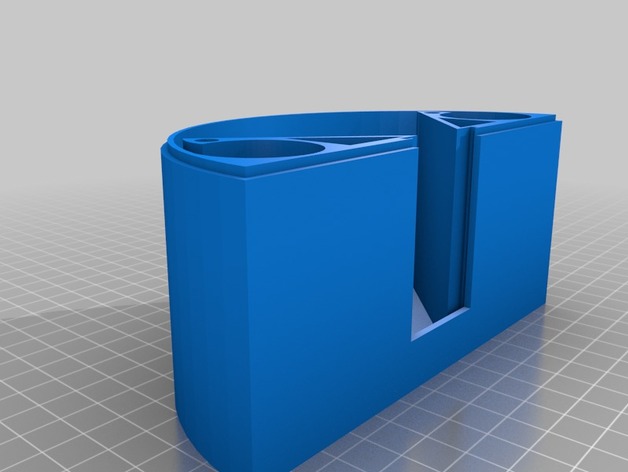
First working prototype of a 6×12 pinhole camera with curved film plane.
Focal length: 65mm
Pinhole size: 0.3mm
Aperture: about f/215
Frame size: about 56x116mm
Camera base / upper film guide / camera cover:
First (non-working version) had the upper film guide integrated into the cover. Film loading (getting the film into the upper and lower film rails) was nearly impossible, so I decided to separate the upper film guide from the cover.
Some films tend to unroll, so it is also a good idea to bend two metal clips which press against the film roll.
The film guide is a bit rough and hard to smoothen/polish, so I am using a strip of smooth sticky tape on the left and right side of the film guide (I don’t care about the rails).
Camera base, upper film guide, cover and tripod plate are put together with a M5 threaded rod, hat nuts (on the cover side) and butterfly nuts (on the tripod side).
Use a red gel with about 14mm diameter for the small window on the back of the camera. Just glue it into the window and put the little shutter blade into the rails to close it.
Shutter / Pinhole assembly:
Shutter is designed to slide into the camera base with no light seals or screws required.
Pinhole itself is a little metal foil with a diameter of 14mm which is glued to the shutter base plate. Shutter is closed by a small rubber ring. Wire trigger is just pressed into the hole in the shutter base platte.
Knobs/Winders:
Use the bigger knob on the left side for film advancing.
You have to use some force to get the winders into the knobs. -
Articulated Moth 3D Print Model
Summary
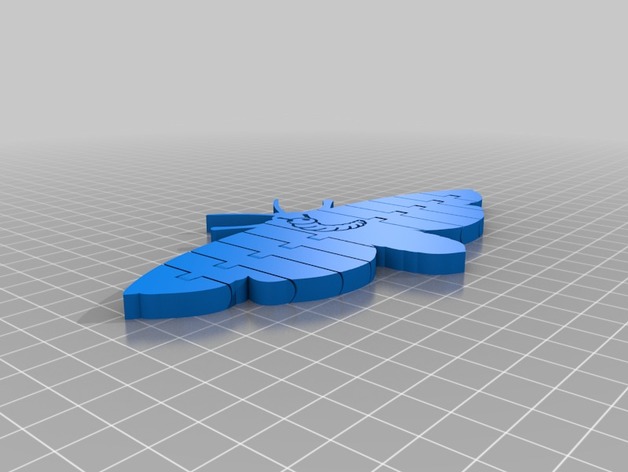
My take on articulated silhouette models of animals.
I’ve seen some similar models with wide open hinges but thought I’d try using a masked type hinge so you can’t see through the hinge lines
Others in the series:https://www.thingiverse.com/thing:2883121https://www.thingiverse.com/thing:2883139https://www.thingiverse.com/thing:2883140https://www.thingiverse.com/thing:2883575https://www.thingiverse.com/thing:2883593
Print Settings
Printer:
Anycubic i3 mega ultrabase
Rafts:
No
Supports:
No
Resolution:
0.2
Infill:
Whatever you like! -
Washer Dryer Knob for GE and maybe others 3D Print Model
Summary
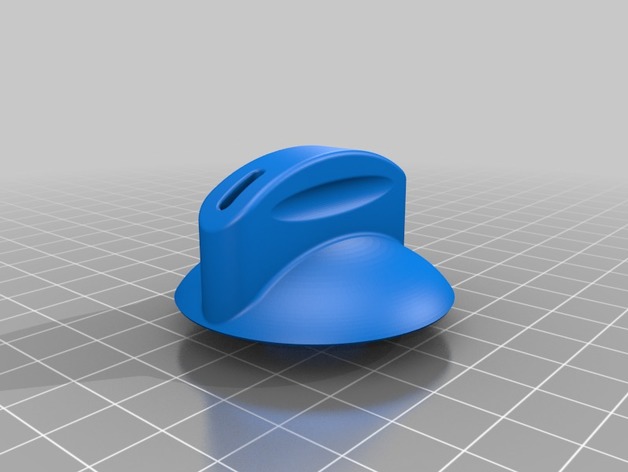
As they are wont to do, the knob on my dryer broke! The design is pretty weak, so I made a stronger and more stylish one! It will fit on Most GE dryers that have a 6mm diameter knob shaft. (the ones that have a cut out on one side of the shaft)
Print Settings
Rafts:
Doesn’t Matter
Supports:
Yes
Resolution:
0.24mm
Infill:
35%
Notes:
The infill needs to be a little higher than normal, at least 35%, so that it won’t collapse the walls when turning it. Maybe increase wall shells to 1 above normal. -
Kanohi Vegemix- the Great Mask of Vegemite 3D Print Model
Summary
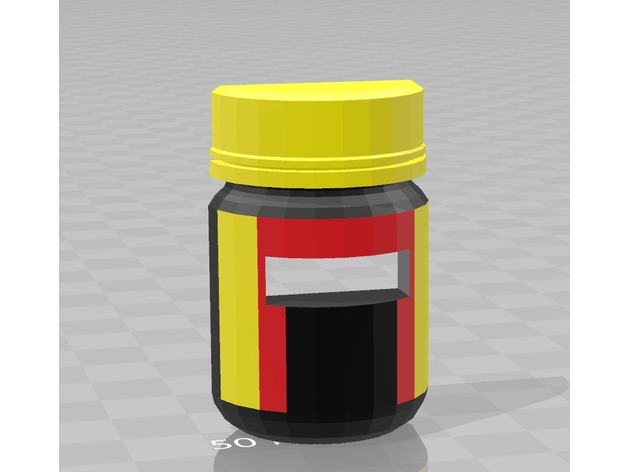
Yes
I made this
Please do spam maskposting with it -
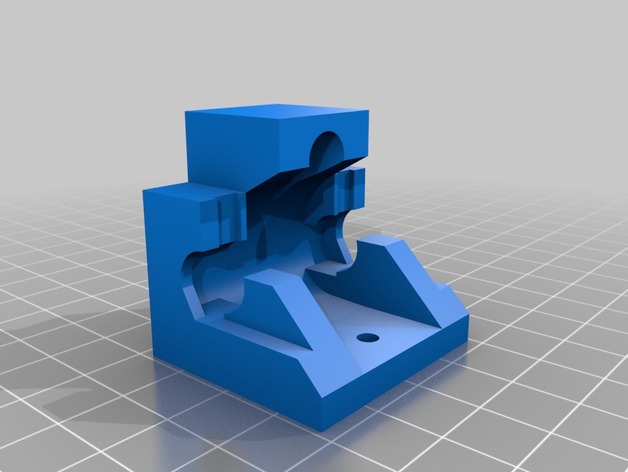
Mbot Grid II+ corner bearing holder 3D Print Model
Summary
Previous drawing was pretty acurate to the original part
But original part was designed With injection molding in mind
I’ve simply filled some void to make this new one sturdier with 3dprinting in ming
Same Functionality -
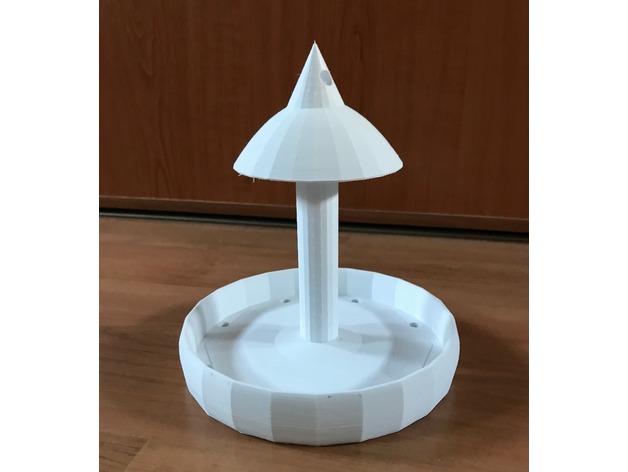
Bird feeder for breadstuff 3D Print Model
Summary
Simple, hanging, Bird feeder for breadstuff unlike most others targeting seeds.
Print Settings
Printer Brand:
MK3
Printer:
Prusa i3
Rafts:
Doesn’t Matter
Supports:
Yes
Resolution:
0.15-0.25
Infill:
20-30%How I Designed This
Tinkercad -
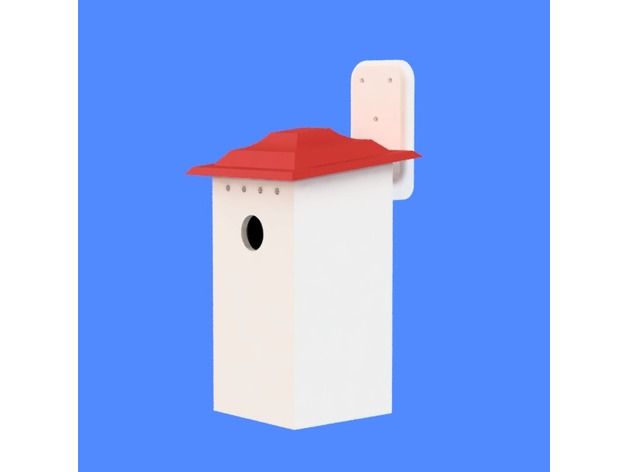
Two Piece Birdhouse for Chickadee, Titmouse, Nuthatch, or Woodpecker 3D Print Model
Summary
This two-piece bird house is designed to attract Chickadees, Tufted Titmouse, Nuthatches, and woodpeckers. It needs to be mounted 8-10 feet above the ground.
The design includes:
Four drain holes
Four ventilation ports above the entrance
A slip-fit roof for easy cleaning
A built-in mounting arm
Please post any comments and Makes – I’d love to see these in their new homes!
Print Settings
Supports:
Yes
Resolution:
.04
Infill:
At least 20% -
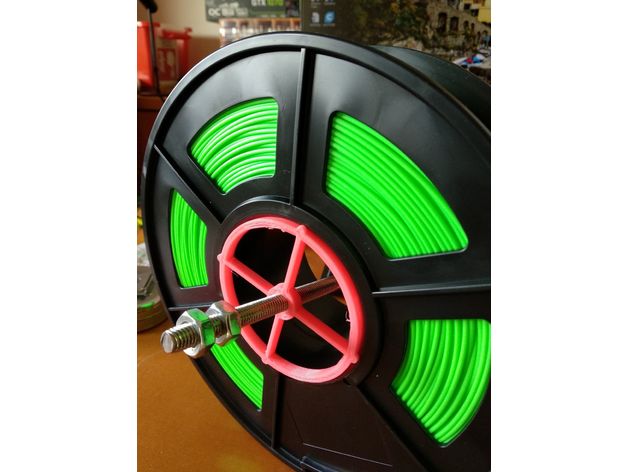
Sunlu Spool Holder 3D Print Model
Summary
0.4 15min ez print on Anet A8
Print Settings
Rafts:
No
Supports:
No -
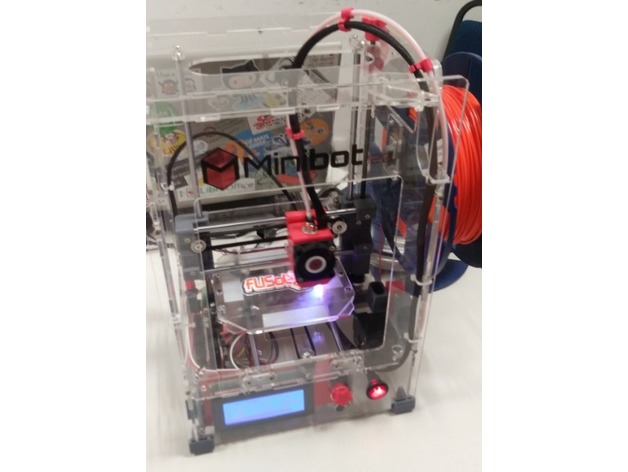
Flisol LOGO keychain 3D Print Model
Summary
flisol.info – Festival Latino-americano de Instalação de Software Livre -
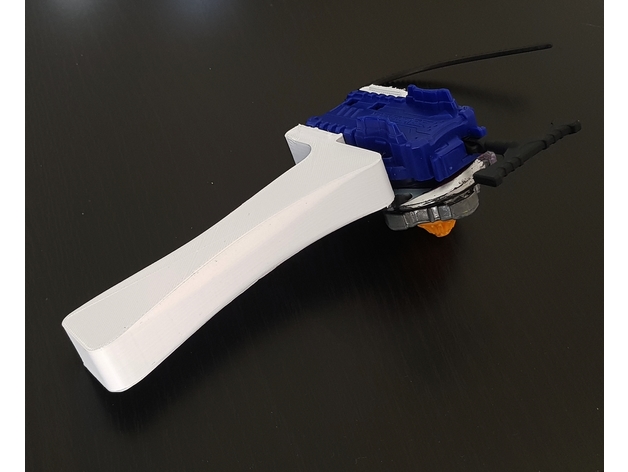
Beyblade Burst Launcher Grip / Manche pour lanceur Beyblade Burst 3D Print Model
Summary
English
A grip for the official Beyblade Burst launcher (sold by Hasbro), tested and approved by my 7 year old son.
Print it, clip the Hasbro launcher into it, done.
3… 2… 1… LET IT RIP !
Français
Un manche pour le lanceur officiel Beyblade Burst (vendu par Hasbro), testé et approuvé par mon fils de bientôt 7 ans.
Imprimez-le, placez le lanceur Hasbro dans le manche, c’est tout.
3… 2… 1… HYPER VITESSE !
Post-PrintingClip it
-
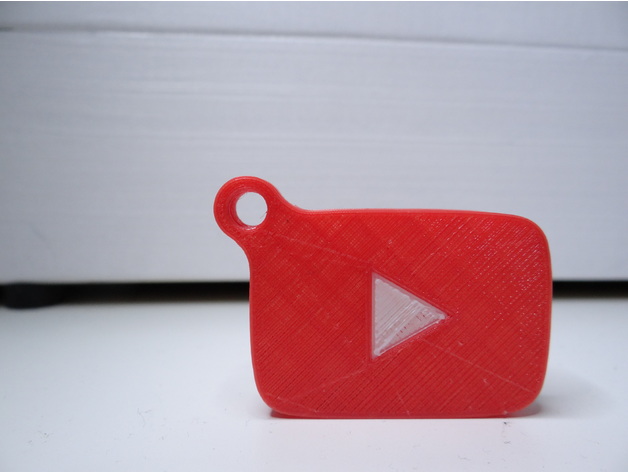
YouTube logo keychain 3D Print Model
Summary
Printed on zonestar M8R2: https://goo.gl/Htf9XY
Very simple dual color print of YouTube logo keychain. Small and simple but gives a lot of fun to print! Perfect for youtubers 🙂
Check out my video about this printer and those prints: https://youtu.be/Ly4tQsE_bo0
And here is my first video about Zonestar M8R2 3d printer: https://youtu.be/F_RnwiAkY1w
Follow me on social media:
YouTube: https://goo.gl/x6Y32E
Facebook: https://goo.gl/ZAQJXJ
Instagram: https://goo.gl/JLFLtf
Twitter: https://goo.gl/eiAecG -
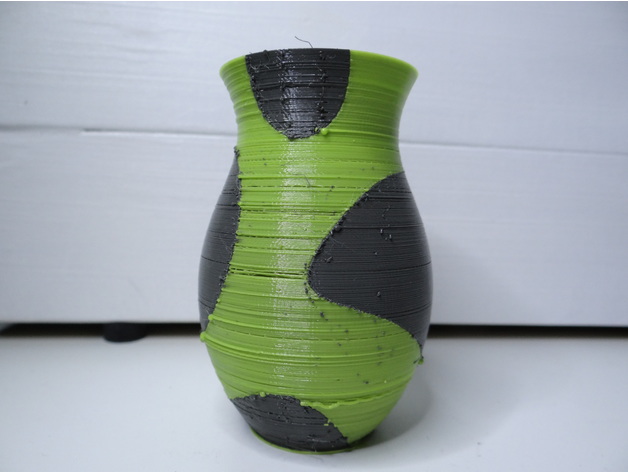
Dual color vase 3D Print Model
Summary
Printed on zonestar M8R2: https://goo.gl/Htf9XY
This is a simple two part vase for dual color printing, it doesn’t look good on the photo because was testing and adjusting settings to improve quality. QUite simple to print, may require prime tower.
Check out my video about this printer and those prints: https://youtu.be/Ly4tQsE_bo0
And here is my first video about Zonestar M8R2 3d printer: https://youtu.be/F_RnwiAkY1w
Follow me on social media:
YouTube: https://goo.gl/x6Y32E
Facebook: https://goo.gl/ZAQJXJ
Instagram: https://goo.gl/JLFLtf
Twitter: https://goo.gl/eiAecG -
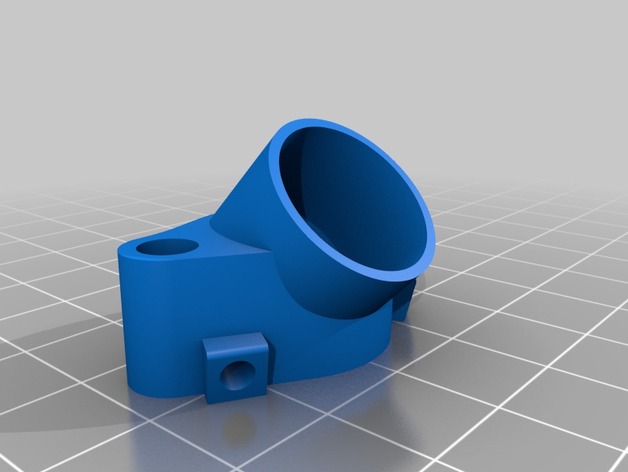
3 inch Toothfairy Axxi Mount 3D Print Model
Summary
Axxi antenna and rx mount for the 3-inch toothfairy quad frame by Pyro-Drone -
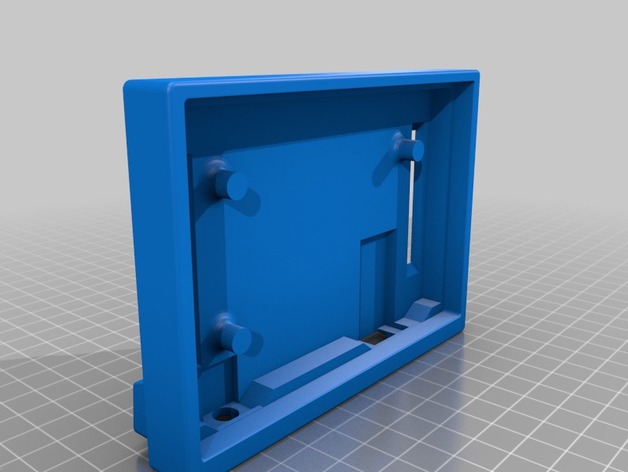
Lets Split Case rev3 3D Print Model
Summary
lets split case modeled after the TADA68 case. work in progress, havent printed yet. -
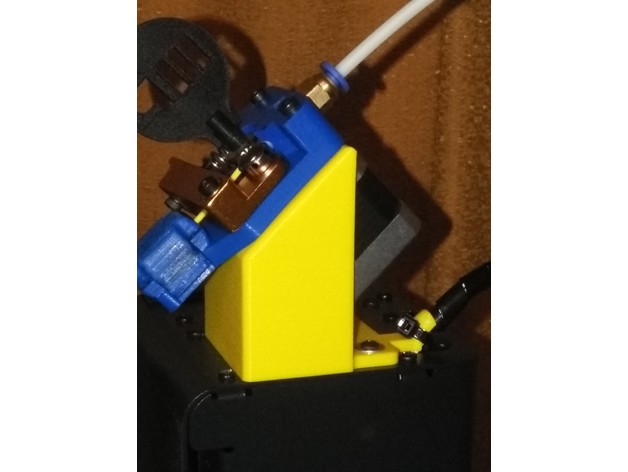
45 degree motor mount 3D Print Model
Summary
I took Bcorbino’s mount and beefed it up a bit and added a cable mount point that you can zip tie the wires that go to the print head to.
The main reason I wanted this was to ease the kink in the bowden tube when the print head is at the top of the Z axis and near the tower. I was having filament flow issues. This cured them.
Print Settings
Printer:
MP Select Mini
Rafts:
No
Supports:
Doesn’t Matter
Resolution:
.175
Infill:
100%
Notes:
I didn’t need supports. Your mileage may vary.
The large hole that the stepper mounts to will need to be deburred. It’s a nice fit then. -
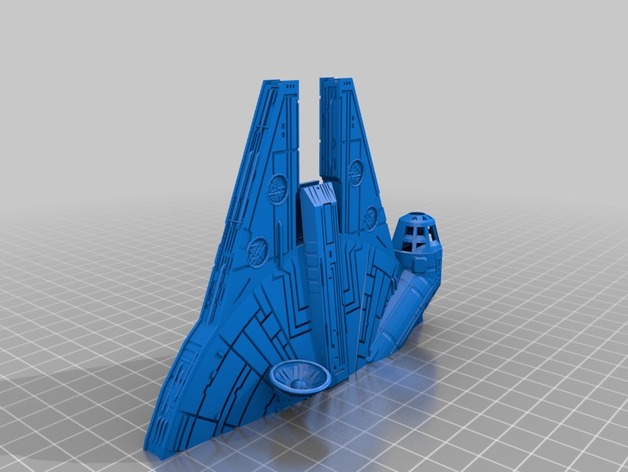
Millenium Falcon-Split 3D Print Model
Summary
remix split into 3 pieces
Print Settings
Printer:
Folger Tech Rabbit
Rafts:
No
Supports:
No
Resolution:
0.1
Infill:
5% -
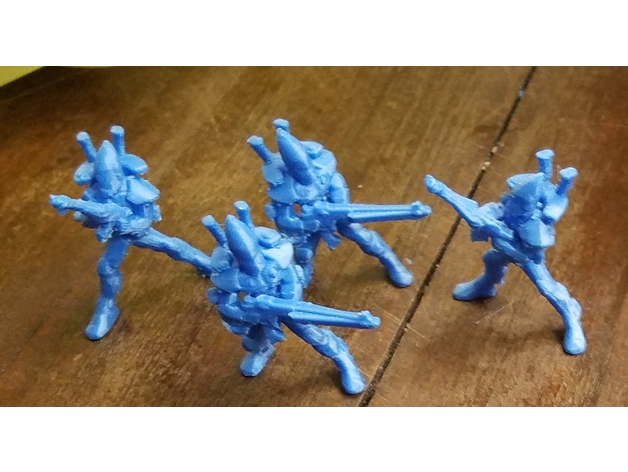
Space Elf Protective Troops 3D Print Model
Summary
This model is intended as a proxie of the Space Elf Protective Troops in the grim dark future. These models should only be printed for personal use and should never be sold.
Good luck and happy printing!
If you would like to talk about this or any other models/projects you find here or make requests please join us on our 40k Makers discord at https://discord.gg/xMPz3PB. Everyone is welcome to join. -
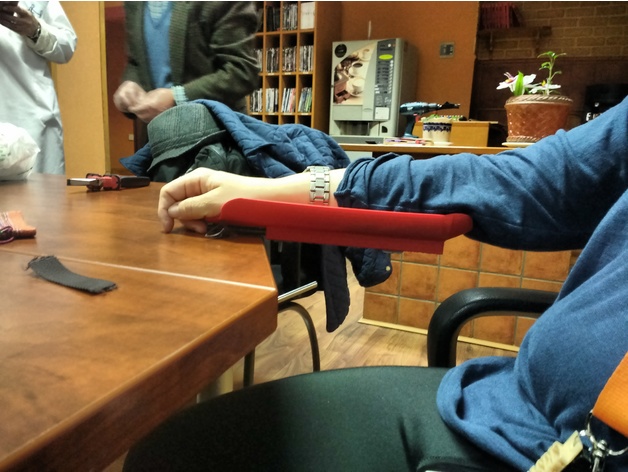
apoyabrazos teja 3D Print Model
Summary
Desarrollo técnico para ayudar a sostener y estabilizar brazo de persona con diversidad funcional en el uso del ratón de ordenador.
Proyecto desarrollado colaborativamente entre Carmen Gallego, Santiago Rubio Yubero, Francisca Díaz y Laudelina Blanco. -
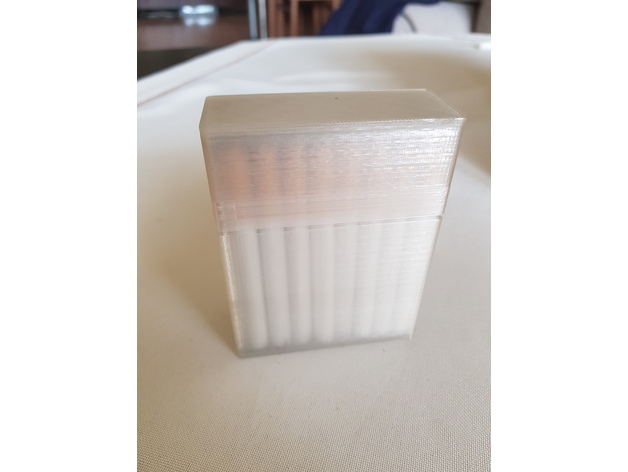
Cigarette Box 3D Print Model
Summary
Unfortunately I’m a smoker (and I’m not proud of this). Usually I’m doing my cigarettes by myself, but I don’t like original paper boxes (stupid pictures ;)). So I designed this one by myself, for my own use. Now my cigarettes are not going dry so fast (and no pictures)
Print and enjoy.
Print Settings
Printer Brand:
Prusa
Printer:
i3 MK3
Rafts:
No
Supports:
No
Resolution:
0.2
Infill:
20 -
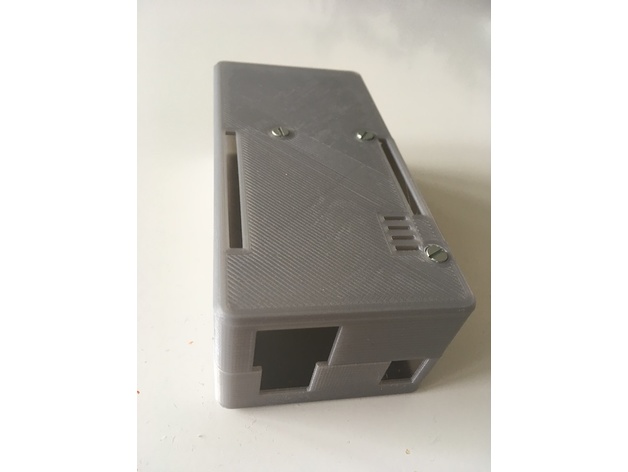
Arduino Uno Rev3 with Ethernet Shield XL-case 3D Print Model
Summary
This design features extra space for battery or circuitry. It requires 40mm M3 screws. Only three screws are used because there is no space left to accommodate the countersink between the pin slot and the screw hole.
Print Settings
Printer:
Geeetech i3 Pro B
Rafts:
No
Supports:
No
Resolution:
0.2
Infill:
20 -
Movers furniture bands lg. adjuster 3D Print Model
Summary
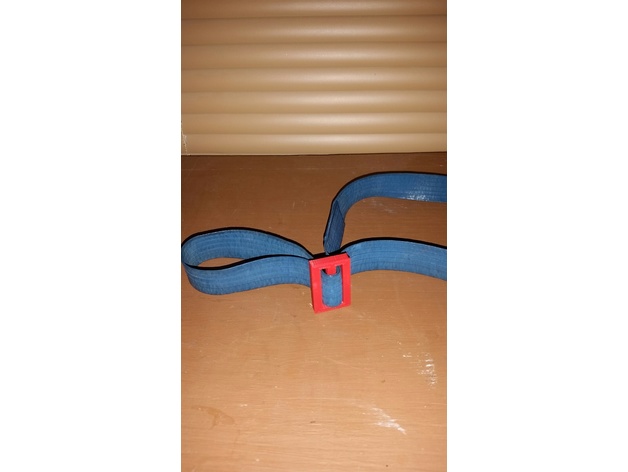
This will adjust a large blue and I’m sure it will work on small movers rubber-bands that are used to hold the blanket on the furniture when in transit & it won’t scratch the furniture! Adjusts the band to fit the desired object Please check out my other connector for connecting a broken band.
Print Settings
Printer Brand:
FlashForge
Printer:
Dreamer
Rafts:
No
Supports:
No
Infill:
15% -
Hardhat lamp band holders 3D Print Model
Summary
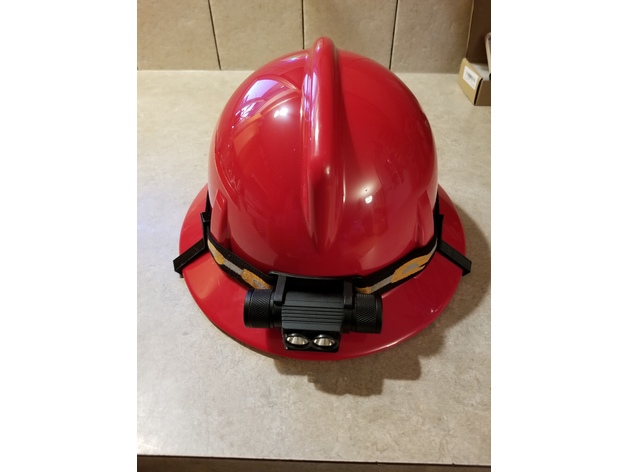
Lots of head band lamps available but you know if you try to stick them on a hard hat they just slip up and pop off. Especially if you bend over. This fixes that for the MSA brand topguard hat commonly used in the oilfield. Two side length and one rear length brim clip. Slide the band into the brim clip part and then slide it up into the band part of the clip. Slip it over the hat and pull the clips over the brim. Securely affixes your brain cover light.
Print Settings
Printer:
Monkey Shit Fight
Rafts:
No
Supports:
No
Resolution:
.2
Infill:
100
Notes:
A brim helps. PLA. -
Round lip model base paint clamp 30mm 40mm 50mm 3D Print Model
Summary
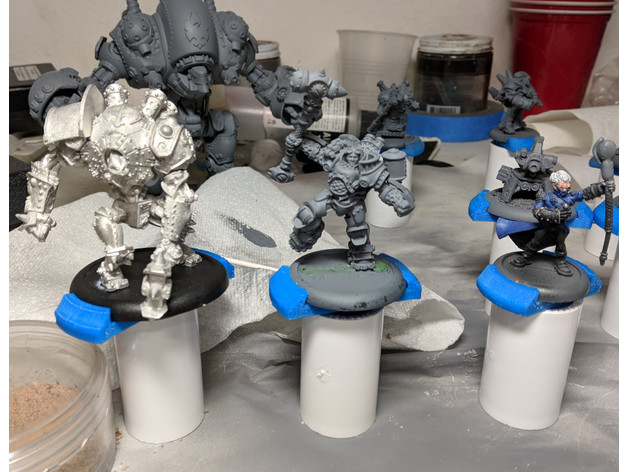
Simple clamps for round lipped 30mm 40mm and 50mm model bases. Insert printed clamp into a 1/2″ pvc pipe coupler.
Print Settings
Printer:
i3 clone
Rafts:
No
Supports:
Doesn’t Matter
Resolution:
.3 -
Shuttlecock Cap 3D Print Model
Summary
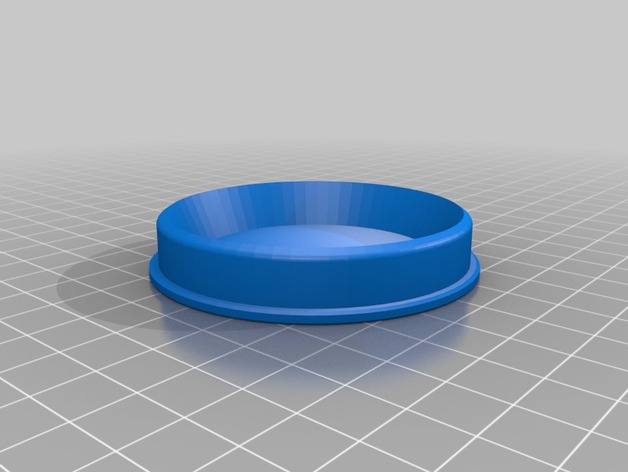
I lost the cap for the shuttlecock storage tube everytime so I decided just to design one and print it.
Print Settings
Printer:
Zeta MK1
Rafts:
No
Supports:
No
Resolution:
0.2mm
Infill:
15%How I Designed This
Measure and design in SketchUp -
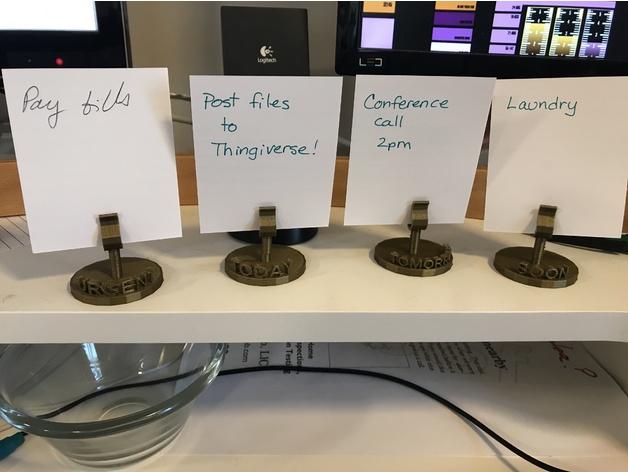
To-Do Clips 3D Print Model
Summary
I am an inveterate list maker, but try to keep my chores somewhat organized so I’m not overwhelmed. These little clips hold multiple cards (index cards cut in half), each with a task or chore on them. I can quickly see what’s urgent, what needs to be done today, what’s on tap for tomorrow, and what needs to be done soon. -
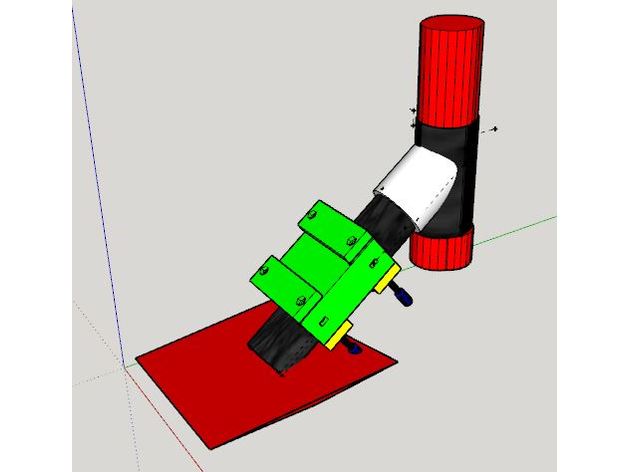
Xiaomi m365 Clamp (scooter Frame Mounting) to add a box or bag – Plateau et Collier de serrage pour rajout de boite ou sac 3D Print Model
Summary
Participant à un groupe Telegram d’entraide/optimisation de la trottinette Xiaomi m365, j’ai modélisé ce plateau équipé de colliers de serrage s’intégrant sur le cadre entre la fourche avant et le deck pour rajouter une boite ou un sac rigide en les pinçant avec les éléments intérieurs,
A assembler avec des vis M5 x 60 à 70 (suivant l’épaisseur de votre boite) à tête cylindrique hexagonale et boulons associés
N’hésitez pas à me faire vos retours pour d’éventuelles améliorations, adaptations nécessaires… -
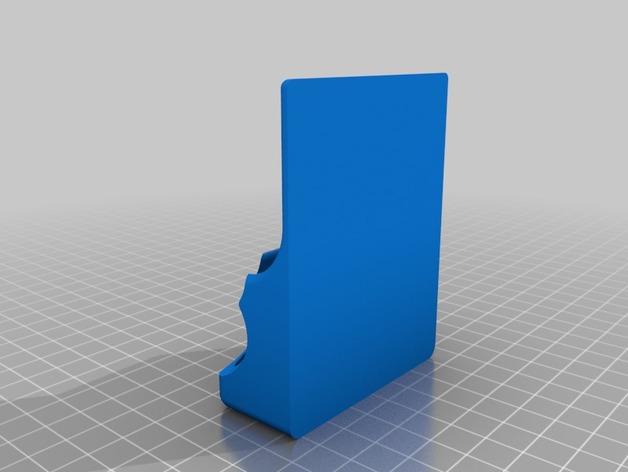
Chord Mojo Desktop Dock 3D Print Model
Summary
Desktop ‘dock’ for Chord Mojo headphone amplifier. Fits the Mojo itself, with a cutout on the rear face for the power/signal micro USB ports. To make it really useful as a dock rather than just a sleeve you’ll need to adapt a cable holder to fit in that slot.
Print Settings
Printer Brand:
Prusa
Printer:
i3 MK2S
Rafts:
No
Supports:
No
Resolution:
0.2mm linear advance -
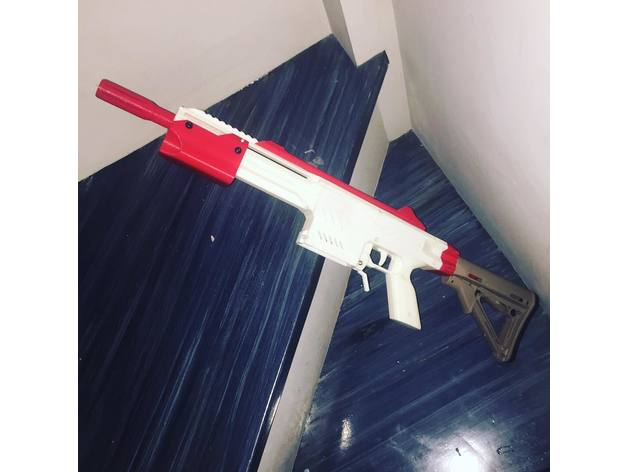
Blasterforge MICRO 3D Print Model
Summary
Update:
Uploaded newer versions of L and R magwell and Barrel Extension (larger hole for metal bar)
Download MICRO.rar for all the files
Watch the full video build guide here: https://www.youtube.com/watch?v=a43a8ddeJZk -
Space Man Hover Harasser 3D Print Model
Summary
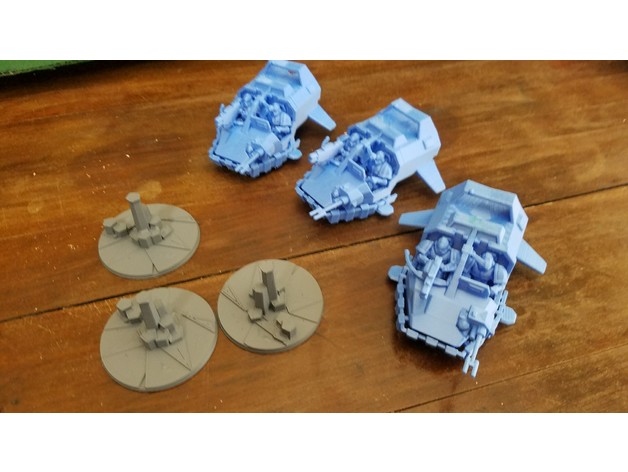
This model is intended as a proxie of the hovering attack vehicle used by the space men in the grim dark future. I’d recommend slicing this model a bit before printing, but I only needed three so I spent some time to simply remove the supports. The bases are remixed from the cracked earth bases found on Thingiverse. Good luck and happy printing!
If you would like to talk about this or any other models/projects you find here or make requests please join us on our 40k Makers discord at https://discord.gg/xMPz3PB. Everyone is welcome to join. -
Scribe Marker Mount 3D Print Model
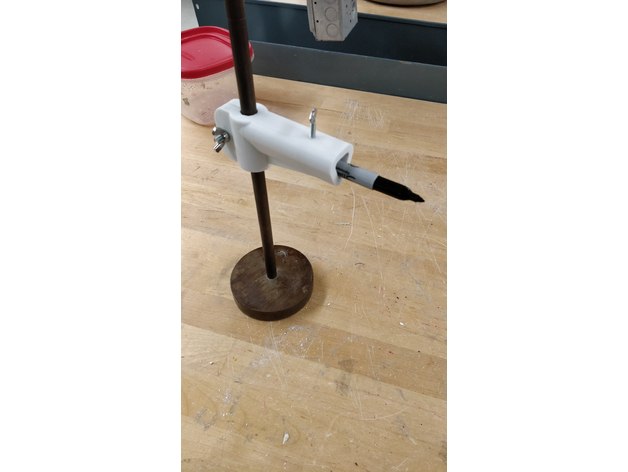
Summary
Basically a simple clamp that holds a pen, sharpie or anything that is slightly less than 5/8 inches. This specific one goes on a shaft that is .5 inches in diameter.
Print Settings
Printer Brand:
Prusa
Printer:
Prusa Clone
Rafts:
Doesn’t Matter
Supports:
Yes
Resolution:
.2mm
Infill:
40% Cubic Infill
Notes:
Printed the holder upright. Used Layer Editing but this is optional. Print took 16 hours to print at 30mm/s with 40% Cubic infill and 4 wall perimeters. 3 pieces of hardware needed. 1/4X20 1-1/4 inch Carriage bolt, corresponding wing nut, and wing bolt (any size, you can tap the preexisting hole to your specs). -
Anemometer cup wheel replacement – WGR918N 3D Print Model
Summary
This is a design for a replacement anemometer rotor/wheel for an Oregon Scientific WGR918N anemometer unit – as supplied with quite a few home weather stations.
The original rotor (installed in 2007) finally failed (although I suspect a few of the local Cockatoos might have had something to do with it – they chew on anything)!
Print Settings
Printer Brand:
FlashForge
Printer:
Creator Pro
Rafts:
Yes
Supports:
Yes
Resolution:
0.2mm
Infill:
30%
Notes:
The hub and rotor cups/arms print separately and are assembled with a few drops of CA (superglue). The original shaft screw and rotor magnet are recovered from the old unit. -
Lego Superman 2X 3D Print Model
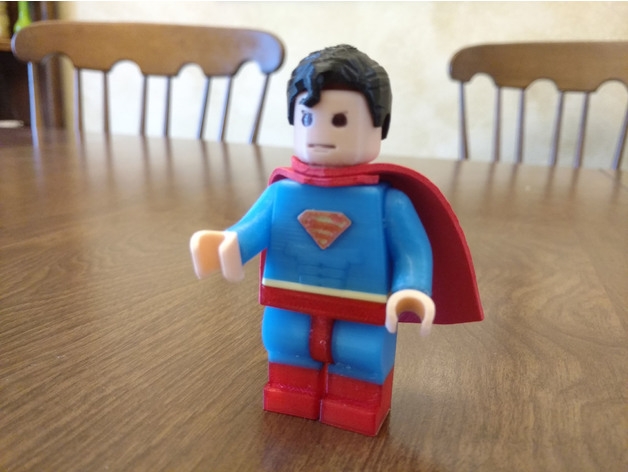
Summary
I wanted to print Lego characters that are 2 times normal size,
I adapted Supernova_6969’s Lego Figurine Remixedhttps://www.thingiverse.com/thing:2410047
Doubling up the size and make various tweaks to smooth out some things,
changed the hands a bit and a little more support on the arms.
(I tried with the Giant versions, but the peg design of the arms make it very
hard to assemble when reduced in size, so the one piece arms are better.)
Putting on the arms I use a little veg oil on the body holes,
the arms will go in with a bit of pressure.
Used Chest design from rcaslishttp://www.thingiverse.com/thing:2047694
When Printing Torso start with yellow to create the belt then switch to
Blue where you want the belt to stop.
Redid the Superman Emblem
start with Yellow filament then change to red where S starts.
modified Fringe Curl Superman hair From skimbalhttps://www.thingiverse.com/thing:446354
Legs start with Red and then when you think the boots are tall enough, switch to blue
Use pattern included to cut out cape from whatever you would like to use, I used a Foam Sheet
Print Settings
Printer Brand:
Creality
Printer:
CR-10S
Rafts:
No
Supports:
Yes
Resolution:
.10mm to .14mm
Infill:
25
Notes:
There are various versions of some parts that let you choose additional supports already on it.
you might want to decide to use or not use additional supports.
When a part needed extra detail I would print at .10mm but normally .14mm
I printed the hair upside down and added supports so that the hole for the hair printed correctly, you might find a better way to print it. -
Ballerina Dress Fondant/Cookie Cutter 3D Print Model
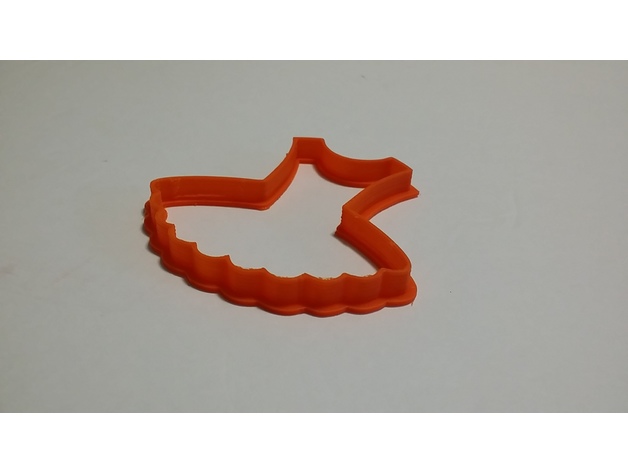
Summary
sliced with cura with the normal profile.
How I Designed This
Used a reference picture and created a profile with inkscape. Imported the svg to fusion360 and did a couple of outlines and extrusions. -
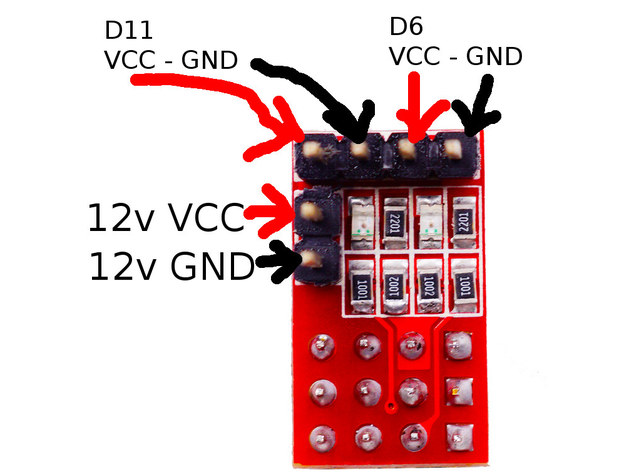
RAMPS RRD Fan Extender Expansion Module – NOTES 3D Print Model
Summary
There is a bunch of conflicting information around relating to these fan extender boards, and at least two different types that look very similar. Note the position of LEDs and components on this board.
I was concerned about plugging the 12v input in backwards, and ended up needing to find out the hard way, which wasn’t actually hard and didn’t release any magic smoke.
Adding this to the search result noise for completeness. -
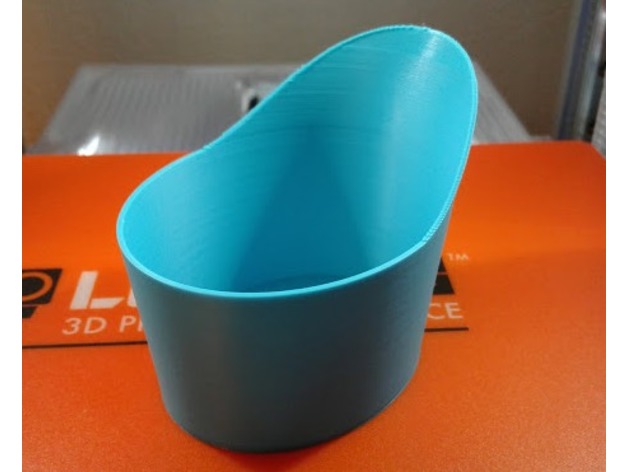
Quarter-Cup 3D Print Model
Summary
A simple little oval shaped measuring cup with handle.
It will measure1/4 cup. -
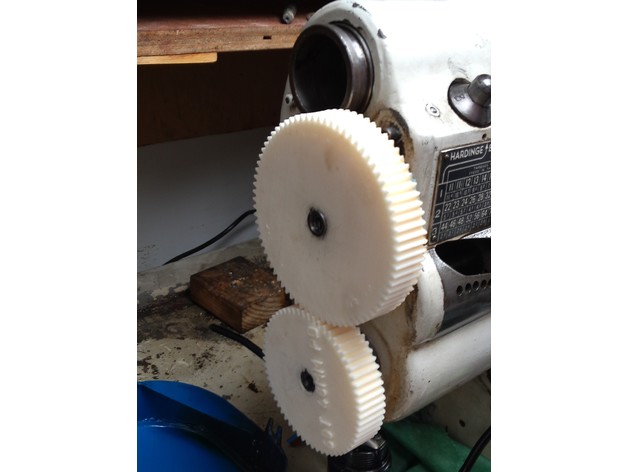
Gear set for cutting 10 pitch on a Hardinge TL 3D Print Model
Summary
To start, I measured the center to center on the two shafts on my Hardinge TL lathe that are used for external gearing. After some math I worked out that the ratio I needed was 25:16, with the big gear on the top. Knowing that I simply made two gears with a totally random pitch that had the right pitch circles to get the ratio right (48mm pitch diameter on the small one). FYI, going to 150 teeth on the big one gets the teeth too small for reliable printing. The set I actually built is 75 tooth by 60 tooth; sorry about the file name!
In use, you have to remove the external gear cover AND shift into the external gearing mode (all the way right on the quick change) AND set the three change to “1”.
These gears are a bit scary to use; stay the heck away from then while running! A little way oil (sticky) is a good idea. I was able to cut the 10 pitch Aluminum thread I needed using these without any visible damage on the teeth or bore.
Print Settings
Printer:
WeldingRodBot
Rafts:
No
Supports:
No
Infill:
50%+
Notes:
Its been a long time since I printed these, so I’m not totally sure what I did. I would use at least 3-4 shells with a 0.4mm nozzle.
You will need to ream out the bore and clean the keyway with a needle file. The bottom edges of the teeth are likely to need cleaning too, though you might be able to run one with the build surface toward the lathe and the other away from the lathe and get away with minimal finishing. -
Steel Battalion Controller Brackets 3D Print Model
Summary
These are replacement brackets for the Steel Battalion controller. These brackets hold the 3 controller blocks together. -
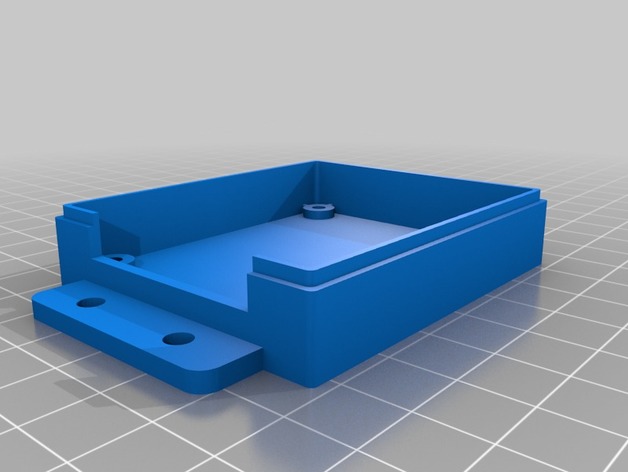
Single Mosfet Case – No Fan 3D Print Model
Summary
I have modified this case since the wiring hole wasn’t big enough for my needs.
If you rotate the parts there’s no need for supports.
Print Settings
Printer Brand:
TEVO
Printer:
Tarantula
Rafts:
No
Supports:
No
Resolution:
0.2
Infill:
10