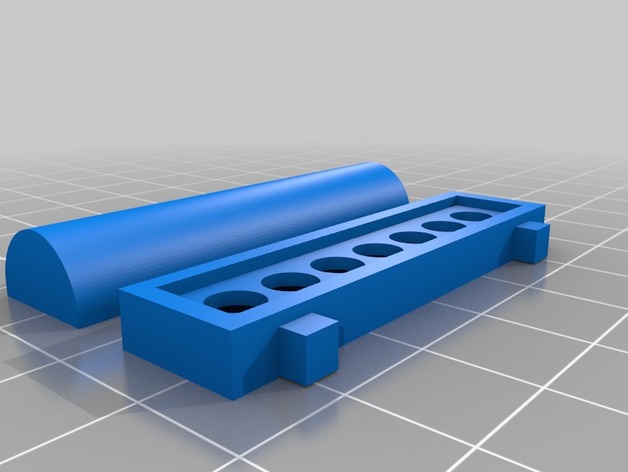
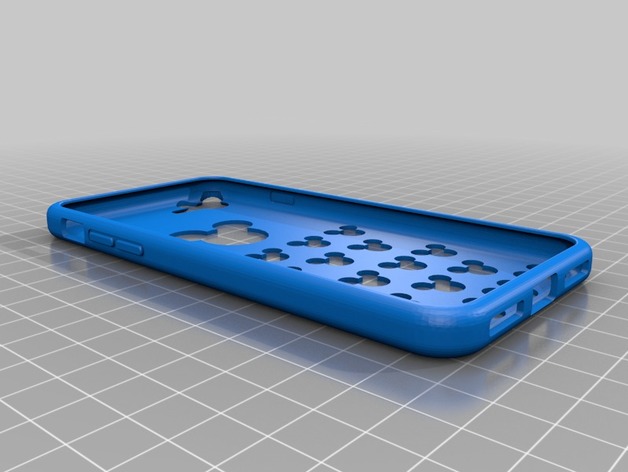
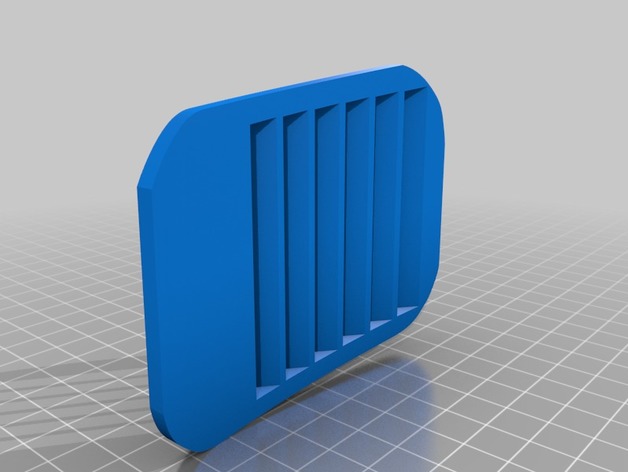
Summary
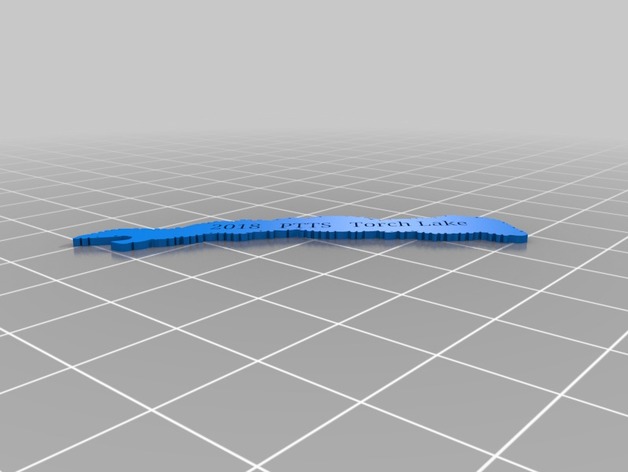
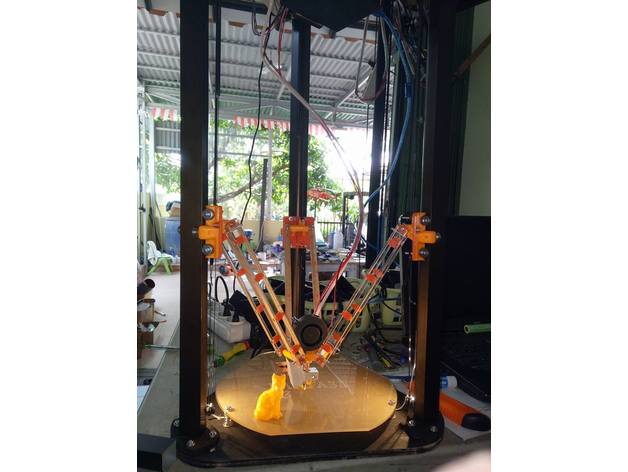
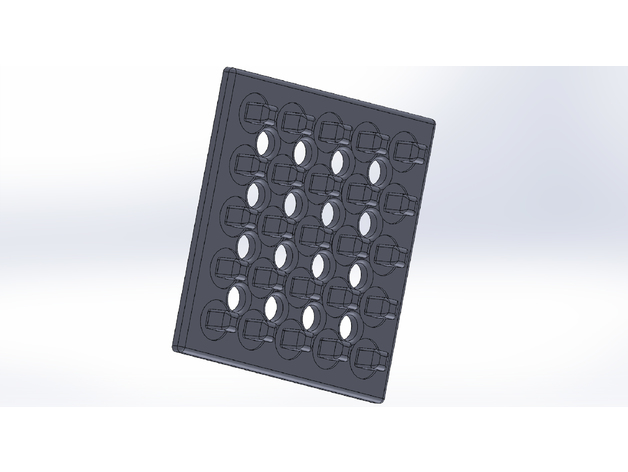
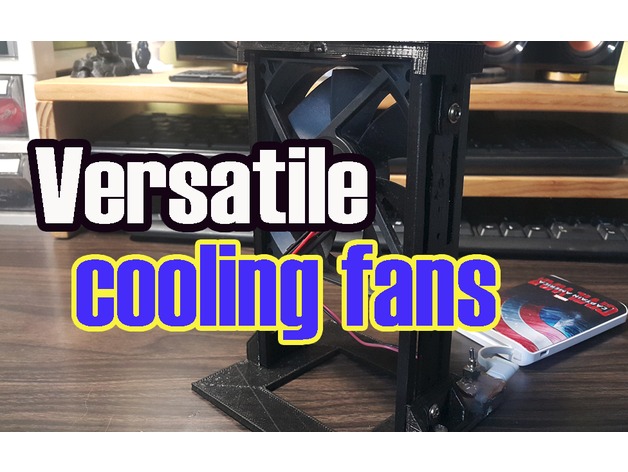
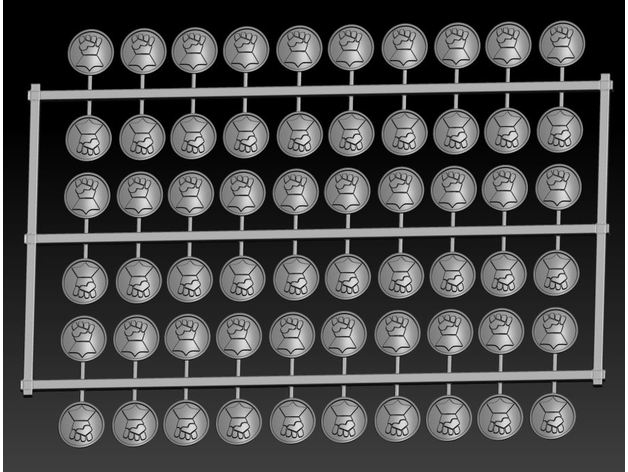
Printed with 0.4 mm nozzle!
Follow me on twitter -> https://twitter.com/a_kuhta
You can donate some $$$ -> paypal.me/all3n2017
Thank you 🙂
Author: Thingiverse
-
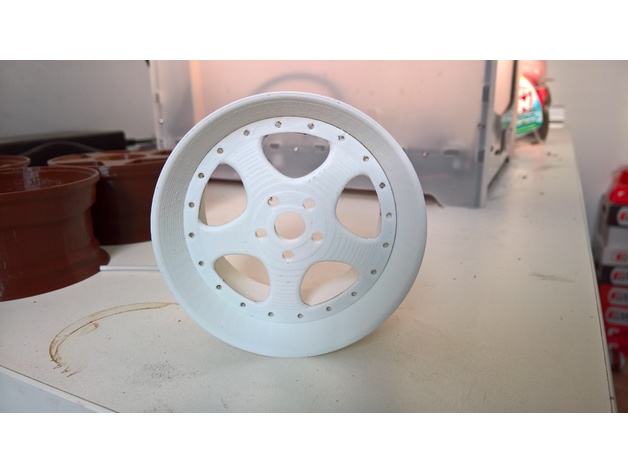
BBS Moda M2 scale1/4 3D Print Model
-
REI Kingdom Table Center Support Pieces 3D Print Model
Summary
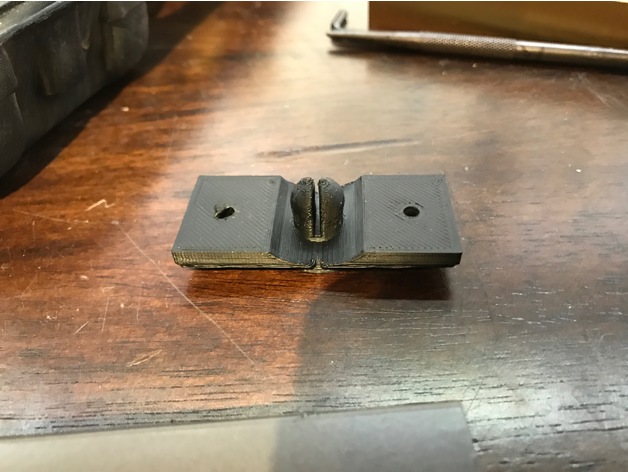
I bought an REI Kingdom table at the REI garage sale for $20. The table came with 4 cross-members for the ends. It should have come with 2 cross-members for the ends and 2 center cross-members with locating pins. I took some pictures of the correct pieces in the store on another table and designed replacement locating pins in Tinkercad for the center cross-members. I printed at 40% in-fill with supports. I then modified two of the end pieces by cutting off the end tabs, drilling holes for my part, and riveting them on. It works perfectly. Good as new and saved $80. -
Ceres New Yen 50 – Laser Cut 3D Print Model
Summary
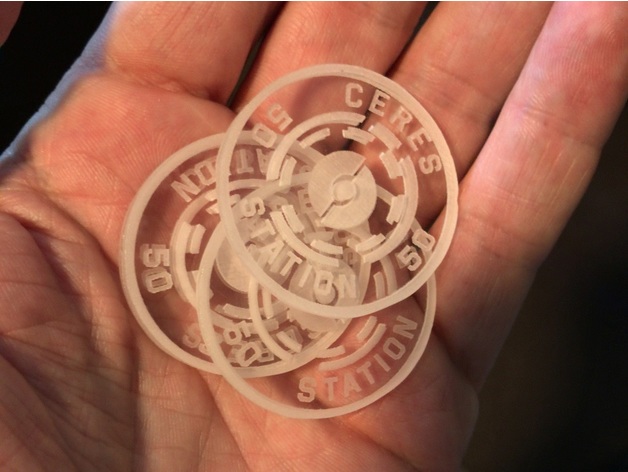
Joining the OPA to fight for belters rights? Searching for missing persons on the Scapuli? Whatever your reason for crossing the black to Ceres, make sure you’ve got your New Yen.Laser Cutting
This is designed with both a front and a back. The front contains the text and frame while the back has only the artwork. Ceres station is split in half with one half on the front and one on the back.
Cut using 3mm acrylic. When printing the back, I just adjusted the alignment by sight. -
Small Parts Drawer Insert 3D Print Model
Summary
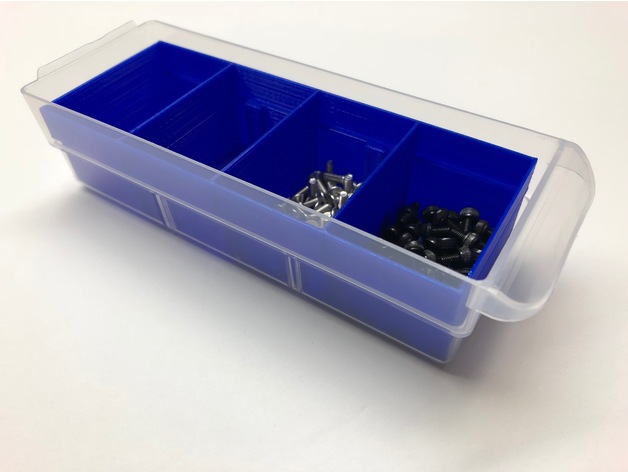
A more robust divider system for small parts cabinets. This parametric insert allows for creating custom inserts with multiple sections.
The model uses OpenSCAD to add divider walls to an existing STL model. Ensure “base.stl” file is included and located in the same folder as the “Small_Parts_Drawer_Insert.scad” file, otherwise you won’t get the majority of the model. -
Miniature Halloween Signs 3D Print Model
Summary
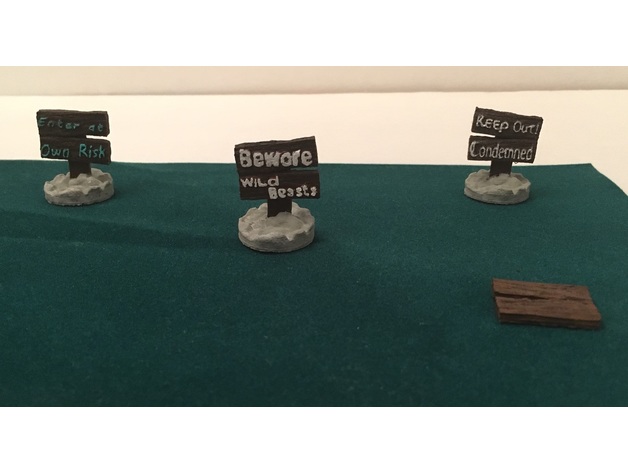
This has 3 miniature signs that are printed on boards. They have a Halloween type them of monsters or warnings. The signs consist of a post with holes and two pegs along with a base. A sign board that is blank is also provided so you can paint your own words and attach to the bases. The bases have stone designs with a wood support beam. Note that the hole in the bases for the pegs will have to be cleaned out. The signs have holes also that are the same size as the pegs that need to be glued to the signs. Note these holes may need to be cleaned out as well before superglueing.
The signs can be set up to be snapped into the bases or you can just superglue them permenantly to the bases.
Print Settings
Printer Brand:
PowerSpec Printer:
PowerSpec 3D Pro Rafts:
No Supports:
No Resolution:
0.2 Infill:
15% -
Little demoness 3D Print Model
Summary
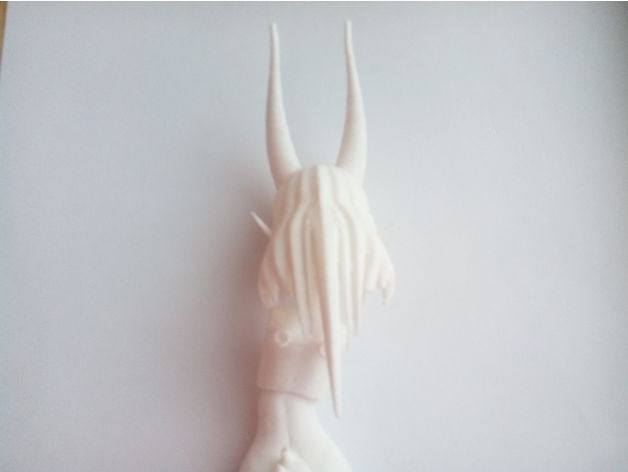
Shortened the hair to not interfere with the wings.
Print Settings
Printer:
Micromake D1 Rafts:
Yes Supports:
Yes Resolution:
0.2 Infill:
10 -
Tie Fighter Pilot Chest Box with Dark Side Cookies 3D Print Model
Summary
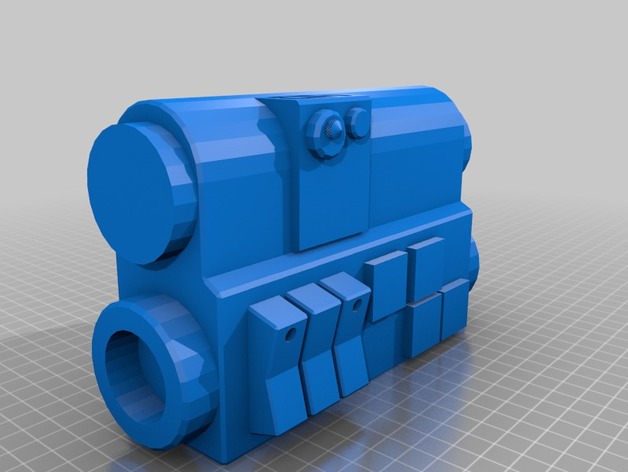
This is a remix I made from the Tie Fighter Pilot chest box by Jace1969. I made a removable dark side cookie holder and scaled some cookie cutter designs that were on Thingiverse, so that they fit perfect in the holder. (Everyone knows the Empire has cookies, unlike those Rebel scum). Added that knurled knob on the front.
-The back writing translates to “property of Galactic Empire”
-2 gears should be printed, and attached with 5 min epoxy or whatever adhesive you trust.
The slot in the middle is to fit a Samsung S7 cell phone, as I made this for a friend’s costume. Just drop your phone in and you can play the Imperial March as you walk. Or feel free to modify this to allow you to take video with your phone as you walk through comic cons.
I am placing a battery holder in the lid so I have ran a simple channel up the wall to allow the 26awg wires from the LED to the battery/switch to be held in with a bit of hot glue. It
holds good and if you ever have to take the wires out, I find it comes off easy enough too. The LED holes are sized for 5mm – blue and red super bright LED. Blue on left and red on right as per movie screenshots. I will be using 5 min epoxy for that. A bit of hot glue on the top and it will diffuse it perfect.
I never put in a switch hole to activate the two LED because wasn’t sure which switch i would be using so going to just drill one wherever I decide. 9V battery will run the 2 LED for a long time, 2 years give or take.
Hope ya enjoy and I will post pictures here when it is done. Cheers from Canada…eh!
Print Settings
Printer Brand:
Prusa Printer:
Prusa Clone Rafts:
No Supports:
Yes Resolution:
.2 or better Infill:
20% -
Fidget Spinner Case 3D Print Model
Summary
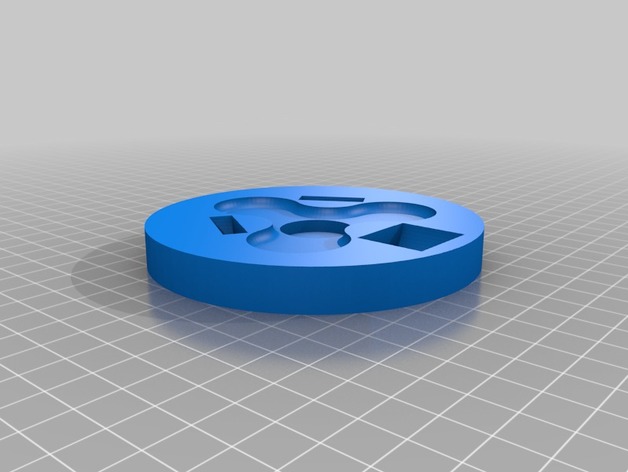
I designed this to fit
this fidget spinner along with four of the same ball bearings -
Kossel 1515 puley carriage upgrade 3D Print Model
Summary
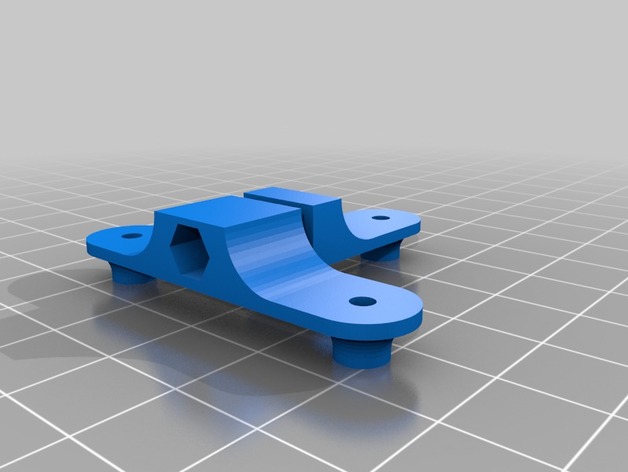
Your carriages are bending?
There’s a solution !
These parts stops the bending by tightening the wheel from both sides.
You’ll need a M3 screw (M3L20 is nice) and a Nylock nut.
Instructions:
Replace all the nuts on the screws.
You’ll need 3 washers to replace a nut, -
Waterfall 3D Print Model
Summary
My sister has made a Fairy Herb Garden for her daughter and wanted a waterfall. I made her a solar powered pump from some components I had left over from an automatic tomato watering project I was working on. The project can be seen on her blog at https://craftinvaders.co.uk/making-a-solar-powered-waterfall-for-our-fairy-herb-garden/
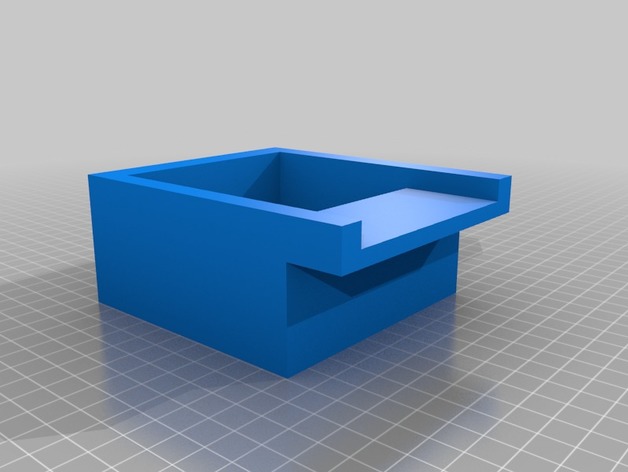
Although this system worked pretty well we wanted to upgrade the waterfall to a higher flow rate and so she purchased a cheap solar power water pump designed for small ponds and I designed and made this.
Please note that you will need to punch through the hole from the tube connector to allow the pump to fill the reservoir. -
300ZX Clock replace with USB 3D Print Model
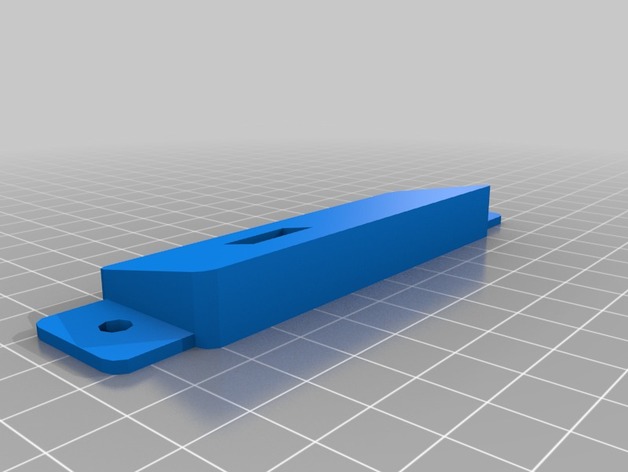
Summary
This replaces the clock in the 300ZX radio bezel. I created it to allow for an aftermarket head unit to pass through a USB port -
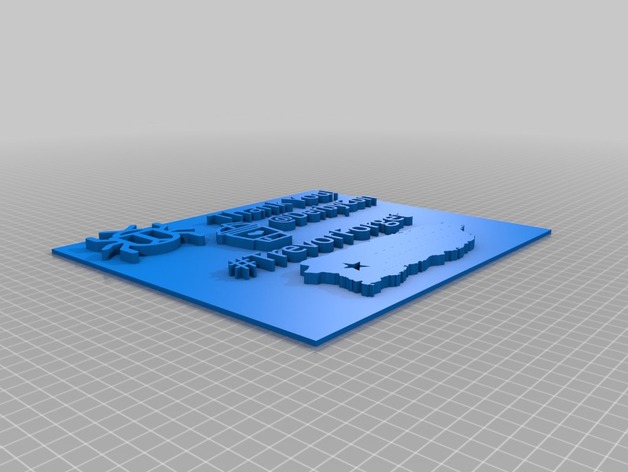
Thank you #TrevorForget 3D Print Model
Summary
A thank you print for DerbyCon and the ethical hackers that took part of #TrevorForget. For details about this visit: https://www.ksl.com/?sid=45957914&nid=148 -
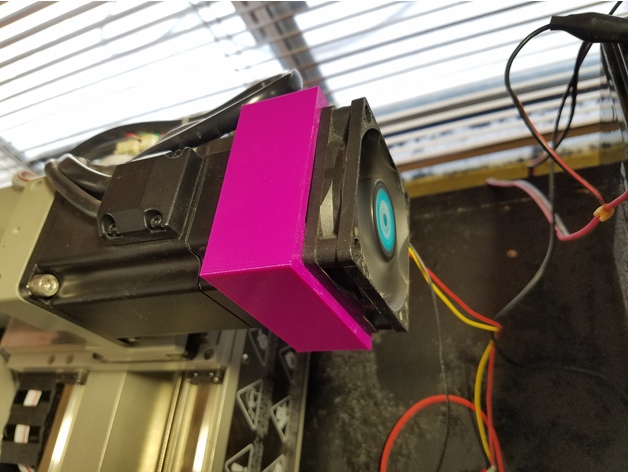
PocketNC motor fan holder 3D Print Model
Summary
Holder for a 60mm fan so the CNC motor does not get too hot when running.
It’s just snaps on. The one you see on the pictures was printed on ABS. -
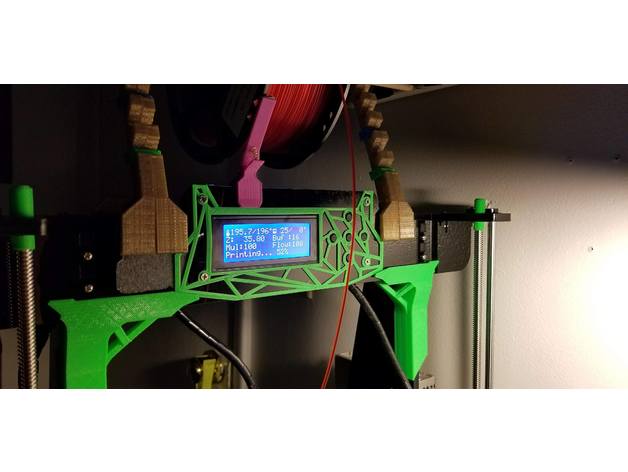
Anet A8 Geometric Face 3D Print Model
Summary
Made to fit with the T-braces and top-mount spool brake I designed. All the holes line up pretty well, just little modification to fit the top, left, and right buttons. I’ll eventually fix and update the files. -
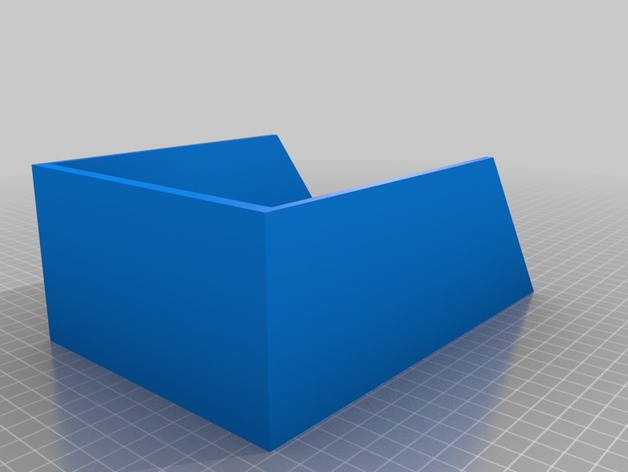
Bag Filler 3D Print Model
Summary
Just a quick design I drew up for a friend that needed to pack bags. -
80 Series Toyota Land Cruiser floppy vent fix 3D Print Model
Summary
Like many, the vents in my FJ80 are loose from the tabs breaking off. In my case, the “pins” on the vents themselves were sheared off, and the small plates that the pins mate with crumbled when I took them out.
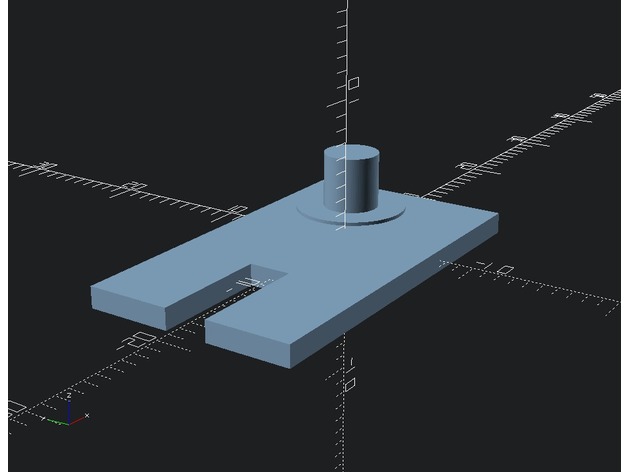
I’ve designed a 3D printable part that fits securely into the vent housing, and has a pin that now fits a hole drilled into the vents themselves. Here’s a render for the middle vent. (the side needs a slight offset.) Dimensions in mm. -
Turtonator Fidget Spinner 3D Print Model
Summary
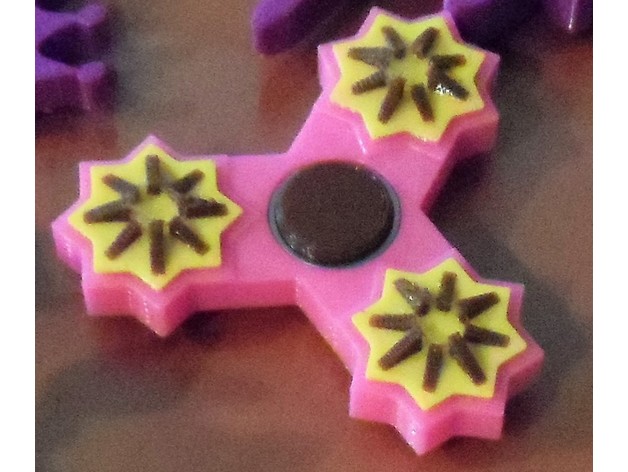
Made by request for a friend’s nephew, modeled off the critter’s back.
Print Settings
Printer Brand:
MakerBot Printer:
MakerBot Replicator 2 Rafts:
No Supports:
No Resolution:
.30mm Infill:
10% -
Smartphone & Tablet Charging Station 3D Print Model
Summary
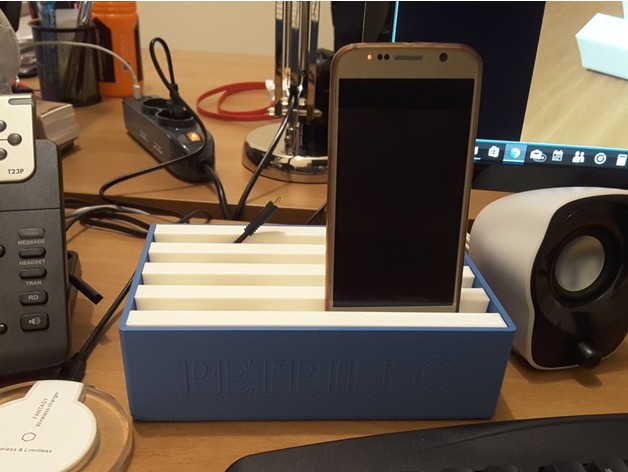
The Smartphone & Tablet Charging Station dimensions are 20 x 13 x 6 mm.
I 3dprinted with CTC Bizer (a clone of Makerbot) at 0.30 mm resolution. The bottom required around 13 hours and the top around 7 hours.
My advice is to reduce the top to 99%, in order to facilitate insertion and removal.
I ordered this multi USB charger on Amazonhttps://www.amazon.it/gp/product/B00MOAJ50A/ref=oh_aui_detailpage_o01_s00?ie=UTF8&psc=1
You can choose between 3 kinds of bottoms: with or without divider or with Aukey divider.
You can choose between 6 kind of tops depending on the number of holes you prefer. My advice is to use the 4 x 2 or 4 x 3 stl files.
Print Settings
Printer Brand:
MakerBot Printer:
MakerBot Replicator Resolution:
0.30 Infill:
10% Notes:
3 shells
How I Designed This
Coded with OpenSCAD -
ESP8266 Platform 3D Print Model
Summary
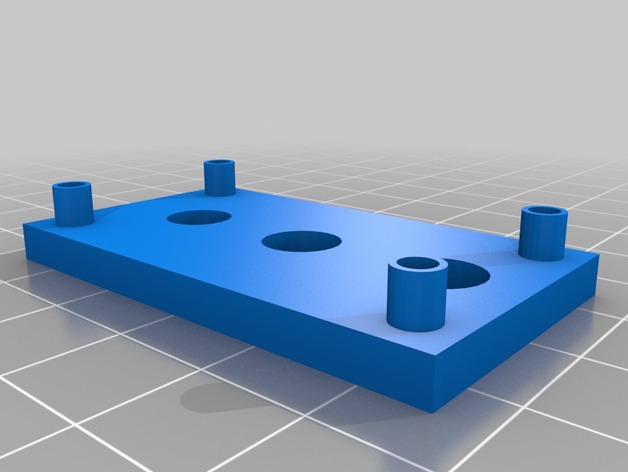
ESP8266 PCB Platform that I use to mount ESP8266 12E PCB in box. Posts on platform are high enough to allow programming board when mounted. I used silicon to mount platform in box, it seems to work well -
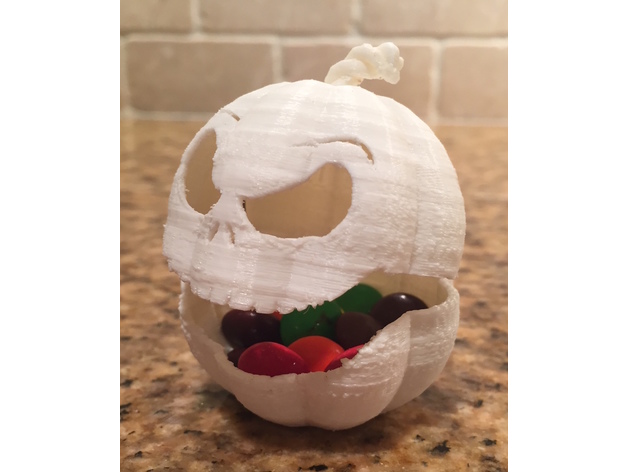
Pumpkin_CandyDish 3D Print Model
Summary
As a FYI There is a License agreement with this Download and If you do download these STL file you are agreeing to the license.
Another TinkerCad object. Print with supports. I did have to sand the pin since it was really small. Scale to the size you want but, for now its small (the inner bowl is 1.3/4 inch Diameter X 3/4 inch Deep) for those who just want to print for fun.
General size if printed @:
200% (3 1/2 inch Diameter X 1 1/2 inch deep)
300% (5 1/4 inch Diameter X 2 1/4 inch deep)
400% (7 inch Diameter X 3 inch deep) -
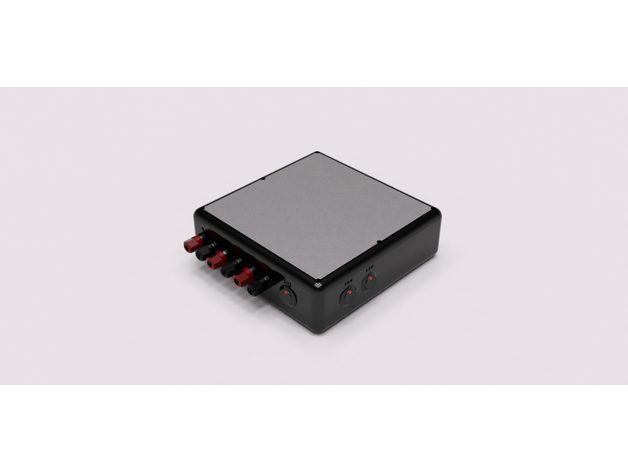
Helping Hands Base/Workbench PSU 3D Print Model
Summary
This is a “Helping Hands Base” with built in Workbench Power Supply. It is still in beta, I have not printed it yet. The helping hands will be attached with holes in the top(I have not figured out placement yet). Attached to two of the helping hands will be a 80mm fan for soldering fumes. Please check it out and let me know what you think or improvements. Keep in mind, this is my first design ever using a Design Software. All self taught and Youtube videos.
Print Settings
Printer:
Tevo Tarantula Rafts:
No Supports:
Yes Resolution:
.2 Infill:
20% Triangular(for strength) Notes:
For the top I will be using 4 top and bottom layers for strength. Also, recommend Supports for the base. -

Hand Hanger (reupload) 3D Print Model
Summary
Reuploaded from https://pinshape.com/items/23952-3d-printed-hand-hanger-2-modified-from-danowalls-design
Not my design! -
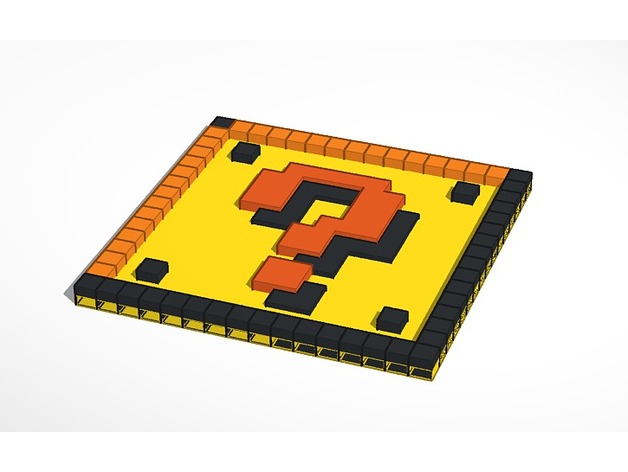
Super Mario Question Block 3D Print Model
Summary
I made this a while ago and figured I’d upload it. It’s measures out to 2in x 2in x 1/8in. Feel free to make it a keychain or something, would be nice. -
t800 3D Print Model
Summary
t800 remix not printed -
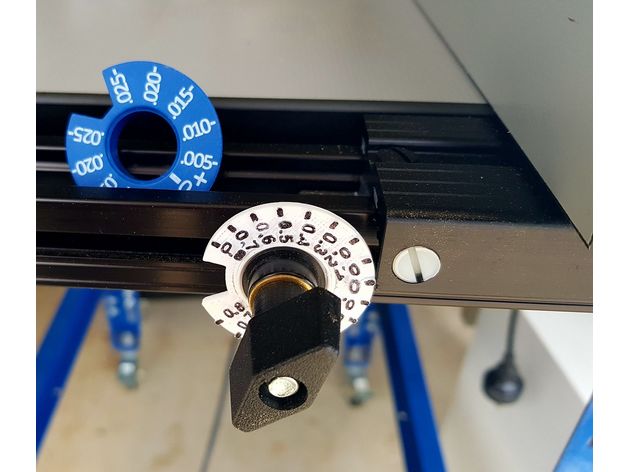
Kreg Router Table Metric Fine Adjustment Gauge 3D Print Model
Summary
While the Kreg Router Table can be supplied with metric units on the flat tapes, the fine adjustment dial is still in imperial. Here is my replacement for this.
It needs to be printed as two part, but they press fit together. A small amount of CA glue can be used.
3D printing in white is recommended so that the numbers can be easly highlighted with a black sharpie. -
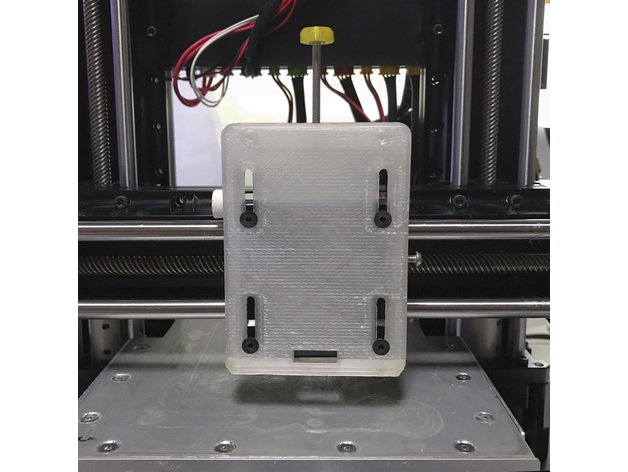
Extruder mounting Plate with adjustable height ver.2 3D Print Model
Summary
【 Slide-type Extruder mounting Plate with adjustable height / KODAMA TRINUS 】
先日作成した【Extruder mounting Plate with adjustable height】が強度的に弱くて、使用しているうちに変形してきたので各部を補強したバージョンを作りました。
オリジナルのExtruder mounting Plateをこれに変えれば、ホットエンドの高さ調整が一度で決まり、微調整も簡単に出来ます。
(ヒートベッドの水平の調整が完了している前提です)
ホットエンドをホームポジションからヒートベッドの真ん中に移動してから、紙を挟んで高さ調整用のネジで適度な摩擦になるように調整して側面の固定ネジを締めるだけで、ホットエンドの高さ調整が完了です。
【 別に用意するもの 】
プリントしたスライド式エクストルーダー用マウンター
M3の25~30mm以上のネジ×1
上側のネジ穴には、M3で25〜30mmのネジを使いエクストルーダーの高さを調整します。
M3の8~10mmのネジ×1
側面のネジ穴には、M3で8~10mmのネジを使います。
このネジはホットエンドとヒートベッドのクリアランス調整をした後、エクストルーダーを固定します。
(このネジの長さが長すぎたり、ネジの頭が大き過ぎるとエクストルーダーが右端に移動した時にスライダーのフレームに当たります。)
【 ホットエンドとヒートベッドのクリアランス調整の手順 】
1.まずヒートベッドの水平をしっかり調整します。
2.オリジナルのエクストルーダー用マウンターを外して、スライド式エクストルーダー用マウンターに取り替えます。
取り付けネジは元のネジ(4本)を使ってください。
この時、完全に固定せずにプレートがスムーズにスライドできる程度にネジを軽く締めます。
3.マウンターの2本の調整用ネジは仮止め程度に締めてください。
4.エクストルーダーを元のネジ(2本)を使ってスライド範囲の上端に取り付けて上部の高さ調整用のネジで落ちないように調整します。
(2のマウンターの取り付けネジが緩めでもエクストルーダーによって押えられるので外れることはありません)
5.エクストルーダーをホームポジションにセットしてから、ヒートベッドの真ん中付近に移動します。
6.適当な厚みの紙(コピー用紙等)をヒートベッドに置いて、上部の高さ調整用のネジを緩めてエクストルーダーを下げ、ホットエンドのノズルが紙の上に軽く乗るようにします。
7.ホットエンドのノズルとヒートベッドに挟んだ紙が適度な抵抗で動くように、上部の高さ調整のネジで高さを調整します。
8.マウンター横の固定ネジを締めて、紙を外したらクリアランスの調整は完了です。
最後に確認のため【 First Layer Calibration 100 x 100 x 0.1mm 】を印刷します。
綺麗に印刷できたら高さ調整は完了です。
詳しくはこちらの【 ブログ 】を参考にしてください。
【 印刷のパラメーター 】
printer:Kodama TRINUS 3DPRINTER
nozzle:0.4mm
layer height: 0.15mm
ExtruderTemp:225℃
HeatedBedTemp:105℃
PrintingSpeed:30mm/s
FillPattern:Rectilinear
Infill:100%
rafts:Yes
supports:Yes
Single outline corkscrew mode:No
filament : I use ABS 1.75mm
Print Settings
Printer:
KODAMA TRINUS3D Rafts:
Doesn’t Matter Supports:
Yes Resolution:
0.15 Infill:
100% Notes:
ガタが出ないように要所々のマージンが少ないので、削ったりの修正が必要かもしれません。 -
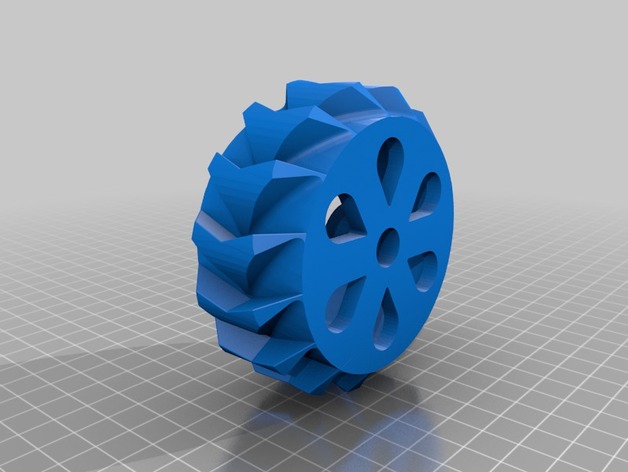
1:10 Rc car snow tire 3D Print Model
Summary
These tires are designed for use on any 1:10 rc car. It should help a lot with traction in the snow. If you would like these for a larger scale vehicle, message me with the shaft dimensions and I can get that made up. -
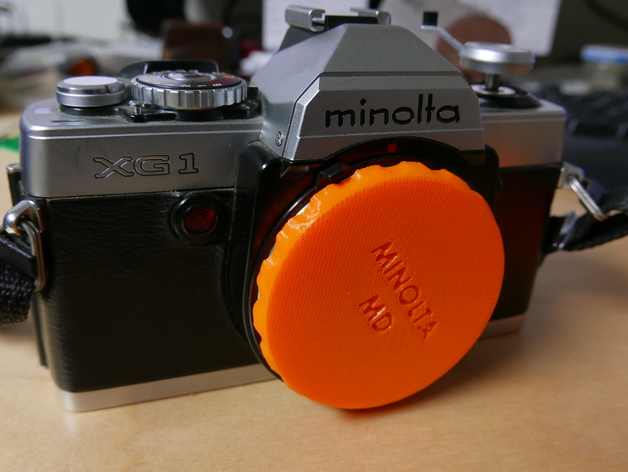
Minolta MD Camera Body Cap 3D Print Model
Summary
I needed a body cap for one of my camera bodies that I was selling. I have seen a few but really wanted one that didn’t need supports. I designed the first one, the “CAM”, design that uses some cams on the inside to lock into the body. That worked fine but it could still fall out so I went ahead and designed one with a “BAYONET” and added supports. It printed fine and the supports easily came off. -
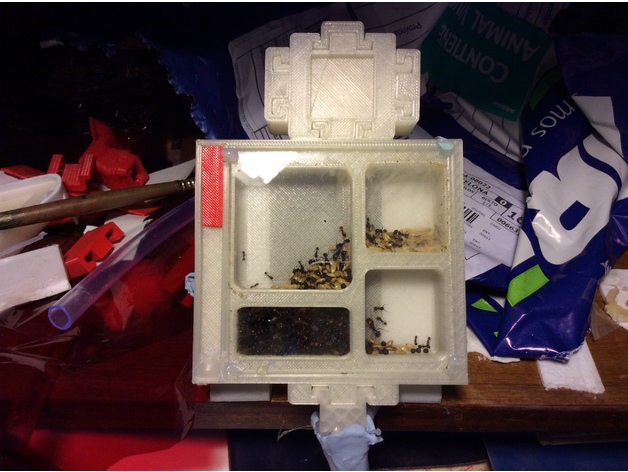
Expandable Ant Fomicarium 2.0 3D Print Model
Summary
This is a remix of the expandable ant formicarium by dantius. It can store from 500-600 to 20 ants.
(I know… it’s really messy)
Print Settings
Printer:
Anet a8 Rafts:
No Supports:
No Resolution:
0.2mm or less Infill:
at least 20%
Post-PrintingPrint
Put acrylic or cut glass on top
Put cotton in the slot and press it (not ultra-hard, you can break it)
Put water in the cotton
Cover all the exits with the “caps”
I would recommend designing by yourself the entry hole for the tube
Put ants inside very carefully or connect tube and wait for them to go in
ENJOY!!!
-
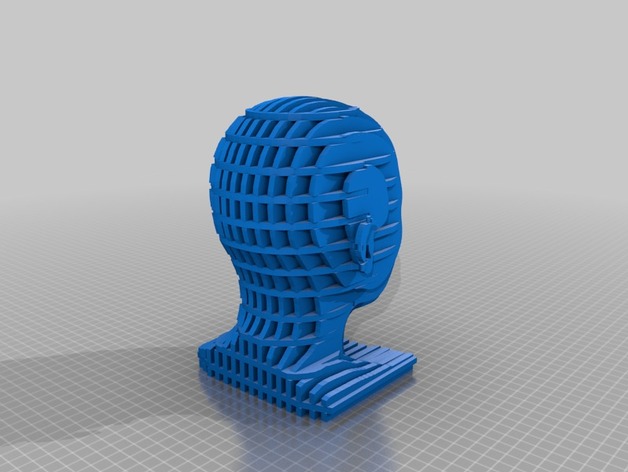
SLices_Head_Stand 3D Print Model
Summary
Just “head” to make this.
Remix from : https://www.thingiverse.com/thing:758647 -
Adapter for LaFerrari ,,Anaconda Style” Airbox 3D Print Model
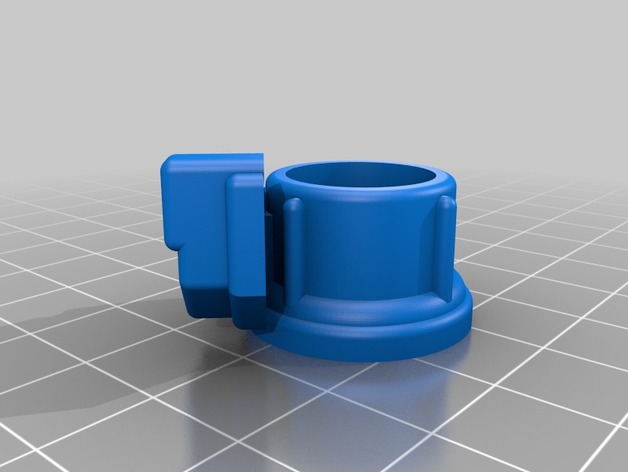
Summary
Adapter for LaFerrari ,,Anaconda Style” Airbox -
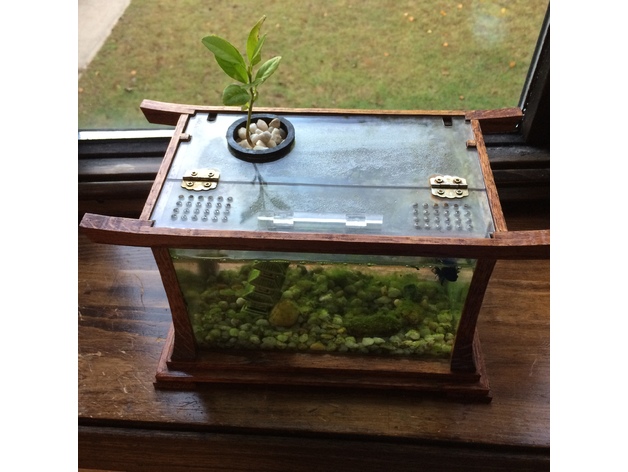
Plant Pot for Home Made Fish Tank 3D Print Model
Summary
I thought a small hydroponic pot would be a nice addition to a fish tank I made.
The plant in it is a small lemon tree I sported from a seed last winter. Obliviously it will never amount to much in Wisconsin but it is cute for now, when it dies or grow to big I will try some herbs.
http://www.jeplans.com/default.php?targp=JECAT&JECAT=AroundTheHome&JEACN=FTSF01
Print Settings
Printer Brand:
FlashForge Printer:
Creator Pro Rafts:
Doesn’t Matter Supports:
Yes Resolution:
.2 Infill:
30% Notes:
-print rim down not sure if supports are really needed , I did print it with supports. -
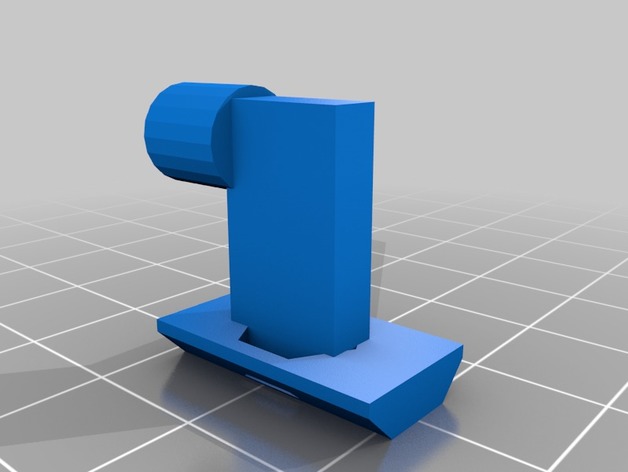
Tnut Spool Bearing 3D Print Model
Summary
I wanted something to lift the spool off the 20/20 extrusions. This definitely reduced the friction. I used normal skate bearings. -
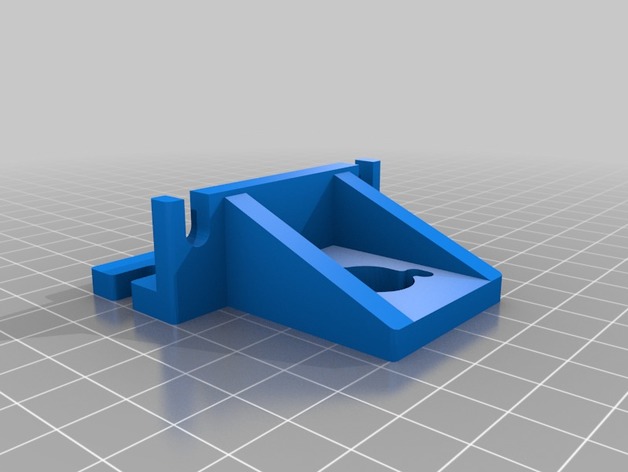
Hypercube Evolution Z-Nut Bracket v1.2 3D Print Model
Summary
Excellent Thing!
I had to remix mine to move the holes back about 3-4mm, works perfectly for my setup -
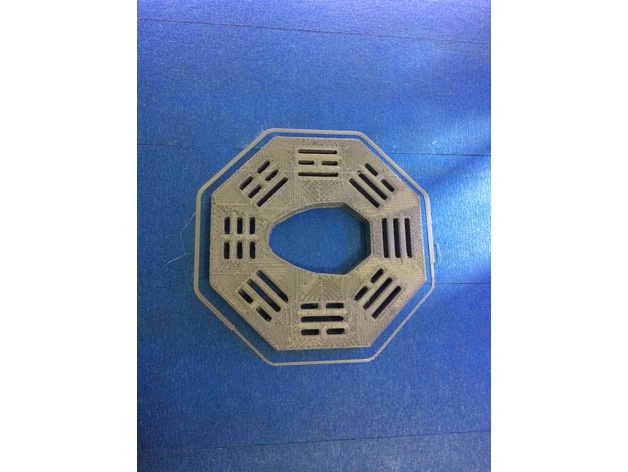
Octagonal Bokken Tsuba Pakwa 3D Print Model
Summary
This a Tsuba (hand protector) for a training wooden Sword with octogonal shape.
I made this with the Pakwa symbol (eight trigrams) because it has a lot of meaning in normal training in Haedong Kum Do and Tae kwon Do. Which are the martial arts that I practice.
My TT print this kind of things simply perfectly. -
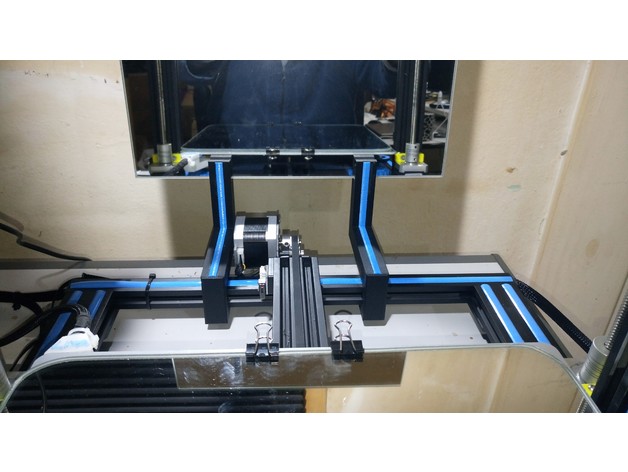
Creality CR-10 stylish back mirror holder 3D Print Model
Summary
Holders for a mirror of about the bed size on the back of the printer to see what it’s being printed from the back side.
Each holder have a sliding fit that clamps the 20 x 20 mm aluminum profile from the printer’s base frame, and another clamp to hold a 4 to 6 mm thick mirror standing up, matching the printer style, leaving enough clearance for the bed to travel backwards and for printed leveling wheels underneath it.
The first STL is the holder that should be printed twice. The second STL is a set of four bands to be optionally printed on the same color from the printer’s original rubber ornaments, to glue against the holder to improve the printer style matching.
Print Settings
Printer:
Creality CR-10 S3 Rafts:
No Supports:
No Resolution:
0.3 Infill:
20% Notes:
Given the holder’s austere smooth surface, it looks fine even if you increase the layer height.I used 0.3 mm height, and 0.2 for the ornamental bands.
If you print the optional bands, glue them against the holder’s grooves, they should fit perfectly inside them.Why?
I felt really stupid after buying a 30 x 30 cm mirror, when finding out that being that the printing surface, the bed was actually bigger, leaving me with an extra mirror after buying another one of the bed size: 31 x 31 cm. I don’t know you, if you did the same of if you just bought an extra mirror on purpose (as I now can tell people I did!), for the practical purpose of improve your viewing of the piece being printed.
Hence, here it is: a holder to prove that extra mirror worth every penny. -
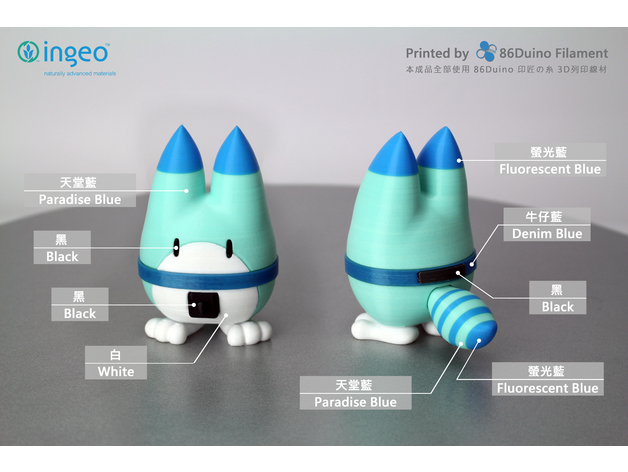
Lucky Beast / 幸運獸 / ラッキービースト 3D Print Model
Summary
For more printing object please visit 86Duino facebook and give us a “like” and thanks for the tips…https://www.facebook.com/86duino
喜歡圖檔的好朋友請記得到 86Duino Filament 3D 列印 / 耗材 – 不正經研究中心 粉絲團給我們按讚哦 https://www.facebook.com/86duino
Lucky Beast (ラッキービースト) is the name of several robots around Japari Park. Often referred to as “Boss” by Friends at the park, Lucky Beasts take care of maintenance, feeding the Friends and guiding visitors around if there aren’t any human park employees available.
Lucky Beasts appear exclusively in the Kemono Friends anime, with one specific unit serving as a Kaban and Serval’s window into past events at the park through pre-recorded memo-logs by Mirai as well as guiding them on their journey. Lucky Beasts are fully equipped to talk and give information on the park and all Friends registered within, but will only do so if a human is around.
Post-Printing -
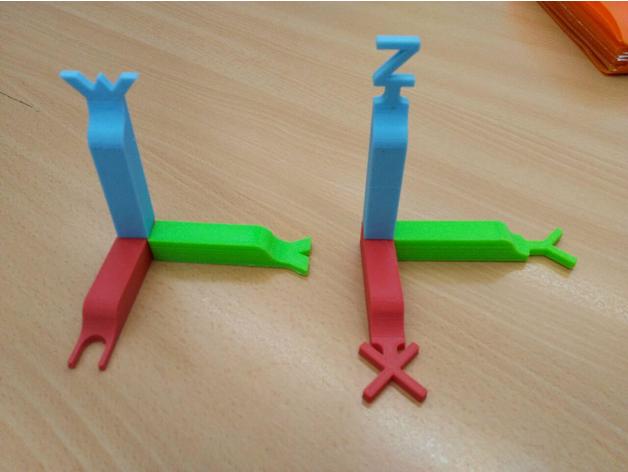
3D Cartesian coordinate system 3D Print Model
Summary
Print your own Cartesian axes!
These are really useful for 3D drawing or robot programming, so you can see clearly the changes between several reference systems. -
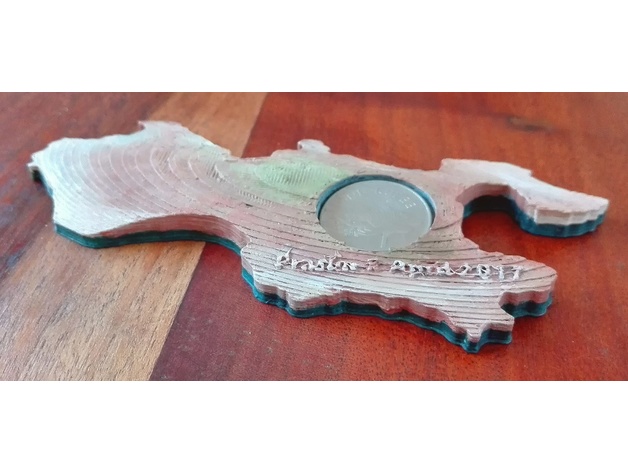
Island of Praslin in Seychelles 3D Print Model
Summary
I made this coin-holder to commemorate a holiday on the island Praslin in the Seychelles. It really does look like the island from the air – check it on a map if you don’t believe me 🙂
If you’ve been there and have a left-over coin, print and paint this and display it in your lounge. Your friends will think it’s cute. Even if they don’t, the’ll pretend and say so.
Print Settings
Printer:
Da Vinci 1.0 Jr Rafts:
No Supports:
No Resolution:
0.3 Infill:
5% Notes:
I embossed a date on mine – didn’t work well enough so I removed it.
In hindsight, I should have printed it at a higher resolution. -
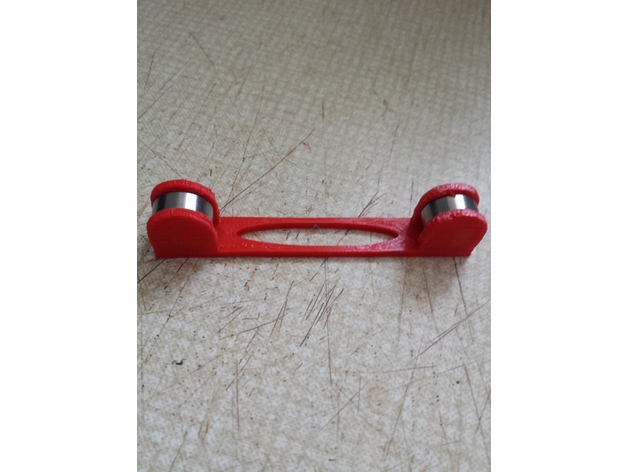
Spool Roller 3D Print Model
Summary
A simple roller bearing spool ‘runner’ intended to fit in the bottom of an airtight cereal container for rolls I do not use often, feeding the filament out of the pour hole
The photos are of an earlier iteration, I have changed the cutout to a hull from a resized cylinder to allow easier matching to the space between the 2 bearing mounts
You can change the length, and bearing size to what ever you have/need
If the ID radius of the bearing is greater than the wall thickness, the mounting ‘ball’ will show on the outside, as it does on my 608 stl
Print Settings
Printer:
CTC Prusia I3 clone Rafts:
No Supports:
No Resolution:
0.2 Infill:
20% Notes:
Print 2 -
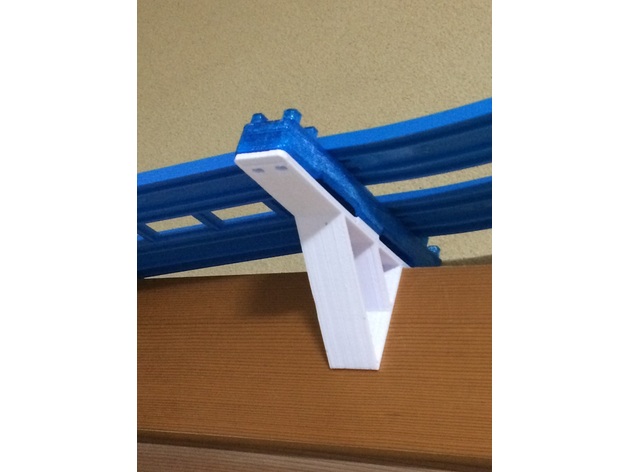
Plarail on lintel of Double-track for block 3D Print Model
Summary
Plarail on lintel of Double-track for block.
[Japanese]
鴨居にプラレールの複線をのせてしまえるパーツです。
上に複線ブロック橋脚が載せられます。 -
Plarail on lintel of Double-track for bridge 3D Print Model
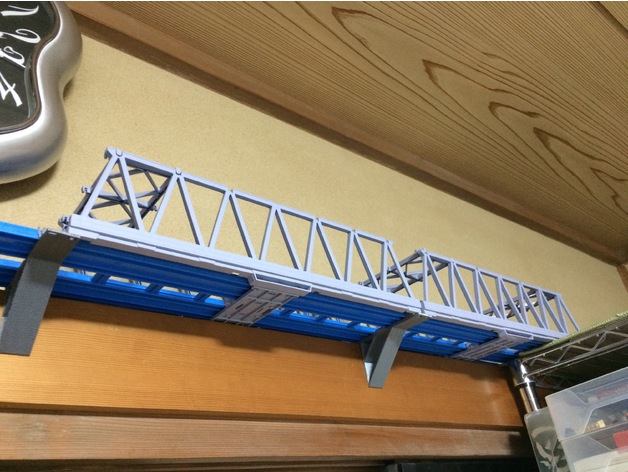
Summary
Plarail on lintel of Double-track for bridge
[Japanese]
鴨居にプラレールの複線をのせてしまえるパーツです。
鉄橋もかけることができます。 -
Multistar 5200 3S battery holder for F450/Q450 3D Print Model
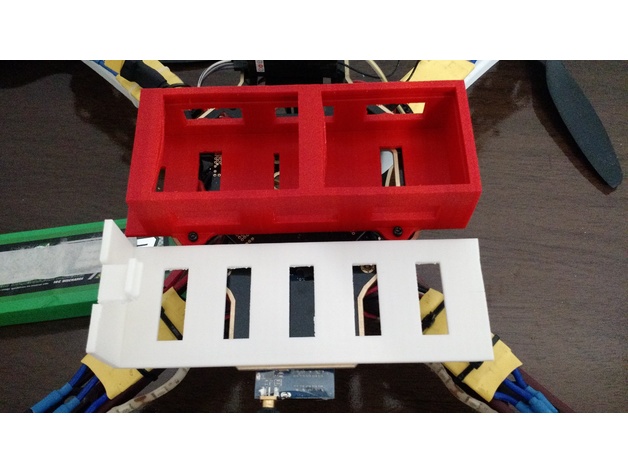
Summary
Holder for Multistar 5200mah 3S battery.
Holes fit F450 frame.
Print Settings
Printer:
Anet A8 Rafts:
Doesn’t Matter Supports:
Yes Resolution:
0.2 mm Infill:
25% -
100 Sized True X Micro Quadcopter 3D Print Model
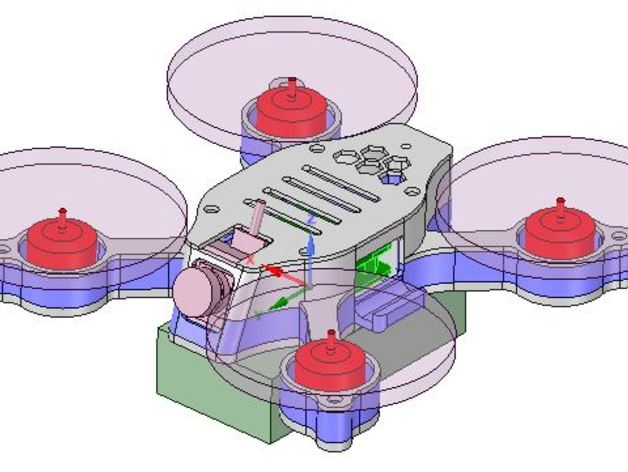
Summary
100 sized micro quad.
This was designed because of the protection it gives to the hardware components.
Inspired by other sandwich type quadcopters.
Designed with M3 nylon screws in mind.
The top layer needs to be tapped with a M3 screw or tap.
If you don’t want to tap the top layer you will need to drill out the hole so a nylon screw will fit through the whole assembly. M3x25 nylon screw will be needed to pass through whole assembly.
Frame weight is around 16 grams with recommended settings below.
FPV camera mount has yet to be designed. Currently I have just hot glued the camera in place.
Hardware supported.
Motors: 1104, 1105, 1106 brushless.
Props: Up to 2 inch props.
Flight Controller: 16 and 20 mm sized.
ESC: 4in1, 16 and 20 mm sized
FPV: Currently I only know that a Eachine lizard 95 FPV camera will fit.
Print Settings
Rafts:
Doesn’t Matter Supports:
Yes Resolution:
.1 Infill:
40% Notes:
Recommended to print in ABS as there is a snap fit connection between the base and the middle layer.
Also recommend to print with either a raft or a brim to prevent the arms from lifting off the bed mid print. -
Super Simple Bookend 3D Print Model
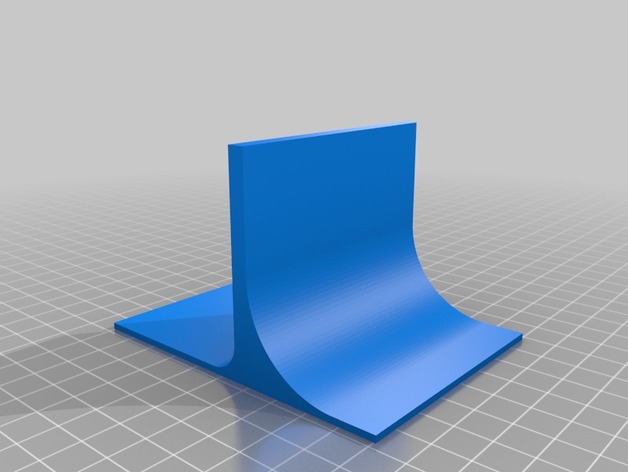
Summary
My 2nd or 3rd very simple 3D model. I am printing this using alloy 910 (printed on side for maximum strength).
Print Settings
Printer Brand:
LulzBot Printer:
Mini Rafts:
Doesn’t Matter Supports:
No Resolution:
.25 – .35 mm Infill:
30% Notes:
Print this on side so the layer lines are not a weak point. -
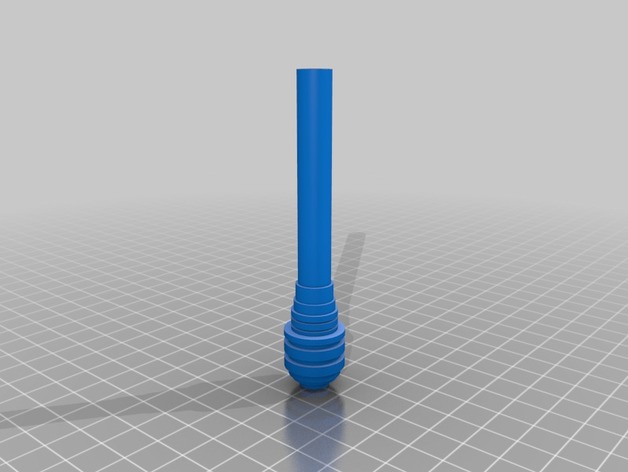
STAR WARS Imperial Code Cylinders for Pilot / Navy / officers 3D Print Model
Summary
Imperial Code Cylinders, just print it using Silver color ABS / PLA or any other colors and paint it silver, it will be good to go -
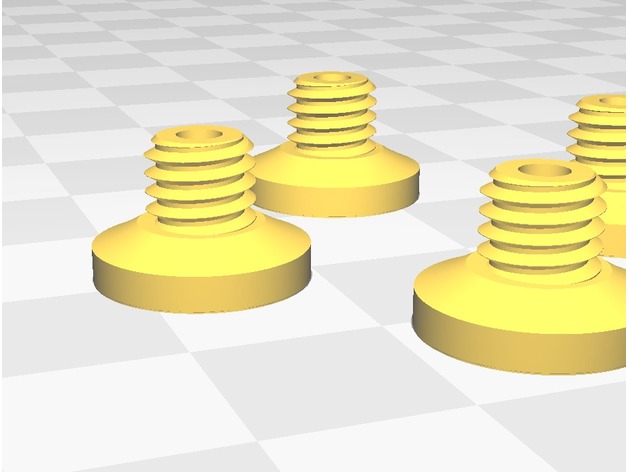
Boweden Extruder Feeder 3D Print Model
Summary
This is a M6 insert for a Bowden extruder to help feed filament into the opposite side.
Print Settings
Resolution:
0.1mm Infill:
100 -
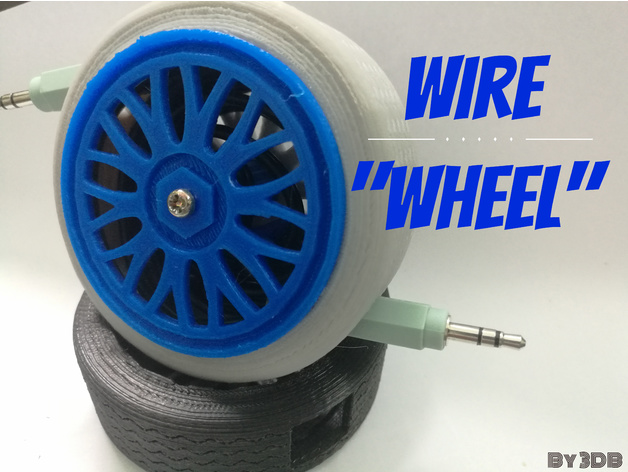
Wire wheel 3D Print Model
Summary
This is a fully working wire spool to store your long wires neatly. Before design this project, i get the inspiration from a sport car rim and wheel. This is just one possible combination of colors you can print. Fell free to modify it and print it with different colours and post it in made section. Hope you guys enjoy.https://youtu.be/A7ZcjpNkOzc
Print Settings
Printer:
Micromake C1 Rafts:
No Supports:
No Resolution:
0.2mm Infill:
100% Notes:
100% infill for the blue section as the holder need to be strong to spool the wire -
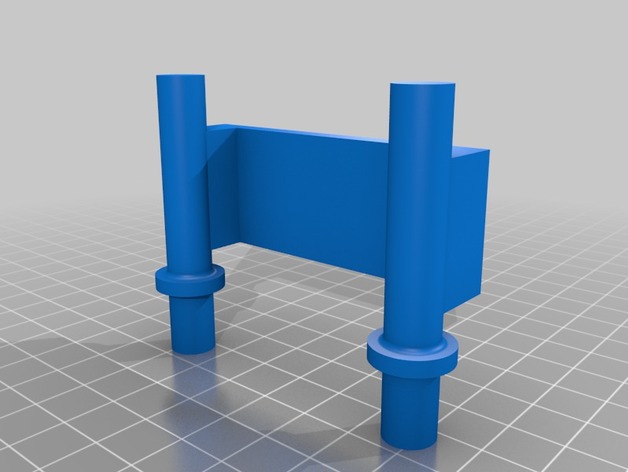
Digital Multimeter Wall mount 3D Print Model
Summary
I made a wall mount for my Uni-T UT139C.
You can add a hook, or magnet or something else at the back.
Print Settings
Printer:
Anet A8 Rafts:
No Supports:
Yes Resolution:
0.2 Infill:
35-100 -
Cookies Rings 3D Print Model
Summary
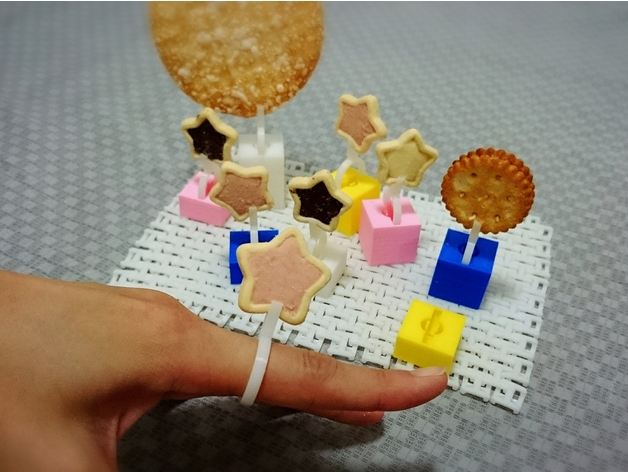
Cookies Rings
FB:https://www.facebook.com/3DPPark/
Print Settings
Printer:
CR-7 Rafts:
No Supports:
No Infill:
50
How I Designed This -
Freaks3D Parts 3D Print Model
Summary
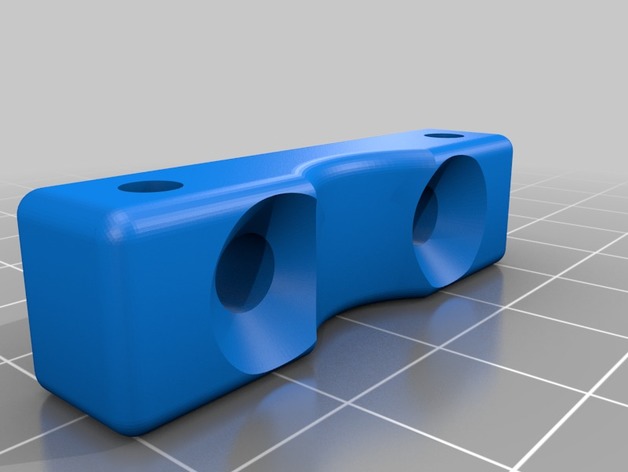
These are parts directly from Elecfreaks, the makers of the Freaks3D printer. These aren’t all the printed parts on the printer and their files include one part that is metal on my printer. (Maybe other people have a printed one?)
I’ve drawn my own versions of the printed parts which include some improvements over the kit provided parts. Take a look at my other things to find those.
Print Settings
Printer:
Freaks3D Rafts:
Doesn’t Matter Supports:
Doesn’t Matter Resolution:
.2 mm Infill:
100% Notes:
In order to make this part as strong as possible, so it doesn’t crush over time like the one that came with the printer did, I’m printing with 100% infill. I’m also printing with a brim to try and keep the part as flat as possible. -
Runcam Micro Cam Mount for Shendrones Tweaker FPVA 3D Print Model
Summary
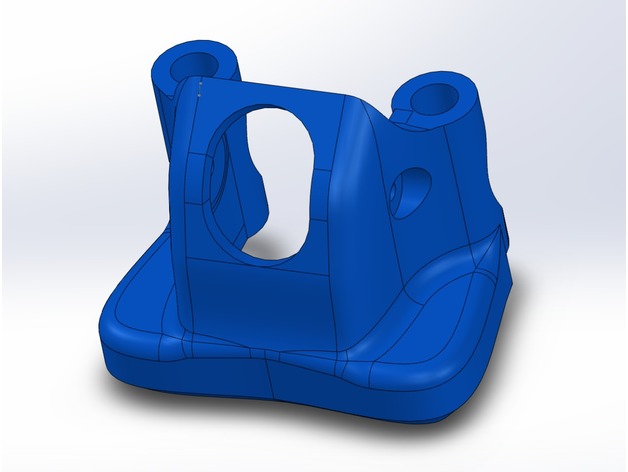
Combination noseguard/cam mount for Runcam Micro and Shendrones Tweaker FPVA Edition. Print in TPU. FPV cam angles 20-50. -
Round Lattice Box 3D Print Model
Summary
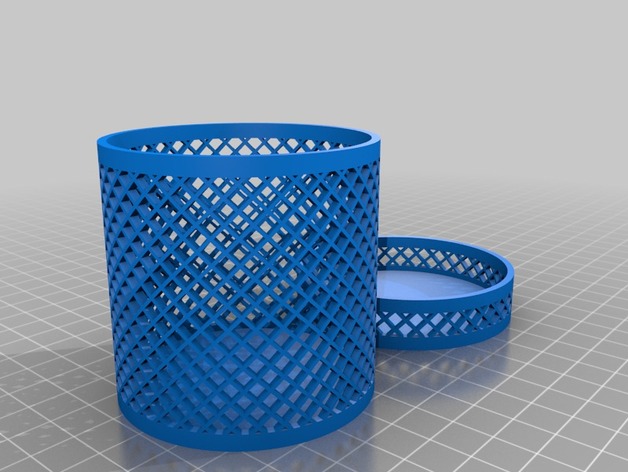
Another simple box generator, similar to my previous one, but round. I designed this as a container for transporting my pseudosphere.
I did not enable the Customizer on this one, because it takes a long time to render (tens of minutes). If you would like to change the size, download the .scad file and edit the variables at the top.
Print Settings
Rafts:
No Supports:
No -
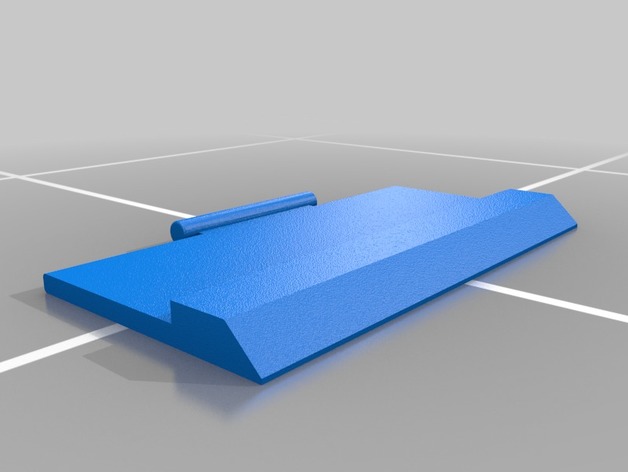
Collapsible pocket phone stand 3D Print Model
Summary
A 2 part phone stand i desighned , untested as of now -
Arduino nano case 3D Print Model
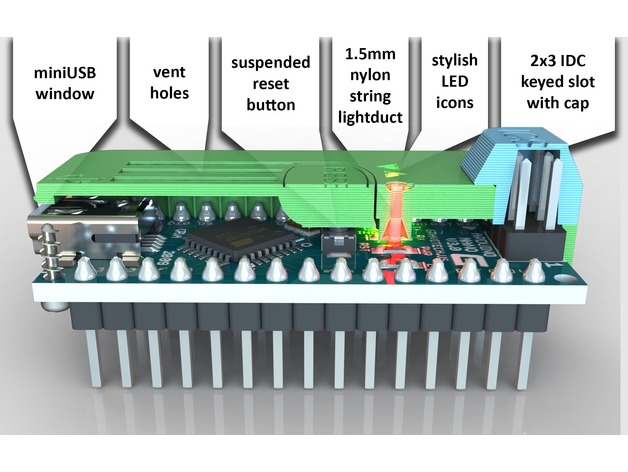
Summary
I designed this Arduino nano case according to:
FDM 3D printable
Integrated suspended reset button
2×3 IDC keyed compatible slot for icsp connector
ICSP connector cap
Cool LED icons
1.5mm translucent nylon string used as lightduct
Side ribs for easy application uninstall
1.8mm self-taping screws ultimately fixes board
Vent holes
Print Settings
Notes:
Print both parts top-down 0.2mm layer (with 0.3mm 1st layer).
Use skirt and brim.
Cap may request supports adding.
Post-Printing
Better use solvent (acetone) bath (with ABS) -
ID Card Case And Trinket Box 3D Print Model
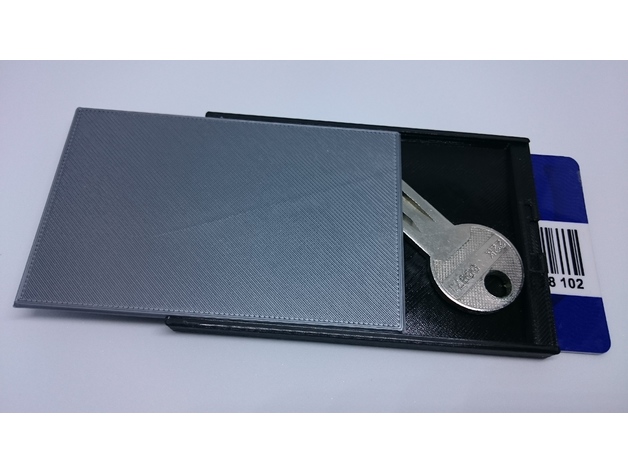
Summary
Two purposes are served by this little lifehack gadget: It is a case for a single ID-1 card with standard dimensions as well as providing a little box for additional objects.
For instance, it can accommodate the RFID key card and the standard key if it is practical to to hold both access keys together.
Print Settings
Printer Brand:
Prusa Printer:
i3 MK2S Rafts:
No Supports:
No Resolution:
0.2 mm Infill:
25% Notes:
Bridging precision of your printer is crucial for this design!
Please note that the entire space for the ID card is bridged since no support is possible in here. Make sure your slicer does not introduce a supporting material. -
Berd-Air MAX Pump Bracket for Kossel Deltas 3D Print Model
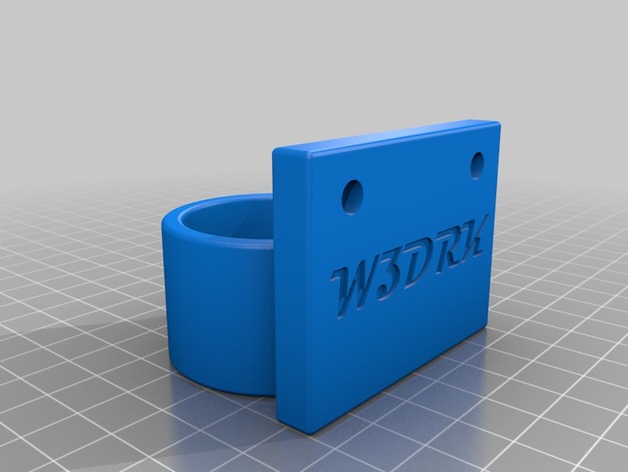
Summary
I whipped this up to neatly mount my Bird-Air pump to the lower frame of my UltiBots Kossel D300VS delta. The bolt hole spacing is 40mm so the bracket can be fastened across the bottom pair of 2020 V-Slot rails with the air tube pointing forwards towards the effector “whip” mount.
Position the bracket on the “whip” side of the printer with the clamp portion of the bracket pointing down. Fasten bracket to the pair of 2020 V-Slot rails using two M5 x 10mm cap screws, then slide the pump into place and clamp with a M4 screw and nut. Take note the pump is slid into the clamp far enough to avoid obstructing the cooling holes! -
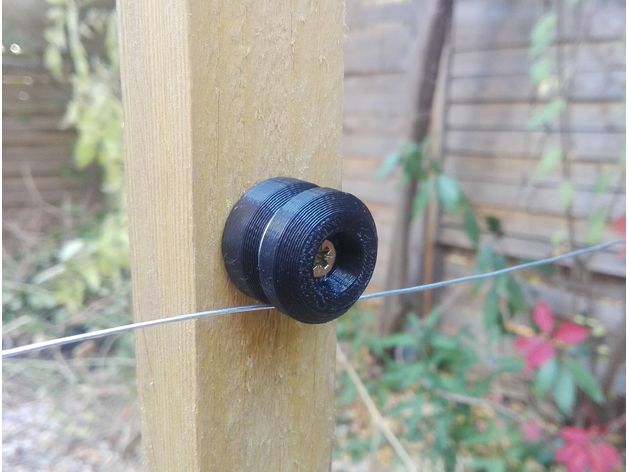
Insulator for electric fence 3D Print Model
Summary
Very practical to make a small electric fence in his garden. -
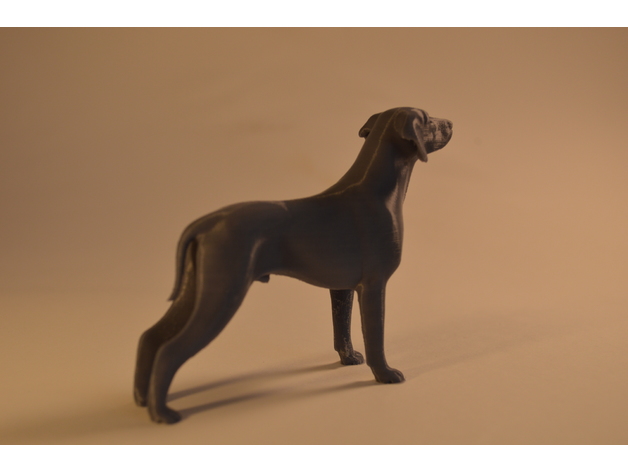
Dog 3D Print Model
Summary
Printed with a .25 nozzle layer height .1mm with PLA
I made a version with supports which works perfect but there is a version without support if you want to create your own
I found the original file once on thingverse but it wasn’t 3D printing friendly so I fixed it using meshmixer, if you happen to find it please comment so I can add this as a remix.
Print Settings
Printer Brand:
Prusa Printer:
Prusa Clone Rafts:
Doesn’t Matter Supports:
Yes Resolution:
0.1mm -
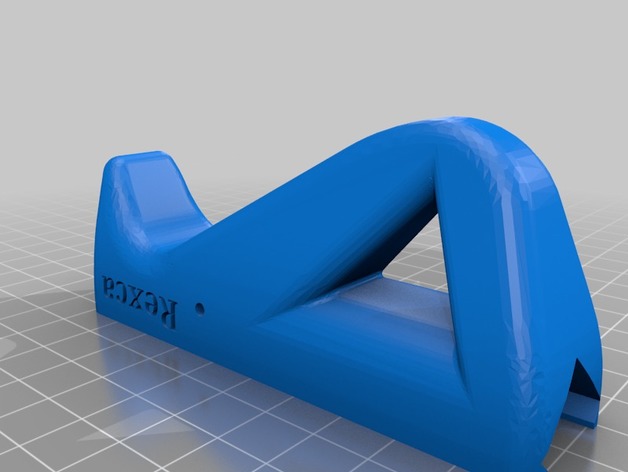
Airsoft pellet catcher 3D Print Model
Summary
Just a pellet catcher for your airsoft rifles, if you want to fire in the house and not have pellets everywhere. -
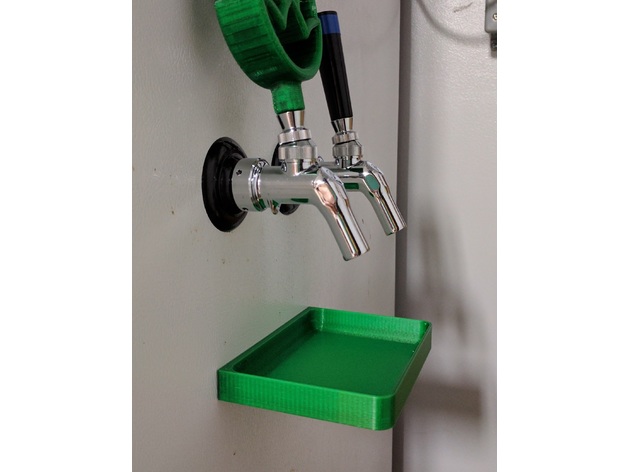
Magnetic Drip Tray 3D Print Model
Summary
A drip tray with magnets for attaching to the side of a fridge/kegerator.
I tried to keep the inside edges smooth with fillets to make cleaning easier. One thing I had about the metal ones is cleaning the corners so I tried to eliminate that with this one.
I printed it with PETG so it could be cleaned with hot water and not distort like PLA would.
Magnets are: 12.7mm (0.5″) diameter 3.2mm (0.125″) thickness
Print Settings
Printer Brand:
Wanhao Printer:
Wanhao Duplicator i3 Plus Rafts:
Doesn’t Matter Supports:
No Resolution:
0.25mm Infill:
35% Notes:
PETG or ABS preferred
Post-Printing
Add the magnets
I attached them with a small bit of epoxy on the magnet. It is a pretty tight fit so you don’t need much. -
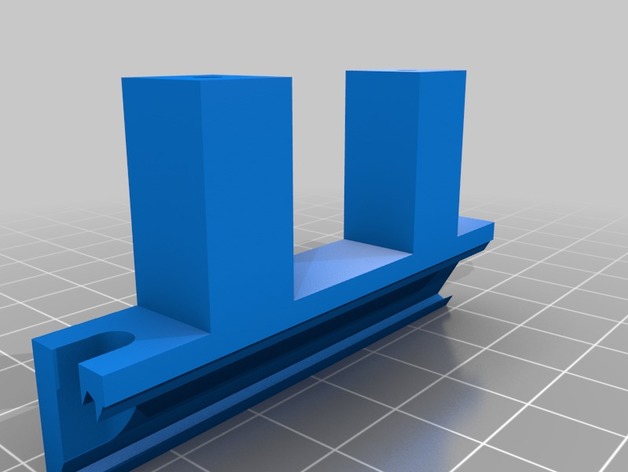
X Carraige LED Strip Holder – Wanhao i3 3D Print Model
Summary
I am running an aftermarket cooler which freed up the mounting holes used by the stock cooler. I searched for a while, but was unable to find an LED strip holder that fit the i3 Plus so I made one.
This should hold any standard width (~11mm) LED strip. There is no need to use adhesive as the strip should just slot in and be fairly secure.
Print Settings
Printer Brand:
Wanhao Printer:
Wanhao Duplicator i3 Plus Rafts:
Doesn’t Matter Supports:
No Resolution:
0.16mm Infill:
30 -
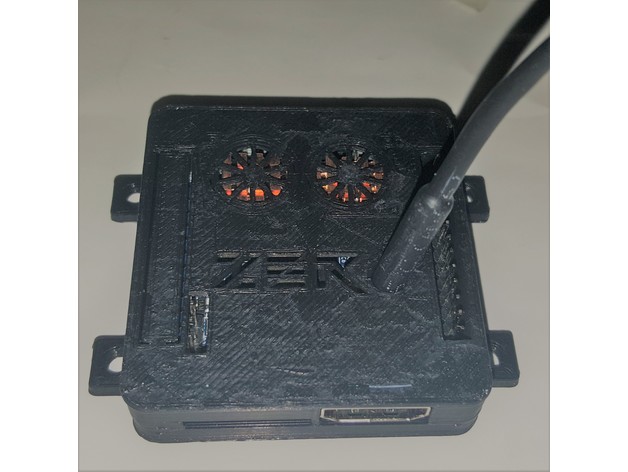
Orange Pi Zero Plus 2 H5 Case 3D Print Model
Summary
I have a new Orange Pi – Zero plus2 H5 (phew long name) and I needed a case. I remixed this from farrukh’s Orange Pi Zero Case
The model shows my limits as for lines where I added/subtracted etc. However it prints well enough. Any roughness on mine is from too much glue on my printbed
I use two copper heatsink’s to keep temps under control without a fan. This does work well. I added the little orange symbols for each heatsink to breathe and it has the awesome unanticipated affect of being orangish.
Enjoy!
Link to the Tinkercad project so you can make any changes: https://www.tinkercad.com/things/9jUPzX7pSR3-orange-pi-zero-plus2-h5-public -
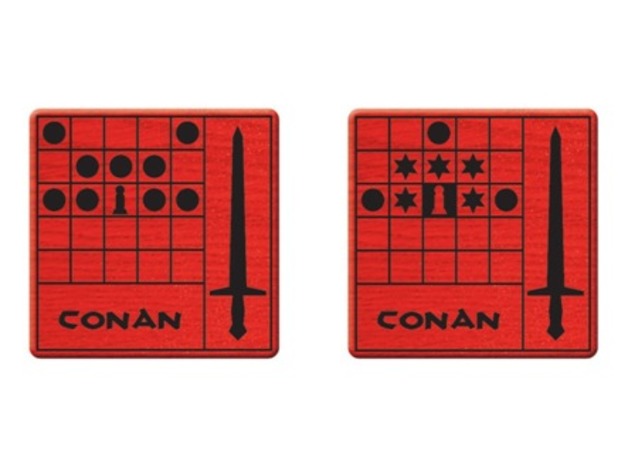
The Duke – Robert E. Howard Expansion 3D Print Model
Summary
This expansion to The Duke core game, adds a little literary flair, while still maintaining the major goal of the game, which is to capture the opponent’s Duke tile. It introduces four characters taken from the Robert E. Howard literary universe.
Conan = Champion; Kull = Wizard; Agnes = Ranger; Solomon Kane = Priest. -
Bioshock Lighthouse – Simplified 3D Print Model
Summary
This is s simplified version of a previous tower. I removed the detailing on the door and the text on the bottom so that my printer could (maybe) handle it. -
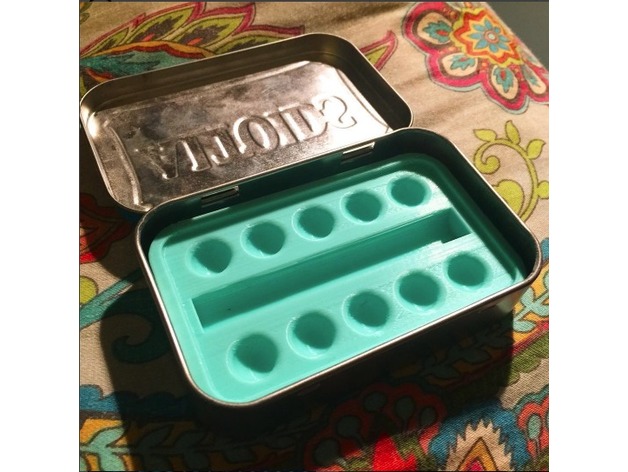
Altoid Tin Watercolor Palette 3D Print Model
Summary
This is the first item i’ve made.
The first version was before I got calipers so it is about 2mm smaller than the tin. So, there is a small amount of wiggle room. The area for the paints is small but that was intentional. The tray is shorter than tin to allow for a sponge to sit on top. I also purchased small plastic fish to hold water in the tin for travel. The fish are meant ot hold a single serving of soy sauce and are on Amazon.
The second tin I made has deeper areas for paint. It has higher side walls. I thought that would help hold in moisture and prevent the tin from rusting. I’ve seen people also paint the inside with enamel to use the lid as a mixing area and to preserve the metals. I have not yet printed this version as I’m having problems printing as I am a bumbling novice. I noticed the paint wells are not perfectly spaced but I’ll have to watch more YouTube videos to figure out how to move and space objects. -
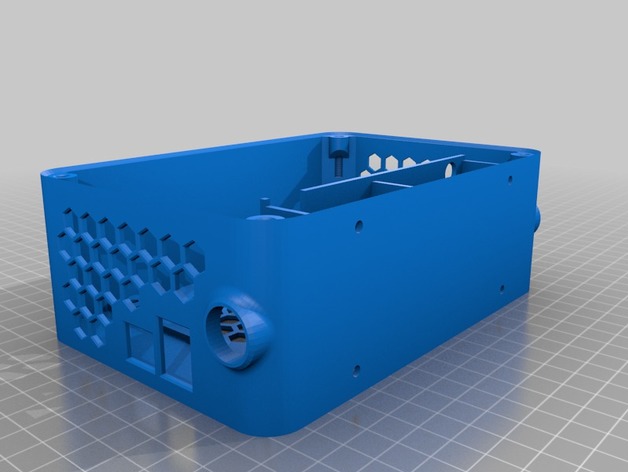
Geeetech GT2560 housing for I3 Alu 3D Print Model
Summary
Adapt for my I3 Alu
I use sanguinololu hole to fix it -
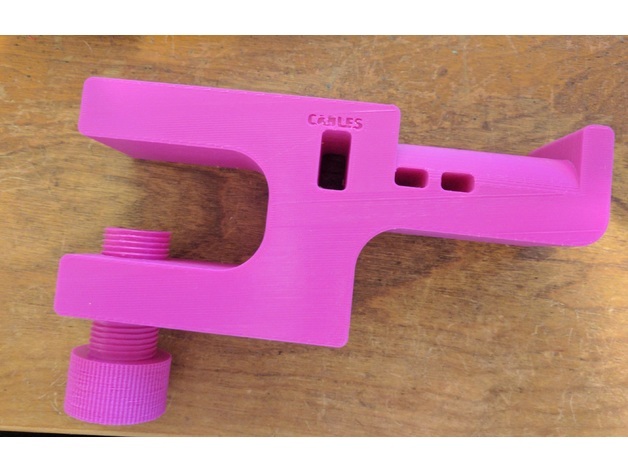
Hefty Headphone Holder – USB version 3D Print Model
Summary
Remixed version that fits a USB cable through the hole.
This is the file used for my make here: https://www.thingiverse.com/make:361964 -
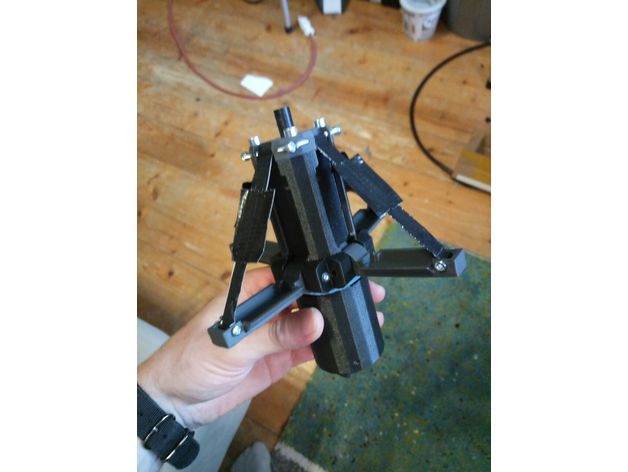
LWC “Frilled neck FRAG” springloaded Airsoft BB shower grenade 3D Print Model
Summary
Airsoft shower greande ” Frilled neck FRAG” new type of spingloaded Airsoft shower greande, work in progress
https://www.youtube.com/watch?v=9jePRai51v8 -
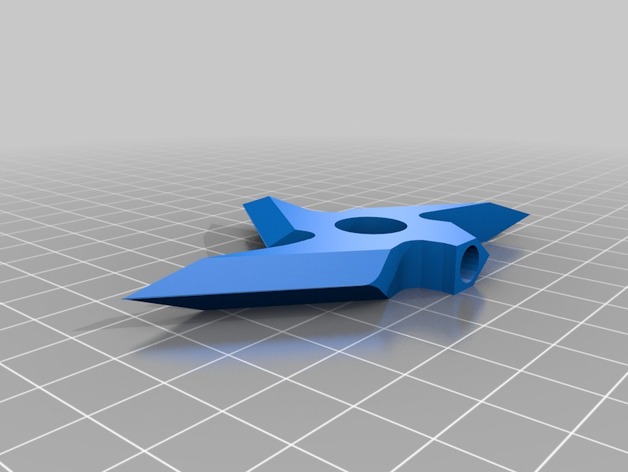
Shuriken magnets 3D Print Model
Summary
Ninja shurikens originally designed by jrdawg88 and modified with Tinkercad.
Print Settings
Printer:
Flex Delta+ and Makerbot Rep2X Rafts:
No Supports:
Yes Resolution:
0.2 mm Infill:
low Notes:
Generally speaking, it is better to print multiple objects when they have sharp summits, otherwise the tips would not solidify. -
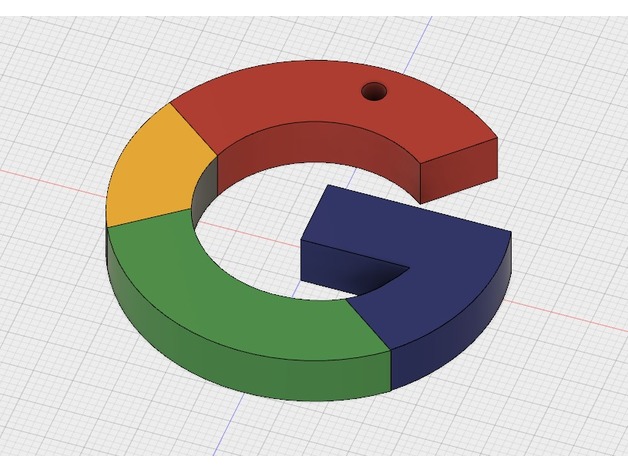
Google Logo Keychain 3D Print Model
Summary
This is my first upload so it might not be perfect; I’m open to suggestions.
I looked around and I couldn’t find the new google logo so I decided to make it myself, hope you enjoy.
Height: 5mm; Width: 5mm -
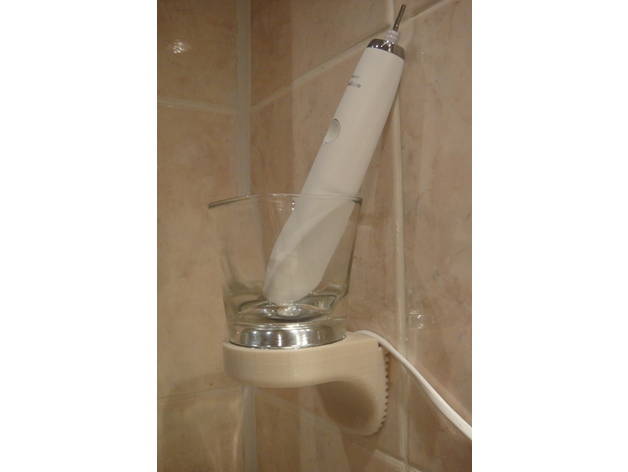
Philips Diamond Clean wall mount 3D Print Model
Summary
A wall mount for the Philips Sonicare Diamond Clean. No need of drilling holes into the plates – use silicon to attach the stand to the plates. Special network of channels in the mount body allows the silicon to hold very strong to the printed PLA body. I already printed similar wall mount for Oral B and it was really hard to remove it – so there is zero chance the mount to unglue and fall down accidentally.
Before gluing the mount to the ceramic plates – clean the surface with alcohol. Then apply an even layer of silicon and press gently the mount until the silicon squeezes away from the side holes. Remove the excessive silicon (use a cloth with soap) and fix the mount for couple of hours with paper tape. After the silicon settles down – remove the paper tape and insert the charger, it should fit and snap into the hole.
Ideally the silicon color should be the same as the gap between the plates (transparent silicon leaves the side channels of the base visible). The filament color should be chosen according to the plates. I achieved the best 3D printing results by placing the hole for the charger on the 3D printer plate – some more filament is used for supports but the surface finish is the best. -
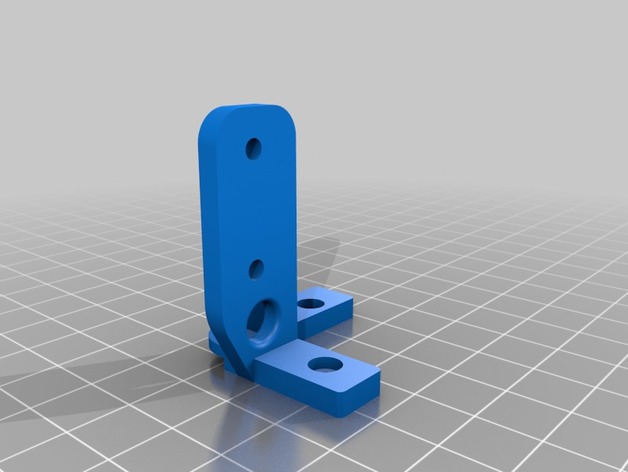
Tevo Tornado BLTouch Mount 3D Print Model
Summary
a BLTouch mount I created for the Tevo Tornado. Also, if you’re looking for instructions on how to install the BLTouch on a Tevo Tornado, here’s a Youtube video I made explaining the whole process: https://youtu.be/mBwHGuX5de8 -
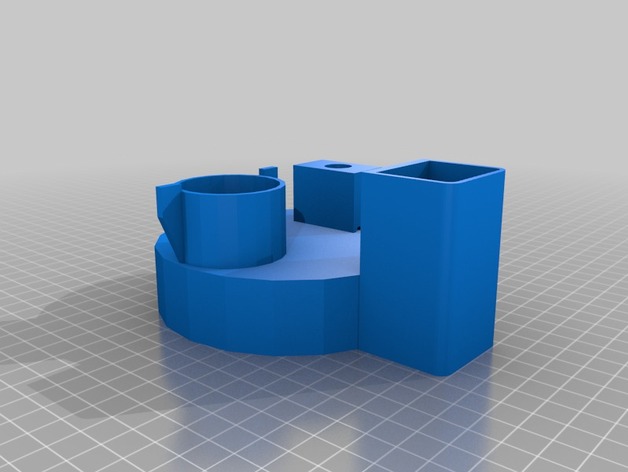
Oil can pump 3D Print Model
Summary
This an oil pump I designed to help service oils where the entry point is tight or elevated. I am an aircraft mechanic so I would use this to service starters or the various motor gearboxes. But it can be used in a wide variety of applications.
It is designed to sit on top of a 1 qt metal oil can. It requires a 6v peristaltic pump, 4 AA battery housing (links below), and a switch. Plus associated tubing, wires etc.
I sold my printer before I got to print the final design. I know the specs are good, and everything fits, but I don’t know if it ACTUALLY works.
Pump- https://www.amazon.com/Yosoo-Peristaltic-Aquarium-chemical-Analytical/dp/B00VHYO9F0/ref=sr_1_20?ie=UTF8&qid=1507346077&sr=8-20&keywords=peristaltic+pump
Battery Holder -https://www.amazon.com/Hilitchi-Thicken-Battery-Standard-Connector/dp/B01381A020/ref=sr_1_5?ie=UTF8&qid=1507346310&sr=8-5&keywords=4+aa+battery+holder
Switch- Source locally, so it can work with your needs. I used a momentary push button. -
Soldering Station 3D Print Model
Summary
https://fpv-community.de/showthread.php?41335-DIY-SMD-L%F6tstation-Ersatz-f%FCr-(WELLER)/page113 -
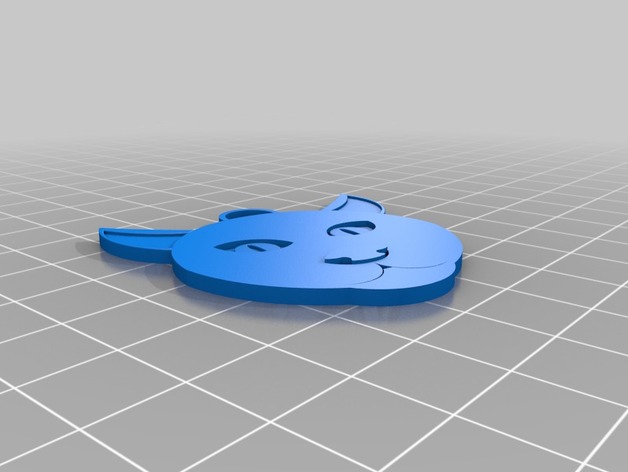
Cat Tag 3D Print Model
Summary
Cat tag with room on back for pets name, home phone number, and veterinarian phone number in the negative so less likely to be worn down and unreadable. -
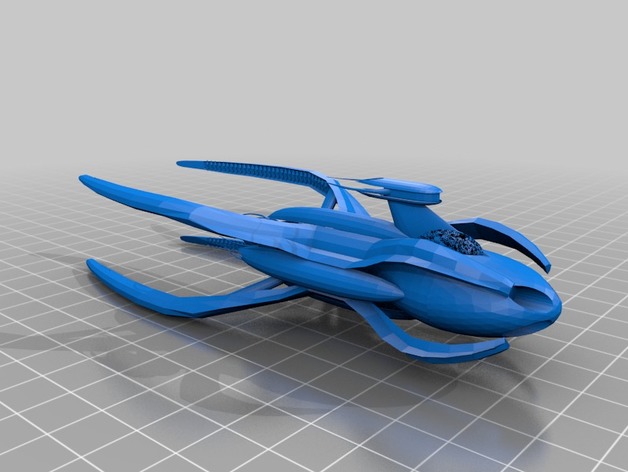
Vorlon Dreadnaught from Babylon 5 3D Print Model
Summary
Author: Evelio Perez-Albuerne
How I Designed This
Downloaded from http://www.ultradrive.com/b5_3d_index.htm
Converted to obj file with AccuTrans 3d converter program.
Uploaded here. -
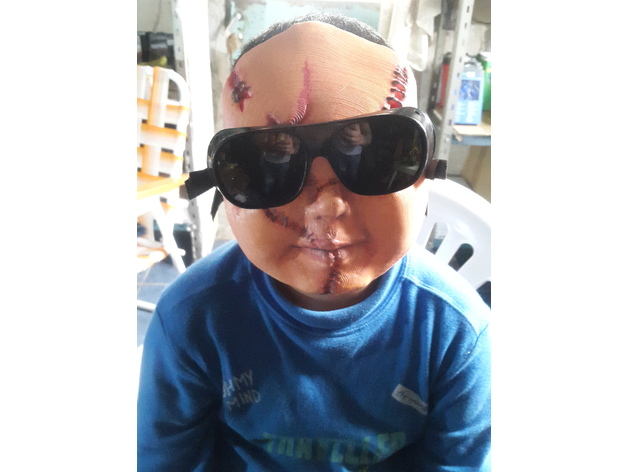
CHUKY MASK 3D Print Model
Summary
RESOLUCION : 0.4MM
SHELL: 0.8
DENSIDAD ; 30
MATERIAL ; PLA
SOPORTE ; SI -
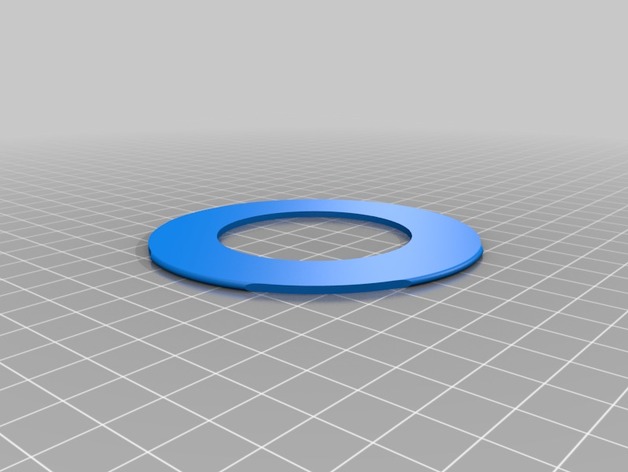
3dconnexion SpaceNavigator Handrest v2 3D Print Model
Summary
This is the same as DarthBane’s design… just split so that it can be printed on a Printrbot Simple Metal. Look at my make of his to see my settings.
Layer Height: .15 mm
Shell Thickness: 1.2 mm
Bottom/Top Thickness: 1.2 mm
Fill Density: 15%
Print Speed: 85
Printing Temp: 210 C
Support Type: None
Platform adhesion: None
Diameter: 1.75 mm
Flow: 95% -
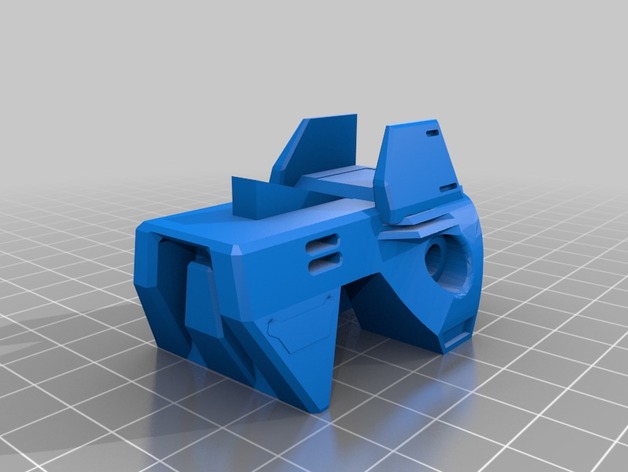
Big Boy Stryfe Kit 3D Print Model
Summary
By request for Nerf Moders Welcome
None of this is my own design but I did combine different things and modify them to make them all work as a kit. This is all the parts from the “Big Boy Stryfe” minus the Foam Blast parts which can be found here:
Stryfe Wire Channel https://www.thingiverse.com/thing:2422841
FoamBlast Nerf Stryfe Magazine/Clip Release https://www.thingiverse.com/thing:2479594
Nerf Stryfe Rev Trigger (Bobololo style) https://www.thingiverse.com/thing:2362063
You will need additional parts such as motors, wires, switches, m2 screws, m4 screws and such.
Print Settings
Printer:
Monoprice Select Mini V2 Rafts:
No Supports:
Yes Resolution:
Varies Infill:
Varies Notes:
Battery Door I print at 20% infill and 0.2mm resolution.
Butt Cap I print at 20% infill and 0.1mm resolution.
Flared Mag Well I print at 20% infill and 0.1mm resolution.
Motor Cover I print at 20% infill and 0.2mm resolution.
Pusher I print at 100% infill and 0.1mm resolution.
Stryfe Foregrip I print at 20% infill and 0.1mm resolution.
Strfe OFP Cage I print at 20% infill and 0.2mm resolution.
Stryfe Trigger (Long or Short) I print at 30% infill and 0.1mm resolution.
W Piece I print at 20% infill and 0.1mm resolution. -
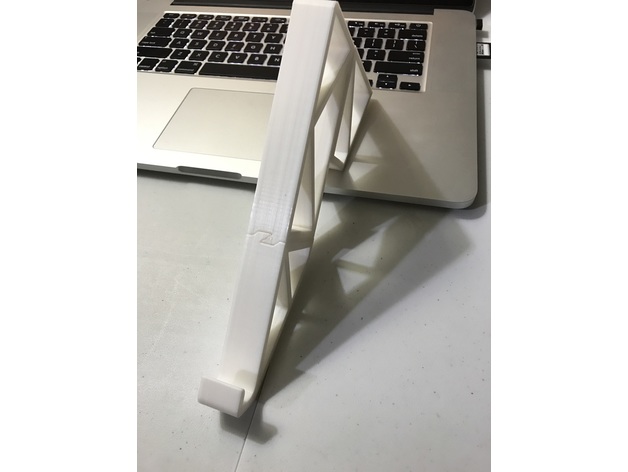
Interlocking MacBook Pro Retina Stand for Smaller Printers 3D Print Model
Summary
For those of you with a smaller printer like me, this interlocking remix of Thomasdc_’s geometric MacBook Pro Retina Stand (https://www.thingiverse.com/thing:1330829) will allow you to print this great stand in multiple parts without having to glue or fasten anything together.
The parts are an interlocking slide fit that’s very secure, and is best assembled via tapping them together with a weighted object (i.e. small hammer or large wrench)
The gap in the interlocking pieces is 0.15mm so layer heights above this will be tight. I have printed at 0.175 and it’s a nice tight fit.
Print Settings
Printer:
Monoprice Select Mini Rafts:
No Supports:
No Resolution:
0.175mm Infill:
20% Notes:
Note that gap between interlocking parts is 0.15mm. Layer heights will affect the fit of these parts because of orientation of the locking features. They are oriented this way because the stand is very sturdy as a result and doesn’t require glue.
Post-Printing
Inspect the interlocking channels for zits and other inconsistencies clean the up as required. Mine came out nice and didn’t require any clean up.
How I Designed This
I traced the .STL file in Fusion 360 and created my own part splits and locking features once I had the outline traced. I changed the bracing just because I like the look of triangles. -
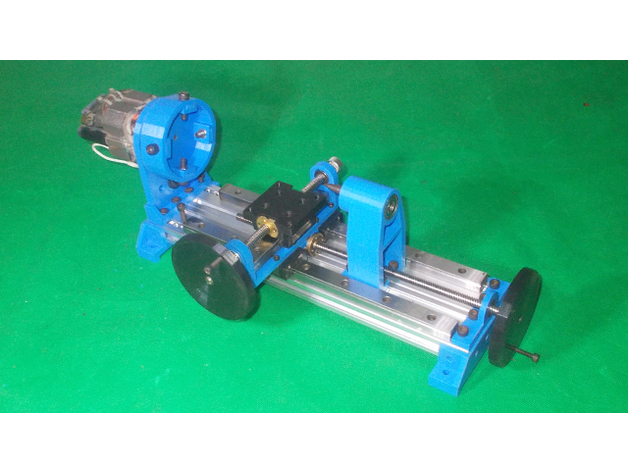
Homemade CNC Mini Lathe Chuck Drills Spindle Power Wood DIY Headstock Tool Rest Tailstock 3D Print Model
Summary
If you like my designs please consider buying me a coffee or tea!
DIY Bed Base here: https://www.thingiverse.com/thing:2567579
DIY Bed Base and Motor here: https://www.thingiverse.com/thing:2567294
DIY All Base here https://www.thingiverse.com/thing:2569111 -
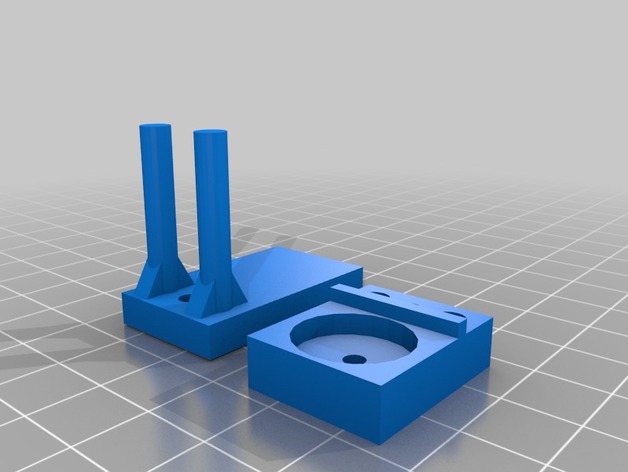
Shrink Tubing cutter for any scissors 3D Print Model
Summary
Always need to cut multiple pieces of shrink tubing for cable ends and they look much better if they are uniform in length. The little unit attaches to the one blade of any scissors and the user can adjust the depth to get the desired length. The magnet is a 15mm x 4mm round with a countersunk hole. I use a 4-40 flathead bolt that taps the plastic to secure the magnet. The adjuster is a 4-40 pan head with a nylon locking nut to keep it secured to the gauge plate, but still turns. The other end of the pan head screw threads the magnet/scissor piece to make the adjustment. -
Anet A6 Mainboard case with fan 3D Print Model
Summary
I am use mainboard case in this proyect https://www.thingiverse.com/thing:2067818 -
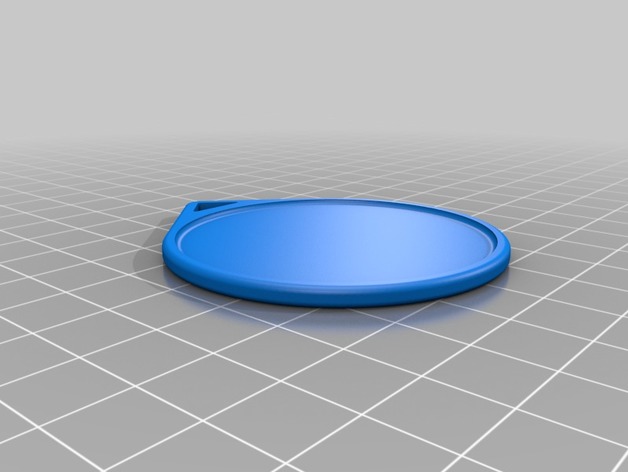
Blank Medal 50mm Image Diameter / Medalla en Blanco para Imagen de 50mm 3D Print Model
Summary
For fast printing < 10 min:
Layer Height: 0.29
Top Layers: 3
Bottom Layers: 2
Perimeter Shells: 1 -
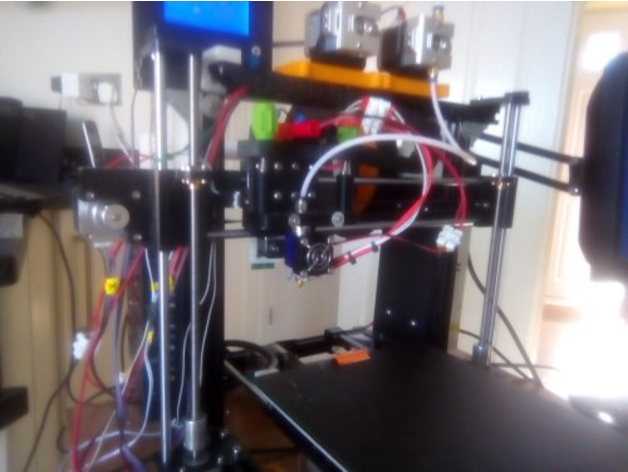
Prusa I3 Single/Dual E3D Mount 3D Print Model
Summary
This collection of things provide a single or dual mount for E3D nozzle assemblies for the Prusa I3 printer.
Full details are provided in the encvlosed PDF document.
Print Settings
Printer Brand:
FlashForge Printer:
Dreamer Rafts:
Doesn’t Matter Supports:
No Resolution:
0.2 Infill:
20% -
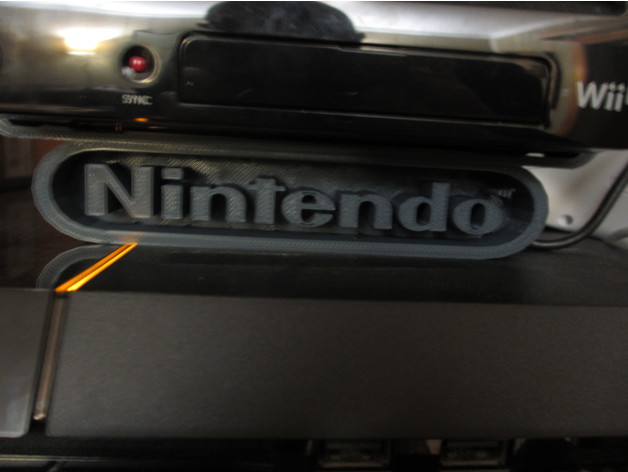
Nintendo Wii U Horizontal Stand W/ Nintendo Logo 3D Print Model
Summary
This is a horizontal stand for the Nintendo Wii U with the Nintendo Logo on it. It holds the Wii U snuggly and it is very sturdy.
Enjoy! -
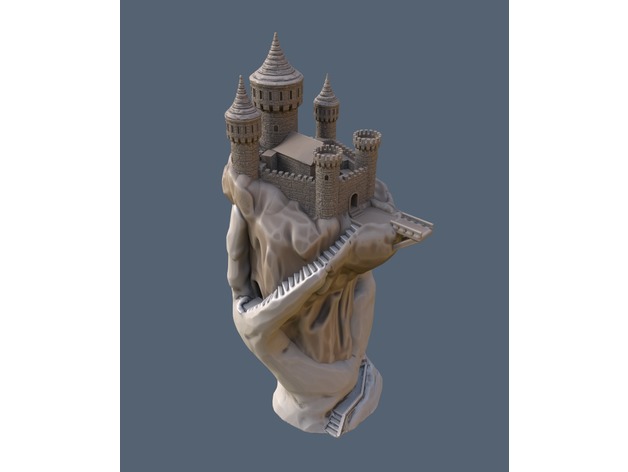
Abode of the Hand 3D Print Model
Summary
This is based on the drawing by Stuwaha as seen here: https://stuwaha.deviantart.com/art/Fortress-15171542
I tried separating the castle from the base but it turned out to not work so well. So I’m releasing it as merged model.
Doesn’t need supports. -
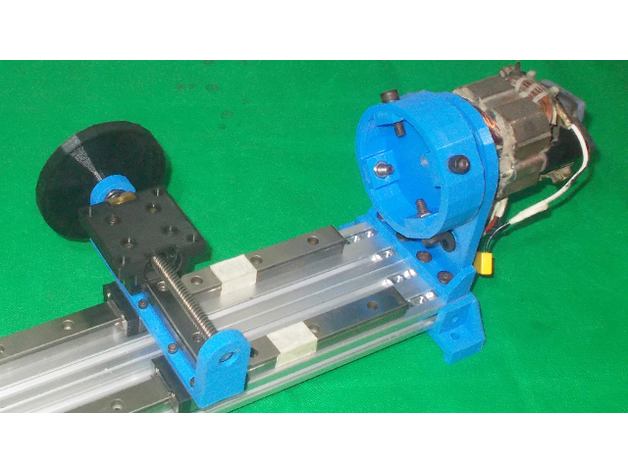
Homemade CNC Mini Lathe Chuck Drills Spindle Power Wood DIY Headstock Tool Rest Tailstock 3D Print Model
Summary
If you like my designs please consider buying me a coffee or tea!
DIY Bed Base here: https://www.thingiverse.com/thing:2567579
DIY Bed Base and Motor here: https://www.thingiverse.com/thing:2567294 -
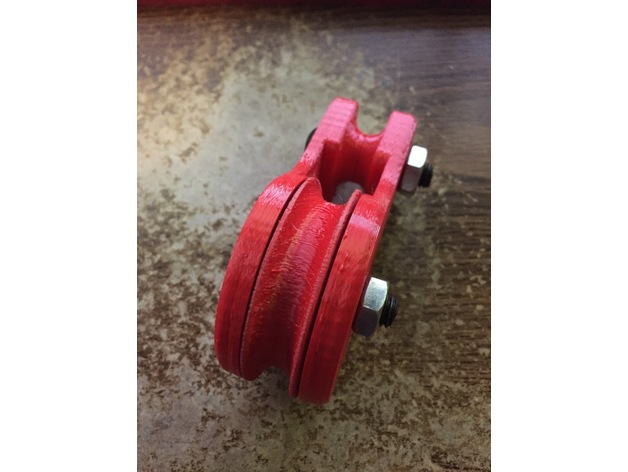
50mm Pulley (2x 608 bearing) 3D Print Model
Summary
This is a basic pulley. It has a 50mm main wheel and will handle up to a 10mm or 3/8″ line. You need two 608 skate bearings, and two 8mm x 35-40mm bolts and nuts. You can either tie a line to the top or use a carabiner as a clip. There are two wheel designs one fancy and one easier to print. I find that the wheels print well in the standing position with support. If you have problems printing that way the simpler design can be printed on its side. I may include a no bearing wheel very soon. The sides should be printed flat with 30% or more infill. I used 2mm walls, top and bottom with 30% infill. That basically makes the sides 100% with a little infill around the top block. There will be more variants, so stay tuned.
Enjoy.
If you like my designs why not tip me a dollar or two. Your support will allow me to spend more time on these designs and their variations. Thanks! -
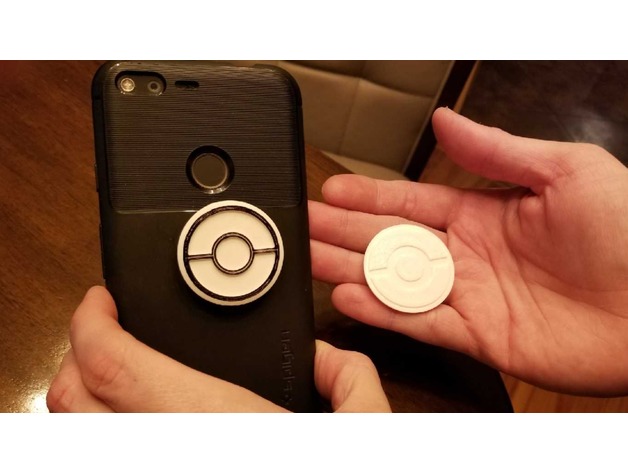
Popsocket Pokeball faceplate 3D Print Model
Summary
I wanted a pokeball popsocket so I made one by using the popsocket faceplate cbusbey made and the pokeball logo xxdanmurphyxx made
Print Settings
Printer:
Anycubic i3 mega Rafts:
Doesn’t Matter Supports:
Yes Resolution:
.2mm Infill:
100