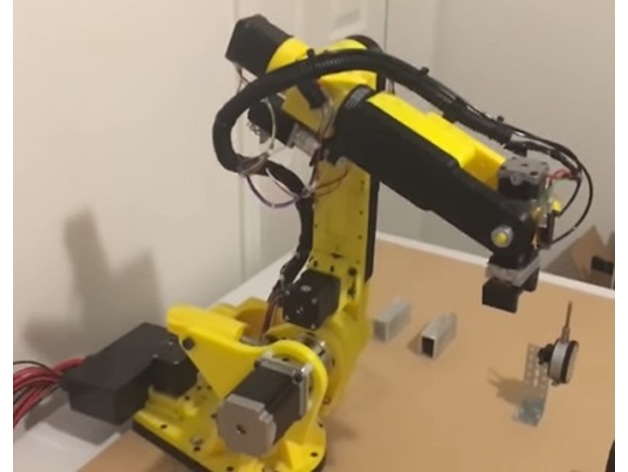
Summary
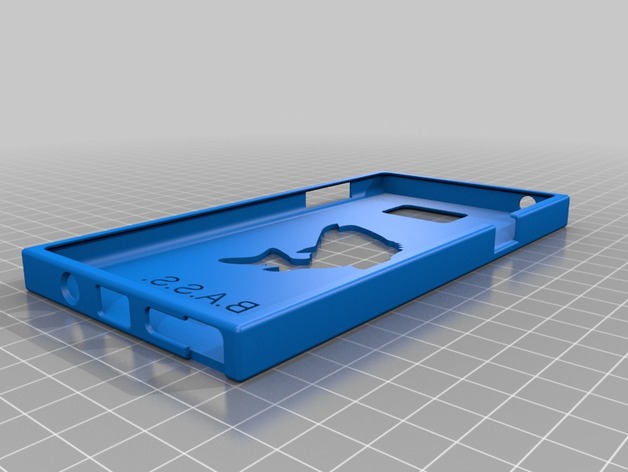
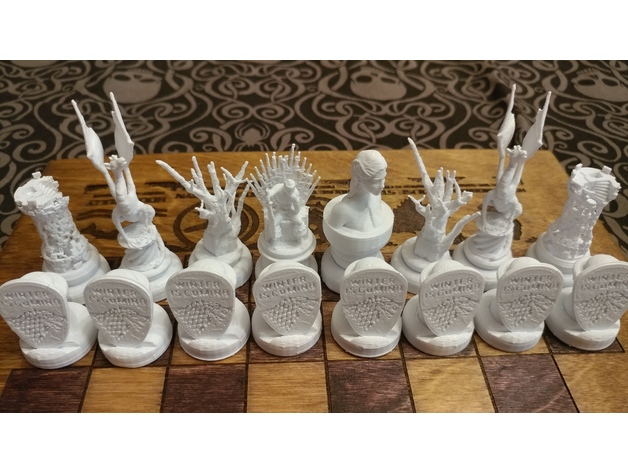
A co-worker asked me to make a Game of thrones inspired chess set. I combined many different models that i found here on Thingiverse and with few modifications came up with this set. I will attempt to attribute all the original models, if I forget one please let me know.
The chess board was laser engraved on 1/4 in ply-board then stained. If interested, send a comment and I can load the files. Yes the checkered pattern is off by 90 degrees. Standby for version 2.
Notes:
Queen crown file has 2 different sized crowns to pick from. I super glued the crown onto the piece with no problems.
Print 16 Pawns, 8 Lannister and 8 Stark sigils, then super the sigils to the pawns.
How I Designed This
source files
Inspirations:https://www.thingiverse.com/thing:2433214https://www.thingiverse.com/thing:1249096https://www.thingiverse.com/thing:607559https://www.thingiverse.com/thing:1805869https://www.thingiverse.com/thing:767823https://www.thingiverse.com/thing:1160005https://www.thingiverse.com/thing:1492107https://www.myminifactory.com/object/game-of-thrones-character-busts-1886https://www.thingiverse.com/thing:1629858
Author: Thingiverse
-
GoT inspired chess board 3D Print Model
-
Phrozen Make Resin Vat 3D Print Model
Summary
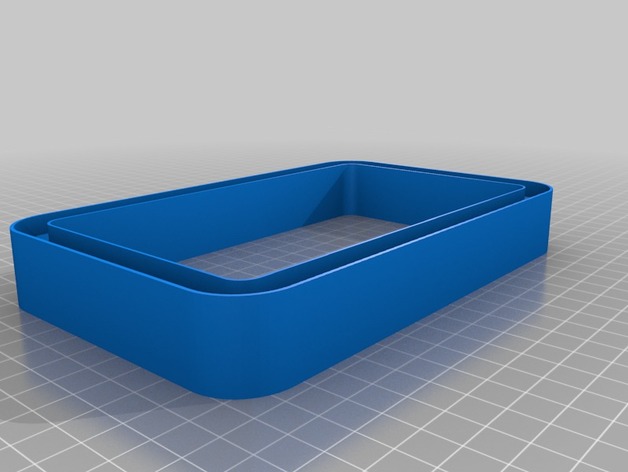
Resin vats are expensive. So is FEP sheet. Resin vat screws are fragile. I found this out the hard way! Decided to create my own “disposable” resin vat that needs no screws, only ABS or “Raptor” PLA from MakerGeeks (http://bit.ly/2xS5wh3), epoxy resin, and some clear teflon (FEP) sheet (http://bit.ly/2xZe3y4). Use a filament that is strong, that’s why I recommend ABS or Raptor PLA, which can be annealed in the oven and actually becomes strong and more heat/chemical resistant than ABS or carbon filament! Anyway, using a thin bead of epoxy resin in the channel and on the bottom of the insert helps seal the build, and the pressure from the large vat screws on the printer combine to make this thing leak-free.
Print Settings
Printer:
Creality CR-10 Resolution:
.2mm Infill:
15% Notes:
Sliced and printed with gcode from Simplify3D. I like to use a brim of 1 layer and 3 outlines right next to the print. It gives you something to help you remove the insert when you test the fit!
Post-Printing
ANNEAL THE RAPTOR AND AN ABS CAVEAT!
If you use the Raptor PLA, make sure you anneal the parts in the oven following these instructions!Place piece on glass or ceramic or stone
Place a ceramic tile (or glass) over the piece to help prevent warping (if piece is flat on top)
Place item in a cold oven
Heat oven to 212F/100C
Set timer for 15 minutes
After 15 minutes, turn oven off – leave oven closed, leave piece in oven
Set timer for 45 minutes
After 45 minutes, remove ceramic or glass tile from the top of piece
Remove piece from oven (it should be pretty cool but not cold)
Item is still somewhat soft, so don’t drop itLet item cool completely (maybe another 30 minutes)
Item is ready for use!
IF YOU ARE PRINTING IN ABS, DO NOT “SMOOTH” IT WITH ANYTHING, OR YOU COULD RUIN THE FIT! -
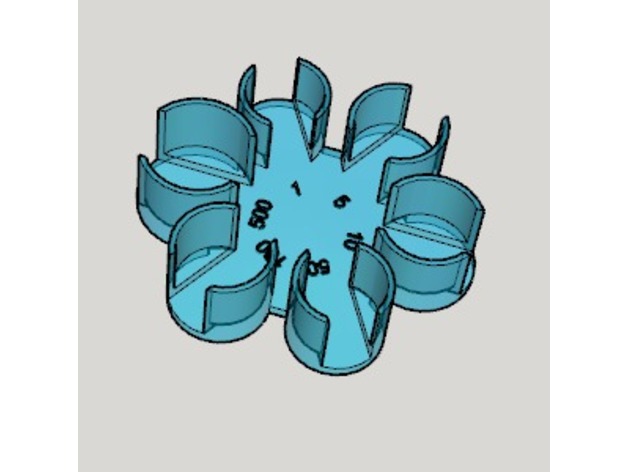
Jeton 3D Print Model
Summary
Encore un modèle -
No Support Net Cup 3D Print Model
Summary
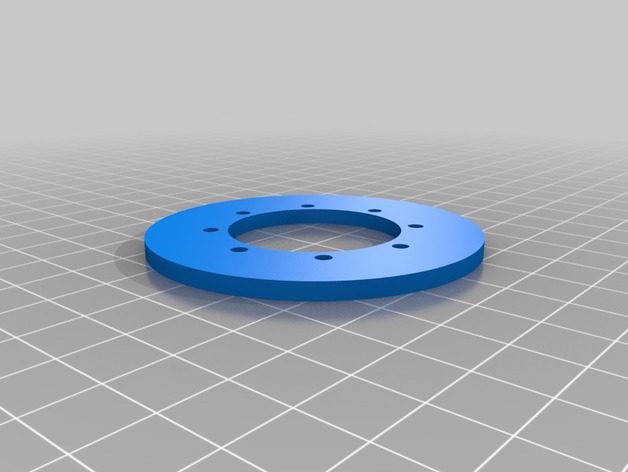
Don’t need no stinking supports! Print with PLA and add just a drop of super glue for assembly! -
Mobile Phone Mount without screw 3D Print Model
Summary
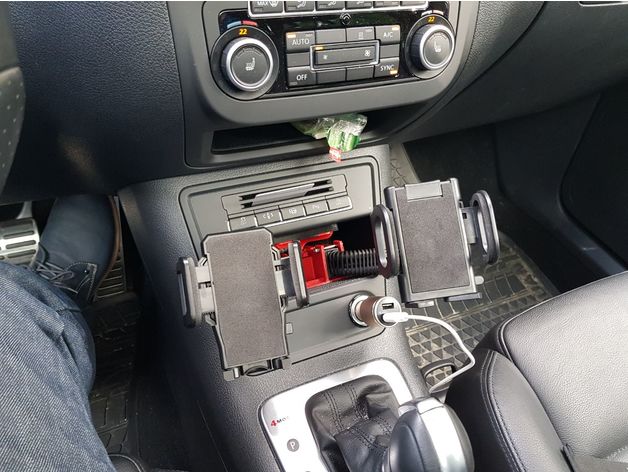
This is the better Version ofhttps://www.thingiverse.com/thing:2413379
improvements:
more stable
dual device posible but not necessary
better to mount
does not deform
works perfect with https://www.aliexpress.com/item/Universal-360-Degree-Rotating-Motorcycle-Rear-Mirror-Mobile-Phone-Holder-Mount/32827042657.html (Adapter-Standardaufnahme.STL not necessary)
Print with PETG or ABS. PLA is not recommended
Infill, 35-50% -

Nardelli Offroad Wheels 3D Print Model
Summary
When completed this will be a collection of the four Nardelli off-road wheels
TR50
DX105
STG
HDX
They will all be 1.9 inch wheels with a 12 mm hex and all 1 inch wide (except the HDX due to the bolt heads on the outer rim)
Feel free to post any comments, questions, suggestions, ideas, etc.
The inspiration for these wheels came from here:https://www.beamng.com/threads/nardelli-offroad-wheels.30588/ -
Connecteur de ventilateur pour Raspberry Pi / Fan connector 3D Print Model
Summary
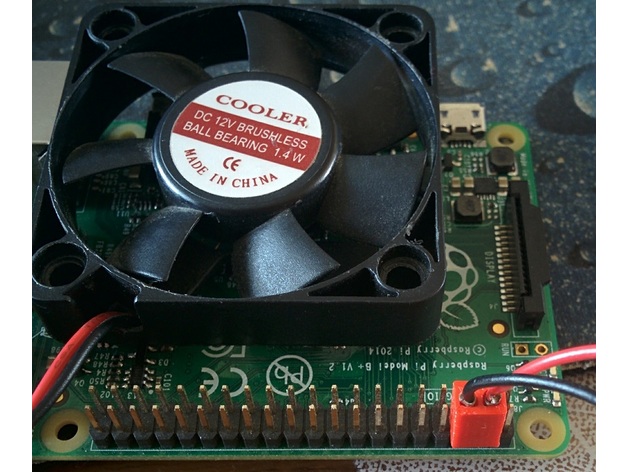
Un simple connecteur permettant d’utilisant un ventilateur classique de PC (après avoir retiré le connecteur en plastique d’origine).
Il est important de conserver les lames ressort en état pour un contact efficace.
Les ventilateurs 12v tournent moins vite en 5v mais cela est largement suffisant pour le raspberry pi. -
SnowBall (overwatch) 3D Print Model
Summary
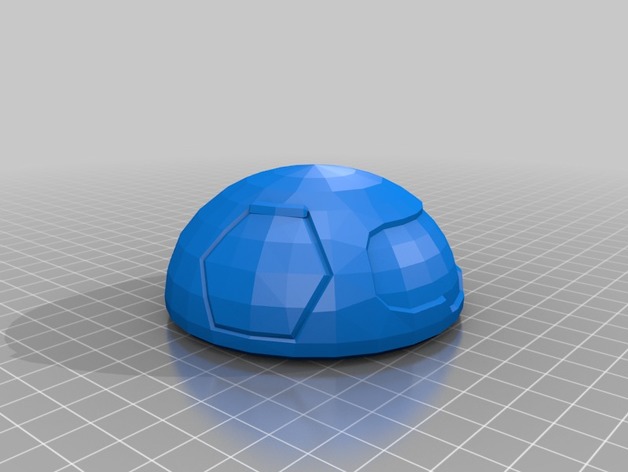
i took this model and made it 6 inches tall and 7 inches wide and i had to support it differently i cut it and gave it pegs and a rotating head.
Print Settings
Rafts:
Yes Supports:
Yes Resolution:
fine Infill:
13 -
hypercube XY_Joiner remix (wider place for bearings) 3D Print Model
Summary
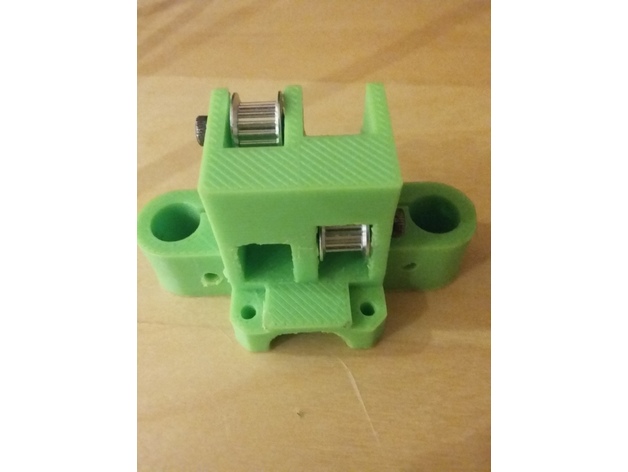
This is my modified version of the XY joiner in the hypercube 3d printer. The width of where you would usually put 2 flange bearings is slightly wider to accommodate toothed pulleys with an outer width of 8.6mm. see pictures for details.
Please note that the clamp peice needs to be from this page. the clamp from tech2c’s hypercube will not line up with the screws of this XY Joiner. -
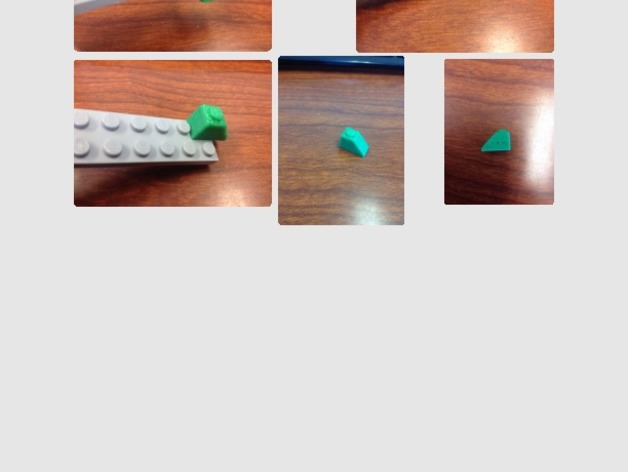
Lego Design 3D Print Model
Summary
My 3D print lego’s top part can fit with other legos very well, but it is hard to to fit with others in the below part. -
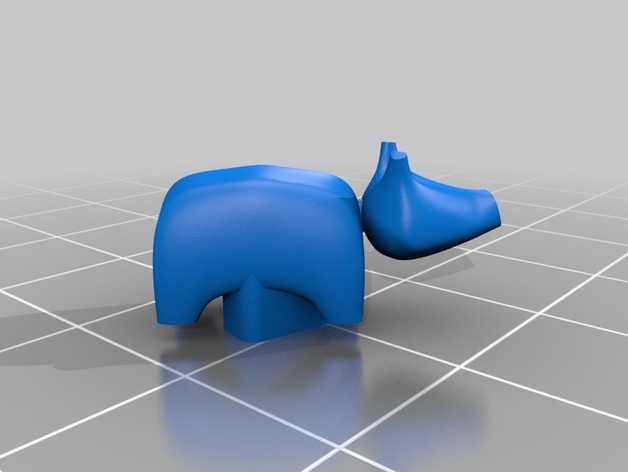
Akabeko, Japanese traditional toy 3D Print Model
Summary
“Akabeko” is a Japanese traditional toy that means ‘Red Bull’.
This model is fingertip-sized.
The scale is about 1/18.
Print Settings
Printer Brand:
Ultimaker Printer:
Ultimaker 2 Rafts:
Yes Supports:
Yes -
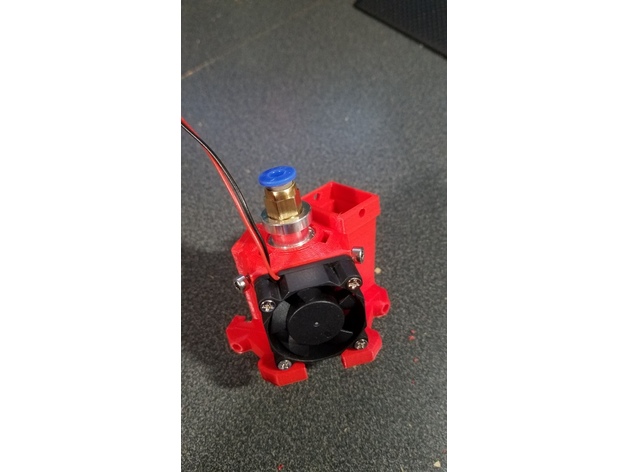
Delta Effector 3D Print Model
Summary
This is a delta effector that I have created based on some ideas from other effectors that I have seen here on thingiverse. Still some addons to come. Enjoy!
Print Settings
Printer Brand:
Prusa Printer:
Prusa Clone Rafts:
No Supports:
Yes Resolution:
.16 Infill:
100 -
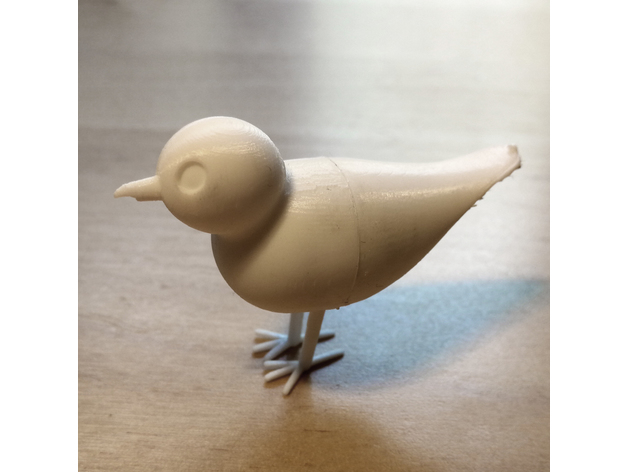
Baxter the bird 3D Print Model
Summary
A simple model of a bird I made in Solidworks. I thought it looked quite nice, so I named it Baxter;)
I printed the model in 4 parts (front, back and two legs) and glued them together with some super glue, working quite well in my opinion. Make sure to print the top parts of the model (beak and tail) very slow. I also included the entire model as on and the Solidworks file.
Enjoy printing! -
Simple Arduino based clock 3D Print Model
Summary
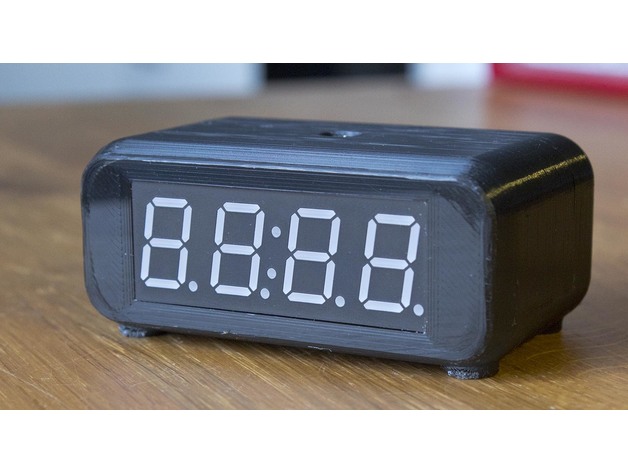
This is a simple clock based on an Arduino Nano, an RTC module and a serial 7 segment LED display module. It has a fast and easy to use user interface with four buttons to set the time on the back side. The case is 3D printed in two halves that are screwed together with two M3 screws.
Only the STL-files for the case is available here on Thingiverse, schematic and Arduino code is available on my website here: http://axelsdiy.brinkeby.se/?page_id=1485 -
Phone holder 3D Print Model
Summary
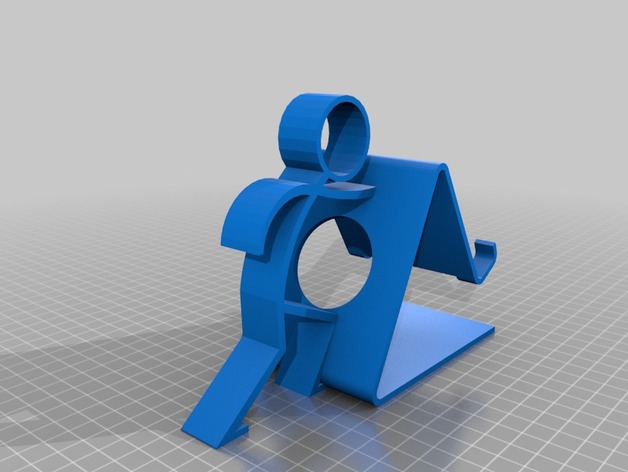
Phone or tablet holder
Print Settings
Printer:
ANET A8 Rafts:
Yes Supports:
Yes Infill:
20-30% Notes:
Print on its side using supports – it’ll print much quicker than standing up and will not require as many supports
How I Designed This
Designed using SketchUp 2017 Maker for Mac -
Planetary Union Security Badge 3D Print Model
Summary
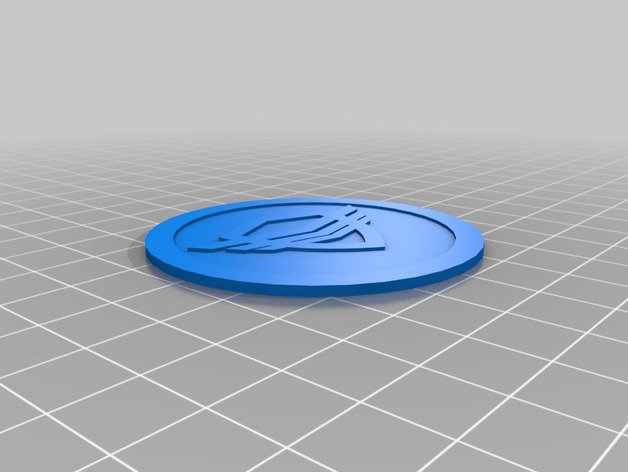
Planetary Union Security Team badge as worn by Lt. Alara Kitan. -
MGN12 Guide Tool for 2040 Extrusion 3D Print Model
Summary
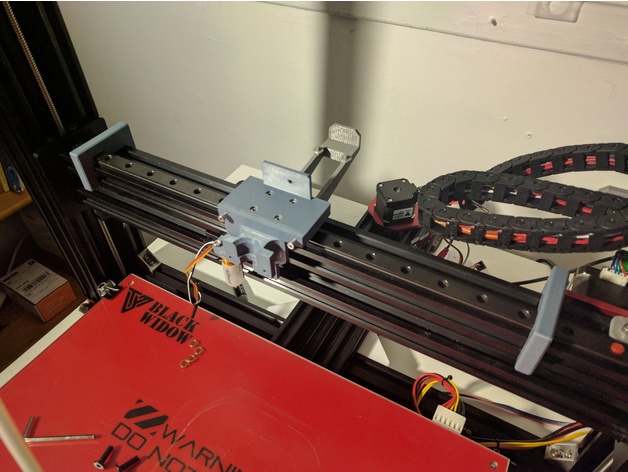
This is an Alignment tool that will place your MGN12 rail over a 2040 extrusion aligned, ready to be bolted down.
Use 2-3 of these to line up your rail.
Print Settings
Printer:
TEVO Black Widow Rafts:
No Supports:
No Resolution:
0.2 Infill:
10-20% Notes:
Settings don’t really matter as long as your printer produces good dimensional accuracy. -
Sticky Pad Holder 3D Print Model
Summary
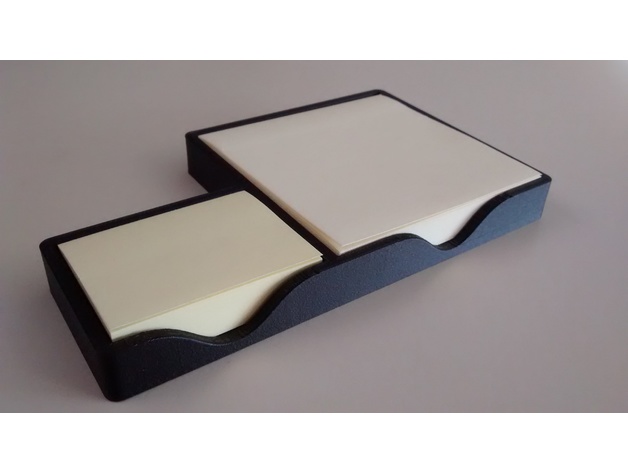
This simple sticky pad holder was born out of necessity. I use a lot of sticky pads at work for marking up paperwork, flagging key pages in giant binders, writing down the day’s tasks, etc. I wanted a one-handed sticky note solution for both sizes of sticky notes that my office stocks, so I took a lunch break and designed one.
This fits two sizes of sticky notes: The standard 3″ x 3″ sticky note, and the slightly less common 1.5″ x 2″ sticky note. I over-sized the compartments by .050″ in each direction (e.g. 3.050″ x 3.050″ and 1.550″ x 2.050″) to accommodate for tolerances in the sticky note manufacturing process. I tested several different pads of both sizes, and they all seemed to fit pretty well.
I printed this on a Markforged Eiger Onyx One with 4 floor/ceiling layers, 2 wall layers, and 50% triangular infill. The filament I used was Onyx chopped carbon fiber filament.
Possible design improvements include:
Adding a recessed square on the bottom for a piece of double-sided tape
Slightly larger and/or lower cut-outs in the front for easier access
Thinner floor/walls for a faster print time
Increasing the height to stack multiple sticky pads
Happy printing! -
Rotary Axis For Diode Laser 3D Print Model
Summary
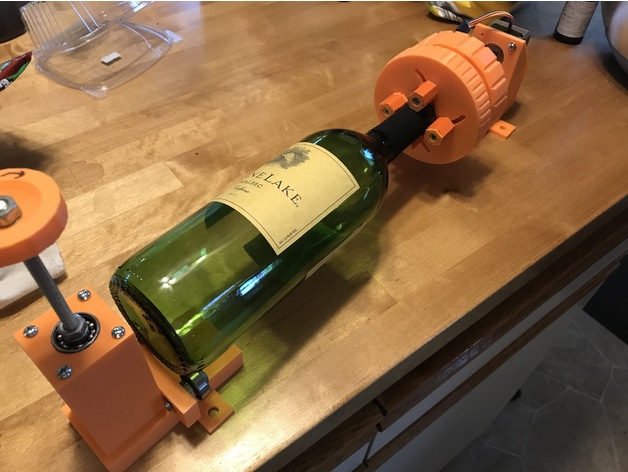
After looking all over for a rotary axis for my diode laser, I tried a few here on thingiverse, but none worked well for me. As I am not working on anything huge and do not need much torque, I decided to design my own direct drive Rotary Axis.
I cannot take all of the credit. Thanks to hexitex for his awesome 3d printable longworth chuck: https://www.thingiverse.com/thing:5791, I was able to make my design work.
While this did start out as a project just for myself, during the build process, I collaborated with nottingham82 on this project. Many thanks to him. Him an I both found different ways to improve the design, thus making a much better setup.
He called his a remix of my design, but mine is also a remix of his. Outside of the core base design, we each designed our rotary axis independently.https://www.thingiverse.com/thing:2561227
Outside of the 3d printed parts, you will need the following:
1/4-20 threaded rod
1/4-20 nuts (around 6)
6/32 bolts for chuck
8/32 bolts for support top
M3 nuts and bolts for coupler
NEMA17 motor
608 bearings (5x)
Here are some videos of the rotary axis at work (please let me know if they don’t work, They were still loading when I posted this):
First Test: https://youtu.be/4F4NecvExnU
First Laser Test: https://youtu.be/H4r3i-HPrOo
Wine Bottle: https://youtu.be/QvoQ9ZGuGgY
Print Settings
Printer:
Maker Select v2 Rafts:
Doesn’t Matter Supports:
Yes Resolution:
0.2 Infill:
40 -
Oloid Wobbler (rolling fidget desk toy) 3D Print Model
Summary
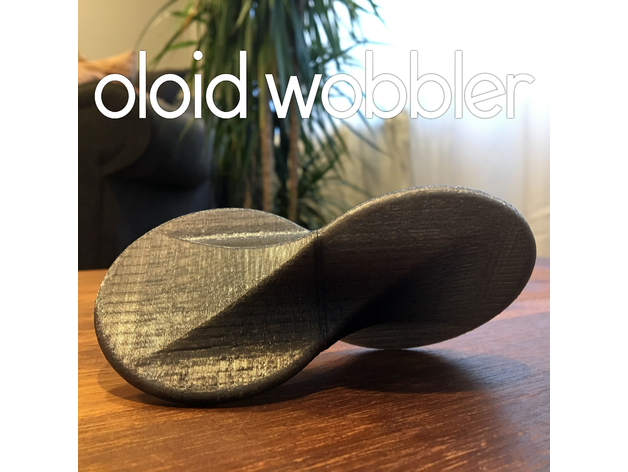
This is a oloid wobbler! iterating on my rolling ellipse design i came up with this easy to print more aesthetically pleasing 3 part design! print all 3 peices without support and screw them together! Enjoy! -
poohead 3D Print Model
Summary
someone i know who talks a lot of s***. Made a bust of them. the zbrush file is in there if you want to adjust it. -
Z Gauge 220 diorama Marklin 3D Print Model
Summary
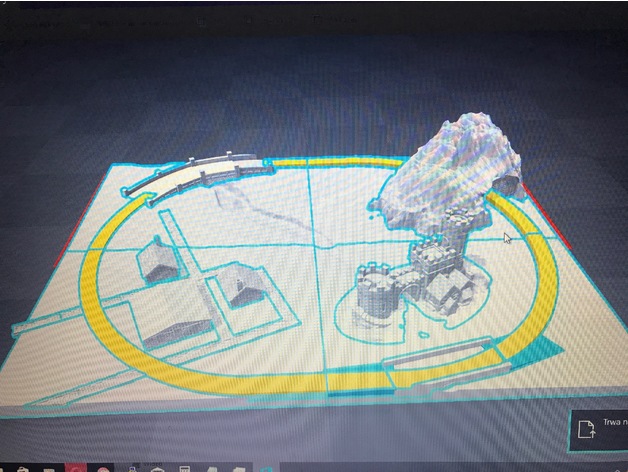
Layer: 0.1
Printer: Prusa I3
Split to 4 parts – total scaled to A3 format [ 29.7 x 42 ], -
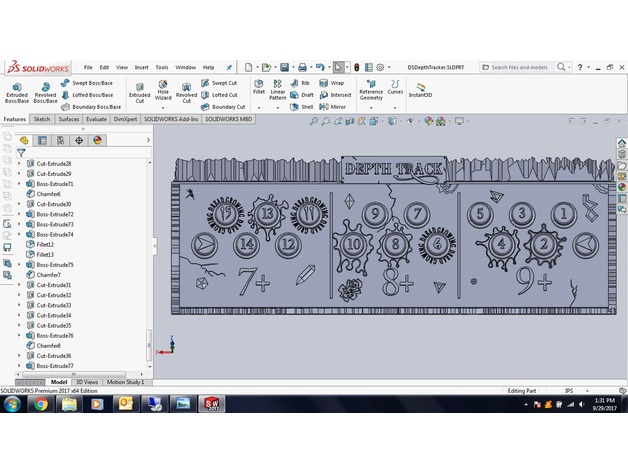
DS Depth Track 3D Print Model
Summary
My own custom 3D depth tracker for shadows of brimstone. DARK STONE DEPTH TRACKER -
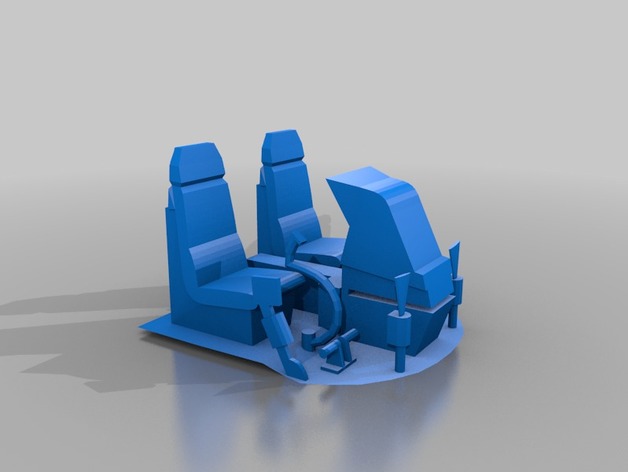
BO-105 cockpit E-flite 130X fuselage 3D Print Model
Summary
2 versions, default + fixed by makeprintable -
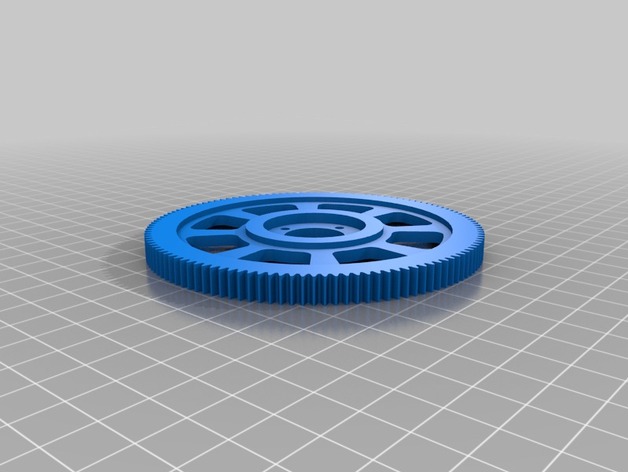
Hauptzahnrad Quickie EP10 3D Print Model
Summary
Hauptzahnrad Quickie EP10
Print Settings
Printer Brand:
Ultimaker Printer:
Ultimaker 2 Supports:
Yes Infill:
25 -
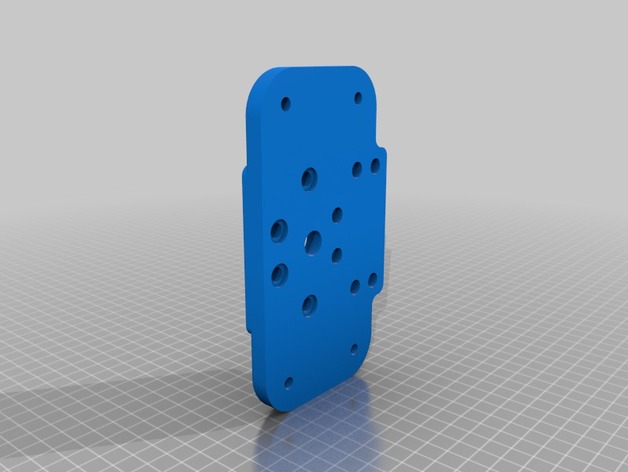
Various Upgrades TEVO Black Widow 3D Print Model
Summary
Here you can find some Upgrades for the TEVO Black Widow that i designed.
I also made some Remixes of other Peoples Upgrades for the Printer which i will add some time soon.
Please keep in mind that the parts are work in progress and may change, the things i already installed and know that they fit atleast my printer are the Corner Brackets bottom and the inner Corner Brackets. -
M27 5.56 chain link 3D Print Model
Summary
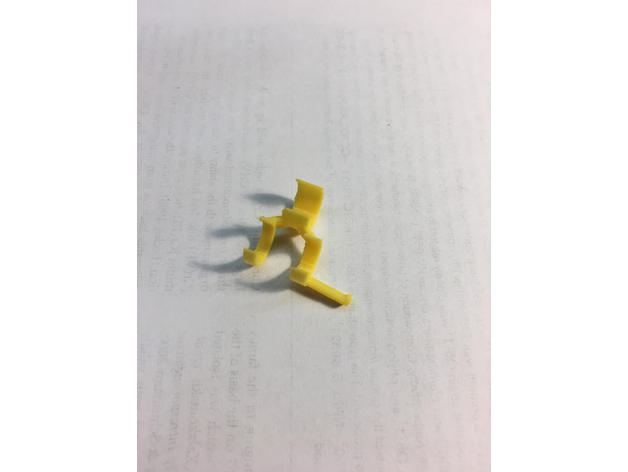
It not exactly the same as the M27 links but I tried my best to make it as similar as possible. -
Bluetooth Aux Case 3D Print Model
Summary
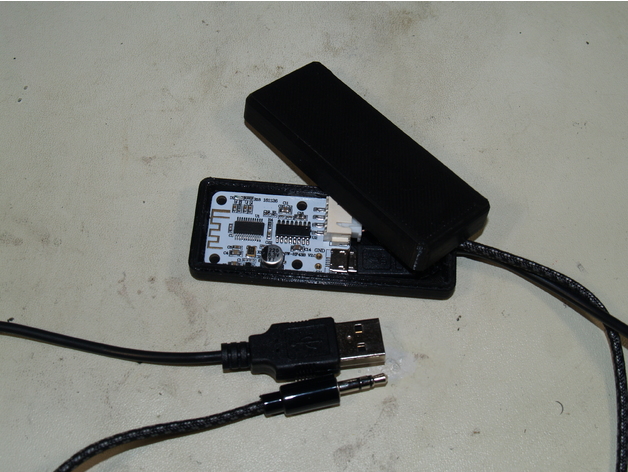
This is a thing that supports a youtube video on my channel: http://www.youtube.com/misperry. This is a case for a Bluetooth receiver that will convert a 3.5mm aux port to Bluetooth 4.0. This way you can stream your audio from your mobile device to any 3.5mm aux supporting device turning it into a Bluetooth speaker!!
Print Settings
Printer Brand:
Wanhao Printer:
Wanhao Duplicator i3 Plus Rafts:
No Supports:
No Resolution:
.15 Infill:
10% Notes:
Used brim for adhesion type.
How I Designed This
I designed this using inventor pro. I have the files for this located on a GitHub repository if you would like to alter them and use them for yourself.
https://github.com/misperry/Bluetooth-AuxBox -
Taranis Pistola: A pistol grip RC controller with a Taranis X7 inside! 3D Print Model
Summary
I got tired of super expensive commercial surface receivers for my RC cars. At the same time, they only offer typically 4 or less channels. That was all fine and good for the standard RC car, but crawling rigs and semi-trucks often have additional features that could benefit from having additional channels.
I love my Taranis for quads and other aircraft but I never quite got the hang of driving with sticks.
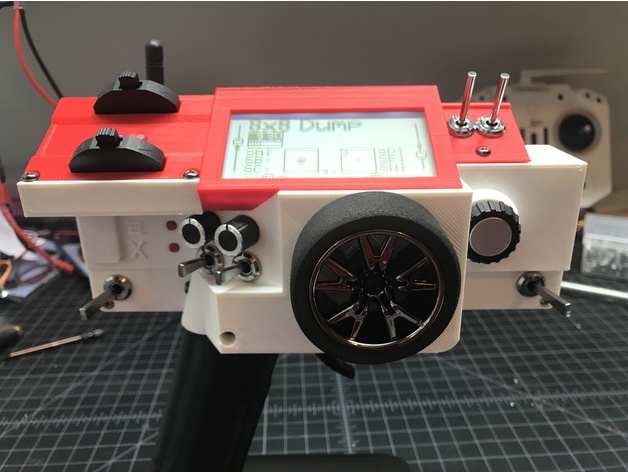
Soooo, I bought a new Taranis X7, tore it apart, printed a new shell, and I can now present the Taranis Pistola!
This allows for up to 8 normal channels of control, plus you can link receivers together to get 32 (I think, I’ve never done it). You also get all the flexbility of the Taranis ecosystem like OpenTX, which allows you to mix and twist the controller to do just about anything you need.
Receivers are typically less than $30, with some 8 channel receivers in the low $20’s.
As for the design, I used a wheel and trigger cluster from a standard Traxxas remote, mostly because they are available cheap (or free if you or a friend has an unused unit lying around). You need to clip a plug from the Taranis and solder it to the potentiometer leads from the Traxxas cluster. I made a design decision to omit the other two proportional controls (the right stick) and two of the trim rockers (although one is located on the back of the remote as you need it to enter USB mode). I used a standard LiFE battery that is commercially available for $10. All pcb’s are retained from the original radio. The antenna comes soldered directly to a pcb, so I desoldered and added a Ufl./IPX connector to the board (there are pads for this purpose) or you could order an SMA to bare wire and solder directly to the board. I didn’t want to re-use the stock antenna because I wanted some flexibility in antenna choice.
If you can solder (or learn) this is decently straightforward. I posted a lengthy PDF with instructions that should get you most of the way if not all the way there. Start to finish this is about $120 + filament, which is pretty cheap for an 8 channel surface radio, especially since one does not exist commercially!
Feedback is appreciated!
Print Settings
Printer:
Prusa i3 mk2 Resolution:
.2 Infill:
20 Notes:
I printed the front face up with support, some printers will need a raft. The back I printed backside down, no supports. The grip needs no supports, I printed it standing up. The top I printed at a weird angle, back down with supports. I should have all stl’s in the correct orientation for printing, but please double check. -
Lower Z axis mount (Ooznest Ox Style) 3D Print Model
Summary
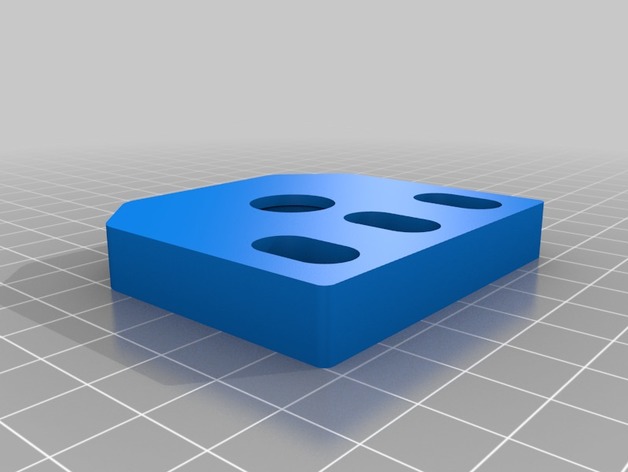
Solved an issue my OX Cnc was having where the bore was wearing down and allowing the bearing to slide through. added a small lip on the bottom edge to keep the bearing in place..
Print Settings
Printer:
Mp Select Mini V1 Rafts:
No Supports:
No Resolution:
0.2 Infill:
75% -
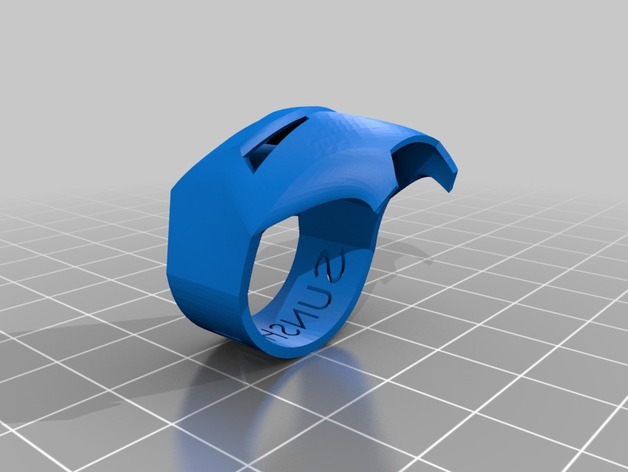
iron man ring custom 3D Print Model
Summary
use supports
two files one with my user name n other that has not been engraved just in case youd like to engrave your name
print it with abs and use the accetone method to make it look shinier it looks great
priting the ring upside down seems to be the way to go -
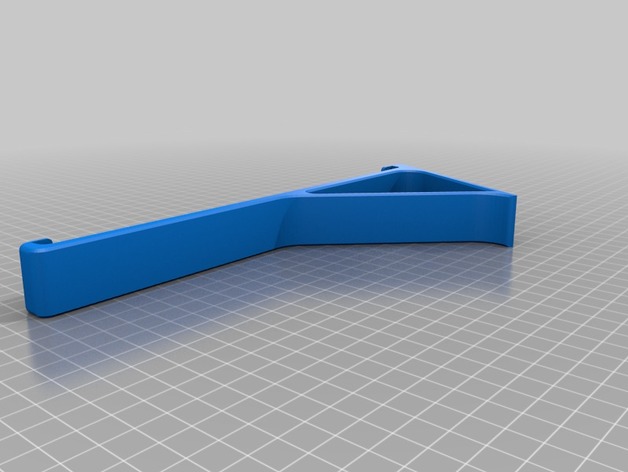
iPad Pro 12.9” stand 3D Print Model
Summary
Simple attachable stand for iPad Pro 12.9” (1st generation, 2015 model). Model is quite large and fits just to 210×210 print bed.
Print Settings
Printer:
Anycubic i3 Mega Rafts:
Yes Supports:
No Resolution:
0.2 Infill:
30% -
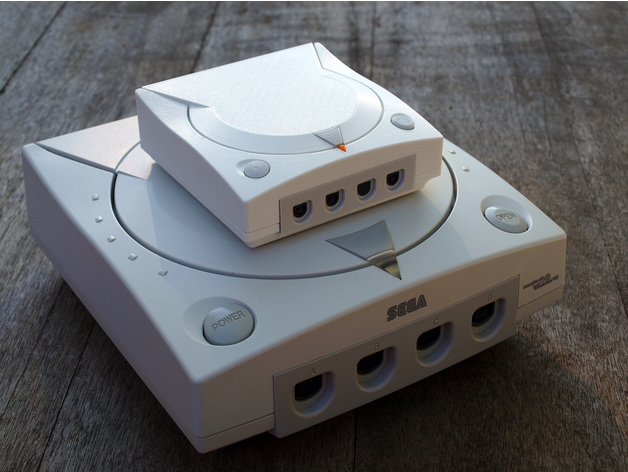
Mini Dreamcast 3D Print Model
Summary
This is a small Dreamcast measuring only 100mm x 100mm x 36mm. It’s super cute as a desk toy for your cubicle or looks adorable right next to your full sized Dreamcast in your game collection! I tried to make it detailed as possible and also accurate as possible to challenge how well I can model things, and I’m happy how it came out.
Print Settings
Printer Brand:
Prusa Printer:
Prusa Mk2 Rafts:
No Supports:
Yes Resolution:
.2mm to .1mm layers, a .3mm nozzle is prefered Infill:
10-15% rectlinear Notes:
Some parts are small and hard to print, so remember to go slow and have lots of cooling as well. The power light is extremely hard to print as well, so I’ve combined it with the lid detail so a bit of orange paint can be put on instead. -
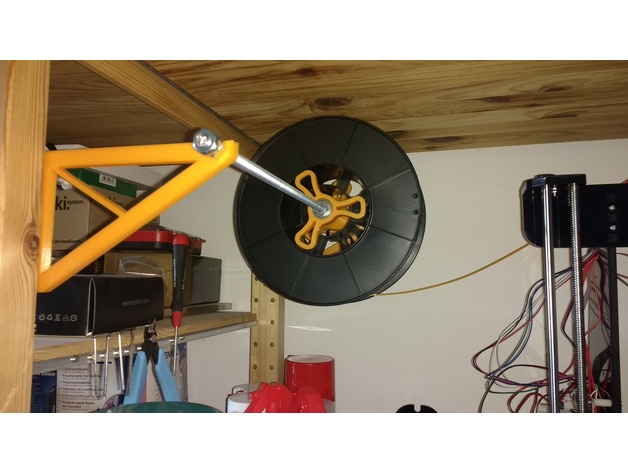
Ivar Spool carrier 3D Print Model
Summary
Since my printer is located in a 50cm deep IVAR i needed a special setup for the spool holder. Placing it next to the printer takes too much place.
So I created a very simple carrier to match in the drilled holes of the Ivar Ladder.
You need additionally a 480 mm threaded bar M8, nuts M8, and bolts M7x25mm to fix it to the Ivar rack..
The spool holder I took is https://www.thingiverse.com/thing:1521561.
You need it twice with a ball bearing 608ZZ
Print Settings
Printer:
Anet A8 Rafts:
No Supports:
No Resolution:
.2 Infill:
30% -
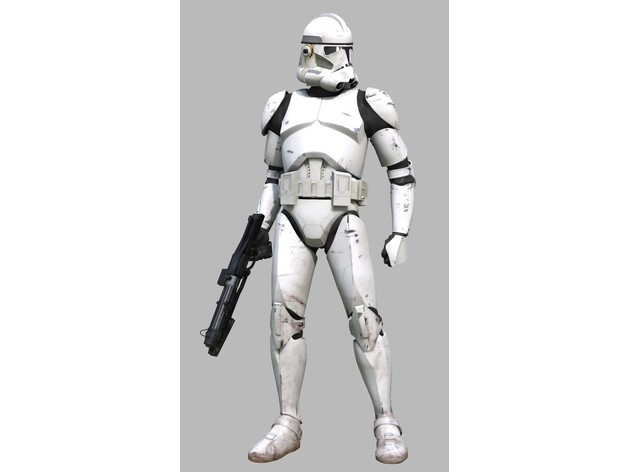
Phase 2 Clone Trooper Armour 3D Print Model
Summary
yes
Post-Printing
no
no
How I Designed This
no
noCustom Section
no
no
Custom Section
no
no -
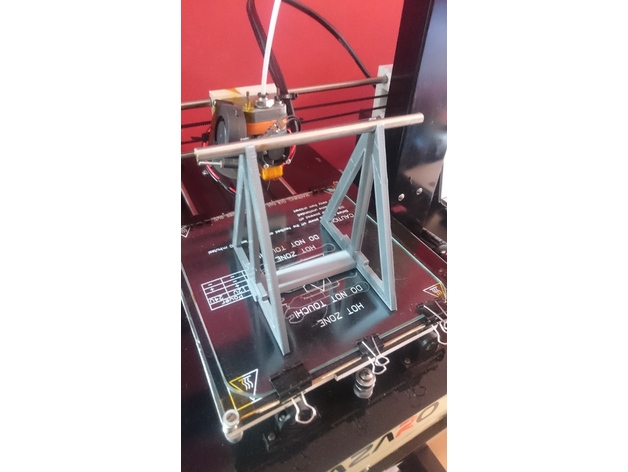
soporte carrete 3D Print Model
Summary
soporte de carrete, para colocar una varilla de 8mm de 120mm de largo. -
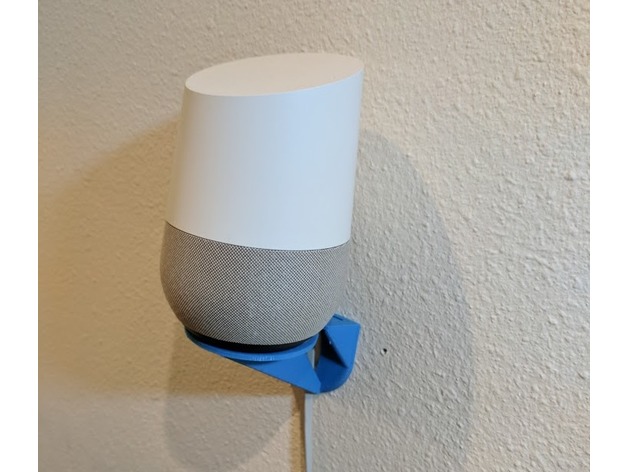
Clean and Sturdy Google Home/Alexa wall mount 3D Print Model
Summary
Sturdy wall mount for your new google home or amzon alexa. Prints in one piece. No support needed.
Print Settings
Printer:
Prusa i3 Rafts:
No Supports:
No Resolution:
.2 or .3 Infill:
60% Notes:
Prints quick and easy -
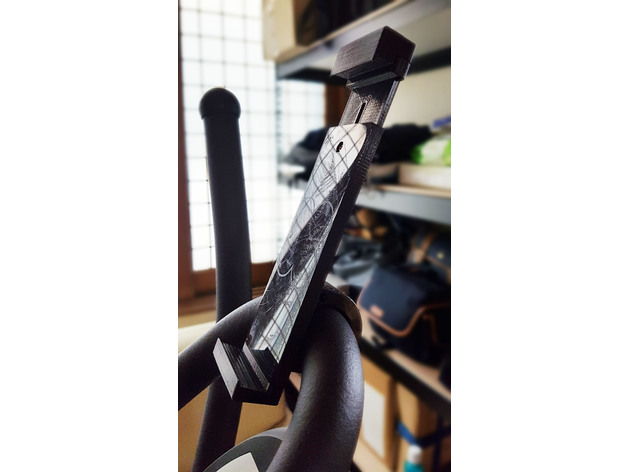
ipad pro holder for bike trainer 3D Print Model
Summary
I had merged two things for my use.
Adjustable tablet holder for DJI Mavic PRO by smsagenthttps://www.thingiverse.com/thing:2020007
Tablet holder for cross trainer by MS_Engineeringhttps://www.thingiverse.com/thing:2233506Requirements
M3x25 Screws and Screw-nuts x 2 set
M3x18 Screws x 4pcs
M4x12mm HEX-head screw and Screw-nut x 1 set
You might need to make holes a little bit bigger to assemble. -
Asrock C2750D4I 60mm Fan CPU Shroud 3D Print Model
Summary
This friction-mount shroud allows a standard 60mm fan to be mounted to the passive heatsink on Asrock C2750D4I avoton motherboard to increase cooling for cases with limited airflow.
Print Settings
Printer Brand:
Wanhao Printer:
Wanhao Duplicator i3 Plus Rafts:
No Supports:
No Resolution:
.2mm Infill:
20% Notes:
Print in PETG, ABS, or other polymer with glass transition temperature >70˚C to avoid deformation under thermal load. -
BB loader – Daisy Powerline 35 3D Print Model
Summary
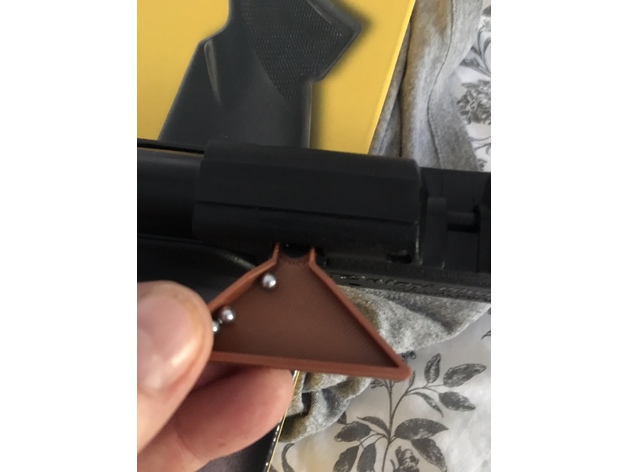
The Daisy Powerline 35 (625 feet/sec) is an awesome pump pellet/BB gun. Very accurate. The bb hatch is small and its easy to spill over. Simple loader that works great. I printed at 0.2 on my Prusa Mk2s in red copper PLA.
Print Settings
Printer Brand:
Prusa Printer:
i3 MK2S Rafts:
No Supports:
No Resolution:
0.2 Infill:
N/a Notes:
3 – 4 shell -
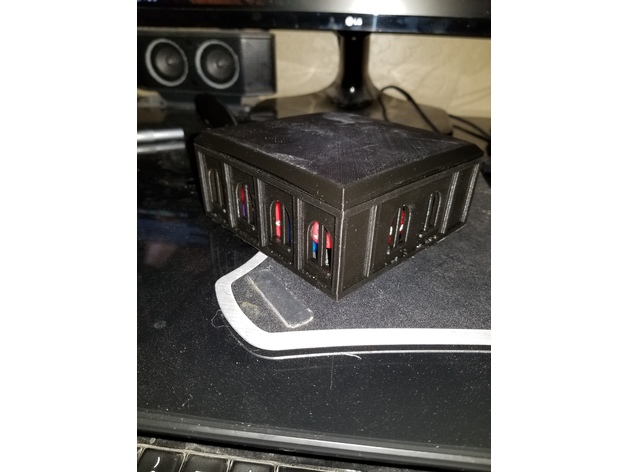
Table Top dice Box Lid by hacxx101 modified 3D Print Model
Summary
Modified lid, slightly reduced the size of the interior of the lid, so the fit is snug, not brutally tight.
Changed the shape of the lip so its possible to remove the lid when its on the box.
Print Settings
Printer:
MonoPrice Select Mini V2 Rafts:
No Supports:
No Resolution:
0.175mm Infill:
20% -
Quanum HB5808 Fatshark Dominator Doors (Trinity compatible) 3D Print Model
Summary
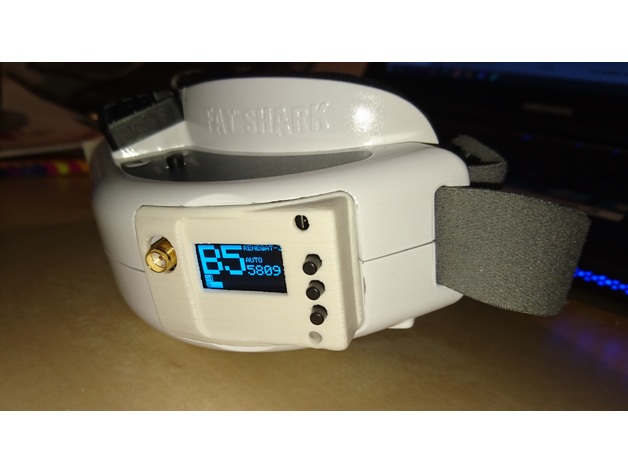
Remixed from LaForge V2 Fatshark Doors by musicsurf, to fit the Quanum hb5808 diversity.
Make shure to check the pictures for printing orientation.
The snapping hooks are modified, as the original design would not fit my goggles to well (at least with my printer). You will definatly have to trim them with a knife to make them fit (expecially the inner ones of the right door), as they are intenionally to large, in order to acomplish a good fit after trimming.
Loosening the screws on the bottom for the goggles will make installing the doors much easyer and prevent the hooks from breaking.
To controll the module, I dismantled some long tactile pushbuttons and very carefully(!!!!!) gued the pins to the module buttons with some CA glue. (read the disclaimer before you do this!)
The additional hole in the right door can be threaded for a m3 bolt to create an optional mountingpoint for antennas.
I used some double-sided foamtape to mount the right module into the door.
disclaimer:
You do this modification at your own risk. I won’t be held responsible for
what I have written here. This is what I did and it worked for me but, it
may not work for you.
Print Settings
Printer:
Turnigy Fabrikator Rafts:
Yes Supports:
Yes Resolution:
0.1 -
Ultra low fpv cam pan system – ULCMS 3D Print Model
Summary
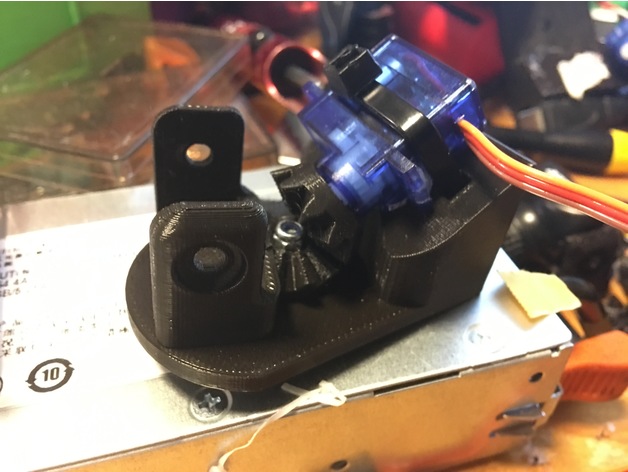
I wanted to get my new FPV wing pan control to fpv camera. There was no ultralow versions available. But now there is!
Behold of mighty, most awesome ULCMS!
Attach 9g servo to baseplate with 2-sided tape and secure it with ziptie. Use 3mm screw to attach camera plate to baseplate, do not over tight!
Print Settings
Printer Brand:
Prusa Printer:
Prusa Mk2 Rafts:
No Supports:
Yes Resolution:
0.2 Infill:
25%
Post-Printing
Servo gear might have very tight fit, so ream unnessary away. -
fun Snap Cubes 3D Print Model
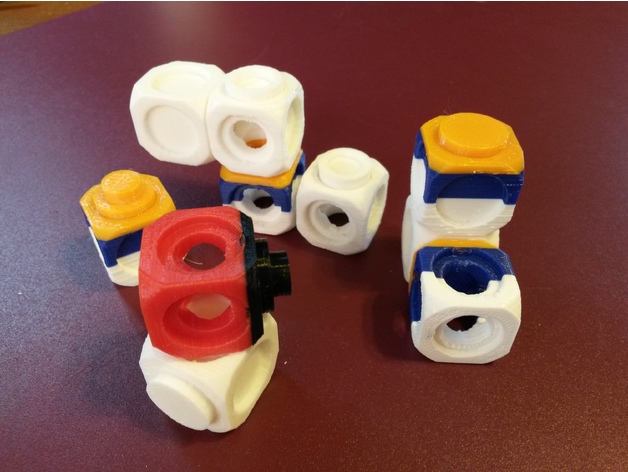
Summary
I saw they are selling those snap cubes online for quite a bit of money so I made a few versions of those. The multi-color ones were made from cutting the filament in the middle of the print to generate the filament out condition and let the system pause for me to change filament.
Refer to Filament Out Sensor thingi https://www.thingiverse.com/thing:2533511 if you are interested in installing one.
Print settings includes 60mms speed, 30% infill, with support generation. Extruder heat 200deg, hotbed at 50deg. -
Tronxy X3 Belt Idler 3D Print Model
Summary
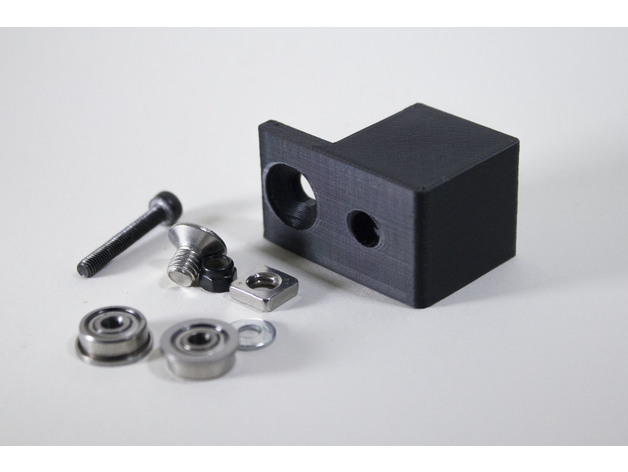
Replacement X and Y axis belt idlers for the Tronxy X3.
Needs:
-1 M5x8 flat head screw
-1 M5 square or T-nut
-1 M3x20 hex socket screw and nut (nylock)
-1 M3 washer
-2 F623ZZ bearings – banggood° – Gearbest°
Tronxy X3° from GearBest°
12% off coupon from geabest : GBTE
Part of my Tronxy X3 upgrades collection
° affiliate -
Full Size Darth Vader Helmet from Star Wars 3D Print Model
Summary
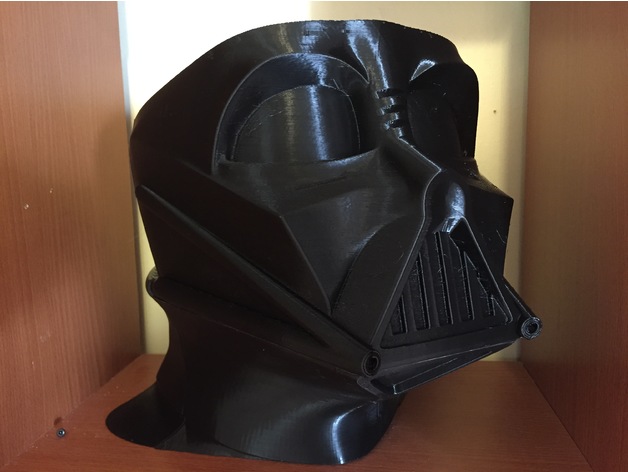
I’ve had my eye on Hybryda’s excellent Darth Vader bust and I decided once I got my CR-10 to print it full size. Then I thought, I wonder if I can hollow it out? So I did.
I’ve broken it up into pieces, you’ll see the mask is in one piece, but I’ve also cut the chin off to make it easier to print the mask and chin separately. There are 2 options for the back of the mask, the full back of the head and just the lower half. Since the back is covered in the helmet done, you can decide which you want to use.
The helmet dome itself are broken up into four pieces for the flared section and the top of the dome is a single piece.
I still need to remodel the mask tusks, I will post them when they are ready. I have left the gaps in the mask and chin vents in place o make it easier to print, just cut them out with a Dremel and back with some diamond shaped grill to finish the look.
I have printed all the pieces (currently printing the top of the dome, its going to take a while). They all printed well, I still need to play around with the settings on my CR-10, but its done a pretty good job, but will need a lot of sanding and filling.
I will post more photos over the next couple of weeks and I get more done on it.
Thanks again Hybryda for the amazing model.
Print Settings
Printer:
CR-10 Rafts:
Doesn’t Matter Supports:
Yes Resolution:
0.2-0.3 Infill:
5-15% Notes:
Printed in eSun black PLA -
Remix of efpi’s Headphone Monitor Hanger 3D Print Model
Summary
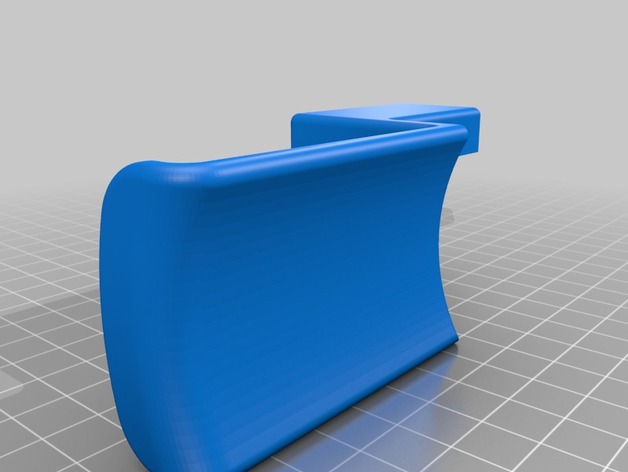
I loved efpi’s original design. I remodeled it with a longer extension to hold my Tenqa REMXD Wireless Bluetooth Headphones so they hang straight down, away from the monitor. I also gave the hanger a curved surface. I then created a mirrored design for my second monitor to hold my hands-free telephone headset. The second monitor is not the same brand, so I adjusted the clip slightly. I kept the headphone rest portion the same, in case I want to swap them.
Unfortunately, photography is not allowed inside the office, otherwise I would post a photo of hangers in action.
On Monday, I’ll check the model numbers of the monitors and post.
How I Designed This
Pro/ENGINEER Wildfire 4.0 -
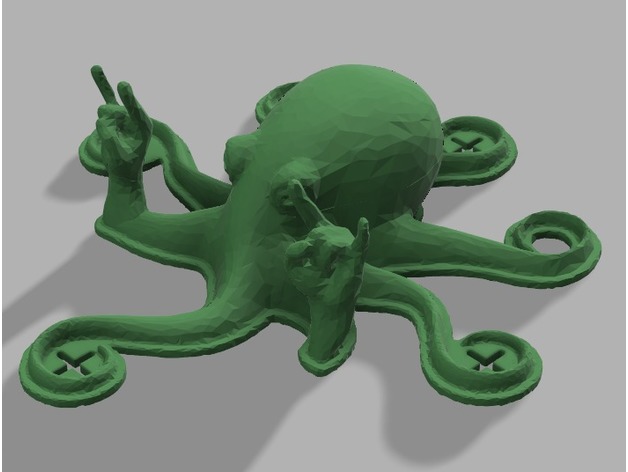
Rocktopus Octoquad 3D Print Model
Summary
Watched the vlog and saw how they cut and hollowed it out post printing and taped the head back on and figured I could tidy that process up a bit.
I added holes in the bottom for wire routing (not pictured) and redesigned the motor mounting to hold different sized motors. The screw slots have a maximum spread of 23mm center to center and will fit M3 screws.
The inner cavity is 83mm wide at the thinnest point so there shouldn’t be any FC placement issues either.
Overall it’s a bit bigger than the original. When I imported the stl and did the mesh conversion the size got blown up to a few hundred percent so I scaled it down and it’s not perfect but the motor measurements are sound.
How I Designed This
Fusion360
I imported the stl and used mesh to body conversion. Before I did that though I had to lower the poly count which is why it’s a little blockier.
I split the body and unfortunately the shell tool wouldn’t work so I had to carve it out manually.
I then added the clips to hold the head on. -
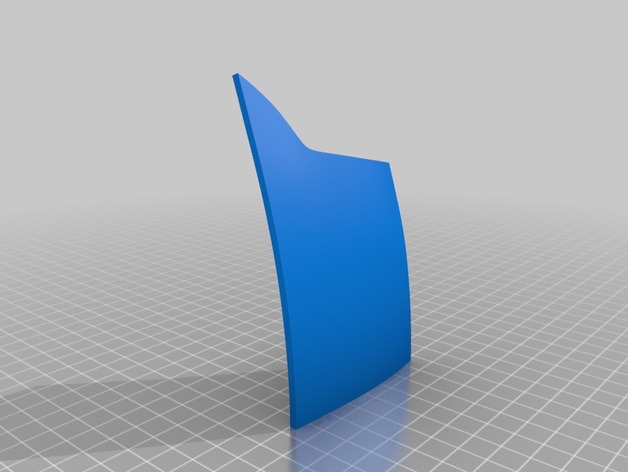
Red Hood Helmet (Batman) smaller pieces 3D Print Model
Summary
This is a remix of the original mask from Killonious.https://www.thingiverse.com/thing:2396250
Someone asked me to cut the original mask into smaller pieces.
It can be printed with a small 3D printer like the MP Select Mini that has a printing area of only 110x110x110mm.
I have cut the pieces with Maya 2016, the orientation may not be correct so check well before printing.
A couple of pieces are longer than 110mm so you need to rotate them to fit the print area and maybe they need the support.
For assembly refer to the images of the original version.
The splitted parts are renamed with letters A and B.
For example, if the original piece was Part_7_v2, the splitted pieces are Part_7A_v2 and Part_7B_v2.
I did’t print the mask but there shouldn’t be errors.
If you find any issue leave a comment. -
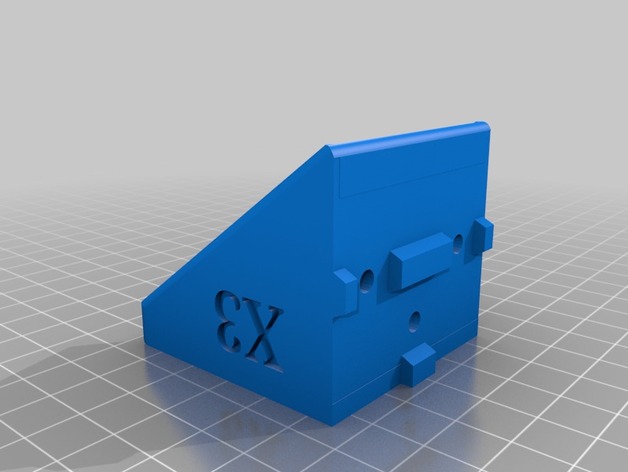
nema 17 2020 mount 3D Print Model
Summary
ok so here is yet another Z motor mount. I designed this one to place the motor a little lower in the frame and to keep all amount of extra printing inside the bed movement area as little as possible, and seeing as how I like everything lined up perfect I added the alignment bumps. No supports will be needed for this print. -
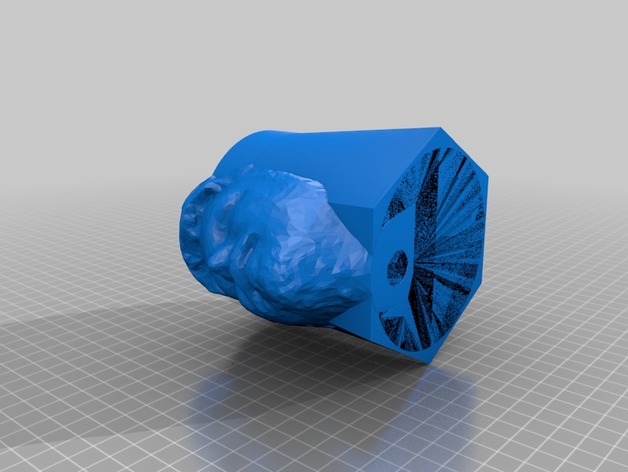
Nate’s Head as a Cup 3D Print Model
Summary
I had my head scanned at Makerbot in NYC years ago. I decided to model it onto the side of a cup. I suggest using it as a pencil holder. -
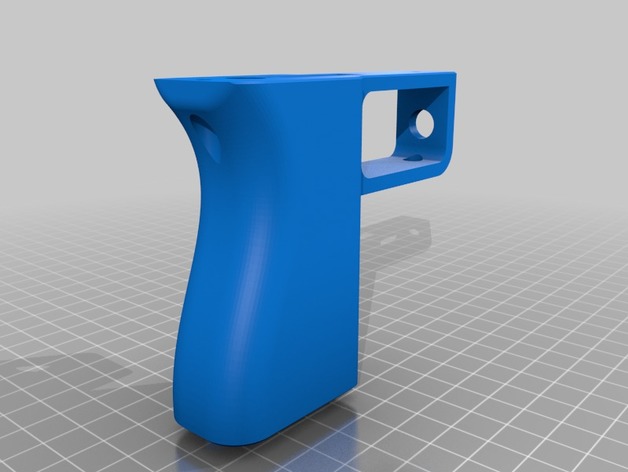
Alcohol Gun look like MAC 10 3D Print Model
Summary
This is the first mini alcohol gun which I made, the design looks like Mac 10
The gun can shoot continously by suppling the air (oxygen) through the pump
The parts (cover, mainbody and handle) was printed by Delta 3D Printer with PLA
More the details, please see the video
https://www.youtube.com/watch?v=k4Er3hqGqPQ -
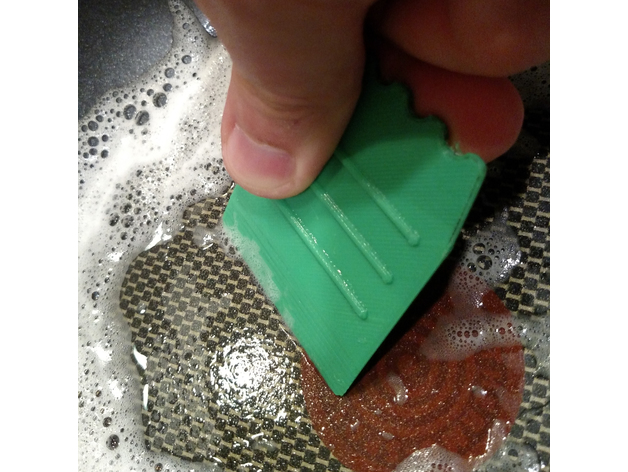
Pot Scraper 3D Print Model
Summary
I love cooking, but scraping pots is hard. Use this tool to scrape off the gunk from you pots, pans, stoneware, cast iron, and more! Roughly 2×2″ square; one end is tapered to a blunt edge, while the other is ridged for use on grills or panini presses.
Wait for your item to cool before using. PLA melts at relatively low temps.
Enjoy!
Print Settings
Printer Brand:
FlashForge Printer:
Creator Pro Rafts:
Doesn’t Matter Supports:
No Resolution:
0.2 mm Infill:
100% -
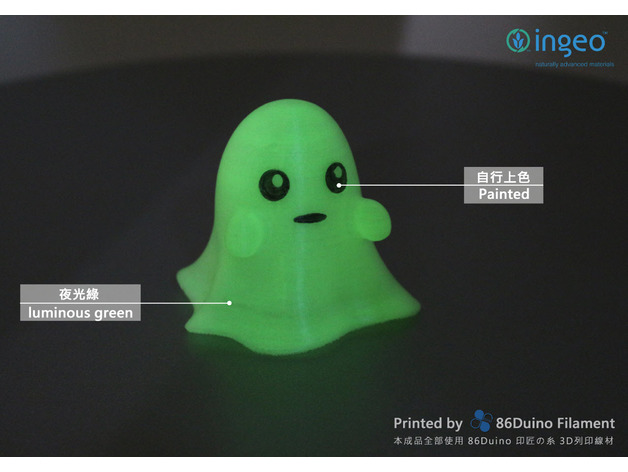
86Ghost 3D Print Model
Summary
For more printing object please visit 86Duino facebook and give us a “like” and thanks for the tips…https://www.facebook.com/86duino
喜歡圖檔的好朋友請記得到 86Duino Filament 3D 列印 / 耗材 – 不正經研究中心 粉絲團給我們按讚哦 https://www.facebook.com/86duino -
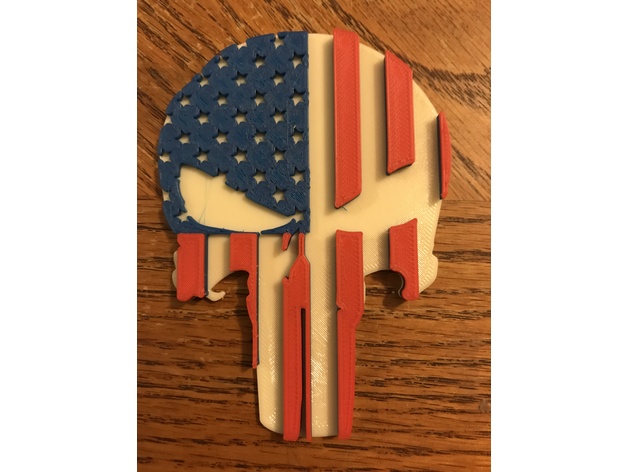
Punisher 3 Layer Plaque 3D Print Model
Summary
This is a recreation of the Punisher plaque. You can print 3 colors and no painting required. just as shown in the picture -
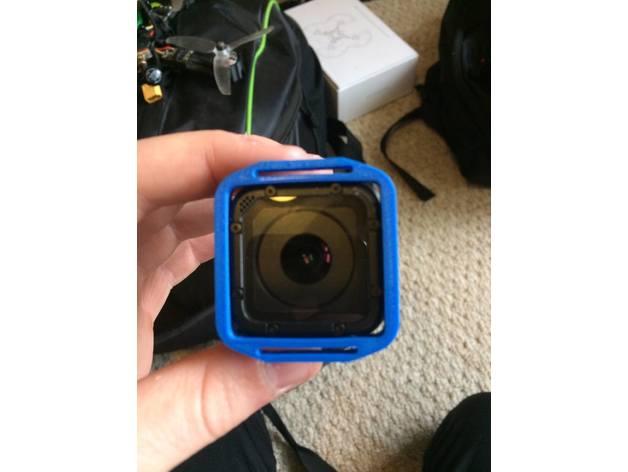
GoPro Session Strap Plate 3D Print Model
Summary
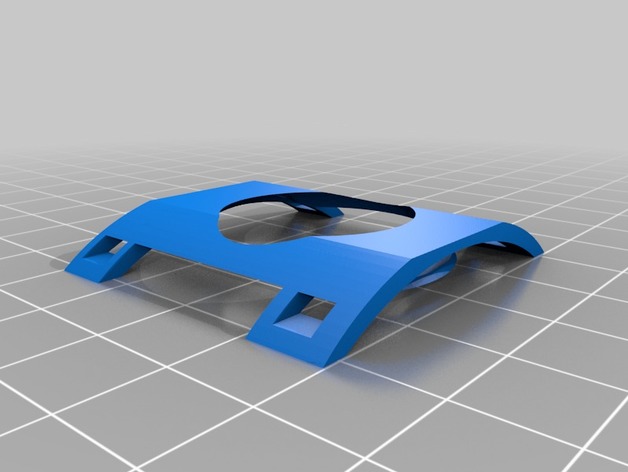
This is a little GoPro Session mounting plate I threw together for a friend.
He has the Session 5 but it might work for other Sessions.
It is designed to have a battery strap pass through the slots and secure it to the frame of a quadcopter (drone). -
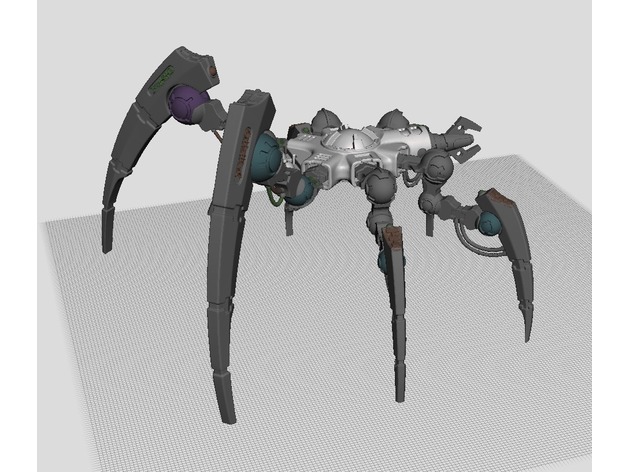
Necron triarch stalker proxy (28mm) (WIP) 3D Print Model
Summary
Hi !
I am trying to make this beauty printable for 28mm scale.
keep connected for updates (very soon)
The printing has began, for now it looks OK
as this is a WIP, there might be still some mesh issues, be careful
Note : I am not the designer of the model (designed by Christian Groß), I just slice it in printable parts, correct many meshes errors, and add/modify details, scale…
Copyright infringement is not intended. All parts are created freehand in 3d modeling software, no copyrighted product had been scanned or copied in any way. -
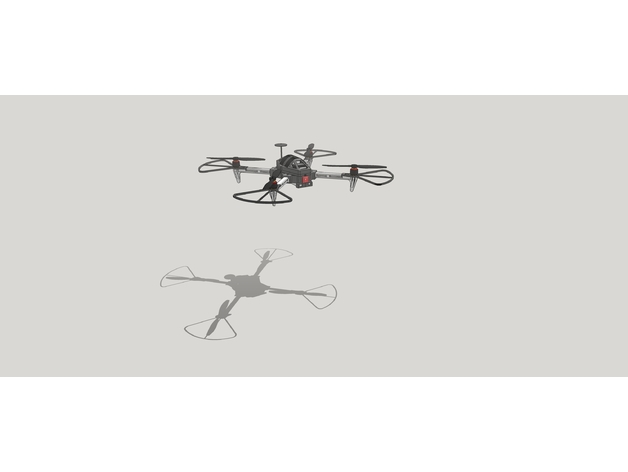
3D Pinted Drone (450) 3D Print Model
Summary
3D printed quadcopter
Size: 450
Motor: 4x DJI 2212 920 Kv
Flight Controller: Naza M Lite (upgraded to V2) -
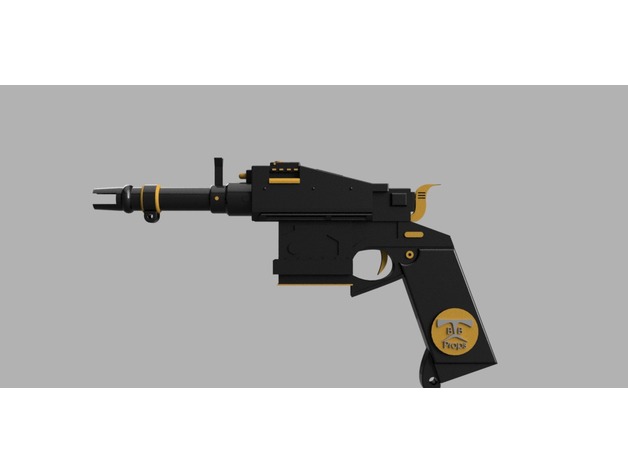
Destiny 2 – Sturm Exotic Hand Cannon 3D Print Model
Summary
These ancient ceremonial pistols can be dated back to the early Golden Age. A faded inscription reads, “To Sigrun, from Victor”.
The Exotic Hand Cannon from Destiny 2
If you would like a finished piece I’d be happy to make one for you. You can also download different versions of this weapon at: https://www.etsy.com/shop/BigBabyProps?ref=seller-platform-mcnav -
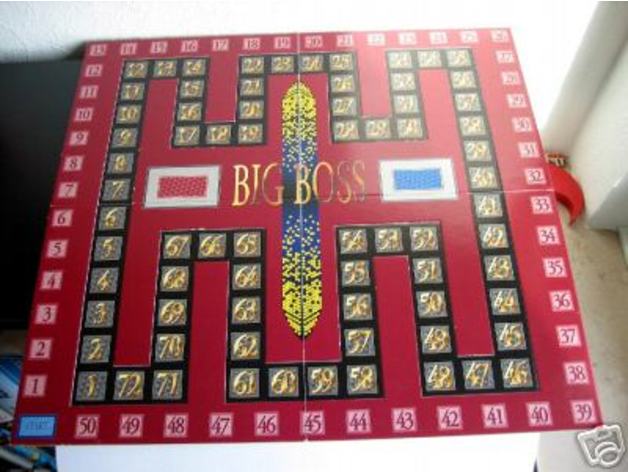
Big Boss Board Game 3D Print Model
Summary
Big Boss is a game of founding companies, expanding existing companies, taking over smaller companies and share buying.
This game has been out of print for some years and I thought it should be shared with every body. I have included the rules.
This is my first attempt at producing a 3d project and please note I have not printed it yet as this is a large print and I do not have a heated bed. -
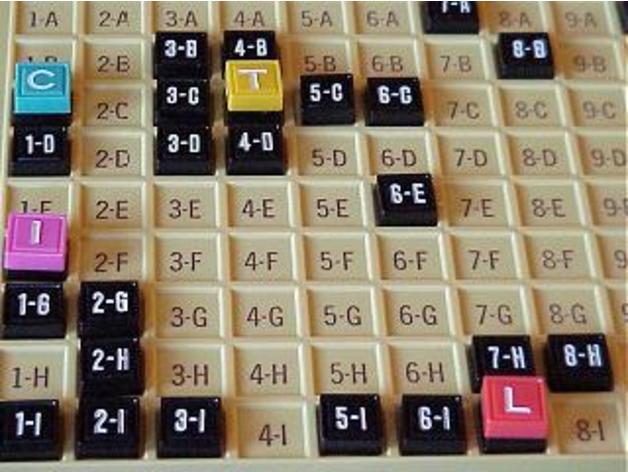
Acquire Board Game 3D Print Model
Summary
A Sid Sackson classic Game.
In Acquire, each player strategically invests in businesses, trying to retain a majority of stock. As the businesses grow with tile placements, they also start merging, giving the majority stockholders of the acquired business sizable bonuses, which can then be used to reinvest into other chains. All of the investors in the acquired company can then cash in their stocks for current value or trade them 2-for-1 for shares of the newer, larger business.
I have created a 4 part Board and all pieces and hotels -
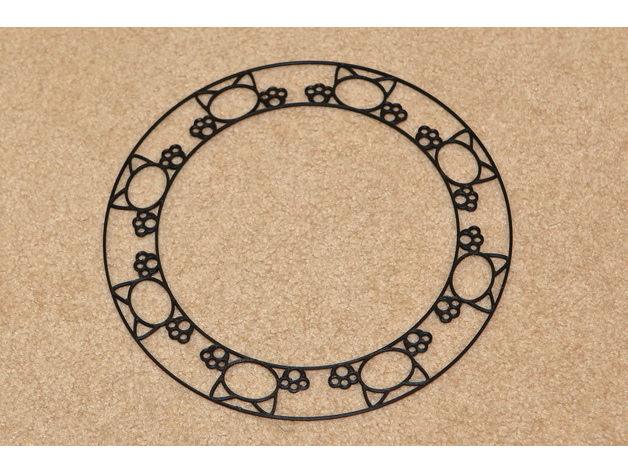
Cat Summoning Circle 3D Print Model
Summary
The Cat Summoning Circle (Cats are not included)
Print Settings
Printer:
Creality CR-10 Rafts:
Doesn’t Matter Supports:
Doesn’t Matter
How I Designed This -
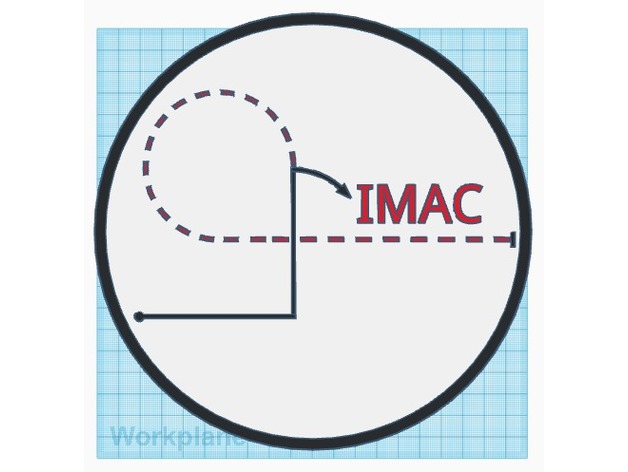
IMAC sunscreen 3D Print Model
Summary
Sunscreen for RC pilots. Velcro onto photostand or a pole of some sort, and place yourself so the sun is blocked by the screen apox. 1.5 meter from the pole. Fly safe. -
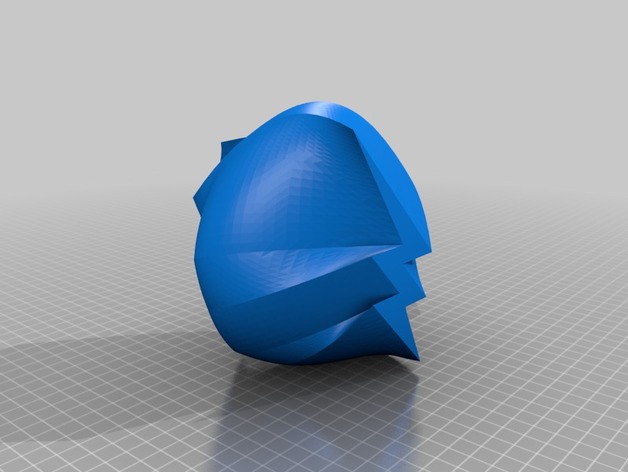
Flash and Arrow, lofted vase 3D Print Model
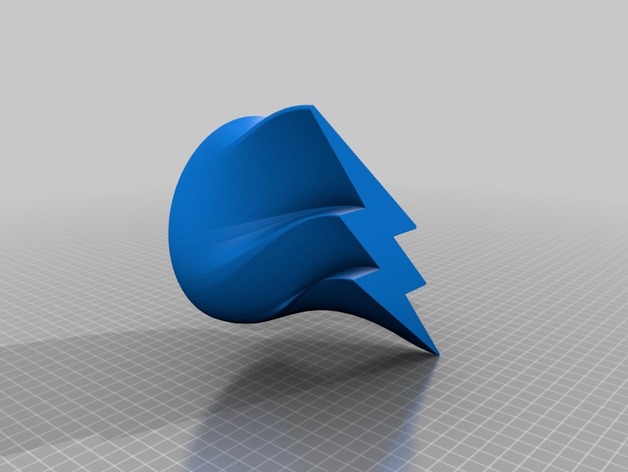
Summary
This is a vase made for Mr. Keller’s Drafting 2 class at Billings Senior High, It is made form the Cw’s Flash and Arrow Logos -
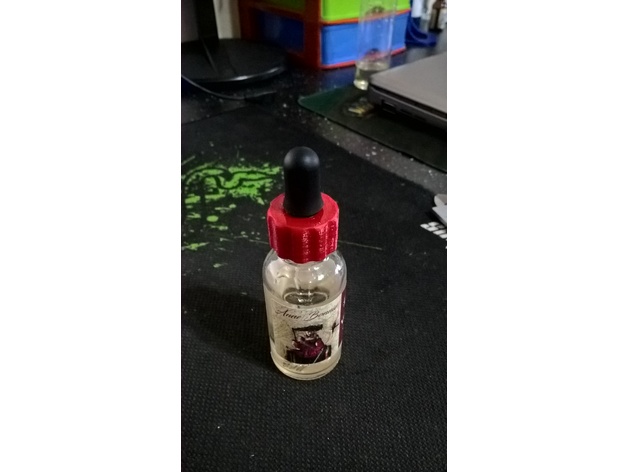
30 ml glass ejuice bottle replacement 3D Print Model
Summary
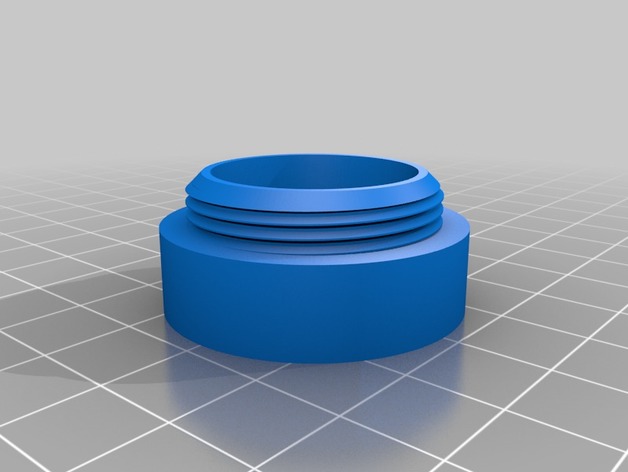
A replacement cap for 30 ml ejuice glass bottle -
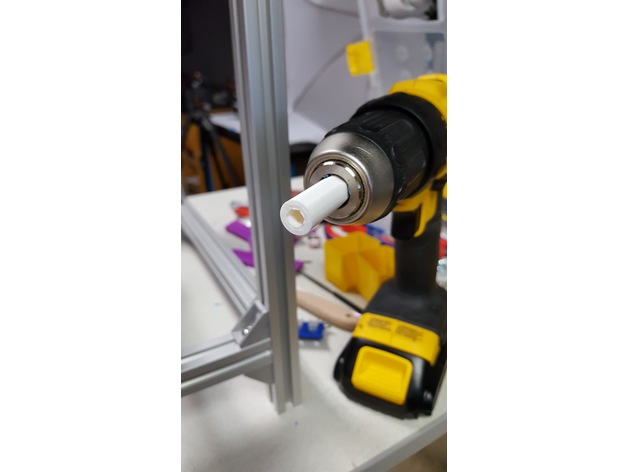
5.5mm deep wall socket 3D Print Model
Summary
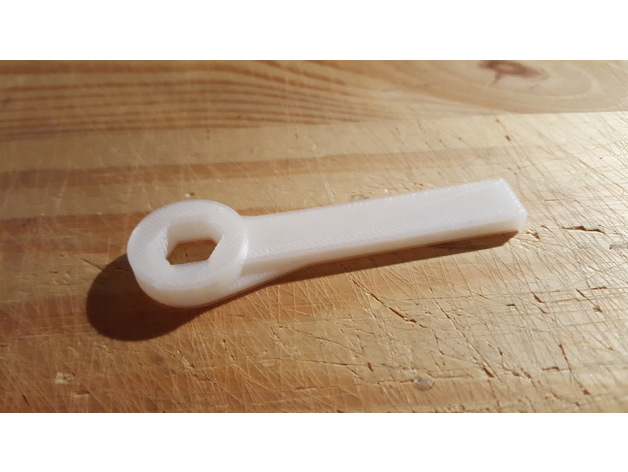
I needed a deep wall version of a 5.5mm socket to make installing m3 nylock nuts easier on longer fasteners. I made this in fusion 360. The hex shank is thicker than normal, but will fit fine in a 1/2″ (13mm) size drill chuck.
I did not know if this would work, and to my surprise it worked great!
Print Settings
Printer:
Flashforge Creator Pro Rafts:
Yes Supports:
No Resolution:
0.2mm Infill:
45% -
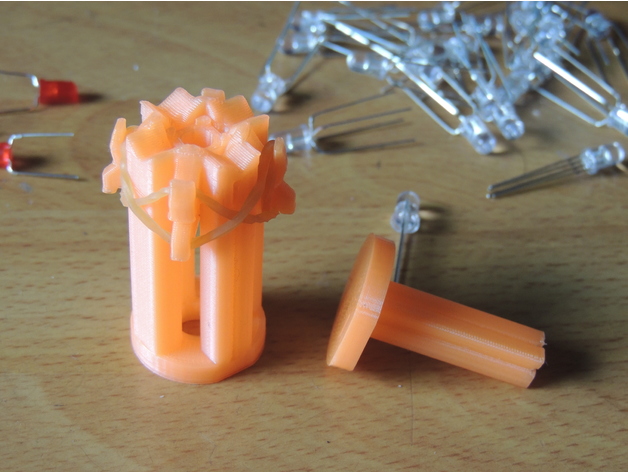
RGB LED 壓腳治具 LED bending tool 3D Print Model
Summary
參考於:https://ckmax912.wordpress.com/2016/03/23/led-bending-tool-ver-2/
試用影片:https://www.youtube.com/watch?v=KqzgCCxJHIY&feature=youtu.be
Print Settings
Printer:
D-FORCE V2 Resolution:
0.25mm Infill:
12% -
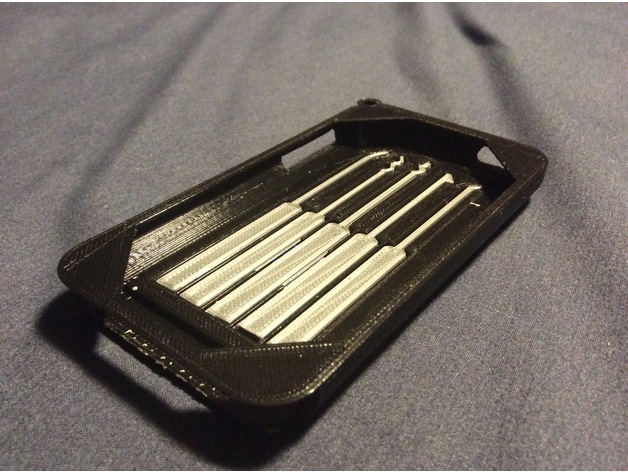
Lockbreaker Case for iPod Touch 4G 3D Print Model
Summary
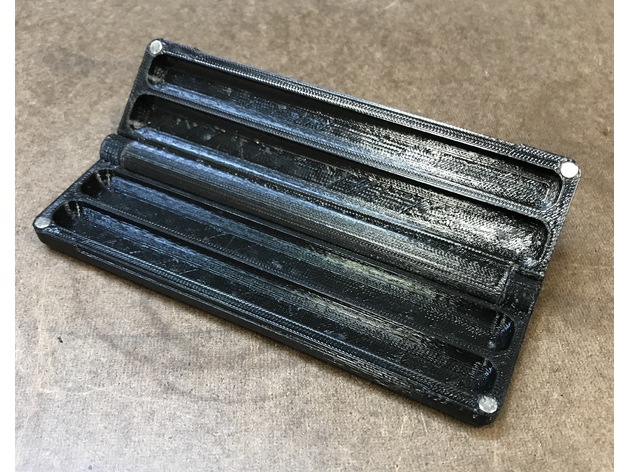
This is my submission to the 3DPrinters Discord server’s phone case challenge… except it isn’t a phone, is it? The Lockbreaker Case is designed for an iPod Touch 4G, and has storage for 5 lockpicks and a Micro SD card. Part of the case is removable to allow the device to be placed inside, and, most importantly, you can put your iPod Touch on a keychain with this case!
Print Settings
Printer:
Anet A8 Rafts:
Doesn’t Matter Supports:
Yes Resolution:
0.2 mm Infill:
30% -
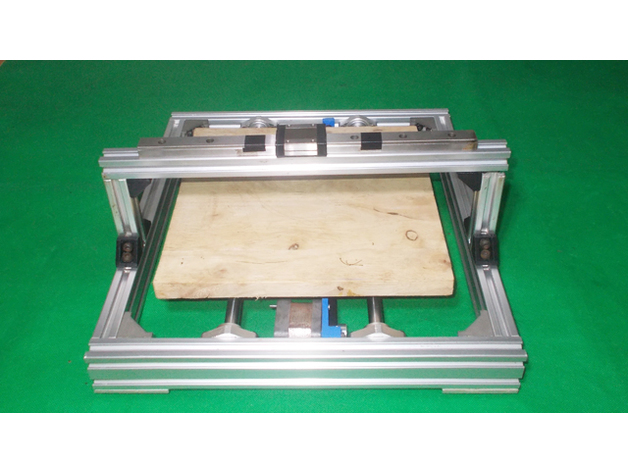
Homemade Laser Plotter Draw Mill 3D Printer Arduino Robotic Drawing DIY Z Axis Slide Linear Frame 3D Print Model
Summary
DIY Y Axis Frame here: https://www.thingiverse.com/thing:2544021
DIY Bed Base Frame here: https://www.thingiverse.com/thing:2490465
DIY Y Axis Bed Base Frame here: https://www.thingiverse.com/thing:2543717 -
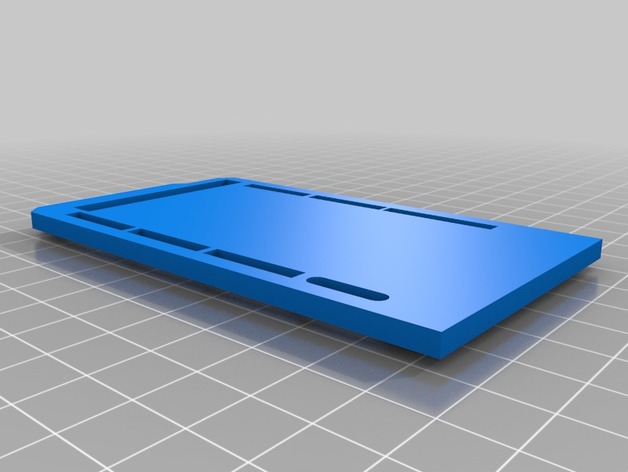
Body for a smart house on Arduino mega 2560 3D Print Model
Summary
Body for a smart house on Arduino mega 2560https://www.youtube.com/watch?v=ISe2zEk1XCM -
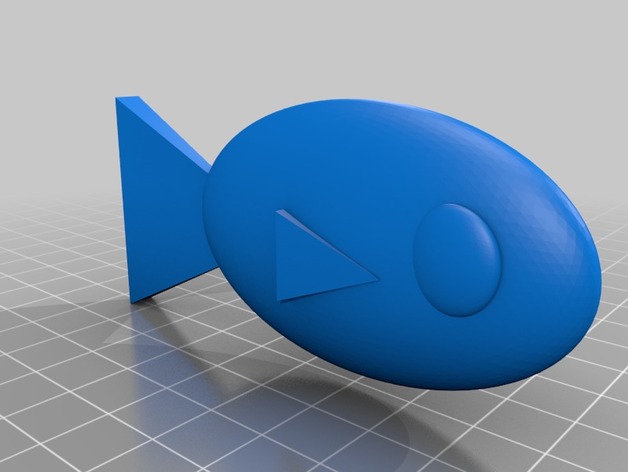
the fish 3D Print Model
Summary
Hey there.
This fish figure is created by the 3d builder wich is preinstalled at Windows 10.
Hope you`ll enjoy it!
Thanks
KingMura -
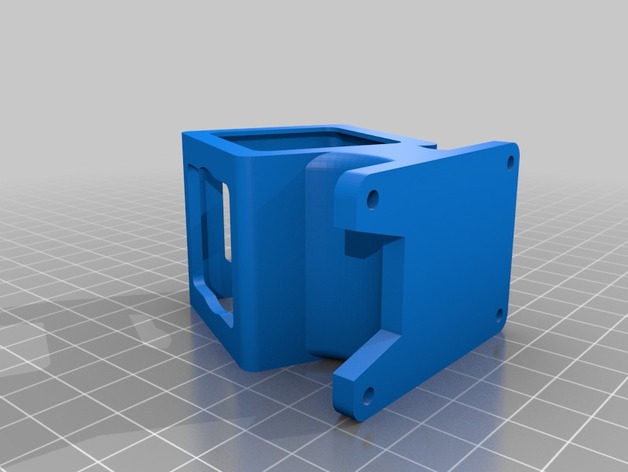
Martian II 6″ GoPro Mount 3D Print Model
Summary
Martian II 6″ GoPro Session camera mount.
Print Settings
Printer Brand:
LulzBot Printer:
TAZ 5 Supports:
Yes Resolution:
.2 Infill:
100% -
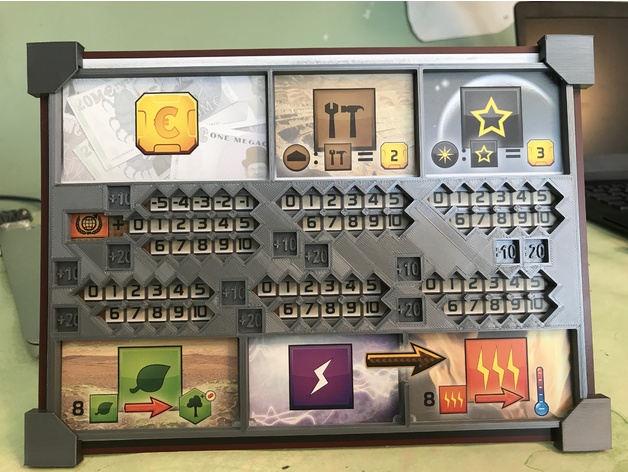
Terraforming Mars Player Mat Corners 3D Print Model
Summary
Modified corners for roguenorms’ terraforming mars mats.
These corners snap into place and stay that way. You can pick up the mats without a problem and put them in the box like that.
Print Settings
Printer Brand:
Prusa Printer:
Prusa Mk2 Rafts:
No Supports:
No Resolution:
200 micron Infill:
20% -
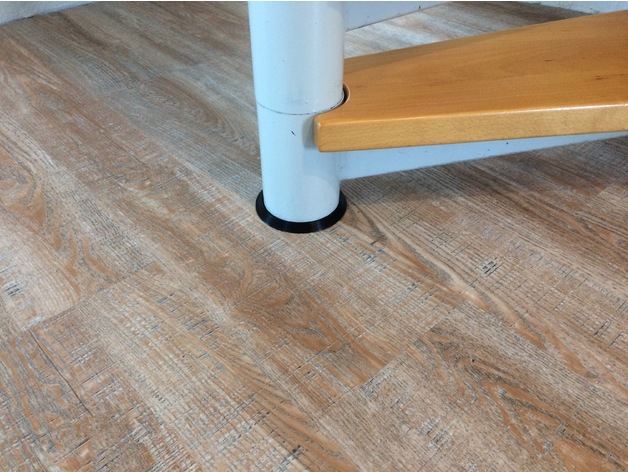
Wristband for pillar 3D Print Model
Summary
I designed a simply wristband for the pillar of my stairs.
Inner diameter is 51,8 mm
Outer diameter is 61,8 mm
Hight is 10 mm
If you need one with other dimensions, let me know.
Print Settings
Printer:
Selfmade Core XY Rafts:
No Supports:
No Resolution:
0.1 Infill:
25% -
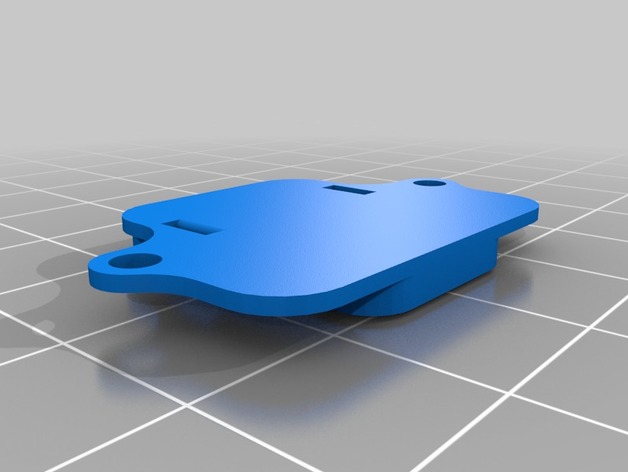
FrSky XM RX Stack Holder 3D Print Model
Summary
This is an ABS holder for the FrSky XM receiver, has slots for a small zip tie but not needed. The XM slides right in and you can solder on the 90 degree 3 pin and cut short so it barely pokes out the bottom. Print in ABS 75-80% infill. -
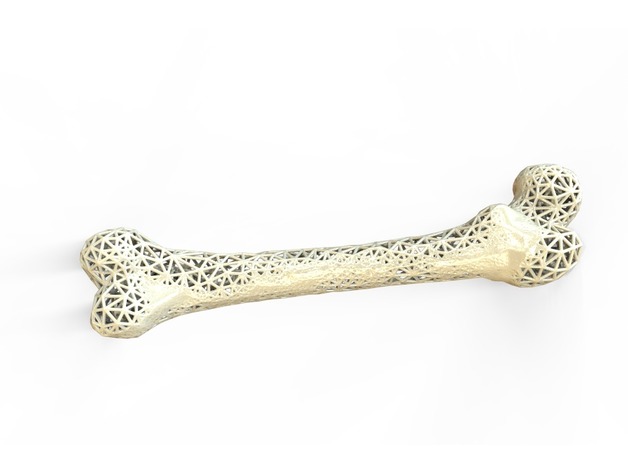
Bones Lattice Structure 3D Print Model
Summary
This is a 3d print ready model of a lattice structure of a “Femur bone” that exist in the human body. -
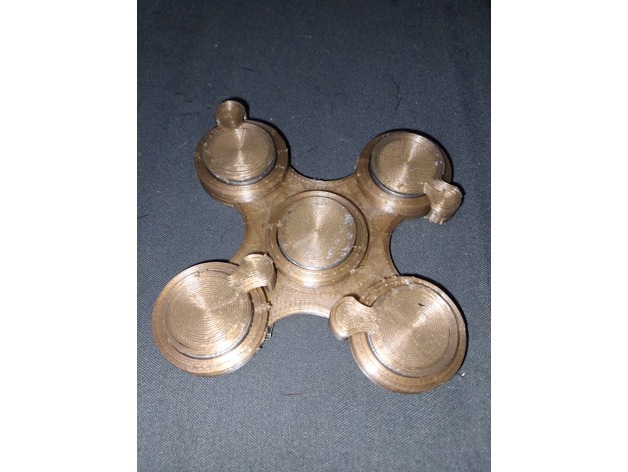
something spinner 3D Print Model
Summary
i just got bored so i made something that spins. five 608 bearings
Print Settings
Printer:
ctc i3 clone Supports:
Yes Resolution:
.2 Infill:
30 -
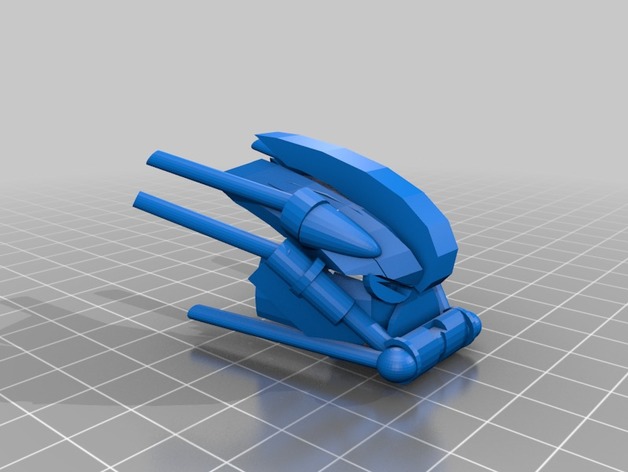
Bionicle Mask Concept 3D Print Model
Summary
Object History and Revision Process
The beginning roots of this project, and the incentives, had all begun with the goal of creating a Bionicle mask that could also be compatible with Lego parts. Settling on a specified set of goals/issues in need of a solution, what had followed was the creation of a few rough sketches that could give a generalized visual representation of what the final product would look like. During this, one of the main focuses was in creating a consistent theme of tubing throughout the mask, and the creation of a design had allowed me to move on to digitally designing the model, for which I used Tinkercad’s digital software. Meanwhile using Tinkercad, the entire model had been based around an axel rod on the inside of the mask that was key in making the project, as by the original intent, Lego compatible. With the wrapping up of digital design and printing the model into the real world, the product had only one, major, failure. The inside of the mask had several components sticking out that got in the way of connecting it and the axel rod, the main point of attachment, had been too short for parts to reach, which all made the possibility of the mask being compatible with Lego parts near impossible.
As a result of this failure, I addressed the issues through the brainstorming of several ideas. My chosen solution on fixing the stated issues was to empty the inside of the mask and extend the axel rod, digitally, since the specialized tools in a digital program allowed for reaching a higher level of quality and easiness in editing the model. The application of these changes unto my final 3D print had in turn made it succeed in its intended purposes of being compatible with Lego parts and working as a mask, which is where my designing process came to an end for this project.Printing Instructions
-When preparing to print the object, you should follow specific scale measurements of 34.63 mm in height, 47.00 mm in width, and 56.00 mm in length.
-The model is a single component, therefore there should only be a single print to obtain the full product.
-Supports should be turned on for the printing of this object, and it should also be noted that the supports take near close amounts of plastic to that of the actual model.
-When removing supports, the use of knives or other possible, small, “tools” like needles would be suggested to remove supports from tiny areas.
Print Settings
Printer Brand:
BCN3D Printer:
BCN3D+ Rafts:
Doesn’t Matter Supports:
Yes Resolution:
Depending on the personal preferences/choices of the individual responsible with printing. -
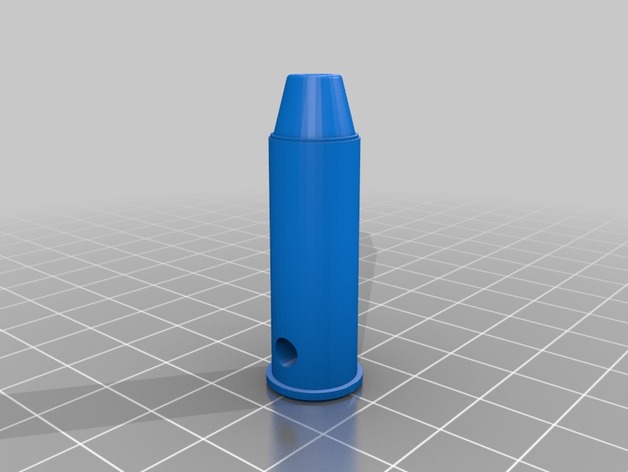
.44 Magnum keychain 3D Print Model
Summary
This is another simple keychain or necklace for fun.
Print Settings
Printer:
Anet A8 Rafts:
Doesn’t Matter Supports:
No Resolution:
.1-.2 Infill:
10-100% Notes:
Print at how you feel comfortable for what you are using this item for.
Post-Printing
Paint if needed and add chain for key chain or leather string for a necklace.Your choice on what to do.
How I Designed This
Was imported into Tinkercad and made to fit as a key chain or necklace. -
Fuchai 200W Mod Stand 3D Print Model
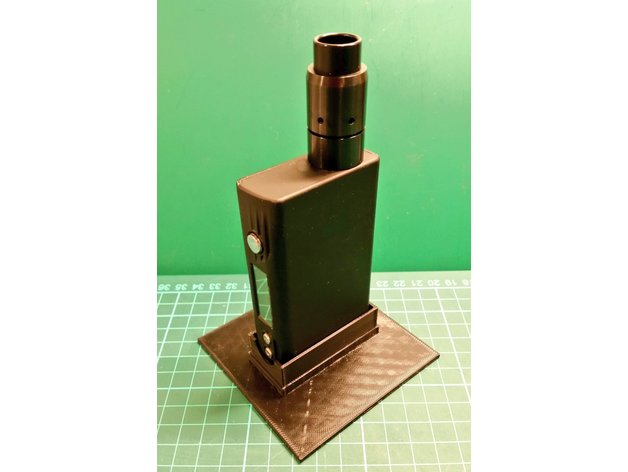
Summary
A stand I made to stop my mod falling over, which makes a horrible sound.
Could be useful to someone else
Inside measures 24.4mm x 57.4mm
Print Settings
Printer:
Tevo Tarantula Rafts:
No Supports:
No Resolution:
0.3 Infill:
20% -
Z Top Fix 3D Print Model
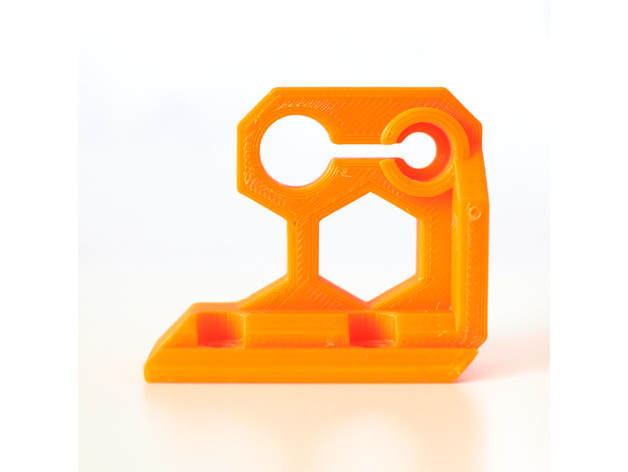
Summary
There is an issue on original Z axis rod where the Z rod are neither parallel nor perpendicular ! More details here : https://github.com/prusa3d/Original-Prusa-i3/issues/34
This z axis top solve the problem plus it makes the bracket stronger and it increases the support of Z rod (should reduce Z wobble as well).
It is compatible with Prusa i3 MK2, MK2s and MK2.5.
Please note that you should have a space of 0.5mm between the top of the Z rod and the smaller circle, this is made on purpose. Do not push the rod to the “cap” of this piece but screw it and check that it is square to the frame.
Print Settings
Printer Brand:
Prusa Printer:
i3 MK2S Rafts:
No Supports:
No Resolution:
0.20 Infill:
30-40% Notes:
Use PETG or ABS filament.I am using Extrudr MF-PETG Neon Orange which is very very close to Prusa orange.
3 perimeters
4 top
4 bottom
30-40% infill
seam_position : aligned (Print settings -> Layers and perimeters -> Advanced -> Advanced)
Might be good to reduce the speed a bit because of the small surface on the end of the print. -
Kegerator Check Ball Retainer 3D Print Model
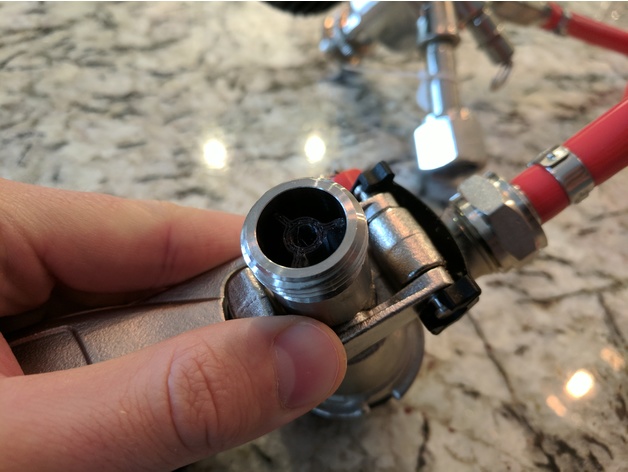
Summary
This part replaces the small plastic retainer that stops the check valve ball from traveling up the beer outlet tube on a kegerator beer coupler.
Evidently, these parts are way over the top expensive ($8 for a dime size part…) so after losing mine I modeled this replacement.
This part has been printed and tested, it works great!
Print Settings
Resolution:
0.1 Infill:
100% Notes:
Print in PLA or other food-safe plastic. Slow and steady wins the race on a small part like this one. -
Benchmark Test Block 3D Print Model
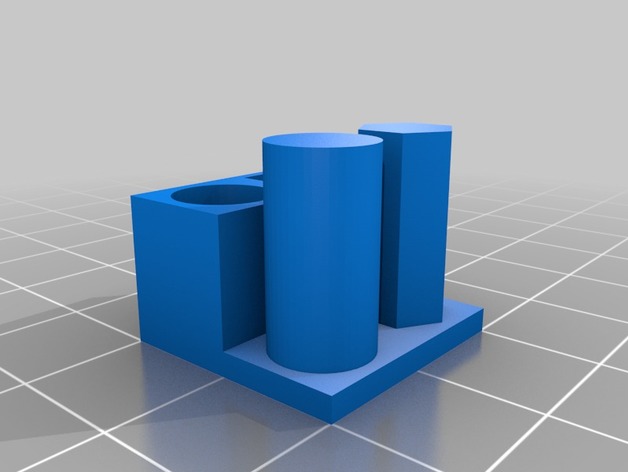
Summary
8mm each shapes stands on 20×20 test block. You can check your dimensions, ooze, etc. for your printer.
Print Settings
Printer Brand:
Ultimaker Printer:
Ultimaker 2 Extended Rafts:
Doesn’t Matter Supports:
No Resolution:
0.2 Infill:
10 -
6 inch 4 post rack V2 3D Print Model
Summary
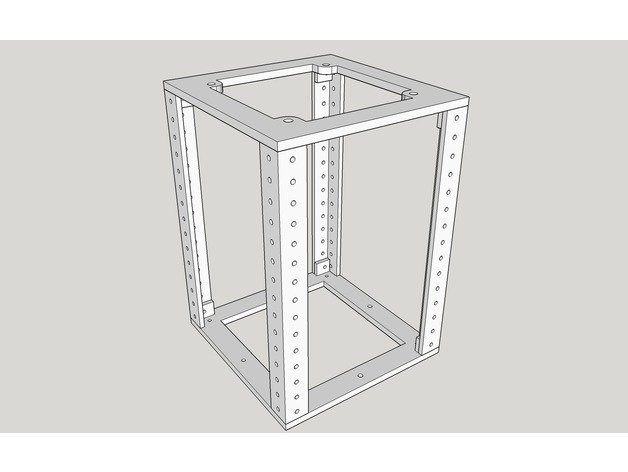
This is version 2 of the 6 inch 4 post rack. The original one relied on glue, but this time around, just screws. Another improvement made was the depth. This should allow for 120 mm fan on the sides (adapter will come in a little bit). -
Laser Cut Wooden Phone Case for iPhone 6/7/8 3D Print Model
Summary
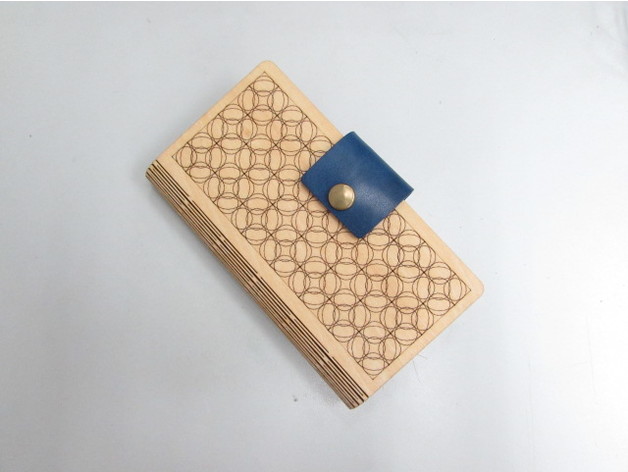
I have made many trials. This is the best design so far I made. The measurement for one side of the case is 73x150mm. It will work for iPhone with camera opening at the back. I have made some geometric pattern on the front, very nice indeed.
The buckle strap is removable. It can be used for a phone stand and earphone winder too. -
WORDS HAVE POWER – BANNED BOOKS WEEK 3D Print Model
Summary
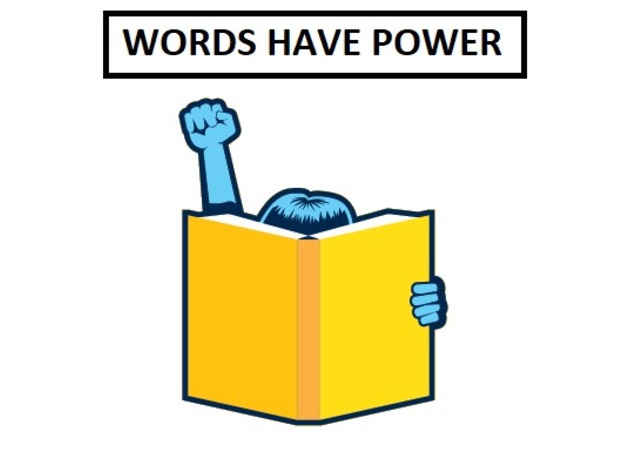
WORDS HAVE POWER is the slogan for the American Library Association’s Office for Intellectual Freedom
Banned Books Week 2017: Sept. 24 – Sept. 30
http://www.ala.org/advocacy/bbooks
Read something scandalous.
I edited one of the banners on their website in MS Paint and ran it through the lithophane maker here: http://3dp.rocks/lithophane/ -
LED Mount Assembly 3D Print Model
Summary
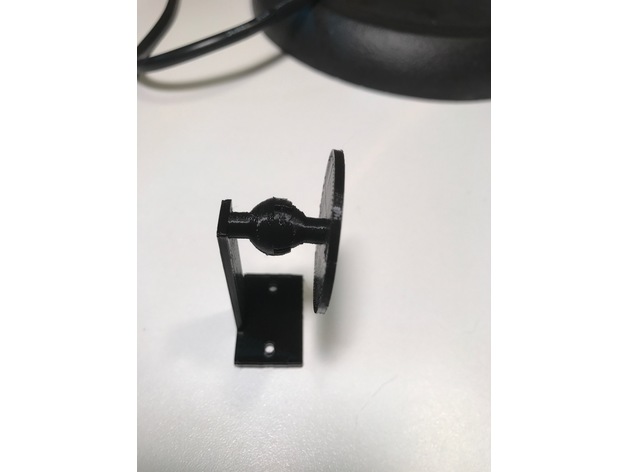
I have several 4W LED assemblies I purchased for another project that is withering on the vine and thought I’d put a couple of the LEDs to use.
I wanted to mount the LED to the 2020 rail out of the way of the Kossel sliders on the verticals and have them about 2 cm above the print bed. Note the cool ball joint 🙂
These are the seconds project I’ve created on Fusion 360.
I may decide to make shades or something to constrain the light, but probably not.
Print Settings
Printer:
Folger Tech Kossel Rafts:
No Supports:
No Resolution:
0.2 Infill:
20%