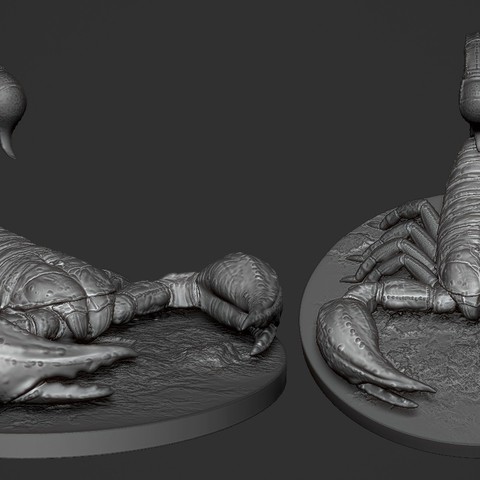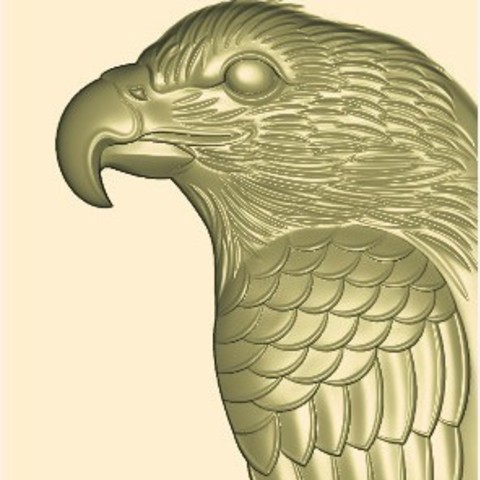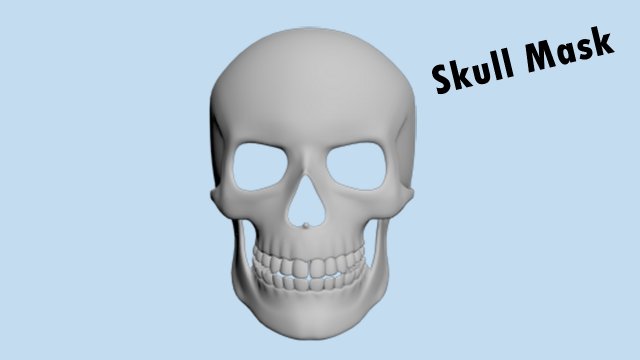
Formats of the model: OBJ,STL,3Ds.
Category: 3D Print Models
Premium & 3D Print models ready to be 3d printed. 3D Print Models and Free 3D Print Models are available for download in several formats including .STL, .3DM, .OBJ, .3DS, .DAE, .SKP, .BLEND, .DWG, .DXF, .STEP and much more. If you’re in search of high-quality 3D printed assets, we have a huge library of 3d print models for any of your needs. Also you can visit 3D Models and All 3D Models category.
-
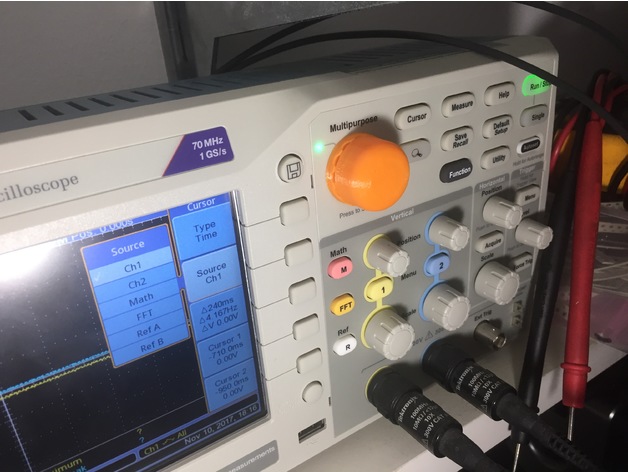
Tektronix CRO encoder stepping knob 3D Print Model
Summary
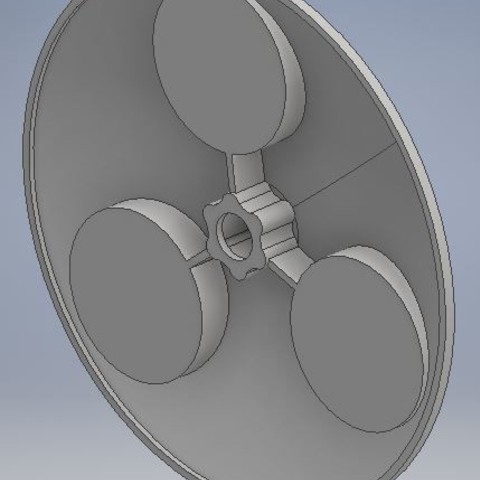
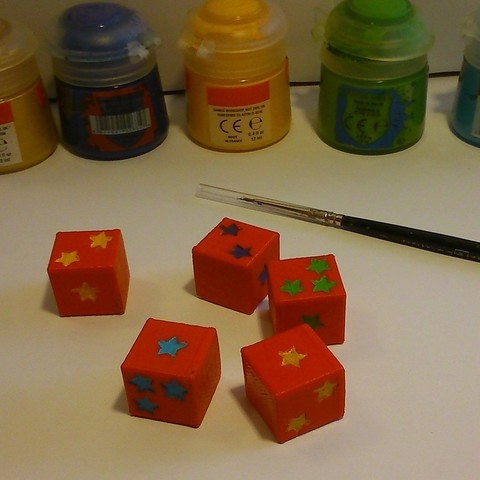
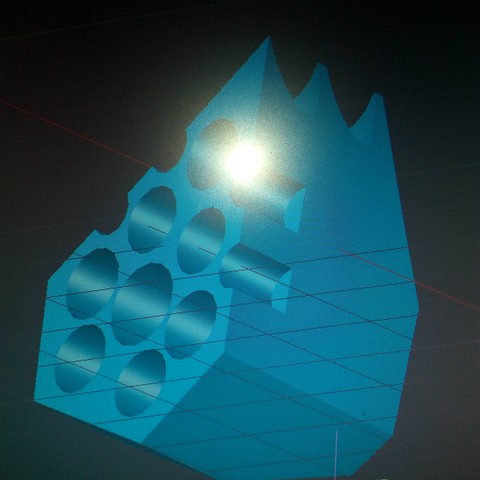
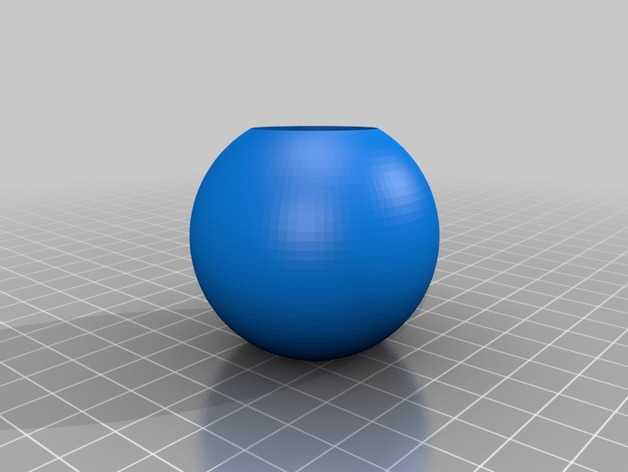
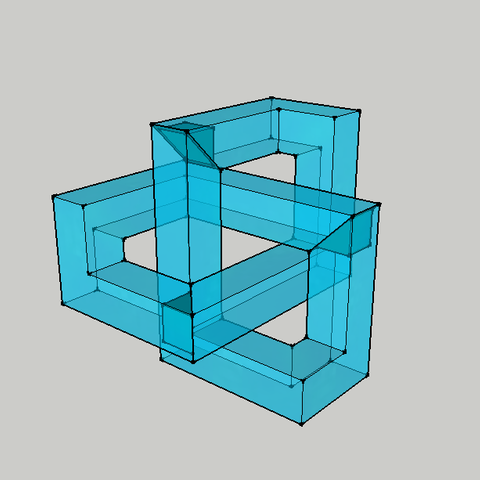
This is to replace the encoder knob on a Tektronix CRO.
It uses a 4.5mm ball bearing and a spring from a pen cut to the length of the circular hole.
The base (part1) is stuck on with using double sided tape.
See more what I have done: http://tinkersprojects.com/ -
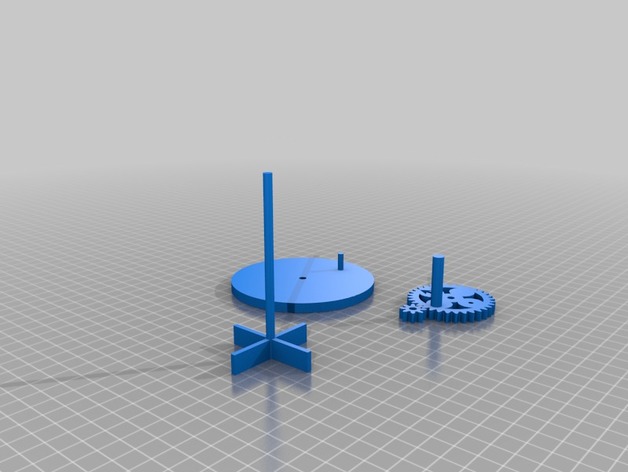
MECHANICAL MILK STIRRER 3D Print Model
Summary
Hello everyone.
This project is very good for children’s fun and also for their education since it can be assembled and dismantled and used in food.
Print Settings
Printer Brand:
MakerBot Printer:
MakerBot Replicator (5th Generation) Rafts:
Doesn’t Matter Supports:
Doesn’t Matter Resolution:
100% Infill:
MAX DENSITYStandards
CCSS
Overview and Background
Lesson Plan and Activity
Materials Needed
-
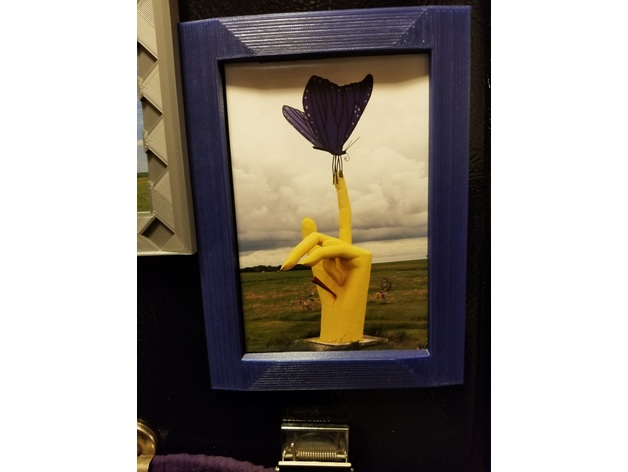
Fridge picture frame for your post cards 3D Print Model
Summary
A picture frame that I put magnet strips on the back to trap post cards on the fridge.
https://www.youtube.com/ChrisRiley -
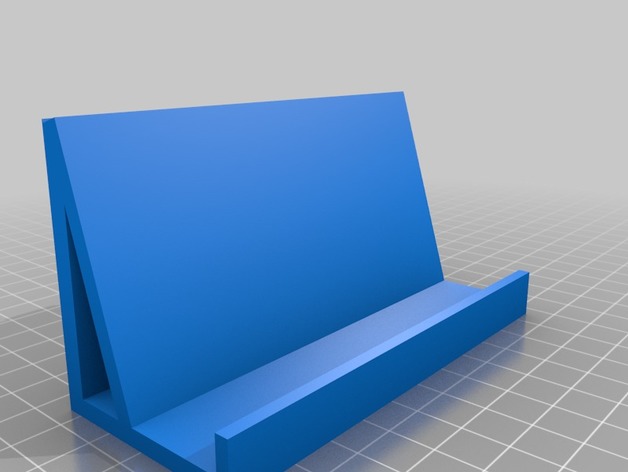
Universal Phone Lean/Stand 3D Print Model
Summary
Universal phone stand, for use horizontal with most phones, You do not have to print a support structure -
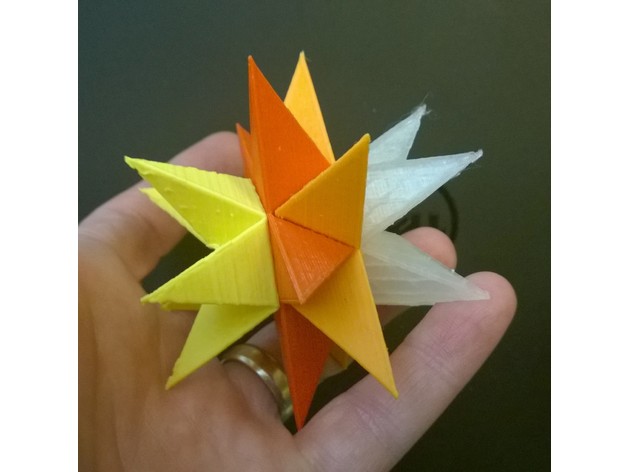
Multi-part stellated icosahedron 3D Print Model
Summary
This is a stellated icosahedron that prints in parts. You print both parts twice and then assemble the results. There are modeled in holes for dowels to lock the parts in place. I used a machine screw for final assembly. In the photo, you can see the 4 parts printed in 4 different PLA colors.
Growing up, My Dad would make one of these out of soda straws each Christmas. There is a photo of one of them included above.
Print Settings
Printer Brand:
PrintrBot Printer:
Printrbot Simple Metal Rafts:
Yes Supports:
No Infill:
20% Notes:
I had the best luck printing this on a raft. You need to print two of each part and then screw it all together. If you have a large build plate, you could print all 4 parts at once. -
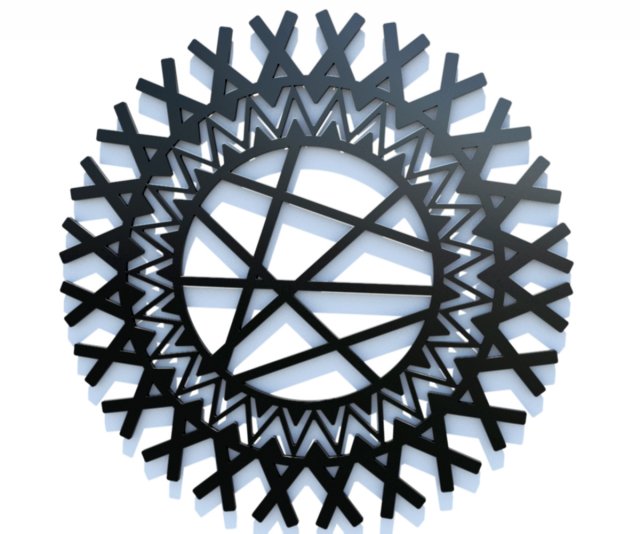
Tribal Tattoo 5 3D Model
Tribal tattoo style for 3d printing.x: 52,875 cmy: 52,875 cmz: 0,5 cmFaces: 10676Vertices: 13124One object named tribal05.Modeled in 3ds Max.STL-check in 3ds Max.Checked with Blender Add-on 3d printer box.The pictures above is rendered with Mental Ray
-
24inch S Curve Loom 3D Print Model
Summary
A 24 inch knitting loom -
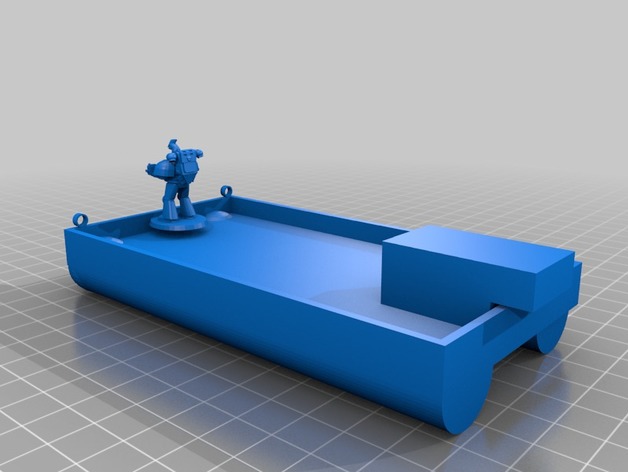
S.S. Chicken Trump 3D Print Model
Summary
This is an air-boat in honor of President Trump. #makeamericagreatagain -
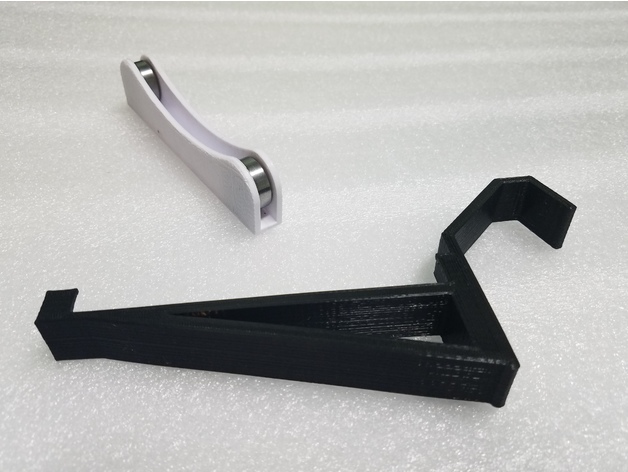
TUSH spool holder/side hang/ for Makerbot rep+ 3D Print Model
Summary
https://www.thingiverse.com/thing:2494752
This original piece was done by QuantumChoco. The remix holds a TUSH spool holder on the side of the printer.
https://www.thingiverse.com/thing:2047554
link above to get-[ TUSH spool holder ]
Print settings:
Default Print modes:Draft
layer height = 0.3mm
infill density = 25%
Shells = 3
infill pattern= cat fill
support = on -
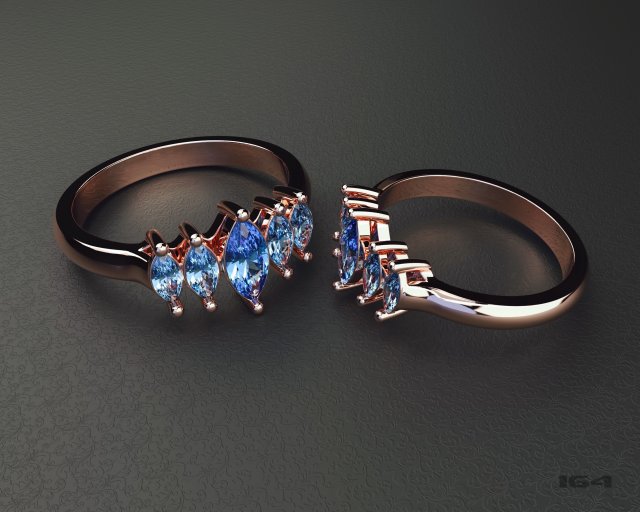
Ring with marquis 3D Model
The model can be used for production, for casting and machining.STL model is ready for prototyping on CNC and 3D PrintingHigh quality modelweight in gold 3,500 gramweight in gold silver 2,400 gram
-
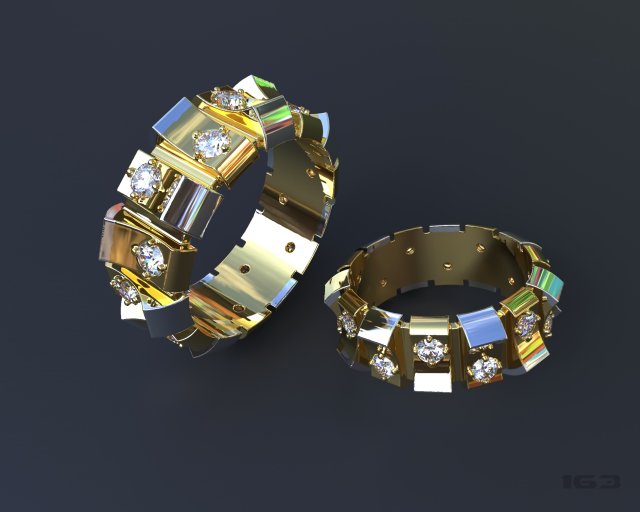
Ring with diamonds 3D Model
The model can be used for production, for casting and machining.STL model is ready for prototyping on CNC and 3D PrintingHigh quality modelweight in gold 9,00 gramweight in gold silver 6,00 gramnumber of stones 14size of stones 2,5 mm
-
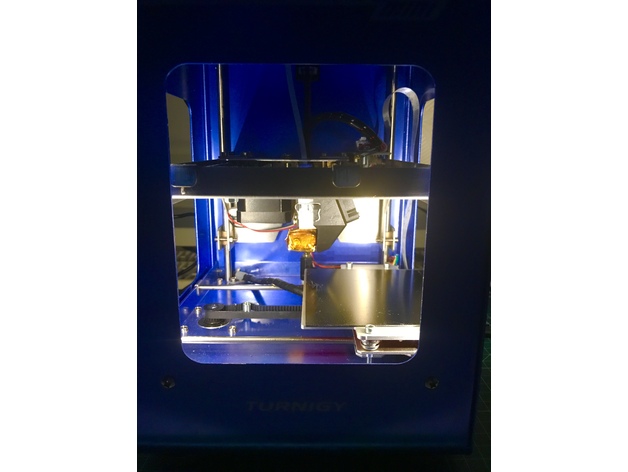
Fabriktor Mini II LED protection light 3D Print Model
Summary
In order to focus the LED light only onto the main build platform I attached these two elements to the moving Z axis platform and reduce the light to the upper part of the printer. See pictures. Last picture is without the LED protectors -
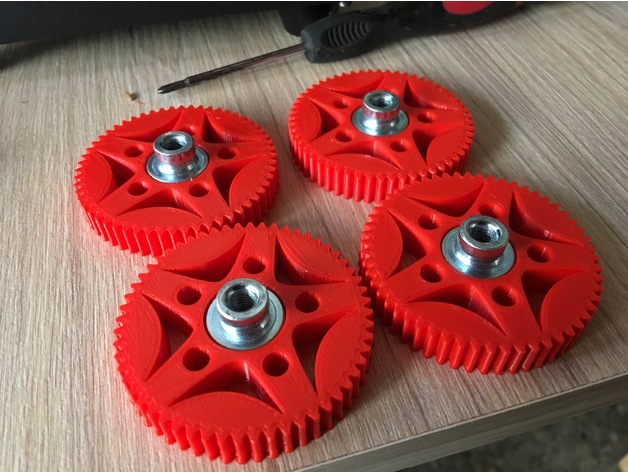
TEVO TORNADO KNOB LEVELING. 3D Print Model
Summary
Tevo tornado knob leveling.
55mm diameter
5mm height.
it fits just perfect! -
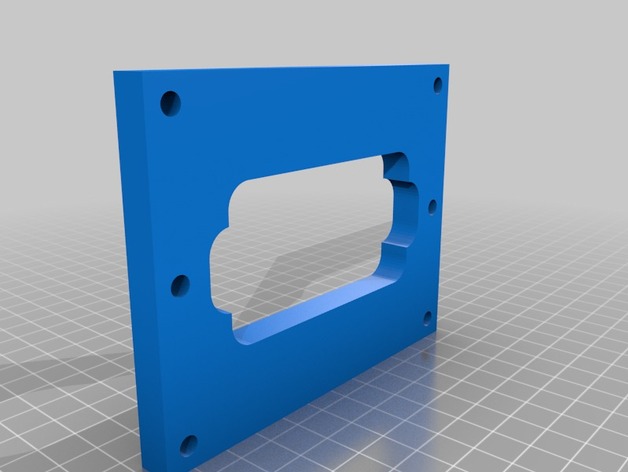
Humbucker routing template 3D Print Model
Summary
Just an average humbucker routing template. I advise a 3/8″ router bit with bearing. -
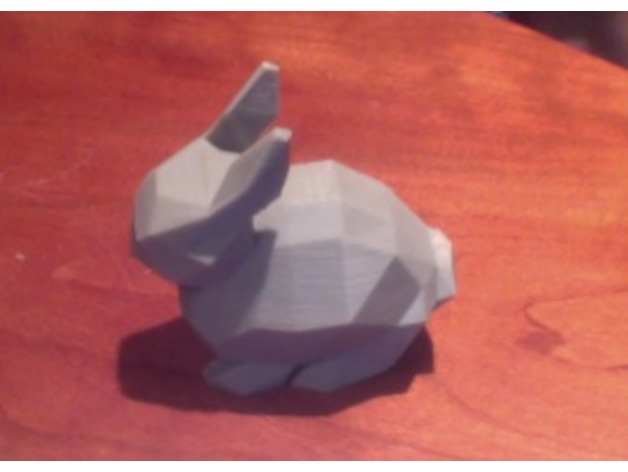
Low Poly Bunny 3D Print Model
Summary
Low poly bunny! Print in any size. Supports required.
Print Settings
Rafts:
Doesn’t Matter Supports:
Yes -
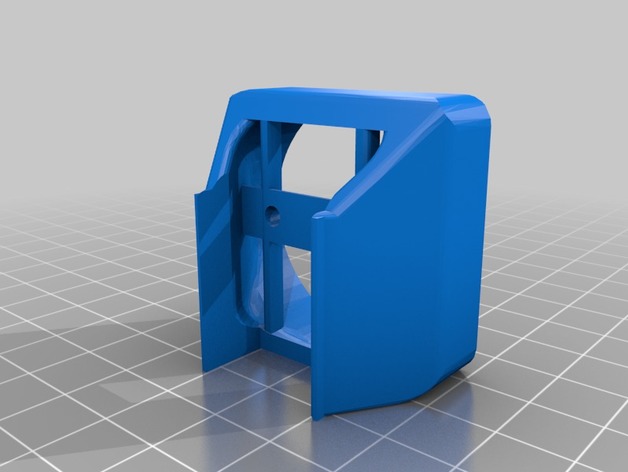
CR-10 Micro-Swiss 300c HotEnd Mount for Fang 3D Print Model
Summary
I recently picked up a Micro Swiss 300c Hot End, and the mount I had been using on the stock hot end no longer worked. Modified the STL in Tinkercad. Good snug fit on mine. Let me know of problems.
Usiing this fang which has better cooling than a fang with the 40mm fan: https://www.thingiverse.com/thing:2446196 -
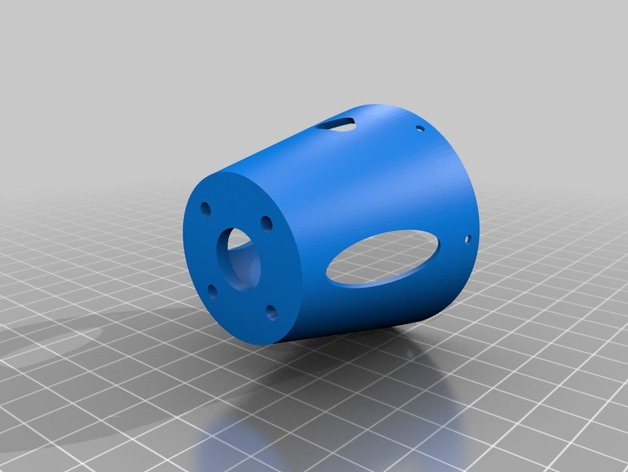
Modified servo mounts and motormount 3D Print Model
Summary
These are STL files that Wersy made for my Red duck.
I wanted to use bigger servos and a stronger motor. Used HK 151538 hobby king servos.https://hobbyking.com/en_us/hobbykingtm-hk15138-standard-analog-servo-4-3kg-0-17sec-38g.html It needs to have both the mount and the slot
Also used a heavier motor. So a new shorter nose was used. I felt that the plane needed better take off performance. -
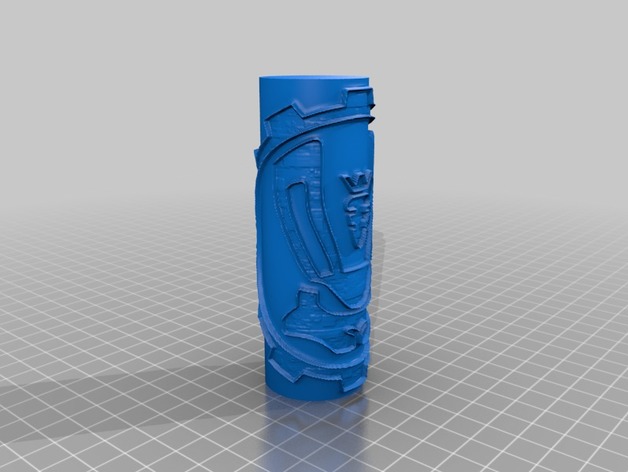
Rabbit Full Bottle Icon Cylinder – Kamen Rider Build 3D Print Model
Summary
Just a cylinder of the Rabbit Full Bottle icon.
Print Settings
Printer Brand:
MakerGear Printer:
MakerGear M2 Rafts:
Doesn’t Matter Supports:
Doesn’t Matter -
![Mini Gun Fort [28mm wargaming terrain] 3D Print Model](https://3dhunt.co/static/2017/11/719bbc26d9e58439935235970e9f2107.jpeg)
Mini Gun Fort [28mm wargaming terrain] 3D Print Model
Summary
A small fort for a gun team with which to anchor your lines!
Should be straightforward to print. No supports required. About 105mm diameter. Full and hollow versions of the body are included, but there’s really no reason to not use the hollow version.
Print Settings
Printer Brand:
LulzBot Printer:
Mini Rafts:
No Supports:
No Resolution:
.18mm Infill:
20% Notes:
HIPS. Cura. -
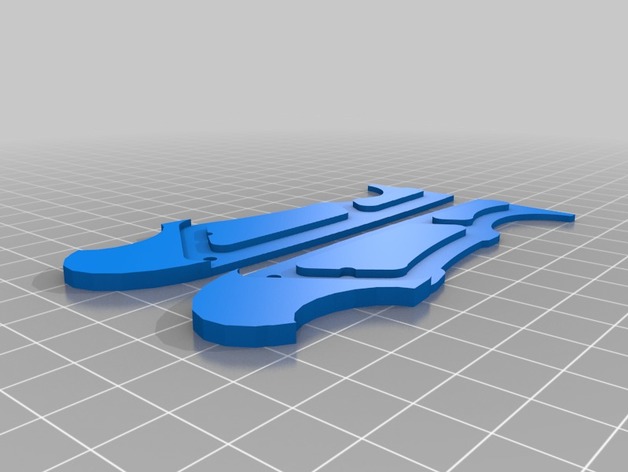
Gerber Ghoststrike Extended Grip 3D Print Model
Summary
Replacement for the less than secure rubber grip that comes standard with the knife, added pinkie rest for larger hands and easier removal from the sheath.
Print Settings
Printer Brand:
Printrbot Printer:
Play Rafts:
No Supports:
No Resolution:
1.5 Infill:
100% Notes:
Infill doesn’t matter but i do 100 percent so I can sand the edge flush -
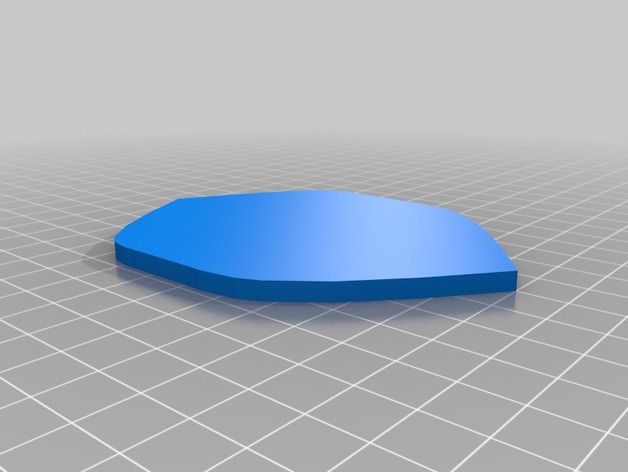
Shield Template 3D Print Model
Summary
I designed a Shield for my English project I was making and I thought I should upload it before I put any changes on it so other people can use. -
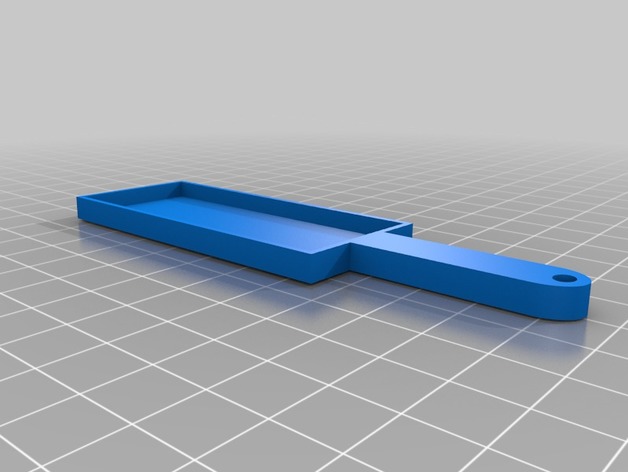
Magnet Holder 3D Print Model
Summary
Made for my sowing teacher.
Used to pick up pins.
Place a 5x1x1cm magnet in the block
Print 2 and glue together. -
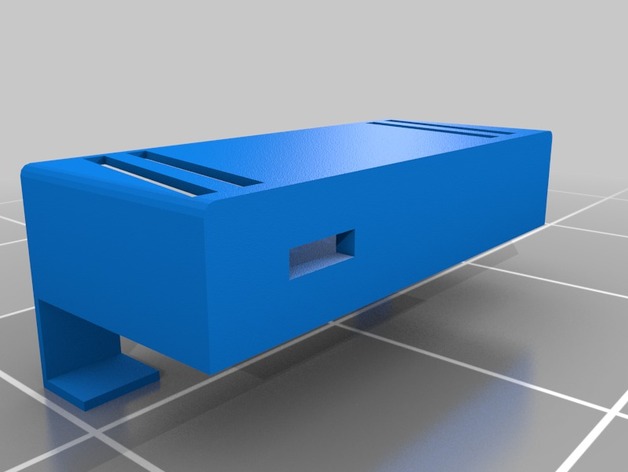
Bed Frame Pocket 3D Print Model
Summary
The hook on the side is meant to be an eyeglass holder and it also has a phone charger hole in the bottom. -
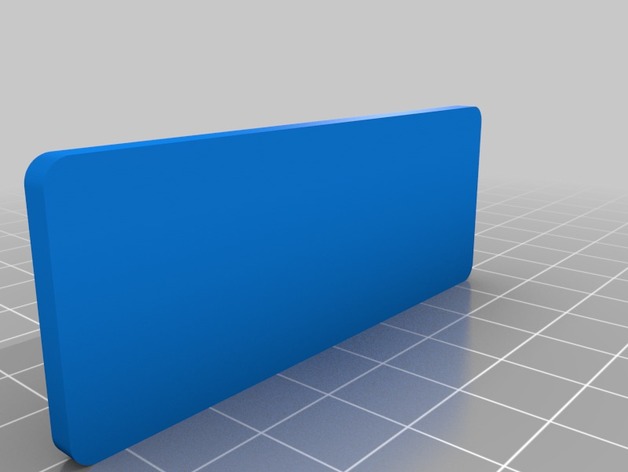
Magnetic 18650 Battery Case 3D Print Model
Summary
Magnetic Lid Battery case, holes are made for a 3mm x 1mm magnet.
case fits 3 18650 battery’s -
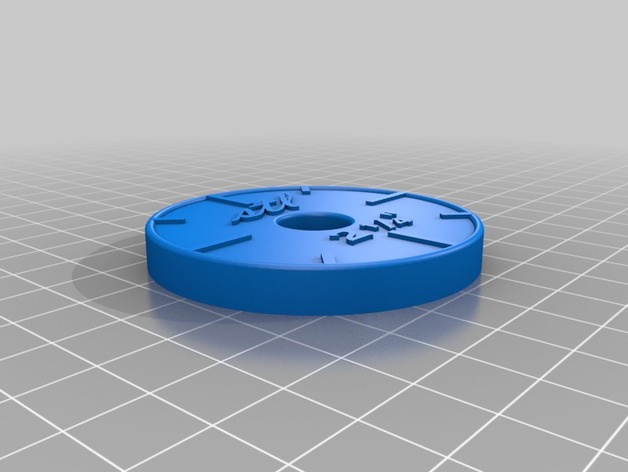
2 1/4″ Circle Ruler 3D Print Model
Summary
This is a quilting ruler for free-motion quilting. I made this for my wife, who blogs here. She uses it to quilt orange-peels. I’m still not entirely sure what those are, but she seems to like them. This apparently works pretty well for that purpose.
The ruler has a hole in the middle to aid holding in place.
Print Settings
Printer Brand:
Prusa Printer:
i3 MK2S Rafts:
No Supports:
No Resolution:
0.15mm (but 0.2 or even higher would probably work fine) Infill:
15%
How I Designed This
All done in Fusion 360, the entire thing is driven by a single dimension in the first sketch, so it should be relatively easy to alter the print to whatever size you need. I just used the built in text tool in Fusion for the text, the “1/4” bit is just the unicode character. -
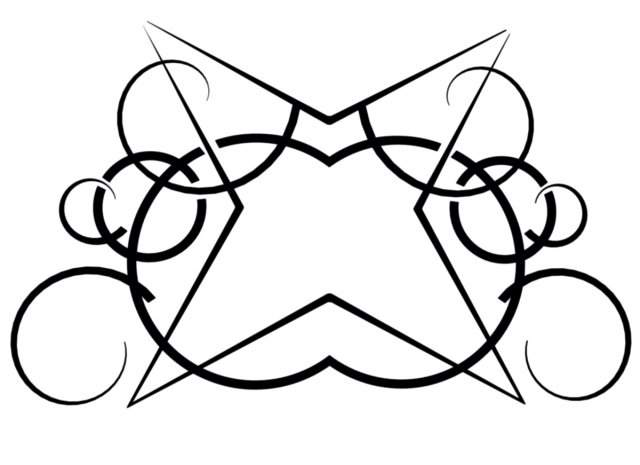
Tribal Tattoo 04 3D Model
Tribal Tattoo 04 3D print modelTribal tattoo style for 3d printing.164,876*103,325*0,568Faces: 6803Verts: 7834One object named tribal04.Modelled in 3ds Max.STL-check in 3ds Max.Checked with Blender Add-on 3d priter box.The pictures above is rendered with Mental Ray
-
ShoreTrooper Helmet V2 (SeanKFields) Split to fit 200×200 build plate 3D Print Model
Summary
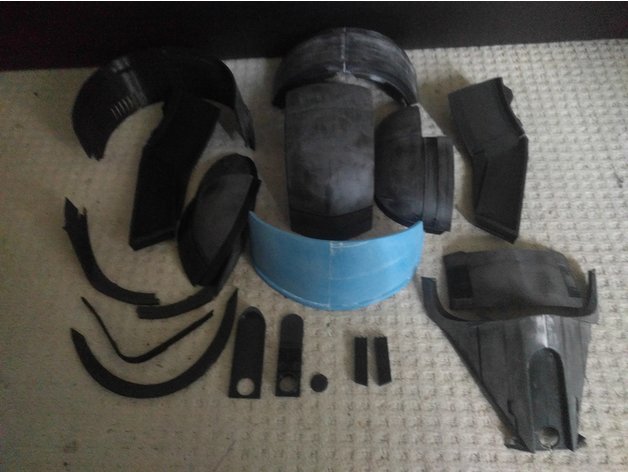
This is the V2 version of SeanKFields Shore Trooper helmet. All credit for this model goes to him I merely chopped the files to fit my bed. The original files (including the armour) can be downloaded directly from http://shoretrooper.co.uk
I have left the original sized pieces intact and added A and B options which are the bits I needed to split. The face will fit on the bed but I found it easier printing these split up and then gluing back together. I did put a registration tab on the rear rim but after printing a few of my chopped bits it wasn’t necessary so left the rest.
I’ve only managed to get the pieces printed so far and will update the images once I have put it together. I have done some test fits and all pieces line up with no issue.
Legal bit from the included text file (me being SeanKFields):
Usage Rights:
These files are distributed under the Creative Commons Attribution-ShareAlike 4.0 International (CC BY-SA 4.0) viewable here.https://creativecommons.org/licenses/by-sa/4.0/
Basically, it says that if you intend to redistribute my work in any way, you must credit me as the original creator. This mostly pertains to anyone wanting to use the files commercially. If you’re using the files to print your own helmet, you don’t need to tag me every time you post a picture. You can, but it’s not a part of the agreement.
Speaking of commercial use: Anyone who chooses to do so has my permission to create and sell helmets based on these files. As before, I ask that you not sell the 3D files themselves, but printing and selling a helmet, or selling a helmet cast from a mold made from a printed masters is perfectly acceptable.
As before, there are a few rules. Some of these are new.If you intend to create and sell a product based on these files (printed kit, resin casting, etc.), I ask that you send me a sample of said products. Consider this the licensing fee. I ask this for 2 reasons:
a. It serves as a means for me to identify every vendor using the files.
b. It gives me an opportunity to inspect overall product quality.If you profit from my work, I highly encourage you to take a portion of that profit and do something good in the world with it. Donate to charity. Buy a homeless guy a sandwich. Adopt a shelter dog. It doesn’t matter what it is. Follow your heart.
While I certainly do not require it, I will gladly and graciously accept tips this time. My Paypal address is [email protected]
-
Mag-Holder 3D Print Model
Summary
This Mag-Holder is 5/32 depth and 1″ Diameter 10lb. Pull Force that is the size magnet you will need.
Materials Needed:
5/32 Neodymium Magnet
Mounting Screws
Can be mounted in your car, tool shed, house or anywhere you need to hang something.
I will have more with different size and strength magnets coming soon.
Print Settings
Printer Brand:
MakerBot Printer:
MakerBot Replicator 2 Rafts:
No Supports:
No Resolution:
.2mm Infill:
30% -
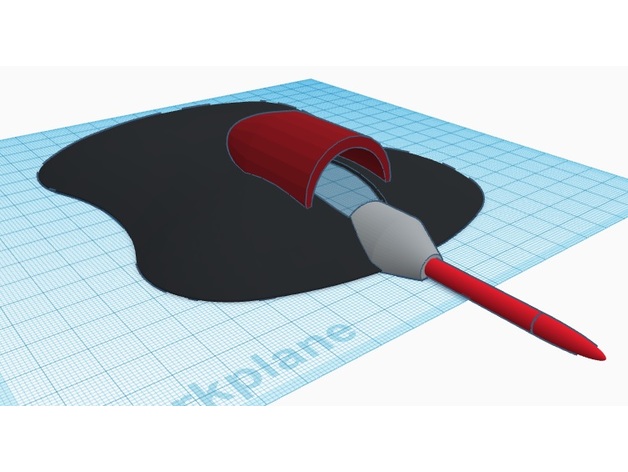
Teal Drone Ring Jousting 3D Print Model
Summary
My design is to give a new option to racing games that people can play by adding ring jousting. The idea is to set up a collection of rings that the pilot has to pick up and carry back to the finish line as they travel the course. -
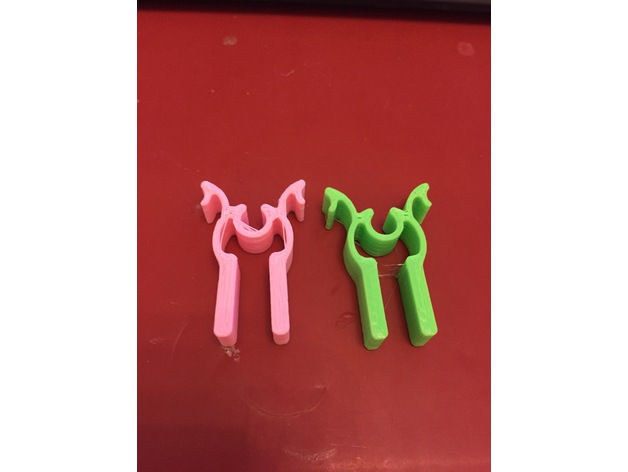
Nose Clip 3D Print Model
Summary
Nose clip that i’m going to be using for my next project (Steampunk Gas Mask) that works 😉
!Don’t forget to check out my other designs and Follow my weekly KooKoo uploads, Enjoy 😉
Print Settings
Rafts:
No Supports:
No Resolution:
0.2 Infill:
75% Notes:
3 shells -
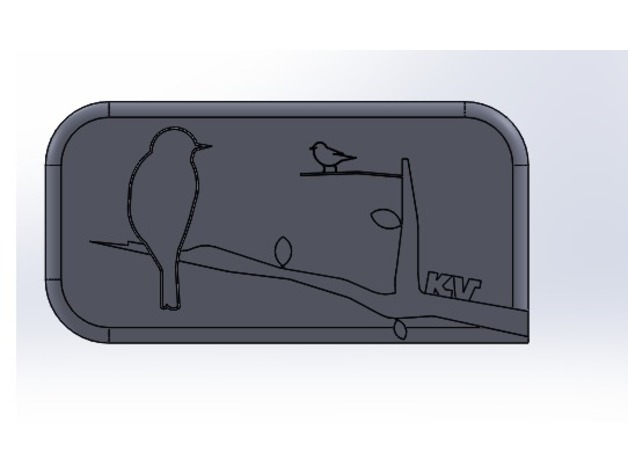
2DArt Birds on branch 3D Print Model
Summary
We made a 2D-3D version representation of birds on a branch using source images for reference.This piece has three leaves, both a large and small bird, a tree branch, and my initials. To make the branch appear 3D, my partner and I extruded the back panel to 0.2 cm, the branch to a total of 0.5 cm, the birds and leaves to a total height of 1 cm. My initial are also extruded to 1 cm.
partner link: https://www.thingiverse.com/thing:2596313Overview and Background
Lesson Plan and Activity
Directions:
Problem Statement: With a partner, you will design a “2D” placard using Solidworks. You and your partner will have the same design which meets the constraints below, and you will EACH use Solidworks to create your design.
Constraints:
Should have a flat back; detail will be on the front side
Should fit inside a box that is 10 cm x 10 cm when lying flat
Should be no more than 1 cm thick
Should be as detailed as possible
Detail will be made using sketches that are extruded to different heights
No error messages
Do not extrude contours – each feature should have its own sketch
Part should be CENTERED about the origin
Demonstrate efficient use of construction lines
Demonstrate efficient use of automatic and manual relations
Demonstrate efficient use of Smart Dimensions
Demonstrate efficient use of mirroring
Demonstrate efficient use of linear or circular patterns -
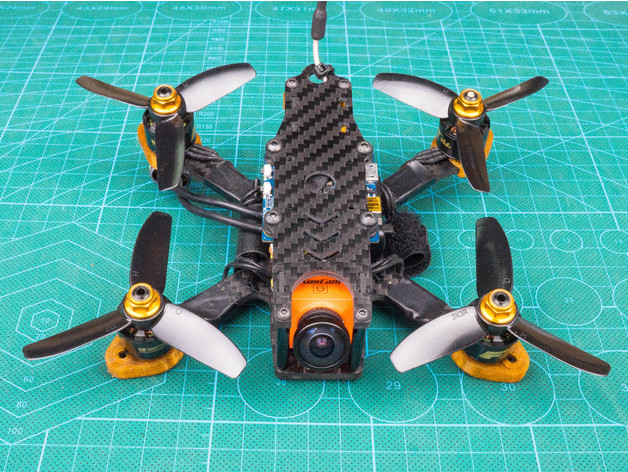
3DPOWER POCO-Split Parts Accessories (Beeper Holder, Bumper) 3D Print Model
Summary
3DPOWER POCO-Split Parts Accessories (Beeper Holder, Bumper) -
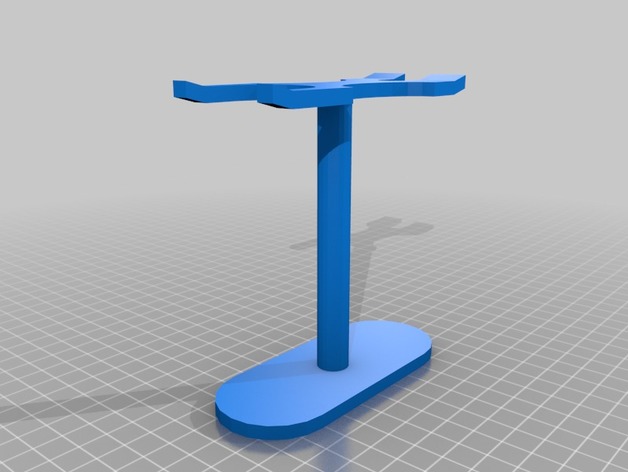
DE Safety Razor and Brush Stand 3D Print Model
Summary
Rotate so its laying flat and print with supports. Works with Rockwell 6s/6c or Merkur 34c razors.
Print Settings
Printer:
Tevo Tarantula Rafts:
No Supports:
Yes Resolution:
.2 Infill:
20%
Post-Printing -
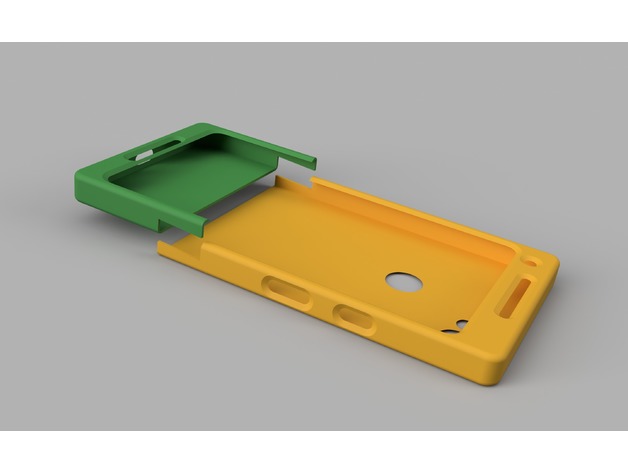
Pixel 2 XL Slider Case 3D Print Model
Summary
Basic Slider case for Pixel 2 XL. Test printing shortly. -
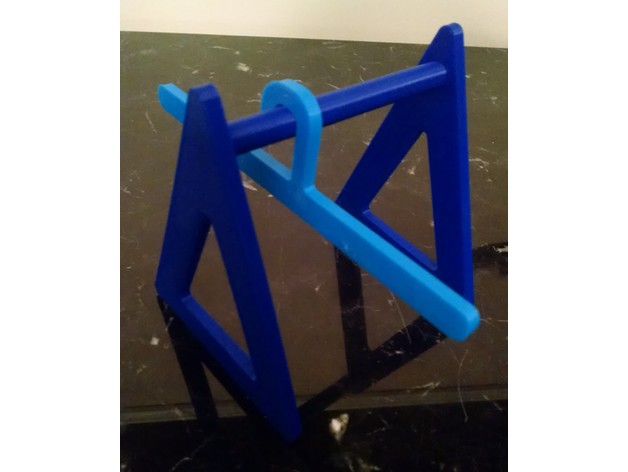
Mini-Closet 3D Print Model
Summary
Is your stylin’ sock monkey (or other doll) in need of a place to keep their trendy wardrobe?!? Look no further! The designer who created this quick print made it easy to assemble and use. It keeps any miniature wardrobe organized and wrinkle-free. Print as many as you need, because when it comes to mini-clothes, less is Moe!
Geometry of Closet:
Distance between rod end hole and bottom of frame: 3.75 inches
Rod length: 4 inches
Hanger width: 6.25 inches
Print Settings
Rafts:
Yes Supports:
No Resolution:
100% Infill:
100% Notes:
Print two triangle frames, one rod, and as many hangers as you need for one mini-closet. It’s best to print the rod vertically with rafts but the hangers and triangular frames do not need rafts. Test printed in PLA.
Post-Printing
It’s best to secure the rod ends to the triangular frames with some Superglue or E6000 to ensure the structure remains rigid while in use. -
Cura Lift Head at Z for PETG Print Gap Plugin 3D Print Model
Summary
Well, they say that PETG likes to “lay down” and not be “smooshed down” like other filaments. After the first layer, you should raise the print head slightly so there’s a gap between the nozzle and the printed piece. This plugin will let you do it in cura.
How to use it: Put it in your <cura 3x>/plugins/PostProcessingPlugin/scripts directory. You will need to restart Cura. Go to the Extensions menu, then Post-Processing and Modify G Code. You will be able to select the plugin there.
The height should be set to greater than your first layer height but less than your second.
Code was altered from BQ_PauseAtHeight.py plugin.
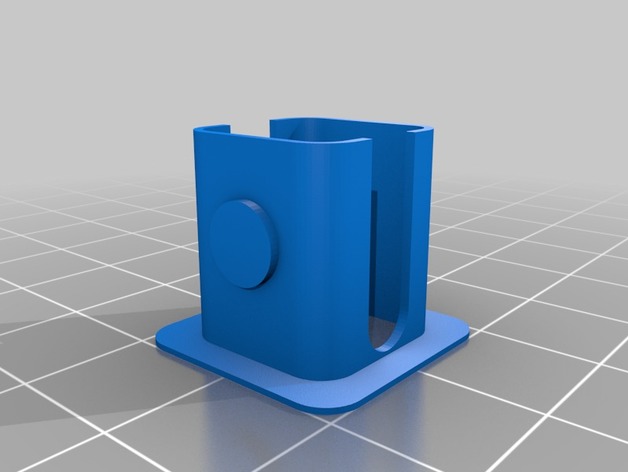
Thingiverse requires an STL or design file to submit something, so I uploaded a test shape I use to test new filaments. Enjoy! -
Lion litophane 3D Print Model
Summary
This is a litophane. To se the effect you need to use white fillament and have some cind of light behind.
Print Settings
Printer:
xyz Da Vinci Mini W Resolution:
0,2mm Infill:
100% -
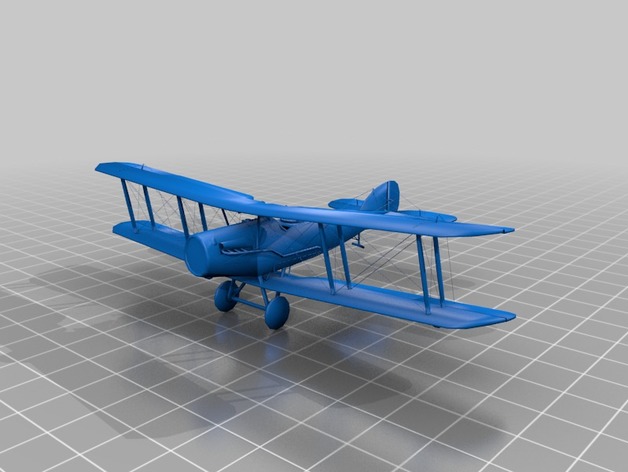
Bristol F.2B – First World War Airplane / Avion de la Première Guerre mondiale 3D Print Model
Summary
(Le français suit l’anglais)
The U.K. designed Bristol Fighter was the most successful two-seat combat aircraft of the First World War. It was initially designed as a reconnaissance machine, the Bristol Fighter’s robust design, powerful engine, good manoeuvrability and relatively heavy armament enabled it to excel as a fighter aircraft.
The Bristol F.2B found at the Canada Aviation and Space Museum was built in 1918. It was restored by Historic Aircraft Collection in the U.K. from the early 1980s to 2006. In 2006, it flew in several aerial displays in Britain. The Museum then acquired the fighter through an aircraft trade later that year.
For more information about the Bristol F.2B please visit:https://ingeniumcanada.org/aviation/collection-research/artifact-bristol-f2b-fighter.php
Note: This model is mainly meant to be viewed in a virtual environment using computer software. You can try printing it off, though we cannot guarantee the quality. For educational activities that this model can be used in, please visit:https://ingeniumcanada.org/ingenium/museums/education/3D-aircrafts.php
Our terms of use can be found at: https://ingeniumcanada.org/ingenium/doc/content/cstmc/CSTMC%20terms%20of%20use%203D%20ENG.pdf
De conception britannique, le Bristol Fighter est le chasseur biplace qui a connu le plus de succès pendant la Première Guerre mondiale. Étant donné sa robustesse, la puissance de son moteur, sa maniabilité et son armement relativement lourd, cet avion d’abord destiné à la reconnaissance a excellé comme chasseur.
Construit en 1918, le Bristol F.2B du Musée de l’aviation et de l’espace du Canada a été restauré par la Historic Aircraft Collection, au Royaume-Uni, du début des années 1980 jusqu’en 2006. Cette année-là, il a participé à diverses présentations aériennes en Grande-Bretagne. Le Musée l’a acquis la même année en l’échangeant contre un autre appareil.
Pour obtenir un complément d’information sur le Bristol F.2B, visitez le sitehttps://ingeniumcanada.org/aviation/collections-recherche/artefact-bristol-f2b-fighter.php
Remarque : Ce modèle est conçu pour être visualisé dans un environnement virtuel au moyen d’un logiciel. Vous pouvez tenter de l’imprimer. Toutefois, nous ne pouvons garantir la qualité de l’impression. Pour prendre connaissance des activités éducatives permettant l’utilisation de ce modèle, visitez le site https://ingeniumcanada.org/ingenium/musees/educatif/avions-3D.php
Vous trouverez nos conditions d’utilisation à l’adresse https://ingeniumcanada.org/ingenium/doc/content/cstmc/CSTMC%20terms%20of%20use%203D%20FR.pdf -
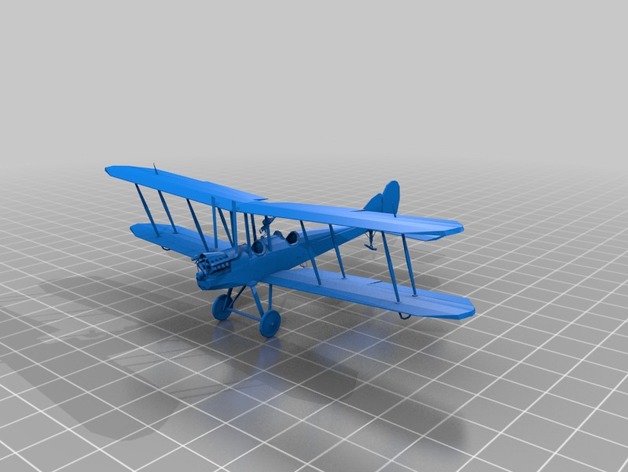
Royal Aircraft Factory B.E. 2c – First World War Airplane / Avion B.E. 2c de Royal Aircraft Factory – Avion de la Première Guerre mondiale 3D Print Model
Summary
(Le français suit l’anglais)
The U.K. designed B.E. 2s saw service with the Royal Flying Corps (U.K.) from 1912 onwards. The B.E. 2c operated in France, mainly for reconnaissance and observation, although some were single-seat bombers. Single-seat B.E. 2c night fighters downed six airships over Britain.
The B.E. 2c found at the Canada Aviation and Space Museum was sent to Canada as a war trophy in 1919. It was restored in the late 1950s and became a part of the Museum in 1964.
For more information about the B.E. 2c please visit:https://ingeniumcanada.org/aviation/collection-research/artifact-royal-aircraft-factory-b-e-2c.php
Note: This model is mainly meant to be viewed in a virtual environment using computer software. You can try printing it off, though we cannot guarantee the quality. For educational activities that this model can be used in, please visit:https://ingeniumcanada.org/ingenium/museums/education/3D-aircrafts.php
Our terms of use can be found at: https://ingeniumcanada.org/ingenium/doc/content/cstmc/CSTMC%20terms%20of%20use%203D%20ENG.pdf
De conception britannique, les appareils B.E. 2 ont été utilisés par la Royal Flying Corps (Royaume Uni) à partir de 1912. En France, les B.E. 2c ont été utilisés comme avions de reconnaissance et d’observation, ainsi que, dans quelques cas, comme bombardiers monoplaces. Des chasseurs de nuit B.E. 2c ont abattu six dirigeables au-dessus de la Grande Bretagne.
Le B.E. 2c du Musée de l’aviation et de l’espace du Canada a été envoyé au Canada en 1919 comme trophée de guerre. Il a été restauré vers la fin des années 1950 et a été ajouté à la collection du Musée en 1964.
Pour obtenir un complément d’information sur le B.E. 2c, visitez le sitehttps://ingeniumcanada.org/aviation/collections-recherche/artefact-royal-aircraft-factory-b-e-2c.php
Remarque : Ce modèle est conçu pour être visualisé dans un environnement virtuel au moyen d’un logiciel. Vous pouvez tenter de l’imprimer. Toutefois, nous ne pouvons garantir la qualité de l’impression. Pour prendre connaissance des activités éducatives permettant l’utilisation de ce modèle, visitez le site https://ingeniumcanada.org/ingenium/musees/educatif/avions-3D.php
Vous trouverez nos conditions d’utilisation à l’adresse https://ingeniumcanada.org/ingenium/doc/content/cstmc/CSTMC%20terms%20of%20use%203D%20FR.pdf -
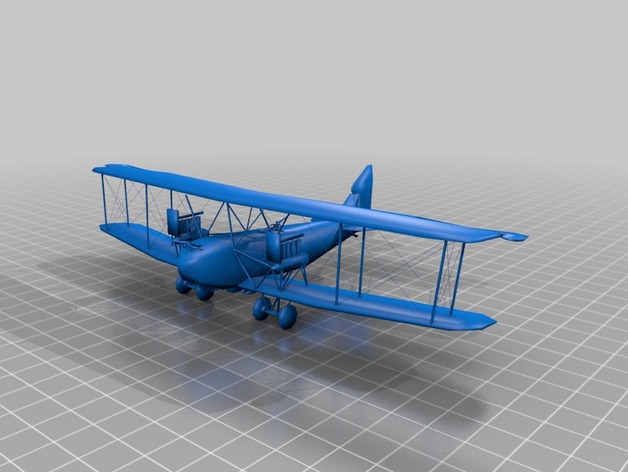
A.E.G. G.IV – First World War Airplane / Avion de la Première Guerre mondiale 3D Print Model
Summary
(Le français suit l’anglais)
The Allgemeine Elektrizitäts Gesellschaft (A.E.G.) G.IV bomber went into general
use with the German Air Force in 1917. Because of its relatively short range,
the G.IV served mainly as a tactical bomber, and operated close to the front lines.
The G.IV flew both day and night operations, but, as the war progressed, was
restricted increasingly to night missions. A.E.G. units operated in France,
Romania, Greece, and Italy.
The A.E.G. G.IV found at the Canada Aviation and Space Museum was transported to Canada in 1919 as a war trophy and has remained in the country ever since. It is the only
surviving multi-engine German aircraft from the First World War and it is the only surviving aircraft from this period covered in the unique German “night lozenge” camouflage pattern.
For more information about the A.E.G. G.IV please visit:https://ingeniumcanada.org/aviation/collection-research/artifact-aeg-giv.php
Note: This model is mainly meant to be viewed in a virtual environment using computer software. You can try printing it off, though we cannot guarantee the quality. For educational activities that this model can be used in, please visit: https://ingeniumcanada.org/ingenium/museums/education/3D-aircrafts.php
Our terms of use can be found at: https://ingeniumcanada.org/ingenium/doc/content/cstmc/CSTMC%20terms%20of%20use%203D%20ENG.pdf
Le bombardier Allgemeine Elektrizitäts Gesellschaft (A.E.G.) G.IV a été mis en service dans l’armée de l’air allemande en 1917. En raison de son rayon d’action relativement court, il a surtout été utilisé pour des missions de bombardement tactique près du front. L’A.E.G. G.IV a servi à réaliser des opérations de jour et de nuit, mais, avec le temps, on l’a de plus en plus réservé aux missions nocturnes. Il a été utilisé en France, en Roumanie, en Grèce et en Italie.
L’A.E.G. G.IV du Musée de l’aviation et de l’espace du Canada a été expédié au Canada comme trophée de guerre en 1919 et est demeuré ici depuis. C’est le seul avion allemand à plusieurs moteurs utilisé pendant la Première Guerre mondiale qui existe toujours et le seul appareil de cette période qui porte encore le distinctif camouflage de nuit à losanges.
Pour obtenir un complément d’information sur le A.E.G. G.IV, visitez le sitehttps://ingeniumcanada.org/aviation/collections-recherche/artefact-aeg-giv.php
Remarque : Ce modèle est conçu pour être visualisé dans un environnement virtuel au moyen d’un logiciel. Vous pouvez tenter de l’imprimer. Toutefois, nous ne pouvons garantir la qualité de l’impression. Pour prendre connaissance des activités éducatives permettant l’utilisation de ce modèle, visitez le site https://ingeniumcanada.org/ingenium/musees/educatif/avions-3D.php
Vous trouverez nos conditions d’utilisation à l’adresse https://ingeniumcanada.org/ingenium/doc/content/cstmc/CSTMC%20terms%20of%20use%203D%20FR.pdf -
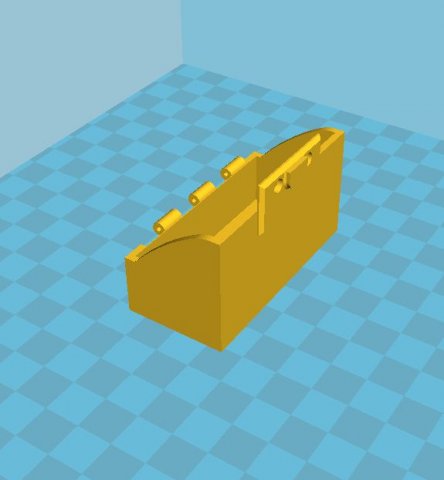
Cigarette case with a latch 3D Model
Сigarette case with a latch for a standard pack of cigarettes (20 cigarettes) – 90x55x23mmEnjoy!
-
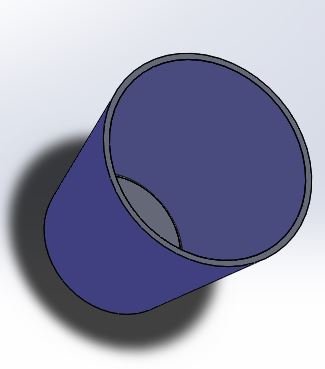
CUP Free 3D Model
3D Model of Cup 3D print modelThis is a cup to print in 3D, it will allow you to store pens or something else!Height: 100mmDiameter: 100mm
-
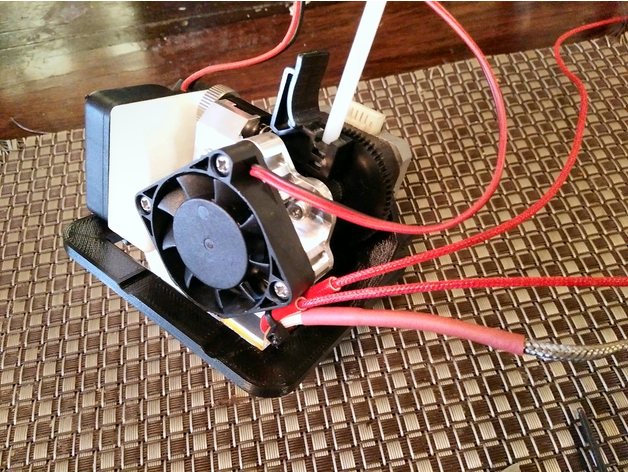
CTC Bizer Makerbot Replicator Dual to Single Titan Aero 3D Print Model
Summary
CTC Bizer Makerbot Replicator Dual to Single Titan Aero
Drop in Dual to Single Extruder Mod with Hotend Cooling duct.
Used original motor and just added E3D Titan with Aero Hotend.
Cooling duct uses M3 Knurl Insert Nut threads from ebay https://www.ebay.com.au/itm/122046120352 I used the M3x4x4 Knurl Insert Nut
You may need to trim one corner of you Aero Cooling Fan as per the images.
The bracket places the hotend nozzle almost exactly over the original Right Hand Nozzle placement to reduce firmware adjustment. Also has striker for the X carriage endstop.
You will need to measure and re drill to move the Z axis endstop up to compensate for the higher nozzle.
Print Settings
Printer:
Lulzbot TAZ6 Custom Rafts:
Doesn’t Matter Supports:
Yes Resolution:
0.3 Infill:
60 – 80% -
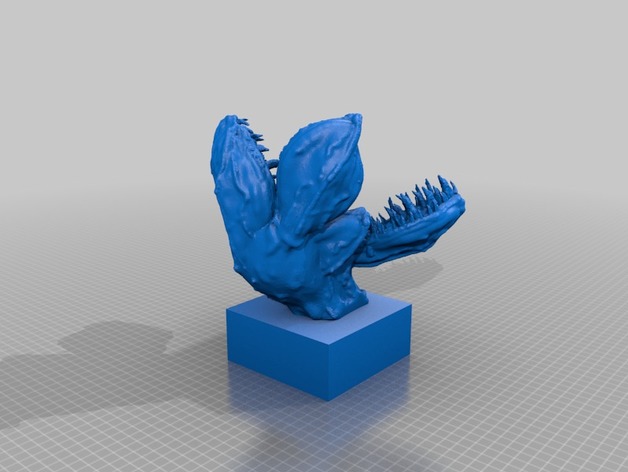
Demogorgon 3D Print Model
Summary
This is a bust of the Demogorgon from “Stranger Things” that I made using Oculus Medium and TinkerCad. I have nothing to do with any of these companies.
It prints well without supports, minus a little stringing between the teeth because they’re small, but you can leave them to make it look like slime/saliva dripping off the teeth!
Post-Printing -
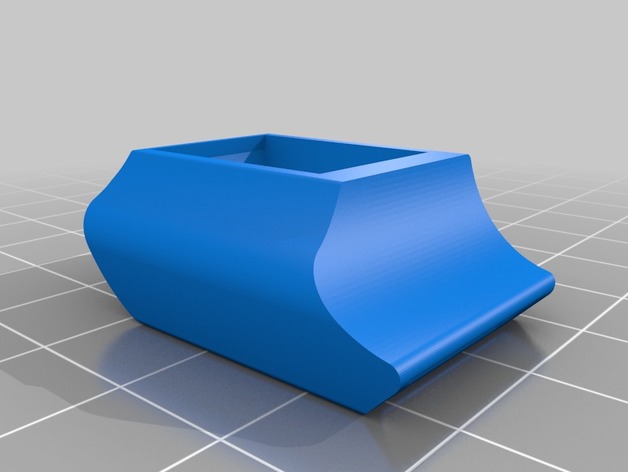
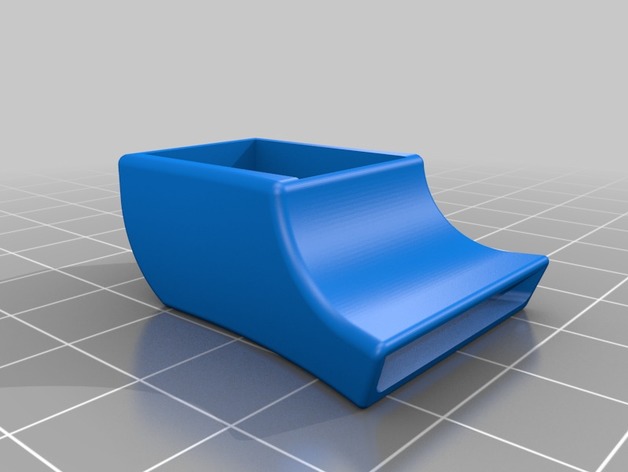
Fan Duct for Blower fan 3D Print Model
Summary
Simple fan duct for blower fan http://amzn.to/2gTWuWL -
Fan Duct for Blower fan 3D Print Model
Summary
Simple fan duct for blower fan http://amzn.to/2gTWuWL -
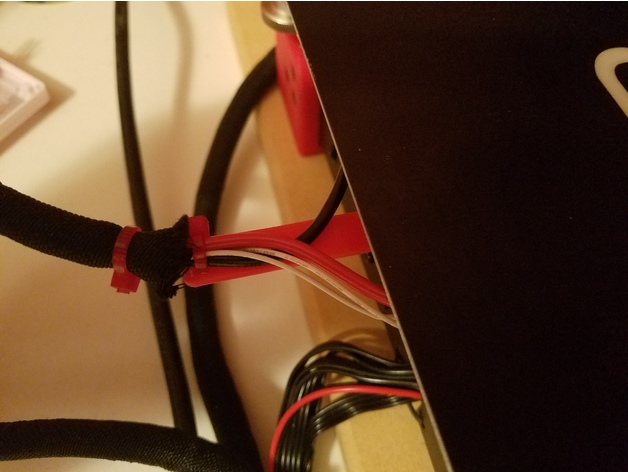
Monoprice Maker Select V2.1 Hot Bed Cable Bracket 3D Print Model
Summary
This is a bracket to help keep the hot bed wires from bending and hitting the build plate. It also keeps the wires low and away from a rear mounted part cooler when the extruder is near the rear of the build plate. The bracket is designed to work with the RepRap Champion Y Carriage Plate Upgrade for the Monoprice Maker Select / Wanhao Duplicator i3.
To install:
Place the bracket between the Y-carriage plate and the hot bed with the clips pointing down, near the hot bed wires. Hook the clip on the outside of the Y-carriage plate and slowly lift the end until the other clip clicks into place inside the Y-carriage plate cutout. It’s a tight fit so some trimming may be needed. Once the bracket is in place, lay the hot bed wires on top of it and use a small zip tie and the provide holes to secure them in place. Make sure the eyelet of the zip tie is on the upper side of the bracket to keep it from hitting the frame.
Print Settings
Rafts:
No Supports:
No Resolution:
0.2 Infill:
100%