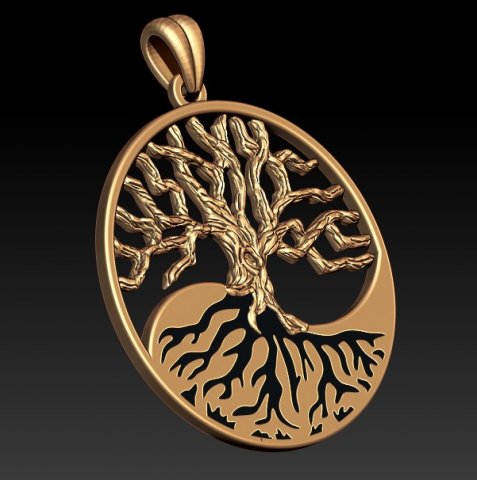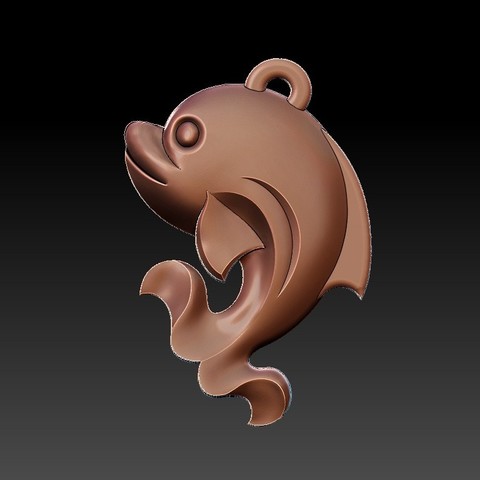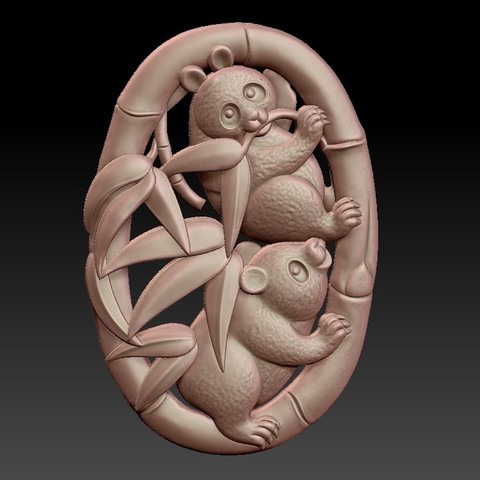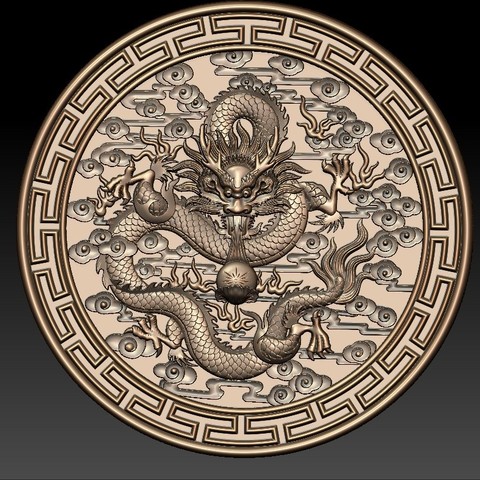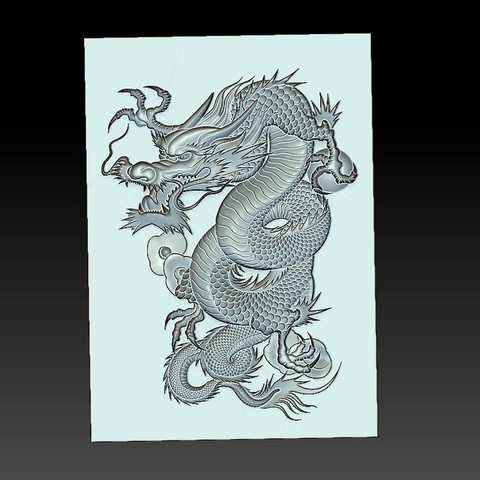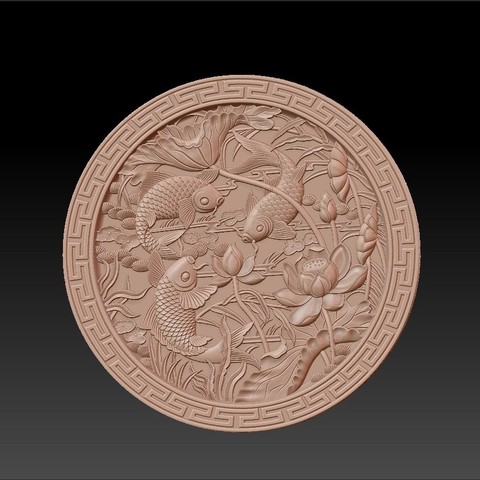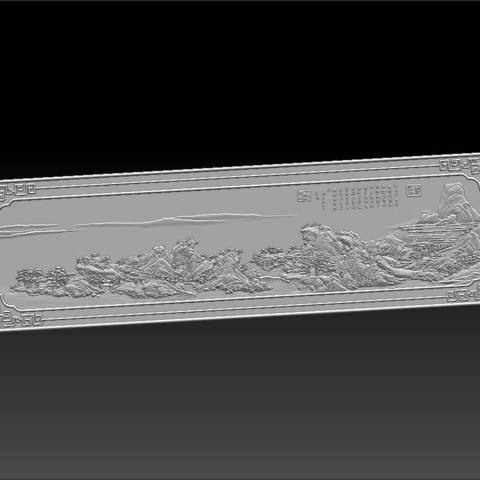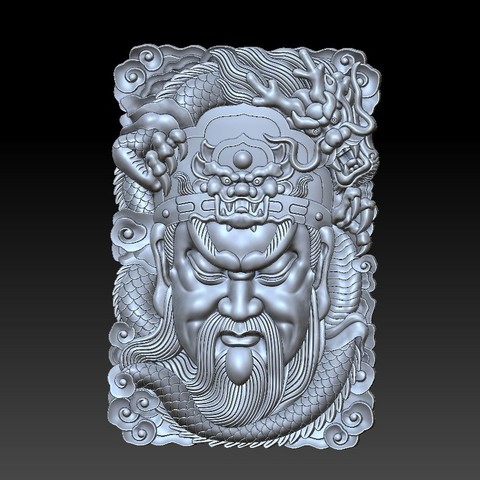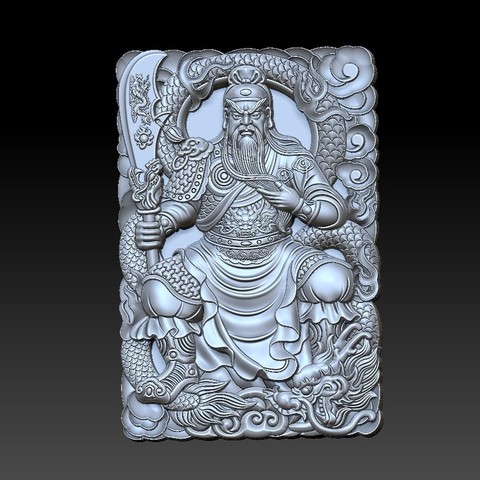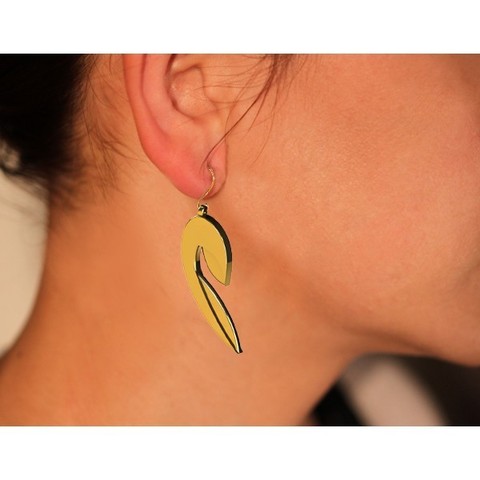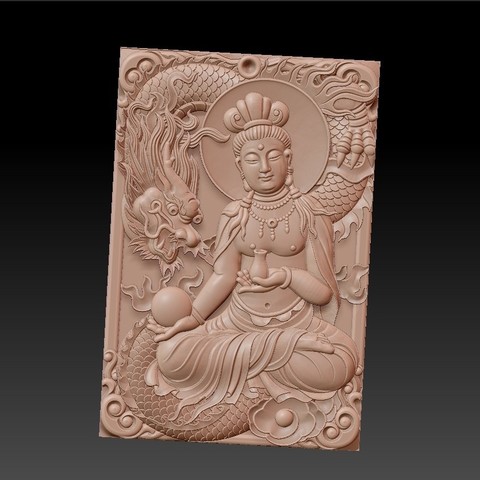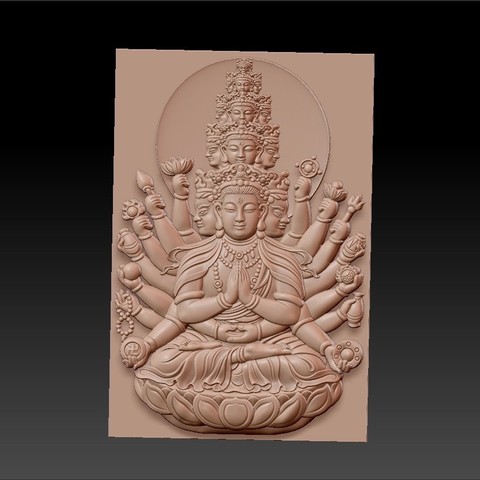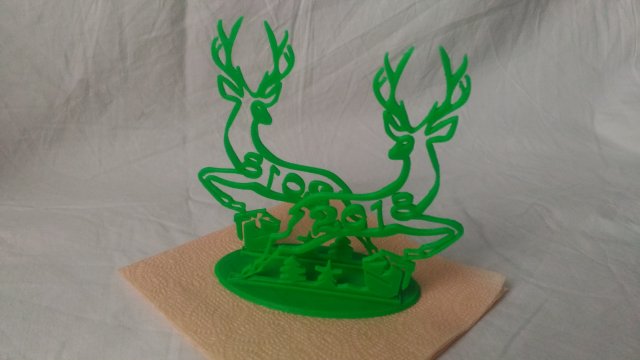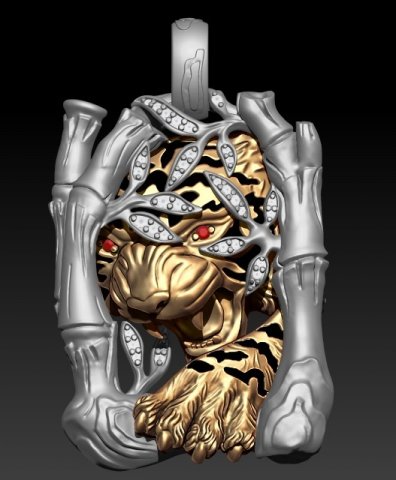
jewellery tiger pendant
Category: 3D Print Models
Premium & 3D Print models ready to be 3d printed. 3D Print Models and Free 3D Print Models are available for download in several formats including .STL, .3DM, .OBJ, .3DS, .DAE, .SKP, .BLEND, .DWG, .DXF, .STEP and much more. If you’re in search of high-quality 3D printed assets, we have a huge library of 3d print models for any of your needs. Also you can visit 3D Models and All 3D Models category.
-
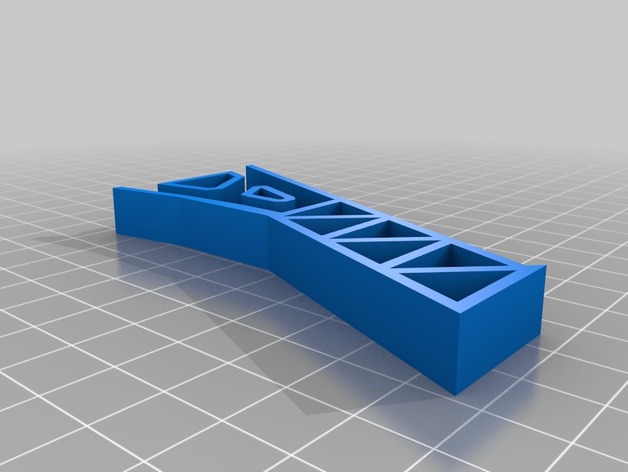
Landing Gear Trem de pouso – F450 – F550 – TBS Discovery 3D Print Model
Summary
Trem de pouso para braço HF, F450 e F550.
Print Settings
Printer:
TEVO Tarantula Rafts:
Doesn’t Matter Supports:
No -
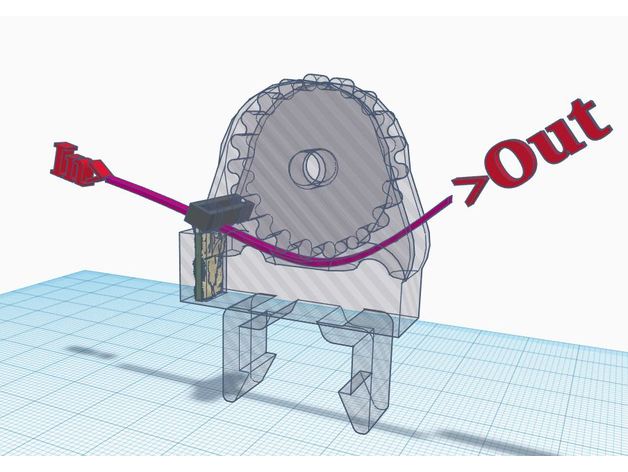
TronXY X5 Snap On Filament Guide/Cleaner 3D Print Model
Summary
TronXY X5 Snap On Filament Guide/Cleaner
Cura File attached -
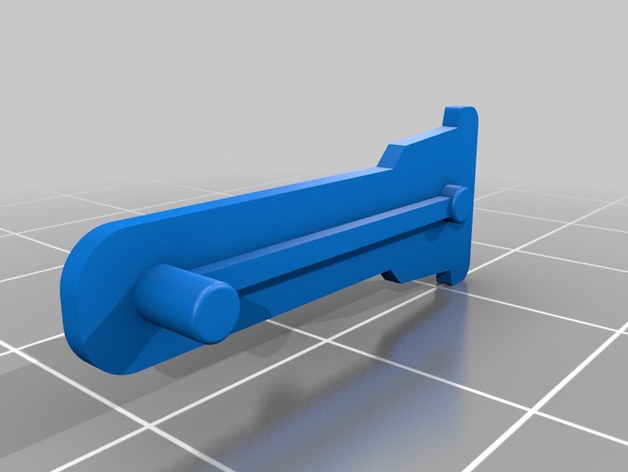
GSG / SIG 1911 magazine base lock 3D Print Model
Summary
GSG / SIG 1911 magazine base lock piece.
Have yet to print, measurements and fitment has not been double checked. -
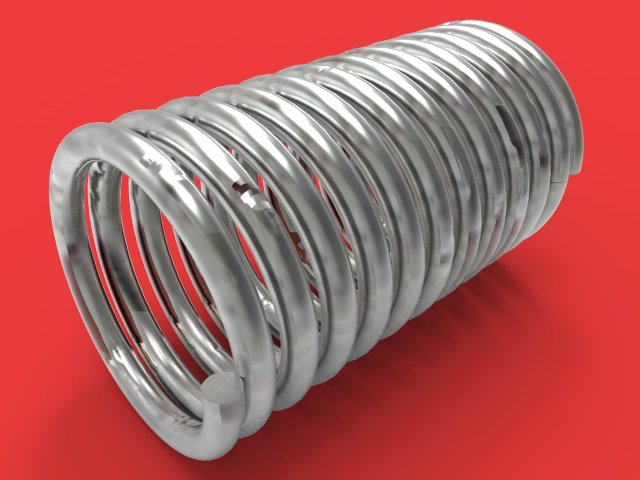
Spring car engine component 3D Model
how to design this model ?✔ SOLIDWORKS tutorial ► http://bit.ly/2BMsnNK✔ Full SOLIDWORKS playlist ► https://goo.gl/1skWKC✔ catia tutorial ► http://bit.ly/2psvogJ✔ Full CATIA playlist ► https://goo.gl/mtCZAz
-
Key chain yamaha szr bike 3D Print Model
Summary
Simple key chain for Yamaha SZR model name -
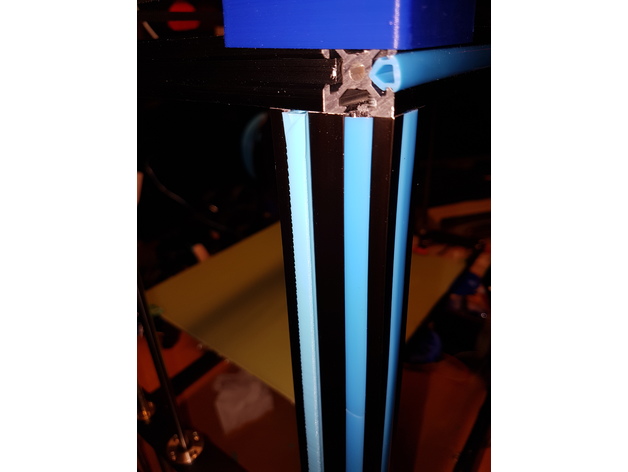
Tronxy & CR-10 Rail insert 3D Print Model
Summary
Found this Rail insert made by Moby2112, and re-saved it in 100-400mm for easy printing.
Really nice to be able to swap/print color.
Print in vase-mode. No raft needed (atleast on a CoreXY-printer).
The last 100-150mm might be a bit shaky due to the hight.
Print Settings
Printer:
Tronxy X5S Rafts:
Doesn’t Matter Supports:
No -
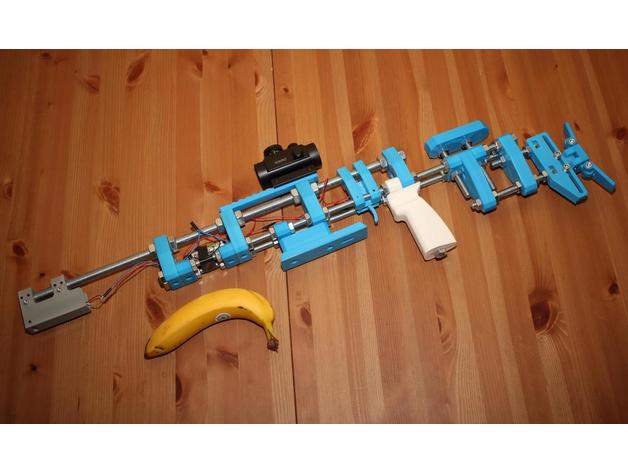
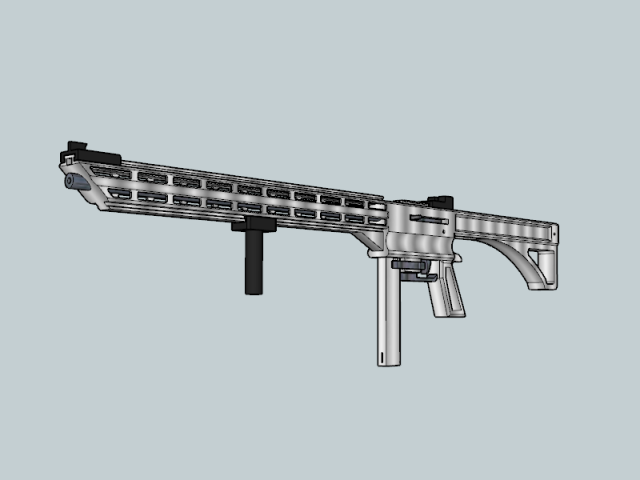
Open Laser Rifle 3D Print Model
Summary
This is Open Laser Rifle, a special laser rifle for Home LASER Shooting Simulator project (http://homeless-eng.webnode.com/). This rifle is for training purpose and can not be turned into firearm.
Main parameters:
Two axis adjustable LASER.
Fully adjustable frame.
Picatinny rail or 11mm rail (sights are not included yet).
Powered by two AA battery.
RC timed LASER system.
File “OpenRifleParts.zip” contain all files sorted to directory.
Parts to print
Frame
1x frame_D10
3x frame_M6
2x frame_support_D10
3x frame_support_M6
1x frame_support_D6
2x butt
1x cheekpiece
2x tm_holder
Palmrest
1x palmrest
1x palmerst support
Rail
1x mount_rail_11mm_70
1x mount_rail_11mm_155
or
1x mount_rail_picatinny
Grip
1x grip
or
2x grip_splited (one of these must be mirrored)
Buttplate:
1x holder
1x slider_M6
1x rotator_M6
1x wing_A_M6
1x wing_B_M6
Trigger mechanism
1x body_bottom
1x body_top
1x trigger_v2
Laser Adjust:
1x case_v2b
2x case_holder_v2
1x horizontal_adjuster
1x vertical_adjuster_v2
Parts to buy
All dimensions are in millimeters.
Frame
1x M14x600 threaded rod
2x M10x600 threaded rod
2x M10x140 threaded rod
3x M10x80 threaded rod
1x M6x35 screw (for grip)
8x M14 nut
48x M10 nut
Palmrest
2x M6x35 screw
Rail
2x M4x8 (per rail)
Buttplate
5x M6x25 screw
5x M6 nut
2x screw washer for M6
Trigger mechanism
2x M3x6 screw
1x M4x4 set screw
1x 2mm diameter spike from bicycle
Laser Adjust:
4x M4x8 screw
4x M3x6 screw
8x M4x4 set screw
1x M3x6 set screw (for vertical adjust)
1x M3x10 set screw (for horizontal adjust)
1x M3x4 set screw (for laser holder)
Electrical
1x Capacitor 2200 uF, 6.3 V (higher voltage is possible)
1x Microswitch (ON-ON, some similar for RepRaps)
1x Battery clip (AA or AAA)
1x Laser module (some simple with 10mm diameter max, red dot, 3 mW is enough)
1x wires (about 1 meter red and blue)
Tools
3D printer 😀
saw
file
screw tap (M3, M4, M6)
sandpaper
soldering iron
etc. -
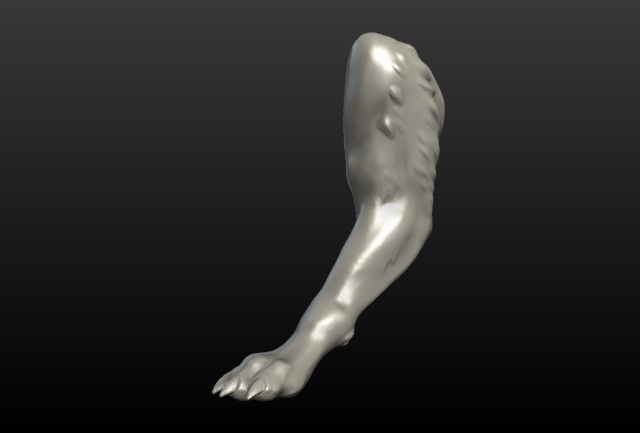
Wolf Paw 3D Model
High poly wolf paw.File contains one mesh object that is manifold and print ready.Measure units are meters. It is about 1.38 meters in height.Available formats are: .stl, .obj, .3ds, .fbx, .blendNative format is .blendFaces count is : 276946For 3ds format : 63786
-
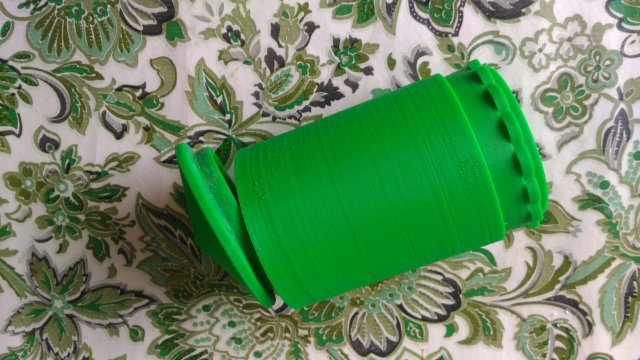
Sugar bowl dispenser sand 3D Model
Sugar bowl dispenser sand.Dry spoon. Very convenient, you can take along on a picnic or camping. You can use in the kitchen. Turn a quarter equals one teaspoon of sugar or other substances.
-
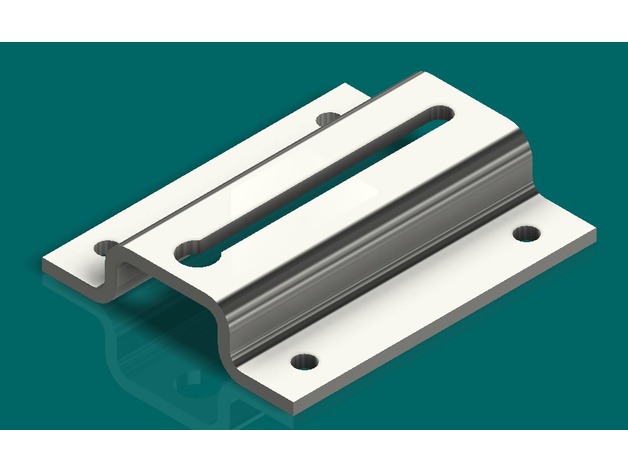
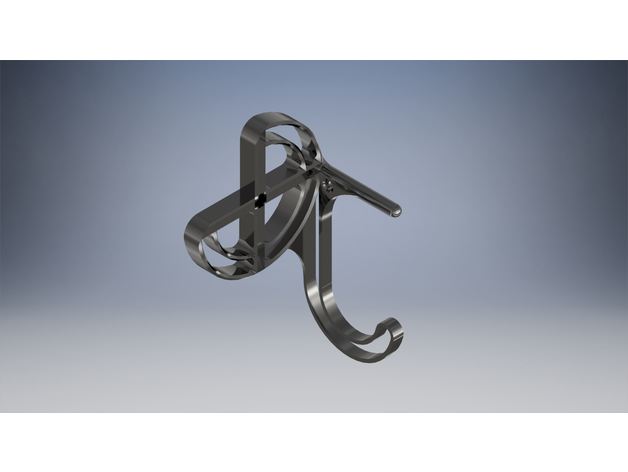
Door Chain Lock 3D Print Model
Summary
I made this for my door because the other got damaged, for this designed I added the .ipt file so you guys can change the dimensions if needed.
Made in Inventor. -
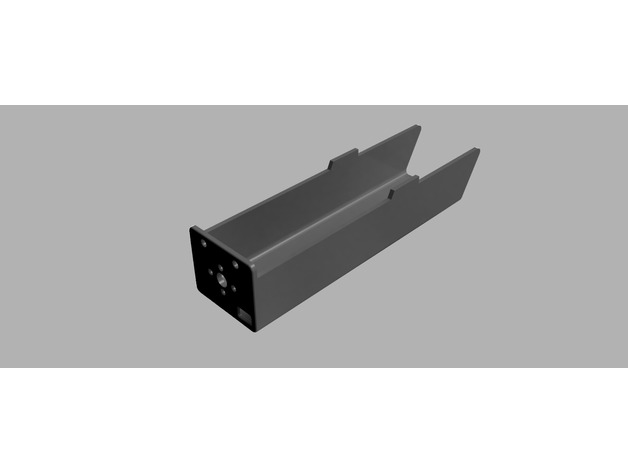
FT Power Pod 182mm 3D Print Model
Summary
A printed power pod for your FT designs! Don’t worry about cutting out any more firewalls or folding foamboard; just hit print! I have tested this on the following FT planes: Bloody Baron, Simple Cub, Nutball, Bloody Wonder. Versawing, FT Delta. Leave a comment if it works for you on other aircraft.
This is slightly shorter than the FT power pod plans, but is designed to print in one piece vertically, with the firewall facing down, on most printers.
Includes stl file with and w/o holes for motor mounting. Holes are 4mm at standard 16mm and 19mm widths.
Also has cutout in bottom of pod for XT60 connector pass through.
Enjoy!
JGplanes
Print Settings
Printer Brand:
Prusa Printer:
i3 MK2S Rafts:
No Supports:
No Resolution:
.20 or .30 Infill:
10% fast honeycomb at 90* offset Notes:
Print with PLA or PLA+
Print with firewall flat on print bed. For a solid firewall, make the bottom 11 layers solid if your software supports this.
The included gcode is with the following settings:
Layer height: .30 (works well with .20 also, but adds 1hr to print time)
Bottom solid layers: 11 (this is for a solid firewall when printed vertically)
Outline perimeter shells: 1
Top solid layers: 3
Infill: 10% fast honeycomb with 90 offset
Extruder temp: 210
Bed temp: 75*
Support material: Yes (probably not needed since it is only for the XT60 connector hole.
Post-Printing
Drill your own holes in the sides for barbecue skewers to pass through, since this differs for different designs.
Dispose of support material in XT60 pass through if desired. -
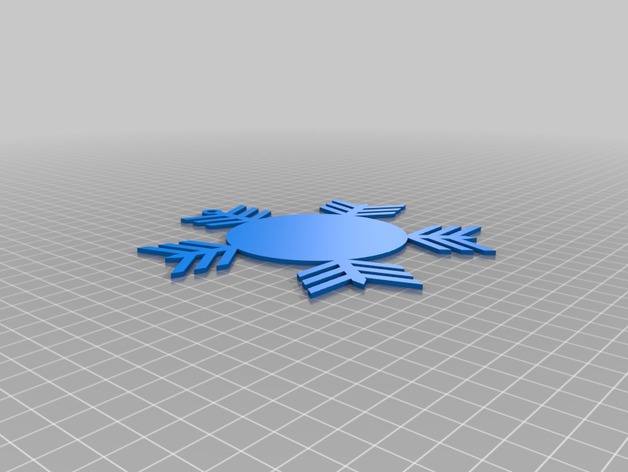
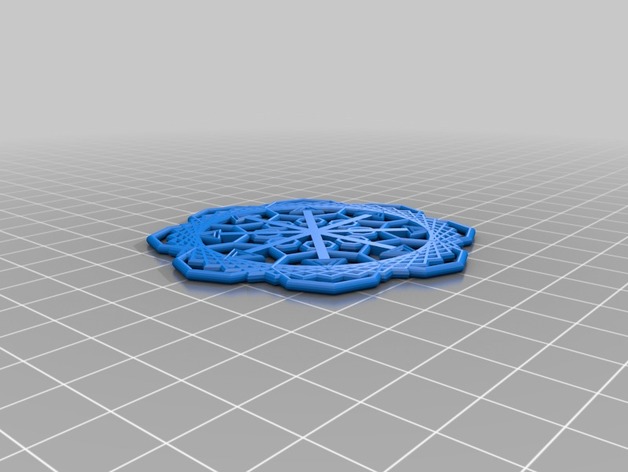
snow flake star 3D Print Model
Summary
I created this star to use as a base for gluing a lithophane picture to, for gifting to friends -
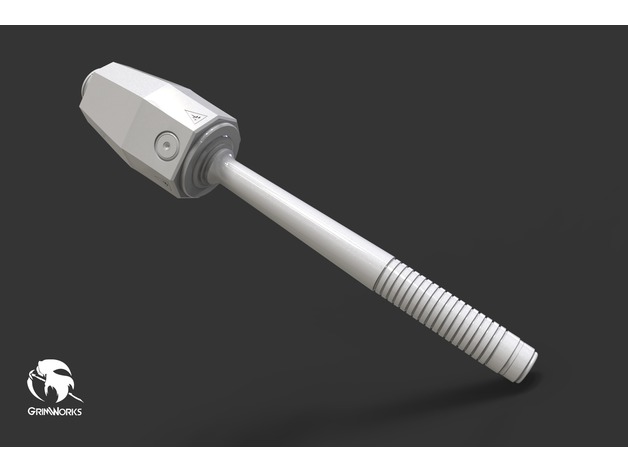
Wolfenstein: The New Order | Grenade 3D Print Model
Summary
Wolfenstein: The New Order | Grenade
Inspired on the concept art of Axel Torvenius
Dimensions:
361 mm length
64 mm width
This is part of the 12 days of X’mas of Grimworks.
http://www.facebook.com/GrimworksMX
Have fun XD
See my profile here:https://www.myminifactory.com/users/AltairV -
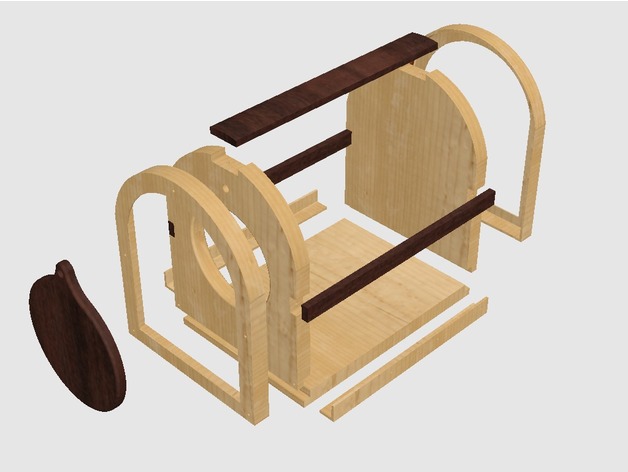
Insect Cage V2 3D Print Model
Summary
Insect cage for kids, Made to be printed on a 200mmx200mm bed
Screen goes under side and top struts, us a stapler to tack to bottom, small finishing nails to hold struts in place
Use flat thumb tacks to hold screen guard flashings in place. -
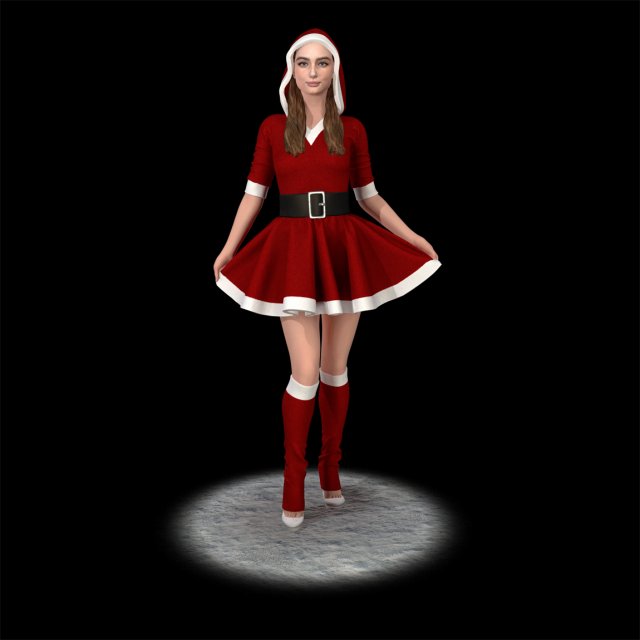
Santa girl cute 3D Model
Figure for 3D printing. With a height of 180 mm. Texture format PNG 4096*4096. Formats OBJ. No shell.poly 600016vert 299998
-
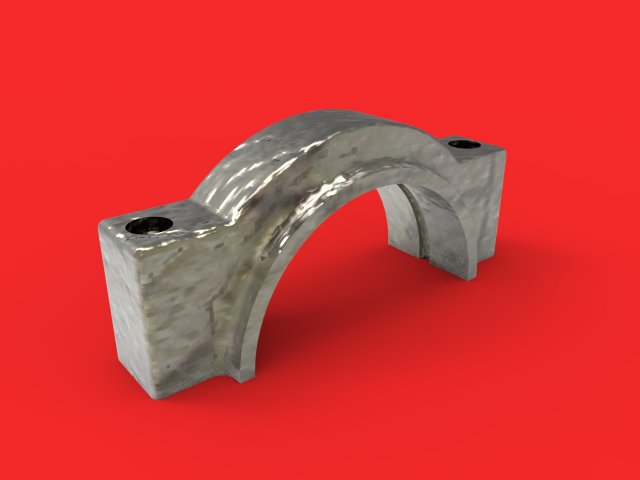
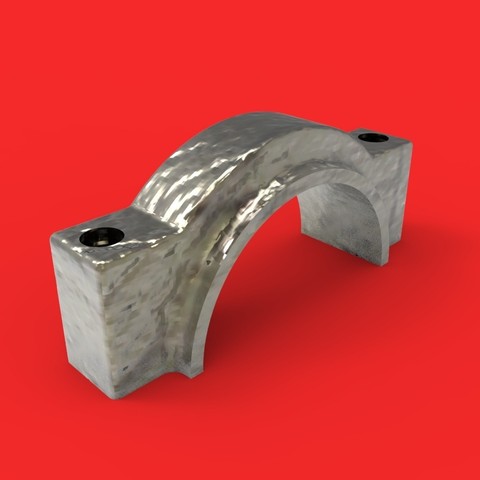
Connecting rod car engine component 3D print model 3D Model
connecting rod part 2 | car engine componentvideo tutorials :✔ solidworks tutorial ► https://goo.gl/x8yBYR✔ Full playlist ► https://goo.gl/1skWKC✔ catia tutorial ► https://goo.gl/m7t9S4✔ Full playlist ► https://goo.gl/mtCZAz3D model format: STL
-
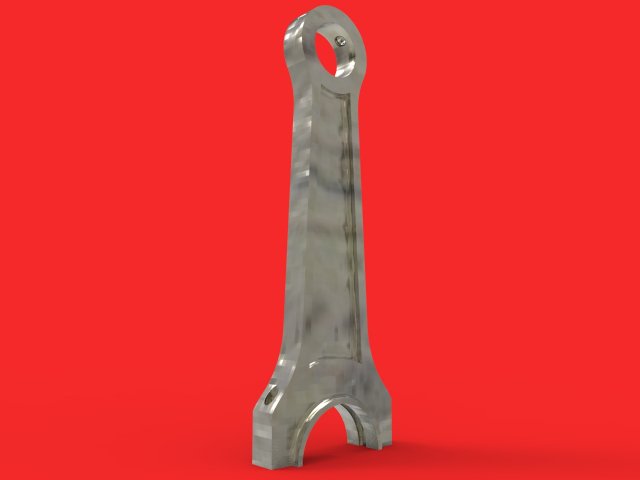
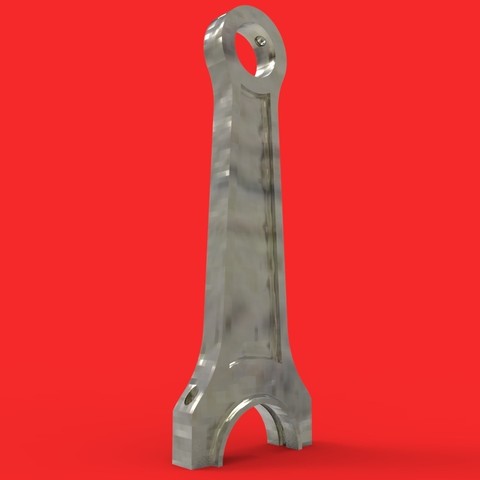
Connecting rod car engine component 3D print model 3D Model
connecting rod car engine component 3D print modelconnecting rod | car engine component :video tutorials :✔ solidworks tutorial ► https://goo.gl/VgyJ6i✔ Full playlist ► https://goo.gl/1skWKC✔ catia tutorial ► https://goo.gl/jvoHT5✔ Full playlist ► https://goo.gl/mtCZAz3D model format: STL
-
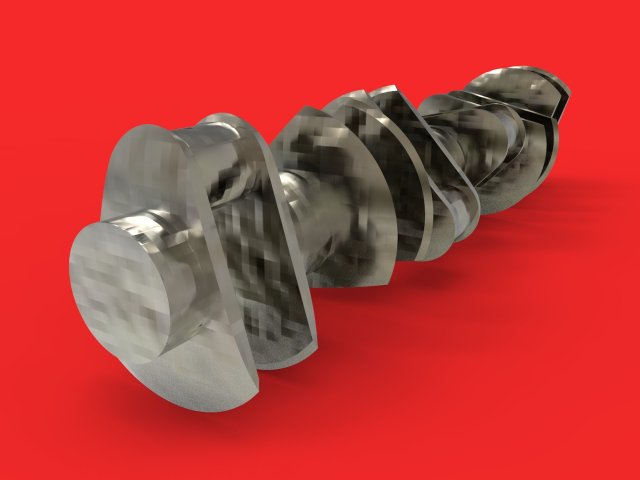
Crank car engine component 3D print model 3D Model
crank car engine component 3D print modelcrank | car engine component➤ video tutorial : https://goo.gl/PKbQqk
-
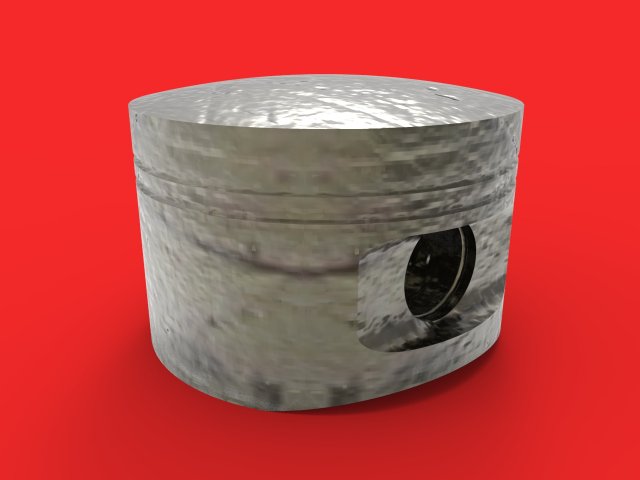
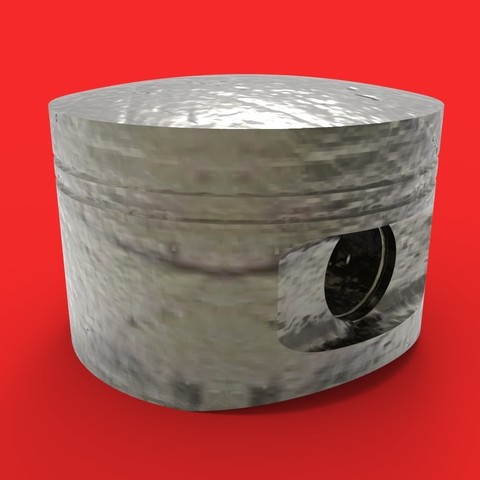
Piston car engine component 3D print model 3D Model
Piston car engine component 3D print modelPiston | car engine componentvideo tutorials :✔ solidworks tutorial ► https://goo.gl/NJSA4v✔ Full playlist ► https://goo.gl/1skWKC✔ catia tutorial ► https://goo.gl/RE1nQL✔ Full playlist ► https://goo.gl/mtCZAz3D model format: STL
-
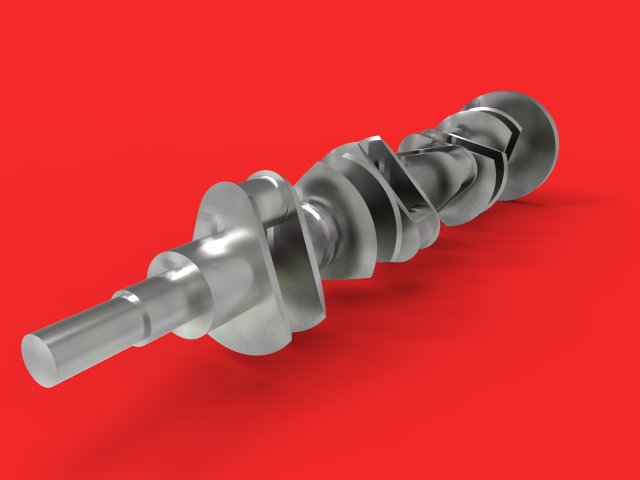
Crank complete design car engine component 3D print model 3D Model
crank complete design car engine component 3D print modelcrank complete design | car engine component➤ video tutorial : https://goo.gl/G2ppyf
-
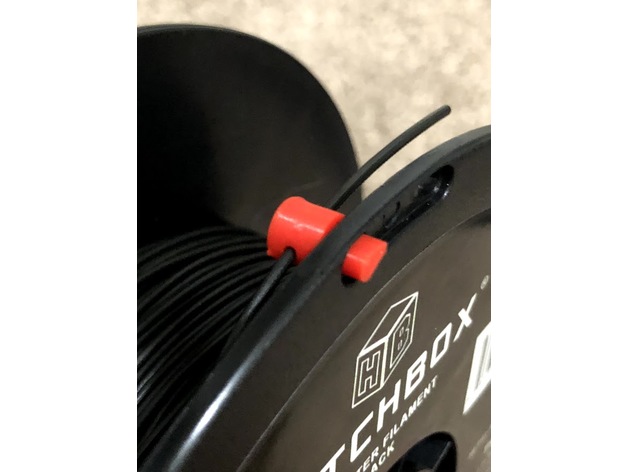
Hatchbox Filament Plug 3D Print Model
Summary
This plug was designed for Hatchbox 1.75 PLA may work with others.
I was using other “Clips” but they kept flying off so I designed this plug. It is pretty tight – so it has a better chance to not fall off. Note that not all holes in the reel are the same size. I found two on my test reel that are too small for the plug. If you can’t get it through the hole from the inside, insert it from the outside then try to insert it from the inside again.
Snip any melted/deformed filament from the end, insert the plug from the inside of the reel and thread the filament through the plug.
Print Settings
Printer:
Creality CR-10S Rafts:
Doesn’t Matter Supports:
No Infill:
100 -
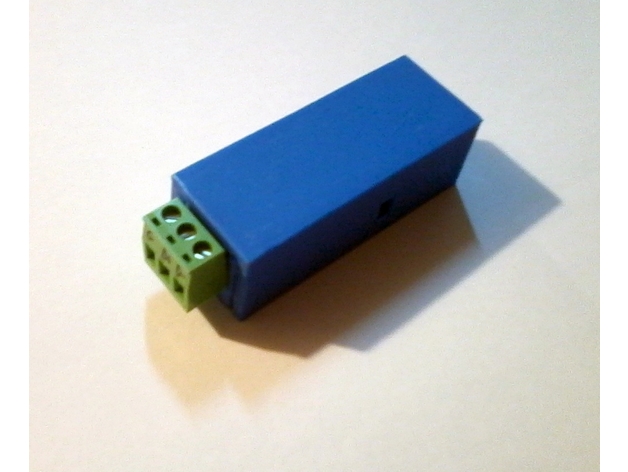
Case for PCB USB to RS485 3D Print Model
Summary
This box to house a small usb to rs485 converter. Box without holes, with side latches.
Print Settings
Printer:
RepRap(Marlin) Rafts:
Doesn’t Matter Supports:
Doesn’t Matter Resolution:
0.2 Infill:
30% + -

Cellular automaton snowflake in OpenSCAD 3D Print Model
Summary
This cellular automaton uses Stephen Wolfram’s rule that a filled cell stays filled and an unfilled one becomes filled if it has exactly one filled neighbor. -
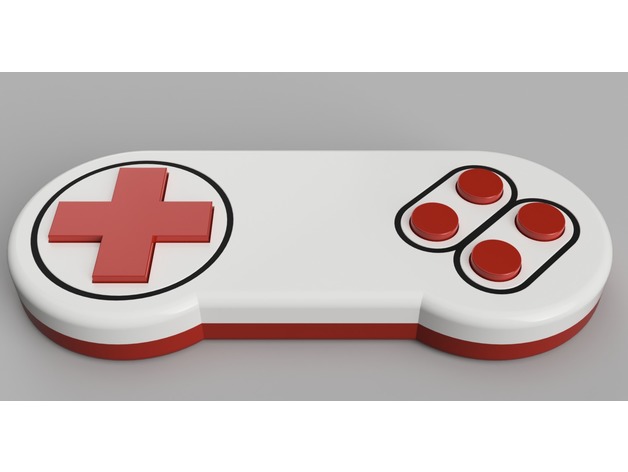
I2C Game Controller for Arduino / Raspberry Pi 3D Print Model
Summary
As part of my LED-Matrix Table project (uploaded soon) , I designed this game controller to control the table and to play games. It can be used as an input device for a wide variety of micro-controllers or raspberry pi computers.
Up to 8 controller can be used in parallel with the same control chip. The state of the eight buttons can be read by using the I2C protocol and therefore it only requires 4 wires for connection.
Additional Parts
The chip, included in the controller, is a PCF8574 on a small circuit board from Amazon (8€):https://www.amazon.de/gp/product/B06W564ZSD
And the pushbuttons are from Ebay (1.2€):http://www.ebay.de/itm/10-Stück-DIP-4-Mini-Drucktaster-Printschalter/272861590169
Additionally, you need a few wires for connecting the buttons to the PCF8574 chip and a 4-wire-cable with approx. 2 meter length to connect the controller to the raspberry pi.
Instructions
Print all parts 🙂
Cut out two perfboard pieces with a dimension of 40×40 mm each.
Solder 4 buttons on each perfboard, pay attention to the proper alignment (use the X button as reference, both perfboards require the same alignment)
Connect one pin of each button to the I2C port extender. Connect the other pin of each button to GND on the port extender circuit board.
Slide the two prefboards into their rails and use hotglue to fixate them (check if the align with the corresponding button holes as good as possible.
Connect the long cable to the port extender board. If you use the same board, you have to desolder the i2c connector on both sides.
Fixate the port extender board with some hotglue in the center of the controller as shown in the the pictures above.
Connect the other end to your arduino / raspberry pi and you are done.
Have fun! 🙂
Print Settings
Rafts:
No Supports:
No Resolution:
0.2 mm Infill:
15% Notes:
Multi-color
Multi-color printing of the front side of the controller can be achieved by pausing the print before layer 2 and 4 (0.2 mm layer height). Print layer 2 and 3 in a different color to achieve the colored inset, seen in the pictures above. -
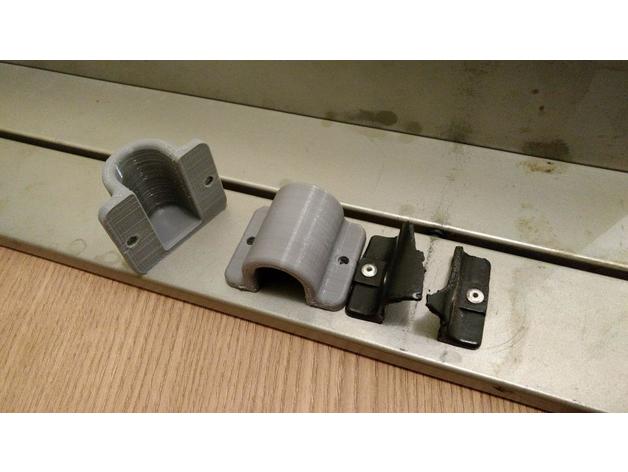
Camping_Table_Part 3D Print Model
Summary
Hi friends, I drew this piece to the camping table because mine broke over time, I hope it will be useful for everyone who comes down.
Print Settings
Printer:
FLSun Cube Rafts:
No Supports:
No Resolution:
0.2mm Infill:
30% Notes:
I did use ABS and 0.2mm layer high, but recommend 0.1mm to best finish. -
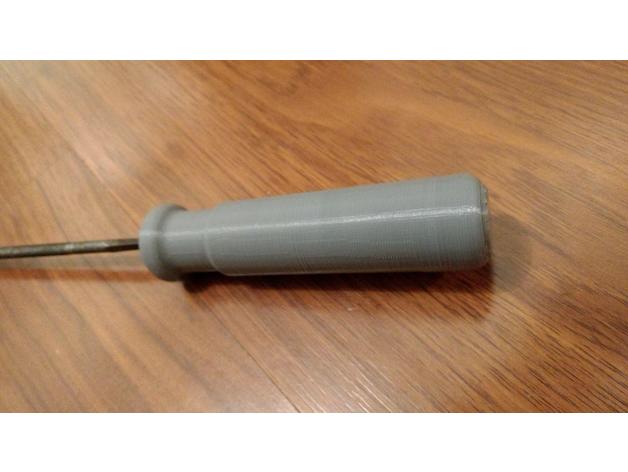
Generic_Handle_Tool 3D Print Model
Summary
Nice generic handle tool
Print Settings
Printer:
FLSun Cube Rafts:
No Supports:
No Resolution:
0.2mm Infill:
40% -
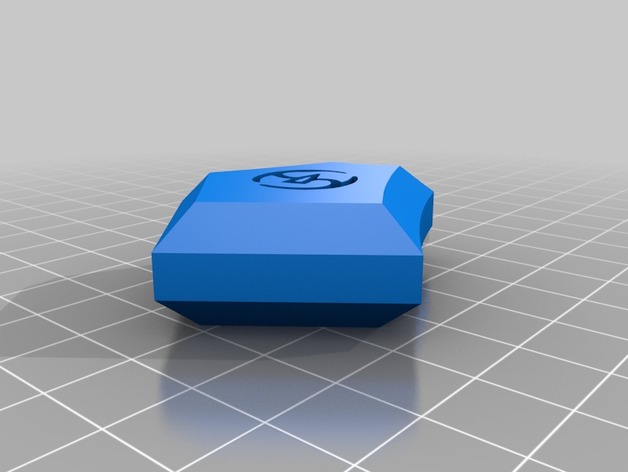
Samurai Soul Stone FFXIV 3D Print Model
Summary
Inspired by Titor’s collection of Soul Stones: https://www.thingiverse.com/thing:1694618 I finally got around to expanding on them. Here’s the Samurai. -
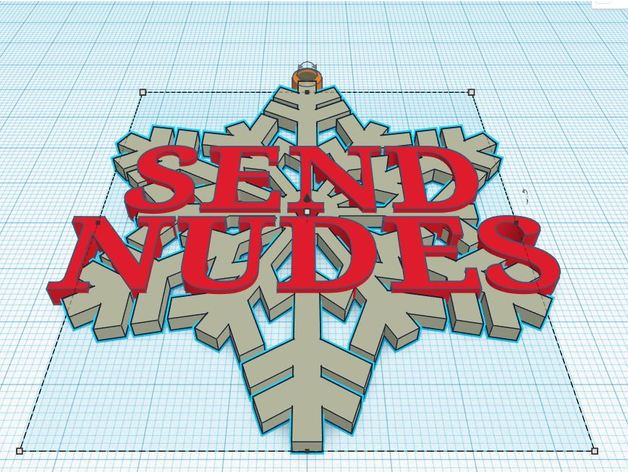
Send Nudes Snowflake Ornament 3D Print Model
Summary
What better way to bring the warmth of the holidays to someone you love than with an ornament for the tree. This remix of a snowflake simply added some basic text, and a loop for hanging. Enjoy!
Print Settings
Printer:
CR-10 Rafts:
No Supports:
No Resolution:
.1 Notes:
I had the most success at 220 filament at 55 bed, but it’s up to you and your PLA. Print it in white and paint the letters red or green for extra fest. Perhaps even a light coat of glue and glitter!
How I Designed This
Threw this inter Tinkercad and put in very little effort. -
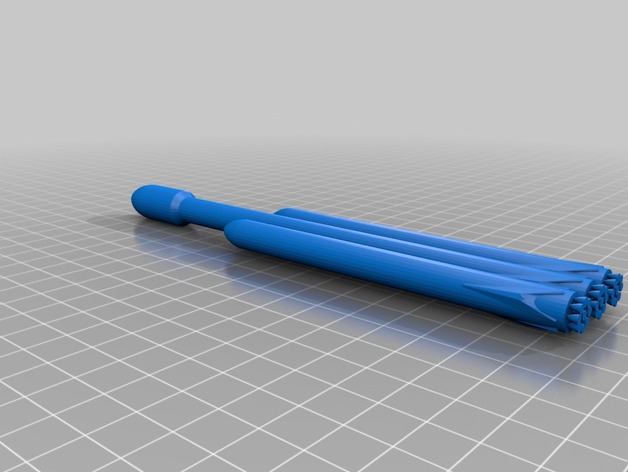
Falcon Heavy 3D Print Model
Summary
This is a simple falcon heavy model that doesn’t have to be printed in a ton of pieces and assembled.
Timelapse of this model being created and printed: https://youtu.be/–wyzDblfzI
The best way to build this is to print 1x – falcon heavy top.stl and 3x – falcon_heavy_engines.stl then glue them together
Flacon_heavy.stl is the complete model with engines attached -
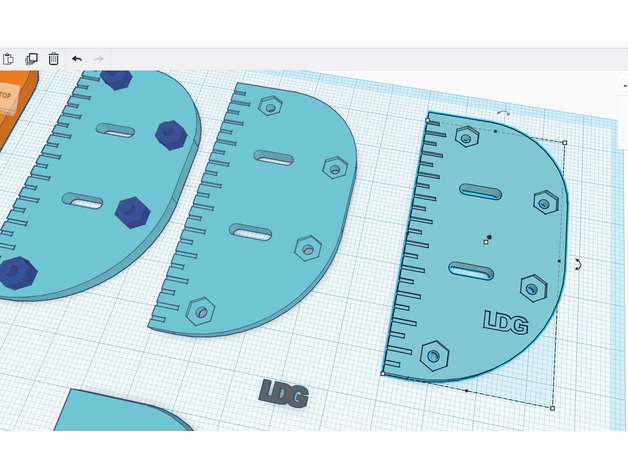
Barebow fingertab Plate 3D Print Model
Summary
Plate that can be added to the leather of an archery FInger tab. The regular stripes make it easier to use this tab for the stringwalking-technique.
4 designs: RH and LH medium-size, RH and LH small size.
(Small design only has 3 bolts) -

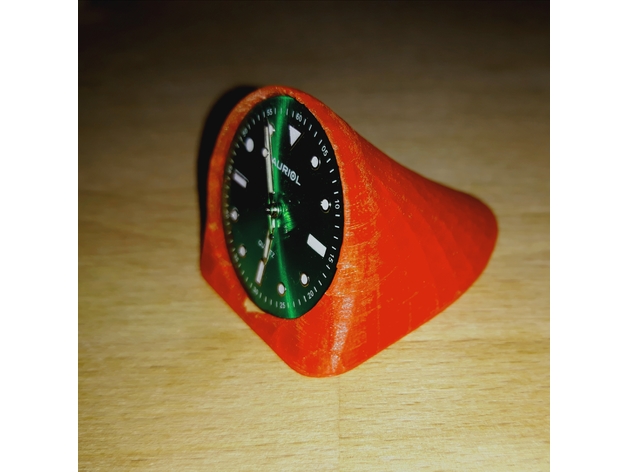
Holder watch Free 3D Model
Beautiful and simple watch holder, perfectly placed on a bedside table or Desk. And will also help in showing of the collection.
-
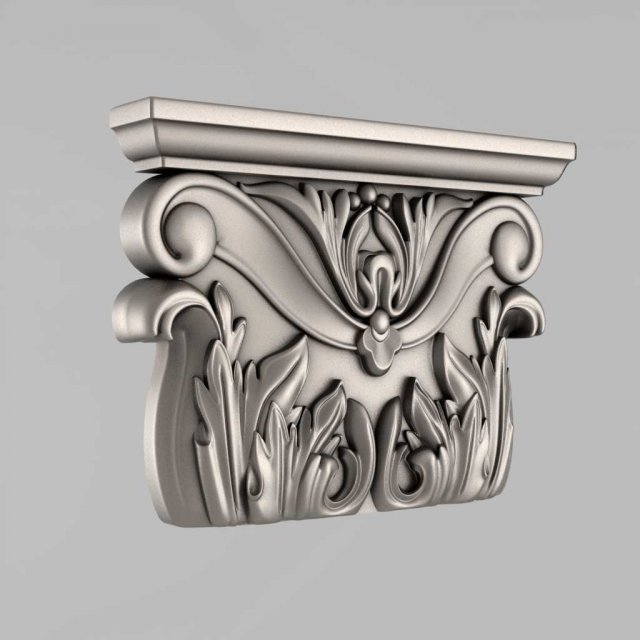
Capitals 11 3D Model
STL 3D model – CapitalsThe model is ready for prototyping with CNC machining and 3D printing.
-
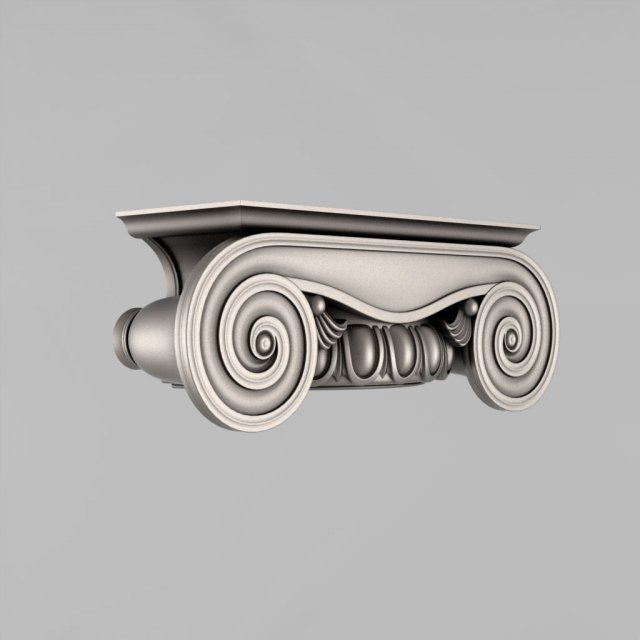
Capitals 12 3D Model
STL 3D model – CapitalsThe model is ready for prototyping with CNC machining and 3D printing.
-
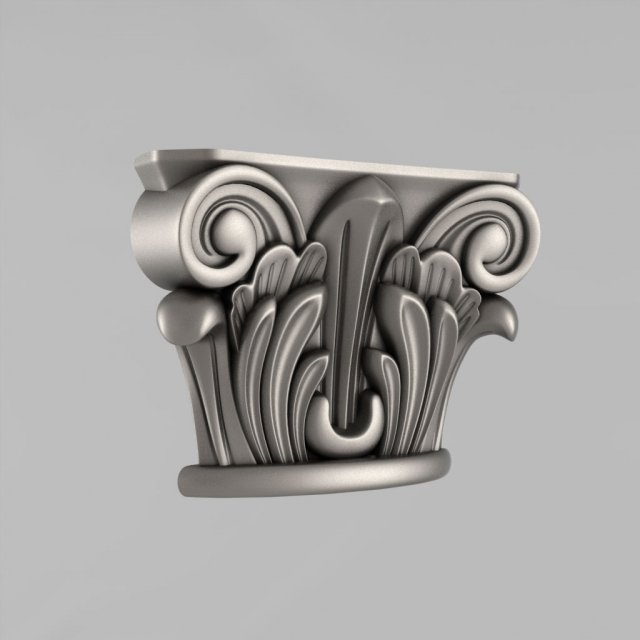
Capitals 13 3D Model
STL 3D model – CapitalsThe model is ready for prototyping with CNC machining and 3D printing.
-
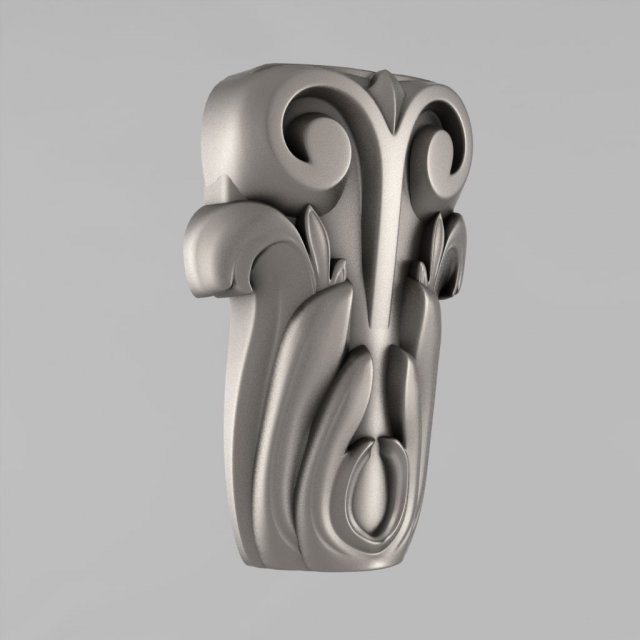
Capitals 14 3D Model
STL 3D model – CapitalsThe model is ready for prototyping with CNC machining and 3D printing.
-
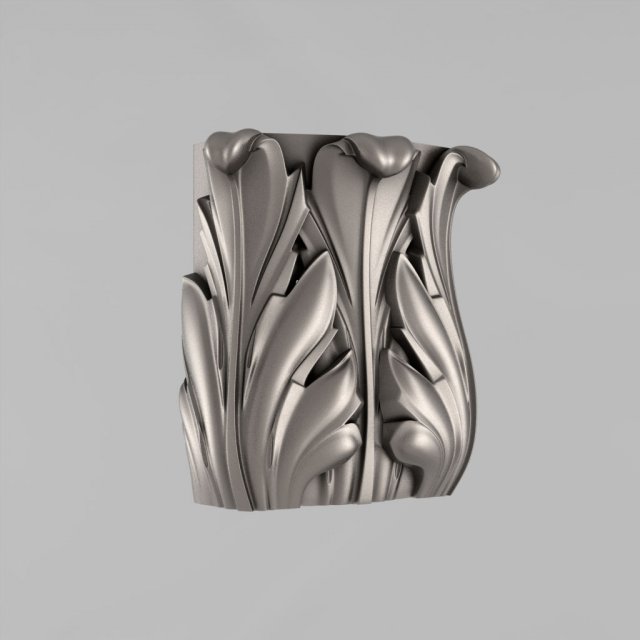
Capitals 15 3D Model
STL 3D model – CapitalsThe model is ready for prototyping with CNC machining and 3D printing.
-
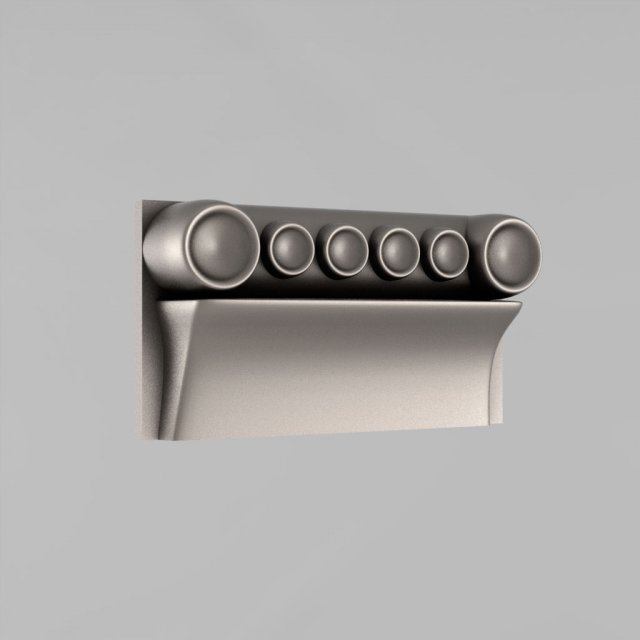
Capitals 16 Free 3D Model
STL 3D model – CapitalsThe model is ready for prototyping with CNC machining and 3D printing.
-
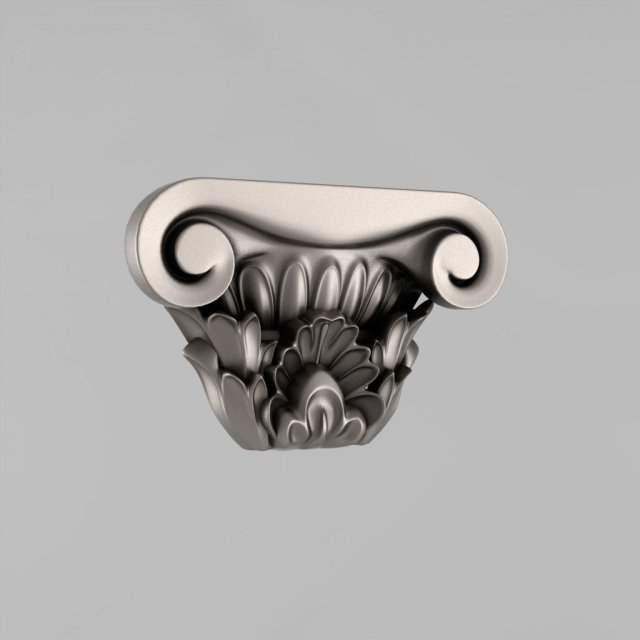
Capitals 17 3D Model
STL 3D model – CapitalsThe model is ready for prototyping with CNC machining and 3D printing.
-
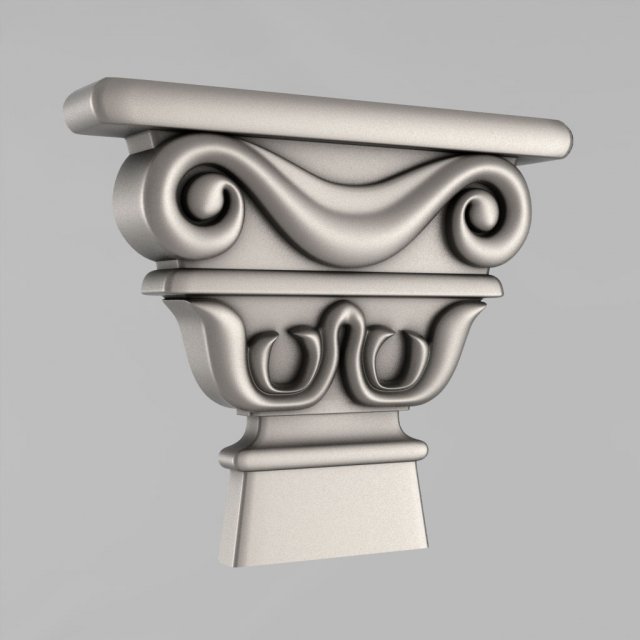
Capitals 18 3D Model
STL 3D model – CapitalsThe model is ready for prototyping with CNC machining and 3D printing.
-
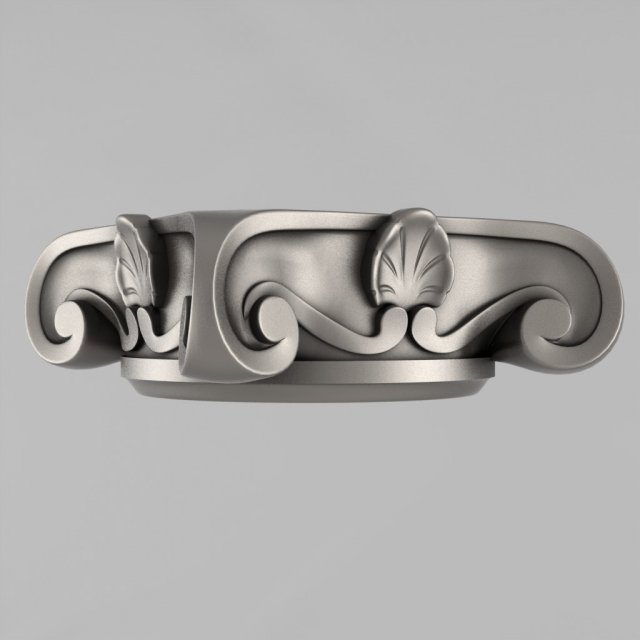
Capitals 19 3D Model
STL 3D model – CapitalsThe model is ready for prototyping with CNC machining and 3D printing.
-
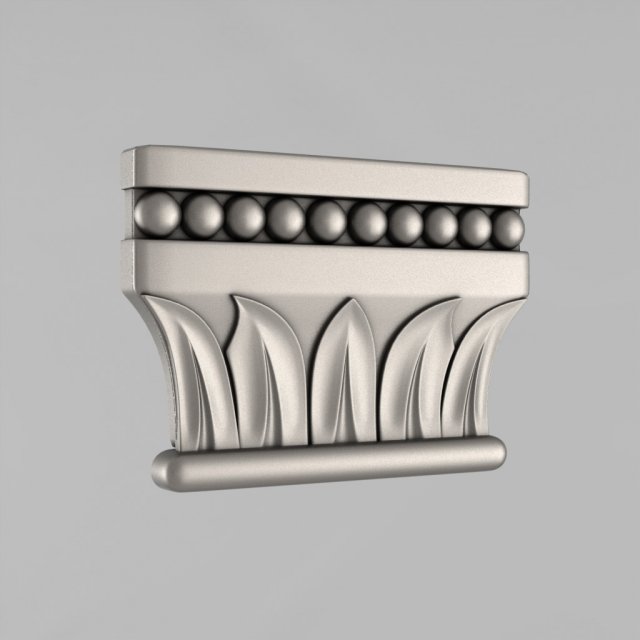
Capitals 20 3D Model
STL 3D model – CapitalsThe model is ready for prototyping with CNC machining and 3D printing.
-
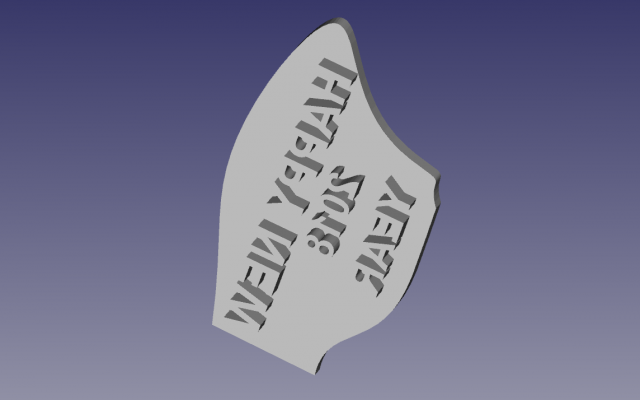
Form of a dog for 3D printing 3D Model
Happy new year ! Very tasty cookies for the new year! Specifically for 3D printing. Form cookies in the form of a dog. And squeezing of label printing.
-
Clippy the Instant Noodles Pal 3D Print Model
Summary
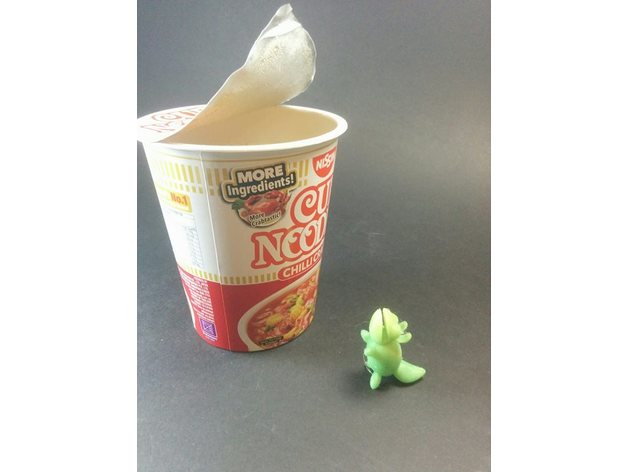
Clippy was born out of the eternal frustration of having to find heavy, flat and somewhat heat proof object to lay over an instant noodle cup while it is cooking.
While the first iteration of this was a simply clip, we decided to take it further to make it look cuter and double up as a fork holder so say hello to Clippy, everyone! =)
Have fun with Clippy! =)
(PS: This is not an endorsement to scoff down copious amounts of instant food, use with moderation!)
===
This model is not to be uploaded or sold in any form and is intended for personal use only.
Check out more of what we are up to over at our Facebook Page (http://www.facebook.com/FunbieStudios) or website (http://www.FunbieStudios.com)
Support us on Patreon – https://www.patreon.com/FunbieStudios -
NoseFrida Snotsucker Stand 3D Print Model
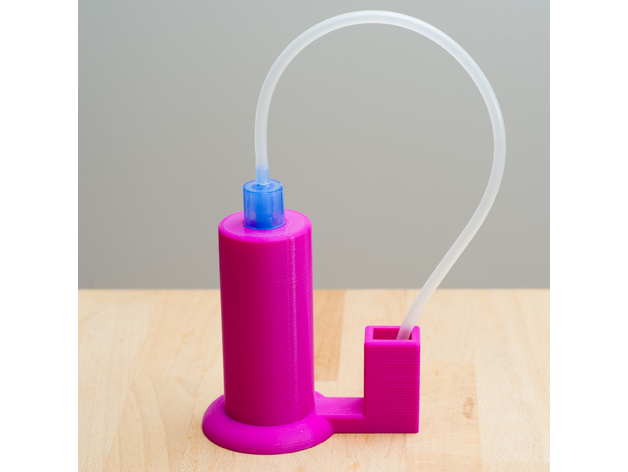
Summary
This is a stand to store the NoseFrida Snotsucker. The tube fits into the stand and there’s a sidecar to store the mouthpiece.
Print Settings
Printer Brand:
Prusa Printer:
Prusa Mk2 Rafts:
No Supports:
No Resolution:
.3 Infill:
20% -
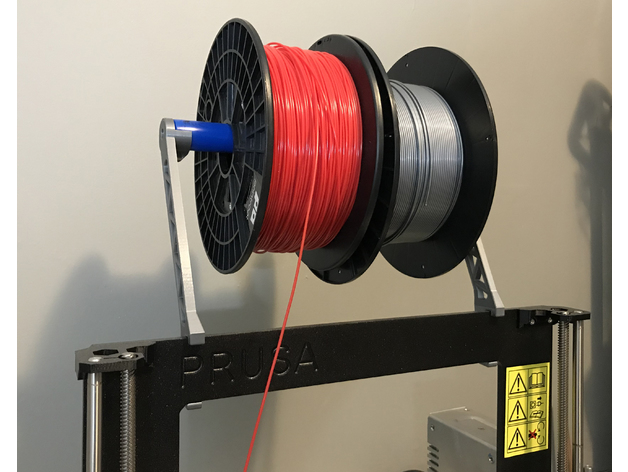
Prusa i3 spool holder arm 3D Print Model
Summary
This is a spool holder for a Prusa i3 that will hold a 1/2 to 3/4 dowel or pipe allowing you to add another spool as well as easily changing spools without removing the arms. I used a piece of PEX piping I had sitting around the house for mine.
Print Settings
Printer Brand:
Prusa Printer:
Prusa Mk2 Rafts:
No Supports:
No Resolution:
.2 Infill:
20
How I Designed This
Designed in Fusion 360. -
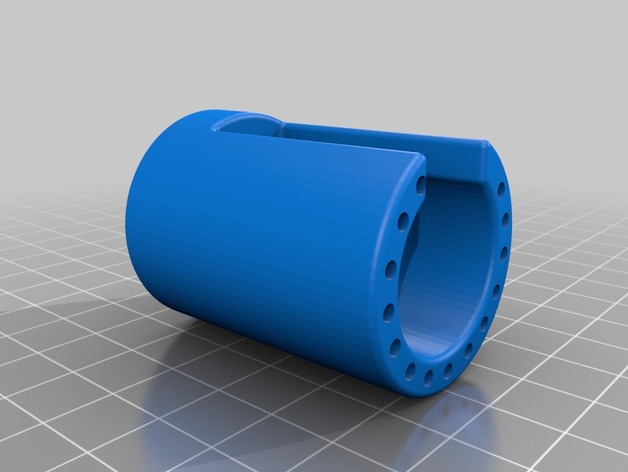
Clippard Valve Cover 3D Print Model
Summary
This is a valve cover for a EC-PM-05-6025-V (likely any EVP Proportional Electronic Valve) mounting to a 15490-5 manifold.
I haven’t tried this yet so it’s still experimental. -
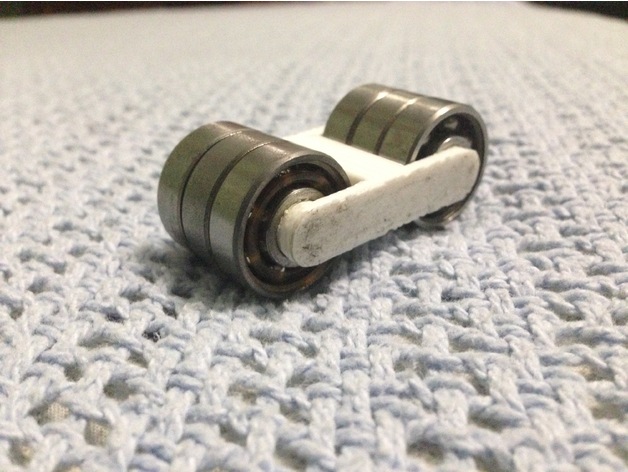
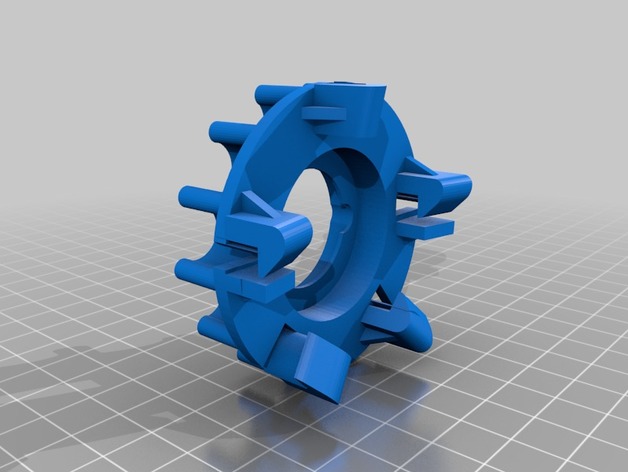
Fidget Hand Roller/Spinner Toy 3D Print Model
Summary
This is SUPER FUN to use and addicting. In my opinion it is better than a fidget spinner. Just find 6 608 bearings (fidget spinner bearings) and put them in. Then push the other plastic peice on the top to keep the bearings in. btw If you have small hands then it might be hard to play with it.
Also check out this video
l l
l l
V
How I Designed This
Made using Onshape.comCustom Section