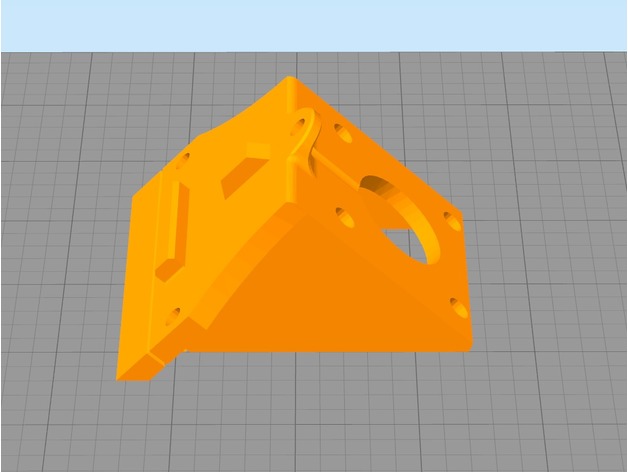
Download Free 3D Model TronXY X3 Z Axis Motor 3D Print Model
Summary
the first time i built my printer, i hated how much unnecessary time i spent puting the Z motors.. everything was loose or not in perfect alignment. Then i found Lexa’s one and i loved it, except for one thing.. i had to screw the piece first and then the motor, which for me, was troublesome or unconfortable, so I created this piece which has the scew holes outside, so.. if you t-nut wasnt placed correctly you can fix it without too much trouble.
TL;DR; the screw holes are outside from the motor case so you can put the motor or the screws in whatever order you want.
YOU WILL NEED:
3x m4 screws (i used only the 2 from the original ones, one on top and one on the side)
3x m4 nuts (t-nut or else)
Print Settings
Printer:
Ttronxy x3
Rafts:
Doesn’t Matter
Supports:
No
Resolution:
0.2
Infill:
20%
Notes:
im so sorry, but the ideal print way is as in the first picture and, ideally, with a fan, since i kept modifying the file, i found it was better to just fix the position in the slicer rather than in Fusion 360
Categories: 3D Print Models, All 3D Models, Free 3D Models
Sorry, comments are closed for this item.


