Summary
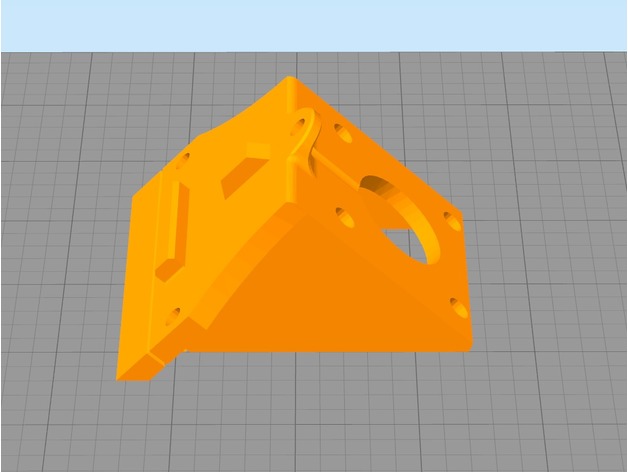
the first time i built my printer, i hated how much unnecessary time i spent puting the Z motors.. everything was loose or not in perfect alignment. Then i found Lexa’s one and i loved it, except for one thing.. i had to screw the piece first and then the motor, which for me, was troublesome or unconfortable, so I created this piece which has the scew holes outside, so.. if you t-nut wasnt placed correctly you can fix it without too much trouble.
TL;DR; the screw holes are outside from the motor case so you can put the motor or the screws in whatever order you want.
YOU WILL NEED:
3x m4 screws (i used only the 2 from the original ones, one on top and one on the side)
3x m4 nuts (t-nut or else)
Print Settings
Printer:
Ttronxy x3
Rafts:
Doesn’t Matter
Supports:
No
Resolution:
0.2
Infill:
20%
Notes:
im so sorry, but the ideal print way is as in the first picture and, ideally, with a fan, since i kept modifying the file, i found it was better to just fix the position in the slicer rather than in Fusion 360
Tag: TronXY
-
TronXY X3 Z Axis Motor 3D Print Model
-
tronxy xy-08n sensor stable mount to Anet A8 3D Print Model
Summary
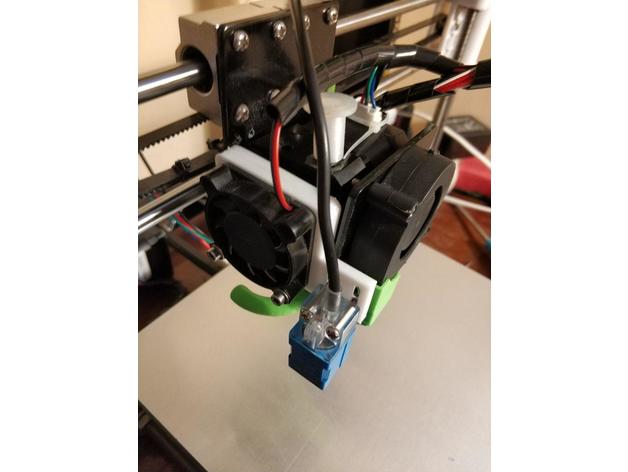
tronxy xy-08n sensor stable mount
Print Settings
Printer:
Anet A8
Rafts:
No
Supports:
No
Resolution:
0.2
Infill:
100 -
Tronxy X5S dual PSU Hanger 3D Print Model
Summary
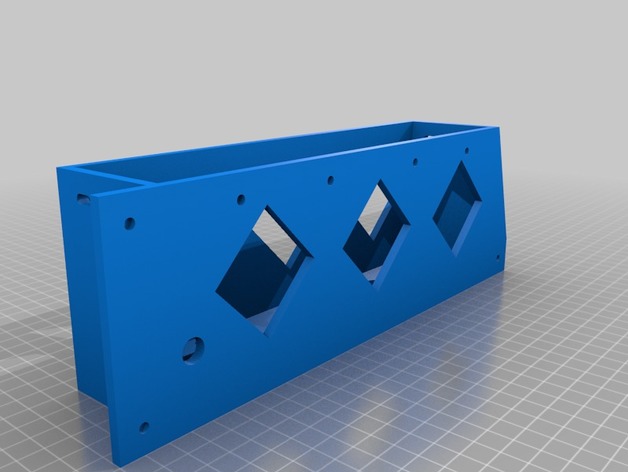
The original used too much plastic. I added some holes to make it lighter and use less plastic. Should keep the same rigidity.
Print Settings
Printer:
Tronxy X5S
Rafts:
No
Supports:
No
Resolution:
.2 mm
Infill:
20%How I Designed This
Remixed it in Tinkercad -
Tronxy P802MA external Display Enclosure – Remix 3D Print Model
Summary
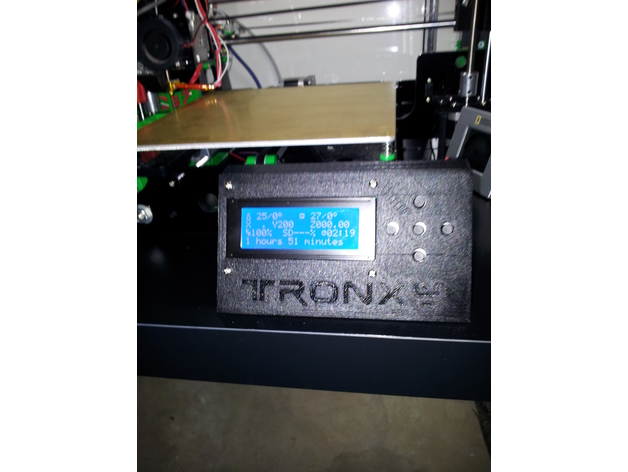
Added the Tronxy Logo
Added on/off button on right hand side.
Print Settings
Printer:
Tronxy P802M
Rafts:
No
Supports:
No
Resolution:
.2
Infill:
15 -
Tronxy X1 Buttonsleeve 3D Print Model
Summary
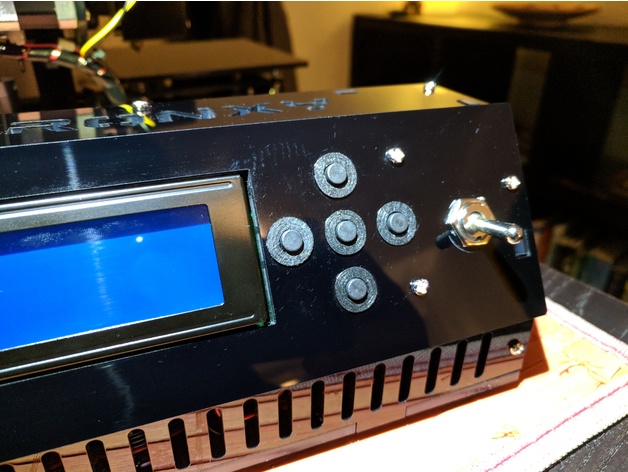
The TronXY X1 buttons tend to tlt because of the large frontpanel-holes.
These sleeves support and center the buttons. -
Tronxy Radial Fan Mount for stock shroud 3D Print Model
Summary
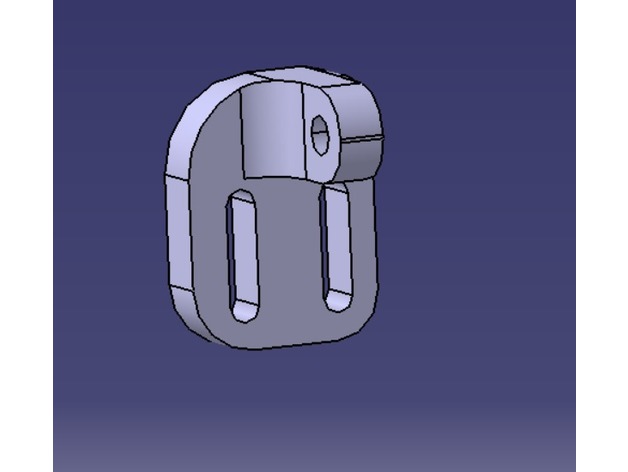
When I just got my Tronxy X1 a part cooling fan was missing. So the bridging performances were very bad. My extruder had alot of problems so I just needed a temporary fix while I made a mount for a V6.
So you just need two M3 screws to put on the side of the shroud and a screw and nut for the Radial Fan. I highly suggest adding a little deflector so your block doesnt cool off too much.
It’s a simple solution and I have a friend that uses it for his permanent set up.
NO NEED TO REPOSITION THE LIMIT SWITCH
Print Settings
Printer:
Tronxy X1
Rafts:
No
Supports:
Doesn’t Matter
Resolution:
0.2
Infill:
15 -
TronXY X1 Control Box and base V2 3D Print Model
Summary
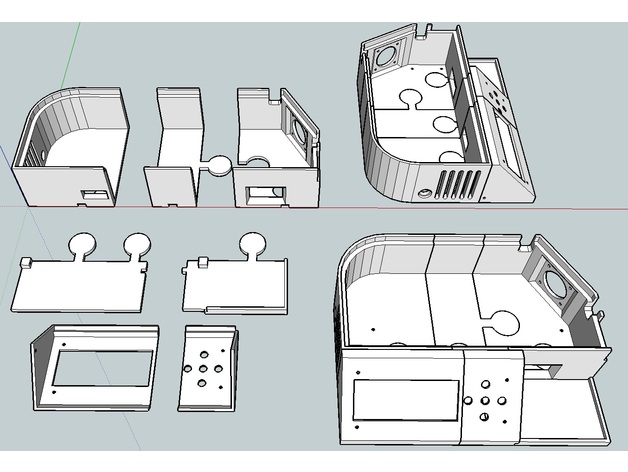
all you guys and gals out there that are mad they now have to print a new better set you can blame (thank) Rob Zarfas from the FB “Tronxy X3, X1, X5 3D Printer Users (All models)” group
it was his suggestions and ideas that helped me draw this up
there are over 100 changers (i stopped counting at about 85)
in general its more compact and a better fitting unit
i have now printed this as yet but all the dimensions should work
Print Settings
Supports:
No
Resolution:
0.2mm
Infill:
30
Notes:
1.2 wall (0.4nozzle 3 wall thick)
0.8 bottom and top (4 layers at 0.2mm) -
Tronxy X5s Z axis printed split bushing 3D Print Model
Summary
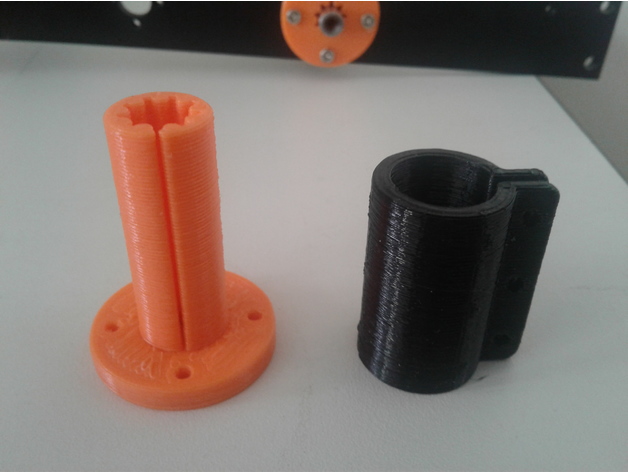
When building my Tronxy X5s, I was not impressed by the stock Z axis bearings. So I designed and printed a replacement system. The bushing has a split in it and you slide the sleeve over it and tighten it with 2 M3 screws and nuts. I printed the bushing in PLA and the Sleeve in PETG, but you could print it in PLA. There is also a short version in which a IGUS RJ4JP-01-08 sits on top of it and both are held and tightened by the sleeve. This was created for the people who do not like PLA bushings.
Print Settings
Printer:
SmartRap – Highly modifed
Rafts:
No
Supports:
No
Resolution:
.2
Infill:
30
Notes:
Set up the number of shells to be enough to create the bushing vertical section without any infill. Allowing the shells to make up the “fingers” of the inner part of the bushing. Mine was 3 shells.
How I Designed This
Designed in Fusion 360 -
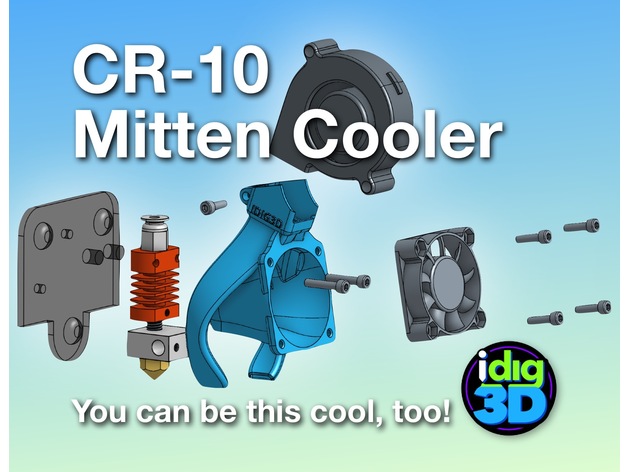
CR-10 / Tronxy Mittens Cooler 3D Print Model
Summary
Let’s keep it cool!
My take on a better cooler for the CR-10 Tronxy X1/3 type hotend. The stock CR-10 set up can cool the heater block too much if you don’t have it wrapped. The parts doesn’t cool all sides well. My Tronxy X3 didn’t have a parts cooler and the heater block couldn’t get temps over 205C.
I tried a couple other popular coolers but did not fit my original parts blower or just not that efficient.
So the Mittens Cooler evolved. Printed in PETG, it weighs 12 grams. Has a bit fo a twist for a little vortex of air.
Needs a few things: a 5015 blower/fan, a few screws, a bit of rewiring, and a bit of tenacity.
WARINING: It works for me. Your results may vary wildly.
If this helps you, a tip would be nice. At least a like and show your makes.
I’ve gone through dozens and dozens of printed revisions to get to this version. Help keep me in plastic. Thanks!
Please note, this is not compatible with the auto-leveling sensor. Send me one and I’ll try to make one fit.
Print Settings
Printer:
Creality CR-10
Rafts:
No
Supports:
No
Resolution:
0.2mm
Infill:
15%
Notes:
Printed with a 10mm brim. My CR-10 took about 2 hours to print.
2 perimeters/shells, 5 top and 4 bottom layers.
I printed in PLA to get started then switch to better temperature-resistance PETG.
Has a built-in support piece (square patch) that should snap out easily. If not, you may have a bit of over-extrusion.
Post-Printing
Clean up
Break out the square support. Careful using hobby knife, trim away the brim and any stray printed strands.Check the parts blower outlets and clean up as needed.
WARNING: Use at your own risk. I’ve tested this best I can at this time and works great for me. Your results may vary greatly.
Gather parts
existing 40mm fan
M3x12 or possible 10s (2-4) — for mounting fan to Mittens Cooler (should be able to reuse existing screws)
5015 blower/fan (needs to be wired–splice and solder or add a connector)
M3x8 screw — for holding 5015 fan/blower
M3x16 screw (2) — for attaching Mitten Cooler and block to mount (should be able to reuse existing screwsDisassembly
Disassemble the hot end removing the housing screws and the fan mounting screws.
Wire in the new 5015 fan.blower paying attention to red and black wiring.
Save the screws since some can be reused.Assembly
The screws should thread themselves into the Mitten Cooler. If they are super tight, you may be over-extruding. Ream the holes bit and try fitting the screws again.
make sure the printer is off
snap the hot end in the back of the Mitten Cooler with the heater wiring to the left
line up the mounting holes to the top two holes on the finned cooling block
push through the M3x16 screws
check to make sure the parts cooling outlets are above the nozzle opening
carefully line up to the mount
tighten screws — if there is an resistance, make sure the screws are aligned properly
insert the 5015 fan/blower
insert the Mx8 screw in the top hole
tighten screw to snuggle hold the 5015 fan/blower
screw in the 40mm fan using M3x12/16. Can get by with just two screws. Snug but not too tight or you could warp the fan adding more noise
check clearance on everything and the give it a go -
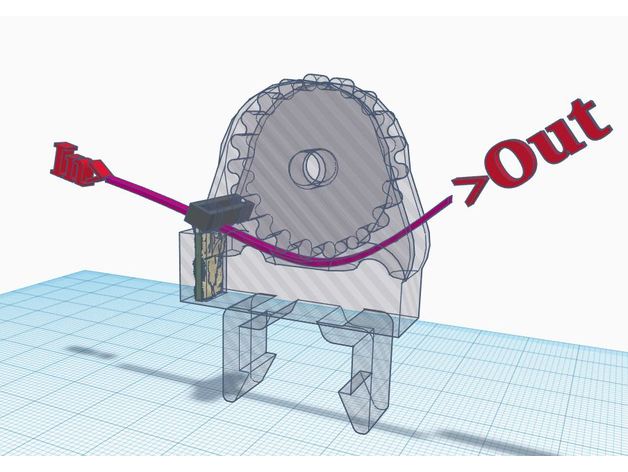
TronXY X5 Snap On Filament Guide/Cleaner 3D Print Model
Summary
TronXY X5 Snap On Filament Guide/Cleaner
Cura File attached -
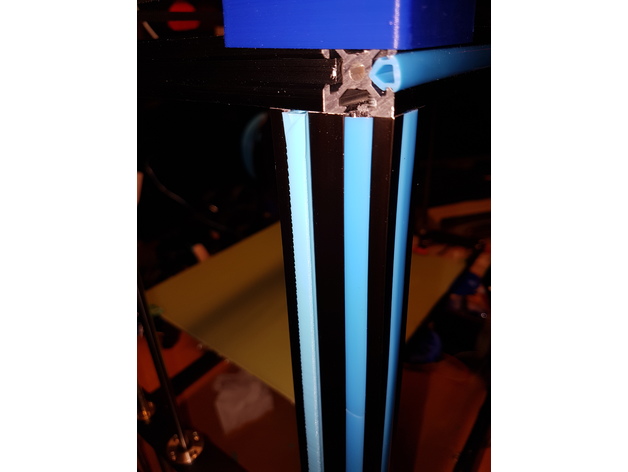
Tronxy & CR-10 Rail insert 3D Print Model
Summary
Found this Rail insert made by Moby2112, and re-saved it in 100-400mm for easy printing.
Really nice to be able to swap/print color.
Print in vase-mode. No raft needed (atleast on a CoreXY-printer).
The last 100-150mm might be a bit shaky due to the hight.
Print Settings
Printer:
Tronxy X5S Rafts:
Doesn’t Matter Supports:
No -
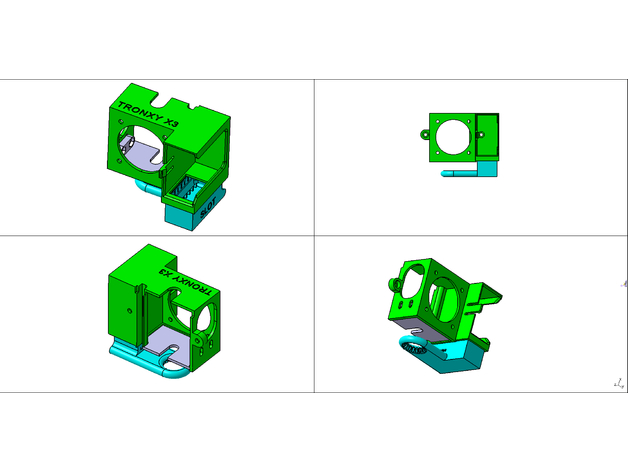
TronXY X3A/X3 Fan Holder V5 3D Print Model
Summary
This is TronXY X3A/X3 Fan Holder V5.
For complete function you should to have fans 40x40x10 with 32mm connection size and 40x40x20 cyclone fan.
Part “TronXY_X3A_Fan_v5_Insert_SLOT” designed with support and it no need printing with support.
Part “TronXY_X3A_Fan_v5_Plate” can be or must be from aluminum or fiberglass (or some other thermoresistance) sheet with thickness 0.6–1.0 mm. -
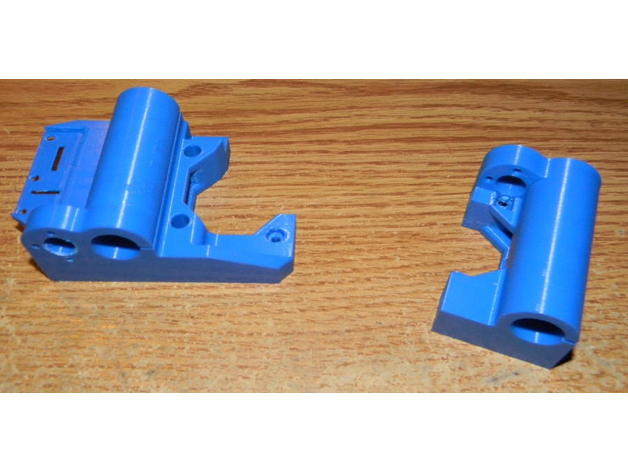
X Axis Ends Tronxy Zonestar P802 3D Print Model
Summary
Recently stumbled upon this terrific set of X-Axis ends for a P3Steel printer. (https://www.thingiverse.com/thing:2088585) Since the P3Steel uses the same 17MM spacing on the leadscrew and vertical smooth rods I wanted to print these for my old beater Tronxy P802M. The only problem is horizontal rod spacing. Most printers like the Anet and P3Steel have 45mm spacing between the X-axis horizontal rods. The Zonestar and Tronxy are 44mm. This would be a problem as I want to use my original carriage.
After looking at the above linked Thing I see the designer was kind enough to include the STEP files for his parts. This was just what I needed. After importing the STEP files into Fusion 360 modifying the rod spacing was a snap.
So as a courtesy to the original creator and to give back to the community here is my set of X-axis ends specifically for the Tronxy and Zonestar P802 printers.
The only change from the original Thing is to move the holes so they are 44mm apart on the horizontal carriage rods.
You will also print out the tensioner parts as detailed on the original Thing’s page (https://www.thingiverse.com/thing:2088585)
Print Settings
Printer:
Monoprice Mini Select Rafts:
No Supports:
Yes Resolution:
0.2mm Infill:
30% Notes:
Print with the top of the part facing down. Be sure to use supports. The automatic supports generated in Simplify 3D worked perfectly. -
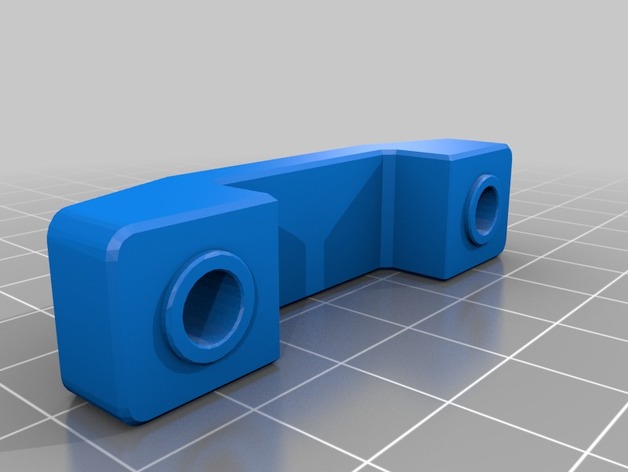
Tronxy X3 or X3A Y-Stabilizer 3D Print Model
Summary
Just another remix! I kinda feel like a model DJ… Hahaha
Anyways I wanted to use the original but the bolt heads that came with my bed and from the local hardware store where all to large to fit in the recess, fortunately the nuts for the bed are smaller than most “Chinese” I guess. So now you can use large heads on this thingi but flipping them around. Hope its useful. 🙂 -
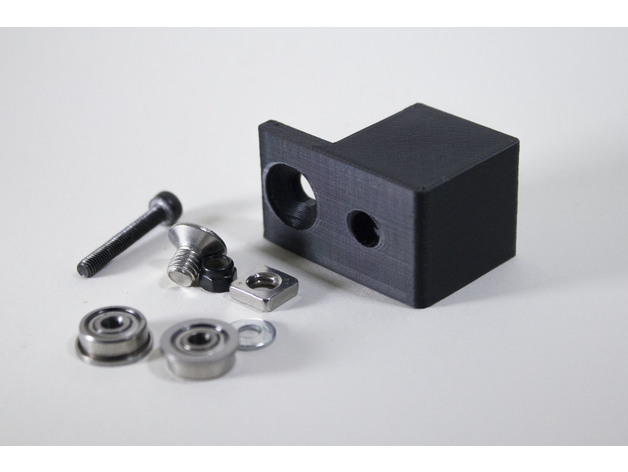
Tronxy X3 Belt Idler 3D Print Model
Summary
Replacement X and Y axis belt idlers for the Tronxy X3.
Needs:
-1 M5x8 flat head screw
-1 M5 square or T-nut
-1 M3x20 hex socket screw and nut (nylock)
-1 M3 washer
-2 F623ZZ bearings – banggood° – Gearbest°
Tronxy X3° from GearBest°
12% off coupon from geabest : GBTE
Part of my Tronxy X3 upgrades collection
° affiliate -
Tronxy X5 Z-axis Holder 3D Print Model
Summary
Hey,
some more Spareparts for the Tronxy x5.
I will customize it as soon as possible for you. -
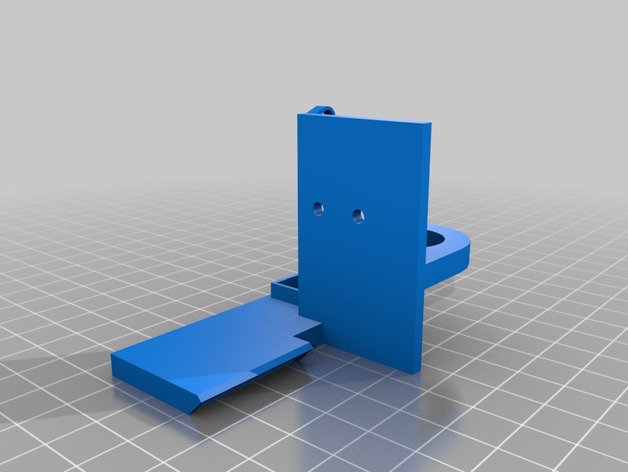
TronXY X3 Autolevel+5015 Fan Mount 3D Print Model
Summary
Since the TronXY X3 did not come with an autolevel/fan mount combo and desperately needed hotend cooling, I decided to make a mount that fit a 5015 Turbo cooler fan. This accomodates any 18mm autolevel probe, with x:-45 y:-5 when setting up the autoleveling portion of the firmware.
If you’re thinking about purchasing a TronXY X3, I highly recommend printing this first so you’ll have autoleveling and cooling ready to go.
If you’re looking for a good deal on one of these awesome printers, GearBest has them for $220.00 USD shipped: http://www.gearbest.com/3d-printers-3d-printer-kits/pp_436308.html?lkid=10991506 — Just use coupon code “GBTE”.
Print Settings
Printer:
Custom RepRap Rafts:
No Supports:
Yes Resolution:
0.2 Infill:
30 -
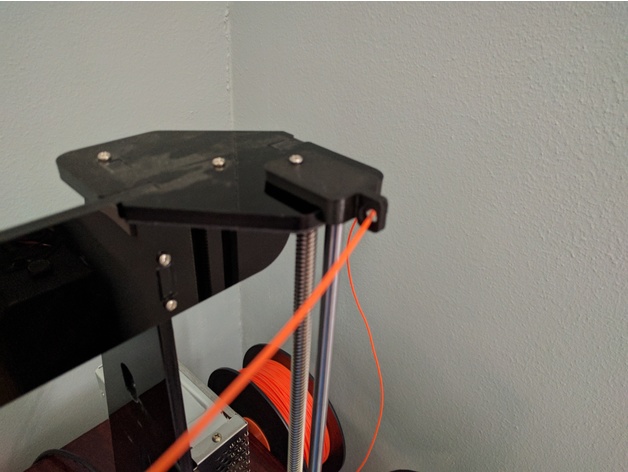
Tronxy P802M (Prusa i3) Filament Guide 3D Print Model
Summary
Simple filament guide for Tronxy P802M (Prusa i3 Clone).
May work with other printers. Location of mounting hole may require remix or drilling to fit. -
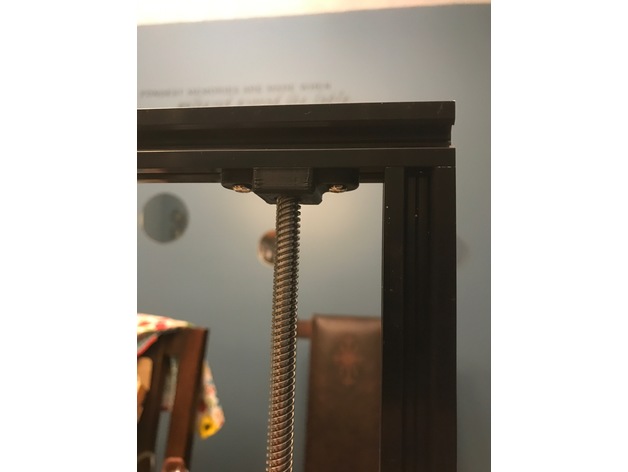
Tronxy x3 Z leadscrew stabilizer bearing support 3D Print Model
Summary
I needed a stabilizer that would house a 16mm bearing, as that is all I had. So I designed these instead of using the 22mm 608z skate bearings. The bearing is a 16x5x8. Enjoy.
Print Settings
Printer:
Tronxy X3 Rafts:
No Supports:
Doesn’t Matter Resolution:
.2 ish Infill:
your liking -
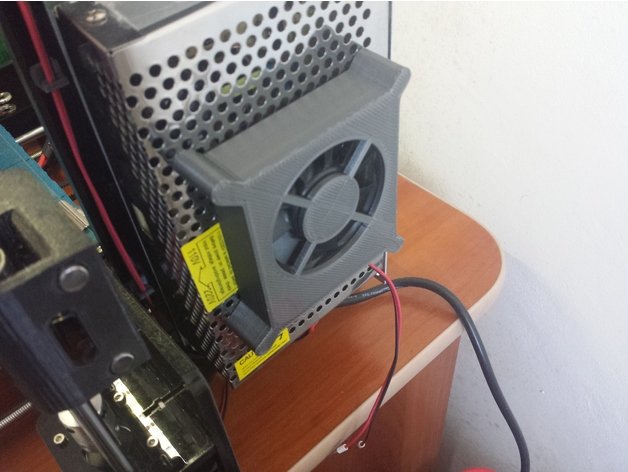
Fan case for Tronxy 3D printer power supply 60 mm fan 3D Model
This is a fan case for a Tronxy P802M 3D printer power supply.
-
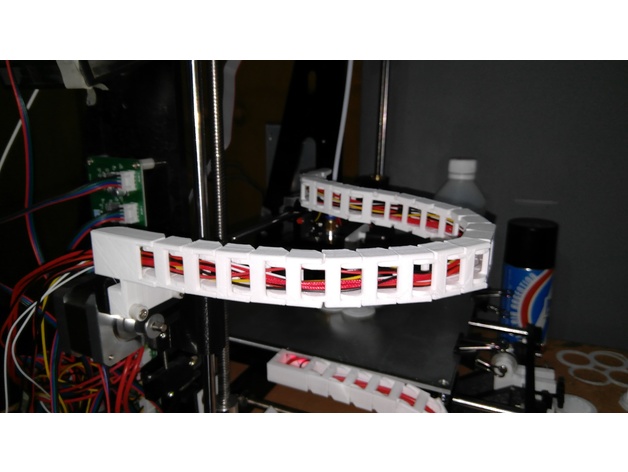
Cable Chain Adapter for Tronxy P802E – Axis X 3D Print Model
Summary
A simple remix from Cable Chain Adapter for Prusa i3 (Hictop) -
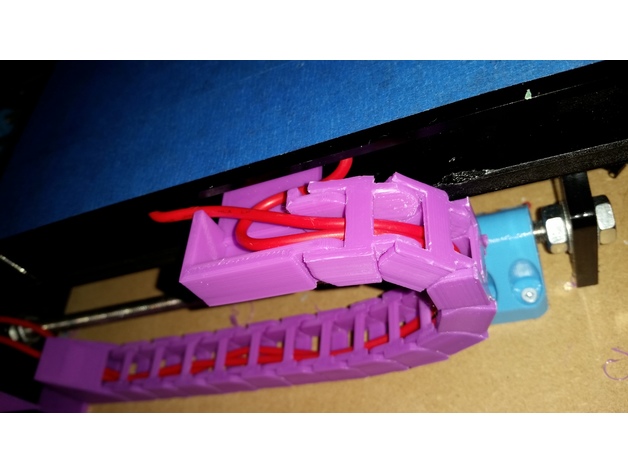
TronXY P802E Y-Axis Cable Chain Remix 3D Print Model
Summary
I saw a number of chains for various frames for the TronXYs but none that fit for the P802E specifically. After printing a couple that didn’t quite fit properly, i ended up remixing the designs of two other chains. This fits properly and doesn’t fray your bed cable.
Print Settings
Printer:
TronXY P802E Rafts:
No Supports:
No Resolution:
0.2 Infill:
30%