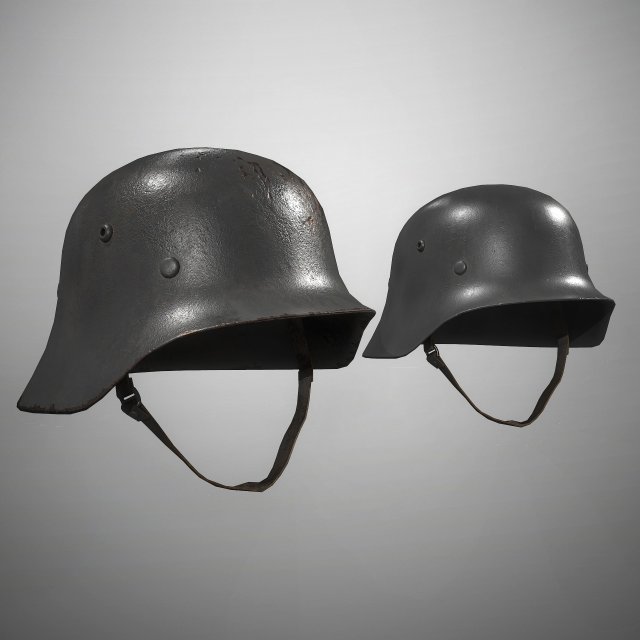
HelloAbout this model:• Clean topology – no ngons, poles, flipped polygons or overlapping vertices• Two textures options – normal and rusty/dusty• Unreal Engine 4 project with all textures and materials applied• Textures in 4K resolution for Unreal Engine 4 (Diffuse+Normal+OcclusionRoughnessMetallic) + 2K textures for Unreal Engine 4 in a separate archive. All Textures are in TGA (targa) format• Non-triangulated models in *.max format with assigned standard materials and textures (Diffuse+Specular+Normal+Glossiness) in 2K resolution• Unity packages. Include meshes, materials and textures (AlbedoTransparency + SpecularSmoothness + Normals) in 4k resolution.• fbx and obj files without textures• Helmet have approximately real dimensions
Tag: axis
-
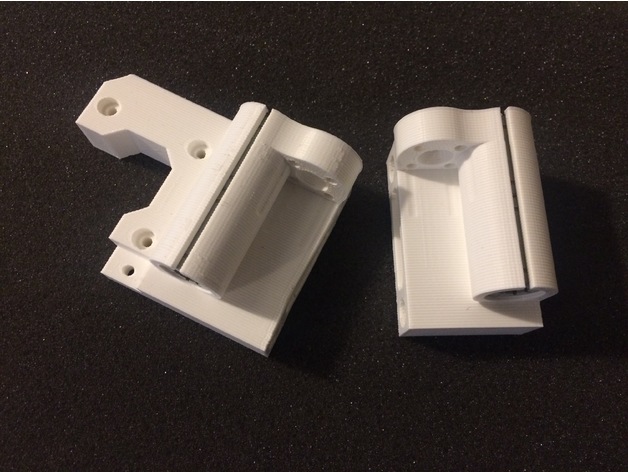
P3Steel X axis for Lead Screws 3D Print Model
Summary
I made this based on the Toolson design for the p3Steel. It will allow the use of a 8mm Lead Screw.
Print Settings
Printer Brand:
Prusa
Rafts:
No
Supports:
No
Resolution:
.2
Infill:
60% -
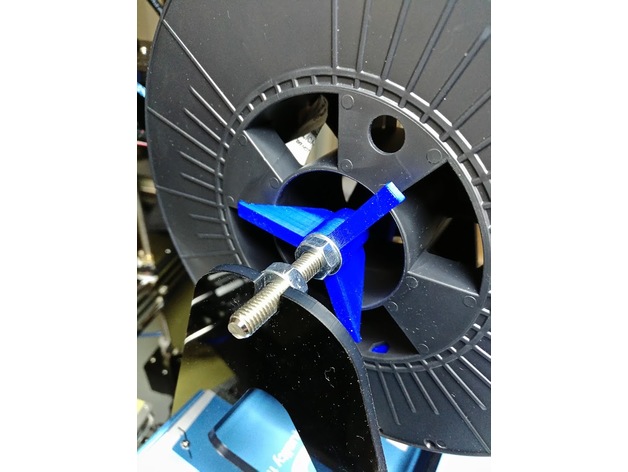
Filament Spool axis adapter 3D Print Model
Summary
Filament spool adapter for M8 type axis.
The part is optimized, it consume only 2m of 1.75 filament.
The adapters must be tight against the spool using the nuts and washers on the shaft. The axis rotates with the roller on the support.
The Solidworks file is provided to enable customization.
Print Settings
Printer:
ANET A8
Rafts:
No
Supports:
No
Resolution:
0.2mm
Infill:
20%
Notes:
Consumed: 1910mm of 1.75 PLA
Print time: 20 min -
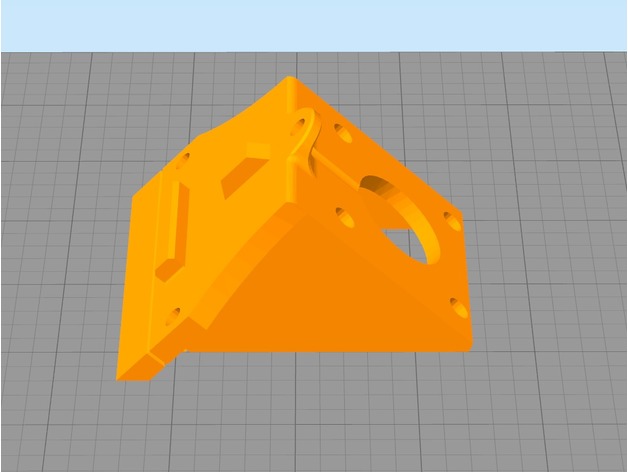
TronXY X3 Z Axis Motor 3D Print Model
Summary
the first time i built my printer, i hated how much unnecessary time i spent puting the Z motors.. everything was loose or not in perfect alignment. Then i found Lexa’s one and i loved it, except for one thing.. i had to screw the piece first and then the motor, which for me, was troublesome or unconfortable, so I created this piece which has the scew holes outside, so.. if you t-nut wasnt placed correctly you can fix it without too much trouble.
TL;DR; the screw holes are outside from the motor case so you can put the motor or the screws in whatever order you want.
YOU WILL NEED:
3x m4 screws (i used only the 2 from the original ones, one on top and one on the side)
3x m4 nuts (t-nut or else)
Print Settings
Printer:
Ttronxy x3
Rafts:
Doesn’t Matter
Supports:
No
Resolution:
0.2
Infill:
20%
Notes:
im so sorry, but the ideal print way is as in the first picture and, ideally, with a fan, since i kept modifying the file, i found it was better to just fix the position in the slicer rather than in Fusion 360 -
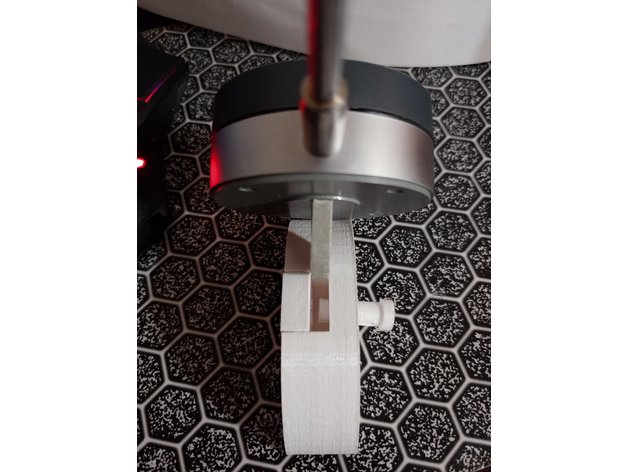
Dial Indicator X Axis Mount 3D Print Model
Summary
This is a mount I made to hold a dial indicator on my X-Axis of my Maker Select v2 (Wanhao Duplicator i3 V2) rails to check my bed for true. The part is held in place by a mix of tension and the magnets inserted into the holes in the back.
The magnets are the round “Buckyball” brand magnets, but any of their variants or even cylindrical magnets will work. Mine were measured and the holes sized to about 95% of that, so they are tight, but you should be just fine to use some sort of adhesive to hold in any type of magnet you want. One of the things that worked out well was I made the holes deeper than the diameter of the magnets, so they sit about .5 mm below the surface and never touch the rails.
The dial indicator is an ‘eoteck’ brand I found on Amazon and was oddly enough reviewed about a month later by AvE on YouTube (if you are a fan). It’s plenty accurate for 3D printing. I did verify this by buying a Mitutoyo gauge block and testing my calipers, then my calipers against my dial indicator.
Overall accuracy is such that I discovered my build plate was bowed a bit and has since been replaced. I don’t use this much, but when I did it was an incredible lifesaver.
The second piece by itself it due to me not accounting for the space needed between parts. I just sliced the parts out of the main body, but when assembling the hole was misaligned. This part should rectify that. I did end up using a very thin strip of masking tape to make the fit super tight to eliminate wiggle.
Thanks, and happy printing!
Print Settings
Printer Brand:
Wanhao
Printer:
Wanhao Duplicator i3 V2
Rafts:
No
Supports:
No
Resolution:
.2mm
Infill:
25%
Notes:
Should not need any supports when printing. Overhang droop in magnet holes is great for retention. The holes are about 95% the size of the magnets, so the tight is very snug. The pin will be tight at first but should loosen up.
The extra part is due to not accounting for the pieces being exact slices off the main body, and fitting together so well that the hole lines up. The “insert” was added to compensate for this. Included both files so you can modify either as needed. -
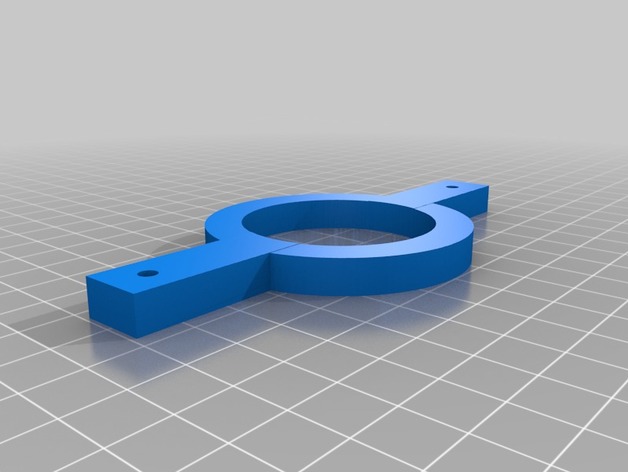
Z axis strap for Maslow 3D Print Model
Summary
I saw a picture on a Maslow forum where someone created one of these straps and used some bungee cords to keep a little tension on the z axis motor so that the router didn’t jerk.
Get some two cheap bungee cords and you’re set. There are holes already in the strap.
You don’t need a big 3D printer. This will fit on a 4″ x 4″ printer at a diagonal. -
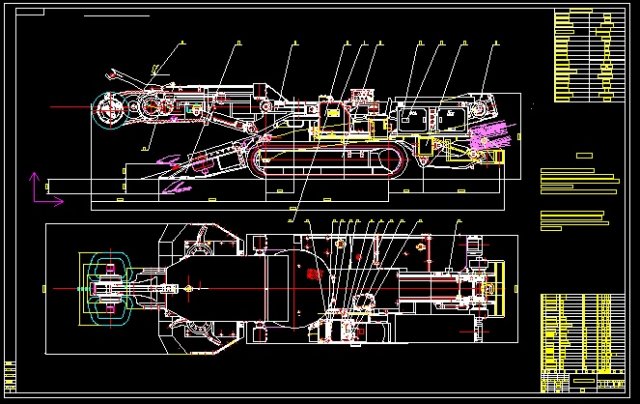
The Horizontal axis underground boring machine EBZ50 3D Model
The Horizontal axis underground boring machine EBZ50
-
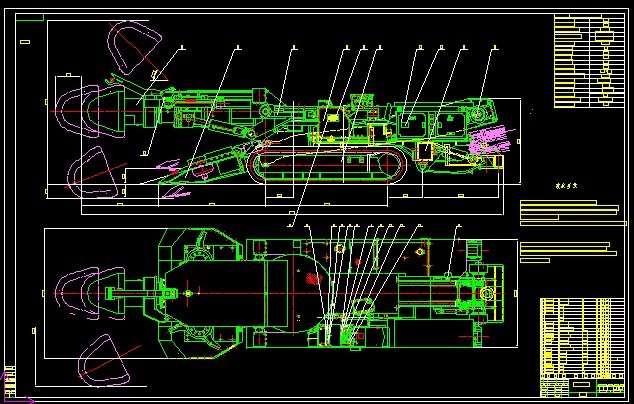
The vertical axis underground boring machine EBZ160 3D Model
The vertical axis underground boring machine EBZ160
-
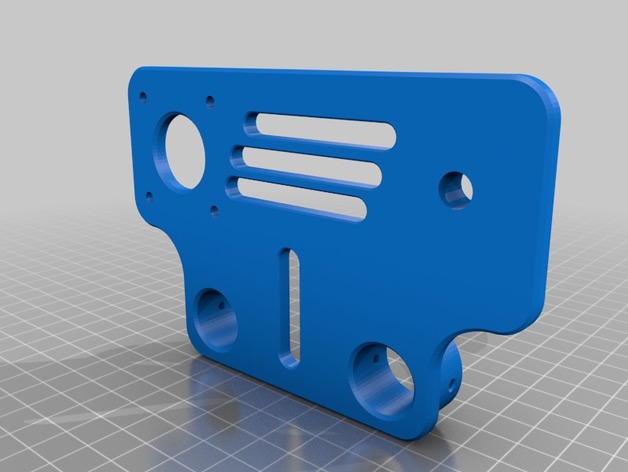
Conduit Crane Machine NEMA17 Axis Mount 3D Print Model
Summary
Using this for a conduit crane machine.
Will post rest of machine as it is built. -
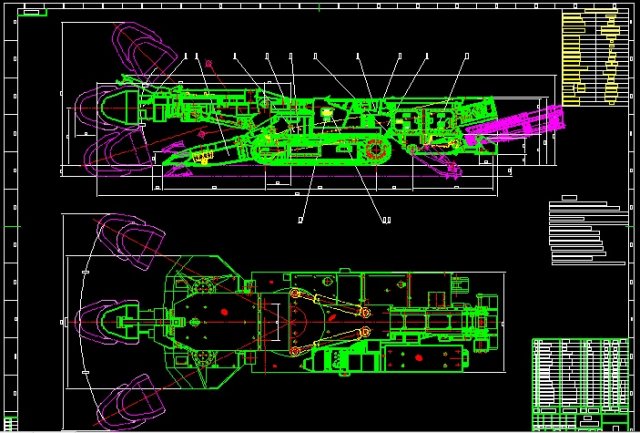
The vertical axis underground boring machine EBZ132 3D Model
The vertical axis underground boring machine EBZ132
-
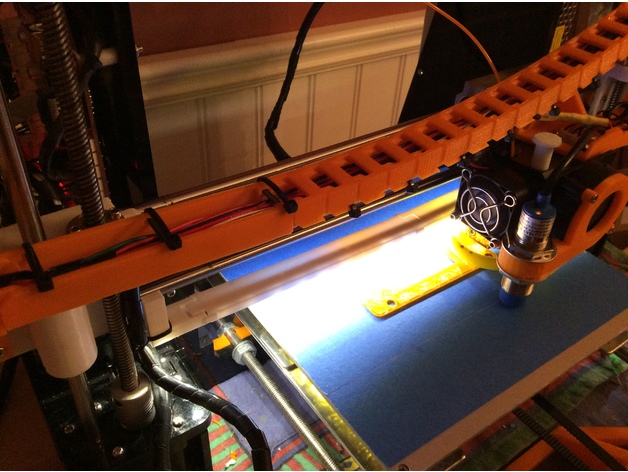
Anet A8 LED strip mount under X axis clip on remix 3D Print Model
Summary
This remix was remixed in Tinkercad to remove the screws. Assembly is the same, but instead of using screws, you just snap fit the brackets on. No screws needed!
😀 -
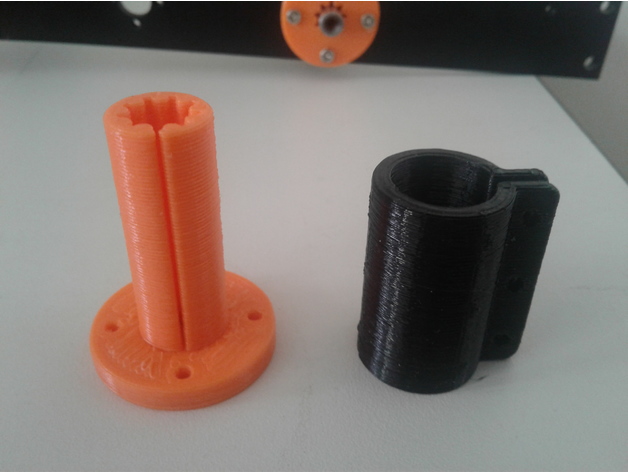
Tronxy X5s Z axis printed split bushing 3D Print Model
Summary
When building my Tronxy X5s, I was not impressed by the stock Z axis bearings. So I designed and printed a replacement system. The bushing has a split in it and you slide the sleeve over it and tighten it with 2 M3 screws and nuts. I printed the bushing in PLA and the Sleeve in PETG, but you could print it in PLA. There is also a short version in which a IGUS RJ4JP-01-08 sits on top of it and both are held and tightened by the sleeve. This was created for the people who do not like PLA bushings.
Print Settings
Printer:
SmartRap – Highly modifed
Rafts:
No
Supports:
No
Resolution:
.2
Infill:
30
Notes:
Set up the number of shells to be enough to create the bushing vertical section without any infill. Allowing the shells to make up the “fingers” of the inner part of the bushing. Mine was 3 shells.
How I Designed This
Designed in Fusion 360 -
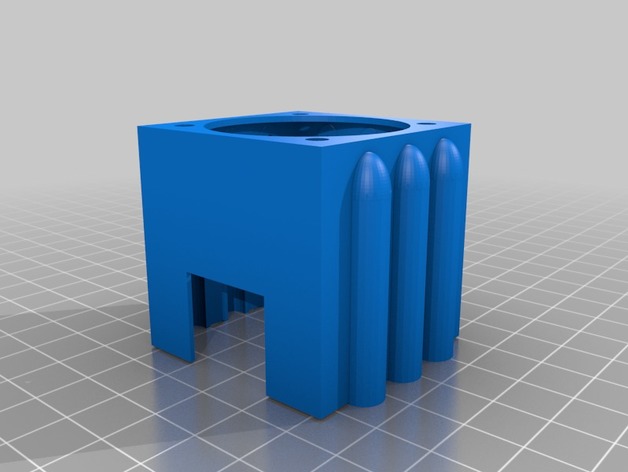
Anycubic I3 Mega X axis Fan stepper fan mount with heat sink clearance 3D Print Model
Summary
Friction fit fan mount with air channels and clearance for 40mm heat sink stuck on the end of Z axis stepper. Mounting holes designed for 40mm fan. Print with mount side down. There are minimal supports needed.
Print Settings
Printer:
Anycubic I3 Mega Rafts:
Yes Supports:
Yes Resolution:
0.2 Infill:
20
Post-Printing -
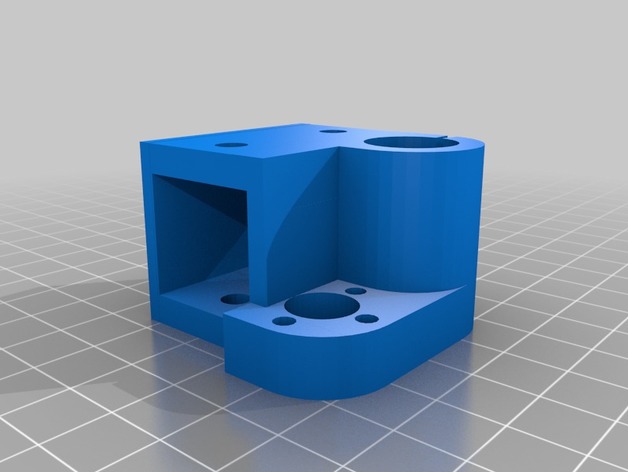
AM8 Z Axis Single Bearing 3D Print Model
Summary
I’ve broke a few of these trying to slide it onto the 2020 v-slot extrusion. The back of it also rubs against the 2040 vertical extrusions. I removed some of the material from the inside to allow it to slide onto the 2020 easier and removed some from the back so it didn’t rub on the 2040 vertical extrusions.
Mirror the part for the opposite side.
Print Settings
Printer:
AM8 Rafts:
No Supports:
No Resolution:
.2 Infill:
80% -
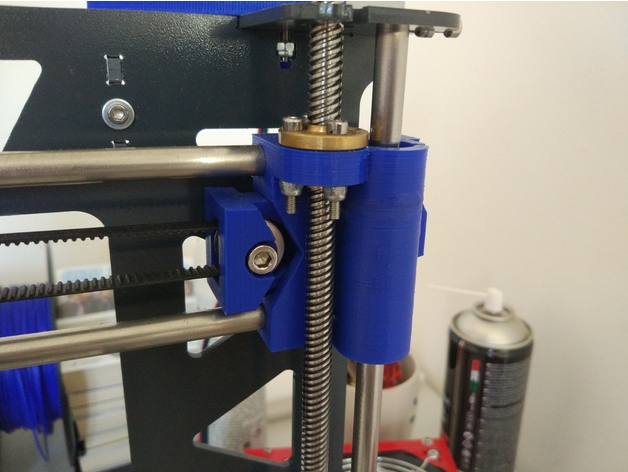
Prusa Steel X axis with tensioner and 8mm leadscrew support 3D Print Model
Summary
This X axis for the Prusa steel frame features a convenient single screw belt tensioner and supports 8mm leadscrews.
You need some M3 screws and nuts to mount the leadscrew nuts in place, a M4 screw and nut for the tensioner and a M5 screw and nut for the toothed idler, I use a cheap aliexpress toothed idler with a M5 bore.
Prints without supports.
Print Settings
Printer Brand:
Prusa Printer:
Prusa Steel Rafts:
Doesn’t Matter Supports:
No Resolution:
0.3-0.25 Infill:
25-30% -
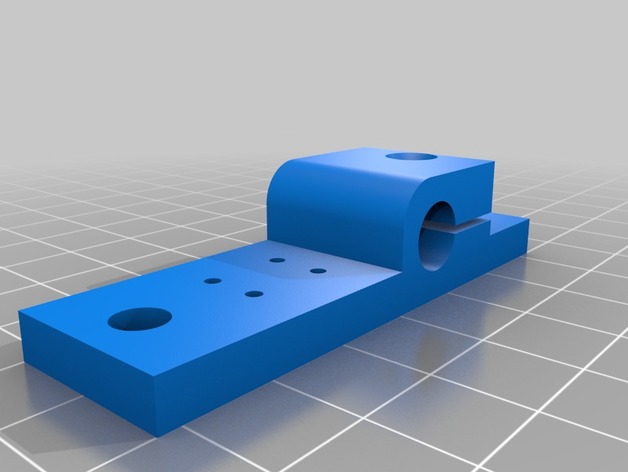
Y axis completely 3D Print Model
Summary
This is a complete construction of the Y axis on the 40×20 nut 5 A profile. The motor is a NEMA 17 with 22 mm flange, dimensions 42.3×42.3×39.2 mm, without shaft. The shaft is 22.6 mm long and has Ø 5 mm. The assembly mountet with M5x12mm screws 12 pieces, M3x12mm countersunk screws 4 pieces (motor mount), M3x24mm 1 piece and 2 self-tapping screws Ø2mm x10mm 2 pieces. The assembly of the motor must be carried out after mounting the mounting on the A-profile.
This is a very compact design that does not need any extra parts when using hot bed mount ANET and other 3D printers.
The idea of the development was, as economical as possible, to use the space and get by with a few parts. -
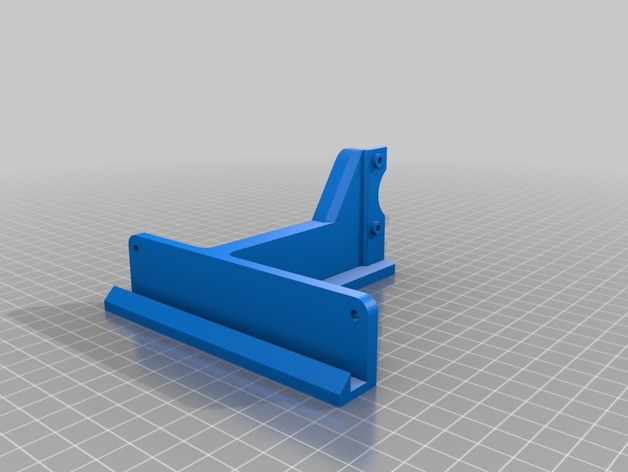
Y axis structural reinforcement 3D Print Model
Summary
Reinforcement well edited not like the other one that had sharp edges and ugly shapes.
You must need longer M3 screws to tight the motor or just edit the STL to match your preferences.
Print Settings
Printer:
anet a8 Rafts:
No Supports:
Yes Resolution:
0.2 Infill:
25% -
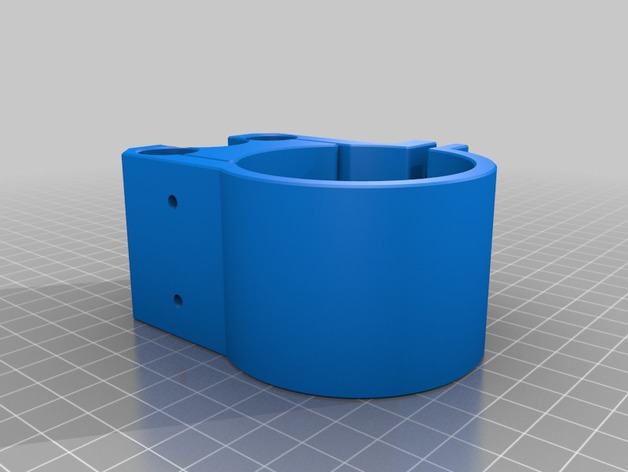
cnc2417 Z axis 55mm spindle mount holder 3D Print Model
Summary
55mm Spindle mount for chinese CNC “cnc2417” 24 x 17cm . This router mount 35mm spindle as default and not compatible with more diameter.
Assembly requires:
2 x bolts M3 >18mm
2 x nuts M3
4 x screws M3 16mm
No material support needed
Print Settings
Printer:
HyperCube 3D Printer Rafts:
Doesn’t Matter Supports:
No Resolution:
0.2mm Infill:
100% Notes:
https://www.thingiverse.com/thing:1752766
How I Designed This
Designspark Mechanical Downloads:
De: https://www.rs-online.com/designspark/mechanical-software-de
En: https://www.rs-online.com/designspark/mechanical-softwareBuy
Cnc router CNC2417
https://www.aliexpress.com/item/cnc-2417-diy-cnc-engraving-machine-3axis-mini-Pcb-Pvc-Milling-Machine-Metal-Wood-Carving-machine/32799560097.html?spm=a2g0s.9042311.0.0.eAyshb -
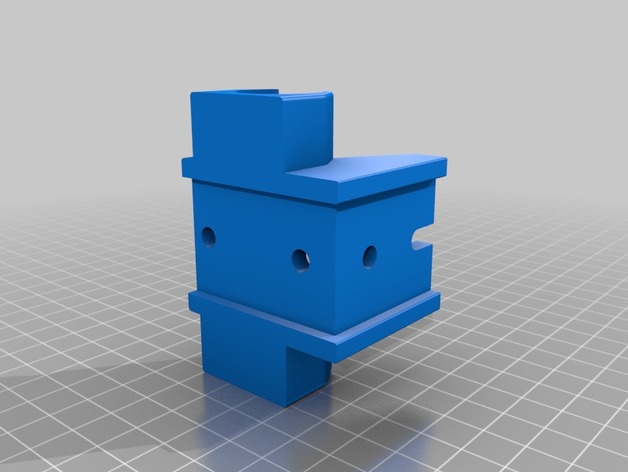
Z Axis Bearing Holder 3D Print Model
Summary
Z Axis Bearing Holder 1.0 for 3030 profil
Print Settings
Rafts:
No Supports:
No Resolution:
0,2 Infill:
30-50 -
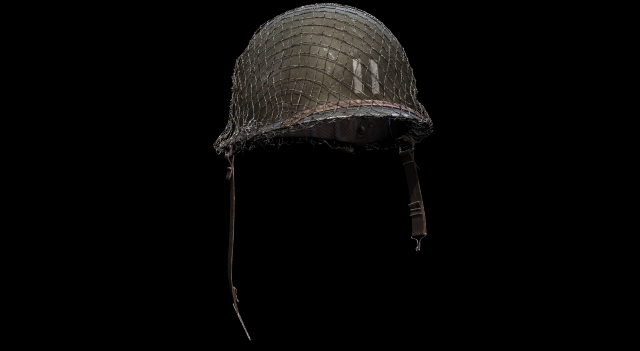
World War 2 Helmet American 3D Model
A WW2 Era helmet ready for film use or as a high res base for normal mapping and textures.- Includes Maya 2015 MA and MB files- Includes FBX File- Includes texturesRendered with Mental RayAll textures are 4k Tiffs and model is made of quads and tris with named objects groups and materials.
-
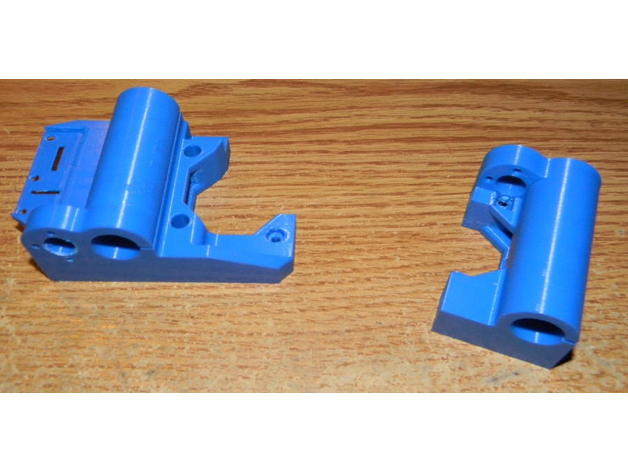
X Axis Ends Tronxy Zonestar P802 3D Print Model
Summary
Recently stumbled upon this terrific set of X-Axis ends for a P3Steel printer. (https://www.thingiverse.com/thing:2088585) Since the P3Steel uses the same 17MM spacing on the leadscrew and vertical smooth rods I wanted to print these for my old beater Tronxy P802M. The only problem is horizontal rod spacing. Most printers like the Anet and P3Steel have 45mm spacing between the X-axis horizontal rods. The Zonestar and Tronxy are 44mm. This would be a problem as I want to use my original carriage.
After looking at the above linked Thing I see the designer was kind enough to include the STEP files for his parts. This was just what I needed. After importing the STEP files into Fusion 360 modifying the rod spacing was a snap.
So as a courtesy to the original creator and to give back to the community here is my set of X-axis ends specifically for the Tronxy and Zonestar P802 printers.
The only change from the original Thing is to move the holes so they are 44mm apart on the horizontal carriage rods.
You will also print out the tensioner parts as detailed on the original Thing’s page (https://www.thingiverse.com/thing:2088585)
Print Settings
Printer:
Monoprice Mini Select Rafts:
No Supports:
Yes Resolution:
0.2mm Infill:
30% Notes:
Print with the top of the part facing down. Be sure to use supports. The automatic supports generated in Simplify 3D worked perfectly. -
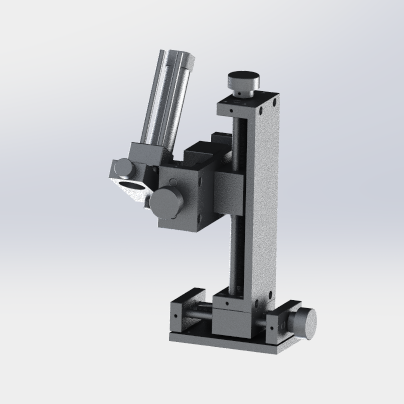
Four axis with platform 3D Model
four axis with platform, which includes the xyz and Angle adjustment function, can be directly connected to the marching fixture, such as dispensing head, welding head, the effect of the first class, for a working model is simple, practical strong, can be directly applied.If you like,you can paypal for you to get this models or if you have any questions also you can email to me.
-
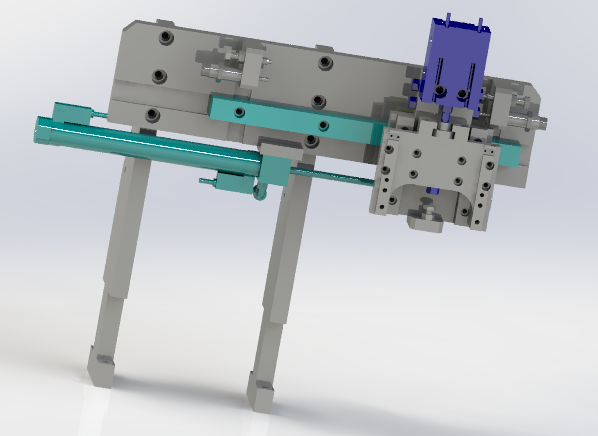
XZ two axial pneumatic manipulator 3D Model
XZ two axial pneumatic manipulator, through the cylinder of manipulator xz axis, the main structure for the cylinder and slippery course, by positioning buffer and a fixed limit at the same time, on the whole in some occasions, such as fixed grasping position can apply mechanically, cost saving, simple structure.This model is transformed into step and iges general model download, please refer to!Also includes 3d original files, welcome to download!if you like,you can paypal for you to get this models or if you have any questions also you can email to me.
-
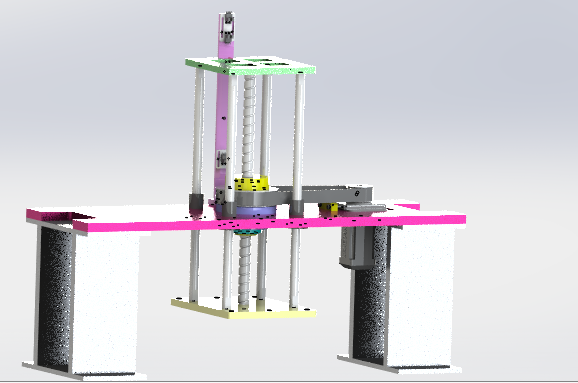
Z axis manipulator 3D Model
Z axis manipulator, the agency through screw activity principle, but different from the ordinary screw drive principle, clever swaps will be linear and rotary activities of institutions, the screw shaft as straight line activities organization, the nut as rotating mechanism.The organization has saved the bearing seat and greatly reduced the space. In many institutions, the purpose of reducing volume and eliminating interference is very classic and ingenious.This model is transformed into step and iges general model download, please refer to!Also includes 3d original files, welcome to download!if you like,you can paypal for you to get this models or if you have any questions also you can email to me.
-
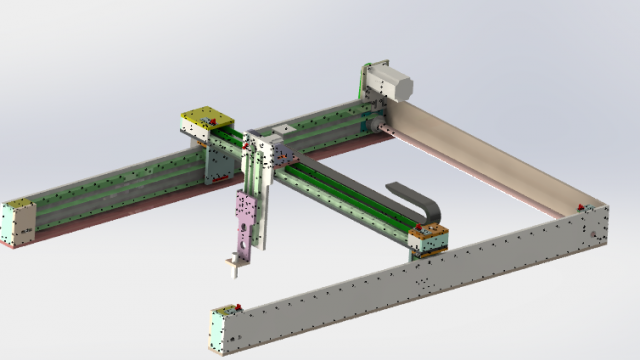
Gantry manipulator 3D Model
Gantry manipulator, the model is driven by a three-axis synchronous belt, and the large span X-axis is synchronized with the synchronous axis, and the Y-axis and z-axis are driven by common synchronous belt.The overall mechanism is cheap, eliminating the screw and servo motor structure, greatly reducing the cost, and the speed is also greatly improved.This model is transformed into step and iges general model download, please refer to!Also includes 3d original files, welcome to download!if you like,you can paypal for you to get this models or if you have any questions also you can email to me.
-
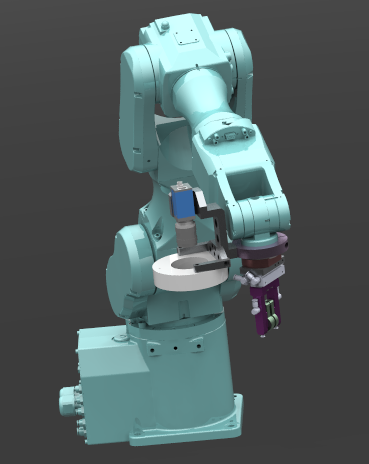
Six-axis manipulator 3D Model
With a CCD to grab the six-axis manipulator, the six-axis machine is equipped with the following device: 1. CCD module, 2. Grasping module.The facility makes a large base to ensure the stability of its operation process, which can be called directly to the model and general motors.This model is transformed into step and iges general model download, please refer to!Also includes 3d original files, welcome to download!if you like,you can paypal for you to get this models or if you have any questions also you can email to me.
-
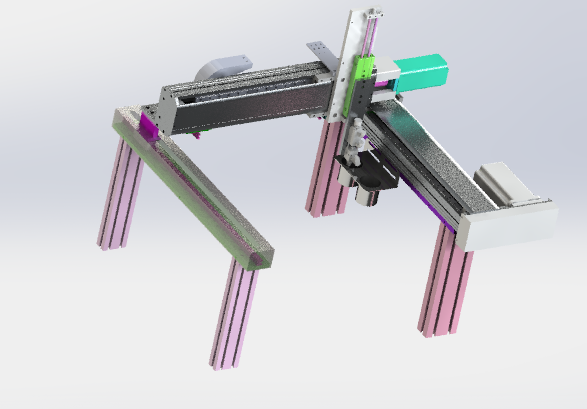
Three-axis screw rod module 3D Model
The gantry mobile module, which is directly mounted on the aluminum profile, includes the X-axis module, the Y-axis module and the z-axis cylinder travel module.Through the 3 axis action, can carry on the action such as glue, load and unload, CCD.The mechanism is suitable for setting up the profile on the platform, forming the gantry model, which is very representative.if you like,you can paypal for you to get this models or if you have any questions also you can email to me.
-
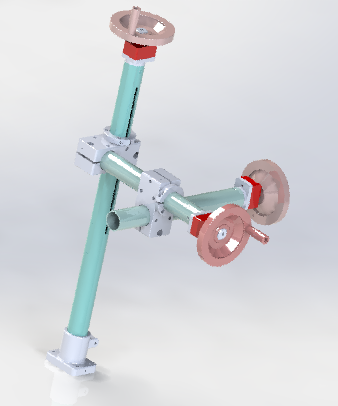
XYZ axis fine-tuning handle 3D Model
XYZ axis fine-tuning handle, the fine-tuning mechanism by homemade bolt structure, through the digital display device can accurately show the fine-tuning, the agency set up is simple, easy adjustment, through the handle rotation fine-tuning to complete and the price is low, both for the production of non-standard.It can be used as a kind of connecting mechanism such as CCD, laminating head and presser, easy to adjust the position of the design can be used, the model is very typical.if you like,you can paypal for you to get this models or if you have any questions also you can email to me.
-
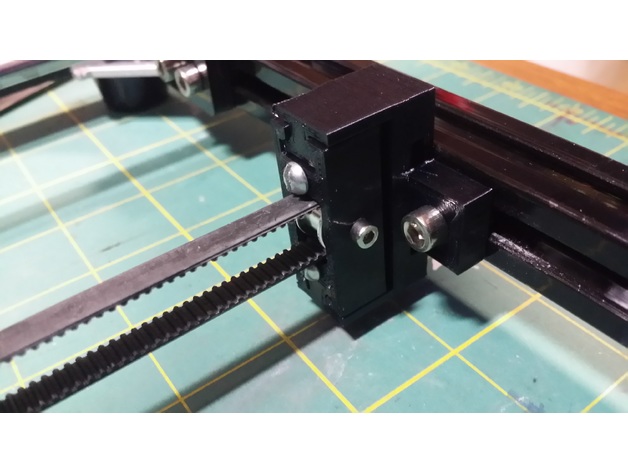
Adjustable Y Axis Tensioner 3D Print Model
Summary
I designed this adjustable tensioner bracket for my HICTOP 3DP-17 Y-Axis as the stock ‘pulley’ would not keep the belt on the bearing and would rub (and squeak) no matter how well aligned it was.
This design should also work with most 20X20 extruded aluminum frame printers.
I purchased the Timing Belt Idler Pulley from Amazon:https://www.amazon.com/gp/product/B01H3FNZ4M
To build, use either M3x25 or 6-32 X 1″ bolts for the adjustment screws.
I designed it for M3 bolts with M3 nuts in the nut traps but didn’t have any 25mm long so I just used some 6-32 machine screws I had laying around.
The idler pulley will need an M3 X 16 or longer bolt to hold it in.
Happy printing!
Print Settings
Printer Brand:
Prusa Printer:
Prusa Clone Rafts:
No Supports:
No Resolution:
.2mm Infill:
55%+ -
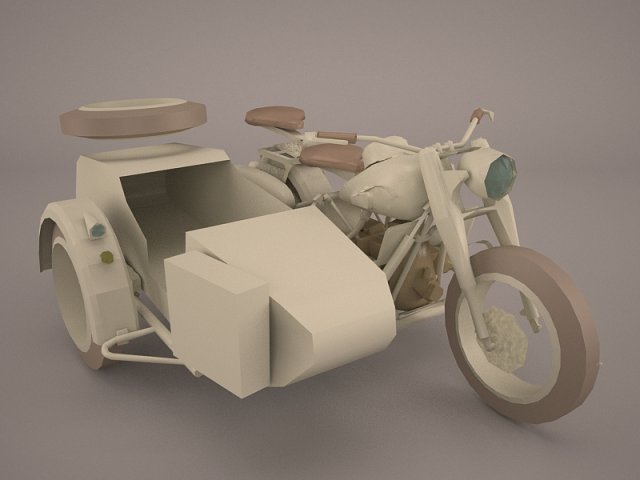
Zundapp KS 750 German Motorcycle 3D Model
zundapp ks 750 ks750 german ww2 motorcycle bike side car sidecar wehrmacht nazi war military transport army axis front BMW R75
-
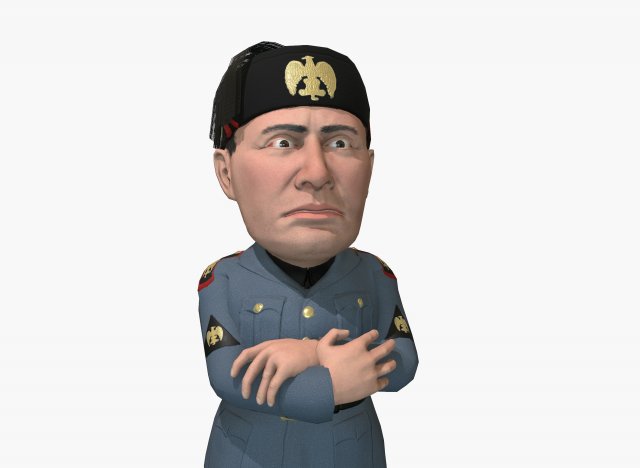
Mussolini caricature 3D Model
Caricature of Italian ww2 dictator Benito Mussolini “Il Duce”. Low poly, rigged, animated game ready 3D character with PBR textures. Textures are 4K, optimized for Unity game engine.Rig is made for Unity mecanim.One custom animation as in 3d viewer is included.Included in pack:-Maya LT 2017 files with Rigged Mussolini in T-pose, and animation as individual Maya file.-FBX files with rigged T-posed Mussolini and animation as individual FBX. FBX files are exported from Maya.-OBJ file in T-pose in case you want to rig him yourself.-Unity 2017.1.0f3 pack-Textures 4K in PNG format.Textures PBR: Color map, normal map, spec map. All textures are 4K. Can be reduced to 1K without significant loss of quality.Browse my store to see more caricatures i created.If you like my style and would need to have custom characters created for your projects, feel free to contact me for freelance work
-
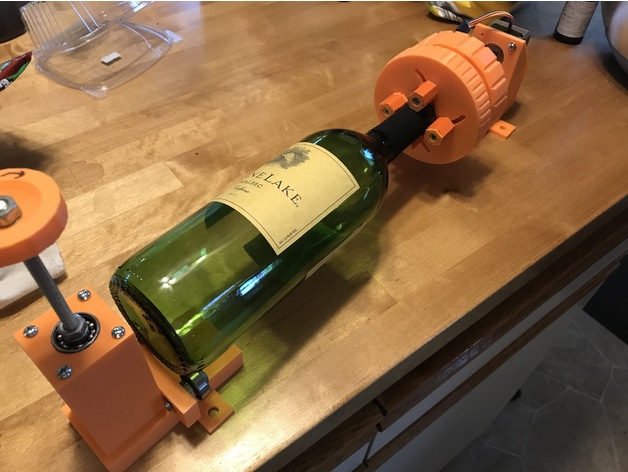
Rotary Axis For Diode Laser 3D Print Model
Summary
After looking all over for a rotary axis for my diode laser, I tried a few here on thingiverse, but none worked well for me. As I am not working on anything huge and do not need much torque, I decided to design my own direct drive Rotary Axis.
I cannot take all of the credit. Thanks to hexitex for his awesome 3d printable longworth chuck: https://www.thingiverse.com/thing:5791, I was able to make my design work.
While this did start out as a project just for myself, during the build process, I collaborated with nottingham82 on this project. Many thanks to him. Him an I both found different ways to improve the design, thus making a much better setup.
He called his a remix of my design, but mine is also a remix of his. Outside of the core base design, we each designed our rotary axis independently.https://www.thingiverse.com/thing:2561227
Outside of the 3d printed parts, you will need the following:
1/4-20 threaded rod
1/4-20 nuts (around 6)
6/32 bolts for chuck
8/32 bolts for support top
M3 nuts and bolts for coupler
NEMA17 motor
608 bearings (5x)
Here are some videos of the rotary axis at work (please let me know if they don’t work, They were still loading when I posted this):
First Test: https://youtu.be/4F4NecvExnU
First Laser Test: https://youtu.be/H4r3i-HPrOo
Wine Bottle: https://youtu.be/QvoQ9ZGuGgY
Print Settings
Printer:
Maker Select v2 Rafts:
Doesn’t Matter Supports:
Yes Resolution:
0.2 Infill:
40 -
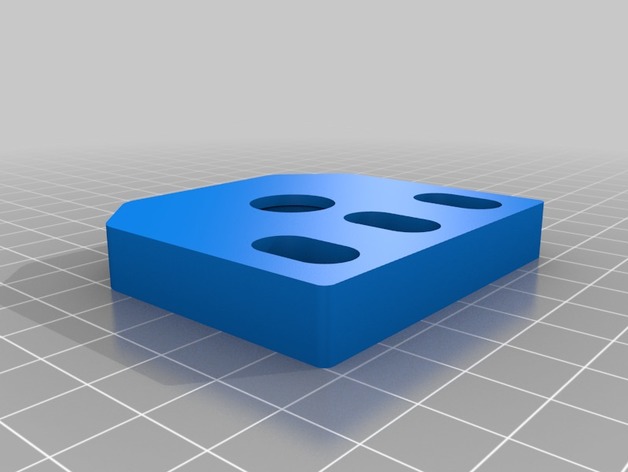
Lower Z axis mount (Ooznest Ox Style) 3D Print Model
Summary
Solved an issue my OX Cnc was having where the bore was wearing down and allowing the bearing to slide through. added a small lip on the bottom edge to keep the bearing in place..
Print Settings
Printer:
Mp Select Mini V1 Rafts:
No Supports:
No Resolution:
0.2 Infill:
75% -
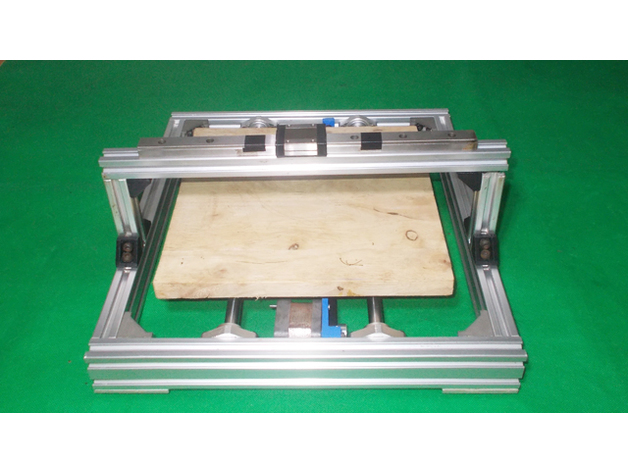
Homemade Laser Plotter Draw Mill 3D Printer Arduino Robotic Drawing DIY Z Axis Slide Linear Frame 3D Print Model
Summary
DIY Y Axis Frame here: https://www.thingiverse.com/thing:2544021
DIY Bed Base Frame here: https://www.thingiverse.com/thing:2490465
DIY Y Axis Bed Base Frame here: https://www.thingiverse.com/thing:2543717 -
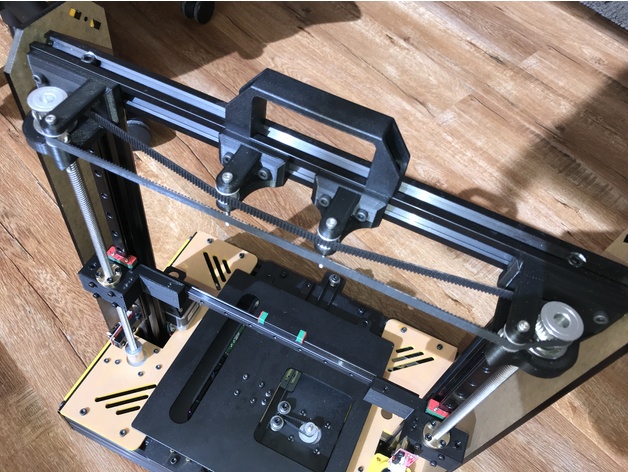
Prusa i4 Single Stepper Belt Driven Z Axis Modification 3D Print Model
Summary
Never one to just assemble the kit, here is one of the modifications I’m making to my Prusa i4 before I have it up and running.
Required parts:
2 x GT2 Timing Gear Pulley 30 Tooth Bore 8MM
2 x 608Z Flange Bearing
8 x M5 bolt
8 x T-Nut for 20×20 TSlot
4 x M3 bolts at least 20mm long
2 x GT2 Timing Gear Pulley 16 Without Teeth Bore 3MM
2 x GT2 Timing Gear Pulley 16 Tooth Bore 3MM
2 x Anti Backlash Spring Loaded Nut for 8mm Threaded Rod Lead Screws
1 x Bearing Block KFL08
1 x A 6R51M345060 GT2 Belt
Print Settings
Rafts:
Doesn’t Matter Supports:
Yes Resolution:
0.2mm Infill:
15% Notes:
I didn’t add supports in the horizontal holes -
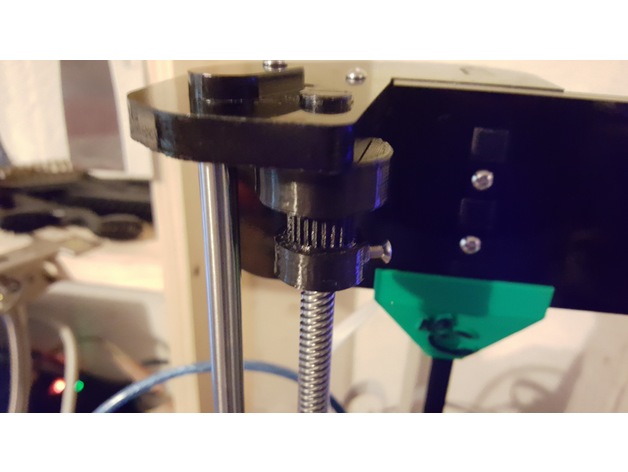
Anet A8 (Prusa) Z axis synchronising gizmo, 608 bearing 3D Print Model
Summary
Modified for the 608 bearing. Changed the 2 pulleys to one pulley, and added .1 to the inner diameter, and swapped out the toothed pulley for deeper toothed one (by Grimlock_UK).
Print Settings
Printer:
Anet A8 Rafts:
No Supports:
No Resolution:
.2 Infill:
30 Notes:
See original post by FredGenius for instructions and tool to put belt together.https://www.thingiverse.com/thing:2350350 -
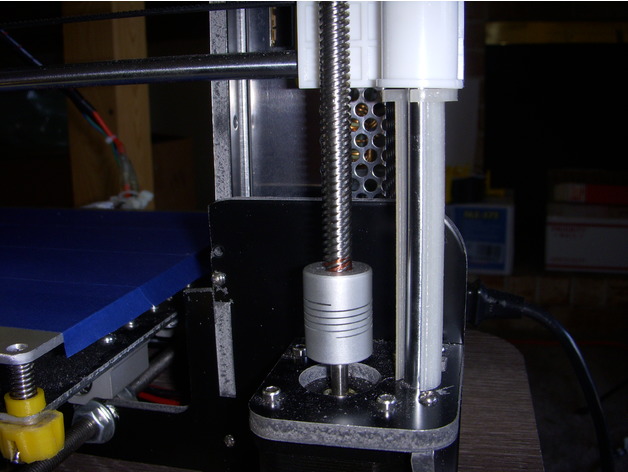
Anet A8 Z Axis Height Gauge 3D Print Model
Summary
A quick design of a thing used to help set and check the Z axis height. I rotated the object 90 degress so that the large diameter is at the bottom of the print I then multiplied it by 1 to print 2 each. -
Axis 3D Model
One purchase gives access to all file formats available. By default only .max file format is selected for download.
-

M24 Stick Grenade Set 3D Model
This is a set of German M24 stick grenades circa WWII. This set consists of:-M24 stick grenades with transport case, rack and fuses. -M24 stick grenade separated into individual components along with a fragmentation sleeve and booby trap spike-M24 bundle charge.All the components were modeled from original photographic reference to ensure maximum accuracy. Please enjoy!p.s. If you find the model useful, please post a link to your work in the review. I would love to see how you incorporate it.
-
Maker Select v2 Z axis Bearing Mounts 3D Print Model
Summary
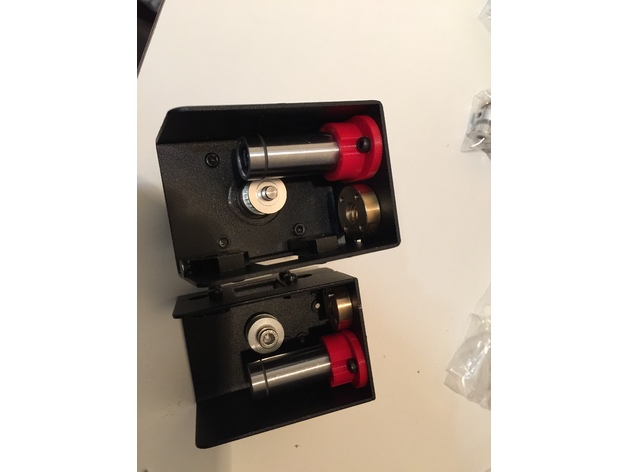
previously I created a set of X-ends for the Monoprice Maker Select v2 to replace the stock metal ones because I wanted a way to use standard LM8UU bearings for the z-axis. Those have been installed on my printer for the last couple of months, but I figured I’d try making a set of bearing holders in case any of you want to use different bearings, but are happy with the metal x-ends that your printer came with.
These seem to work pretty well. Just screw them in from the bottom, slide the bearing into place, and you should be good to go.
I printed these in ABS with 4 perimeters and 40% infill, but the walls are pretty thin so you could probably do them 100% infill and it wouldn’t make much difference in print time. -
Anet A8 – X Axis Frame – Stabilizing Rod 3D Print Model
Summary
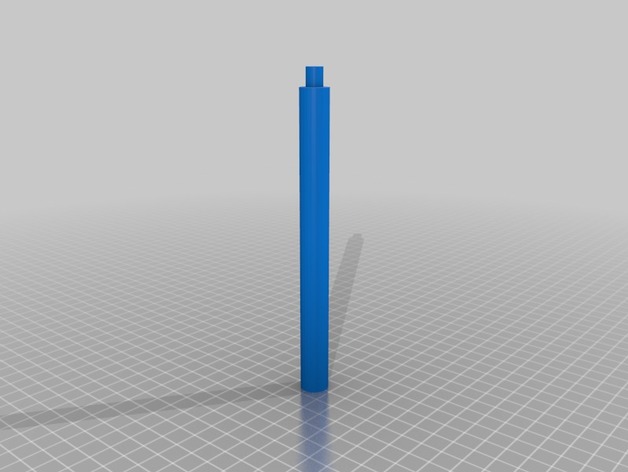
This is stabilizing rod for the main frame of the Anet A8.
Print both parts. put them together and install them as one rod.
The diameter of the outer holes are 8mm (M8 screws).
Print Settings
Printer:
Anet A8 Rafts:
Doesn’t Matter Supports:
No Resolution:
0.2 Infill:
20% Notes:
Use Brim
How I Designed This
Autocad 2017, I share the DWG File if you want -
JN1000 vertical axis planetary mixer drawings Free 3D Model
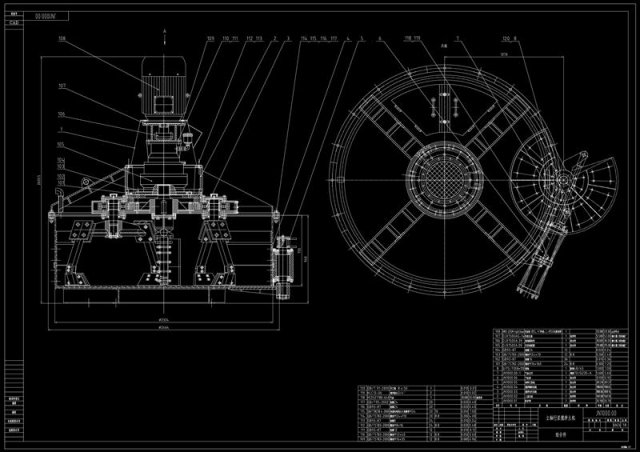
JN1000 vertical axis planetary mixer drawings
I have a full set of compressed drawings. Because the upload is slow, and I do not have enough time. So i do not upload it. If somebody needs it, please contact me. -
JN1000 vertical axis planetary mixer drawings Free 3D Model
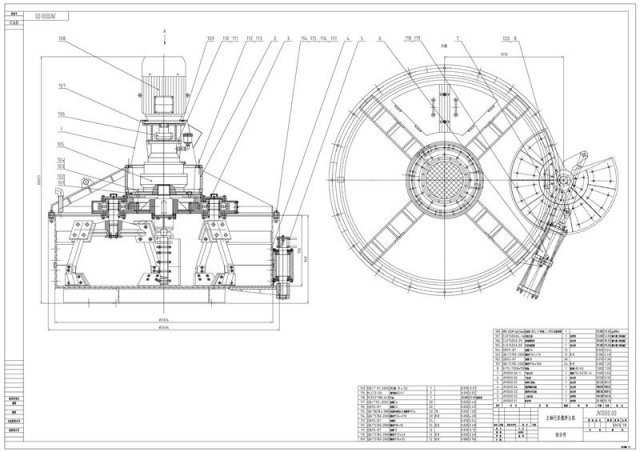
JN1000 vertical axis planetary mixer drawings
I have a full set of compressed drawings. Because the upload is slow, and I do not have enough time. So i do not upload it. If somebody needs it, please contact me. -
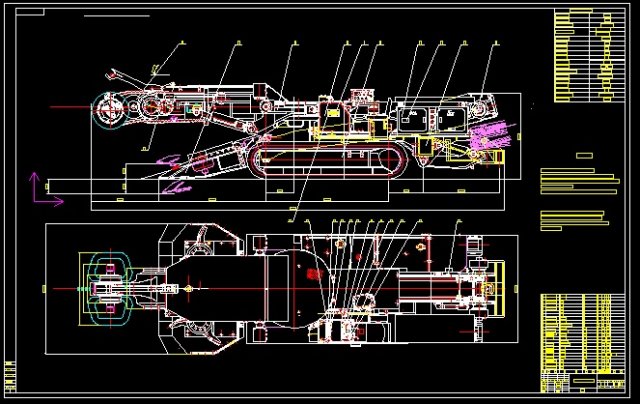
EBH150 horizontal axis tunnel dug 2D drawings 3D Model
EBH150 horizontal axis tunnel dug 2D drawings,Is a complete set of excavator drawings, after downloading can understand the production. This product is produced, no problem. The format is DWG and can be edited.The number of drawings is: 1490 sheets
-
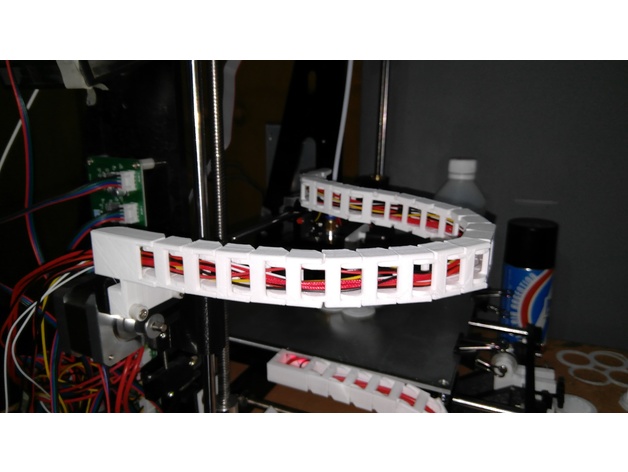
Cable Chain Adapter for Tronxy P802E – Axis X 3D Print Model
Summary
A simple remix from Cable Chain Adapter for Prusa i3 (Hictop) -
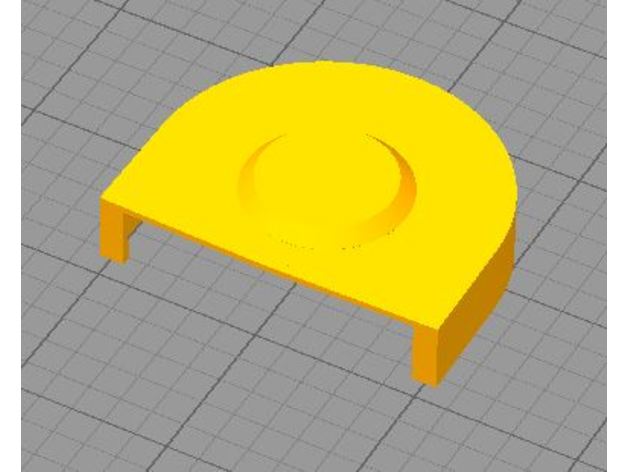
Wombot Front Y Axis cover
Summary
Wombot front Y axis cover, to fit over existing plastic cover, this cover prevent and dust from getting into bearing. -
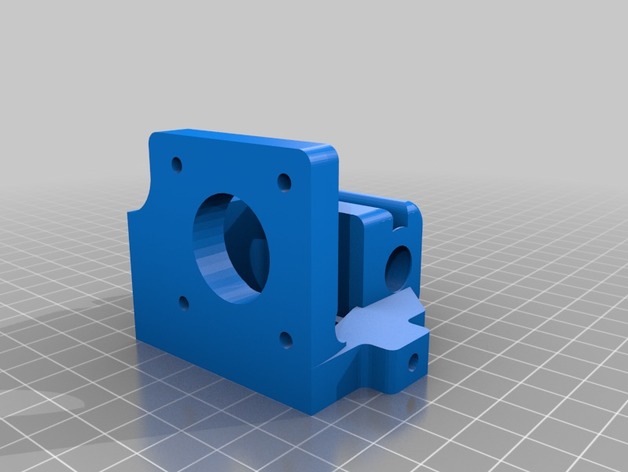
Flsun i3 x/z axis 45 mm redesign
Summary
I’ve decided to make a version of my x/z-axis redesign with a center to center distance for the x-axis rods of 45 mm, with the belt centered. There have been many requests from certain people who want to use a prusa carriage with their flsun printer, so if you’d like to print an original prusa carriage with 45mm rod spacing and the belt centered, these are the brackets for your flsun i3!
For reference, this is the complete redesign with the original 70 mm spacing. Many people have reported success with this design alternative also.http://www.thingiverse.com/thing:2116748