Summary
I wanted to find a more cost effective lamp after designing the bluetooth lithophane lamp. Every part of this is printable, all you have to buy is a USB LED and cable. I will drop a link and the end of the summary.
Simply print these parts (and 3 or more of the feet… I use 4), only print the coupler if you plan on stacking multiple lithophanes. Then print a lithophane the same size as the one in my bluetooth speaker thing. 254mm along the longest axis, make it 360 degrees. Height doesn’t matter and however you arrange your pictures doesn’t matter. Then put your parts together. Only glue on your pegs on the bottom and the base connector to the base (after running the USB cable through the hole), then use some thick double sided tape to tape in the LED. You may want to heat-shield the base since the LED gets hot over time and I don’t want anyone catching on fire… either that or limit the time you have the light plugged in (I had mine run for over an hour… it did warp the base slightly in the very center but that was all). I use PLA+ now, the stuff by esun is very good quality white PLA+. I like how it is more black and white than some of the cheaper filament (they tend to have a yellow hue).
I made this modular so that you can print as many lithophanes to go on it as you want… and even stack them (that is the purpose of the coupler) and you can easily swap them around and stack them a few high. I’ve only done two high but the light should be bright enough to go five high or more. It can also double as a flashlight, haha. I’ve powered mine from a USB juice box and taken it on trips to show off as well.
Here is the keychain LED (I soldered mine onto an old USB cable, just solder on the red and black leads). Brand: INVESCH, Part Number: 4328427682… you get 10 for $8, so that’s great. https://www.amazon.com/gp/product/B01H36HLAK/ref=oh_aui_detailpage_o06_s00?ie=UTF8&psc=1
If you solder, any old USB cable will work, just cut the end (the opposite end of the one that plugs into a power supply) and solder the red and black leads. If you don’t solder, then you can get a USB extender and simply plug this USB LED into it. After I solder it I use some heat-shrink to make it look good. I included a picture of the LED soldered on. That is just an example, make sure to use electrical tape, liquid tape or heat-shrink.
Please enjoy and send pictures of any of the thingies that you print out! I’d love to see someone else use some of my designs.
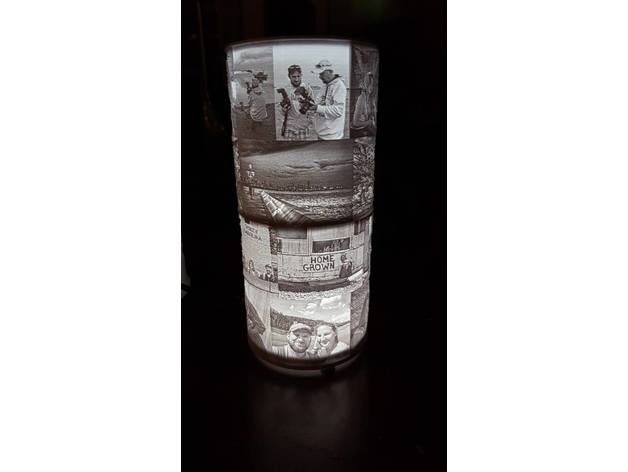
Modular Lithophane Lamp 3D Print Model