Summary
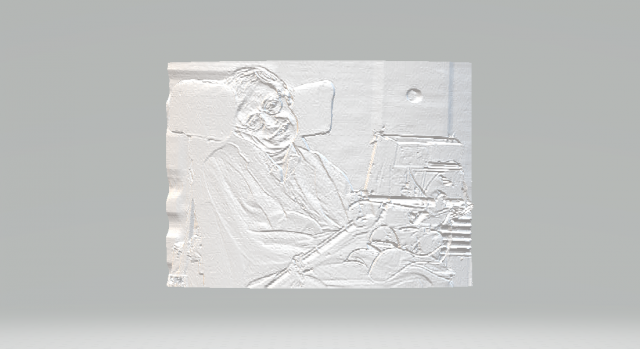
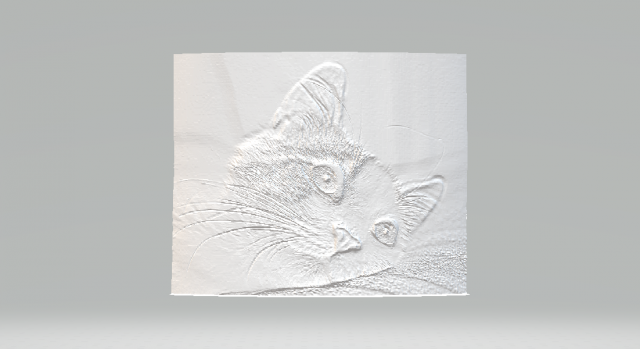
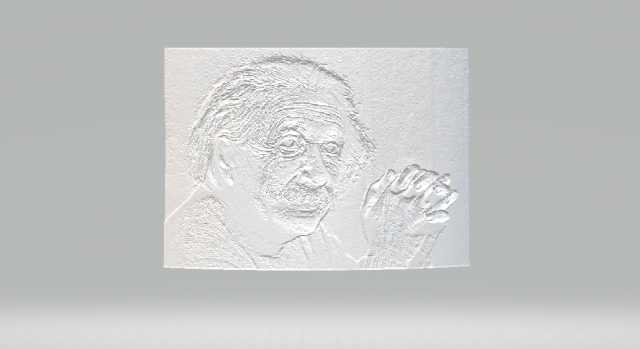
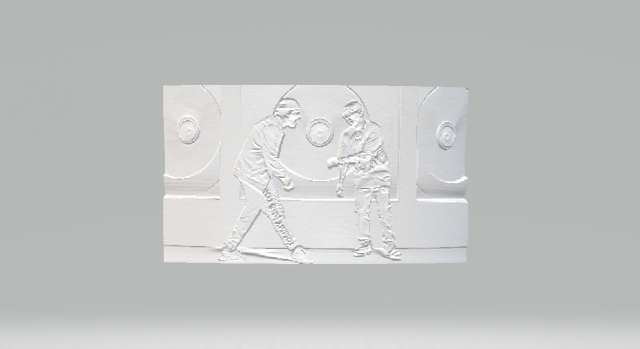
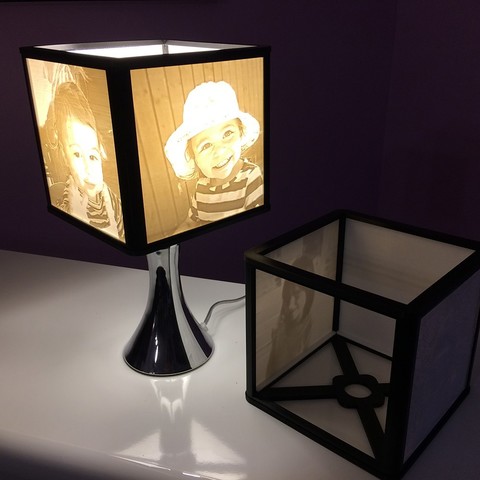
I wanted to find a more cost effective lamp after designing the bluetooth lithophane lamp. Every part of this is printable, all you have to buy is a USB LED and cable. I will drop a link and the end of the summary.
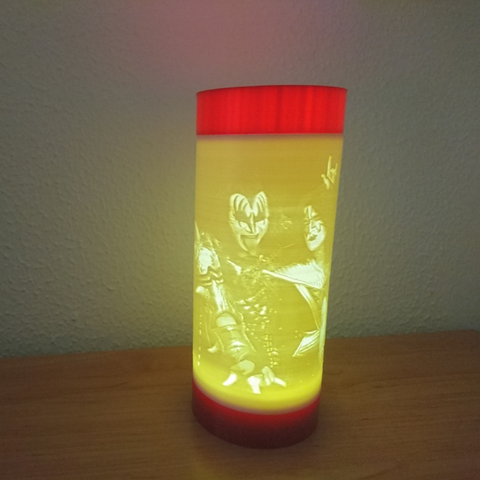
Simply print these parts (and 3 or more of the feet… I use 4), only print the coupler if you plan on stacking multiple lithophanes. Then print a lithophane the same size as the one in my bluetooth speaker thing. 254mm along the longest axis, make it 360 degrees. Height doesn’t matter and however you arrange your pictures doesn’t matter. Then put your parts together. Only glue on your pegs on the bottom and the base connector to the base (after running the USB cable through the hole), then use some thick double sided tape to tape in the LED. You may want to heat-shield the base since the LED gets hot over time and I don’t want anyone catching on fire… either that or limit the time you have the light plugged in (I had mine run for over an hour… it did warp the base slightly in the very center but that was all). I use PLA+ now, the stuff by esun is very good quality white PLA+. I like how it is more black and white than some of the cheaper filament (they tend to have a yellow hue).
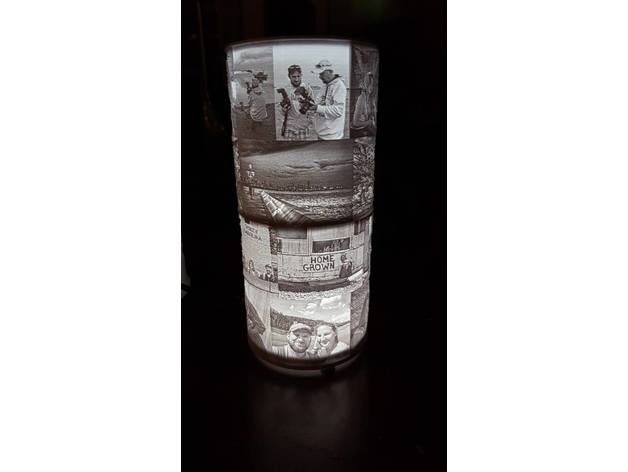
I made this modular so that you can print as many lithophanes to go on it as you want… and even stack them (that is the purpose of the coupler) and you can easily swap them around and stack them a few high. I’ve only done two high but the light should be bright enough to go five high or more. It can also double as a flashlight, haha. I’ve powered mine from a USB juice box and taken it on trips to show off as well.
Here is the keychain LED (I soldered mine onto an old USB cable, just solder on the red and black leads). Brand: INVESCH, Part Number: 4328427682… you get 10 for $8, so that’s great. https://www.amazon.com/gp/product/B01H36HLAK/ref=oh_aui_detailpage_o06_s00?ie=UTF8&psc=1
If you solder, any old USB cable will work, just cut the end (the opposite end of the one that plugs into a power supply) and solder the red and black leads. If you don’t solder, then you can get a USB extender and simply plug this USB LED into it. After I solder it I use some heat-shrink to make it look good. I included a picture of the LED soldered on. That is just an example, make sure to use electrical tape, liquid tape or heat-shrink.
Please enjoy and send pictures of any of the thingies that you print out! I’d love to see someone else use some of my designs.
Tag: lithophane
-
Modular Lithophane Lamp 3D Print Model
-
Kylo Ren Lithophane 3D Print Model
Summary
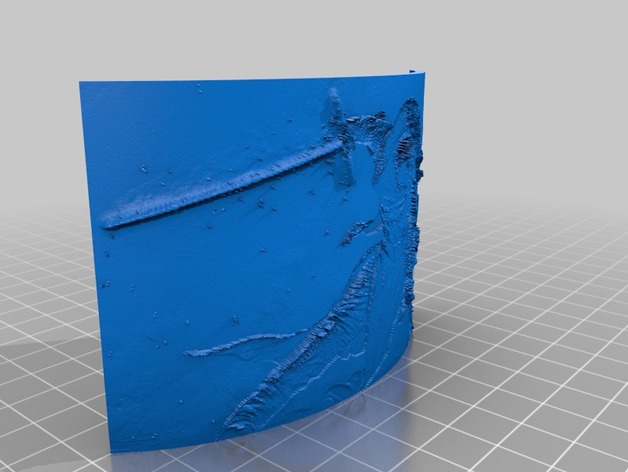
This is a Lithophane of Kylo Ren from Star Wars. When held up to light, you can see the image clearly. -
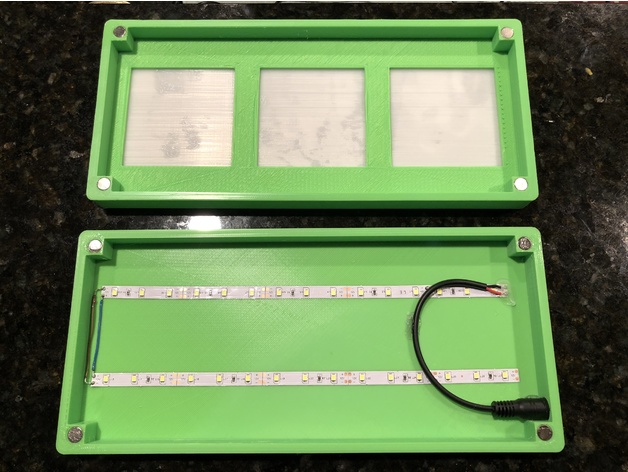
3 Panel Lithophane 3D Print Model
Summary
I printed my panels at 74.7mm x 74.7mm to get them to fit with a small amount of friction in the frame.
LED lights I usedhttps://www.amazon.com/gp/product/B00MHLIFO8/ref=oh_aui_detailpage_o02_s00?ie=UTF8&psc=1
Magnets I usedhttps://www.amazon.com/Magnets-Refrigertor-Stainless-Whiteboard-Multi-Use/dp/B078LX554X/ref=sr_1_1_sspa?ie=UTF8&qid=1516375131&sr=8-1-spons&keywords=8x1mm+magnets&psc=1 -
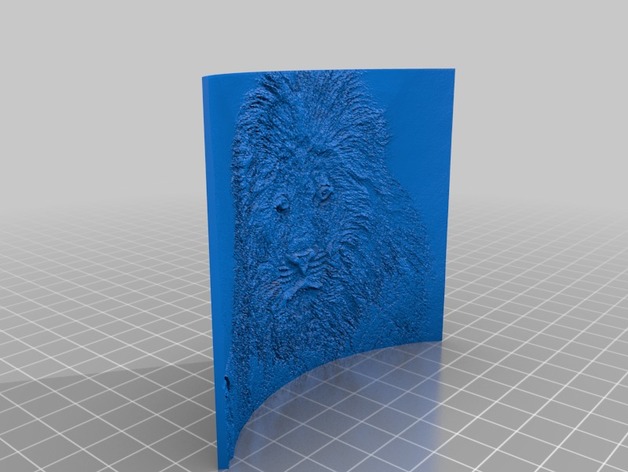
lion face (lithophane) 3D Print Model
Summary
lion face lithophane (stl file)
Print Settings
Printer:
monoprice select v2 Rafts:
Yes Supports:
No Infill:
100 Notes:
layer height (mm) 0.25
shell thickness (mm) 0.80
bottom/top thickness(mm) 0.30
fill density(%) 100 or 112
print speed (mm/s) 24
printing temperature (c) 201
bed temperature (c) 70 -
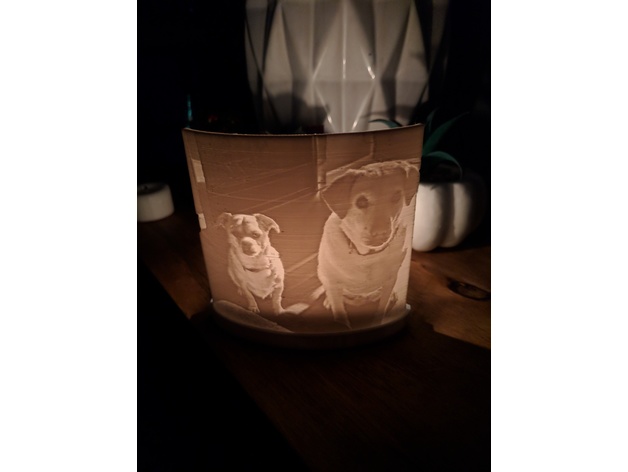
Lithophane Stand with Candle Holder 3D Print Model
Summary
This is a stand that holds a lithophane and a candle to make it glow. To make the lithophane, go to http://3dp.rocks/lithophane/
Settings for Lithophane:
Main page – Outer Curve
Image Settings – Positive Image
Holds a standard tea candle. Fit can be a little tight on some of the lithophanes, a little sanding makes it fit fine. Plus you can swap them for different images whenever you want!
Pretty new to 3D printing, so I’m open for feedback!
Hope you all like it!
Print Settings
Printer:
Monoprice MP Select Mini Rafts:
No Supports:
No Infill:
20 -
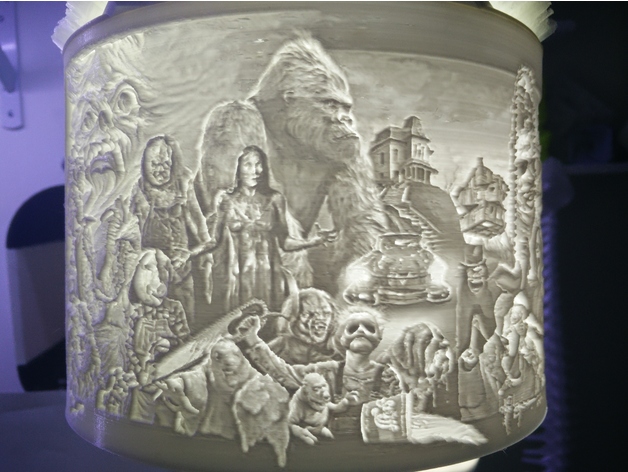
Halloween Horror Movie Lithophane 3D Print Model
Summary
I thought I would share the centerpiece of my Halloween project. This has to be the most epic horror movie mashup I’ve seen. I grew up loving horror movies and thought I would make an ode to them. The pictures don’t do it justice. Credit goes to Chris Labrenz for the original artwork. Video: https://youtu.be/mireoleQ9Z0 -
Neopixel Lithophane Frame 3D Print Model
Summary
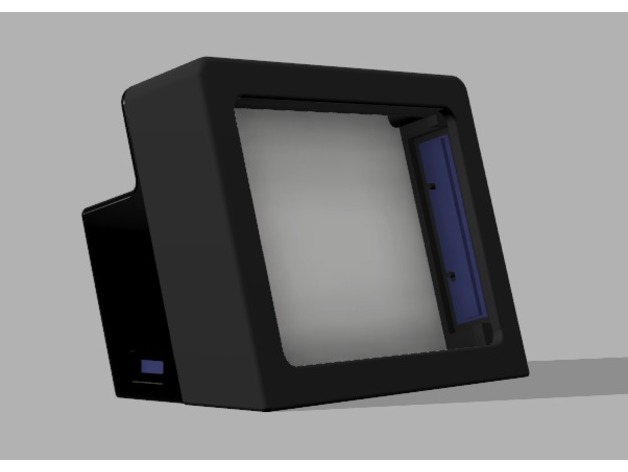
This is a lithophane frame backlighted with 2×8 Neopixel sticks controlled by a Adafruit Trinket 3.3v.
It is designed for a 100x75x3 mm Lithophane with 5mm border.
It is powered from a 1100mAh battery and rechargeable via USB. It has an on/off switch and a potentiometer to go through different colors.
You can grab de Trinket code and schematic from GitHub.
Print Settings
Printer:
Tevo Tarantula Rafts:
No Supports:
No Resolution:
0.1 Infill:
20% Notes:
Print the frame in every color you want.
The reflector may be printed in glossy white.
The difusser for battery leds may be printed in clear PLA -
The crow 3D 3D Print Model
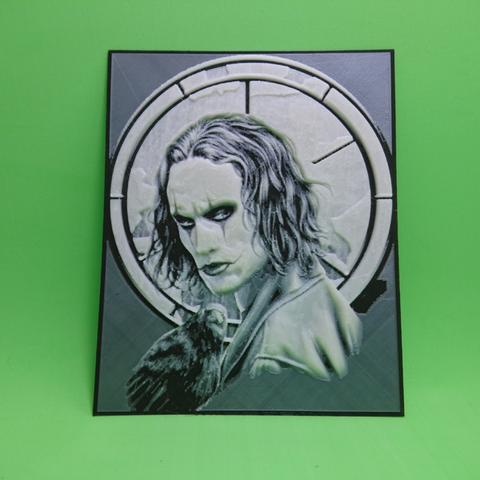
DRAWING 3D Raven
Print the first 5 layers with black filament
from 6 until finished in white filaments …
respect the layer height
0.2 mm the first layer
0.1 mm the layer height
100% filler
speed 45 mm / s maximum
nozzle 0.4 mm -
LITHOPHANE FRAME 3D Print Model
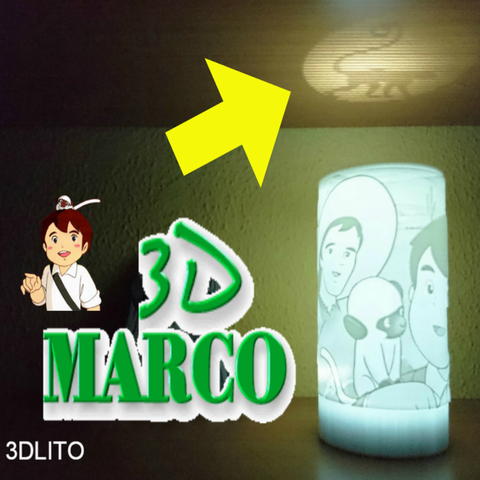
Simple lamp FRAME
I want to share with you a simple lamp design that is illuminated with a
Chinese lantern … in addition to a lid with a halftone of the monkey amedio !! -
Lithophane Night Light adapter (remix)
Summary
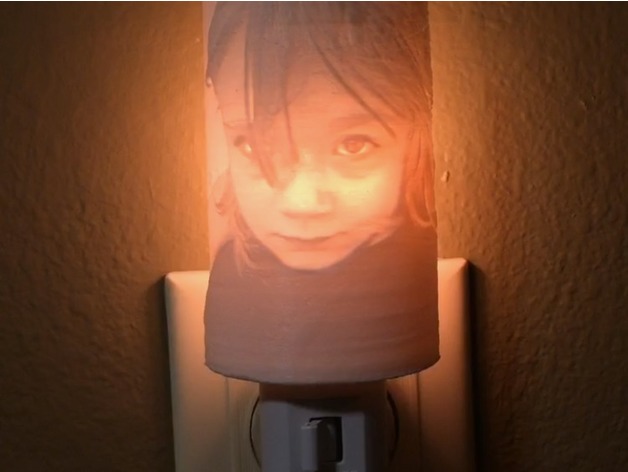
This is a slight remix of poor_red_neck’s Lithophane Night Light adapter. I used his guide to create mine. I used all of the same settings as him, except in the model settings on http://3dp.rocks/lithophane/ I set the curve to 160. This makes the lithophane wrap around the light more.
I remixed his adapter, adding more curve to fit the new shape of the lithophane as well as adding a bit of support to the wings that slide around the light. -
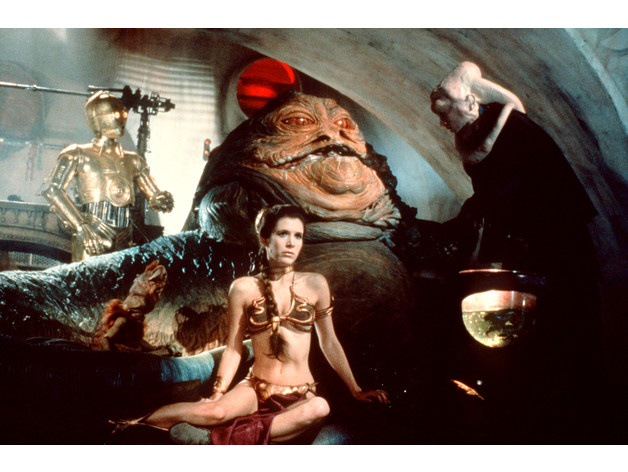
Princess Leia Slave scene Lithophane
Summary
I had never heard of “lithophanes” before seeing them here on Thingiverse. Having found them, and having printed several myself, these things are amazing! This is my contribution to this awesome art form – the (in)famous Princess Leia slave scene in the Jabba the Hutt throne room. I couldn’t decide which pose looked better, so I did both.
Ever since I discovered 3d printing, I have been searching high and low for a good, high quality model of this scene. If anyone has a model, or knows where I can find one… PLEASE let me know!
How I Designed This
This was rendered via the 3dp.rocks/lithophane web site. -
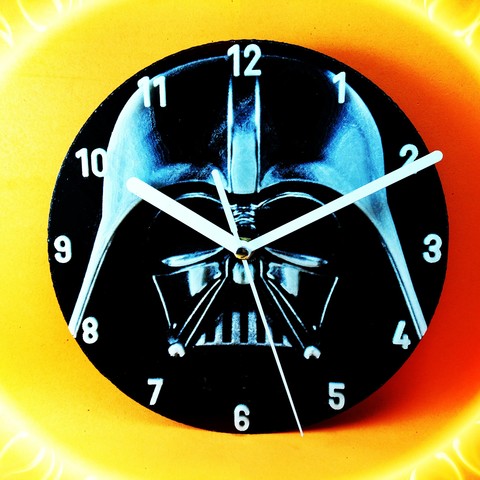
Reloj de Darth Vader
Reloj de Darth Vader(Star Wars)
Recomiendo poner filamento que brilla en la oscuridad o simplemente filamento blanco!!
un buen filamento es fundamental para darle ese toque de profesionalidad,
cualquier duda o si queréis que suba mas diseños de relojes ponérmelo en comentarios…
pronto subiré mas modelos de reloj!!! -
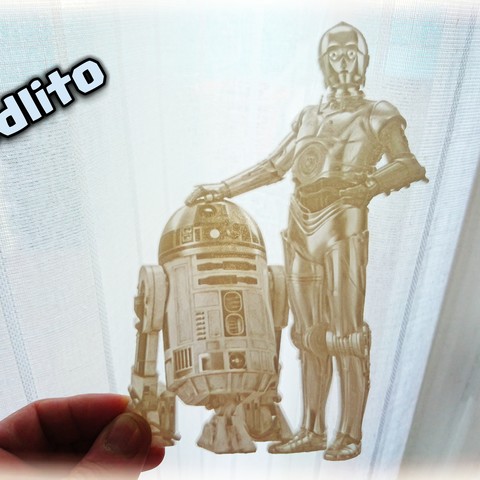
Lithophane R2D2 AND C3PO
En esta ocasion quiero compartir una litofania de los androides de la saga star wars R2-D2 y C-3PO