Summary
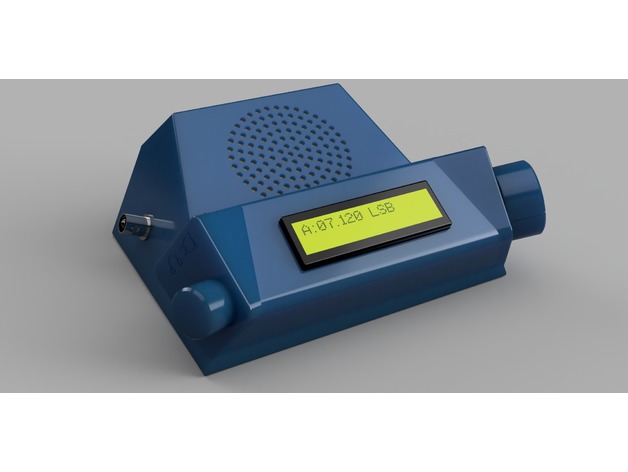
This is yet another enclosure for VU2ESE Ashar Farhan’s BitX40 transceiver. It’s different from other boxes because it’s ergonomically more efficient–the volume and tuning dials are positioned for ease of use and the speaker is tilted up towards the operator’s head. It’s small and has a much larger heat sink to accommodate 100% duty cycle transmissions that digital modes require.
Print Settings
Printer Brand:
Prusa Printer:
Prusa Mk2 Rafts:
No Supports:
No Resolution:
Normal or Optimal (.20 or .15mm) Infill:
20% Notes:
These models have supports built-in where required and can be easily knocked out after printing. I’ve printed these parts successfully in PLA and PET.
Post-Printing
Parts & Assembly
The model is composed two halves for the case: a base that holds the circuit board and the bottom feet using M3 screws and a top. There are also four chamfered holes on the base that attach the top case using M3 flat head screws. The base is also marked “FRONT” and “BACK” for proper positioning of the top case and the board. The bottom feet can additionally be fitted with silicone rubber feet.
The volume on/off pot and tuning pot that come in the BitX40 kit will fit but their shafts require trimming so the vol and tuning knobs will fit. The Vol knob is nylon and can be trimmed using a knife, but I had to use a Dremel grinder to cut down and dress the shaft of the Tuning pot. You should cut the length of the shaft to about 15mm and flatten about 10mm of that. Use caution to ensure that when you are cutting and grinding that you don’t burn out the bearings of the pot. Alternatively, you can use a pot from your own junk box.
The Raduino slides into a slot at the bottom. My design is meant to allow it to be affixed to the inside of the top case with small self-tapping screws, but when I printed it in blue translucent PET, there was insufficient area to support screws, so I ended up hot gluing the LCD module to the case and using screwed standoffs between the LCD and the Arduino modules to hold them in place.
You can also use hot glue to fix the a 65mm dia. speaker over the grille area. Mine was recovered from an old clock radio.
Because I intend to use my BitX40 on JT-65 and WinLink, I needed to replace the small heatsink over the final TX transistor with one that would allow it to handle the 100% duty cycle that digital modes usually demand. I bought a “DIY Cooler Aluminum Heatsink Heat Sink Chip 1002510mm for IC LED Power Transistor” at Aliexpress. I fastened it to the box with small nylon zip ties.
In his BitX40 instructions, Farhan mentions that you can use one of the small earphone style audio jacks for headphones, so that when you plug in the headphones it cuts out the speaker, but leaves out specific instructions “as an exercise to you”. I found a circuit that worked for me.
BitX40 Ergonomic Enclosure 3D Print Model