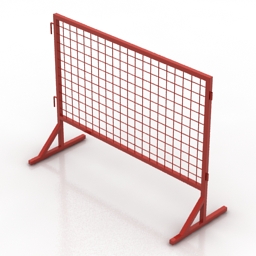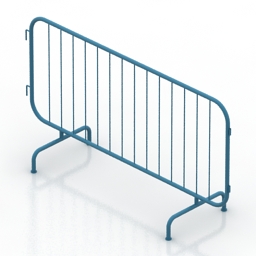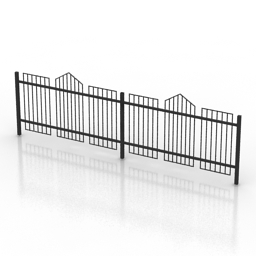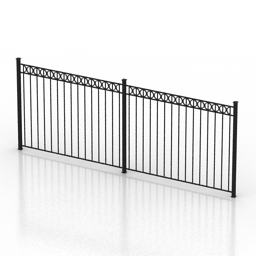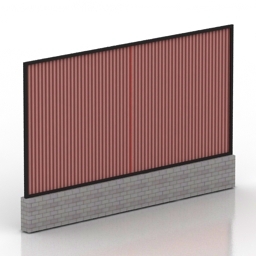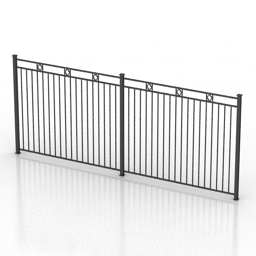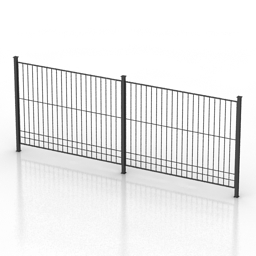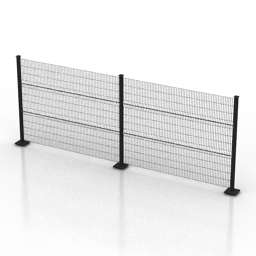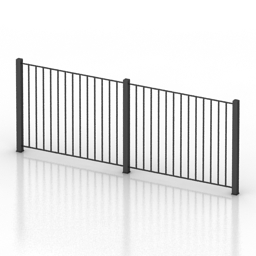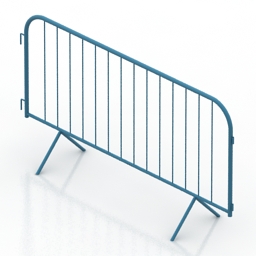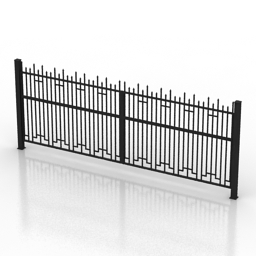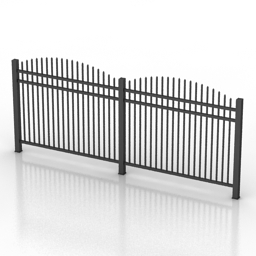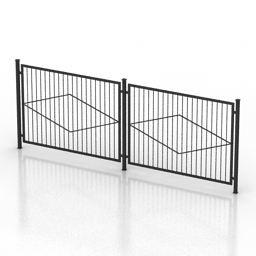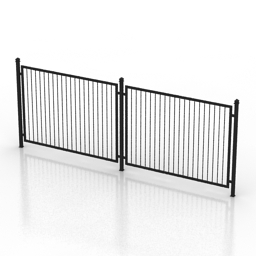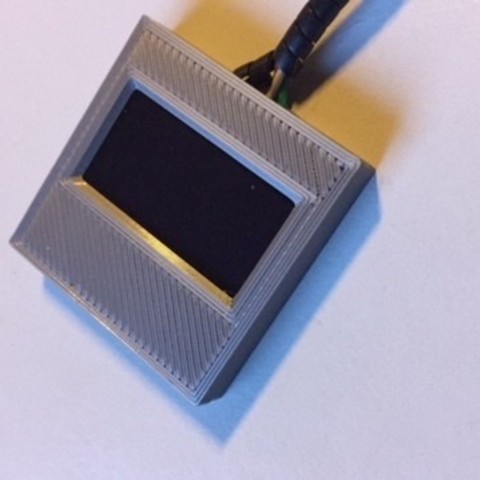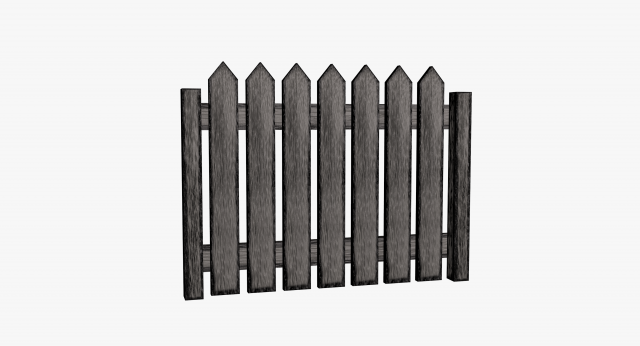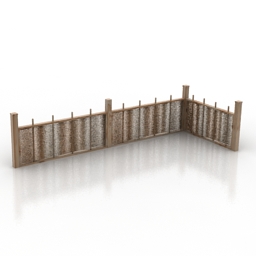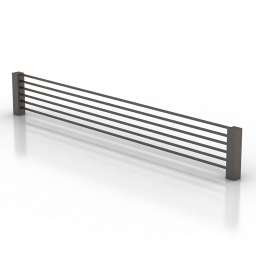
Additional Info: Fence electric N280822 – 3D model (*.gsm+*.obj+*.3ds) for exterior 3d visualization.
Tag: enclosure
-
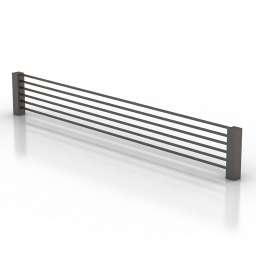
Fence 3D Model
Additional Info: Fence electric N280822 – 3D model (*.gsm+*.obj+*.3ds) for exterior 3d visualization.
-
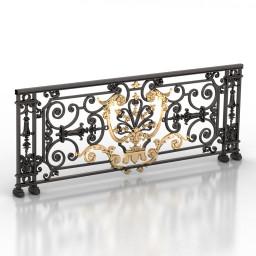
Fence 3D Model
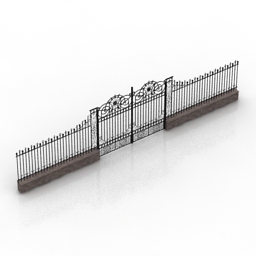
Additional Info: Fence classic balcony tancodien fence N300622 – 3D model (*.gsm+*.obj+*.3ds) for exterior 3d visualization.
-
Fence 3D Model
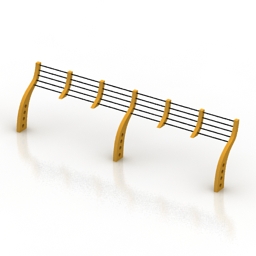
Additional Info: Fence N190122 – 3D model (*.gsm+*.obj+*.3ds) for exterior 3d visualization.
-
Fence 3D Model
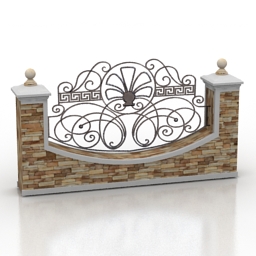
Additional Info: Fence N221021 – 3D model (*.gsm+*.3ds+*.max) for exterior 3d visualization.
-
Fence 3D Model
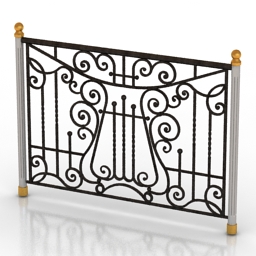
Additional Info: Fence N100721 – 3D model (*.gsm+*.obj+*.3ds) for exterior 3d visualization.
-
Fence 3D Model
Additional Info: Fence N080621 – 3D model (*.gsm+*.obj+*.3ds) for exterior 3d visualization.
-
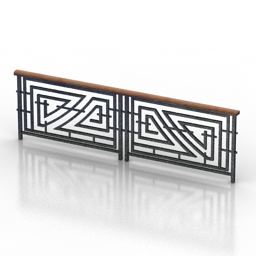
Fence 3D Model
Additional Info: Fence N020718 – 3D model (*.gsm+*.3ds) for exterior 3d visualization.
-
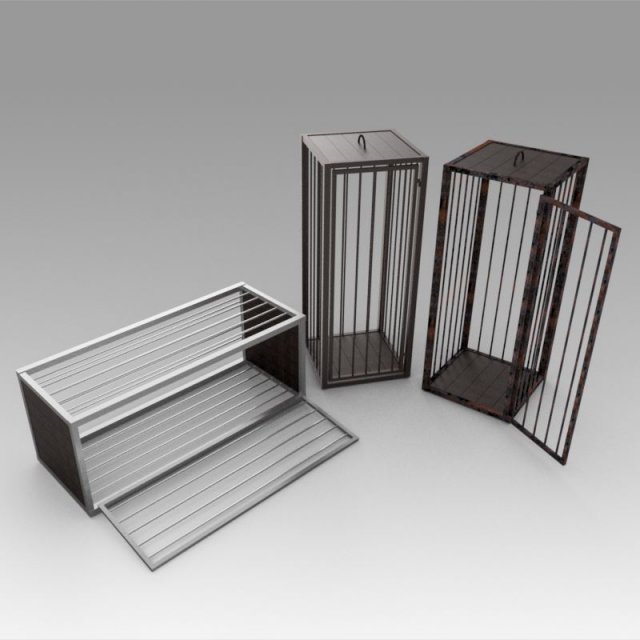
Medieval cages 3D Model
************************The object is modeled in the environment Autodesk Inventor 2018.To create a photo renderer, use Inventor Studio.************************The model contains the most popular formats************************The model contains the most popular formats. Each file was checked for opening and full content by the model.Thank you for coming to see this model. Also pay attention to other models by clicking on the name of the account in the right corner.
-
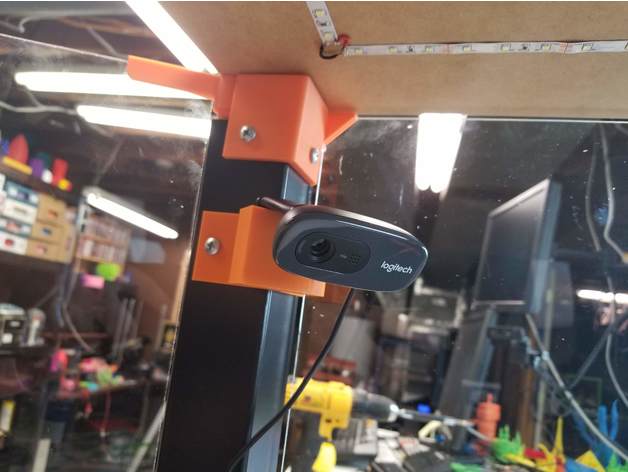
Logitech C270 Lack Enclosure Cam Mount 3D Print Model
Summary
This is a quick mount I made for a C270 cam that can screw on to one of the legs of my IKEA Lack enclosure. Screw holes are 6mm
Print Settings
Printer:
Prusa MK3
Rafts:
No
Supports:
No
Resolution:
0.2
Infill:
20% -
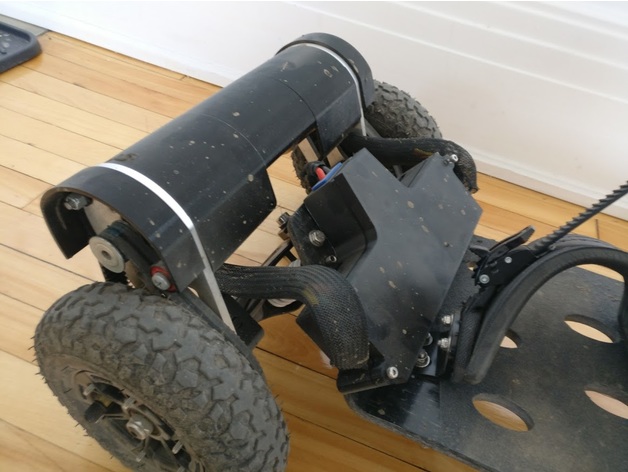
Electric Mountainboard – Enclosure for Enertion FOCBOX / Trampa deck. 3D Print Model
Summary
Enclosure for 2 Enertion FOCBOX Vesc / Trampa deck.
Printed in Advanced PLA / 50% infill.
Check the complete tutorial here: http://makertuts.com/electric-mountainboard-tutorial/ and check my designs for other parts (pulley, ESC/VESC Enclosures…)
Please help me develop new parts and release them for free or just pay me a beer on http://paypal.me/supportp3x to say Hello and/or Thank you! -
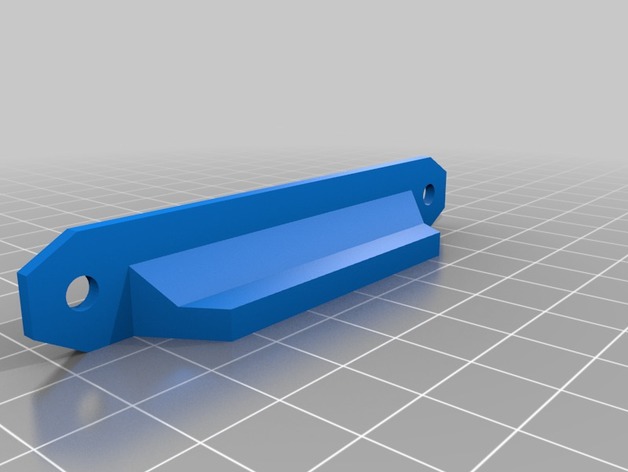
Prusa Lack Enclosure Door Handles for 20mm x 5mm x 2mm Magnets 3D Print Model
Summary
Using the source files from the Prusa Lack enclosure, I resized the magnet inserts for 20mm x 5mm x 2mm magnets, which were easier to find on eBay.
Print Settings
Printer Brand:
Prusa
Printer:
i3 MK3
Rafts:
No
Supports:
Doesn’t Matter
Resolution:
0.15 mm
Infill:
20% -
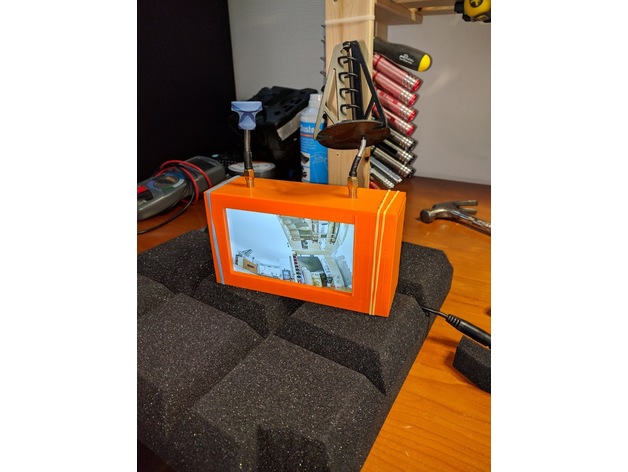
Eachine Googles Two monitor enclosure conversion 3D Print Model
Summary
Custom enclosure to convert a Eachine Googles Two over to monitor.
Works great, but be adviced that it the screen is to small to use for flying. Perfect for spectating. Can be improved, but works good enough for now.
No additional parts needed.
Print Settings
Printer:
Anycubic i3 Mega -
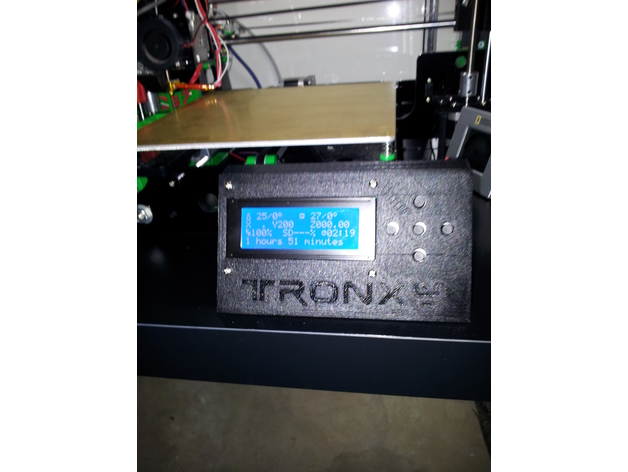
Tronxy P802MA external Display Enclosure – Remix 3D Print Model
Summary
Added the Tronxy Logo
Added on/off button on right hand side.
Print Settings
Printer:
Tronxy P802M
Rafts:
No
Supports:
No
Resolution:
.2
Infill:
15 -
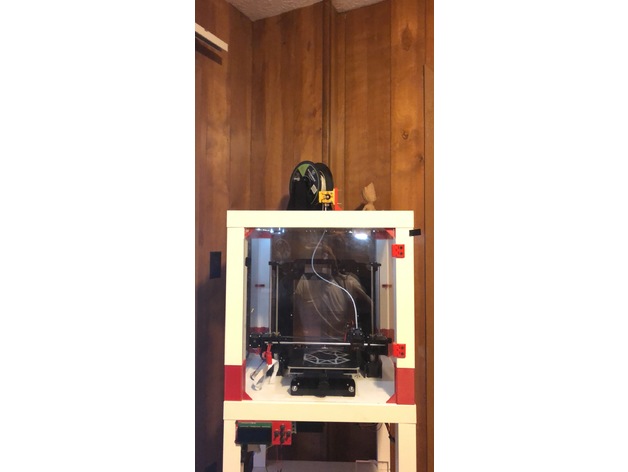
enclosure bowden extruder mount 3D Print Model
Summary
This is a bracket used on the top of an enclosure to mount an hot end extruder. This allows you to change the filament easily from the outside of the extruder.
Print Settings
Printer:
Anet A6
Rafts:
No
Supports:
No
Resolution:
user option
Infill:
20 percentOverview and Background
I wanted to make a mount for the extruder motor for outside of my ikea enclosure so it was very easy to change filaments.
Lesson Plan and Activity
To make it easy to change filaments from outside of the enclosure. -
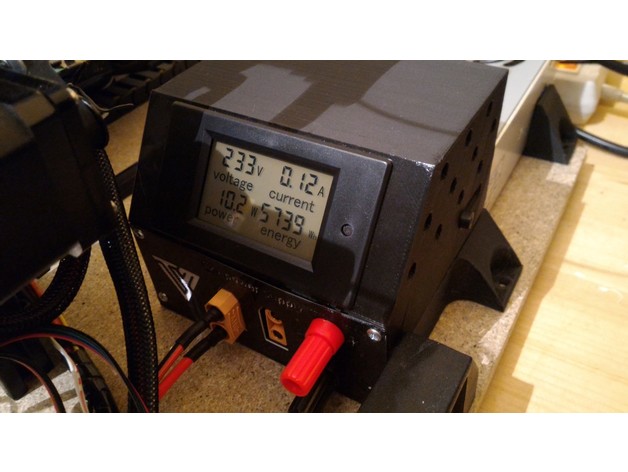
Tevo Tarantula Power Supply Enclosure 3D Print Model
Summary
Designed to enclose the standard PSU outputs and fit a power meter.
The walls are only ~2mm thick, which make them fragile. This is due to my concern of using less material as possible.
I’ve used XT90 for 2 outputs, it’s oversized but I already had them 🙂
There is an “XT90 Holder” that you can screw on top of them with an M4 screw, but I didn’t needed it.
Fusion 360 file attached, feel free to modify/use it !
Parts needed :
1 Power Socket W/Fuse & Switch :https://fr.aliexpress.com/item/Free-Shipping-power-socket/476915963.html
1 Power Meter :https://fr.aliexpress.com/item/AC-80-260V-LCD-Digital-100A-Volt-Watt-Power-Meter-Ammeter-Voltmeter-110V-220V-free-shipping/32617343719.html
1 meter Black & Red 13AWG:https://fr.aliexpress.com/item/1meter-Black-1meter-Red-Silicon-Wire-Heatproof-Soft-Silicone-Silica-Gel-Wire-Cable-12AWG-13AWG-14AWG/32797523458.html
1 IEC 320 C13 Female Plug :https://fr.aliexpress.com/item/New-Wholesale-Price-Black-IEC-320-C13-Female-Plug-Rewirable-Power-Connector-3pin-Socket-10A-250V/32808416783.html
2 XT 90 :https://www.aliexpress.com/item/5Pair-XT90-XT-90-Gold-Plated-Banana-Plugs-Male-and-Female-Antiskid-for-helicopter-Battery-esc/32460919234.html
2 Banana Plugs :https://fr.aliexpress.com/item/4Pcs-Lot-Speaker-Amplifier-Terminal-Binding-Post-4mm-Banana-Plug-Socket-Female-Connector-10pcs-lot/32739527467.html
Hardware
Terminals Connectors :https://fr.aliexpress.com/item/280Pcs-Assorted-Insulated-Spade-Crimp-Terminal-Electrical-Wire-Connector-Set-Red-Blue-Yellow/32810002612.html
6 Ring connectors #4 Blue
3 Ring connectors #4 Red
5 Female Spade Connector Red
Screws :
4 3×10 (front pannel)
1 M4x10 (side)
Schrink tubes :https://www.aliexpress.com/item/385pcs-heat-shrinking-tube-2-1-Shrinkage-ratio-black/32662765147.html
Print Settings
Printer:
Tevo Tarantula Rafts:
No Supports:
No Resolution:
0.2mm Infill:
20% Notes:
I’ve put a picture of the orientation that I used to print the top part (rotate 145°) to minimise bridging, but it’s not the only way to print it 🙂
For the front panel, I changed filament color manually at the beginning of the 3rd layer.There is a plug-in for Cura to do this and also a way to do it for S3D users… or leave it the same color 😉
Post-Printing
Parts needed
1 Power Socket W/Fuse & Switch :https://fr.aliexpress.com/item/Free-Shipping-power-socket/476915963.html1 Power Meter :https://fr.aliexpress.com/item/AC-80-260V-LCD-Digital-100A-Volt-Watt-Power-Meter-Ammeter-Voltmeter-110V-220V-free-shipping/32617343719.html1 meter Black & Red 13AWG :https://fr.aliexpress.com/item/1meter-Black-1meter-Red-Silicon-Wire-Heatproof-Soft-Silicone-Silica-Gel-Wire-Cable-12AWG-13AWG-14AWG/32797523458.html1 IEC 320 C13 Female Plug :https://fr.aliexpress.com/item/New-Wholesale-Price-Black-IEC-320-C13-Female-Plug-Rewirable-Power-Connector-3pin-Socket-10A-250V/32808416783.html2 XT 90 :https://www.aliexpress.com/item/5Pair-XT90-XT-90-Gold-Plated-Banana-Plugs-Male-and-Female-Antiskid-for-helicopter-Battery-esc/32460919234.html2 Banana Plugs :https://fr.aliexpress.com/item/4Pcs-Lot-Speaker-Amplifier-Terminal-Binding-Post-4mm-Banana-Plug-Socket-Female-Connector-10pcs-lot/32739527467.html
HardwareTerminals Connectors :
6 Ring connectors #4 Blue
3 Ring connectors #4 Red
5 Female Spade Connector RedSchrink tubes.
Screws :4 3×10 (front pannel)
1 M4x10 (side) -
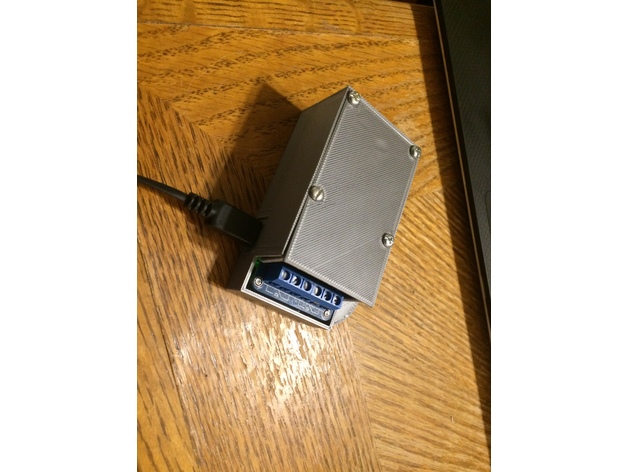
Pi Zero Dual Relay board Enclosure 3D Print Model
Summary
A dual channel relay enclosure for a wi-fi garage door opener.
It works with just about any model / make of garage door opener.
Note: The photos of the item “in use” are of a draft version (print settings below applied) where the lid wasn’t perfect, but I decided it was ‘good enough’. I have updated the design you see here to fix the fit and finish issues.
I started out with this instructable, detailing a rather old hardware setup using a dual channel relay board.
I didn’t much care for the PHP / Apache on Raspbian stack. I know other folks who have used this setup and had issues with SD card corruption.
So I ended up creating my own app in go to do the HTTP bits and handle the GPIO interaction.
Then I took it a step further and baked up a minimal Yocto Linux image with a read-only rootfs, to guard against the SD card corruption issue.
If you want to customize the linux image, you can read the docs in my bitbake layer.
Print Settings
Printer Brand:
Prusa Printer:
i3 MK2S Rafts:
No Supports:
No Resolution:
0.2 Infill:
20% Notes:
Layer Height: 0.2
First Layer Height: 0.2
Vertical shell perimeters: 2
Horizontal Shells:
Top: 3
Bottom: 3
Brim: 4mm -
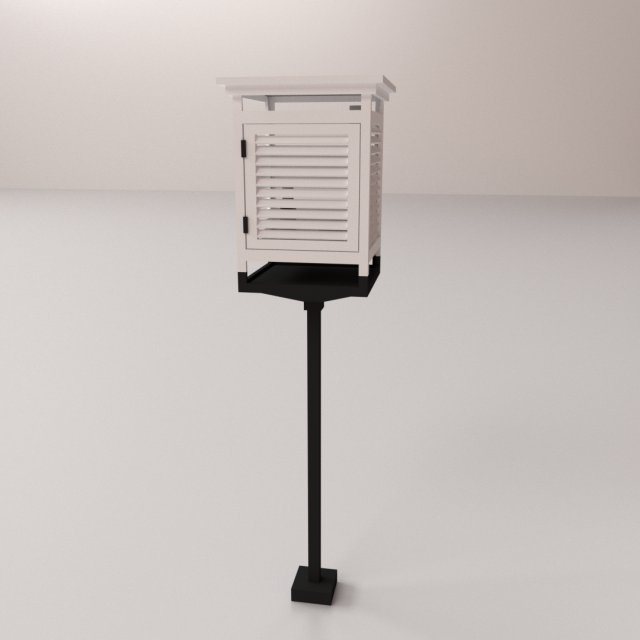
Stevensen Screen 3D Model
STEVENSEN SCREEN=================================- Modeled in Blender.- Preview image rendered using cycles.- All scene are included in .blend files.- Great for close up render.- All parts and materials are logically named.OTHER FORMATS=================- 3ds MAX- COLLADA (.dae)- Autodesk FBX- OBJ
-
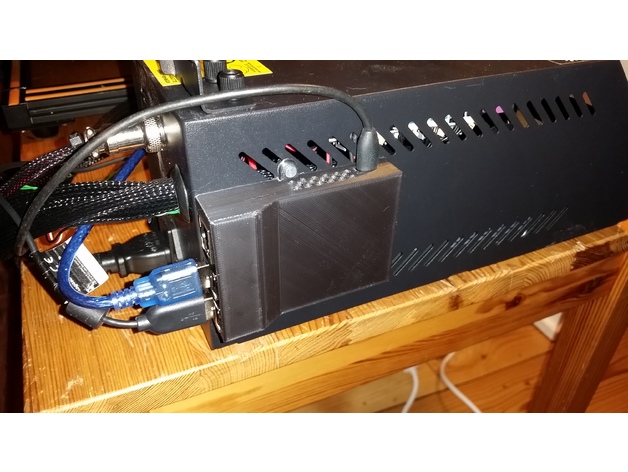
Enclosure for Raspberry Pi 3 and Creality CR-10 3D Print Model
Summary
This is an enclosure that is fastened with screws throw the grid at the side of the controller box. Therefore it is specifically made for the Creality CR-10 but will of course fit at other places when one want the box to be permanently attached to something.
The board is fastened by melting those pins like a rivet. -
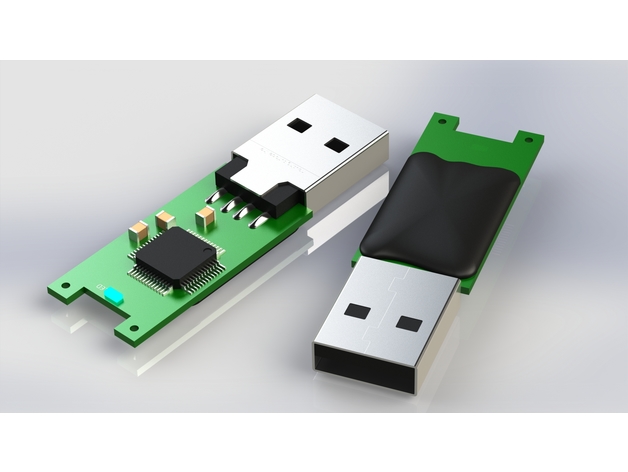
Cheap stick enclosure replacement 3D Print Model
Summary
The housing of a cheap USB stick (see photos) was broken easily, so I decided to make a model of the inner part to create a new printable enclosure.
The enclosure models here are very basic on the outside. Feel free to remix or redesign them! -
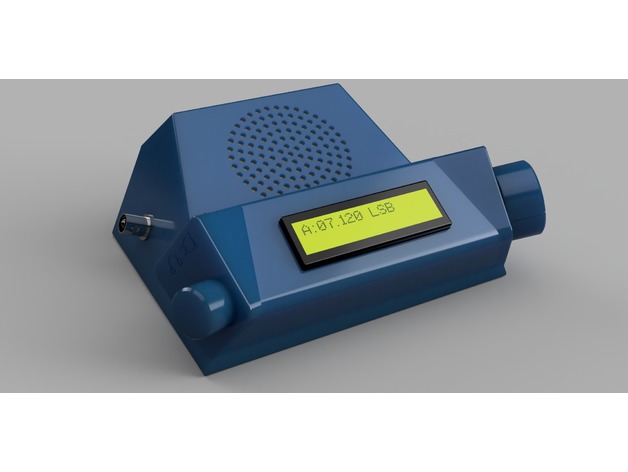
BitX40 Ergonomic Enclosure 3D Print Model
Summary
This is yet another enclosure for VU2ESE Ashar Farhan’s BitX40 transceiver. It’s different from other boxes because it’s ergonomically more efficient–the volume and tuning dials are positioned for ease of use and the speaker is tilted up towards the operator’s head. It’s small and has a much larger heat sink to accommodate 100% duty cycle transmissions that digital modes require.
Print Settings
Printer Brand:
Prusa Printer:
Prusa Mk2 Rafts:
No Supports:
No Resolution:
Normal or Optimal (.20 or .15mm) Infill:
20% Notes:
These models have supports built-in where required and can be easily knocked out after printing. I’ve printed these parts successfully in PLA and PET.
Post-Printing
Parts & Assembly
The model is composed two halves for the case: a base that holds the circuit board and the bottom feet using M3 screws and a top. There are also four chamfered holes on the base that attach the top case using M3 flat head screws. The base is also marked “FRONT” and “BACK” for proper positioning of the top case and the board. The bottom feet can additionally be fitted with silicone rubber feet.
The volume on/off pot and tuning pot that come in the BitX40 kit will fit but their shafts require trimming so the vol and tuning knobs will fit. The Vol knob is nylon and can be trimmed using a knife, but I had to use a Dremel grinder to cut down and dress the shaft of the Tuning pot. You should cut the length of the shaft to about 15mm and flatten about 10mm of that. Use caution to ensure that when you are cutting and grinding that you don’t burn out the bearings of the pot. Alternatively, you can use a pot from your own junk box.
The Raduino slides into a slot at the bottom. My design is meant to allow it to be affixed to the inside of the top case with small self-tapping screws, but when I printed it in blue translucent PET, there was insufficient area to support screws, so I ended up hot gluing the LCD module to the case and using screwed standoffs between the LCD and the Arduino modules to hold them in place.
You can also use hot glue to fix the a 65mm dia. speaker over the grille area. Mine was recovered from an old clock radio.
Because I intend to use my BitX40 on JT-65 and WinLink, I needed to replace the small heatsink over the final TX transistor with one that would allow it to handle the 100% duty cycle that digital modes usually demand. I bought a “DIY Cooler Aluminum Heatsink Heat Sink Chip 1002510mm for IC LED Power Transistor” at Aliexpress. I fastened it to the box with small nylon zip ties.
In his BitX40 instructions, Farhan mentions that you can use one of the small earphone style audio jacks for headphones, so that when you plug in the headphones it cuts out the speaker, but leaves out specific instructions “as an exercise to you”. I found a circuit that worked for me. -
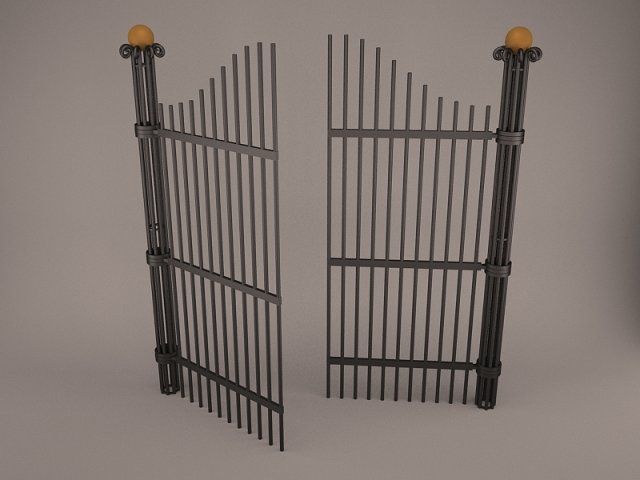
Gate 3D Model
iron gate brick bricks fence entry entrance wall barrier enclosure ornament old garden metal street decoration mansion house home boundary blacksmith
-
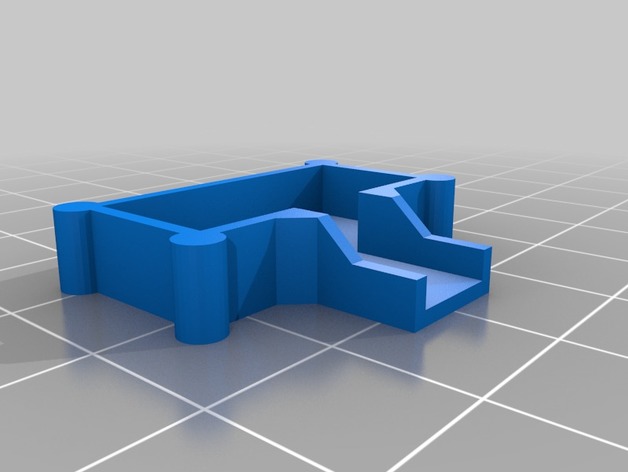
VL53L0X Rage Sensor Enclosure / Box 3D Print Model
Summary
This is a enclosure for a VL53L0X Laser Sensor. I needed it for a Project where I have to mount it on a corner on a Wall, so i also designed a cable tunnel for it.
Printing without support with 0.2 is fine. Better works with 0.1
SketchUp File is free for download. However, this was 2 Days of work, so please be fair.
Have Fun 🙂
Konstantin Pfeiffer
Print Settings
Printer Brand:
Prusa Printer:
Prusa Clone Rafts:
No Supports:
No Resolution:
0.2 Infill:
50 -
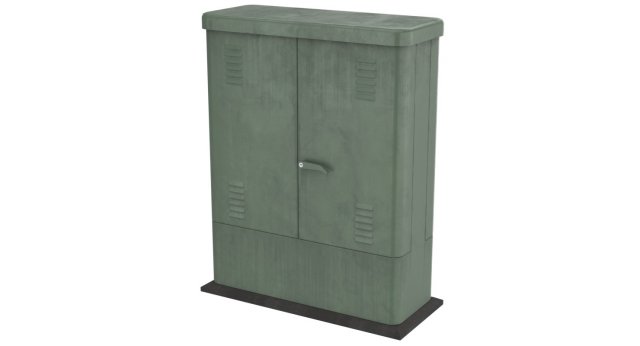
Electrical Enclosure 1 Lowpoly 3D Model
This is a model of a Electrical Enclosure.Originally created with Blender 2.78.|| USAGE ||This model is suitable for use in broadcast, advertising, design visualization, real-time, video game etc.|| SPECS ||This model contains 6 separate objects.This model contains 1637 polygons.This model contains Blender Cycles materials.|| PRESENTATION IMAGES ||All preview images are rendered with Blender Cycles Renderer.Product is ready to render.Render setup is included as a separate Blender file, which is needed to produce images that match the thumbnails.|| TEXTURES ||Textures have 8 bits per channel.Electrical_Enclosure_1_Lowpoly_BaseColor.png 2048×2048.Electrical_Enclosure_1_Lowpoly_Metallic.png 2048×2048.Electrical_Enclosure_1_Lowpoly_Normal.png 2048×2048 X+Y-Z+ (didn’t use a highpoly model for baking).Electrical_Enclosure_1_Lowpoly_Roughness.png 2048×2048.|| GENERAL ||Model is built to real-world scale(the unit system is metric).No third-party renderer or plug-ins needed.|| ADDITIONAL NOTES ||Other file formats. May be needed to reassign textures and will not render like the preview images.-FBX-OBJ
-
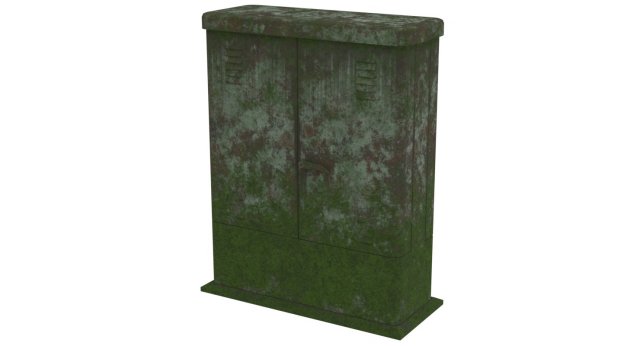
Electrical Enclosure 1 Moss Lowpoly 3D Model
This is a model of a Electrical Enclosure.Originally created with Blender 2.78.|| USAGE ||This model is suitable for use in broadcast, advertising, design visualization, real-time, video game etc.|| SPECS ||This model contains 6 separate objects.This model contains 1637 polygons.This model contains Blender Cycles materials.|| PRESENTATION IMAGES ||All preview images are rendered with Blender Cycles Renderer.Product is ready to render.Render setup is included as a separate Blender file, which is needed to produce images that match the thumbnails.|| TEXTURES ||Textures have 8 bits per channel.Electric_Enclosure_1_Lowpoly_Moss_BaseColor.png 2048×2048.Electric_Enclosure_1_Lowpoly_Moss_Metallic.png 2048×2048.Electric_Enclosure_1_Lowpoly_Moss_Normal.png 2048×2048 X+Y-Z+ (didn’t use a highpoly model for baking).Electric_Enclosure_1_Lowpoly_Moss_Roughness.png 2048×2048.|| GENERAL ||Model is built to real-world scale(the unit system is metric).No third-party renderer or plug-ins needed.|| ADDITIONAL NOTES ||Other file formats. May be needed to reassign textures and will not render like the preview images.-FBX-OBJ
-
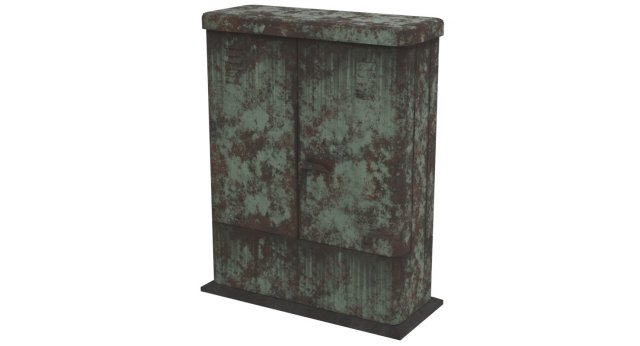
Electrical Enclosure 1 Rusty Lowpoly 3D Model
This is a model of a Electrical Enclosure.Originally created with Blender 2.78.|| USAGE ||This model is suitable for use in broadcast, advertising, design visualization, real-time, video game etc.|| SPECS ||This model contains 6 separate objects.This model contains 1637 polygons.This model contains Blender Cycles materials.|| PRESENTATION IMAGES ||All preview images are rendered with Blender Cycles Renderer.Product is ready to render.Render setup is included as a separate Blender file, which is needed to produce images that match the thumbnails.|| TEXTURES ||Textures have 8 bits per channel.Electric_Enclosure_1_Rusty_Lowpoly_BaseColor.png 2048×2048.Electric_Enclosure_1_Rusty_Lowpoly_Metallic.png 2048×2048.Electric_Enclosure_1_Rusty_Lowpoly_Normal.png 2048×2048 X+Y-Z+ (didn’t use a highpoly model for baking).Electric_Enclosure_1_Rusty_Lowpoly_Roughness.png 2048×2048.|| GENERAL ||Model is built to real-world scale(the unit system is metric).No third-party renderer or plug-ins needed.|| ADDITIONAL NOTES ||Other file formats. May be needed to reassign textures and will not render like the preview images.-FBX-OBJ
-
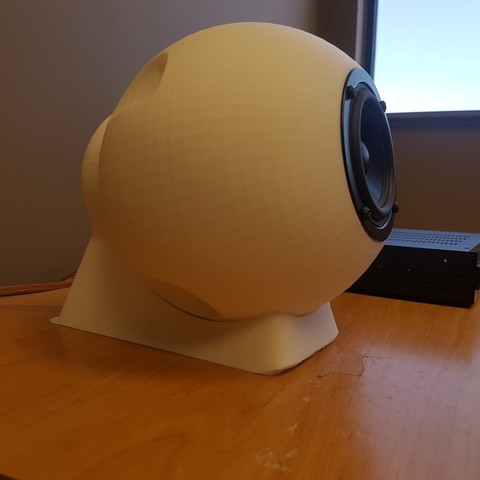
BB-3 Speaker Enclosure 3D Print Model
This speaker enclosure uses a decreasing radius spiral in order to filter out high frequency noises. It does this through diffraction, essentially high frequency noises have a difficult time bending around tight corners so they get cut off. The remaining low frequency bass notes are then amplified by using a compact spiral shaped horn.
-
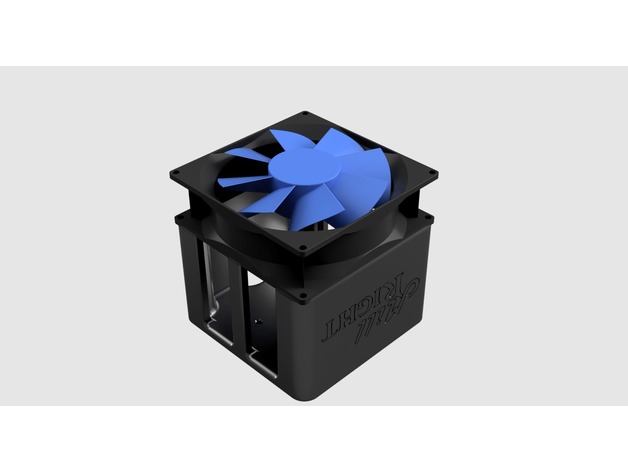
Enclosure for Arduino Stepper Controller Shield (MillRight M3) 3D Print Model
Summary
An enclosure for the Arduino Shield Stepper Controller for the MillRight M3 CNC Machine. -
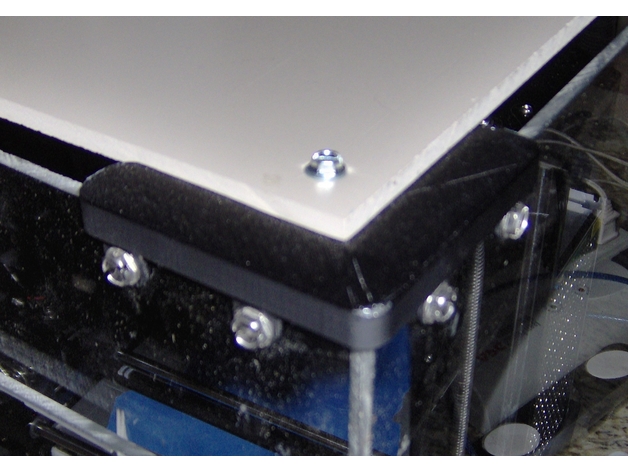
Corner brackets for printer enclosure, two widths 3D Print Model
Summary
Top and bottom brackets for two thickness’s of material. Top has a shelf for top material. Post acts as a support for shelf when printing. -
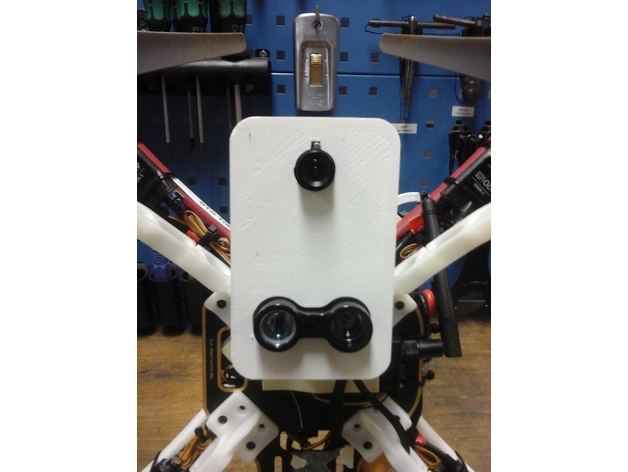
Enclosure for IR-Lock Landing System Sensors 3D Print Model
Summary
This is an enclosure designed to contain a Pixy camera (CMUCAM5) and a Lidar-Lite V3 for the IR-Lock precision landing system. The grid of holes at the bottom of the enclosure are spaced 3.4mm from each other and serve to provide a flexible way to mount the enclosure a drone frame. It was initially designed to fit the mounting slots on a DJI F450 bottom PCB.
The enclosure uses M3 screws. All the holes on the bottom part of the enclosure can be drilled out using 2.5mm dia drill and tapped directly using M3 screws. The holes on the top part of the enclosure, drilled out using a 3.1mm dia drill, serve as through-hole for the M3 screws. The clearance between top and bottom part of the enclosure is 0.25mm providing a loose fit for pieces printed on our printer. -
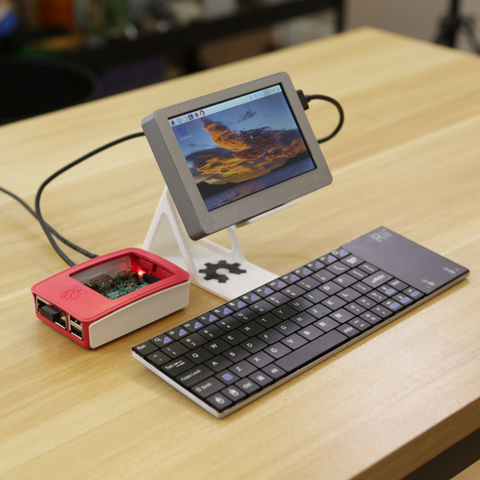
5in Portable HDMI Display 3D Print Model
This is a 3D printed case for a 5″ (800×480) TFT Display, Adafruit TFP401 HDMI display driver, PowerBoost 1000C and 2500mAh battery. Check out the full tutorial here: https://learn.adafruit.com/portable-5in-monitor-with-hdmi/overview Parts and CAD source files are available in the learning guide.
-
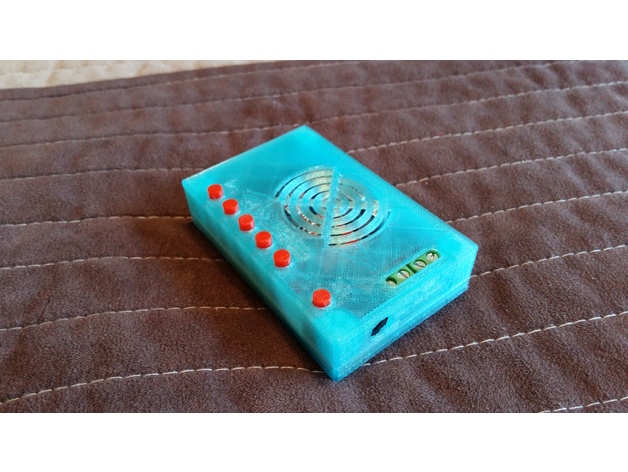
Yet another TDA7492P enclosure 3D Print Model
Summary
Enclosure of TDA7492P 25W + 25W bluetooth mini amplifier.
It stays together without screws or you can use M3X10 countersunk bolts for assembling.
Print Settings
Printer:
Tevo Tarantula Rafts:
Doesn’t Matter Supports:
No Resolution:
0.2 Infill:
30% Notes:
You need to print 5 pieces of long and 1 short button for power function. -
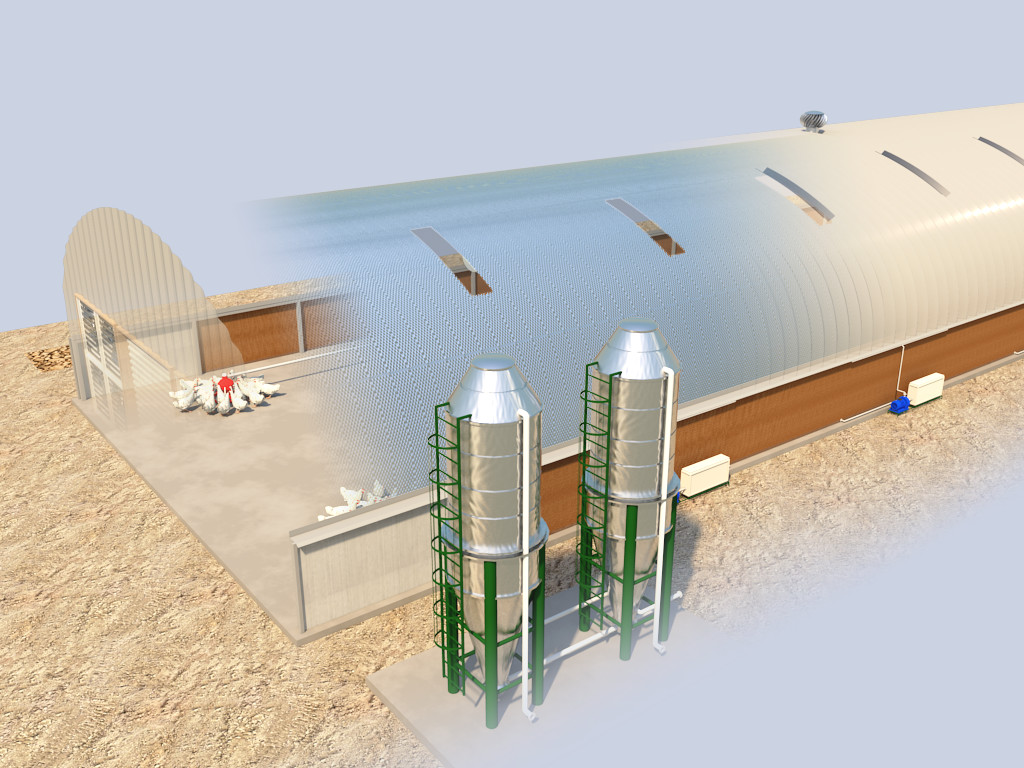
Poultry Farm model 3D Model
Industrial Poultry Enclosure – Chicken FarmTwo types of poultry house. Same infrastructure for them ( feeder, water tanks etc.)Vehicles and chickens in scene are mental-ray proxi files attached in support files.
-
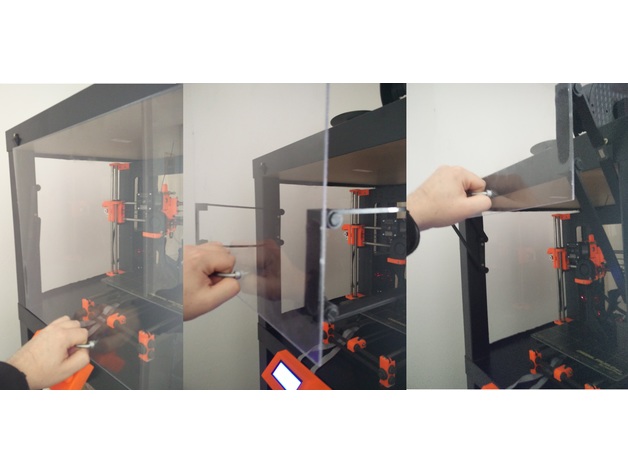
Top-Door-Opener Ikea Lack Enclosure Upgrade
Summary
This will allow you to open and close a door topside for your enclosure. -
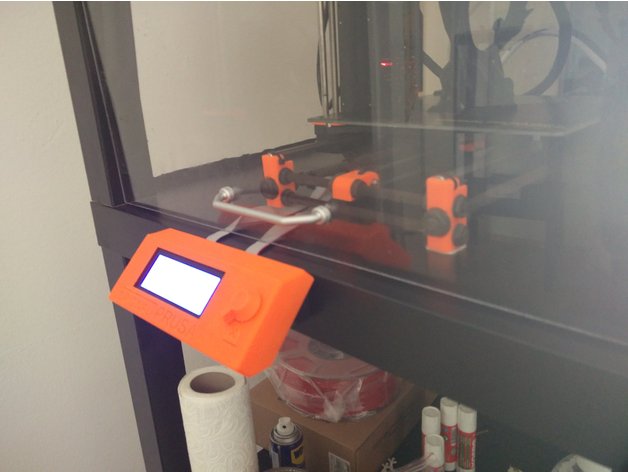
Prusa-I3-MK2 LCD Mount Lack Enclosure
Summary
This is a sample LCD Mount, which is easily removable for the Prusa I3 mk2. -

Modern design handrail
Modern design handrail. In archive, section, the finishing rail-post, and a turn rail-post by 90 degrees.