Summary
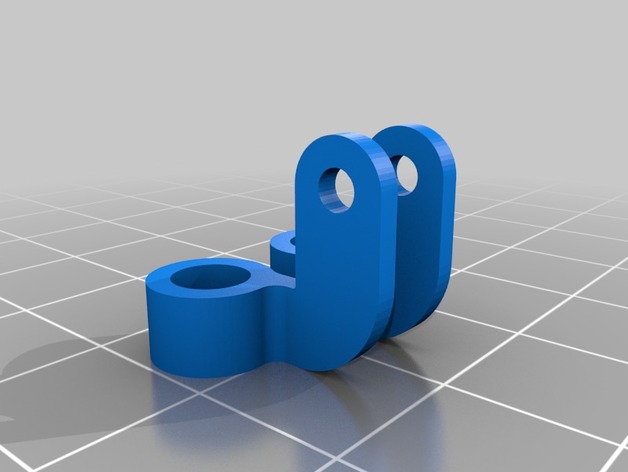
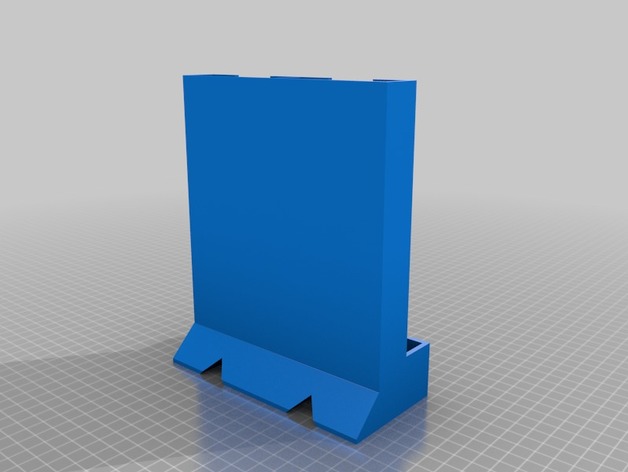
Tall dual version of Chunky’s 18650 battery holder for 2×10 18650’s.
Print Settings
Printer:
Craftbot XL Rafts:
No Supports:
Yes Resolution:
0.3 Infill:
30
Author: Thingiverse
-
18650 Dispenser, Self Standing, Chunky (Dual version) 3D Print Model
-
Reaper left wrist 3D Print Model
Summary
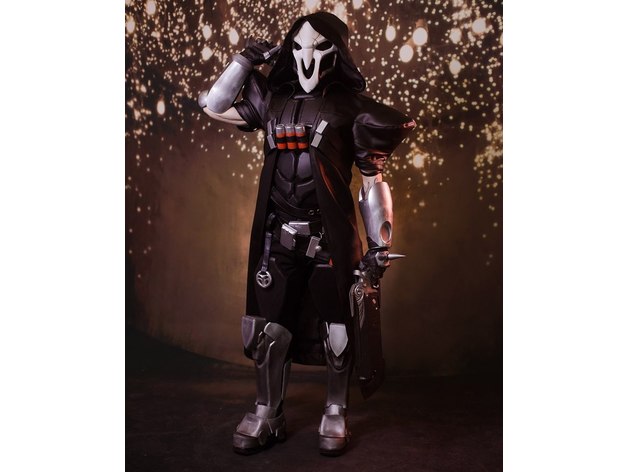
This is pretty simple full-size model of reaper’s wrist for cosplay. It is tube with enough diameter for put in your hand into wrist.
Print Settings
Printer:
Magnum Creative 2 UNI Rafts:
No Supports:
No Resolution:
0.3 Infill:
15-20 Notes:
Print this from PLA or another plastic without shrinkage. Thickness of wall – 0.6 mm. Wrist cutted Into 2 parts. Also u have connection rods for glueing two parts between themself. If u have high work zone – print full size model. -
Carlon LED Candle Pedestal 3D Print Model
Summary
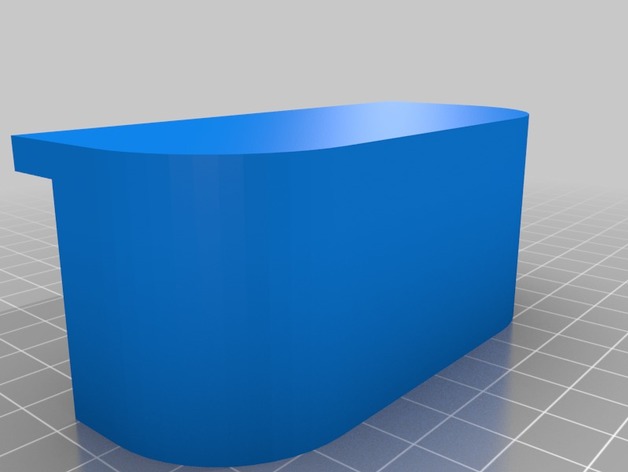
Pedestal to fit the Carlon battery operated LED candle. This has a cutaway for the window frame, and places the light sensor higher above the window frame. -
NES Homebrew Logo 3D Print Model
Summary
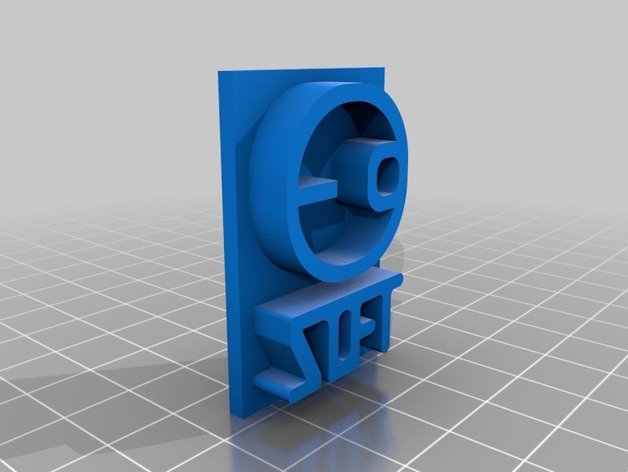
This is a model I made for a friend who create’s homebrew NES games, with this being his logo. I have no idea why YOU, random thingiverser, may want it, but this is mainly here in case I ever lose the original model.
How I Designed This
Fusion 360’s REALLY good for manually converting an image into a 3D model, all I did was trace over a picture given to me and extruded how I thought he’d like it. -
Combine Harvester with Corn Head 3D Print Model
Summary
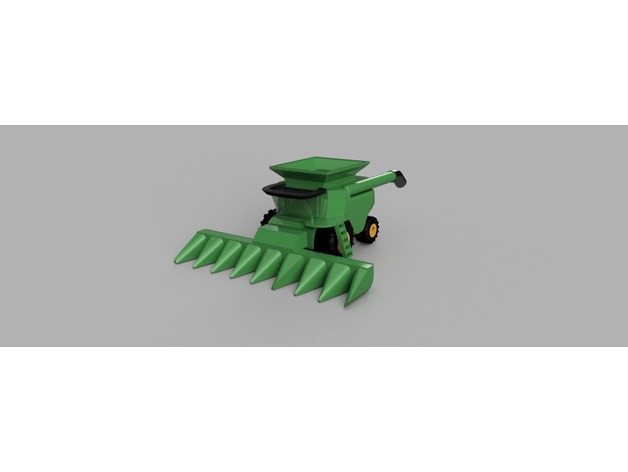
If there was ever a work in progress, this combine harvester is it. A few hours of work went into this design, and it will likely require a few more. I would love to incorporate parts driven by drive wheels, gears, and chains in later revisions
I would love to hear back from users with what I need change, add etc to make this print better. I know tolerances are too tight on some surfaces, and will likely require some sanding at least to get items to fit. This project will also likely require some glue. I refer to part names by an “American” point of view – passenger side is meant to mean left according to driver (or Port Side).
This machine was very roughly modeled after the John Deere S690 combine (grain) harvester. I don’t have one of these at my disposal, so images from the internet are my best reference. -
The Kulbeda 3D Print Model
Summary
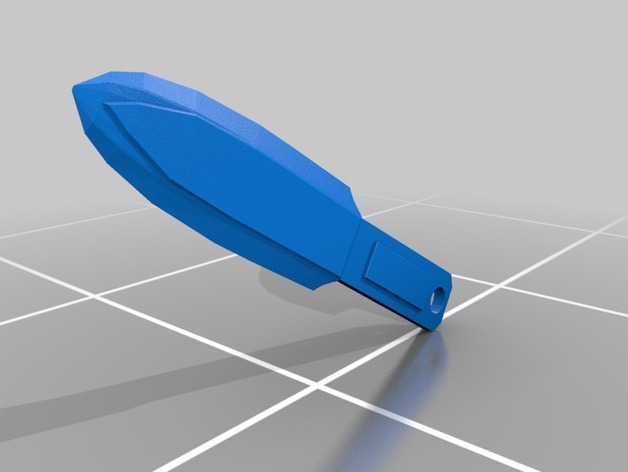
Simple one part print.
Uploaded with faux leather wrap, and without.
All credit to original author: http://steamcommunity.com/sharedfiles/filedetails/?id=271657551 -
Working Designs Logo 3D Print Model
Summary
The logo from the beloved (and sadly gone) Working Designs. -
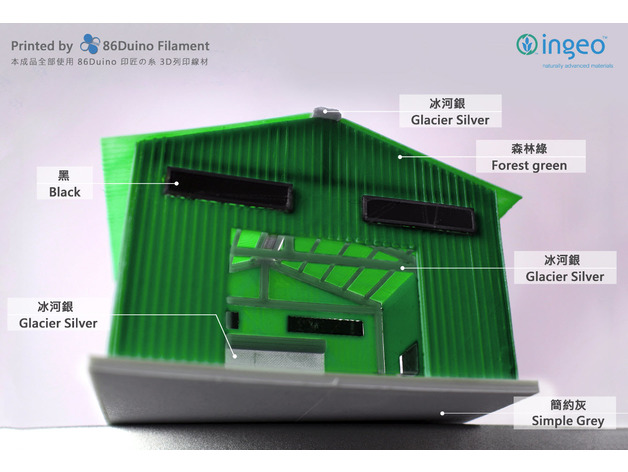
Taiwan style metal sheet building / 台灣鐵皮屋 3D Print Model
Summary
For more printing object please visit 86Duino facebook and give us a “like” and thanks for the tips…https://www.facebook.com/86duino
喜歡圖檔的好朋友請記得到 86Duino Filament 3D 列印 / 耗材 – 不正經研究中心 粉絲團給我們按讚哦 https://www.facebook.com/86duino
Post-Printing -
3D Printer Tool Stand (without “3D” lettering) 3D Print Model
Summary
I took STIG_’s remix and removed the “3D” lettering from the front since I found it unnecessary and it just increased the print time.
The print in my pictures was printed on a Prusa i3 MK2S at 150% speed and took 12hours47minutes and at a price of $23/kg of spool cost me $5.25.
Print Settings
Printer Brand:
Prusa Printer:
i3 MK2S Rafts:
No Supports:
No Resolution:
0.2 Infill:
10% -
Modular gaming hills 3D Print Model
Summary
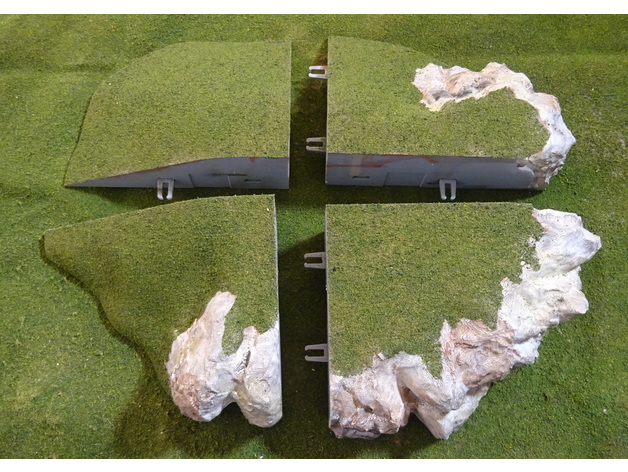
This is a set of pieces that lets you make hills for wargaming and roleplaying games. The pieces can be snap fitted together with the applied clip. There are different sizes so check out the possible combinations. Not everything fits with everything visually.
You can make full round hills, or edge hills (from two pieces) or corner hills (from one piece).
You should be able to print with very low infill. I use 5% honeycomb.
The hills on the pictures have been painted with different techniques. The desert hill is painted dark muddy brown the drybrushed with a lighter color. They dark grassy hill is painted black and then drybrushed with lighter and lighter grays. The lighter hills are painted white and then washed with yellow, red, brown and black.
The hills are textured and flocked with a simple technique. Thin down PVA glue with 50% water. Paint on. Sprinkle sand and grit on them. Let dry. Spray or paint with PVA glue 80% water. Let dry again.
Support me on Patreon
This thing is delivered with the outstanding help from my patrons. To help me deliver quality printable terrain models, please pledge $1 or more:
Video presentation
Miniatures used
Sci-fi miniatures used comes from pig-iron miniatures.http://www.pig-iron-productions.com/ -
Shimano BR-M315 Abstandhalter/Distance 3D Print Model
Summary
Dear all,
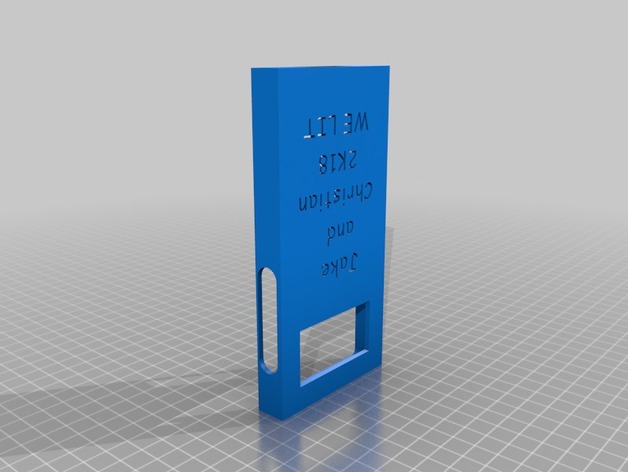
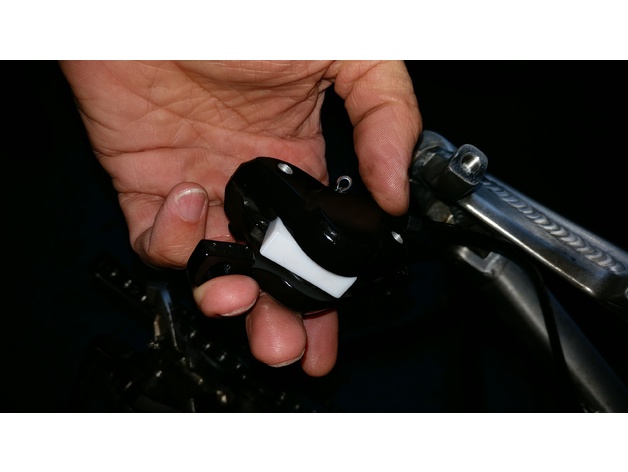
when bleeding the brakes, you should use an inlet inside the brakes.
I have uploaded two sizes. the larger one really requies full space – so cylinders must be pushed away.
I have been printing it with 40% and 60% infill and it seemed ok, even when pushing the brake.
thanks
christian -
Support alim itopie 3D Print Model
Summary
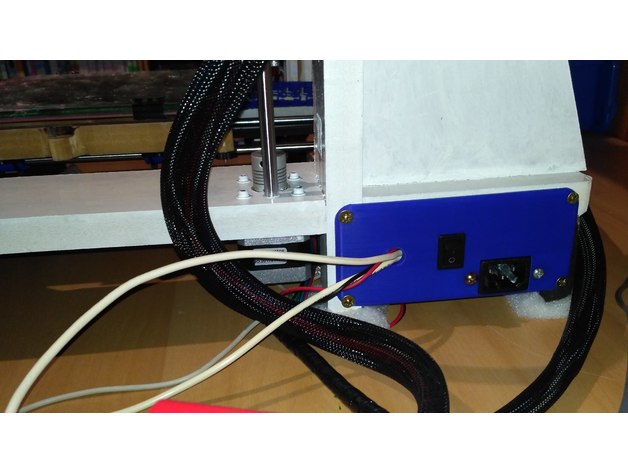
I have create this piece for itopie with 2mm frame, for 20A power suplie (16.53.99.9cm).
You should be remix this thing by the solidworks file.
Print Settings
Printer:
Itopie Rafts:
No Supports:
No Resolution:
0.4 Infill:
0.2 Notes:
Print in PLA -
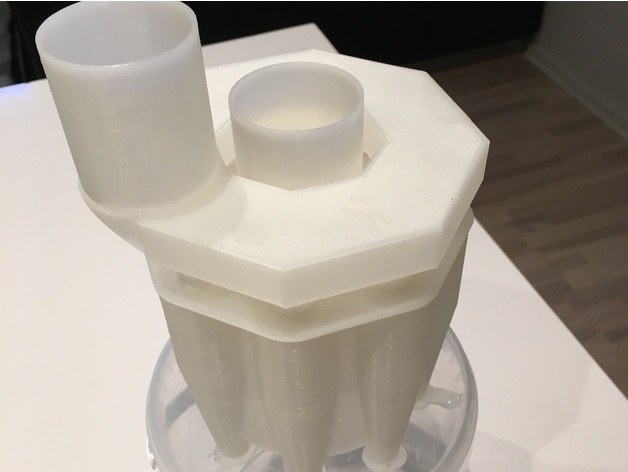
Multi Cyclone 3D Print Model
Summary
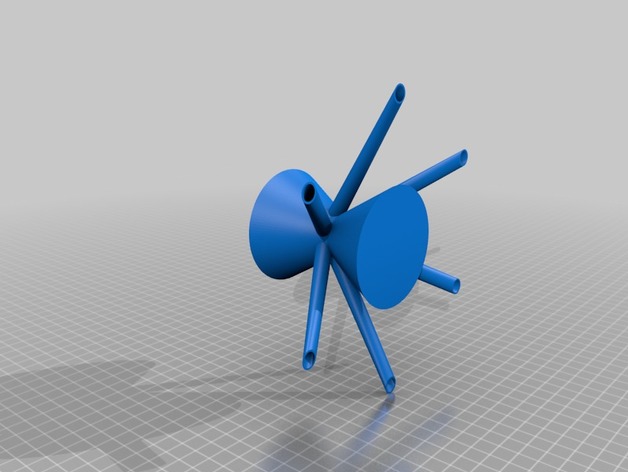
This is a multi cyclone I made to work as a pre-filter when cleaning the pool – and save a lot of water in the process – minimizing water needed for backwashing. Works fine as filter for the shop vac too.
In the making of this I did a lot of reading-up on the function and math involved in these. The design parameters are by no means randomly selected. The result is an efficient and easy to print cyclone.
In order to separate all the fine particles out, high speed and low travel distance is needed. Achieving this combined with high volume throughput resulted in a setup with multiple combined cyclones.
See post print noted for assembly.
The nozzles are designed to fit pool and shop vac hoses. I you want to use it for a household vac you will need to make a reducer.
This multi cyclone is designed to be printed with no support.
Print Settings
Rafts:
No Supports:
No Resolution:
0.3mm or less Infill:
100%
Post-Printing
Post-printing
File of the blobs and seems off to have a successful marriage between the cyclones and manifold.
You may want to break off one “tooth” on the nozzle to be mounted on the outlet manifold to have a good fit at the skew side. I keept all on mine though for better bond. Try and see what works for you.
Find an air/water tight bucket and makes some holes in the lid that matches the end of the funnels.
Insert funnels in the lid and make and glue it together with hot glue or silicone. -
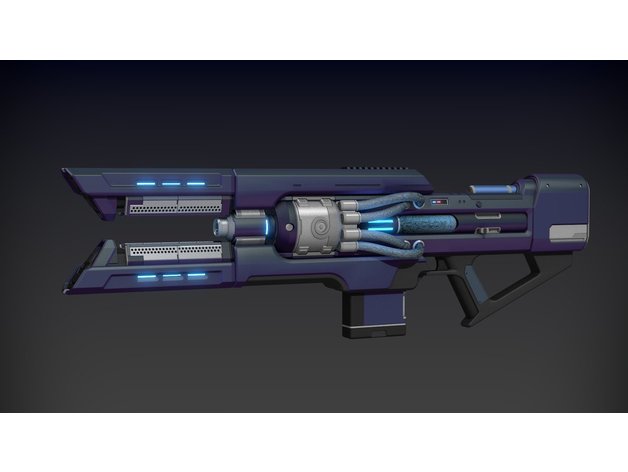
destiny 2 coldheart weapon sale model 3D Print Model
Summary
scale model of coldheart weapon from destiny 2. I could never figure out how to properly print the sights so please message me if you come up with an answer <3 -
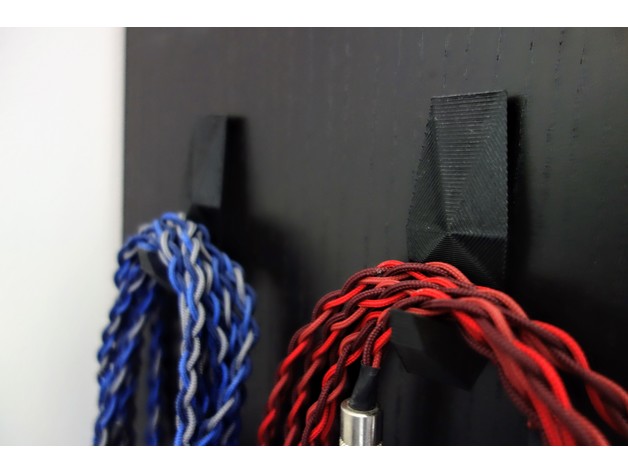
Stealthy Faceted Wall Hook 3D Print Model
Summary
A faceted hook remix with a pronounced angle to allow it to hold bigger objects.
Works perfectly with 3m double sided tape.
Print Settings
Printer Brand:
Wanhao Printer:
Wanhao Duplicator i3 V2 Rafts:
No Supports:
No Resolution:
.2mm Infill:
50 Notes:
PLA. Use high infil and # of perimeters to make it extra strong. -
Cardinal Desk Figurine 3D Print Model
Summary
I modelled this little bird in Sculptris – one of my first attempts at 3D modelling! It’s a cute little sculpture, especially if you’re a bird lover like me.
Print Settings
Printer:
Monoprice Mini Rafts:
Doesn’t Matter Supports:
Yes
How I Designed This
Sculptris
Sculptris is a free modelling software you can download for Windows and Mac. I modelled the bird and then exported to OBJ. MeshMixer
MeshMixer is free 3D software that I used to slice off the bottom of the bird. It originally had a long tail, but I flattened the bottom to make it easier to print.Custom Section
Follow me on Twitter for more of my work!
http://twitter.com/aprilswhitehead -
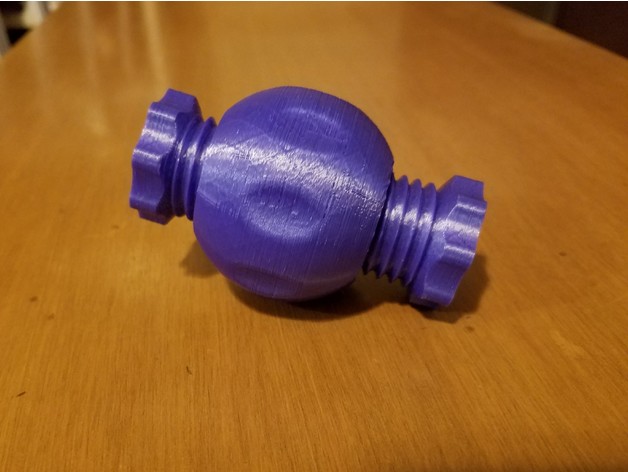
ScrewBall Toy 3D Print Model
Summary
This is a little toy I made for my toddler. He loves spinning things and manipulating objects. I thought a simple captured nut with some variation might intrigue him, and I was right. I’m planning on making several similar items for him to encourage him to manipulate his world!
Print with the cone down to support the floating ball nut and use the slot and a flat screwdriver to break the support off of the part. Although it will spin just fine even with the support in place! The support breaks off with minimal effort.
Print Settings
Printer:
Creality CR-10 Rafts:
No Supports:
No Resolution:
.1-.4 mm Infill:
10-50% Notes:
This is a pretty forgiving print, the support is built in, so no additional supports are needed. I printed on a glass bed with paste glue and had no problems.
How I Designed This
I used OnShape to design this assembly. -
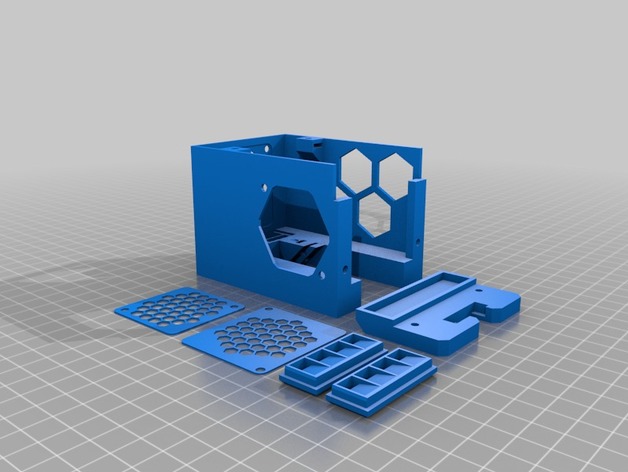
Anycubic i3 Mega partfan monstrosity 3D Print Model
Summary
Boxy, but good (enough).
This is an attempt to get partfan coverage from both/all sides, while retaining the original plate mount to the bearings. After several attempts I gave up in disgust with the quest to design something elegant, and just settled for monstrous and temporary: I am a little bit over trying to modify the mega’s existing hotend, so this is simply a temporary means of getting better part cooling while I print components for an entirely different printer.
I may eventually revise this later, but it will likely be in a version that completely replaces the megas hotend compartment right back to the X carriage bearings.
It’s not pretty, and despite having a COD LED inside it to illuminate the nozzle it’s almost impossible to see underneath the ducts anyway, and the LED reaaaaaly needs a trimpot to turn the light down a little. So consider the COB LED slot completely optional. I also soldered the connections to it so they exit *towards8 the leds light emitting surface, so the slots I allowed for solde blobs may not be big enough for your standard lazily soldered fat blobs of solder and a wire direction change… maybe, maybe not.
The top bolt on the partfan doesnt fit, due to an oversight, so mine runs with it missing.
LED COB 26x16mm has a heatsink stuck to it’s metal side:
heatsink 14x14x6mm (7x1mmVanes, typically sold in combination with an even smaller one for use on raspberry pi)
The partfan outlets just click in, helps if you put the short end thats closest to the actual partfan in first, and then force the further edge in last.
No supports, bridging sucks a bit on the partfan outlets, but it doesnt create enough surface roughness to pull the airflow onto the heatsink, so it’s ok. You could try flipping them, maybe use supports, and make the airflow surface nice and smooth by printing as the top face.
The partfan fan is a 5015 blower, some are stronger than others. I picked the strongest I had.
The heatsink fan is still the stock 4010None of the nuts require a print-pause now, but it is designed for square M3 nuts… which you may not have. Gluing in a hex nut would also work. I use glue to lightly tack several of them in just to make assembly easier.
PLA, 0.4mm nozzle, 20% infill … pretty standard (not really important)
1.2mm walls (IS important; or your bridging will suck and all of the basic design assumptions are for that thickness)
It’s annoyingly close to the print, and ugly.. but it is a slight partfan improvement.
dealwithit.jpg -
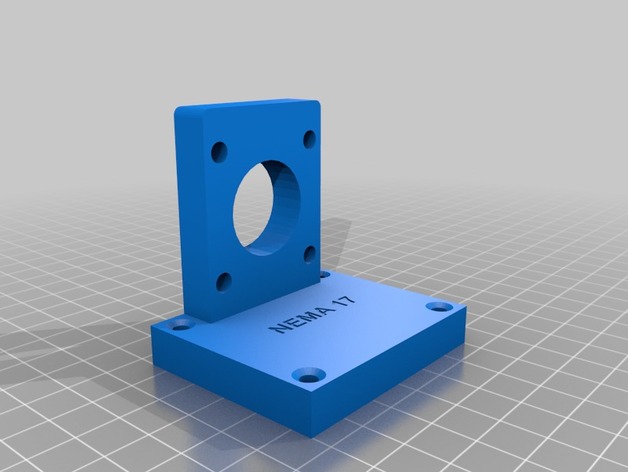
NEMA 17 Stepper Motor Mount 3D Print Model
Summary
First of all this is mostly just for example. This is custom made for my particular need. You can buy them for $3.50 plus $5+ for shipping but I needed a very specific height, and in my circumstance the motor was not going to get hot, so this made sense and was VERY cheap. Not to mention that even though it seemed to take forever (6 hours at hi-res) it was faster than even Amazon Uber delivery!
If you find this to your liking, simply load the Sketchup model, push-pull the underside of the bottom to your height needs and butta-bing-butta-boom Bob’s your uncle.
Print Settings
Printer Brand:
Ultimaker Printer:
Ultimaker 2 Rafts:
No Supports:
No Resolution:
.06mm Layer, 1.2 Shell & Top/Bottom, .4 Nozzle Infill:
20% -
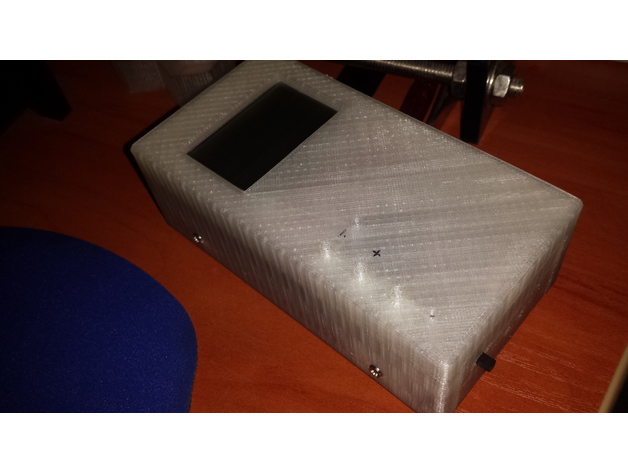
My geiger 2 case 3D Print Model
Summary
A case for My Geiger ver. 2 dosimeter from www.rhelectronics.com.
Print Settings
Printer:
Tronxy P802M Rafts:
No Supports:
Yes Resolution:
0.2 Infill:
15% -
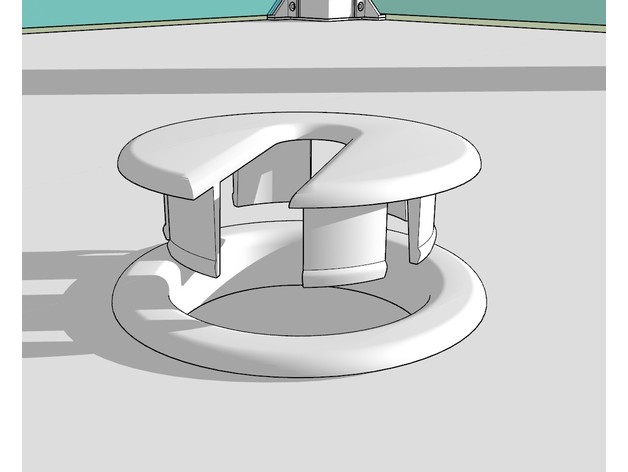
LACK Attack #6: Pass the Lack (aka Wire The Lack Stack) 3D Print Model
Summary
This is a followup to:
LACK Attack #5: Inreda the Lack:http://www.thingiverse.com/thing:2673629
without further adieu….
Attack 6: Pass the Lack
Once I lit the Lack, the next step was to get the power cables out of the stack and filament into the stack…
I looked at some at Home Depot, saw some on Thinkgiverse, decided instead to make my own passthroughs for it as I wanted a single port/type that could be used for multiple things. So far I’ve built a filament filter insert as well as cable inserts, (and a blankoff), I’m sure I’ll come up with a few more as time goes on…
As always, comments are greatly appreciated, If you’ve made/fixed something to work better please let me know so I can fix it for others.
Coming Next:
Attack 7: not sure yet, likely remote mounting the display & Octopi…
Print Settings
Printer Brand:
Prusa Printer:
i3 MK2S Rafts:
No Supports:
No Resolution:
0.20mm Infill:
100% Notes:
Printed in white RepRapper white PLA, 210C nozzle, 60C bed.
Post-Printing
Build & Assembly Notes:
Another simple build:
Print the parts as needed.
For each port use 2 1/8″ a hole saw to drill each port.
Insert the port through the table, tap it down with a rubber mallet flush, snap the lock ring on the bottom to finish off the edge.
4a. For the filament filter pass-through cut a piece of foam to fit in the filter, snap the bottom on, then use a large needle/stiff wire to push holes through for each of the openings. pulling the filament to the side when you’re done with it will lock it in place.
4b. for the Wire passthroughs feed your wires through, pop in a cover, and done!
How I Designed ThisRevisioning:
v1.0 – Initial upload
Posted the thing -
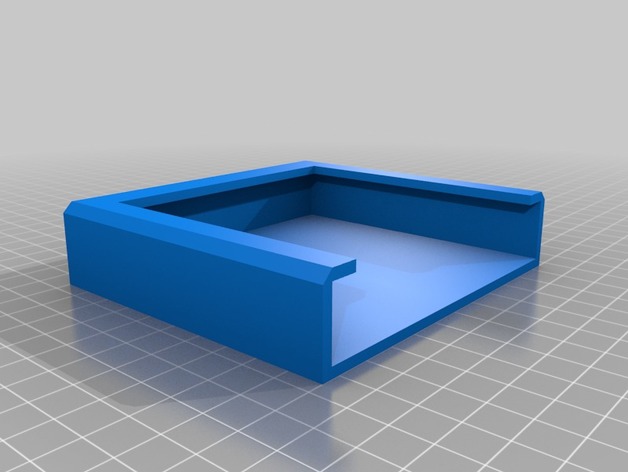
Holster for LED Remotes Holder 3D Print Model
Summary
A holster for hanging an LED Remote Holder: https://www.thingiverse.com/thing:2655374
Print Settings
Printer Brand:
Prusa Printer:
Prusa Clone Rafts:
Doesn’t Matter Supports:
Doesn’t Matter Resolution:
0.2 -
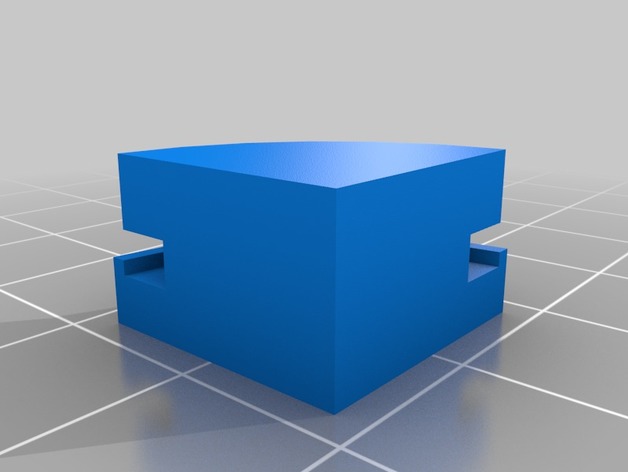
SMAZ TIME MACHINE CUBE 3D Print Model
Summary
A mod for a 2x2x2 cube. Based on the SMAZ Time Machine cube, since its rare to find.
The 2x2x2 cube must size 5cmx5cmx5cm.
72x small pieces
24x central pieces
Print Settings
Printer Brand:
Ultimaker Printer:
Ultimaker 3 Extended Rafts:
Doesn’t Matter Supports:
Doesn’t Matter Resolution:
– Infill:
100%Standards
NGSS
Overview and Background
–
–
Lesson Plan and Activity
–
–
Materials Needed
–
– -
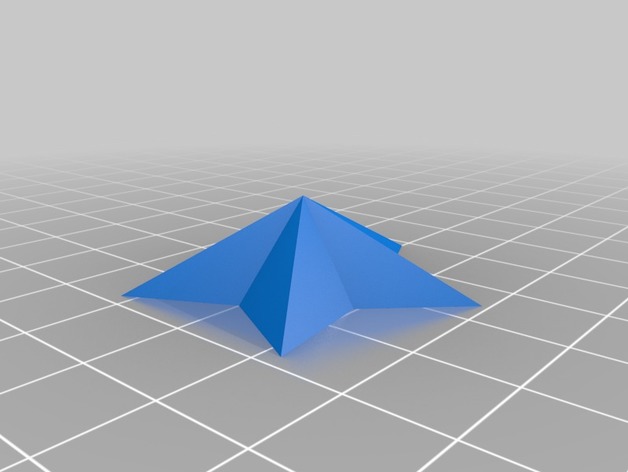
3D Star 3D Print Model
Summary
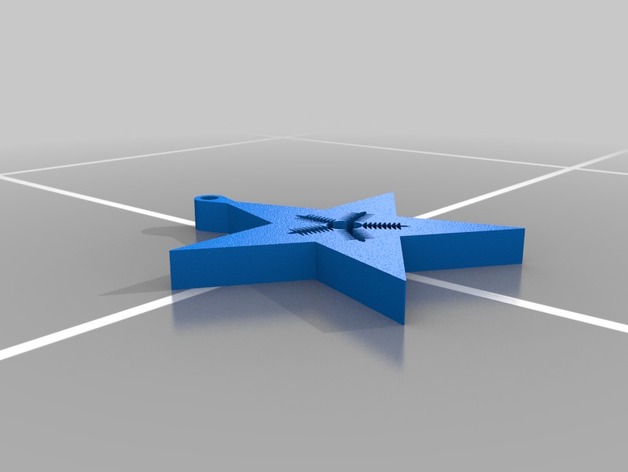
This is a nice decorative star
Print Settings
Printer Brand:
MakerGear Printer:
MakerGear M2 Rafts:
Doesn’t Matter Supports:
No Infill:
40% -

Resin Printer Torture Test 3D Print Model
Summary
This is a very thorough resin printer torture test that will test free standing and embedded features as well as overhangs. This print will give a very good understanding of the printing limitations of your printer/printer settings. Let me know what you think in the comments! -
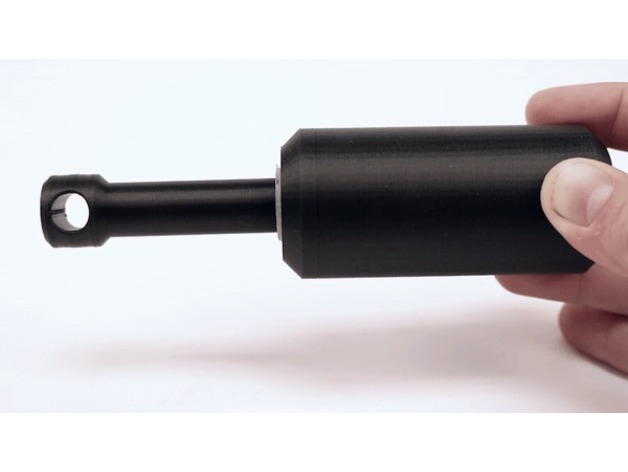
shock absorber 3D Print Model
Summary
This design was created by Markforged. To read the original full article follow this link: https://markforged.com/blog/part-of-the-week-3d-printed-shock-absorber/
This 3D-printed part shows that a lot of designs can be simplified when printed with a 3D-printer.
Print Settings
Printer:
Mark X7 and Mark Two Rafts:
Doesn’t Matter Supports:
No Resolution:
0.05 / 0.1 Infill:
50% Trinangular Notes:
The shock absorber was printed with Onyx and 0.05 layer height. It is important, that the support structure is disabled! The sleeve and bushing were printed with Nylon (to reduce the friction) and 0.1 layer height. -
Nut&Bolt-based strong G-Clamp with flexible pads 3D Print Model
Summary
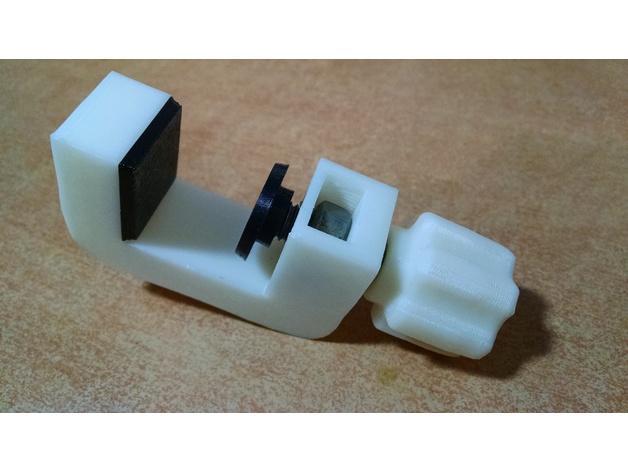
Needed a strong G-Clamp to fix things on the shelf. Existing g-clamp model knobs, weren’t as catchy and handy as I would like. Also I have flex filament sample, and decided to add flexible pads, so I recommend you to use plastan/elastan/flex plastic to print them.
Warning! I’ve used 40mm M8 bolt and nut (13mm width hexagonal head), that’s enough for my application. But In order to clamp narrower things, you need a longer bolt, than on my real pictures – more than 65mm M8, with hexagonal 13mm head.
SolidWorks assembly source included, feel free to customize it. Simplify3D factory files included as well.
Print Settings
Printer:
Anet A6 Rafts:
Doesn’t Matter Supports:
Doesn’t Matter Resolution:
0.2 Infill:
30% -
Educational Automotive Alternator 3D Print Model
Summary
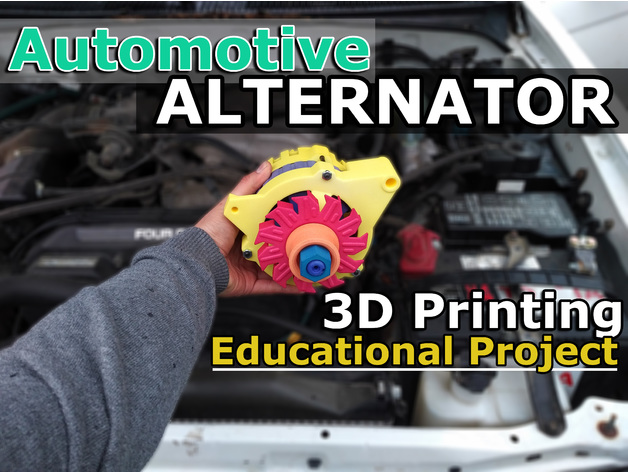
THE EDUCATIONAL ALTERNATOR
☼ Check out the video I have done showing the Alternator being taken apart and re-assembled below! ☼
YouTube – 3D Printed Educational Alternator
This 1:1 scale alternator features over 30 pages in the lesson to help you teach your students or to follow along to teach yourself. The lesson covers all aspects both internally and externally on the Alternator. You’ll have a complete understanding on how they work. You can test yourself with the included Quiz and, the documentation covers 3D printing and assembling your very own Alternator Model.
How I Designed This
The complete Brake Caliper project was designed in Autodesk Fusion 360
Tolerances are important when 3D Printing. The tough part is ensuring your print will work with everyone’s desktop 3D printer. This can be quite a challenge.
With the Educational Alternator, the fit of most pieces of the caliper were set with ~.5-.7mm tolerances in SLS Technology.
My initial planning of the Alternator was to have the ability to pull the alternator part, pull the pieces off and re-assemble so you can see the inner workings and all of the components of an Alternator.Standards
CCSS
Overview and Background
Are you curious how an automotive alternator works? Do you know that all vehicles on the road today have an alternator that is used to charge your vehicle’s battery allowing you to run your headlights, stereo and even to charge your cell phone. Alternators play a crucial role in your vehicle and I have set out and put together this comprehensive lesson to help educate our youth and anyone else curious about vehicles.
While it is great to read and learn about alternators, there is really no substitution for holding a physical part in hand and having something to look at up close. Along with the extensive lesson included, I’ve gone into great detail about the 3D printing aspect of the Alternator and walk you through the process of making your own alternator. This will make it a great project for your class to participate in.
The Alternator is suitable for FDM, SLA & SLS printing and has been made to fit together very well. I have included Rotor-Hollow.STL and Stator-Hollow.STL for use in SLA & SLS printing technologies. The lesson includes pertinent information relating to settings needed while 3D Printing. I’d like to thank everyone for checking out my project and I am always thrilled to hear about my projects helping to teach kids and adults all over the globe. 3D Printing is a powerful technology and education is important for our youth. Lets make learning fun! ☺
Lesson Plan and Activity
You’ll find a complete document attached to this model titled, “3D Learn About – Alternator.PDF”. In this document, we will cover all aspects of an alternator from the inside out. Here are just a few of the topics covered in the included document:
Alternating Current to Direct Current
3-Phase Winding’s
Bearings
Magnets
This automotive alternator is built to scale with only a few minor modifications to allow it to be 3D printed in the classroom. It is a Bosch alternator from a Chevrolet truck and uses only 3 bolts to help fasten it together, the rest of the alternator is completely 3D printed.
Materials Needed
(3) – M5x75mm/3″ bolts
(3) – M5 Nuts
Skills Learned
automotive
electromagnets
vehicle
generators
alternators
alternating current
direct current
electronics
voltage
power
Duration of Lesson
1-2 HoursAlternator Video
Learn about the 3D Printed Alternator
-
Murdocs Necklace 3D Print Model
Summary
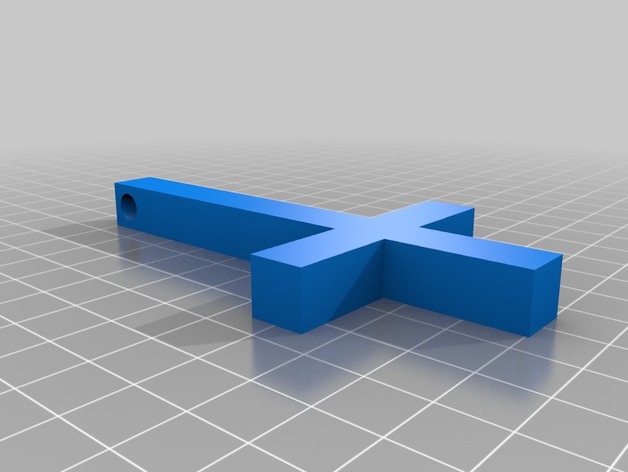
Murdocs Necklace from the band Gorrilaz, I recommend gold filament -
Monoprice Select Mini E3D V6 heat sink adaptor 3D Print Model
Summary
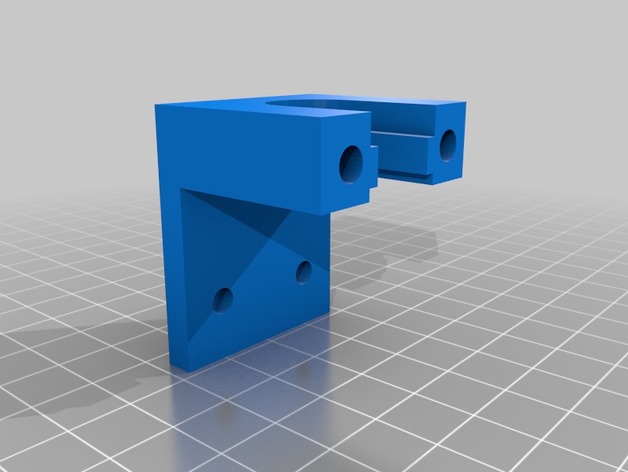
This is a bracket for holding the Bowden stype E3D V6 heat sink/hot end on the Monoprice Select Mini. It is sized so that it will be at the same level as the original that came with it so no adjustment to the z axis limit switch is necessary.
I used 2.5mm melt in threaded inserts, available from McMaster Carr:https://www.mcmaster.com/#94180A321.
I used 3mm melt in inserts for the clamp that holds the heat sink in, again from McMaster Carr.
Installation tool is right next to it on order page. You can also use a nut with a through drilling if you like.. -
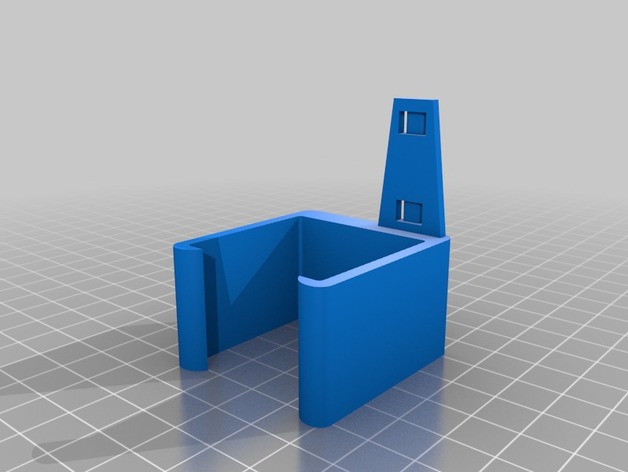
CR-10 Mini X-Axis cover with wire tie 3D Print Model
Summary
remix of a CR-10 part to fit a CR-10 Mini, shortened the wire tie that sticks out, also moved it out of the way of the plug for the x-axis motor. i opted to use higher infill in printing becasue the wire tie part broke off my first print as i was puting it on the machine.
Print Settings
Printer:
HICTOP CR-10 Mini Rafts:
No Supports:
No Resolution:
.15 Infill:
50% Notes:
printed 2 shells, 3 bottem/top layers, bottem/top 30mm/s, rest was printed at 60mm/s
How I Designed This
remixed using fusion 360 -
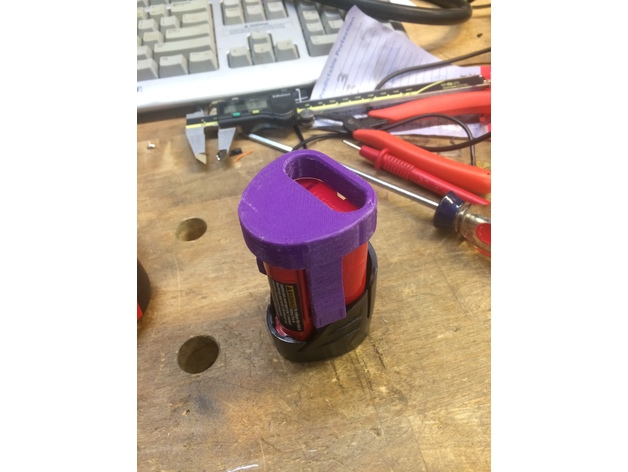
Milwaukee M12 Battery Cap 3D Print Model
Summary
Cap for Milwaukee M12 Battery
Also an attempt to model the battery and base – but they aren’t complete -
Mishinoto keychain 3D Print Model
Summary
Mishinoto keychain -
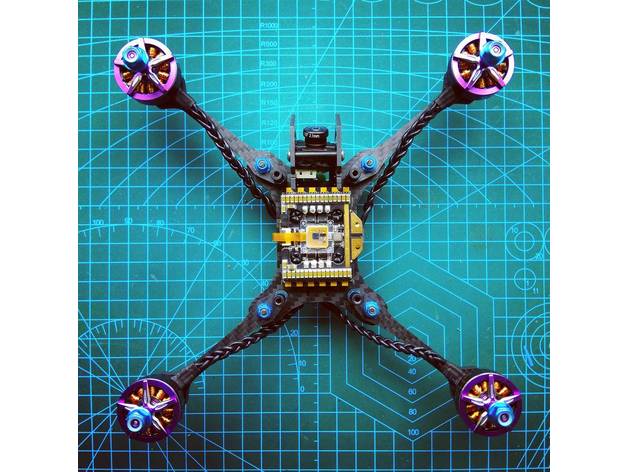
ParaTank_215 5″ FPV Racing Drone Quadcopter super light & sturdy 3D Print Model
Summary
Made for micro-swift type cams (19mm width).
ParaTank_215 5″ race quad with swappable arms.
Slightly beefier than typical race frames but still at only 66g with awesome CG (top or bottom mount optional), slotted arms, cam protection (runcam micro type) and super low body and arm profile for minimum air resistance and loss of thrust… Also with printable arm tpu arm protectors+motor softmounts (And it looks cool) 😀
Mill it youself or get it in Armattan CF (67g) here:
https://armattanproductions.com/pages/kit_detail/1449 -
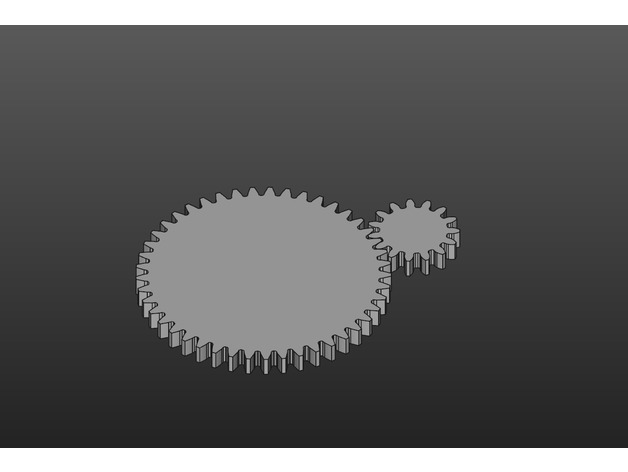
FreeCAD Gears 3D Print Model
Summary
Not a model for anything in particular, nor is it meant for directly printing, but just an easy way to make gears.
Contains a spreadsheet where you can enter the number of teeth you want, how far apart the gears are, and how thick they should be.
Holes for shafts and keyways can then be made using sketches and cut out of the gears.
Made with FreeCAD 0.17 (build 12643), may not work with other/earlier versions.
Ignore the STL file, thingiverse apparently wants some sort of model file for the thing to be valid and doesn’t recognise FreeCAD files as being valid design files.
[email protected]!$ Come on thingiverse, FreeCAD has been around forever. Get it together. -
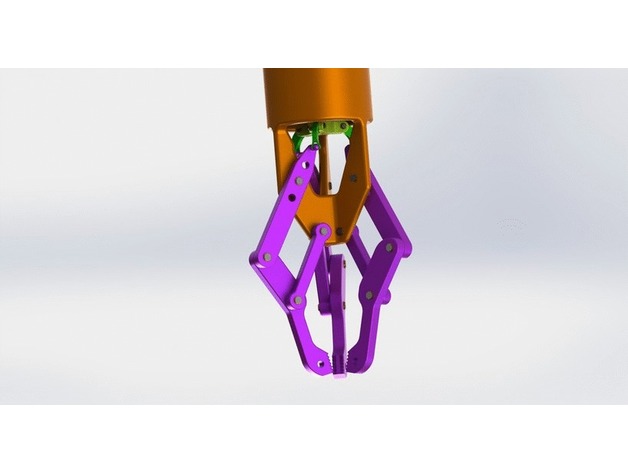
Biped Robot 3D Print Model
Summary
This is based on the University of Michigan Robots, I added a gun and an arm with attachments -
ROBOT SANTINO 3D Print Model
Summary
robot -
X Axis Ends Tronxy Zonestar P802 3D Print Model
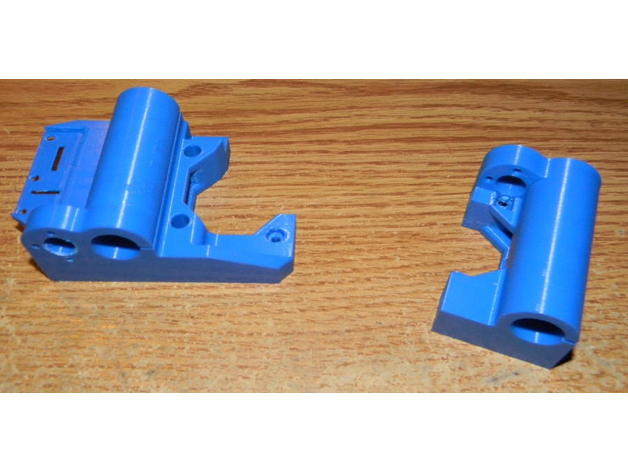
Summary
Recently stumbled upon this terrific set of X-Axis ends for a P3Steel printer. (https://www.thingiverse.com/thing:2088585) Since the P3Steel uses the same 17MM spacing on the leadscrew and vertical smooth rods I wanted to print these for my old beater Tronxy P802M. The only problem is horizontal rod spacing. Most printers like the Anet and P3Steel have 45mm spacing between the X-axis horizontal rods. The Zonestar and Tronxy are 44mm. This would be a problem as I want to use my original carriage.
After looking at the above linked Thing I see the designer was kind enough to include the STEP files for his parts. This was just what I needed. After importing the STEP files into Fusion 360 modifying the rod spacing was a snap.
So as a courtesy to the original creator and to give back to the community here is my set of X-axis ends specifically for the Tronxy and Zonestar P802 printers.
The only change from the original Thing is to move the holes so they are 44mm apart on the horizontal carriage rods.
You will also print out the tensioner parts as detailed on the original Thing’s page (https://www.thingiverse.com/thing:2088585)
Print Settings
Printer:
Monoprice Mini Select Rafts:
No Supports:
Yes Resolution:
0.2mm Infill:
30% Notes:
Print with the top of the part facing down. Be sure to use supports. The automatic supports generated in Simplify 3D worked perfectly. -
Business Card Holder (Customizable) 3D Print Model
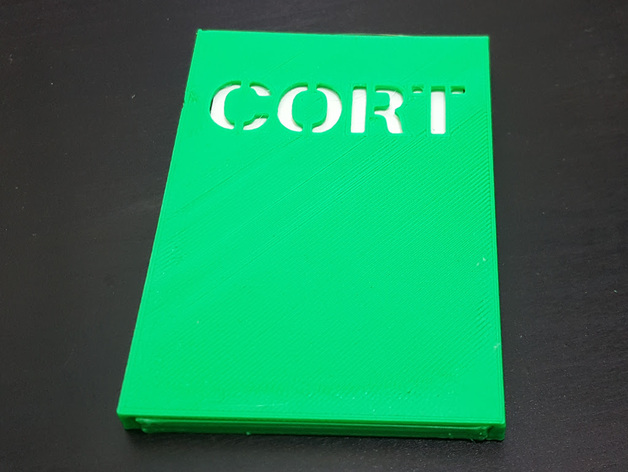
Summary
You can customize this to the size of your business card, and set your own text for the cover. Unfortunately, OpenSCAD can’t detect the size of the text, so you’ll have to adjust the font size manually to get the text to fit properly.
The provided STL is for visualization and not for printing. Use customizer to create your own STL, or download the scad file for use in OpenSCAD. -
FocBoc (VESC) + BMS + Receiver for eSkate Electric Skateboard 3D Print Model
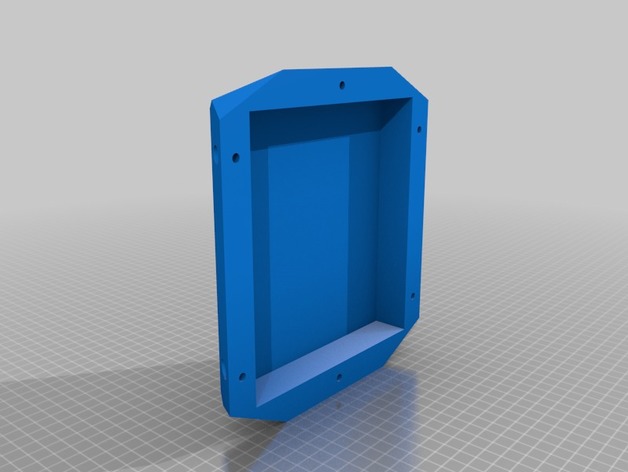
Summary
I modelled this for my custom built electric skateboard to house my FocBox, a BMS (from Bestech) and a radio receiver. I haven’t test printed this yet. -
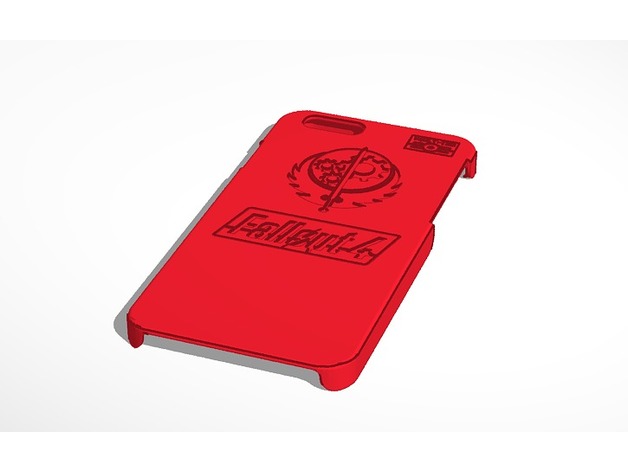
Fallout Phone Case 3D Print Model
Summary
This is my remix of the basic Iphone case. I outfitted it with a fallout theme. -

USB Solar Battery Pack 3D Print Model
Summary
Here we have a Solar Battery Charger for all your gadgets. Charger includes a 2W solar panel, USB 5V step up, one 2000 mAh 3.7v 18650 Lithium battery and a TP4056 charge controller. I designed this to charge in one day of full sun, you can certainly add more batteries for your project if you’d like. This can also be charged via the micro USB. Parts snap together, I glued mine as I don’t plan on opening it but my first prototype was not glued and is still in holding up well, even printed in PLA. I printed the parts in ABS for the final version at 50%.
Print Settings
Printer Brand:
MakerBot Printer:
MakerBot Replicator 2 Rafts:
No Supports:
No Resolution:
.2 Infill:
50% -
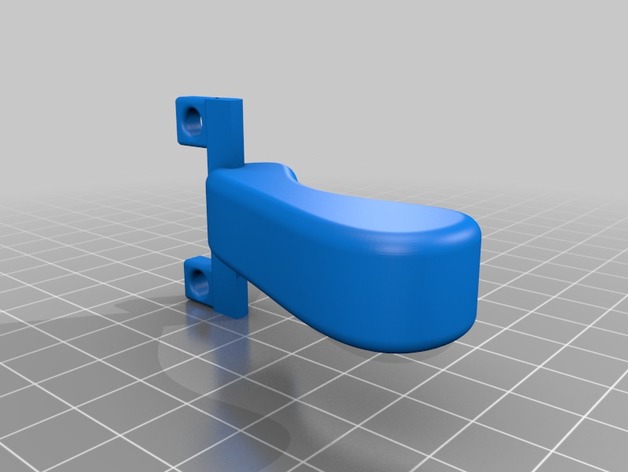
Slingshot 3D Print Model
Summary
This is just a quick design that I sketched out. Hope you like! you will probably need to change the size. -
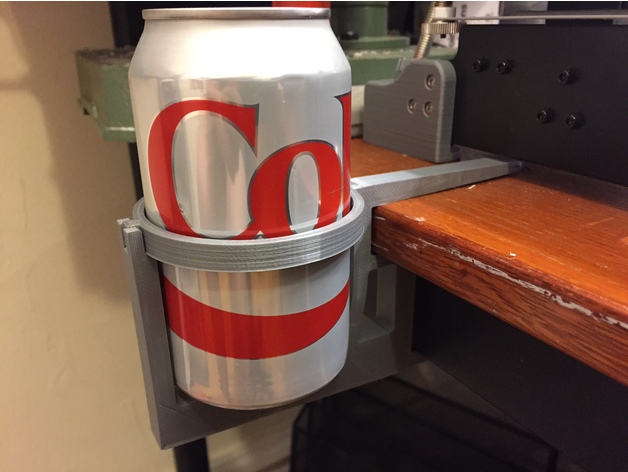
Desk Hook for Can 3D Print Model
Summary
I was tired of constantly moving my Diet Coke around my desk and forgetting where I put it as I worked on projects, so I made this handy Can Holder that clips to the edge of my desk. It’s specifically designed for the dimensions of my workbench, so that the bottom clips into the support member that runs along the front of the desk.
The clip consists of two pieces – a hook and arm, which both attaches to the desk and supports the weight of the can; and a ring, which prevents the can from tipping off. There are small taps projecting from the ring, which lock into slots in the arm to secure the ring in place without adhesive.
Works with 12 oz. bottles as well.
Print Settings
Printer:
Wanhao i3 V2.1 Rafts:
No Supports:
No Resolution:
0.2mm Infill:
20% -
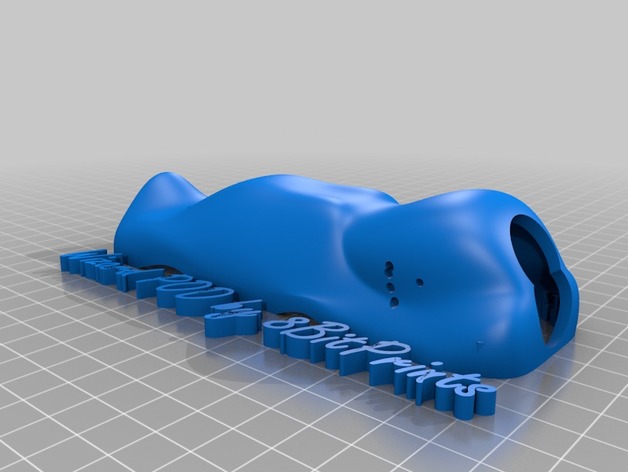
Wizard x220 POD with screw silos 3D Print Model
Summary
Haven’t gotten to print it yet but I have spent hours designing it in fusion. The dimensions are solid. There are “screw silos” to hold down the pod, insert a 3m nut into the area designed for it, screw the screw in from the bottom to hold it down. There are two versions, a 20mm stack and 30mm stack option. The camera holes were designed to offer up to 45 degree camera angle for a runcam swift 2 or similar casing. I would recommend printing in TPU semi flex, or nylon if your printer is calibrated well. There is very little margin left for error in printing when in a hard material. -
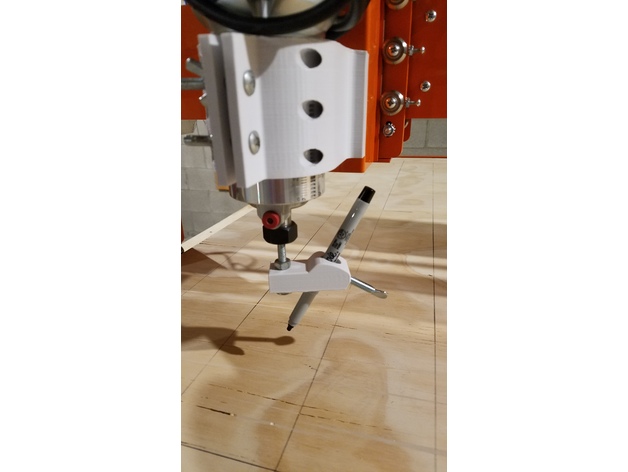
Pen holder for CNC 3D Print Model
Summary
Pen holder for a home/hobby CNC. This thing is designed to be used with two 1/4-20 bolts. One screws in from the flat side and is chucked into the router’s 1/4″ collet. The other is used to lock in the pen or pencil. Neither of the holes are designed with threads inside. I printed at 60% infill so it wouldn’t flex while drawing and there would be plenty of material for the bolts to cut threads into.
Set the pen so it looks like the tip is in line with the spindle center. Lower the Z axis until the tip touches a piece of paper. Rotate the spindle/collet 360 degrees. If the pen draws a circle, it needs to be adjusted. If it stays in one spot and just makes a dot, you have it set correctly.
The pen slot is sized based on a standard Sharpie Permanent Marker, with about an extra millimeter of radius for slightly larger pens. The side opposite the set screw is tapered to a point to accept smaller diameter pens too.
Print Settings
Printer:
Clone of a FlashForge Creator Rafts:
Doesn’t Matter Supports:
No Resolution:
.2 Infill:
60 -
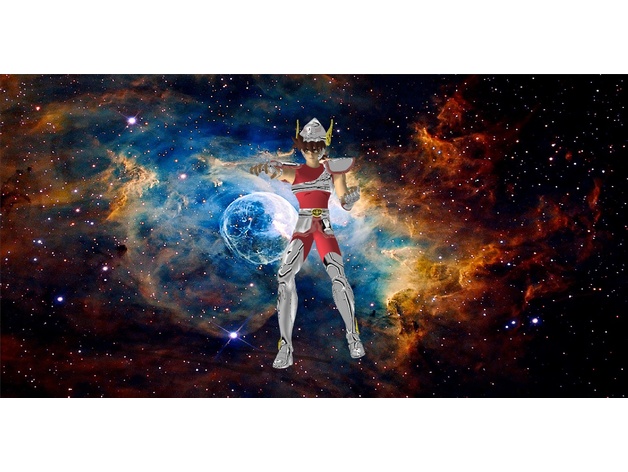
Saint Seiya – Seiya de Pegaso 3D Print Model
Summary
Un nuevo modelo de los caballeros del zodiaco !!!
Espero lo impriman y compartan sus obras de arte de estos fantásticos personajes de uno de mis animes favoritos!!! -
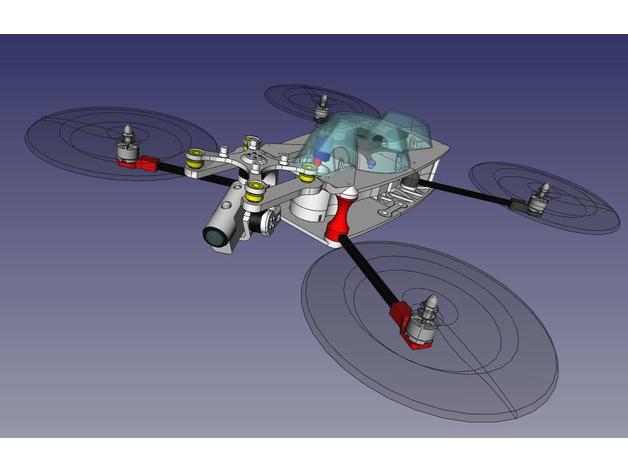
Foldable quadcopter FPV 3D Print Model
Summary
This project is not completed yet … however for those who is interested in there is also FreeCAD file available. -
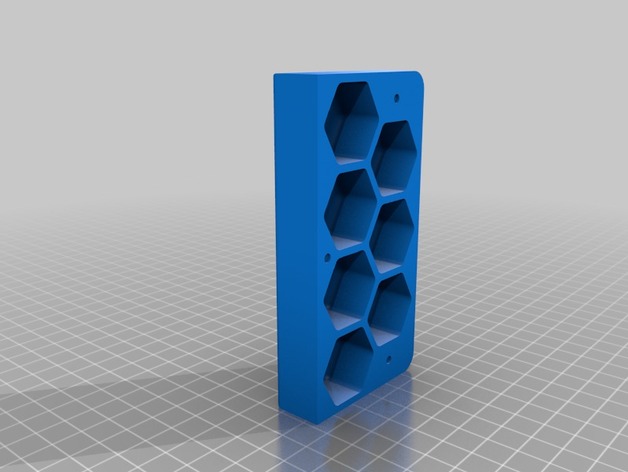
D&D Dice Box 3D Print Model
Summary
A remix of my existing dice box. It is modified to contain a standard set of 7 polyhedral dice and have a larger rolling tray. Additionally, definition to the book pages has been added. -
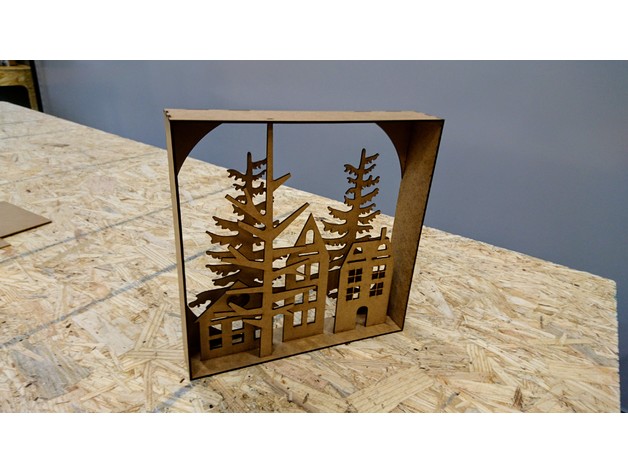
Laser Cut Chistmas Scene 3D Print Model
Summary
In order to build this Christmas scene you gonna need a 2,50mm thick sheet of something that can be laser-cuted. Here we use a thin sheet of MDF like (used pcb industry for shipment)
We cut it thanks to a Gravograph LS100IQ with following params:
Power 100%
Speed 15%
We use wood glue to maintain the cohesion of the whole.
Advice: Glue everything in the order of your choice, just keep the top piece for the end.
Enjoy! -
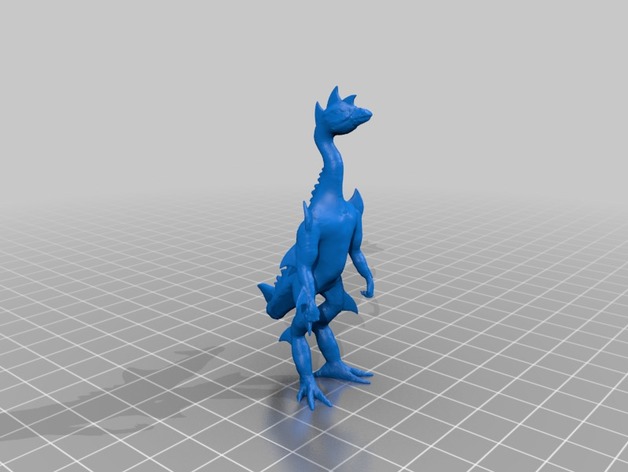
Hork-bajir 3D Print Model
Summary
This is a Hork-bajir, an alien from the Animorphs books series (copyright Scholastic). Big thanks to YahooJapan, for their extensive database of models that I drew upon for parts to combine in Meshmixer, in order to make the various Animorphs aliens. -
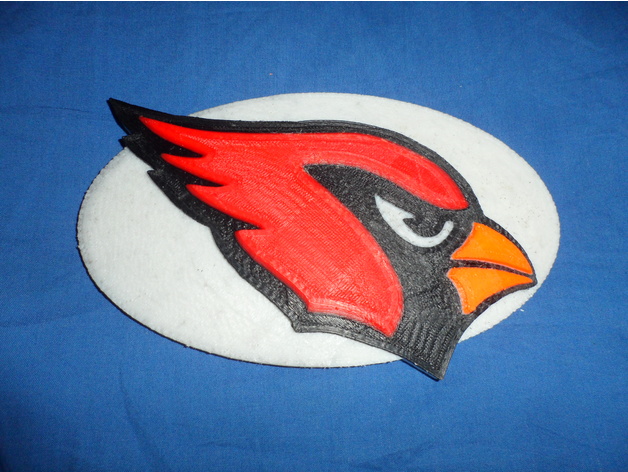
Arizona Cardinals Logo (Football) 3D Print Model
Summary
For dual extruder. Change the black to red at the red level, change the white to orange and the right level.
For a single extruder use the Cardinals x3g file, which was created in Mackerware slicer software.
How I Designed This -
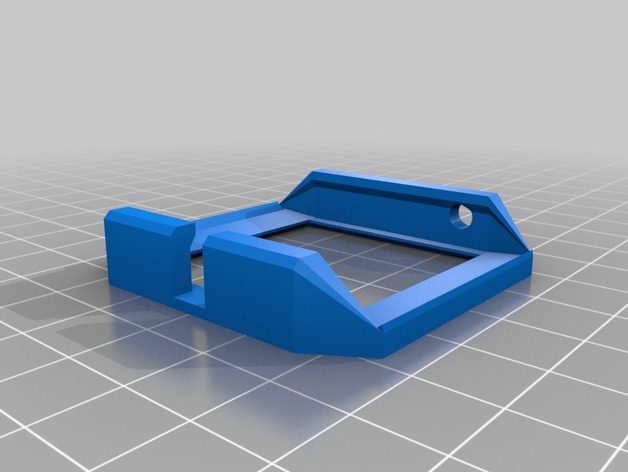
Zen Watch 2 Protector Case 3D Print Model
Summary
Remixed from JimmyHoffaHendrix’s case. Simplified the geometry and tightened the fit.
Print Settings
Printer:
Prusa i3v (MakerFarm) Rafts:
No Supports:
No Resolution:
0.3mm Infill:
100% -
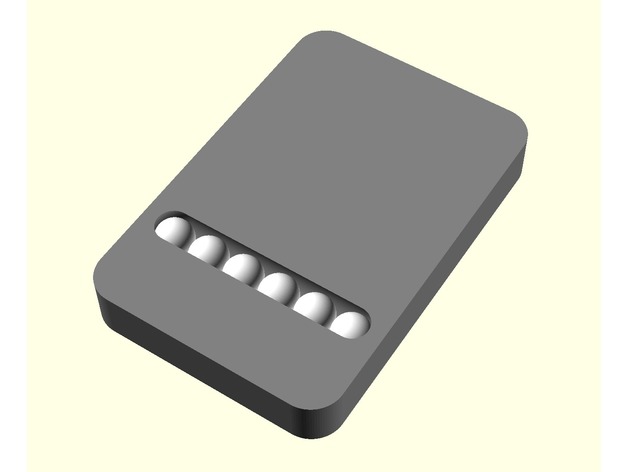
Airsoft Swipe Phone 3D Print Model
Summary
Plastic dummy phone with fun swiping action to keep your mind off checking your messages every 5 seconds. Takes six 6mm plastic airsoft BBs. Simply pop them in with as much force as needed. Harbor freight sells hydraulic presses, or you might find a friendly steamroller driver at a nearby active construction site. -
Kinetic Aerial Spear-X FPV Camera Mounts 3D Print Model
Summary
Simple FPV camera mounts to fit either 1177 style camera or the Micro.
Print Settings
Printer Brand:
Prusa Printer:
i3 MK2S Rafts:
No Supports:
No Resolution:
.20 Infill:
100 Notes:
TPU/TPE -
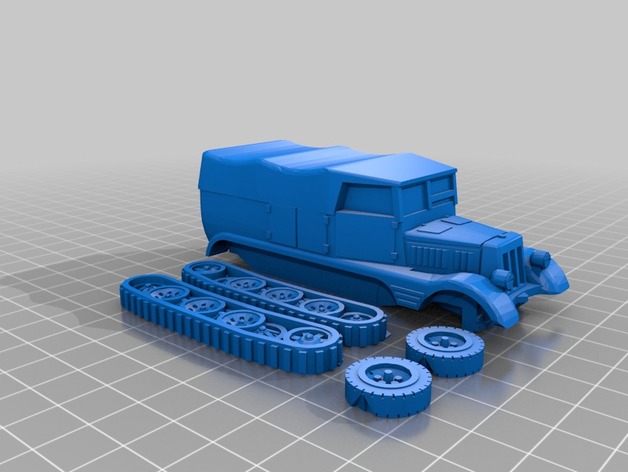
Sdkfz 11 3D Print Model
Summary
Remix of Bergmans 1:100 Sd.Kfz 11 with closed canvas top. Tracks and (improved) wheels are separated, some minor details added. -
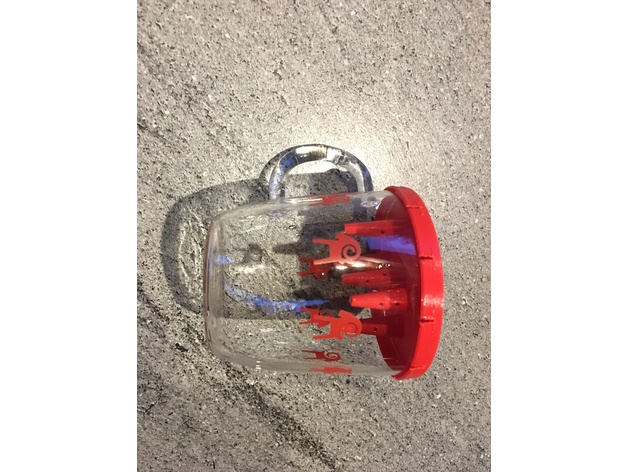
Fruit fly trap 3D Print Model
Summary
Get rid of the annoying fruit flies (Drosophila). Well, it is a war you probably cannot win completely, but you can significantly reduce their numbers.
1) get a suitable glass or cup – so you can see inside.
2) measure the rim diameter and scale the print to fit your glass. If you print slightly big, you can easily fix it binding a tape around the glass rim.
3) drill cca 1-1.5 mm holes to the inner cones. Make lot of holes, so that the flies can smell the lemon. See the pictures – I have cca 6 holes per cone and it worked fine. Also drill a hole at the tip of the cones if it prints too tiny. Too big – they will find a way out. Too small – they will stay outside…
4) take a squeezed lemon, put it in the glass, close it with the trap and see the flies coming in.
5) make sure to empty the glass before the lemon gets mildew or is rotten. It is clever to open the trap outside your living quarters 🙂
6) use lemon or other fruit that is loved by the flies. I have tried a lemon concetrate juice and the flies ignored it… -
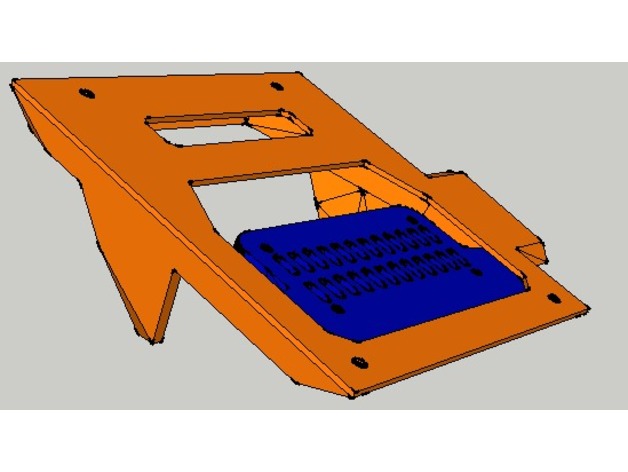
Octoprint discoeasy 200 pi zero W case 3D Print Model
Summary
Coque pour octoprint sur Raspberry Pi ZERO W sur discoeasy200 a fixer sous l’écran
photos a venir -
cooking pot toy 3D Print Model
Summary
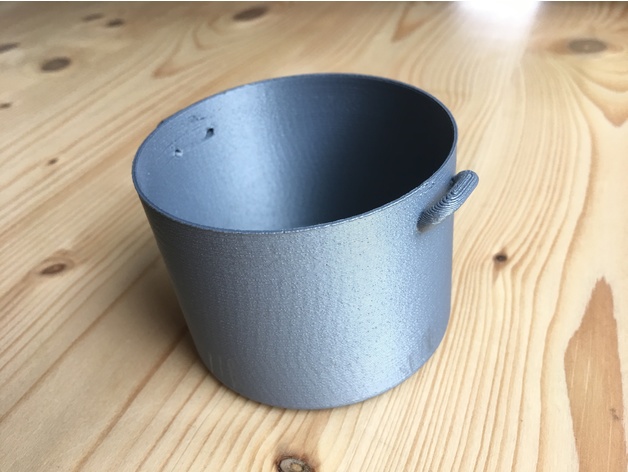
A quick design – simple yet useful toy for child cooking. Prints without supports, the handles may be a little challenge for the printer but somehow it printed quite well at the original size. The wall may be too thin, but it endured the child play for several months (until someone stepped on it 😉 -
Twist in line level holder/bracket for 2020mm, 2040mm 3d printer frame. 3D Print Model
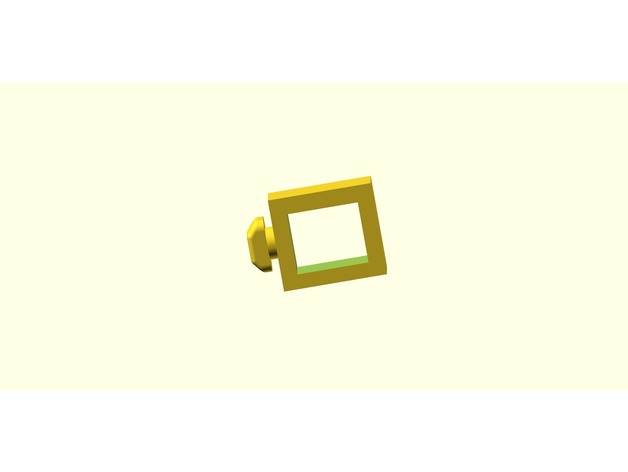
Summary
Twist into aluminium slot to hold line level with line nubs removed. The HD Empire line level was used for sizing.
Print Settings
Printer:
CR-10s Rafts:
Yes Supports:
No Infill:
20% -
Drop through longboard risers / shock absorbers 3D Print Model
Summary
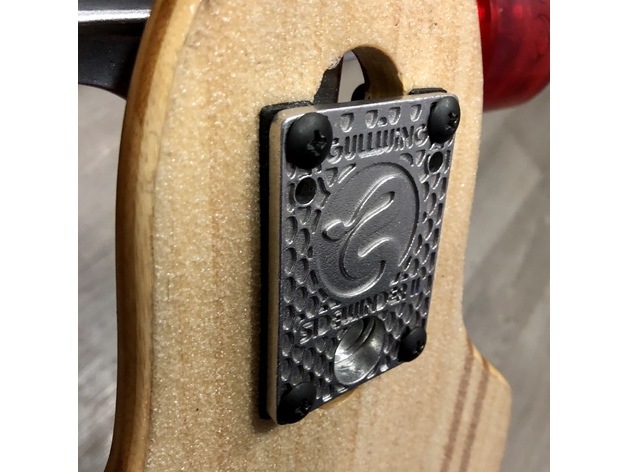
Designed these to add some shock absorption to my longboard with TPU risers and reduce the teeth-rattling feeling I had going over cobblestones. These fit standard drop-through trucks and match the hole pattern for mounting. They’re 2mm tall which allowed me to fit them without getting longer screws for the truck mounts, use the scale z command if you’d like them thicker/thinner.
These were printed with Ninjaflex Semiflex on Ultimaker 2+ with 100% infill
Print Settings
Printer Brand:
Ultimaker Printer:
Ultimaker 2 Rafts:
No Supports:
No Resolution:
0.1 Infill:
100 Notes:
Ninjaflex Semiflex prints well slowed down to 20-40mm/s and retraction off.
Post-Printing
Cleanup
Cuticle trimmers work great for removing TPU blobs stuck to the printed surfaces.
How I Designed This
Designed in Fusion 360, feel free to download and edit: http://a360.co/2AewbDs -
Cr-10 2020 spool holder 3D Print Model
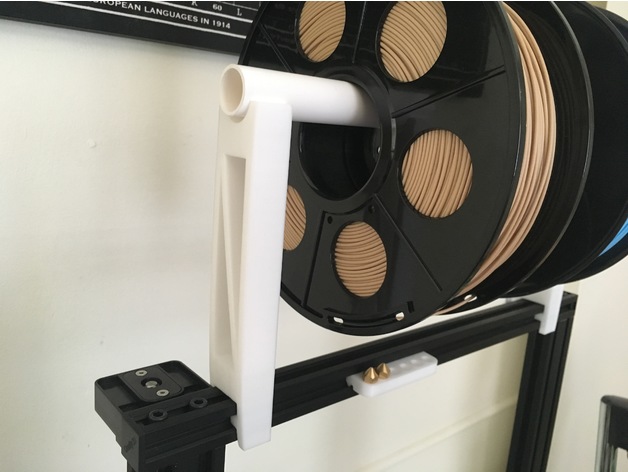
Summary
a spool holder for the Cr-10, it fita on 2020 bars needs a 2cm (D) PVC pipe. -
LED Light Bracket for Dept 56 House 3D Print Model
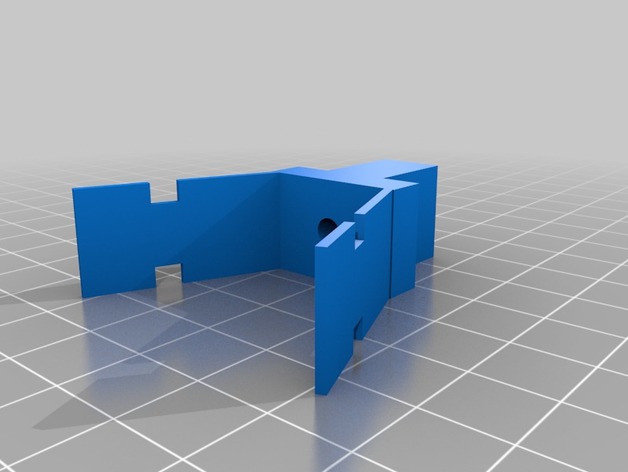
Summary
I didn’t like having to run the 120v cords into a bundle for our Department 56 Christmas village. It always seemed like a fire hazard.
I have designed this bracket to replace the original bracket and cord. I plan on attaching small LED lights to this and then wiring all this at 9-12 volts depending on how bright the lights end up being.
Print Settings
Printer:
Maker Select Rafts:
Yes Supports:
Yes Resolution:
.02 Infill:
25% Notes:
I did this with rafts and support, you probably don’t need the support but i did the raft because the wings are so thin. I have not printed without them.
Post-Printing
When I get finished with the project I will add more pictures and links to the material used to finish this out.
How I Designed This
I designed this in tinkercad. -
Vent clip cell phone caddy 3D Print Model
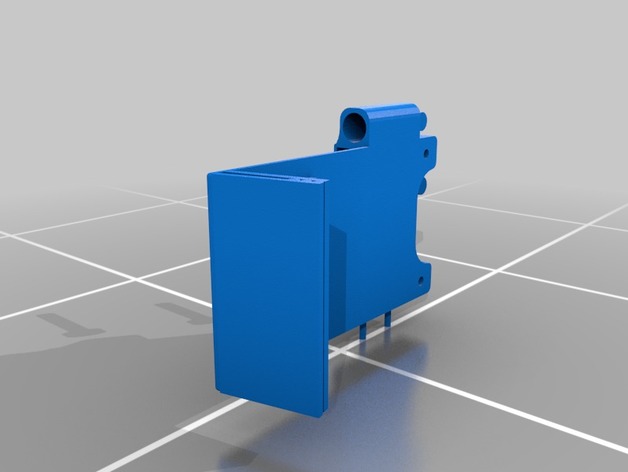
Summary
This is an item that I created on Inventor for class.Overview and Background
cell phone holder
This is a holder for a car that attaches to the vent clipl
Lesson Plan and Activity
cell phone holder
I created this for my intro 3d printing class -
Drawers support template – Support tiroirs gabarit – 1U 3D Print Model
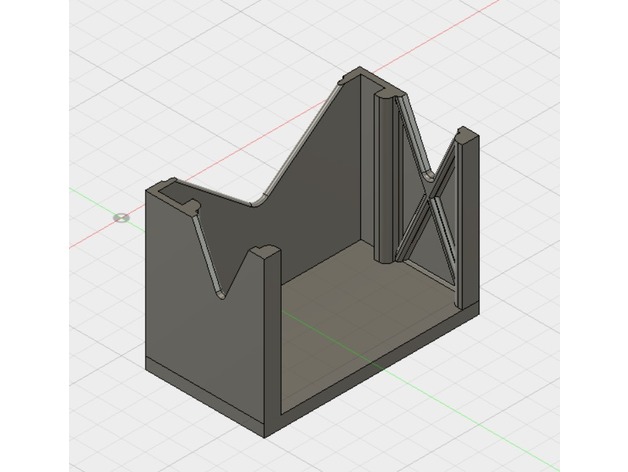
Summary
le gabarit pour supporter 1 tiroir.
peut être coller à d’autre pour créer un support à son gout (un support 2×3 est en imagination …) bref faites vous plaisir. -
G27 Clamp screw 3D Print Model
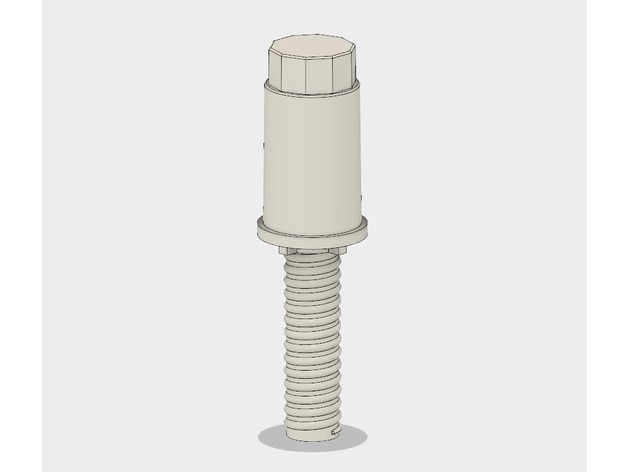
Summary
This is a screw for Workbench3D’s clamp 🙂
To make it easier to print, I’ve separated the model. (and also the thread has been rounded)
Glue them together and replace with broken one :3
I’ve also added STEP file!
You can modify this and make your own designed grip for it :)If you do so, please let me know xD
Note:
Unfortunately, this thing will NOT fits to the original clamp at this time.
Print Settings
Printer:
Geeetech MeCreator 2 Rafts:
No Supports:
No Resolution:
0.05mm Infill:
30-100% Notes:
with PLA, 0.2mm layer height.
The grip doesn’t need so much high infill percentage, but you definitely print the connector and thread with 100% infill. (otherwise, you will broke it pretty easily)
To get better layer adhesion, increase your extruder temperature just a little bit (approximately 5-10 degrees). -
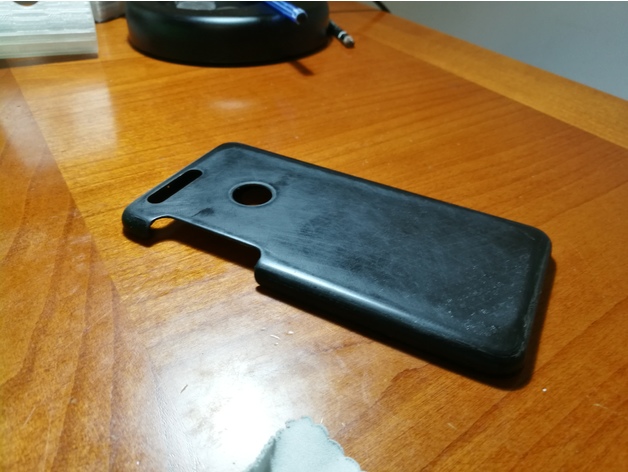
Honor 8 simple case 3D Print Model
Summary
This is just a case for my Honor 8
Print Settings
Printer Brand:
Prusa Printer:
Prusa Clone Rafts:
Doesn’t Matter Supports:
Doesn’t Matter Resolution:
0.2 mm or less Infill:
100% -
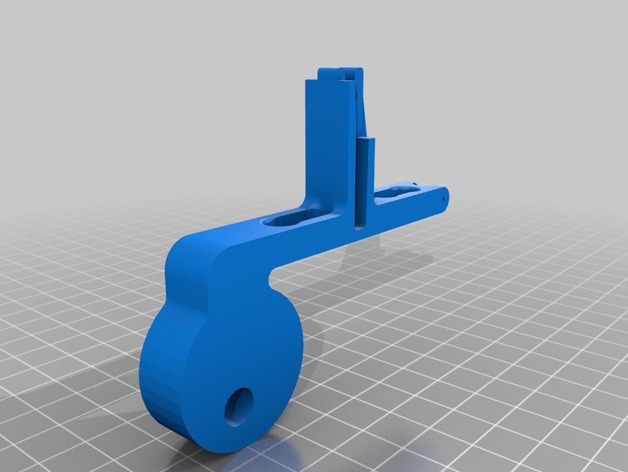
Jura Capresso Ultima 121 Charging Lever 3D Print Model
Summary
Made for a coworker. Tested and works.
Print on Side
Supports: Yes
Raft: No
0.1-0.2mm Height
3 walls, 100% Infill (Went overkill to give the part the best chance.
You will need a paperclip to glue and snip flush at the end that hooks to the retraciton spring. -

Thrustmaster Wheel Adapter – suit Ferrari 458 Challenge wheel/TX Base 3D Print Model
Summary
Adapter to allow you to fit an aftermarket wheel to the TX Racing Wheel with a Ferrari 458 Challenge wheel as a base. Includes paddle shift extensions and D-Pad extension/replacement
The 458 Challenge wheel has separate buttons and paddle shifters so is ideal to modify. To retain the D-Pad you will need to drill the replacement wheel. I used the adapter as a template then drill/file to suit.
Some hardware required –
Adapter is designed to accept M5 nuts. Wheels typically require M5 countersunk bolts.
Screws into wheel base are not long enough, I used 20mm M4 but you may get away with 15mm?
Paddle shifter extensions will accept M3 nut/bolts, I drilled the original paddles at 3.5mm and countersunk the extensions for flush finish.
Printing –
I printed in PLA at 95% infill to create a solid part. If you have tuned your extrusion 100% may be a better option.
The adapter is designed for the print to be paused, then drop the M5 nuts into the print, then recommence print. This locks the nuts in the print. The fit is deliberately loose to allow easy insertion, if you are quick this can be done without pausing print. I typically put a layer of masking tape on the top of the nuts, this allows the filament to bond to the nut a little better. In any case the print usually recovers in a few layers.
I have tested this for quite some time without issue. Assuming you have good layer bond the adapter should be strong enough.
D-Pad extension brings the D-Pad out flush with the new wheel position. Paddle shifter extension works well with 320mm wheel but I don’t see any issues with slightly larger wheel. -
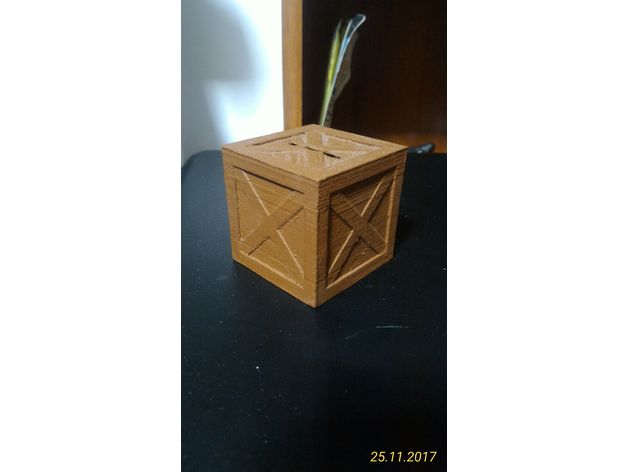
Crash Bandicoot moneybox 3D Print Model
Summary
Finding a place to keep your coins? Try this crate!!!
Print Settings
Printer:
Anet A8 Rafts:
No Supports:
Yes Resolution:
0.2mm Infill:
No Notes:
Known issues: removing supports from the top and bottom is really annoying. Be patient while doing so. I sanded and painted the full crate, especially the bottom, because the surface finish is bad when using supports. -
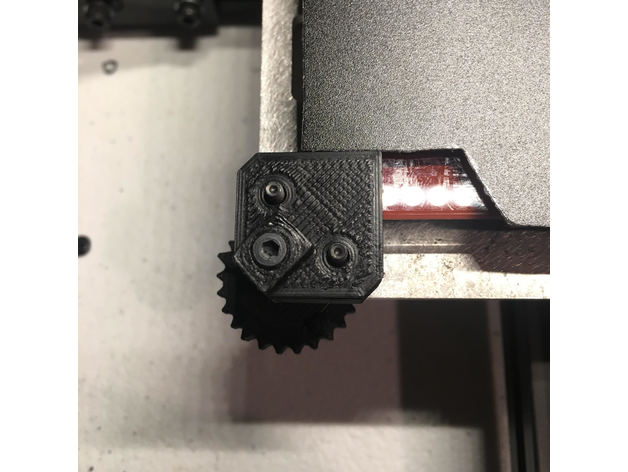
Lulzbot Taz 4/5 Flexplate Mod 3D Print Model
Summary
This is an addition to my Lulzbot Taz 4/5 Bed Leveler (https://www.thingiverse.com/thing:2625888) which replaces the bed fingers to accommodate the BuildTak FlexPlate system (https://www.buildtak.com/product/buildtak-flexplate-system/). If you have a Lulzbot Taz 4/5 and want a better solution for leveling the bed, I encourage you to take a look at my design. If you are interested in utilizing a FlexPlate system, you will need to mod your printer. What I’ve posted is working great for me. I’m in hopes it can help others.
Print these with 100% infill for maximum durability. -
Monoprice Ultimate 90 Degree Adapter for ribbon cable 3D Print Model
Summary
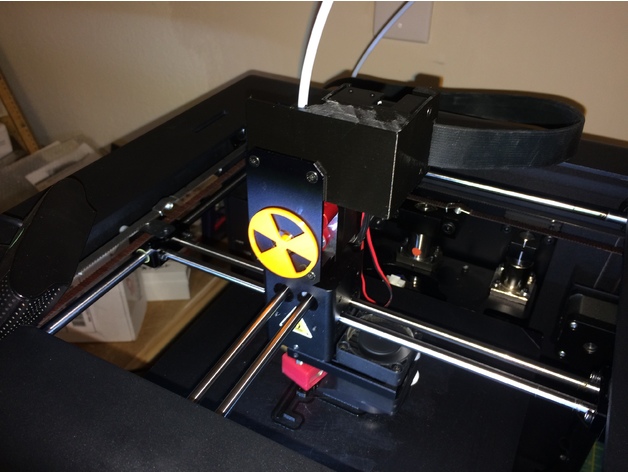
I installed a flexion extruder on my Monoprice Ultimate and need some additional clearance to I could access the set screw on the flexion. I also decided to turn the ribbon cable 90* sideways so the cable lays parallel to the top of the printer.
Print Settings
Printer Brand:
Wanhao Printer:
Duplicator 6 Rafts:
No Supports:
Yes Resolution:
.18 Infill:
20% Notes:
Print this as it lays in the stl file. I also include my preferred .gcode and Simplify3D .factory files. -
SUPPORT LED 4 3D Print Model
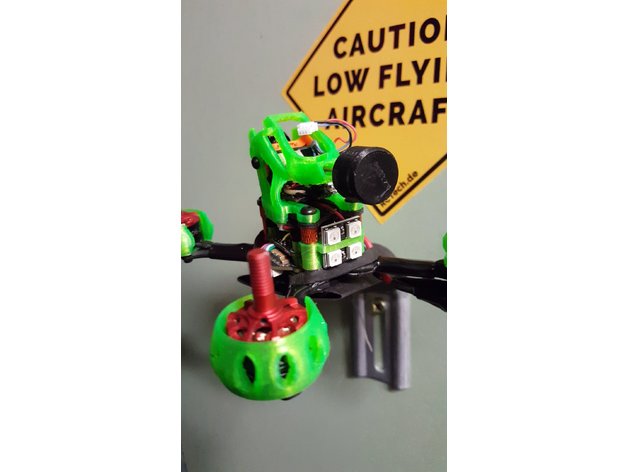
Summary
https://eu.banggood.com/Wholesale-Warehouse-CJMCU-4-Bit-WS2812-5050-RGB-LED-Driver-Development-Board-wp-Eu-984211.html?rmmds=myorder
Print Settings
Printer Brand:
PrintrBot Printer:
Play Rafts:
No Supports:
No Resolution:
0.2 Infill:
100 -
1935 prop guard_90-100 microquad_1103-1104 motors _ix2 framekit 3D Print Model
Summary
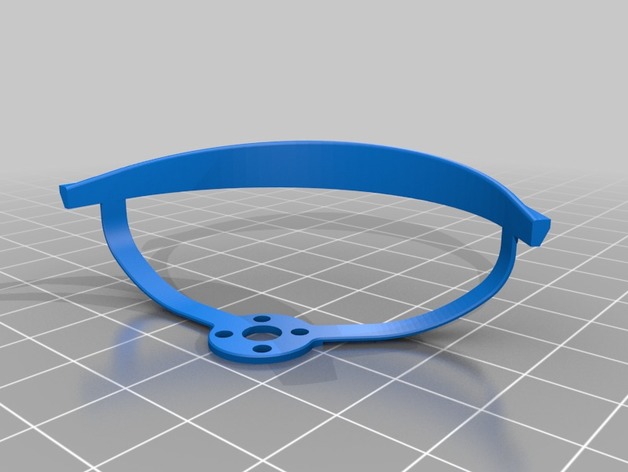
I’ve just model it base on the original prop guard of the kingkong 100 flyegg framekit . The same dimension & it’s works fine with 1935 prop size ( 1103-104 motors). I’m not sure this thing can easy to print .Hopefully anyone could print or remix it for a good thing . Enjoy -
Suction Cup Shower Hooks 3D Print Model
Summary
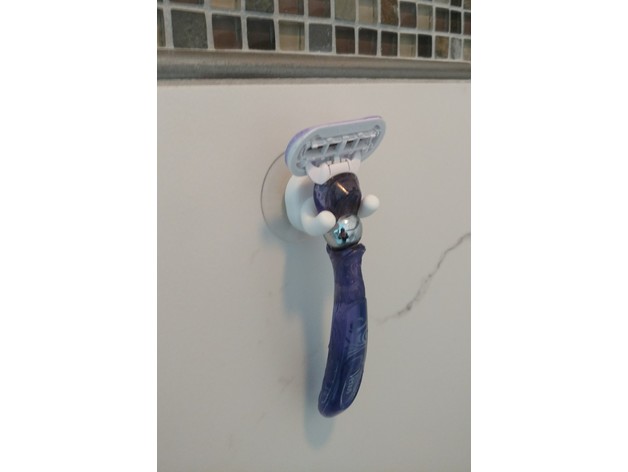
I’m using a 45mm suction cup just like these and I take off the hook:https://www.amazon.com/gp/product/B06XGWCCCR/ref=oh_aui_detailpage_o00_s01?ie=UTF8&psc=1
Capable of holding a lot depending on you “dense” you print the hook.
This was designed to hold my and the wife’s shaving razers in the shower and suction to the tile wall.
Happy Printing!!! -
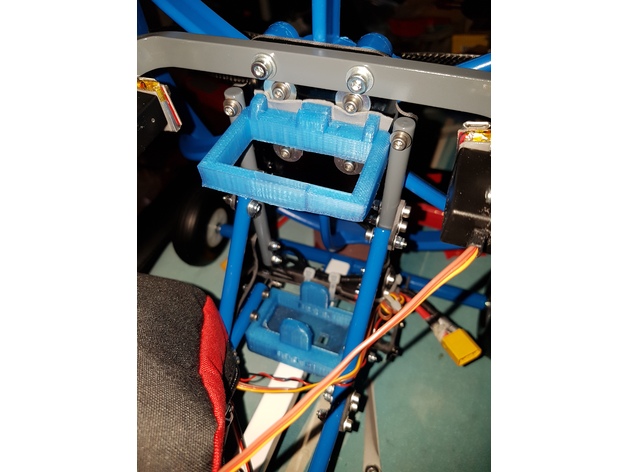
Opale M3 Trike Lipo holder 3D Print Model
Summary
I have some 3s Lipo that are to big to enter in the Sack of the Max Pilot, This allows for the Lipo to be placed behind the sack.
I had to reverse 4 of the bolts as the ends were touching but it works good.
The Receiver and Mixer are in the sack.
Print Settings
Printer:
XYZ 1.1 Plus Rafts:
No Supports:
Yes Resolution:
.20 Infill:
Min 20% or as I did 90% to make solid
How I Designed This
123D designed
Tell us more… -
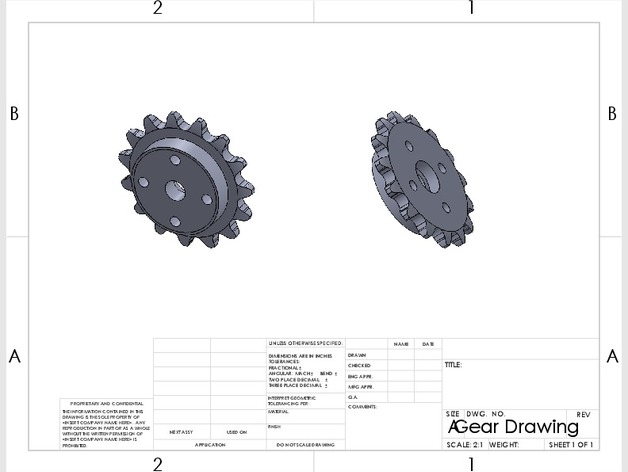
FTC 15 Tooth Sprocket 8mm Pitch for Revrobotics Chain fit to Tetrix Hub 3D Print Model
Summary
FTC 15 Tooth Sprocket 8mm Pitch for Revrobotics Chain fit to Tetrix Hub. This part is so that you can use RevRobotics chain with a Tetrix standard kit. -
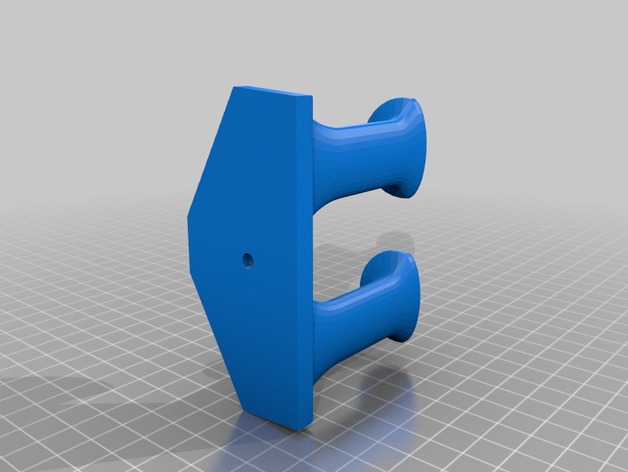
Generic Gamepad Wall Mount 3D Print Model
Summary
This is a generic wall mount for my generic/Arctic gamepad.
Print Settings
Printer Brand:
Up! Printer:
Up Plus Rafts:
Yes Supports:
No Resolution:
0.20 -
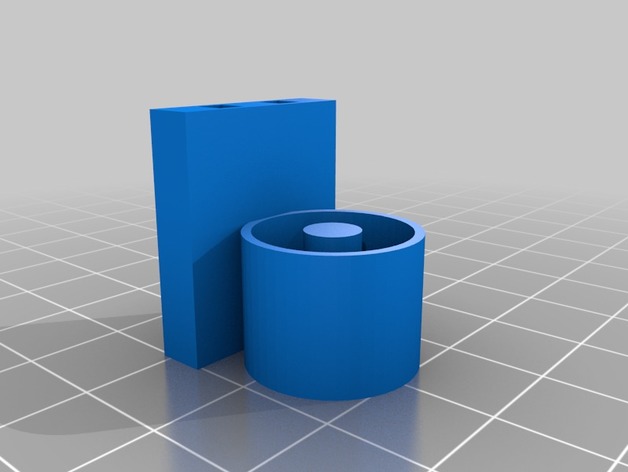
Molex Cripmer locator 3D Print Model
Summary
I have a 63819-1300 series molex crimper, which is a great tool and does a really good job, but the pin locator that comes with it only fits a few pins. I was surprised to discover that I could 3D print a custom locator and it would work almost as well as the original.
The biggest problem was that the original locator has snap lock arms on it so I had to make mine a bit bigger so it would fit tight enough not to fall out while crimping.
This particular one is for Val-U-Lock terminals.
I’ll post more as I have need for them. -
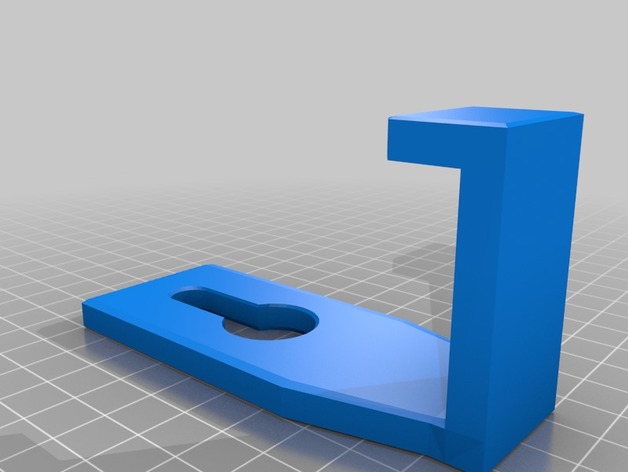
Drawer Hook for Headphones etc. 3D Print Model
Summary
This hook fits over a drawer pull and is perfect for holding over ear headphones. -
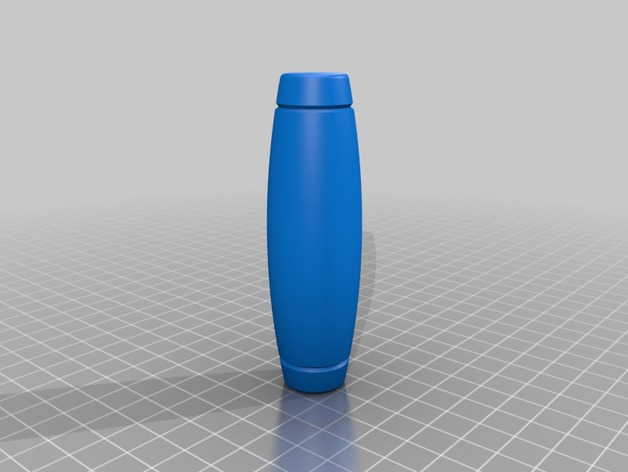
Kururin rolling stick weighted fidget toy tumbler 3D Print Model
Summary
Kururin rolling stick weighted fidget toy tumbler
This Kururin rolling stick is designed to be weighted on the extremes of the fidget toy for improved rolling thumbler toy effect.
Print 100% infill rectilinear
The design will form an interior air chamber without support material and the rolling stick will keep sealed. -
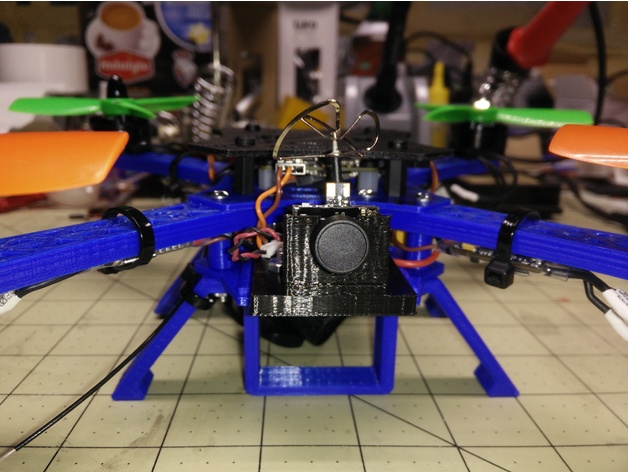
AIO Camera mount for Mini Flamewheel 3D Print Model
Summary
AIO FPV camera mount for FPV camera for a wolfwhoop purchased fromAmazon.com.
Print Settings
Printer:
Anycubic Mini Kossel Rafts:
No Supports:
No Resolution:
.16 Infill:
25% Notes:
Print with mount base on the plate, I used a heated bed @65C but you really don’t need it. The camera from Amazon.com https://www.amazon.com/gp/product/B06X96VPSQ/ref=oh_aui_detailpage_o02_s00?ie=UTF8&psc=1
fits a little tight but it is usable.
This is a work in progress that may never get updated…..errr
EK~ -
Japan JIS K 6251 (ISO 37) Standardized Test Piece 3D Print Model
Summary
Japan JIS K 6251 (ISO 37) Standardized Test Piece for 3D Printing
Proposed by Fab Consortium, Keio University SFC, Japanhttp://coi.sfc.keio.ac.jp/conso/