Summary
I wanted a soldering iron to be used on the field, so battery powered but still with controlled temperature and under 20USD and so bought the STC T12 DIY kit which looks to be ok for the job.
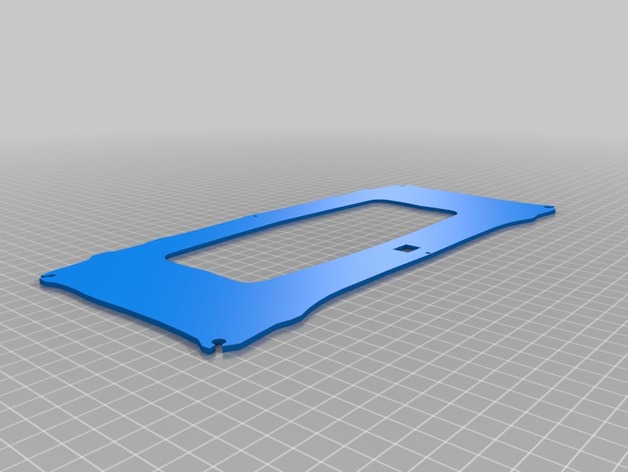
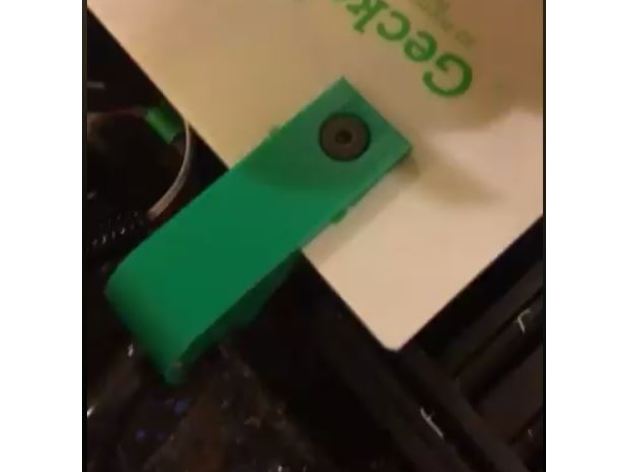
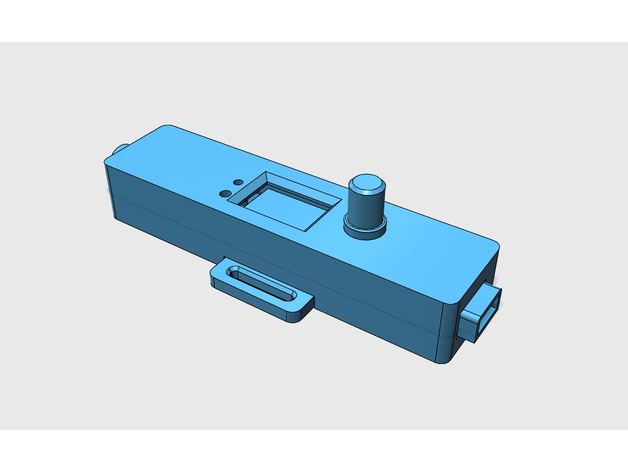
After a bit of searching I couldn’t find a case for it that suited my intended use and I went ahead and made one that I think is reasonable ergonomic.
I’ve used an XT60 connector for the battery powering the iron but you can use other connectors type if they fit the socket and hot glue them in place.
Print Settings
Printer Brand:
Prusa Printer:
Prusa Clone Rafts:
Doesn’t Matter Supports:
Doesn’t Matter Resolution:
0.1-0.2 mm
Post-Printing
For the battery connector socket I’ve premade supports in the form of a 0.8mm wall that needs to be removed after printing.
Author: Thingiverse
-
Mobile soldering iron STC T12 case 3D Print Model
-
WLANThermo Mini V2.5 Case – Variant Crow 3D Print Model
Summary
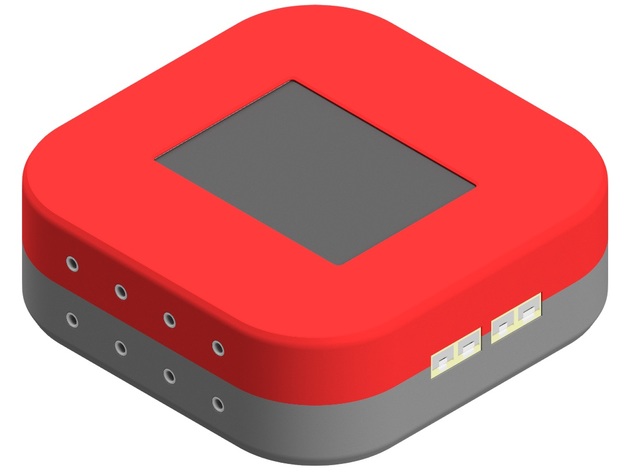
Der beliebte Mini Gehäuse von Crow Design in der Version 2.5 zum selber drucken.
Das Gehäuse oder Einschweißmuttern können hier bestellt werden:https://www.wlanthermo-shop.de/
Further Information:https://www.wlanthermo-shop.de/https://crow.n-metal.de/https://www.grillsportverein.de/forum/threads/wlanthermo-mini-3d-druck-gehaeuse-fuehleraufnahme-variante-crow.262108/ -
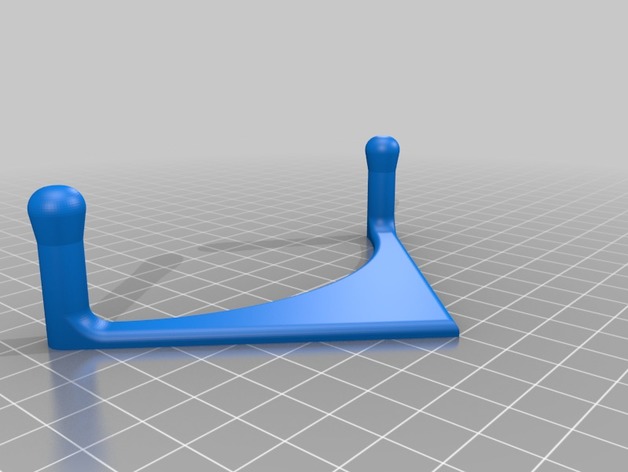
Prusa I3 Mk2/S Filament guide and light holder 3D Print Model
Summary
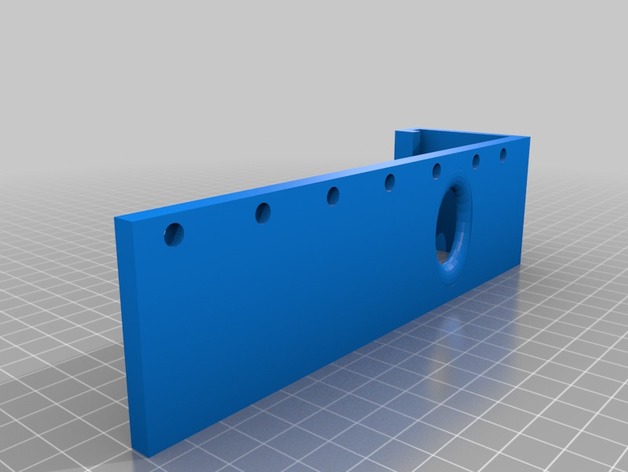
I have been running into problems with new rolls where the filament would spring of and get tangled. I was going to print one of the many filament guides available, but decided to make this. I use a Yorkville music stand light to light up the build plate when printing. Its pretty bright for its size, and you can power it off a spare usb port on the raspberry pi (assuming you use one for octoprint, but any usb port will work). I use the light both for checking in remotely and for the time lapses I create with octoprint. I initially had the light clipped to the frame of the printer but wanted to bring the light arms more forward to take care of some shadows. the holes in the side allow tie wraps to keep the power cord out of the way.
The light I use can be found here: https://www.long-mcquade.com/12870/Band/Metronomes_Tuners_Stands/Yorkville_Sound/Dual_Music_Stand_Lite.htm -
Super Famicom Cartridge (Super Nintendo PAL cartridge) 3D Print Model
Summary
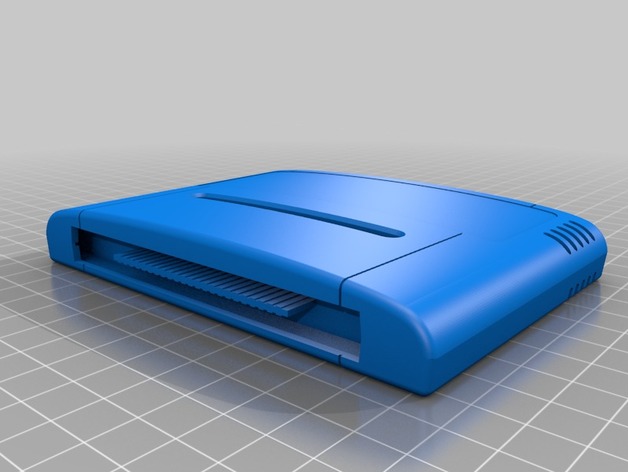
Just a redraw of a Super Nintendo cartridge (PAL version) to print some keychains
How I Designed This
It’s a remake of https://www.thingiverse.com/thing:1396153 -
Pi Zero Dual Relay board Enclosure 3D Print Model
Summary
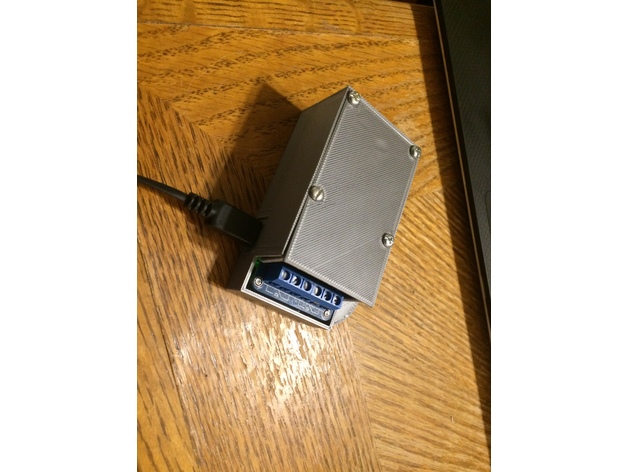
A dual channel relay enclosure for a wi-fi garage door opener.
It works with just about any model / make of garage door opener.
Note: The photos of the item “in use” are of a draft version (print settings below applied) where the lid wasn’t perfect, but I decided it was ‘good enough’. I have updated the design you see here to fix the fit and finish issues.
I started out with this instructable, detailing a rather old hardware setup using a dual channel relay board.
I didn’t much care for the PHP / Apache on Raspbian stack. I know other folks who have used this setup and had issues with SD card corruption.
So I ended up creating my own app in go to do the HTTP bits and handle the GPIO interaction.
Then I took it a step further and baked up a minimal Yocto Linux image with a read-only rootfs, to guard against the SD card corruption issue.
If you want to customize the linux image, you can read the docs in my bitbake layer.
Print Settings
Printer Brand:
Prusa Printer:
i3 MK2S Rafts:
No Supports:
No Resolution:
0.2 Infill:
20% Notes:
Layer Height: 0.2
First Layer Height: 0.2
Vertical shell perimeters: 2
Horizontal Shells:
Top: 3
Bottom: 3
Brim: 4mm -
Pure Bottle 3D Print Model
Summary
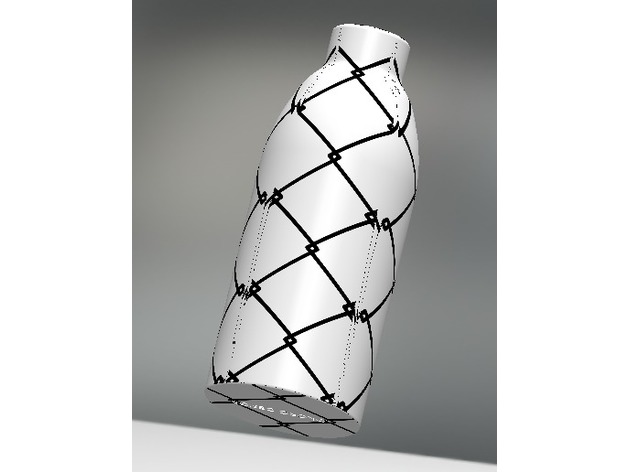
Title : Pure Bottle
Designer : Stanley Mars
Date : 2017/12/14
Software : Solidworks 2016
Tip
If you applied and like my design please just feel free donate to me. Appreciate !!!
Have any issue or any idea just free free email me. I will glad to solve your any question. 😉
EMAIL : [email protected]
Sincerely.
Donate Address
BTC(Bitcoin) : 34rkrNccR2Yob24yTahkxcEq6fLGmmuyvB
ETH(Ethereum) : 0x194dd6281ec979281155c83fe5d0586e3e380b6a
LTC(Lite Coin) : Lg6noExxFLyzHF68t1AFeZpdkRYMkNvyPR
XMR : 43q1S7LnMvwixdrAM74EidasrC5v14XkfAHJjYwDjBmsXHNhAgbgrftiQub3kTqcinFWgw9fbgMRHdfSH1Bf9GncC6c2iEY -
Fan duct & Auto Level sensor support 3D Print Model
Summary
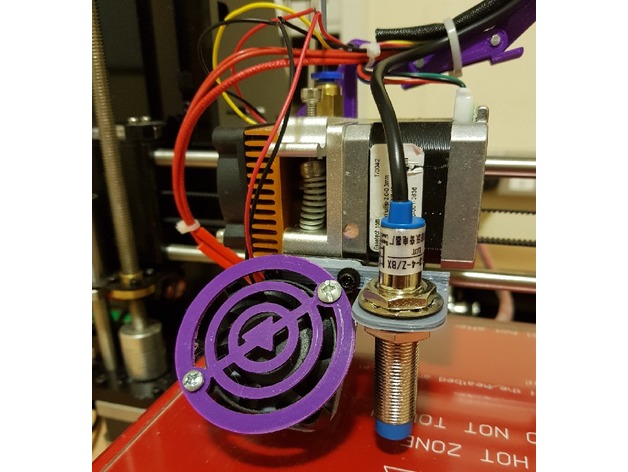
Fan duct & Autoleveling sensor support for Geeetech I3 Pro B.
Note: print supports needed for Fan Duct only. -
Keyport Slide USB 3D Print Model
Summary
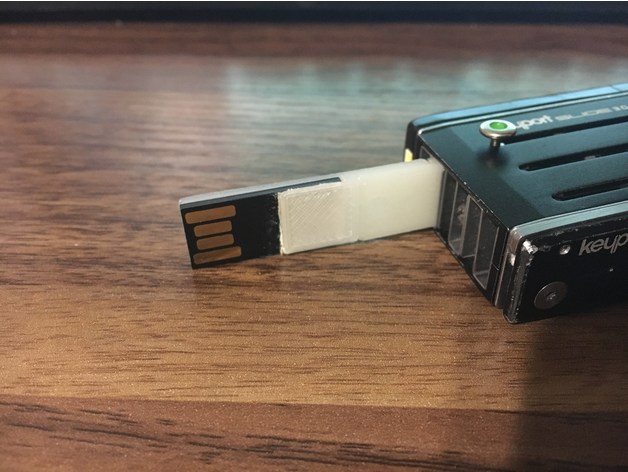
I wanted a detachable USB Drive for my Keyport Slide.
Pause mid print to add the USB chip.
Tape/Glue it to the bottom.
I put masking tape on the top side to help it print on top and protect the USB chip.
Included file with no overhang so you can just tape/glue the USB chip without having to pause print. -
Mk.10 Extruder Silicone Cover Mould 3D Print Model
Summary
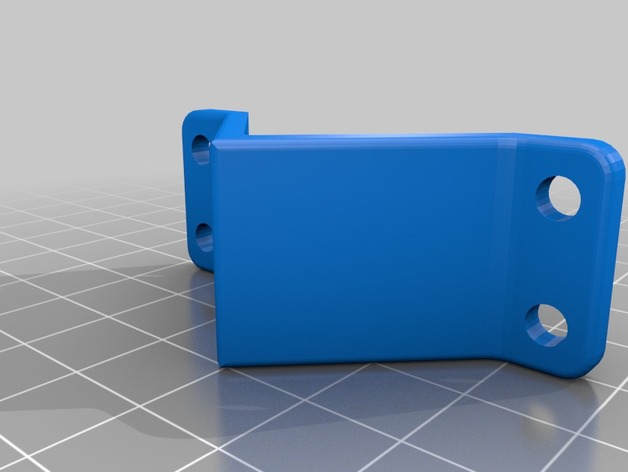
This is a mould for a high temperature silicone insulator for the MK10 heater block as fitted to the Wanhao i3 Plus and other printers. Gives a 3mm insulating shell around the outside of the block with ports for the cartridge and thermistor wiring.
Post-Printing
Parts required
You’ll need 4xM4 screws and nuts to bolt the two halves of the mould together. The flanges are 3mm thick so M4x10 should just about do it.
To mould you’ll need to fill half the mould with your silicone – if you can’t get a runny 2 part mix then try to pipe it into the corners. Push the insert in and make sure the silicone is flush with the top. The cross on top should allow the cover to be removed over the insert once cured. -
j2 Prime case 3D Print Model
Summary
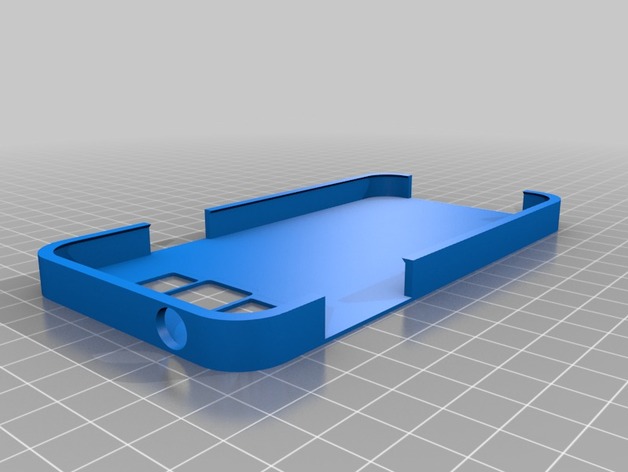
i couldnt find a j2 prime in the net so this is my contribution to the everyone 🙂
printed and tested using PLA -
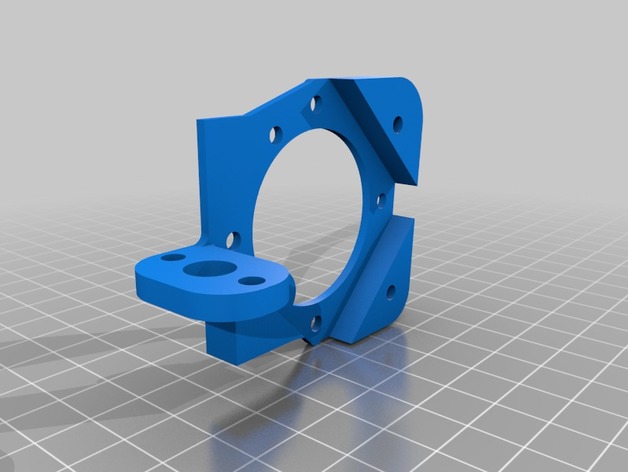
Really basic Titan Aero Bltouch+fan mount 3D Print Model
Summary
Real basic thing I thought someone could use, I got tired of the bltouch adjustable mounts I found on here breaking, so I made a much beefier one. Could use some tuning but it works for the job I made it for. -
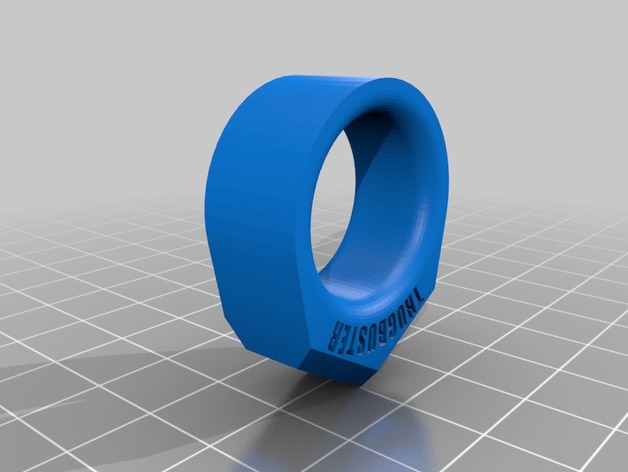
THUGBUSTER 3D Print Model
Summary
A little self defense ring that if printed with metal filament might actually be usable and viable. enjoy!
I am NOT responsible for any damage to persons or proper resulting from any use of this ring or any modification of it!
Print Settings
Rafts:
Yes Supports:
Doesn’t Matter Infill:
100% Notes:
The ring can be resized in any software. As of now the inner diameter is 80% of an inch. -
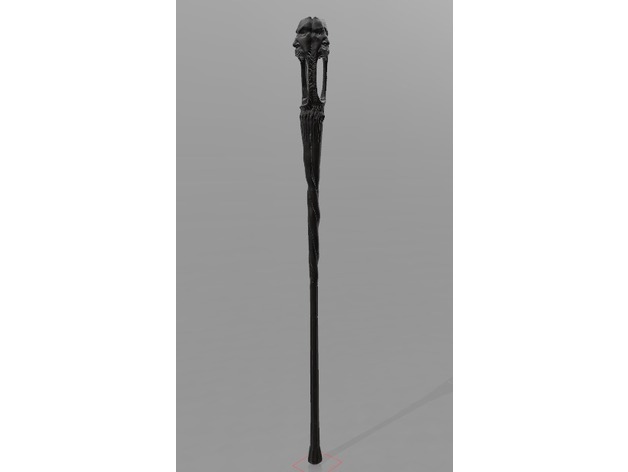
Wabbajack 3D Print Model
Summary
cheese for everyone! wait. scratch that. cheese for no one.
50% of the vertices and triangles have been reduced but it is still massive the stl’s are split into 7 pieces and still may not fit on the print bed
caution: untested and not scaled to standard bed sizes.
again sorry for the stupid amount of polys
universal reference sheet: http://sta.sh/05gdjzyi2cs -
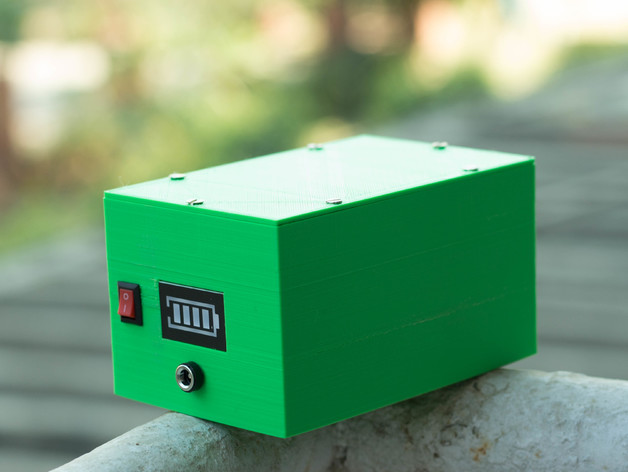
17 Ah 18650 Battery Pack ( 3S5P ) 3D Print Model
Summary
This a enclosure for 15 18650 cells to make a Battery Pack. I used 3400 mAh cells to make the 17Ah -11.1 V Battery Pack.You can see the full project on my Instructables.https://www.instructables.com/id/DIY-Professional-18650-Battery-Pack/
Print Settings
Printer:
Creality CR_10 Rafts:
No Supports:
No Resolution:
0.3 Infill:
100 Notes:
Print Speed : 70 mm/s
Fill Density : 100%
Extruder Temperature : 205 degC
Bed Temp : 65 degC -
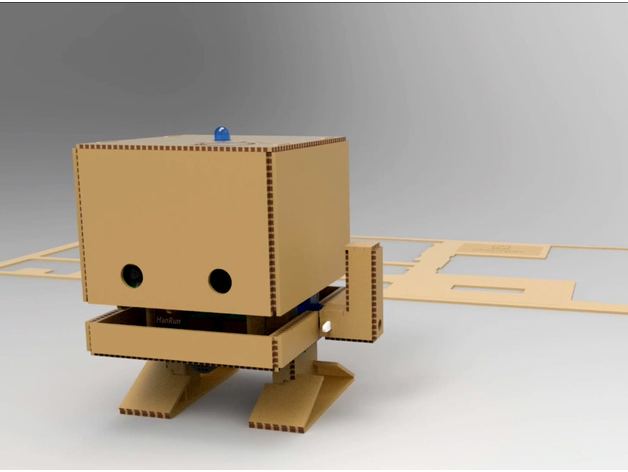
TJBot – A DIY Robot powered by IBM Watson Cognitive Services 3D Print Model
Summary
This thing contains files to 3D TJBot – a do-it-yourself, open-source kit to learn, experiment with and explore AI using IBM Watson services. Once built, you can add a list of components ( raspberry pi, RGB LED, a microphone, speaker, a servo motor, and a camera) and then run sample code that allows the robot listen, speak, translate text, lookup the weather, wave its arm etc using various IBM Watson AI services.
Printing
Please print the right and left leg with supports. All other parts can be printed as is.
Want to Learn More?
View a step by step instructable on how to 3D print TJBot on Instructables.
Visit the TJBot website to learn more about the project. Hint: You can also make TJBot from laser cut cardboard.
Visit the TJBot [Github Repo].(https://github.com/ibmtjbot/tjbot) to learn more about how you can program TJBot.
Enjoy!
Post-PrintingGot all your parts printed? Here is how to assemble it all.
-
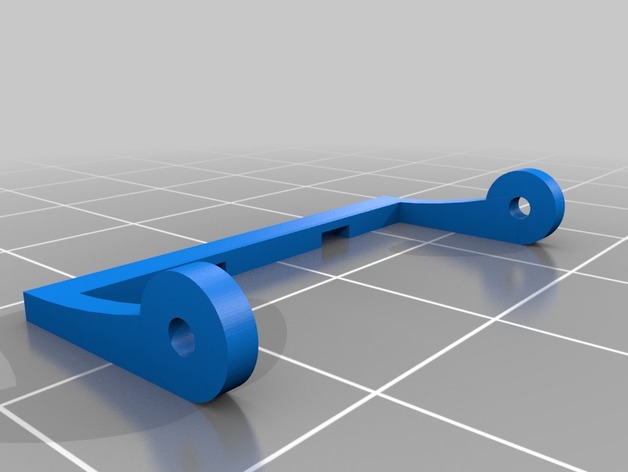
Frame for Polar M600 Watch Strap Buckle 3D Print Model
Summary
I lost the metal buckle frame for my Polar M600. Luckily the pin and the prongs didn’t fall off. Couldn’t find just the frame anywhere for purchase, so designed and printed one for myself.
I’m fairly new to 3D printing (less than 1 week), and this is the first 3D thing I’ve ever designed. Only had white PLA with me so used that, but ideally would look nicer with silver metal PLA.
Print Settings
Printer:
MP Select Mini v2 Rafts:
No Supports:
No Resolution:
Layer height: 0.1, Shell thickness: 0.8 Infill:
100 -
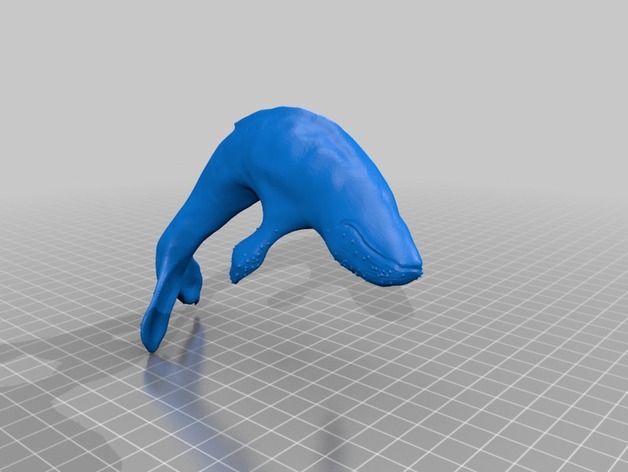
Humpback Whale, attempt #1 3D Print Model
Summary
Sculpted in Oculus Medium. Done from memory without a reference photo, so the proportions are likely off.
I suspect that to print it well, you’d need to slice it in half head/tail, and print with the flat cut faces down. Should scale well to the limits of your printer. -
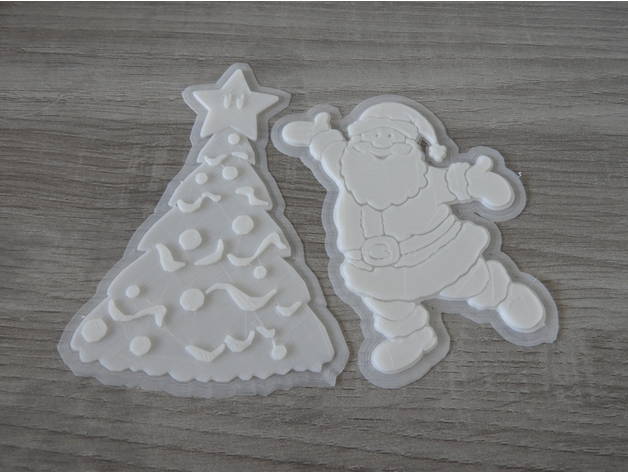
Christhmas Decorations 3D Print Model
Summary
Hello it’s HanJo 3D !
Watch my video !https://youtu.be/MaxwzAk_AKs
I Hope you like it ! Good Print !
Follow me on :
YouTube : https://www.youtube.com/channel/UCYe8uTTnR_Pe3uIemazNO5w
Facebook : https://www.facebook.com/hanjo.hanjo.125
Twitter : https://twitter.com/HanJo_3D
Instagram : https://www.instagram.com/hanjo3d/
Thingiverse : https://www.thingiverse.com/HanJoTv/about
Cults 3D : https://cults3d.com/fr/utilisateurs/HanJo_3D/cr%C3%A9ations
How I Designed This -
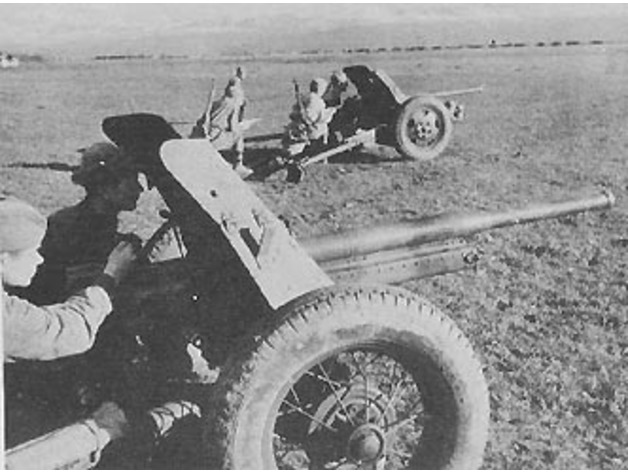
45mm soviet anti tank gun 3D Print Model
Summary
Mined from 3d warehouse and repaired with makeprintablehttps://3dwarehouse.sketchup.com/model/b7b16563-af5a-4fd4-8be2-9a23efbf456d/ANTI-TANK-GUN-45-MM-TYPE-M42-RED-ARMY-WW2-MAIN-DEFENCE-LINE-ANTI-TANK-SOVIET-ANTI-TANK-WW2
Scale 1:56
Test print required 🙂 -
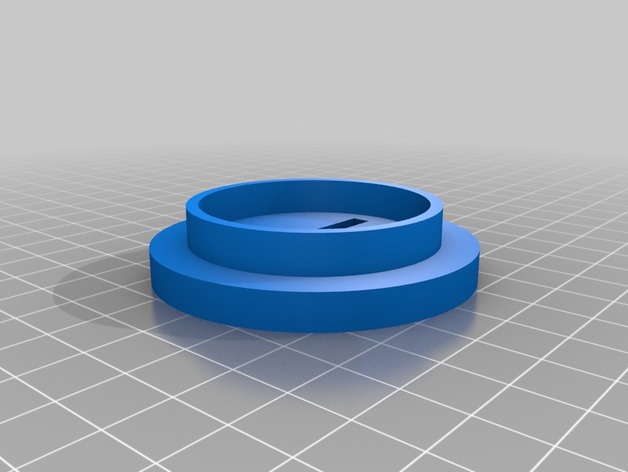
Snowman Bank (Not Tested Yet) 3D Print Model
Summary
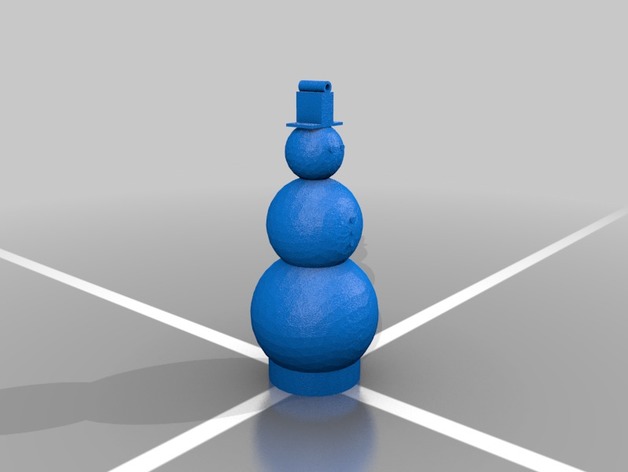
I made this Christmas themed piggybank hope you like it. I’ll be making more of these. -
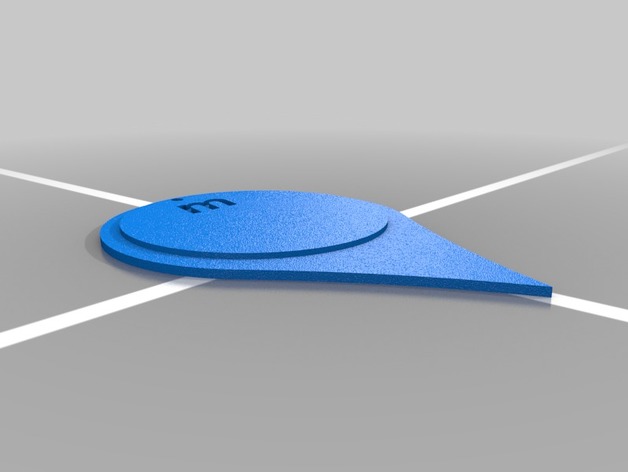
Social Munzee tag 3D Print Model
Summary
munzee tag for social munzee. Part made in imperial measurements. -
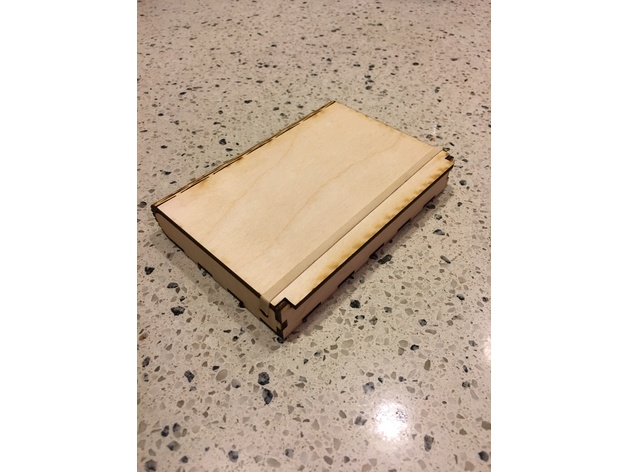
Laser cut living hinge box 3D Print Model
Summary
Introduction
I remixed this design to extend the lip of the lid to give you something to grab onto.
For now, I’m just using a rubber band for closure.
Materials
1/8″ plywood (I used Baltic birch)
Special instructions
Try to cut the hinge in the direction of the grain, so it’s easier to bend.
Use a damp (not dripping) paper towel to wet the hinge area. This will allow the hinge to bend without breaking. Use a rubber band to hold the hinge closed while damp to allow the wood to retain this position.
Glue and assemble, then clamp as needed.
Location and device
Cut at HackPGH on a WKLaser LC6090. -
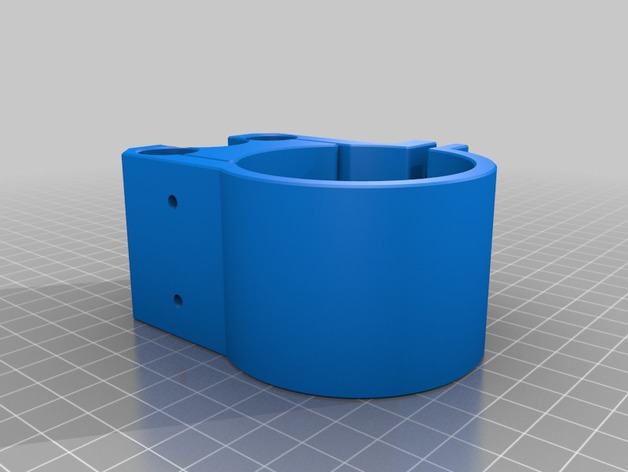
cnc2417 Z axis 55mm spindle mount holder 3D Print Model
Summary
55mm Spindle mount for chinese CNC “cnc2417” 24 x 17cm . This router mount 35mm spindle as default and not compatible with more diameter.
Assembly requires:
2 x bolts M3 >18mm
2 x nuts M3
4 x screws M3 16mm
No material support needed
Print Settings
Printer:
HyperCube 3D Printer Rafts:
Doesn’t Matter Supports:
No Resolution:
0.2mm Infill:
100% Notes:
https://www.thingiverse.com/thing:1752766
How I Designed This
Designspark Mechanical Downloads:
De: https://www.rs-online.com/designspark/mechanical-software-de
En: https://www.rs-online.com/designspark/mechanical-softwareBuy
Cnc router CNC2417
https://www.aliexpress.com/item/cnc-2417-diy-cnc-engraving-machine-3axis-mini-Pcb-Pvc-Milling-Machine-Metal-Wood-Carving-machine/32799560097.html?spm=a2g0s.9042311.0.0.eAyshb -
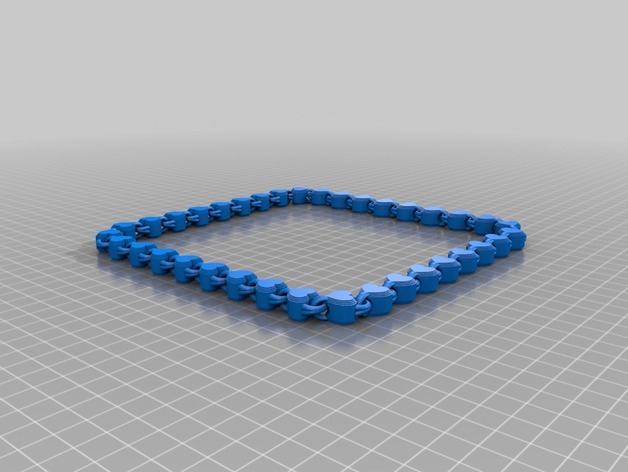
One Piece Heart Neclace 3D Print Model
Summary
Prints in one piece. Requires 200×200 build plate minimum. Printed with 0 infill at .2mm level height. -
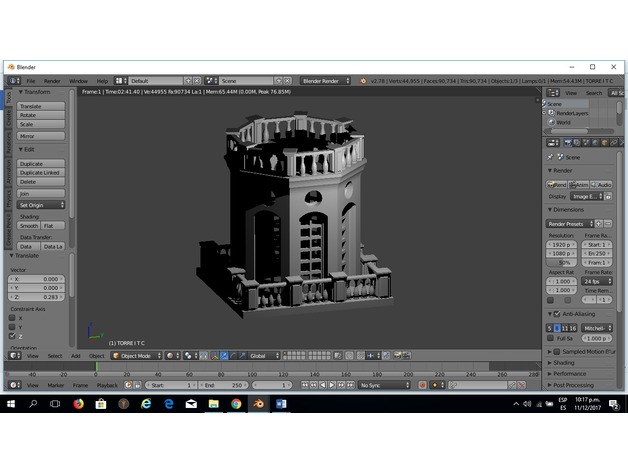
torre ET ITC 3D Print Model
Summary
modelo de la torre de la escuela tecnologica instituto tecnico central en bogota Colombia -
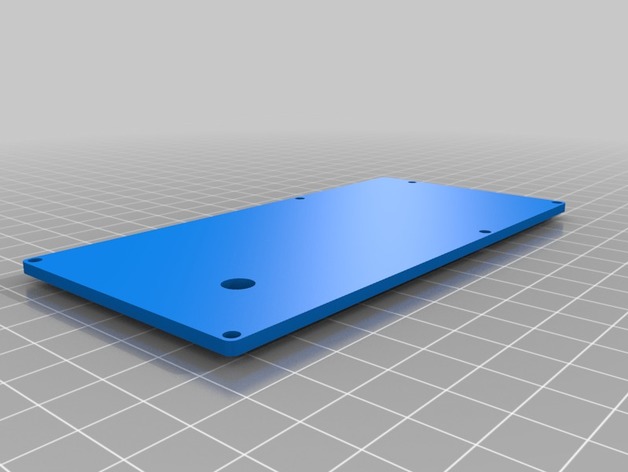
Box for Sonoff TH10 & TH16 3D Print Model
Summary
Box for one Sonoff TH10/TH16 with holes for two pg9 cable glands and a rocker switch. Room for temperature/rh sensor separated from board with a wall. Lid is thin around LEDs, and has a hole for accessing button on the PCB.
Sensor has to be soldered on.
Some 3mm screws are required to fasten lid and PCBs.
16A Rocker Switch: http://preview.tinyurl.com/yc4umcp6 (for your confidence), http://tinyurl.com/yc4umcp6 (direct to Aliexpress)
Why? Don’t like the look of the original Sonoff box… -
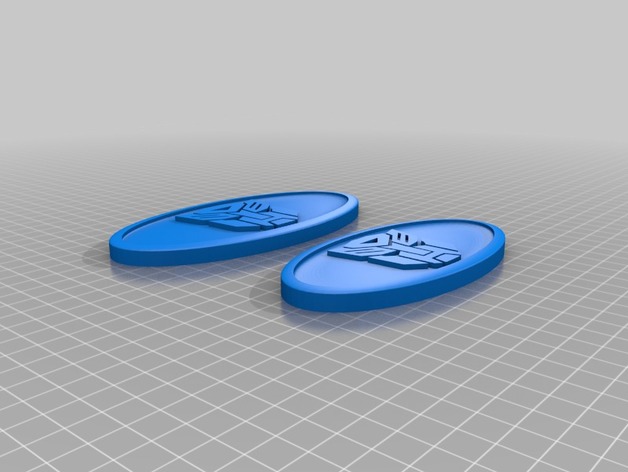
KIA Soul Embleme 3D Print Model
Summary
Austausch Embleme für Kia Soul 09 Vorne/hinten
Print Settings
Printer:
TEVO Black Widow Rafts:
No Supports:
No Resolution:
0.1-0.3 Infill:
10% oder 100% Notes:
bei 10% Füllung Gut Kühlen beim Drucken -
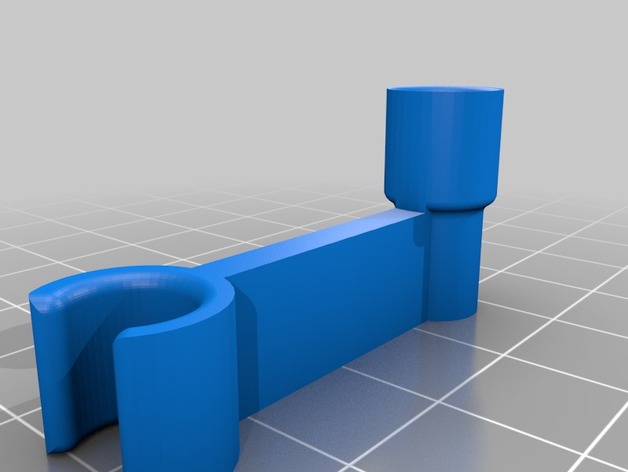
PTFE Holder for 8mm Screw Bar 3D Print Model
Summary
I make this thing for guide the ptfe tube for my extruder.
Print Settings
Printer Brand:
PrintrBot Printer:
Play Rafts:
No Supports:
No Resolution:
0.2 Infill:
15% -
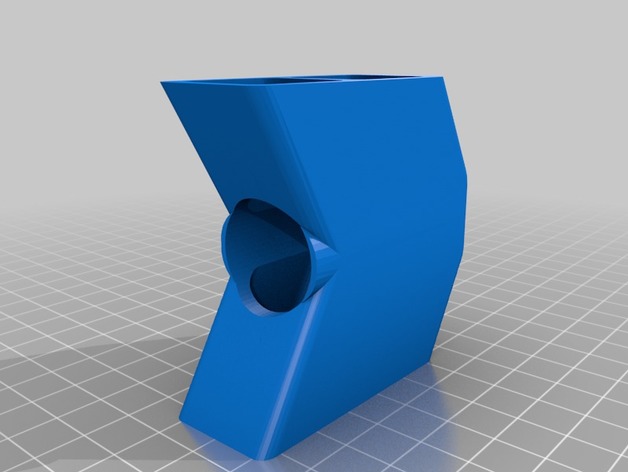
Gasbremse Luftgewehr 3D Print Model
Summary
Gasbremse für Black OPS Luftgewehr
Print Settings
Printer:
TEVO Black Widow Rafts:
No Supports:
No Resolution:
0.1-0.3 Infill:
10-15% -
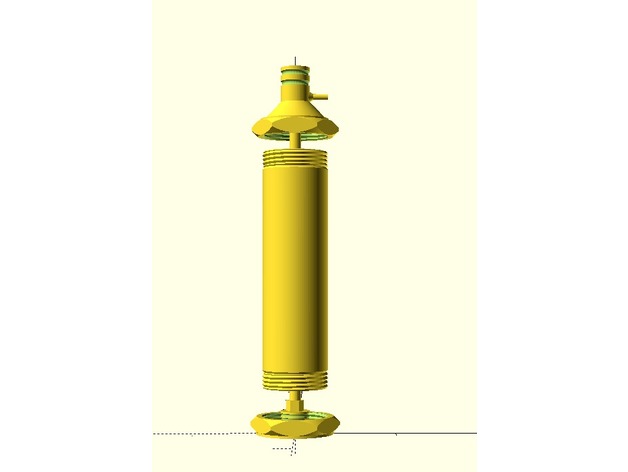
Soft robot 3D Print Model
Summary
This is a soft robot project I have been working on. I have done a complete write-up here. -
Beholder Tree Ornament 3D Print Model
Summary
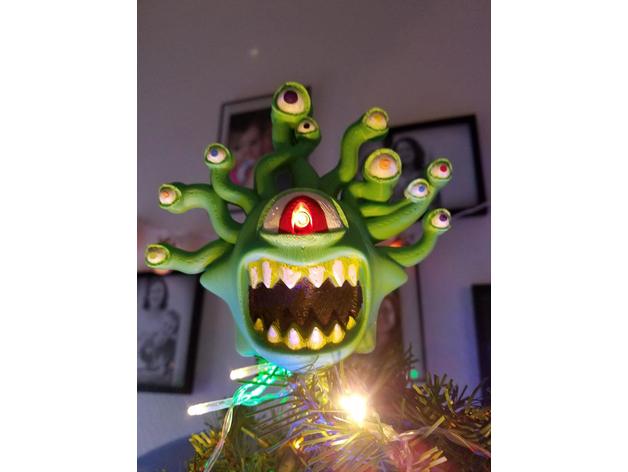
Just a fun little tree topper, designed for my old Solidoodle 2 (0.3mm). Both sides have no real overhangs and make for an overall (mostly) hassle-free print.
Post-Printing
The Final Product
The pictured product was 3d printed in two halves using a green ABS plastic and glued together. I scaled this up to 3.65 for the picture, but that was just because my printer bed is only 6″x6″. Should print fine even larger. The eye whites were filled in with quick-dry white-out and a light green marker was used to clean up the edging around the eyelids. The colored pupils were also made with various markers.
How I Designed This
We thought a horrifying monster from the Underdark would look good on our tree this year, so I made a rough (and printer-friendly) version in 3d. Originally planned on hollowing out the eye stalks for 11 colored lights, but was concerned about stability during the print. -
MakerGeeks 52mm Spool holder 3D Print Model
Summary
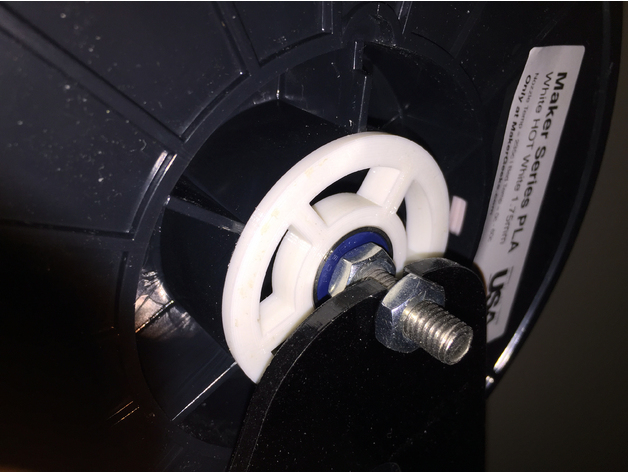
Spool holder plugs for MakerGeeks filament rolls.
maker_geeks_52mm_spool_22mm.stl
For use with 608 (8x22x7) bearing
Made the tolerances tight. If you have trouble getting the bearing in, you can put the bearings in the freezer for an hour then install.
maker_geeks_52mm_spool_8mm.stl
For use with 8mm rod.
Print Settings
Printer:
Anet A8 Rafts:
Doesn’t Matter Supports:
Yes Infill:
20% -
Christmas star and bells 3D Print Model
Summary
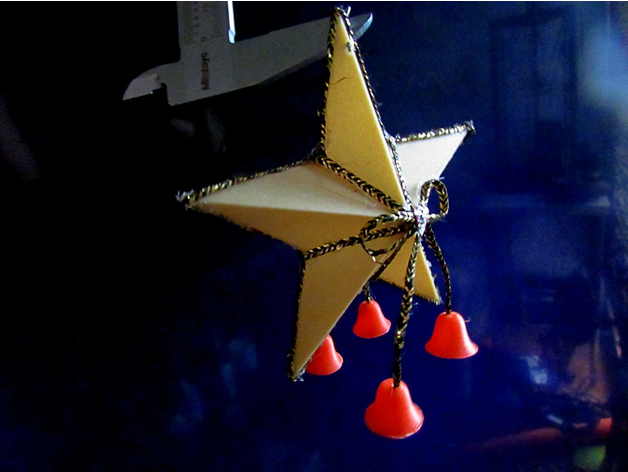
I created a Christmas ornament. Printed them with woodPLA and red bells
Print Settings
Printer:
Anet A8 Rafts:
No Resolution:
.06 Infill:
0% Notes:
Printed both single layer spiral vase. Two stars are glued together back to back. The bells have to be printed slow (<10) to keep detail. -
Tippmann Gryphon FX stock adapter 3D Print Model
Summary
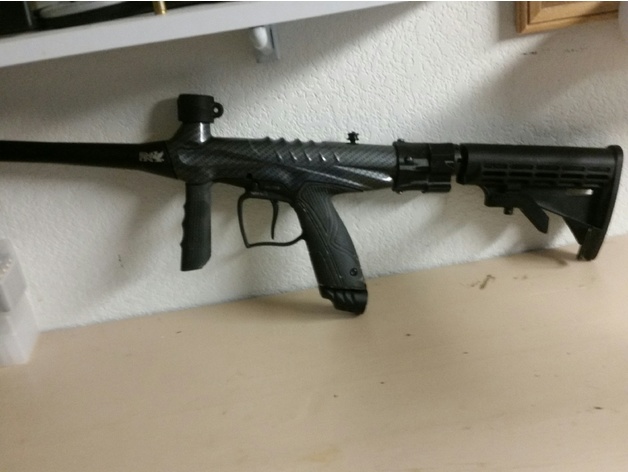
Allow user to install M4 collapsible stock on Tippmann paint gun -
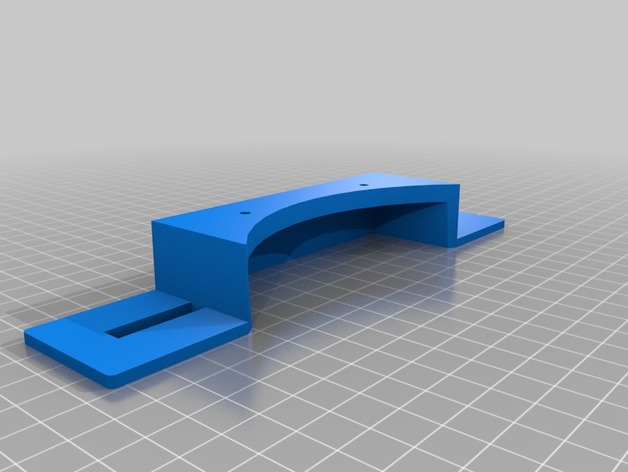
Jeep Wrangler Rubicon 10th Anniversary LED Fog Lights Bracket 3D Print Model
Summary
Made these to install some LED fog lights on my Rubicon with 10th anniversary bumpers. Holes for mounting the fog light to the bracket may need some adjustment (depending on the fog light type/brand), this can be easily done with a dremel tool or small drill.
Print Settings
Printer Brand:
Prusa Printer:
i3 MK2S Rafts:
No Supports:
Yes Infill:
100% -
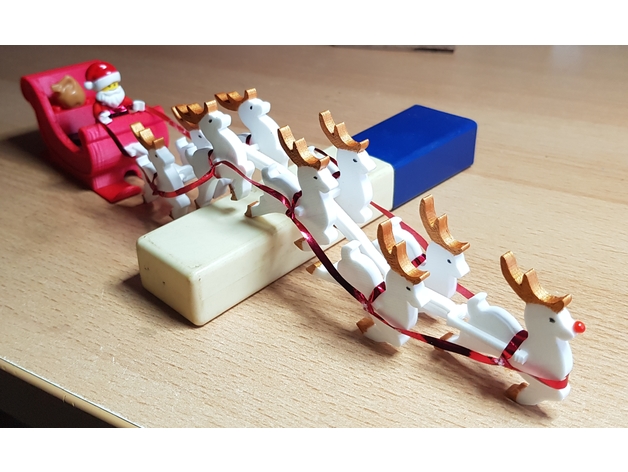
Chain Harness for Santa Sleigh with Reindeer and Lego minifigures 3D Print Model
Summary
This was already a fantastic design, but I’ve made another harness for the reindeer. This one allows for a reindeer in front (Rudolph!, I glued a pinhead on the nose). Also, it is build of links that form a chain and allow some movement along the harness and you can vary the number of reindeer by adding or subtracting links. Just attach the Start Link to the sleigh and snap the links to it. (The reindeer still have to be glued to the links though).
I’ve added the files for the separate links as well as the collages I’ve used for the assembly with 9 reindeer.
Merry Christmas!
Print Settings
Printer Brand:
Ultimaker Printer:
Ultimaker 3 Rafts:
Doesn’t Matter Supports:
Yes Resolution:
.2 Infill:
20% Notes:
Alternatively, you can position the links with the t-shaped front down to the building plate. This will save a lot of support, though it might need a raft because it will get relatively tall. -
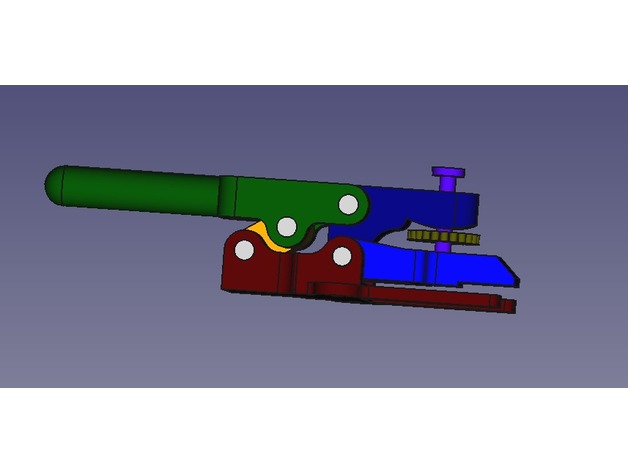
Schnellspanner 3D Print Model
Summary
Hallo,
hier ist ein Schnellspanner speziell für meine Tron+ Fräse mit Kress Fräsmotor.
Die Spanner passen von der Höhe genau unter die Z-Achse und unter die Spannzange.
Die Rändelmutter ist für die Höhenverstellung um verschieden dicke Platten spannen zu können. Ich fräse damit Balsa- und Sperrholz von 0,5mm – ca. 6mm, dafür sollten die Dinger reichen.
Als Zusatzteile braucht man noch eine M4x30 Schraube und eine M4 Mutter.
Die Schraube habe ich direkt in das Plastik geschraubt ohne vorher ein Gewinde zu schneiden, bis jetzt hält es.
Die Achsen sind in 2 Versionen dabei:
rund zum aufrecht drucken
halbiert zum liegend drucken
ich hab die halbierten gedruck, weil ich denke die sind belastbarer.
Wie immer ist auch ein FreeCAD-File mit dabei.
Haelwe -
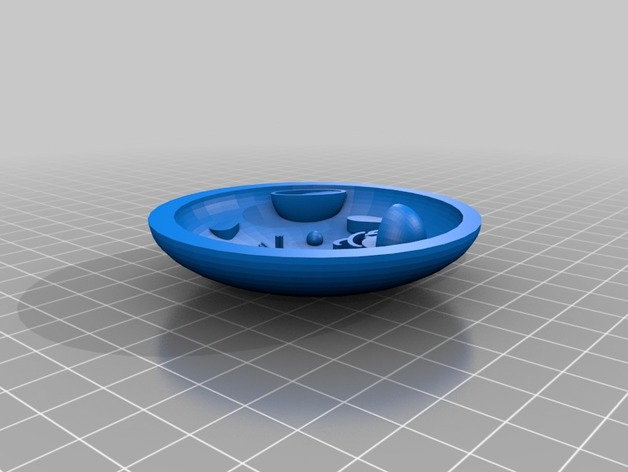
Cell 3D Print Model
Summary
A cell I made for a school project.
Print Settings
Printer Brand:
Prusa Printer:
i3 MK2S Rafts:
No Supports:
Doesn’t Matter Resolution:
.15 Infill:
15Standards
NGSS
-
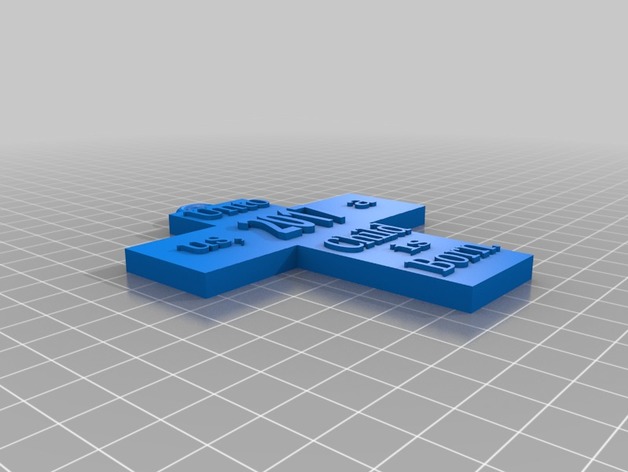
Christmas Ornament “Unto us…” 3D Print Model
Summary
same as others with a more religious sentiment.
Print Settings
Printer Brand:
Up! Printer:
Up Mini -
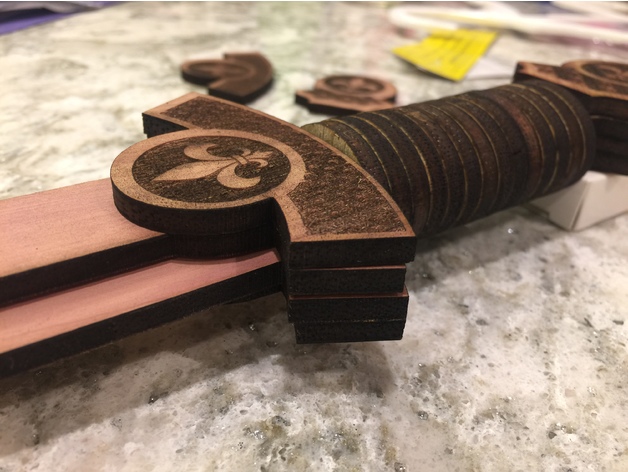
Laser Cut sword with a fluer de lis design 3D Print Model
Summary
This was designed with 5mm 3 layer plywood that I have. It works out to just over 0.19 inches. The plywood I have is 12 inches by 36 inches. -
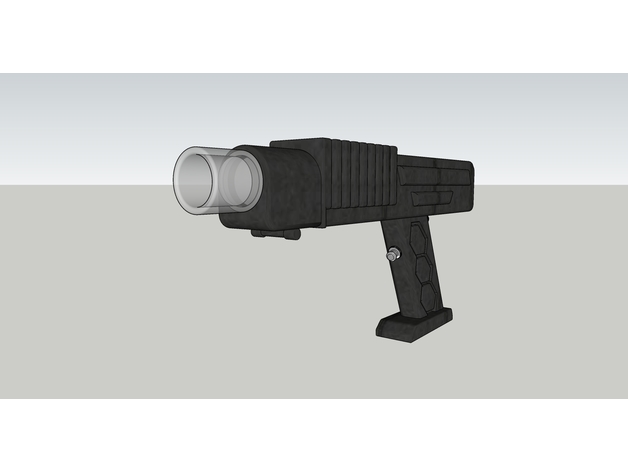
Cylon Handgun 3D Print Model
Summary
Cylon Handgun replica from the original Battlestar Galactica TV show. -
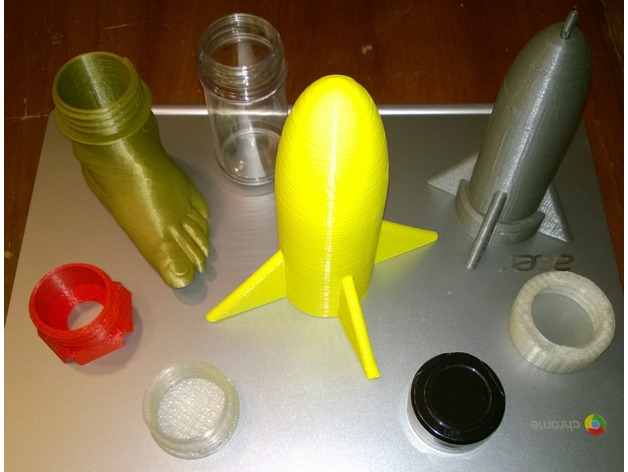
Threaded Building Components 3D Print Model
Summary
These are base components that can be used as part of your own creations. They were modeled on a 3.5 ounce Grafco spice bottle. It should be possible for you to scale these up and down within reason and still have them work. -
Z Axis Bearing Holder 3D Print Model
Summary
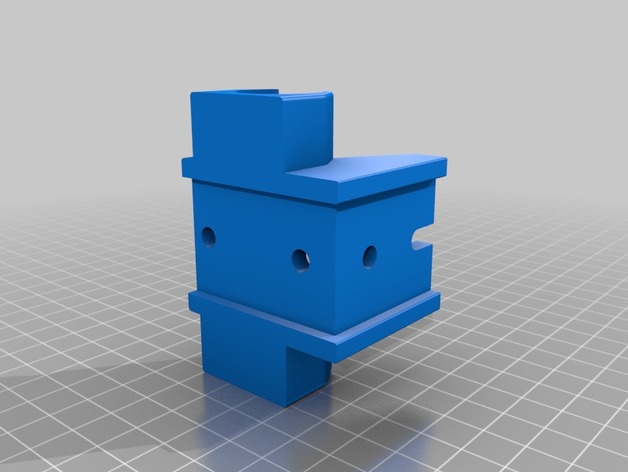
Z Axis Bearing Holder 1.0 for 3030 profil
Print Settings
Rafts:
No Supports:
No Resolution:
0,2 Infill:
30-50 -
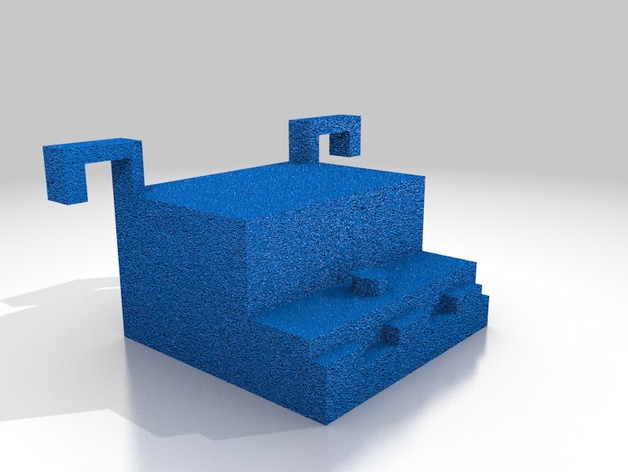
SDHC/MicroSD card case holder with flanges 3D Print Model
Summary
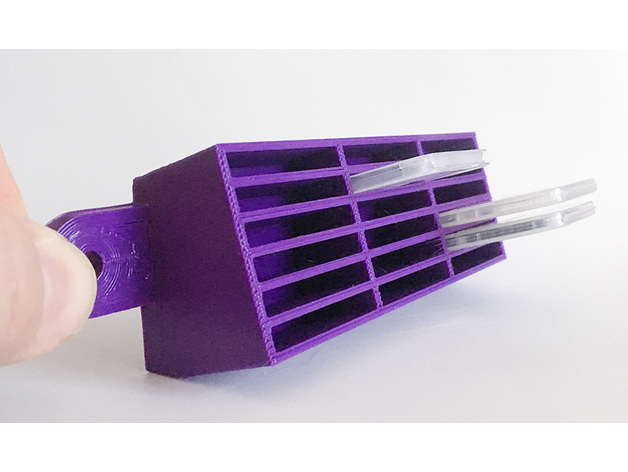
This is a wall/rack mountable holder for the plastic cases SDHC/MicroSD cards come in. It’s designed to be screwed into the wall or onto the face of a 1RU rack panel. You could also foam tape it to whatever you want. It’s angled upwards to keep the cards from falling out easily, and the inside is tiered so that cards at the top stick out further than cards at the bottom. This makes it easier to remove the cards.
I have another similar design (“SD Card Holder with mounting flanges”) for SDHC cards without cases.
Prints easily with pretty much anything. I’m using cheap PLA and it works fine with no supports when oriented in the obvious direction (flange side down). The base of it is a big ol’ plastic rectangle so you’ll have the usual gotta-pry-it-off-the-bed issues you get with any piece with a wide base. You could use a raft if that’s an issue for ya.
It’s 171mm wide so on a Lulz Mini you have to orient it diagonally to fit and you might have to tighten up your skirt a bit to keep everything on the bed.
Print Settings
Printer Brand:
LulzBot Printer:
Mini Rafts:
No Supports:
No Resolution:
I did 0.3mm Infill:
20% worked Notes:
It’s 171mm wide so on a Lulz Mini you have to orient it diagonally to fit and you might have to tighten up your skirt a bit to keep everything on the bed. -
Air Jordan Logo 2D Art 3D Print Model
Summary
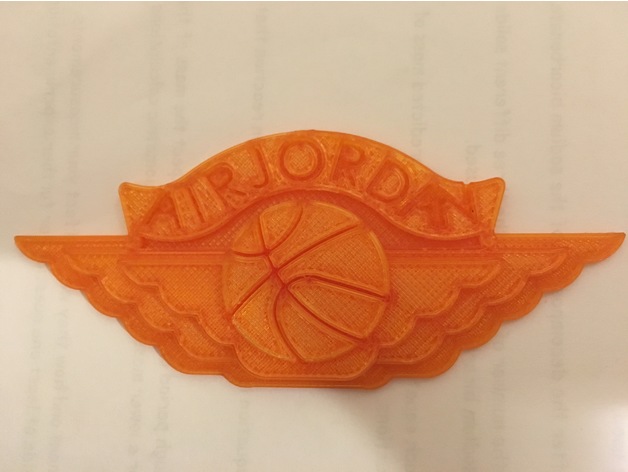
This is an extruded model of an old fashioned Air Jordan logo. It fits in a constraint box roughly 7.5 cm by 3.5 cm. There are 4 different layers of extrusion, as each layer of wings is extruded 0.2 cm higher then the next. The ribbon is included in the first layer, and the final layer contains just the basketball. We also included 2 different extruded cuts, one for the lettering and one for the lines on the basketball.
In the final printed product, for the most part the piece came out pretty good except for some failure on the small detailed letters and basketball lines. Because of this, I recommend when printing scale by at least 150% of the original STL fileOverview and Backround
This is the source image our design is based off of.
Lesson plan and Activity
Problem Statement –
With a partner, you will design a “2D” placard using Solidworks. You and your partner will have the same design which meets the constraints below, and you will EACH use Solidworks to create your design.
Constraints –
Should have a flat back; detail will be on the front side
Should fit inside a box that is 25cm2 when lying flat
Should be no more than 1cm thick
Detail will be made using sketches that are extruded to different heights
Sketch must begin with a constraint box, (a center-rectangle created from the origin)
Dimensions should be detailed but efficient
Sketch must contain zero error messages
Sketch must be fully defined when complete
Demonstrate efficient use of “Construction Lines”/”Reference Geometry”
Demonstrate efficient use of “Offset Entities”
Demonstrate efficient use of “Manual Relations”
Demonstrate efficient use of “Smart Dimensions”
Demonstrate efficient use of “Mirroring”
Demonstrate efficient use of “Linear Patterns” -
Seathipede-class Shuttle Holder (X-Wing Miniatures) for Stanley organizer 3D Print Model
Summary
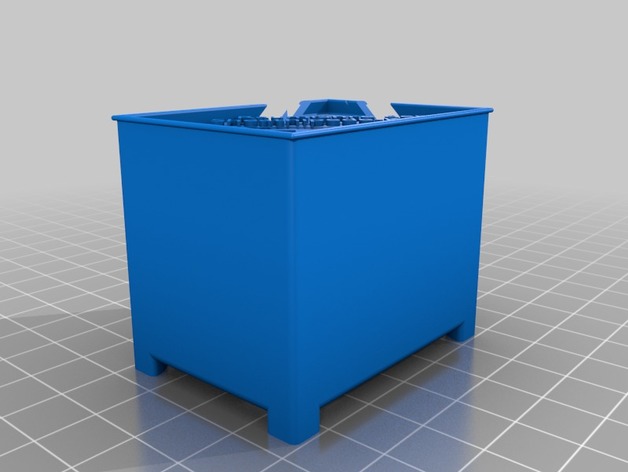
There is an english and a german version. They only difference is the text (“Sheathipede Shuttle” or “Raumfähre der Sheathipede-Klasse”) and the position of the rebel symbol.
This thing follows Lord_Dowrkins idea and adds a storage box the Sheatipede-class Shuttle. The following text is mostly copied from him (except of my notes).
I use the Stanley 25-Compartment Organizers for my X-Wing Miniatures collection, and have tried many solutions for maximizing space and keeping the models safe. I reviewed most of the similar designs on Thingiverse, but there were none that had everything I wanted. So I started to design my own series, and based on my collection (I own at least one of almost everything, including Epic (note: I don’t own any Scum, so don’t expect any Scum ships to be added. I do own everything else)).
My design goals:
Maximize Space
Attractive Presentation
Include the pilot cards (note: unline Lord_Dworking i’ll never do so)
Include the movement dials whenever possible (note: unlike Lord_Dworkin i’ll try to always do so)
So, here is my design for the Sheathipede-class Shuttle, holding also one dial.
This will fit the Stanley 25 Compartment Organizer (https://amzn.com/B00005QWYF) or the Harbor Freight 20 Compartment version (https://www.harborfreight.com/tool-storage/part-storage/19-bin-portable-parts-storage-case-93928.html).
As I complete and post more of this collection, I will link them here as well. (note: i also include links to Lord_Dwonkins, but not the other direction)
A-Wing
B-Wing
E-Wing
K-Wing
Sabine’s TIE Fighter
Sheathipede-class Shuttle
T-65 X-Wing
T-70 X-Wing
U-Wing
YT-1300
YT-2400
TIE Bomber
TIE/fo-Fighter
Movement Dial Holder (7x) -
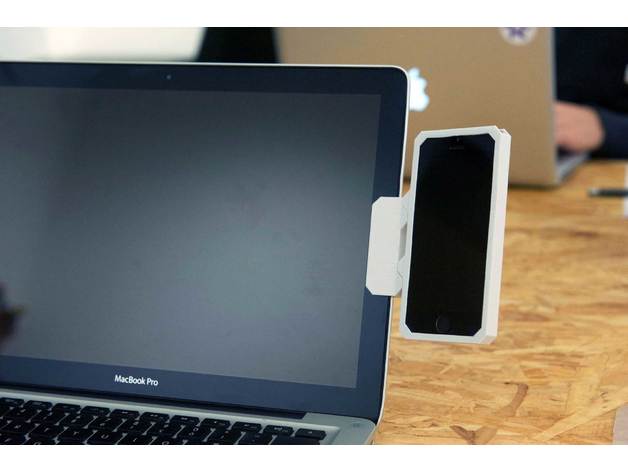
Phoneside Cover – version 2 3D Print Model
Summary
COVER available for :
iphone4
iphone5
iphone6
iphone6+
samsungS5
samsungS6
samsungS7
HOLDER available for :
holder mini : for laptop
holder maxi : for computeur screen
Soon costumizable, Rest in touch !
Comments are welcoms !
Post-Printing
Need some foam rubbber.
Photos available soon. -
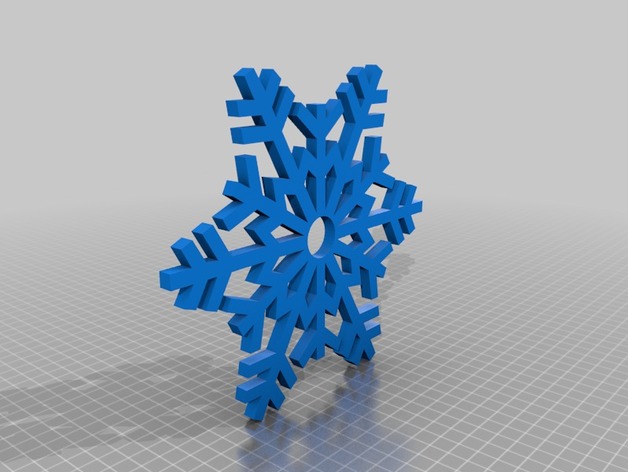
Snowflake Fidget Spinner 3D Print Model
Summary
A fidget spinner shaped like a snowflake.It is very large and needs a 200×200 bed surface.
Print Settings
Printer Brand:
Prusa Printer:
Prusa Clone Rafts:
No Supports:
Doesn’t Matter Infill:
10%
Post-Printing
Add a bearing and bearing caps. -
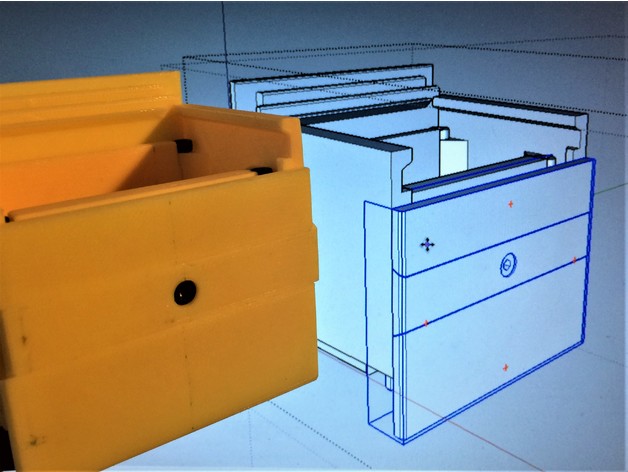
Awesome Epic Puzzle Box 3D Print Model
Summary
2 slider Chinese puzzle box. 9hr print. Can print custom paths for unique combinations.
18 moves to open.
Based on Bruce Viney’s Impossible Odds at: http://www.homemadepuzzles.co.uk/index.html
Designed for my Design Print Build youtube video series.
Requires 10x m3-8mm bolts.
Printed at .25mm layers, .4mm nozzle, 50mm/s 2 wall, 20% infill. Very little sanding required.
May require supports touching bed on Front and Back panels, that hold the sliders.https://www.youtube.com/watch?v=wRqW6jQDPlY -
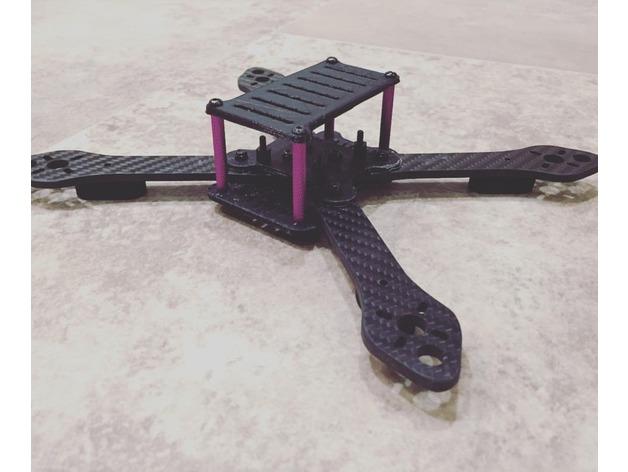
Martian 3d frame. 3D Print Model
Summary
A friend of mine crashed and broke his drone frame, and I had some spare martian arms (yes they are all the same) and put this together for him. It actually flies like the carbon frame. If you want to build a cheaper frame then the already cheap martian frames off ebay and banggood, try this one!
I added some improvements for zap strapping things to the top plate.
Buy these ones, you’ll need 4 of them and some standoffs, screws, nuts, ect….https://www.banggood.com/Martian-190mm-230mm-255mm-Carbon-Fiber-4mm-Arm-Kit-p-1052454.html?rmmds=search&cur_warehouse=CN -
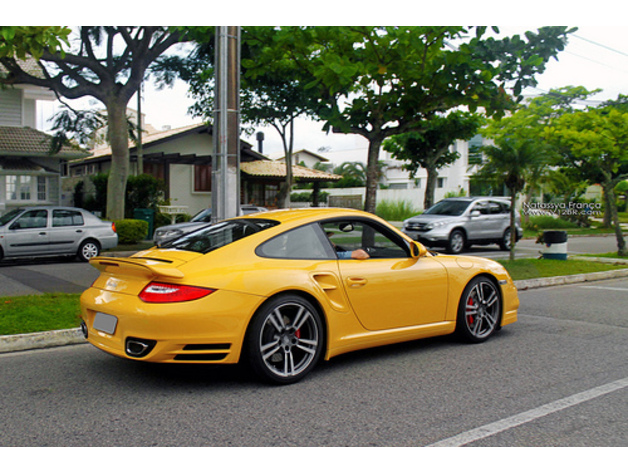
Porsche 911 3D Print Model
Summary
nice carStandards
NGSS
CCSS
Overview and Background
decoration
Lesson Plan and Activity
impress youre friends
Materials Needed
anything 3D printable -
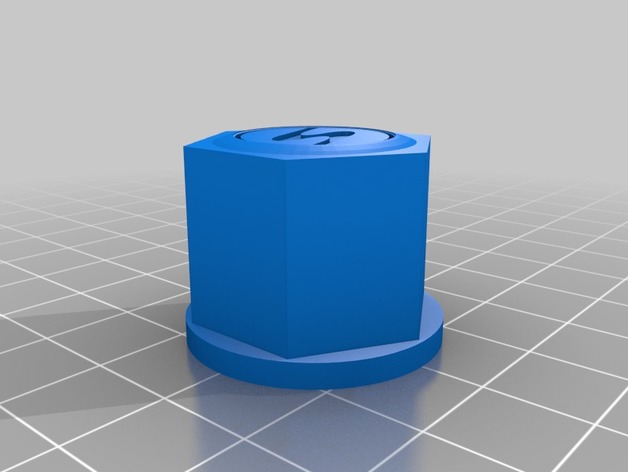
Mercedes Benz Trim Retainer Nut 3D Print Model
Summary
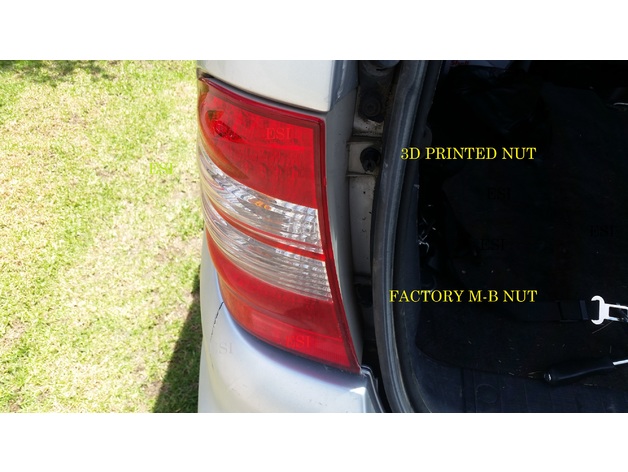
These nuts are used to retain the tailights in Mercedes Benz W163 ML series SUVs.
Over time the factory nuts come loose and the thread becomes worn and they no longer hold the tail lights correctly, resulting in wobbling lights, damaged bulb filaments, and large unsightly panel gaps
This replacement nut takes about 20 minutes to print with a 0.1mm layer height.
This is very similar to the interior carpet retainer nut used on many models on Mercedes Benz that era, so may be able to be used to retain carpet too.
I’ve designed this without an internal thread inside the nut. The factory retainer is threaded onto tapered self tapping thread fixed onto the vehicle. It should be forced onto the thread with a 10mm socket, so that the vehicle thread bites into the plastic to retain the nut. Make sure you clean the thread of old sealants or plastic for a good bite. -
E3d 40mm Fan Mount 3D Print Model
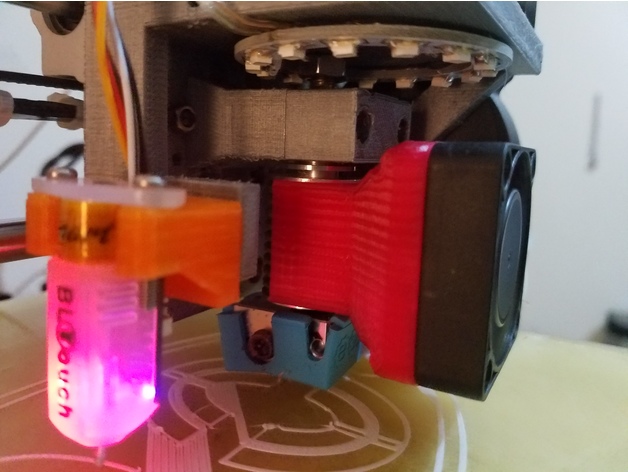
Summary
First Fusion 360 model I feel comfortable sharing, not perfect, but works great for me. Time for me to start contributing.
Made to fit the real E3d V6 hotend found here:http://a.co/hnA3NVu
Highly suggest PETG or Nylon, I printed mine in PETG and it’s rock solid and has not loosened in over 20hrs of printing.
Material – PETG or Nylon
Support – No
Infill – 100%
You will need to flip it 180º on the build plate as it’s upside down and don’t know how to correct it after the model has been drawn. 🙂
Feel free to leave constructive feedback.
Print Settings
Printer:
Anet A8 Rafts:
No Supports:
No Resolution:
0.1 Infill:
100 -
2С1 Gvozdika 3D Print Model
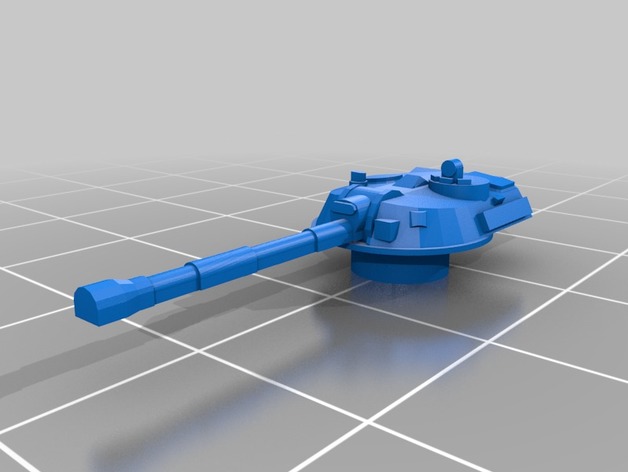
Summary
The first model for games in the scale of 1-200
All other models will be exclusively in this scale -
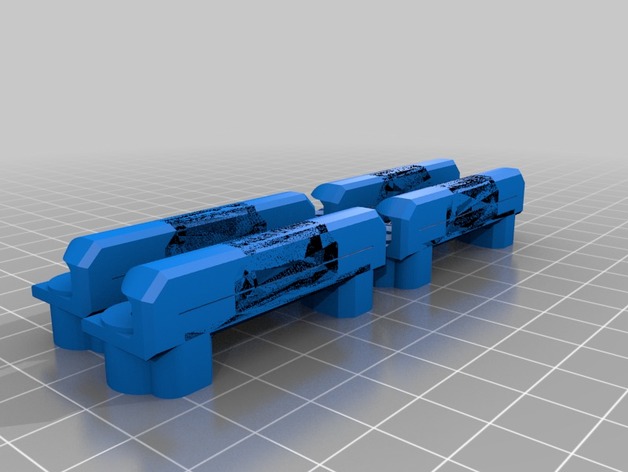
Glass clip monoprice 3D Print Model
Summary
remix shorten the distance between the clips holding the glass and heating bed.
also the heating bed and gantry -
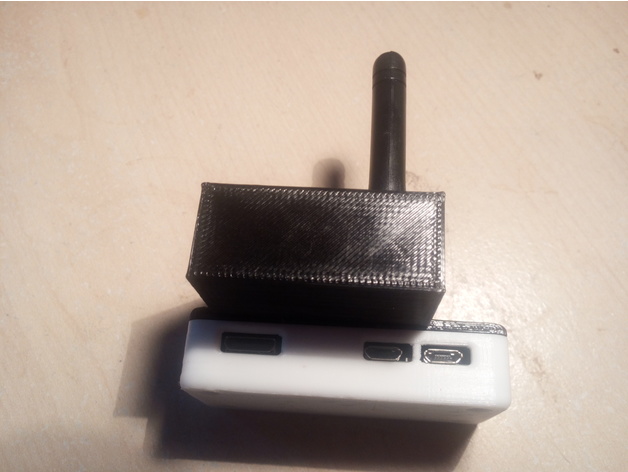
DV Mega Case for Raspberrypi Zero W 3D Print Model
Summary
I have a Raspberrypi Zero W running MMDVM through a DVMega and printed a case that I thought I would share.
It’s a bit tricky to print and it’s fiddly to connect the DVMega through the case to the raspberrypi, but once together it works great.
The bottom half is this
https://www.thingiverse.com/thing:1160140
I hope it works for you but it is a bit tricky as the shape is complex.
73’s -
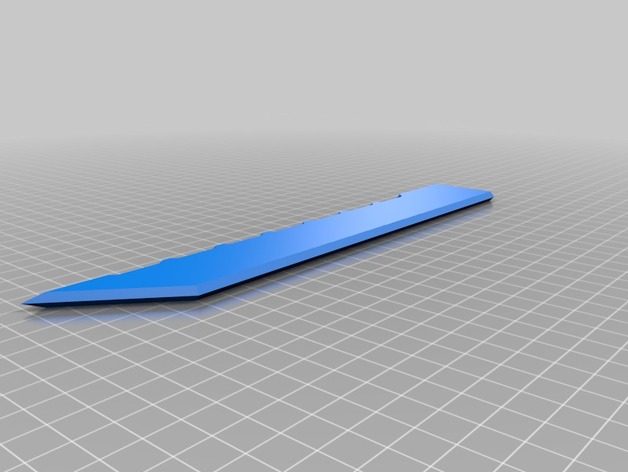
Airsoft Dummy Knife/Bayonet 3D Print Model
Summary
This is my first ever attempt at making a custom design. I am self taught with the program so some dimensions may be off (like i said first ever design)
THIS IS NOT A REAL KNIFE AND IS NOT DESIGNED TO BE ONE ITS MADE TO BE USED AS A MELEE WEAPON IN AIRSOFT GAMES
But here are some things you will need:
A 3D printer (Duh)
Hot glue or super glue
sand paper or a metal file
a small metal pick or knife -
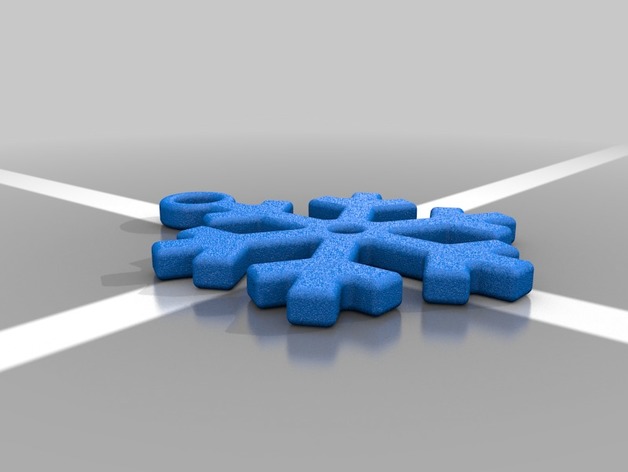
Snowflake Keychain 3D Print Model
Summary
Simple snowflake keychain as part of my “things to print for people for Christmas” exercise. Enjoy.
Print Settings
Printer Brand:
FlashForge Printer:
Creator Pro Rafts:
No Supports:
No Infill:
30% -
Snowman! 3D Print Model
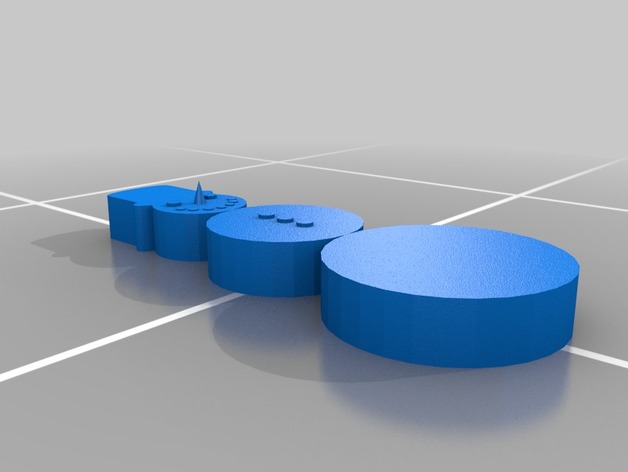
Summary
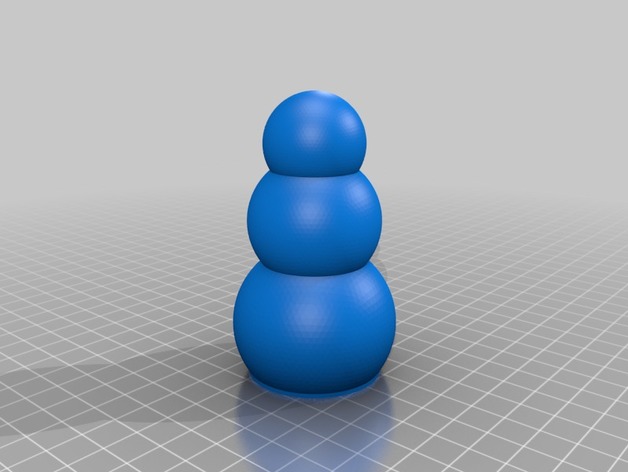
Here is a simple snowman model designed to be illuminated with a tea light.
Print Settings
Printer Brand:
Wanhao Printer:
Wanhao Duplicator i3 Plus Rafts:
Yes Supports:
Yes Infill:
20% Notes:
I’ve printed 18 of these with clear PLA. Sliced with Cura, the central support is easy to remove.
How I Designed This
Designed with MS 3D Builder -
Secret compartment hollow screw trick puzzle 3D Print Model
Summary
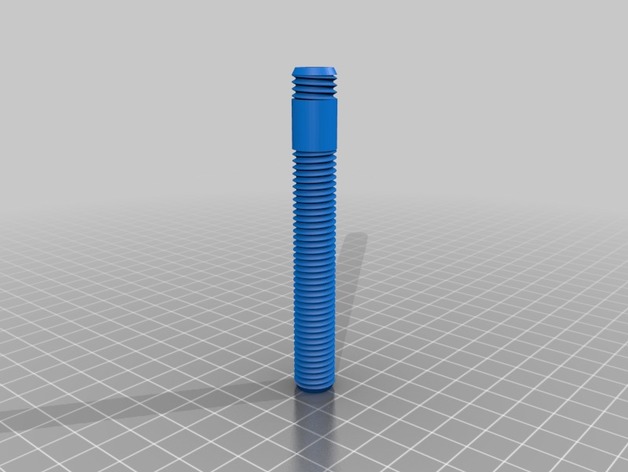
Top screw is links threaded which makes it counter intuitive as intended. Walls are 2mm. Threads are M12x1.75
Original is made by robrook https://www.thingiverse.com/thing:330688 but there were some problems with scaling in the slicer, and some minor problems with the secret screw threads showing when screwed in.
I also included an exported step-file from fusion 360
Print Settings
Printer Brand:
Wanhao Printer:
Wanhao Duplicator i3 V2 Rafts:
No Supports:
No Resolution:
0.1 Infill:
60% Notes:
I printed with PLA, heated bed and 8mm brim. No support was needed. It is rescaleable but below 50% makes it brittle. -
Geared Light Switch Single Plate 3D Print Model
Summary
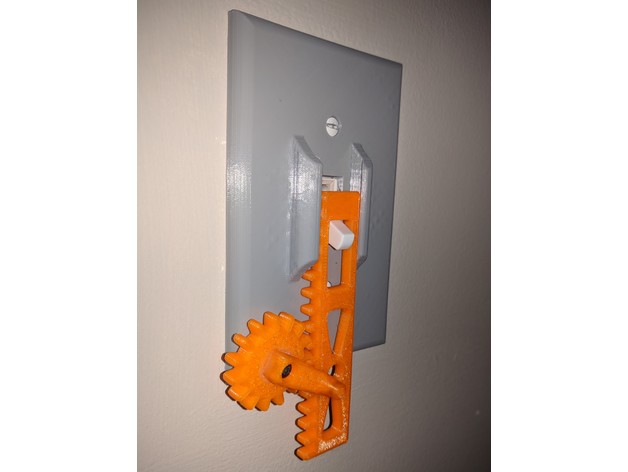
I made the original three switch design for my son who loves gears. It’s worked fine for the past 3 months so I made a single light switch plate for my basement light switch.
I printed the whole thing out in 14 hours at one time in gray PLA. I used 20% infill which worked but didn’t have the best surface finish. (the all gray picture above) In later runs I used 40% and that worked much better.
I didn’t like the prison look for the light switch so I remade the gear and pinion using orange PET-G.
I noticed that the gears run smoother with the orange PET-G. So that’s interesting. . . .
Print Settings
Printer Brand:
Wanhao Printer:
Wanhao Duplicator i3 V2 Rafts:
Yes Supports:
Yes Resolution:
output as “fine” from onshape Infill:
40 % Notes:
The small gear and crank do not need to be glued together but I did anyway.
The crank and gear are held onto the light switch plate by an m3 screw. I sized the hole in the post so that it does not need to be drilled out. It does need to be tapped with an m3 tap.
Post-Printing
Tap that hole
After you print this out and remove the supports. The post on the light switch plate needs to be threaded with an m3 tap.
The Pinion has to be in the groove before you put it on the wall. The holes in the bottom of the pinions are so you can sneak the bottom screw into the light switch.
If it gets jammed you might not have tightened down the screw enough. -
Dva Orimant ver 2 in 3D Print Model
Summary
It is an orimant that is 2 inches tall -
Base for the Moby iPhone Dock 3D Print Model
Summary
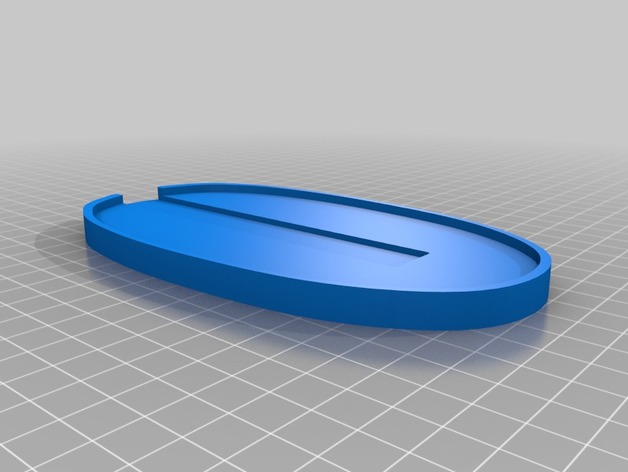
This is a Tiny-Remix. Just added a base to conceal the cable and give it more room. -
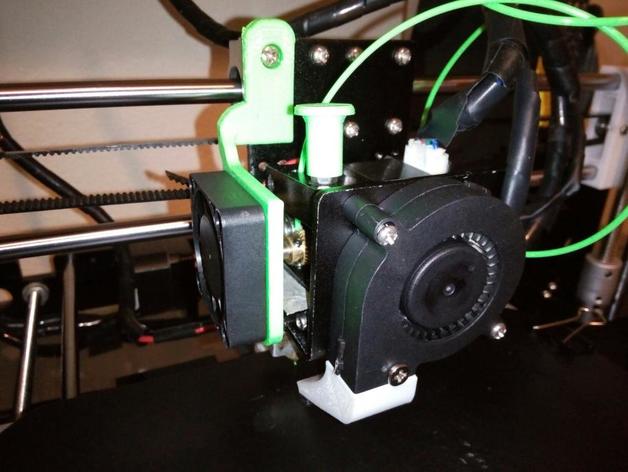
Anet A8 Fan Hinge V2 3D Print Model
Summary
A remix of a Mod for easily accessing the extruder gear.
Print Settings
Printer:
Anet A8 Rafts:
No Supports:
Yes Resolution:
0.3mm Infill:
100% Notes:
Print with fan plate facing down and arm getting vertical supports. (Same as shown in the Cura screenshot.)
Post-Printing
Post-Printing
Remove the support material holding the hinge arm and inside the screw hole. Get a long M4 screw (not sure how long mine is, whatever screw you use in your existing fan hinge configuration should work). Remove the top left screw holding onto the top left linear bearing and install the mod there. Optionally, remove the screw under the top left-most screw for a smoother hinge.
How I Designed This
Design
I simply took bartoaster’s awesome Anet A8 fan hinge (https://www.thingiverse.com/thing:2380825) and beefed it up in 123D Design. I then cleaned it up in Blender. -
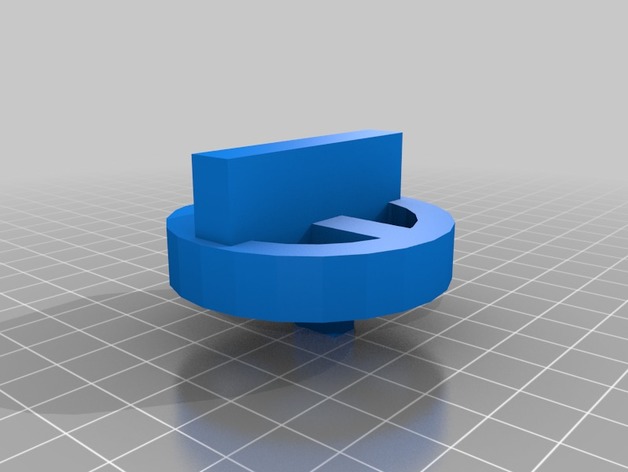
Hardwick Stove Knob 3D Print Model
Summary
Our aging Hardwick stove has lost most of its knobs. Printing these out will get us a bit more life out of it before we finally give in and buy a new stove. -
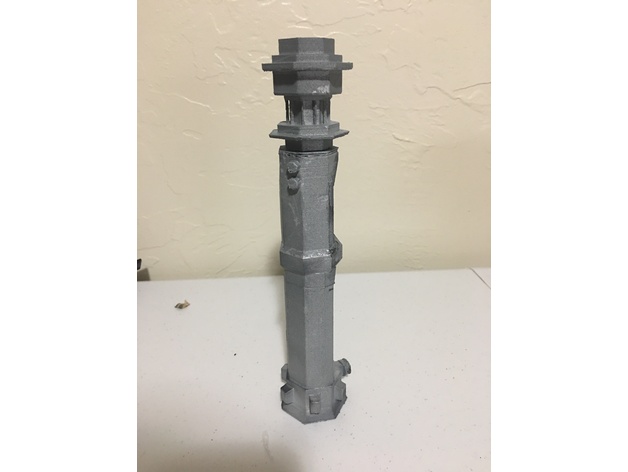
Star Wars Kyle Katarn Lightsaber 3D Print Model
Summary
This is a replica of Jedi Battlemaster Kyle Katarn’s third lightsaber. I claim no rights to this model seeing as I was able to take it directly from Star Wars Jedi Knight: Jedi Academy. I did though size and make sure that the saber could print on a Monoprice select mini v2. This means that those of us with the entry printers can print this thing easily. Just use some super glue to attach and spray paint to desired finish. Enjoy.
— Walrusking
Print Settings
Rafts:
No Supports:
Yes Resolution:
0.2 Infill:
10 Notes:
This was printed with a Monoprice Select Mini V2
Post-Printing
Spray Paint to desired finish -
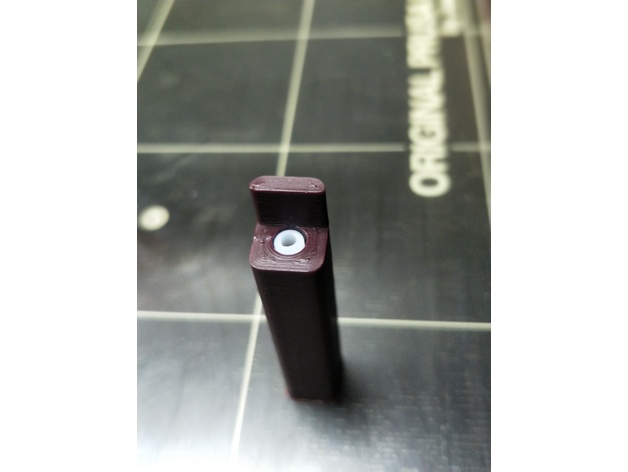
Prusa Multimaterial upgrade heatsink PTFE cutting jig – 41mm 3D Print Model
Summary
A very simple jig to enable precisely 41mm of 4mm OD PTFE tubing to be cut to insert into the top of the MMU heatsink. Insert tubing all the way into the hole and cut parallel and flush with the wall at the entrance point.
Please note that this is not the only step required with this tubing. It must also be reamed and chamfered (official specs here). Also note that the inside diameter of this tubing is specified as 1.85-1.9mm, which is not the same as you will find on generic PTFE tubing.
Print Settings
Printer:
Original Prusa I3 MK2 MMU Rafts:
Yes Supports:
No Resolution:
0.2mm Infill:
Doesn’t matter Notes:
Use a small brim and print vertically. I printed this with 4 perimeters. Insert tubing all the way to the end of the jig and wse a razor or utility knife blade and cut flush with vertical surface at entry point. -
Tank2 undated Gear Cases for Kyosho RF006 worm gear set 3D Print Model
Summary
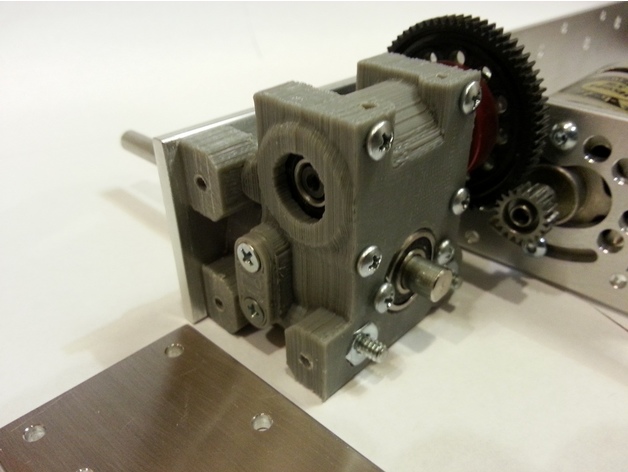
Hey back at it again with the original tank. Have gained a lot of knowledge in the last three years about gear boxes. Going back over the original tank and redoing some things to make it better, lighter, cheaper, easier and stronger. Going to try to keep the original looks and suspension the same. This new gear drive design I have had a lot of luck with and the Kyosho gear drive set has been proven to be indestructible. The new design uses fewer parts and is stronger than the old gear box. Uses a pair of 6x15x5m sealed ball bearings of the worm gear and two 6x16x5m sealed bearings for the shaft. My RF006 Kyosho gear set has the bearing tab cut off the one end. I have supplied a spacer to take up the slack but the original gear may fit in the case without removing the bearing tab. Make sure the worm wheel/axle is centered on the worm gear. There is a access plate that uses two #4×1/4 flat head sms (just in case the screw ever comes loose on the axle gear). Uses a pair of 6-32×1-1/2″ machine screws per side to go through the case and frame. Two #6×1/2 screws for the top frame, four #4×3/4 sms for the inner case and three screws per side #4×3/8 sms for the back plate and two #4×1/4 sms screws to hold the inner bearing and give you some adjustment. Drill #6 screw holes at .140″ (#28), #4 screw holes at .120″ (#31), #6 thread holes at .1065″ (#36) and the #4 thread holes at .086 (#44) on the flat and .093″ (#42) through the layers to keep from splitting.
Print the inner cases with raft and exterior support. Print the outer cases and the parts without raft. I use 2 extra shells and 20% fill. Break off extra tabs and buttons for support.
Have CNC machines up and going finally and will have frames rails and motor plates available on eBay for this tank and probably the old tank also. Search for fastmike tank2.
Always love to hear your comments. Thanks and enjoy! -
Ender 2 Spool Holder 3D Print Model
Summary
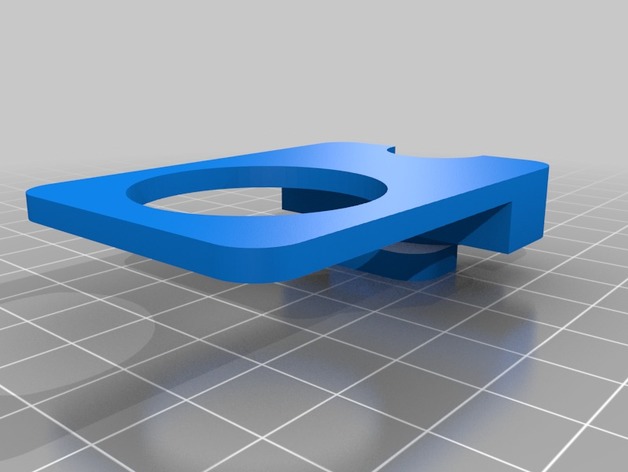
Ender 2 spool holder modification to make the printer smaller in z-height. You have to put it into the original spool holder ring and screw the tube onto it. Place it so that the spool is in front of the printer.
With this holder Ender 2 fits perfectly in Ikeas’s Lixhult. http://www.ikea.com/us/en/catalog/products/50328670/
This is my first own creation made with onshape.
Onshape link:https://cad.onshape.com/documents/641bbbc473dd174fe3b61717/w/a251211e59489ef57147337c/e/7e90d25bdd5e6cee71dc52af -
Key storage and chain 3D Print Model
Summary
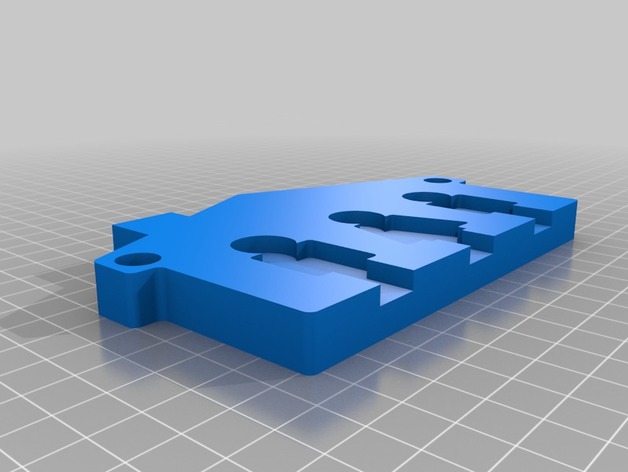
Someone is asking for this kind of key holder/storage. Grab it if you like. -
Dry-Erase Marker Holder X4 3D Print Model
Summary
The wife complained about her dry-erase markers always walking away from the board on our fridge. (I blame my kids). I fixed that.
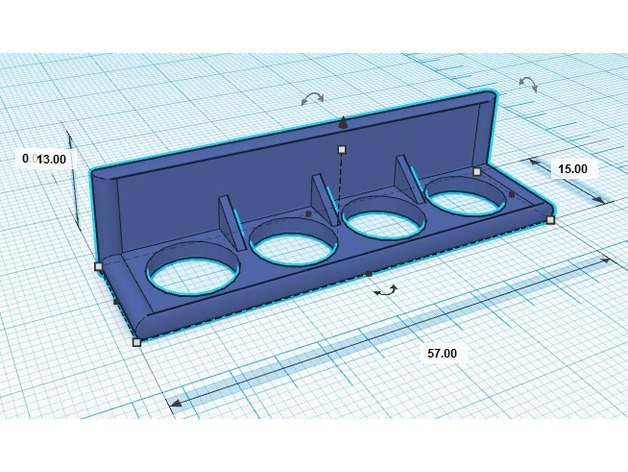
This Hold the fine-tipped (11mm wide) thin dry erase markers top-down so the ink is always at the tip.
Print this out and add ANY adhesive backed magnets you want. There should be enough of a recessed area to make them as hidden as possible, though they might need trimming
Dimensions are (L) 57mm (W) 15mm (H) 13mm
Designed in Tinkercad
Print Settings
Printer:
Maker Select V2.1 Rafts:
No Supports:
No Resolution:
.1-.2 Infill:
10-50% Notes:
Resolution really isn’t a thing. I printed it at 50% because I had ALOT of extra filament and it will be handled regularly.
used PETG at 225c with 75c hotbed but PLA should do just fine. -
bl touch mount tarantula E3dv6 + entretoise 3D Print Model
Summary
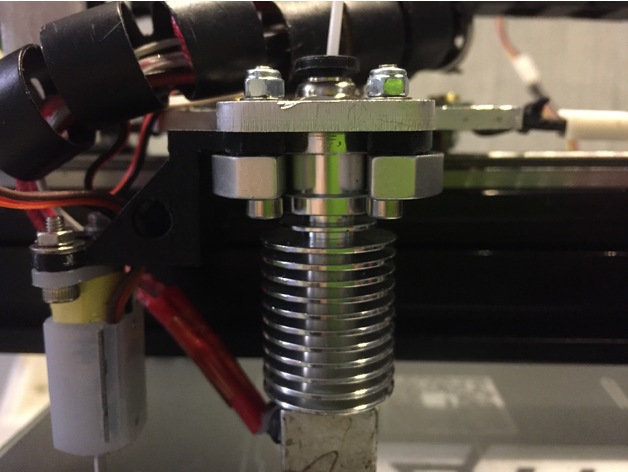
I needed a spacer for my E3D v6 (in order to fill the void underneath my x carriage so as not to bend it by screwing too hard) and a holder for my 3d bltouch sensor. I had this support so I adapted it to my tarantula.https://fr.aliexpress.com/item/1Pc-Free-Shipping-Reprap-Kossel-For-E3D-V5-V6-Hot-End-Aluminum-Alloy-Groove-Mount-Horse/32642740136.html?spm=a2g0w.search0104.3.2.8aC08W&ws_ab_test=searchweb0_0,searchweb201602_2_10152_10065_5000015_10151_10344_10068_10345_10342_10343_10340_10341_5130015_10541_10084_10083_10305_10304_10307_10306_10302_10539_5080015_10312_10059_10313_10314_10184_10534_100031_10604_10603_10103_10605_10594_5060015_10596_10142_10107,searchweb201603_12,ppcSwitch_4&algo_expid=a04b9763-bf4c-45cb-8299-47732310a210-0&algo_pvid=a04b9763-bf4c-45cb-8299-47732310a210&rmStoreLevelAB=4
I put on line the support as well as the template of drilling / spacer, if someone would like to adapt it to his carriage. The holder has a wire-pass for the sensor as well as a wire-pass on the left rear eg for the wires of the heating cartridge and the probe of the hotend.
Print Settings
Printer:
Tarantula Rafts:
Yes Supports:
Yes Resolution:
0.2 Infill:
50 Notes:
ABS -
BPO Badge 3D Print Model
Summary
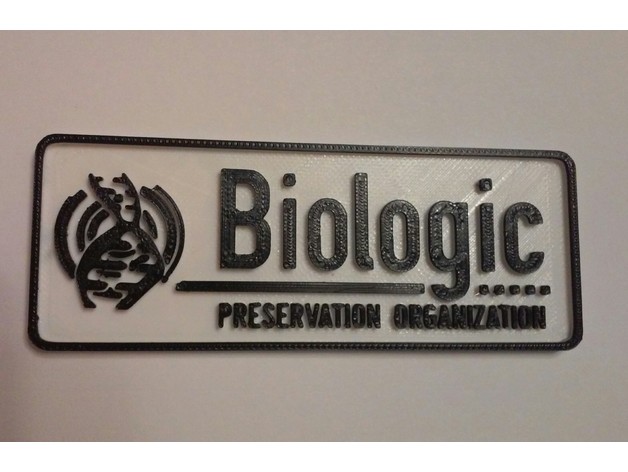
Now you too can complete your disguise and go undercover inside the insidious organization known as BPO.
Watch out for Whispers.
This looks best printed in two colors, though if you have a steady hand and can get a nice green, painting by hand to match the show might be nice too. I assume it would be pretty simple to get this to print in multiple colors with a dual extruder printer, too.
How I Designed This
Based off a photo from Daryl Hannah’s Twitter during shooting for the finale and the patches on some of the BPO agents seen in Season 1 (https://twitter.com/dhlovelife/status/915570400511348738).
Took a lot of staring at fonts, but in case anyone’s interested, Gliscor Gothic on dafont looks to be an exact match for the font used on the patch itself.
The DNA strands didn’t copy over well from the image so I found some royalty free clip art and warped it around in Photoshop until it looked close enough. -
Tevo Tarantula Bottom Right Bracket 3D Print Model
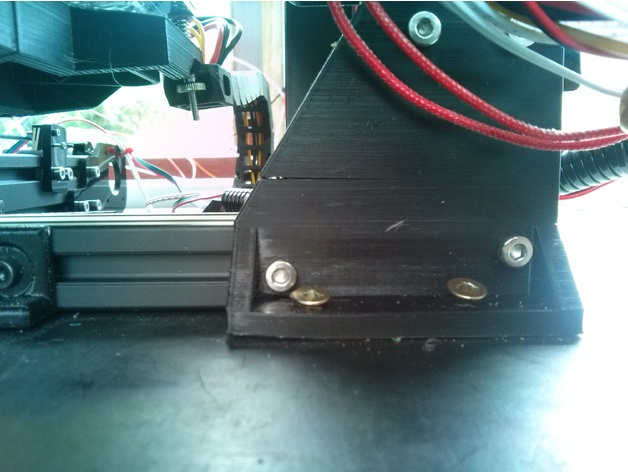
Summary
Simple z axis strengthening bracket for bottom right hand corner
Print Settings
Printer Brand:
Prusa Printer:
i3 MK2 MMU Rafts:
No Supports:
No Resolution:
0.2 Infill:
25% -
Monoprice Mini Delta Spindle Rounder 3D Print Model
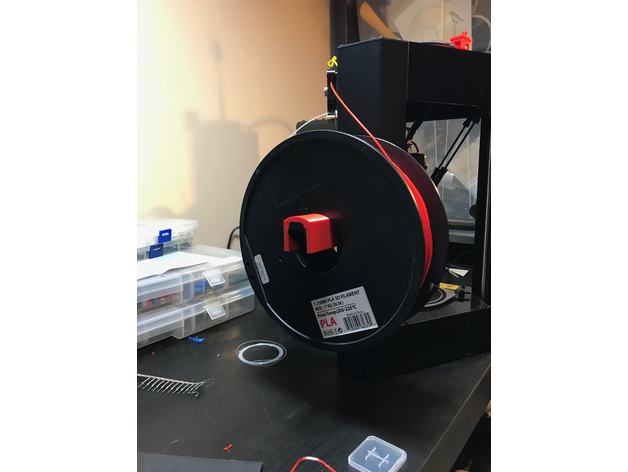
Summary
I didn’t like the sharp edges of the bent metal spool holder on the Monoprice Mini Delta, so I modelled this up that slips over the spool holder and gives it a nice 26.5mm radius on the spindle. Should smooth out feeding of filament.
Inspired by Enzi1984’s design for the MPSM: https://www.thingiverse.com/thing:2036976
Print Settings
Printer:
MP Mini Delta Rafts:
No Supports:
No Resolution:
.2 Infill:
20% -
ZHAW Soap Dish / Sponge Holder 3D Print Model
Summary
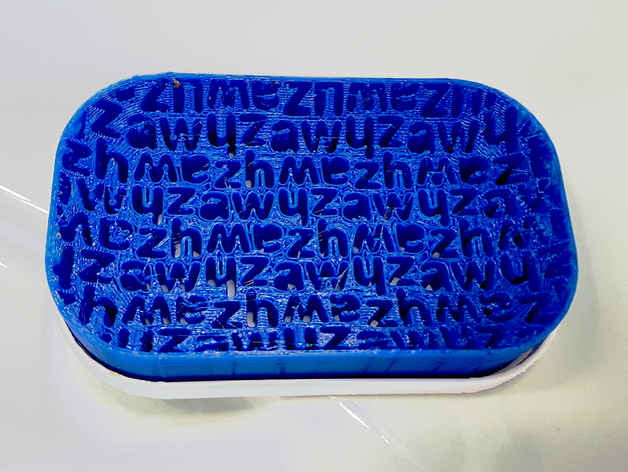
This is a soap dish or sponge holder perfect for catching drips before they reach the counter. The design is based on the Zurich University of Applied Science (ZHAW) logo.
The holder consists of a top “dish” and a bottom “saucer”. STL files are provided for a 6x10cm version that fits common hand soap, as well as a larger 9.5x12cm version that is more suited for sponges.
The design was created in OpenSCAD using the SymmetryCAD library. The dimensions can be easily modified in the code, and the logo could be swapped for another with a minor effort. The tesselation pattern can also be modified to any of the 17 wallpaper groups; the ZHAW logo is tiled with cmm symmetry. -
Flashforge Finder minimum resistance filament holder 3D Print Model
Summary
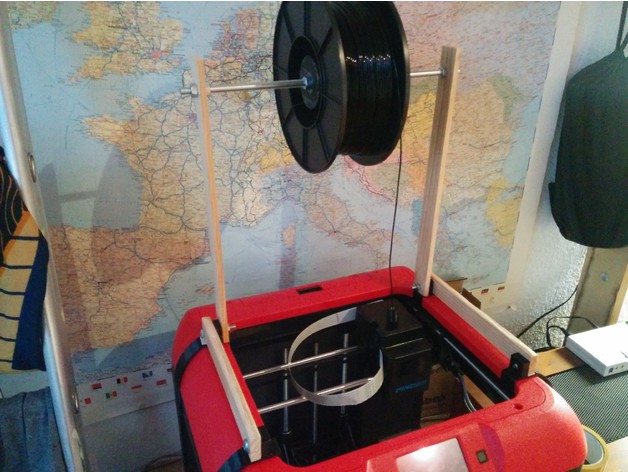
My Finder kept producing errors because of hard-to-pull filament,so I decided to build a mont with minimum resistance.
I think the pictures are self-exlanatory. If you still have questions, just leave a comment!:) -
Copter 18650×8 3D Print Model
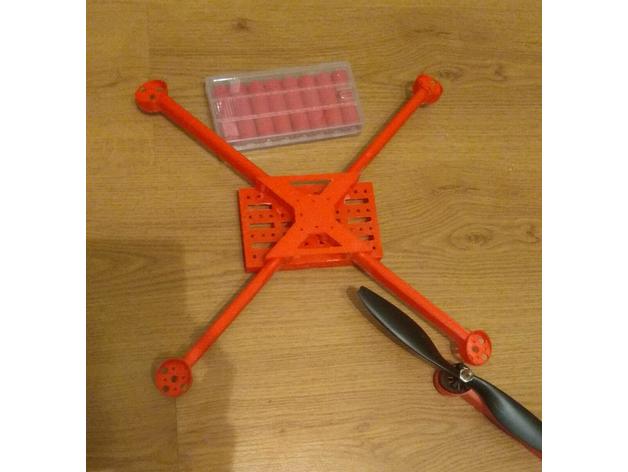
Summary
Copter on 8×18650
Motors 2212
Props 10″ – 9″
frame – 70g
ABS – 25% infil -
laptop keyboard cover 3D Print Model
Summary
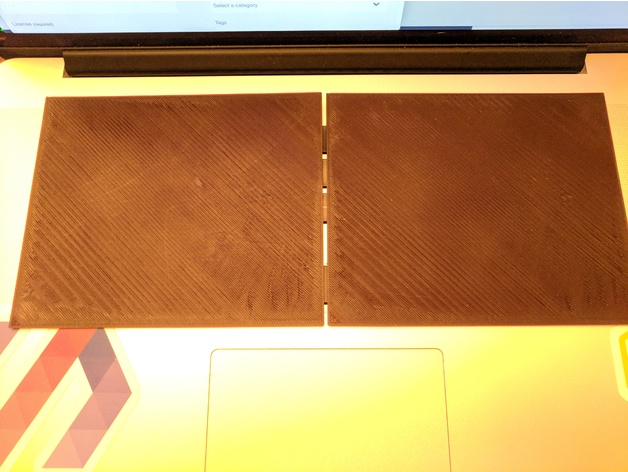
I heard you like keyboards so I made a 3D printed keyboard cover so you can keyboard without hitting your keyboard.
This is a cover i made for my 2013 macbook pro so that i could rest my mechanical keyboard on top of the keyboard and not have any of the keys below triggered.
I made it in two parts to ensure that most printers would have the area to accommodate this print.
Print Settings
Printer Brand:
Wanhao Printer:
Wanhao Duplicator i3 V2 Rafts:
No Supports:
No -
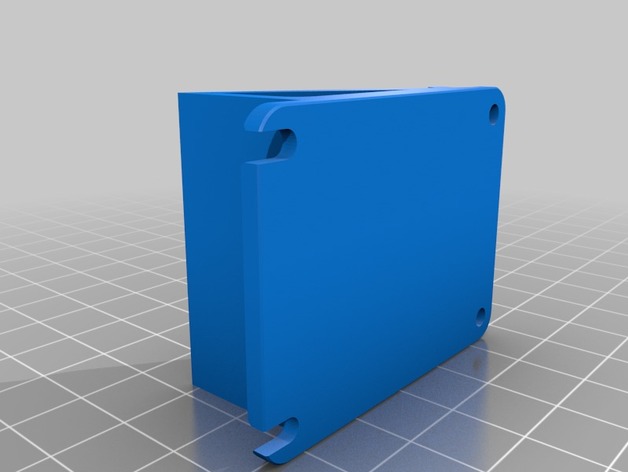
GoPro Session mount for Martian 2 frame 3D Print Model
Summary
30 degree GoPro Mount for martian 2
Martian 2 frames aren’t consistent, this is for the following mounting dimensions
Mounting points are ~45mm x ~32mm
more angles incoming
Print Settings
Printer Brand:
Wanhao Printer:
Wanhao Duplicator i3 V2 Rafts:
Doesn’t Matter Supports:
No Resolution:
.02 Infill:
20% Notes:
Print flat on screw mounts -
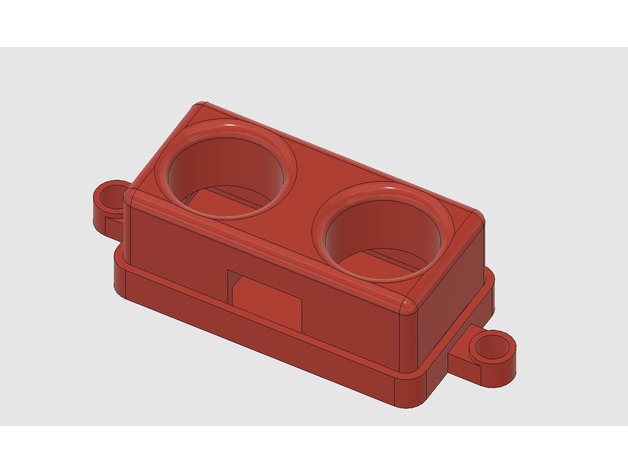
Sunfounder HC-SR04 Case 3D Print Model
Summary
The Sunfounder version of the HC-SR04 is slightly different from most low-budget modules out there. For one, it doesn’t have the protruding crystal oscillator between the emitter and receiver. It also uses a socket to prevent you from connecting the wires incorrectly.
This means that most of the HC-SR04 cases out there don’t work without considerable modifications.
This is a snap-fit case, allowing you to screw the backplate into position and then snap the front part of the case in place.
Print Settings
Printer:
Monoprice Select Mini v2 Rafts:
Doesn’t Matter Supports:
No Infill:
10% Notes:
I was able to print with PLA without supports on a pretty low-budget printer. Your experience may vary. -
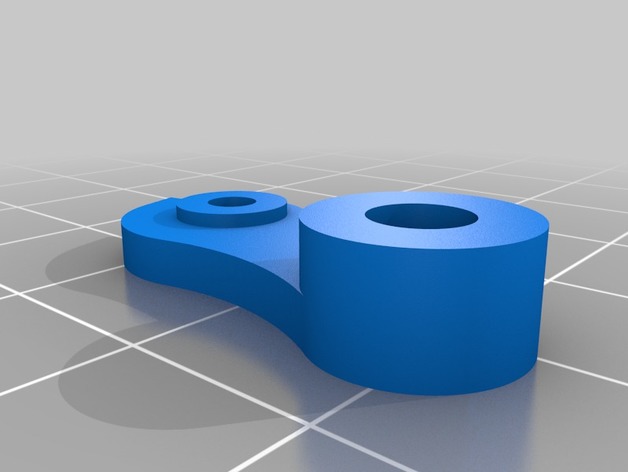
monoprice mini select Extruder Lever Arm 3D Print Model
Summary
Warning: The cover is as of yet untested. Tell me in the comments if it needs to be adjusted. This is a drop-in replacement for the monoprice mini select extruder arm and cover. After mine broke the day after my printer was delivered, I found Makerbot’s Replicator 2 extruder design to be the same except for the bearing size. I modified it in Onshape, and the bearing from the MP Select Mini fits snugly. If you had to replace parts other than the arm or cover of the extruder, Makerbot’s other parts should fit fine. I can’t find any dimensional differences between my part and the original, but your experience may vary. Tell me if it works in the comments! doesn’t seem to have any issues with it but if you do end up with problems, download the “fixed” version and try that. I also added a file with both the cap and the arm.
Print Settings
Printer:
monoprice mini select Rafts:
Doesn’t Matter Supports:
Doesn’t Matter Resolution:
0.2 Infill:
40-100%
Post-PrintingHow I Designed This