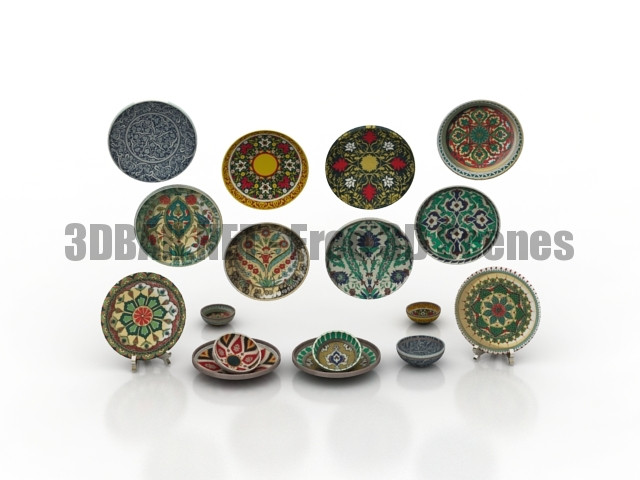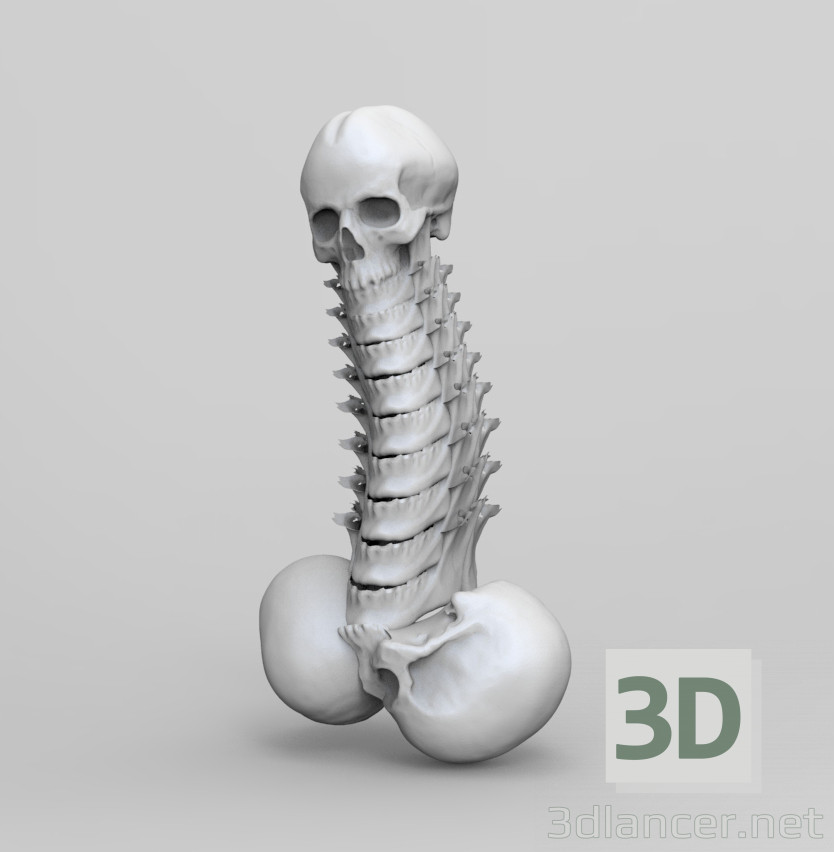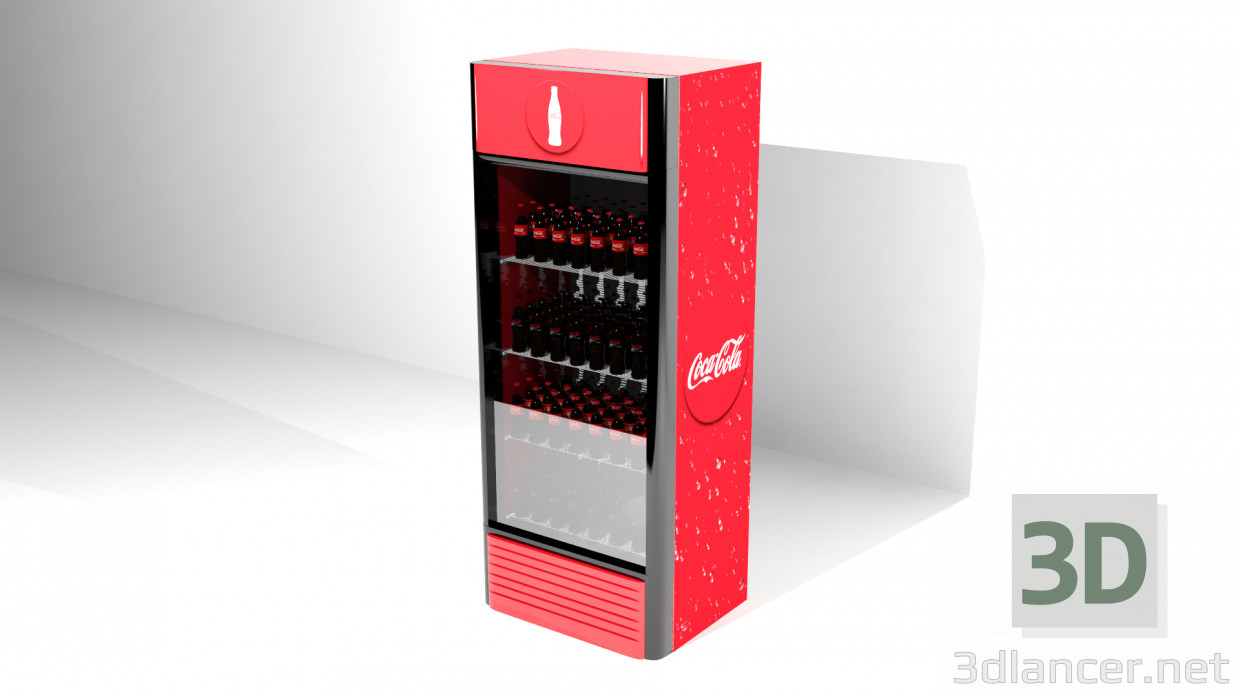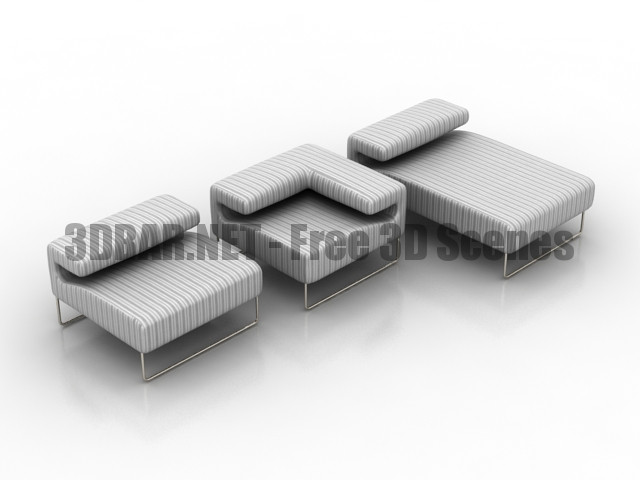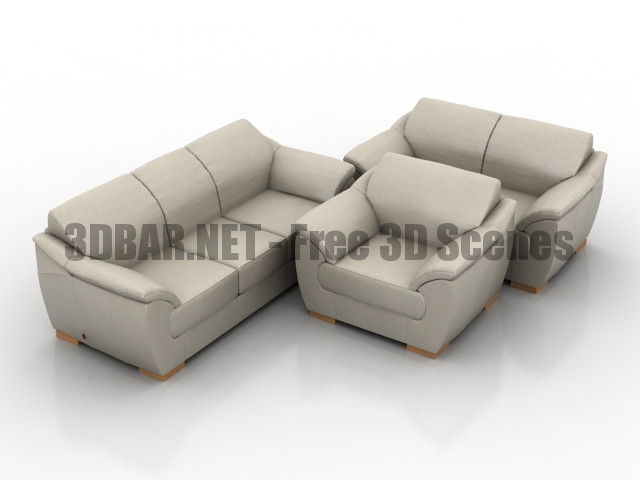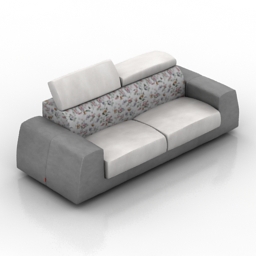
Additional Info: Sofa 1 – 3D model (*.gsm+*.3ds) for interior 3d visualization.
Category: Free 3D Models
Free 3D models ready to be used in your CG projects such as films, visualizations, games, VR etc. All 3D Models and Free 3D Print Models are available for download in several formats including .MAX, .STL, .FBX, .3DS, .C4D, .OBJ, .BLEND, .DWG, .DXF, .LWO and much more. If you’re in search of high-quality Free 3D assets, we have a huge library of 3d models for all your needs. Also you can visit 3D Models and 3D Print Models category.
-
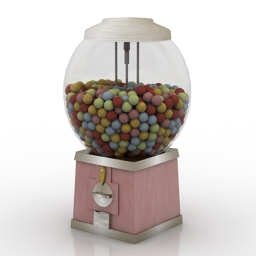
Candy machine 3D Model
Additional Info: Candy Machine N040717 – 3D model (*.gsm+*.3ds) for interior 3d visualization.
-
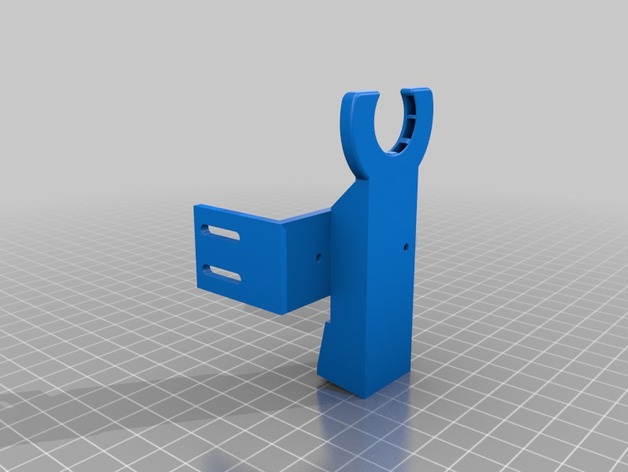
713maker gantry with stock hotend cooler 3D Print Model
Summary
This is a cooler/BLtouch mount for the stock hotend with the 713maker gantry. This is still a work in progress -
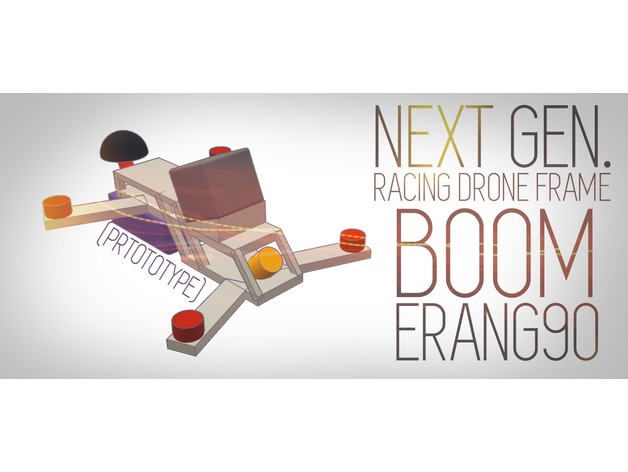
BOOMERANG90 – Prototype FPV Racing Frame – V0.1 3D Print Model
Summary
My new NEXT GEN Racing drone
BOMERANG90 (Boomerang wtih rotated half)
Low center of gravity – battery is under upper part
Preinstalled GoPro mount
A lot of space for components
TELL ME IN COMMENTS WHAT DO YOU THINK ABOUT THIS FRAME, EVENTUALLY WHAT WILL YOU IMPROVE 🙂
(This one is in size of 2″inches micro, but final version could be for big size racing quads) -
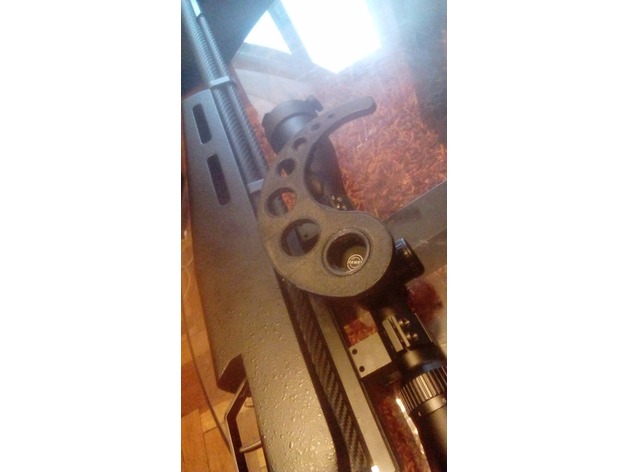
Comma Scope Wheel for Hawke 4-16 3D Print Model
Summary
I’ve designed this comma wheel for my Hawke 4-16
160mm of total size this wheel is equivalent to a big wheel of 260mm OD!!!
Enjoy
Print Settings
Printer:
Flyingbear Rafts:
Yes Supports:
No Infill:
50% Notes:
PLA 1.75mm used to print the wheel -
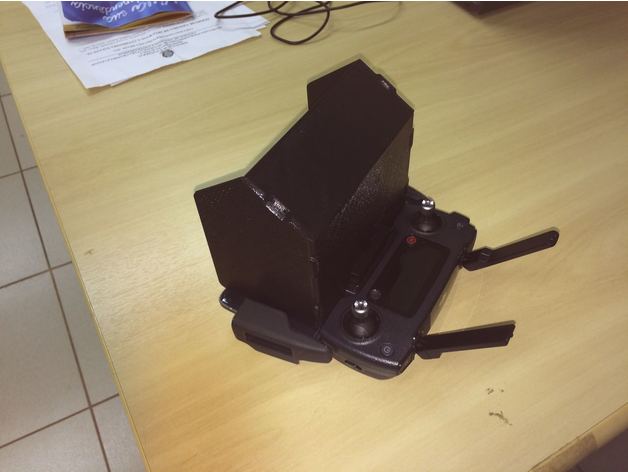
DJI Mavic Pro cellphone Hood iPhone 6 & 7, Note 4 3D Print Model
Summary
It´s very difficult to fly the Mavic while you stay under the sunlight and properly watch the attached cellphone visor, even if you crank up the brightness to the maximum. This device aims to minimize that stress. It’s detachable, so you can easily fit the parts into the Mavic shoulder bag.
Included are parts to fit iPhone 6 & 7, iPhone 6 & 7 plus and Samsung Note4. The parts named “base”, “sideL” and “sideR” are the same for all models. Only “back” and “top” are customized according to the phone model.
Print Settings
Printer Brand:
Prusa Printer:
Prusa Clone Resolution:
0.25 Infill:
50% Notes:
Printed in PETG. The hood parts are 2mm wide to make the whole assembly as light as possible. If you want to make them thicker, just scale them up in the proper axis in your slicer. -
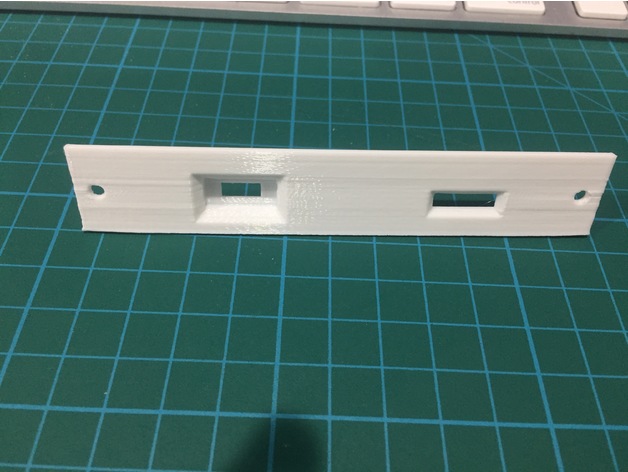
SCSI2SD Mac SE Bracket 3D Print Model
Summary
Macintosh SE expansion port mount for SCSI2SD v5
My SE has dual floppy drives, and I didn’t want to remove a floppy drive, or mount the SCSI2SD close to the CRT on top of the floppy drives.
Print Settings
Printer:
FF Creator Rafts:
No Supports:
Doesn’t Matter Resolution:
.2 Infill:
25% -
Plinth – Miniature Terrain 28mm 3D Print Model
Summary
These require no supports. They have smaller tops, about 18mm diameter recess. I only had to cut the dress base of the one miniature to fit it in the recess.
Minis shown are four soldiers from the Lionheart board game and four mage knight minis. -
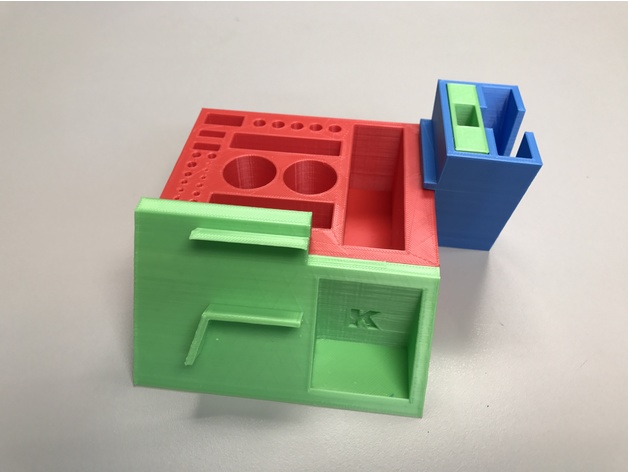
Toolbox 3D Print Model
Summary
I created this model based on STIG_’s 3D Printer Tool Stand https://www.thingiverse.com/thing:1937236. I added and removed some slots to suit my needs and decomposed the model into parts so that I can print each part using Trinus with a printing volume of 120mm x 125mm x 125mm.
Print Settings
Printer:
Trinus Rafts:
No Supports:
Yes Resolution:
0.2mm Infill:
10% -
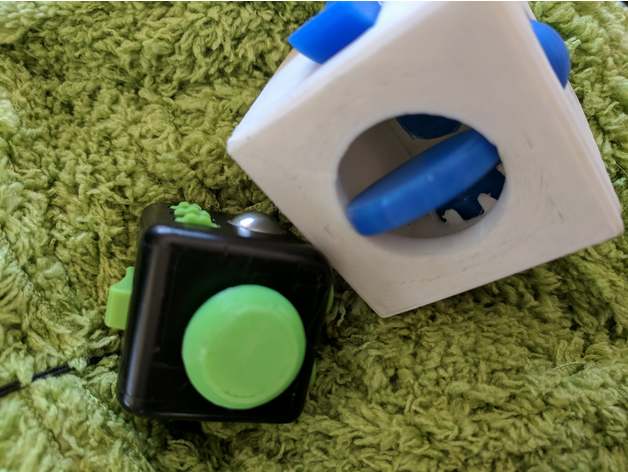
Oversized Fidget Widget Cube 3D Print Model
Summary
An oversized fidget cube for larger hands. This cube is 40mm by 40mm and perfect for those who need to tinker, fidget and toy with something while in a meeting or class.
The widget consists of a joystick, ball, spinning disk, hourglass, mechanical push button and flicking switch. All parts are able to be 3D printed and created with the addition of a small piece of clear 2mm acrylic perspex and some microbeads available from a local craft or hobby store.
All parts click together sans the push button which requires a spring from a pen to be inserted and then glued shut.
Print Settings
Printer:
ZYYX+ Rafts:
Doesn’t Matter Supports:
Yes Resolution:
0.20 Infill:
25% -
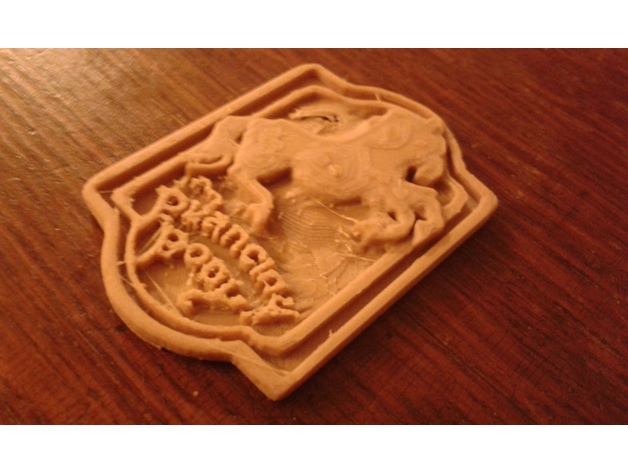
Inn at the Prancing Pony Sign 3D Print Model
Summary
This is the sign from the Prancing Pony in the Lord of the Rings. I hope you enjoy. The pictures are of a really small print, so It is not as detailed as it could be. (Plus there is some ugly stringing) I put a non-commercial license on this. I don’t really know why, Im just going to see how it goes. (If you have any tips, recommendations, or thoughts about Licenses let me know in the comments.) -
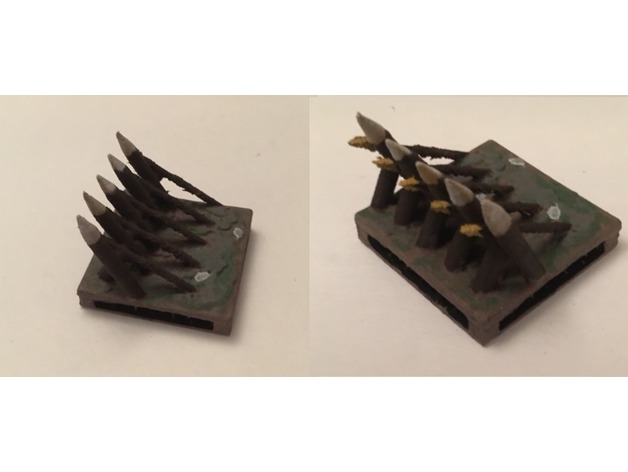
Anti-Calvary Spikes Iteration 2 3D Print Model
Summary
This is the second iteration of the Medieval defensive anti-cavalry tile with openlock connections. Also known as Cheval de Frise. They were principally intended as an anti-cavalry obstacles but could also be moved quickly to help block a breach in another barrier. These could be moved and anchored in different locations to prevent cavalry charges or attacks at certain locations. It is a pretty good tile for war game type play by adding more obstacles.
The first iteration is found here.https://www.thingiverse.com/thing:2430558
This has been modified to have the improved interface openlock 6.0 template with different ways of connecting. Also the redesign has spikes going in only one direction with a different spike arrangement. I wanted more variety in appearance in my game.
Print Settings
Printer Brand:
PowerSpec Printer:
PowerSpec 3D Pro Rafts:
No Supports:
No Resolution:
0.2 Infill:
15% -
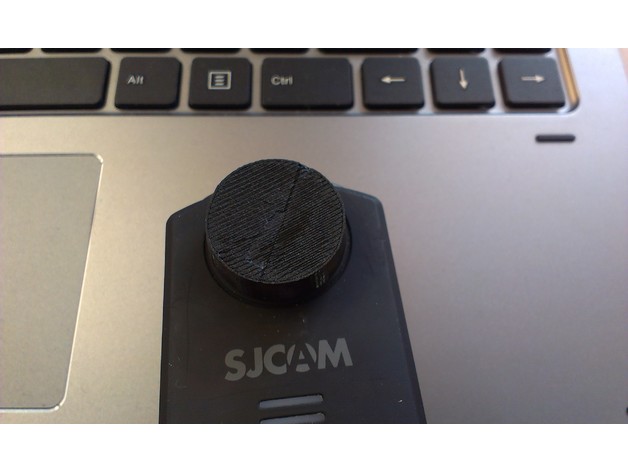
SJCAM M20 lens cap for flexible filament 3D Print Model
Summary
Simple lens cap for the SJCAM M20. Fits tight. Made for flexible filaments.
Internal ⌀: 21mm
External ⌀: 23mm
Internal hight: 4mm
External hight: 6mm
Print Settings
Printer:
Anet A8 Rafts:
Doesn’t Matter Supports:
Doesn’t Matter Resolution:
0.2 Infill:
100% Notes:
Printing time was about 10-15 minutes @ 45mm/s -
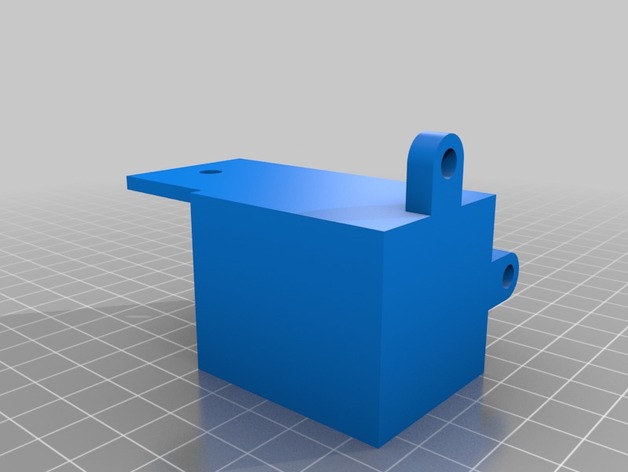
Hypercube Evolution Addons 3D Print Model
Summary
This is a collection of things I created for my build of SCOTT_3Ds great Hypercube Evolution (https://www.thingiverse.com/thing:2254103).
3030_Lack_Foot.stl is a foot which fits 30×30 extrusions and allows mounting the printer. It’s intended to mount the printer on an IKEA Lack table. A 300×300 build platform size hypercube fits well on a Lack table.
CableGuideClip.stl is a CableGuide which fits onto Bosch Style 3030 extrusions. -
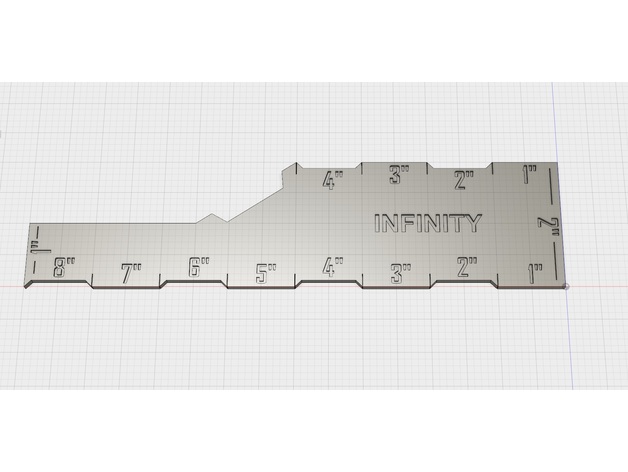
Infinity Measuring Template 3D Print Model
Summary
Infinity Measuring Template (inches) in the style of the Micro Arts Studio one.
I have enclosed 2 models, one with the markings on just the top side, the other has measurements on both sides.
Prints perfect with PLA.
Created using Fusion3D.
Print Settings
Printer Brand:
FlashForge Printer:
Creator Pro Rafts:
No Supports:
No Resolution:
0.1000 Infill:
30% Notes:
I would recommend a maximum print speed of 55 mm/s, otherwise you start to run into problems, of course this will depend on your printer.
The infill percentage will be to your preference, but 30% keeps it nice and sturdy.
I sliced with Simplify3D. -
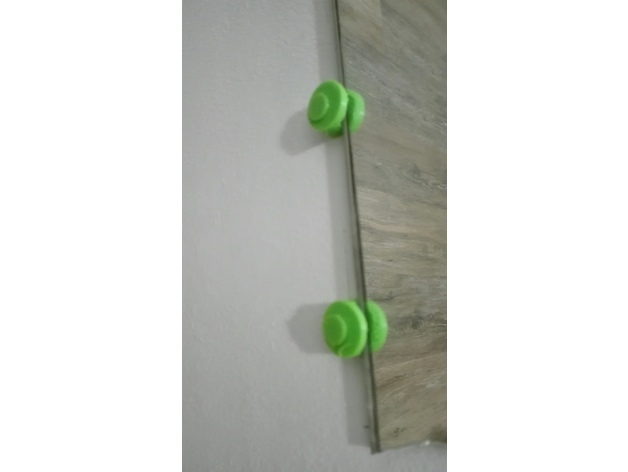
fixation to stare a mirror on the wall 3D Print Model
Summary
a fixation to stare a mirror and a plug to hide the screw -
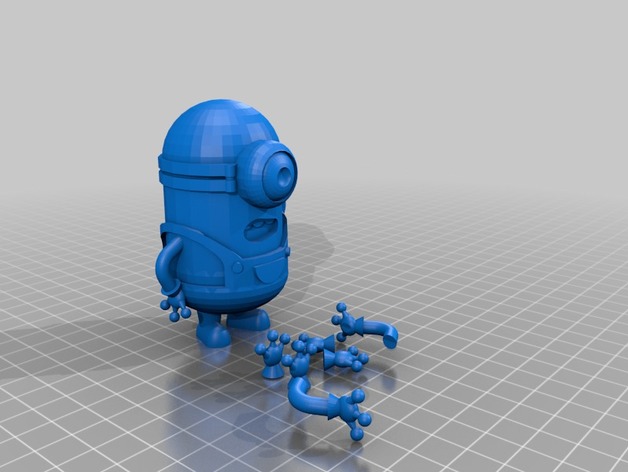
Minion Stewart 3D Print Model
Summary
Hello~ I made it from tinkercad.
I hope you enjoy my works. 🙂
How I Designed This -
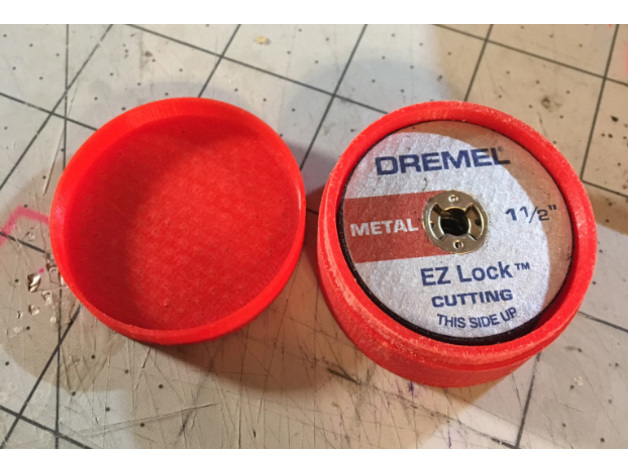
Dremel EZ Lock Cutoff wheel storage container 3D Print Model
Summary
Snap on container to store Dremel EZ Lock cut off wheels. -
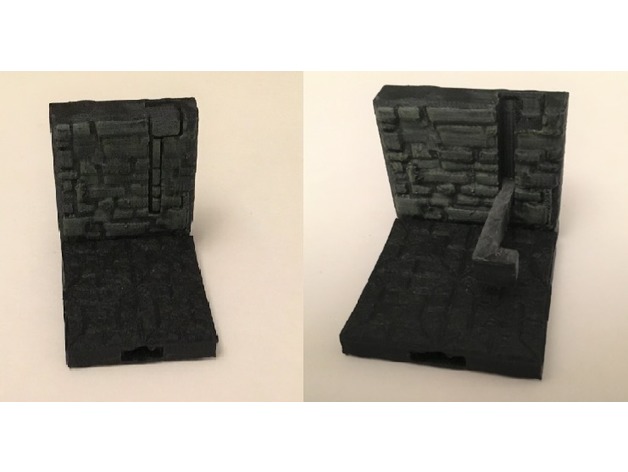
Openlock Wall with Hidden Club 3D Print Model
Summary
This is a miniature wall with and without a trap. Size is 2×2 inches. The trap is a falling club hidden in the stones of the wall. The club trap can either be in the hidden position or fallen position.
There is also a wall design without the hidden trap. This design uses the newer openlock 6.0 template with more options for interlocking to other pieces.
Print Settings
Printer Brand:
PowerSpec Printer:
PowerSpec 3D Pro Rafts:
No Supports:
No Resolution:
0.2 Infill:
15% -
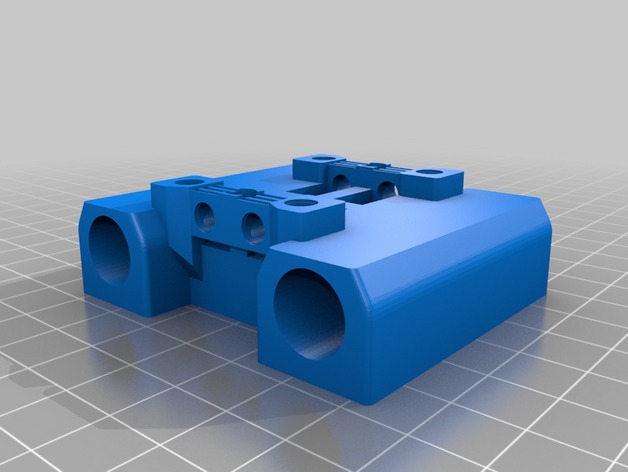
Hypercube Evolution X Carriage for 10mm igus Bushings 3D Print Model
Summary
X-carriage for use with Igus JSM-1012-10 bushings and 10mm aluminum or carbon fiber rod. -
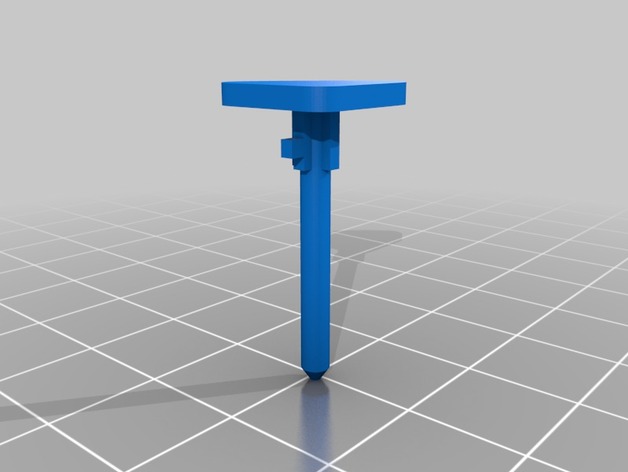
Cooler Master Vortex Plus CPU Cooler Mounting Clip 3D Print Model
Summary
Mounting clips for a Cooler Master Vortex Plus CPU cooler.
I had several of these break on me after moving my computer around, so I grabbed the remaining intact ones and modeled them out.
Print Settings
Printer:
Creality CR-10 Rafts:
No Supports:
Yes Resolution:
0.1 mm Infill:
100% Notes:
Printed with PETG for better temperature resistance.
I found the best orientation for these parts is to place Push Pin (A) horizontally with the long edge of the base triangle against the print bed and Push Pin (B) horizontally with the split tip perpendicular to the print bed and supports only on the parts touching the bed.
This is a small part so there will likely be some variation from print to print (mine came out pretty ugly, but functional).
Post-Printing
The slot at the top of Push Pin (B) needs to be cut to extend it out to edge of the part.
This wasn’t included in order to print more solidly, but it may be able to be printed with supports.
This allows Push Pin (A) to be inserted and rotated into the part.
How I Designed This
Designed in Fusion 360; .f3d file is included. -
Multi-color paddle for Hamel Monohull Paddle boat 3D Print Model
Summary
These are the original paddle just split into 3 files: the hub, the 90 degree spokes, and the 45 degree spokes. For those with a multi-color capability (such as the prusa multi-material upgrade for the i3 mk2/mk2s) you can use this to print the wheel in up to three colors. (you could probably further split them with slic3r to customize it more, I suppose) -
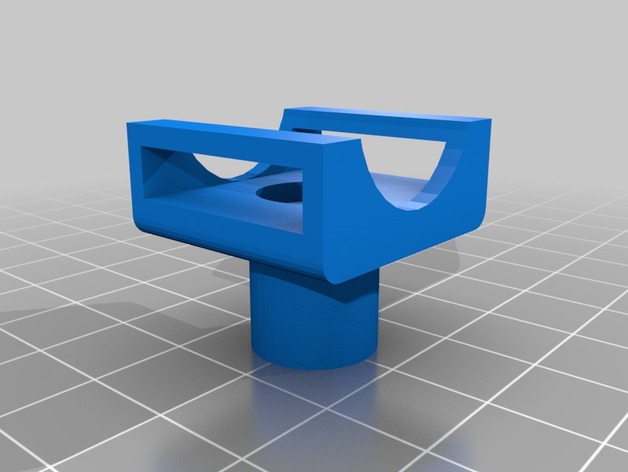
Cable organiser for velcro straps 3D Print Model
Summary
Mount with standoff for organising cables with velco straps (2cm wide). I used this in my server cabinet witch is insulated using 2cm foam (therefore the standoffs) -
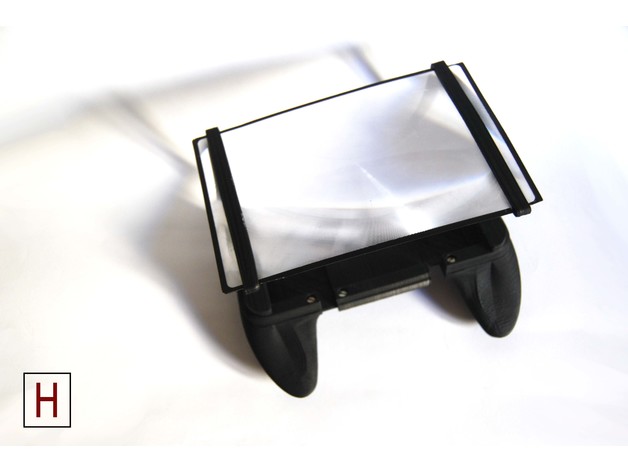
Smartphone gaming grip with screen magnifier 3D Print Model
Summary
This is an updated version with screen magnifier of: https://www.thingiverse.com/thing:2483276
Printing settings and components:http://horizonlab.co/2017/09/16/smartphone-gaming-grip-with-screen-magnifier/ -
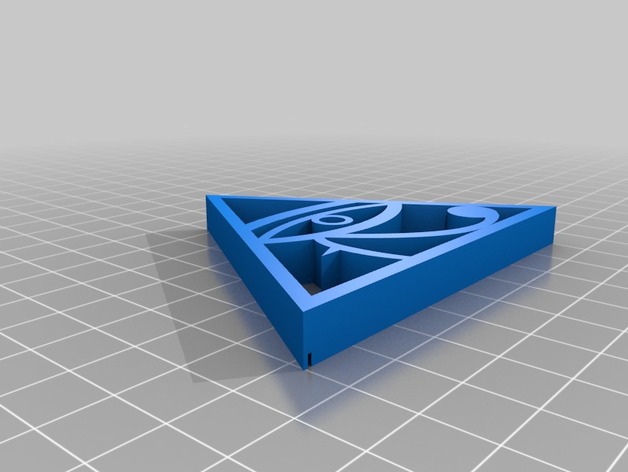
Horus – Eye für den Einbau einer LED 3D Print Model
Summary
Horus – Eye vorbereitet für den Einbau einer 5mm LED und 2x AAA Batterien mit Kippschalter, Inklusive Led-Passung und Kabelführung auf der Rückseite.
Print Settings
Printer:
RF100 Resolution:
0,1 Infill:
25% Notes:
PLA mit 198° -
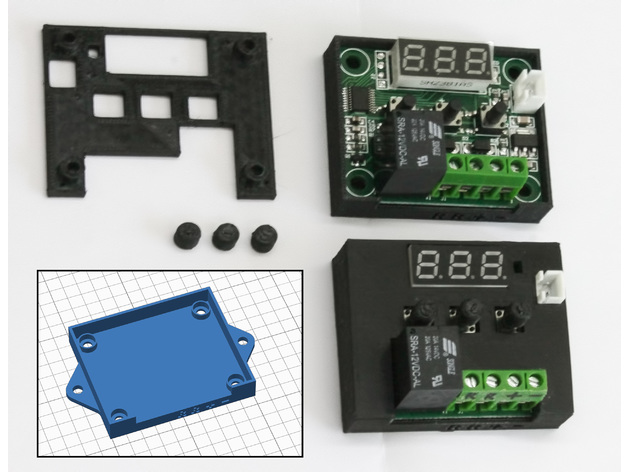
W1209 Thermostat Box 3D Print Model
Summary
Need 4x M3 screws
Print Settings
Printer:
Anet A6 Rafts:
No Supports:
No -
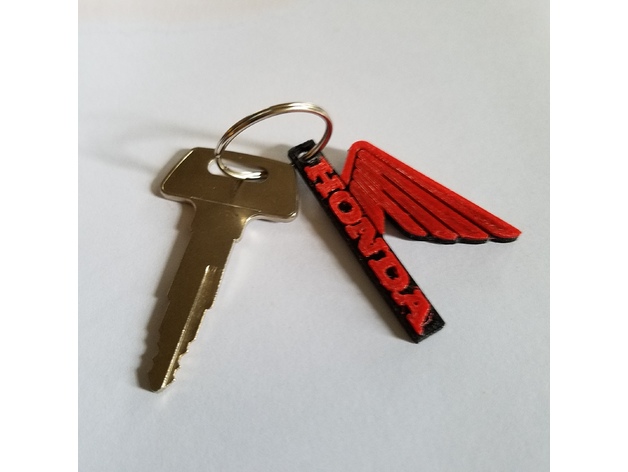
Honda motorcycle keychain (a remix) 3D Print Model
Summary
I scaled it down to be 50mm long and added a solid backing between the wings so I could do a filament color switch. Printed using TPU.
First I created a 2D outline using the following command in OpenSCAD:
projection(cut=false) import_stl(“/full/path/to/stl”);
and exported a DXF.
Then I imported the DXF into Onshape to remove the gaps between the wings and extrude it a few mm, then exported that as STL.
Then I imported both into Tinkercad to merge the STLs together:https://www.tinkercad.com/things/7UjYYDNdtQZ-honda-keychain
Thanks for the original design! -
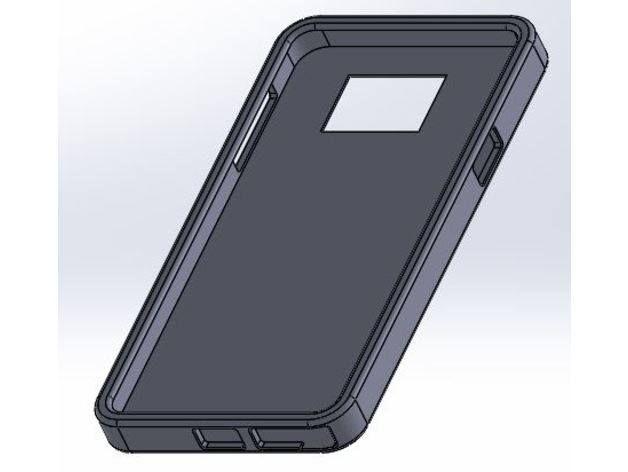
Samsung Galaxy Note 5 TPU Case 3D Print Model
Summary
I designed this TPU case for the Galaxy Note 5. It fits perfectly and the buttons and S-Pen remains easy to access.
I upload 2 versions. One with the headphone hole, and one without headphone hole. Last one just because i never use headphones 🙂
Print with 50% – 100% infill for better protection. I recommend 100%. And print in a glass bed, for better finish.
I use this case in my cellphone, so its 100% sure that if you print it, it will fit 😀
Uploads your prints to make me happy.
Print Settings
Printer:
Creality CR-10 Rafts:
No Supports:
Yes Resolution:
.2mm Infill:
50% – 100% Notes:
I recommend 100% infill. -
Printrbot Simple Metal Blower Mount 3D Print Model
Summary
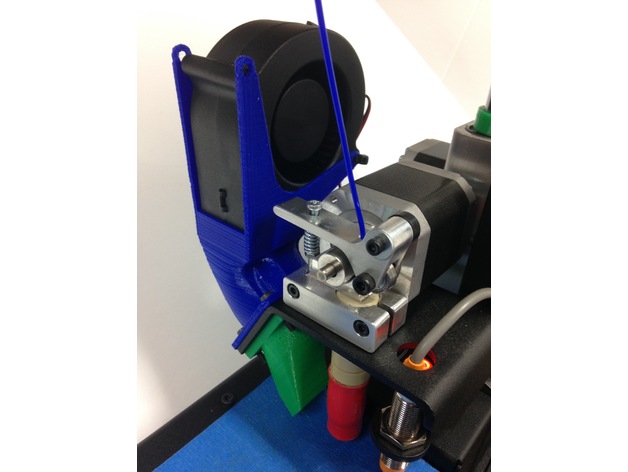
Adding a blower type fan has significantly improved my print quality. I used the following fan, but any similar 75mm blower fan should work, provided it doesn’t draw more than about .4A of current.
https://www.aliexpress.com/item/GTFS-75mm-x-30mm-DC-12V-0-36A-2Pin-Computer-PC-Blower-Cooling-Fan/32665460063.html?spm=a2g0s.9042311.0.0.X9b0Qz
The other fan mounts I found all keep the blower fan at an angle, taking up more space than is necessary. I also found the mounts had no way of securing the blower, and it would rattle around during printing, and always made me feel like it would fall out.
This fan mount keeps the blower in a more secure vertical orientation, and keeps it close to the extruder motor, making it a little more compact. This makes it a bit easier to access the build plate. The mount allows for zip ties to be threaded through the blower mounting holes, firmly securing the blower to the printer.
Print Settings
Printer Brand:
Printrbot Printer:
Printrbot Simple Metal Rafts:
Doesn’t Matter Supports:
Yes Resolution:
0.2mm Infill:
15% -
Customizable slim linear shaft flush mount 3D Print Model
Summary
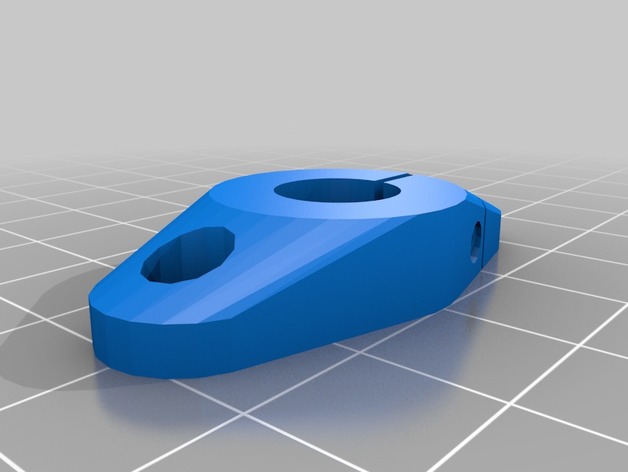
Flush mount for V-slot extrusion profiles. Based on my 8mm-specific thing, but now customizable for other rod diameteres. -
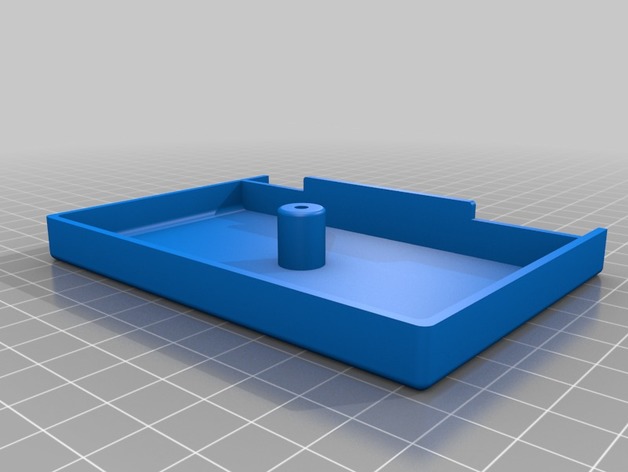
CoCo Cartridge Shell for NF6X PCBs 3D Print Model
Summary
This is a cartridge shell for the Tandy Color Computer.
Do not forget my website: www.retrodepot.net
The boards that this shell is designed for can be found here: https://github.com/NF6X/CoCoEPROMpak -
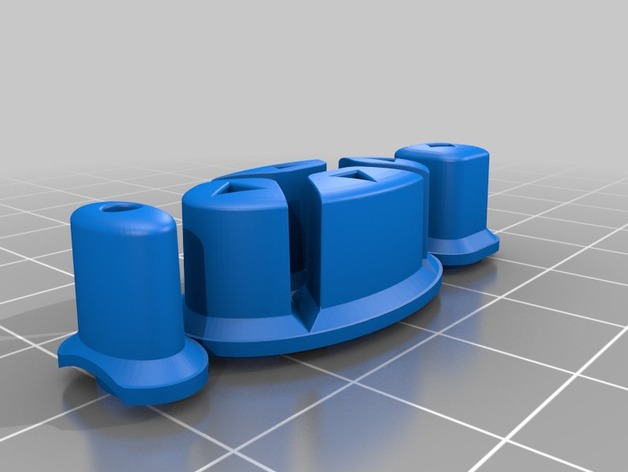
individual buttons for Mmintbox 3D Print Model
Summary
I made the Mmintbox for my arduino uno+lcd and didnt have time to mold a button pad from flexible material.
I noticed that the buttons work when you separate them, so modified the design to cut away the solid flat portion so it’s usable as-printed. Probably needs supports. -
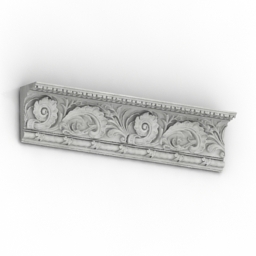
Cornice 3D Model
Additional Info: Cornice 12 N080817 – 3D model (*.gsm+*.3ds) for interior 3d visualization.
-
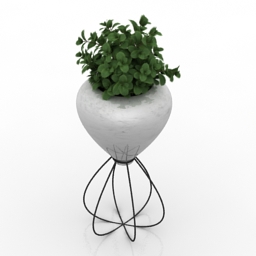
Vase 3D Model
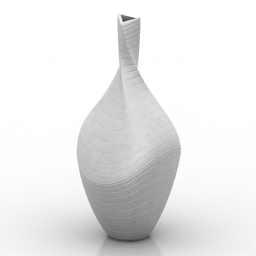
Additional Info: Vase SPAGHETTI rim Rashid N180517 – 3D model (*.gsm+*.3ds) for interior 3d visualization.
-
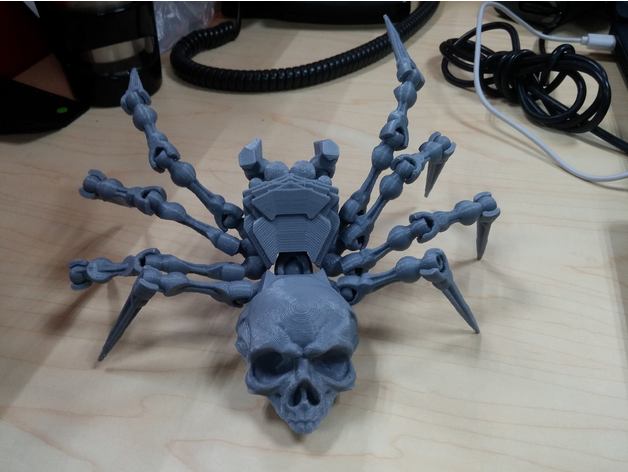
Skullspider – Fully articulated 3D Print Model
Summary
This is a slight improvement over DexterMurphy model (link below)https://www.thingiverse.com/thing:1067086
The low polygon skull on old design is replaced with a different and higher detailed variant
A very good desk toy and cool prop for halloween 🙂
Not recommended to be scaled down as the connectors might get easily broken
Print Settings
Printer:
Tevo Tarantula Rafts:
No Supports:
No Infill:
10% lines or 20% grid Notes:
If the connectors don’t stick well on the bed, might be good to use brims instead of skirt -
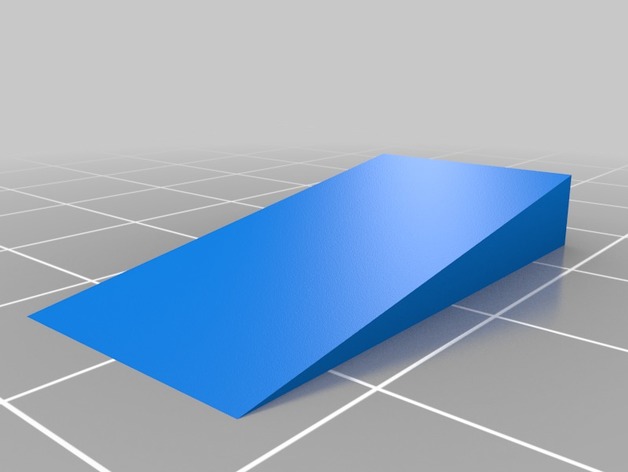
Projector level wedge 3D Print Model
Summary
This is a 5mm tall wedge shape cut on an 9 degree angle for the purpose of leveling a free sitting projector. To use, place this wedge under the feet of your projector to level it on the surface it sits. -
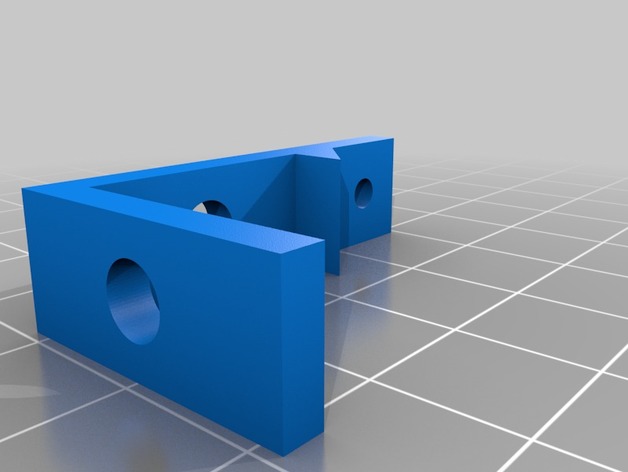
Heated Bed Bracket 3D Print Model
Summary
I needed a redone bracket for my 300×200 bed so I created this, as the aluminum extrusions I purchased were too long (for the bed). -
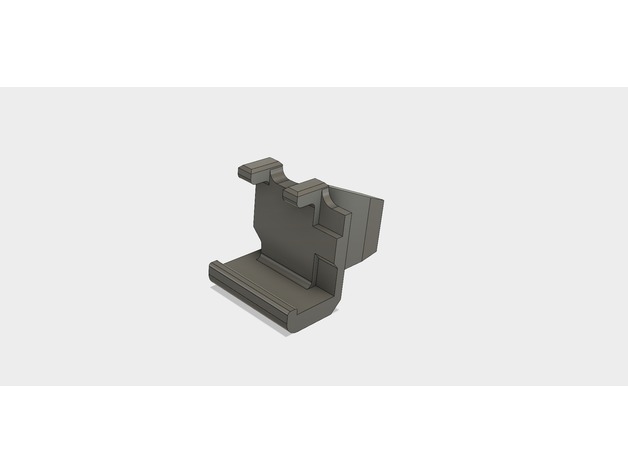
hyperion camera tail mount 3D Print Model
Summary
This little Hyperion Camera Tail mount will take your FPV experience to a new level. Its sleek new clip in design allows for you to now see your entire plane while flying. This piece sits on the tail of your airplane and creates a 3rd person view for an entirely new experience! -
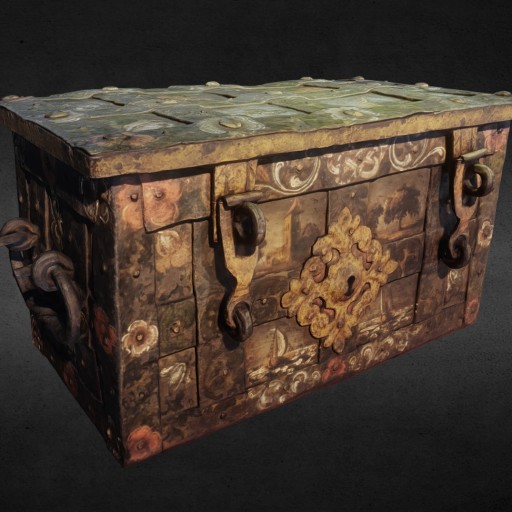
Armada chest Free 3D Model
Armada chest, Nuremberg, 17th century, polychrome iron. Musée du Cinquantenaire (Brussels, Belgium). Made with ReMake and ReCap from AutoDesk.
-
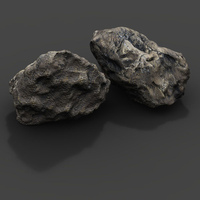
Dark rock 3d model
This dark rock uses the texture named trestraou that can be found on the 3d textures page
Diffuse and bump maps.3d model generated with Vue
Download .dae -
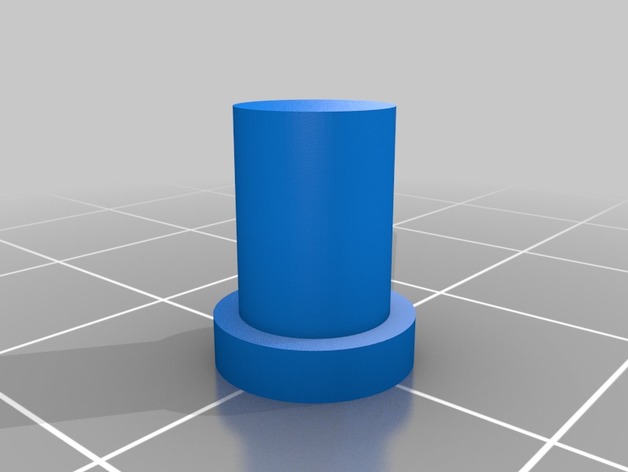
Tevo Tarantula controller reset button 3D Print Model
Summary
Simple stop button for the discount smart controller. -
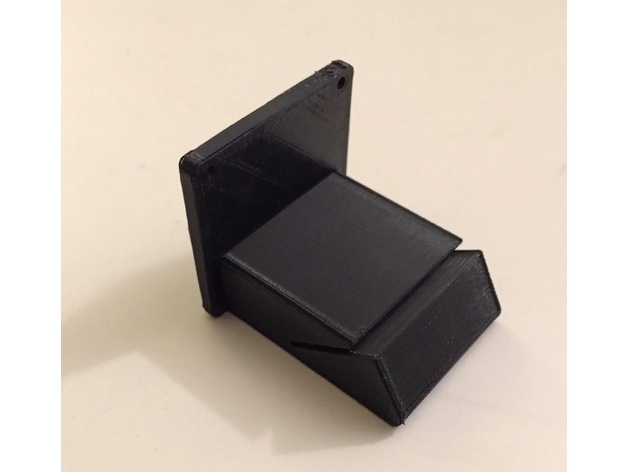
Trinus Display Stand for Kodama Leveling Bed 3D Print Model
Summary
Trinus touch screen stand for leveling bed.
You may need 2 pcs of 3mm x 12mm Metric Flat Head Socket Screw. -
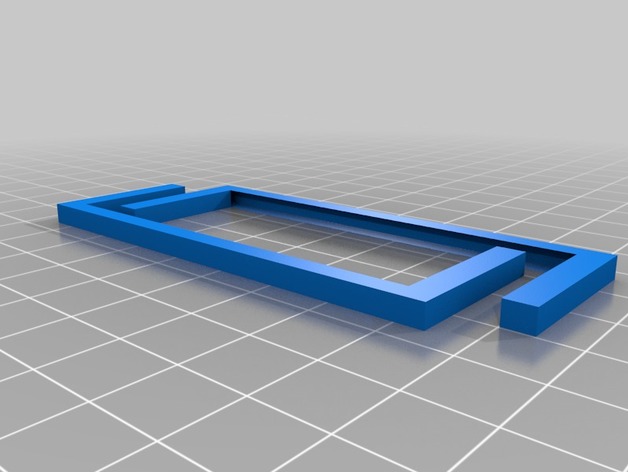
MASP – Museu de Artes de São Paulo 3D Print Model
Summary
Makeup Port for your brushes
Print Settings
Printer Brand:
FlashForge Printer:
Finder Rafts:
No Supports:
No Resolution:
0,1 Infill:
10% -
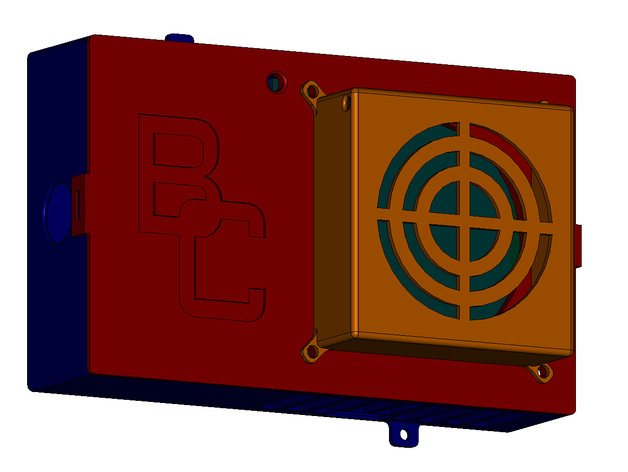
FLSUN Prusa i3 RAMPS Container 3D Print Model
Summary
I’m working on cleaning up my printer station and couldn’t find a container for my RAMPS board that I liked, so I’ve designed this one. I haven’t printed it yet so it most likely still needs tweaks. As soon as I finish printing my enclosure brackets I will be making this next.
I’m using an 80mm wide and 30mm deep fan for cooling the board.
The idea of the design is that the cables will come in through the large circle opening, can be wrapped around the pegs to shorten them, then run them through the gaps to the board itself. The fan cable is fed through the small hole in the corner of the fan guard, then through the hole in the lid. The latch on the right hand side is meant to go on first, then the one on the left (really not sure if that’s going to work or not).
Because I’m building an enclosure I didn’t design the mounts to attach to the frame of the printer but to the outside wall.
The only sections that should need support is on the fan guard depending on which side you print up, and possibly the latches on the container itself.
If anyone notices anything I got wrong, suggestions for changes, etc, please let me know! If you print one, let me know how it went! -
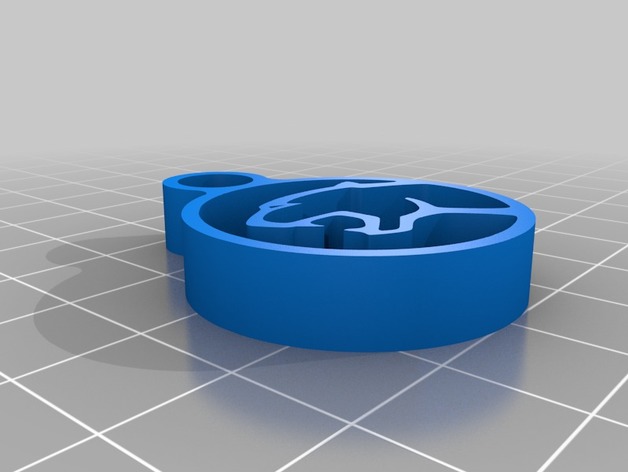
Cougar Keychain 3D Print Model
Summary
I wanted to make a Mercury Cougar/Capri keychain for a friend… so here is what I came up with -
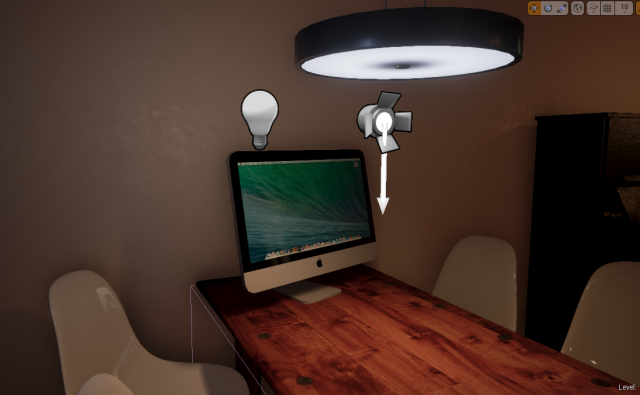
IMac Low Poly Unreal Ready download Free 3D Model
iMac Low Poly (152 Polygons) But renders great Visuals.In the example image you see it implemented in Unreal Engine 4. downloadReady For UnrealTexturesDiffuseNormalRoughnessUV Lay-Out
-
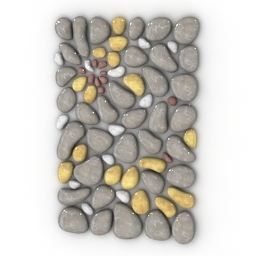
Panel 3D Model
Additional Info: Panel Fabula glass N280717 – 3D model (*.gsm+*.3ds) for interior 3d visualization.
-
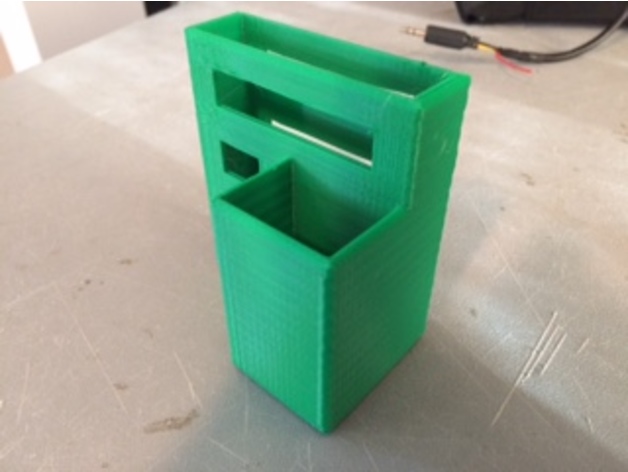
MFD Link (R Link) Mount and Battery Holder 3D Print Model
Summary
Use heavy duty mounting tape or velcro to mount to back of RC Tx. -
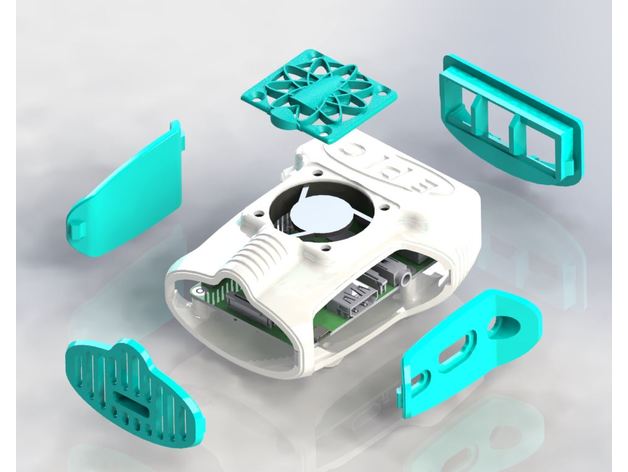
ePIc Pi Addons ( raspberry pi 2 and 3 case ) 3D Print Model
Summary
These are the addon plates for my raspberry pi 2 and 3 case called ePIc Pi. The main body can be purchased by itself that allows these plates to be printed in any color you wish to match your color scheme.
The ePIc pi mounts directly to 2020 extrusion for use with octopi via the mounting bracket I have included here.
I plan on releasing many upgrade plates to the main body after receiving feedback on the current plates.
The body can be found here.
https://www.etsy.com/listing/544101702/epic-pi-body-only?ga_order=date_desc&ga_search_type=all&ga_view_type=gallery&ga_search_query=epic pi&ref=sr_gallery_3
or search epicpi -
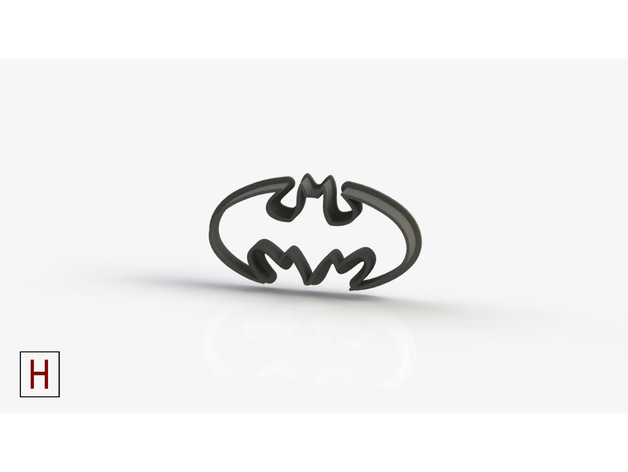
Cookies cutter – Batman 3D Print Model
Summary
http://horizonlab.co/2017/09/14/cookies-cutter-batman/ -
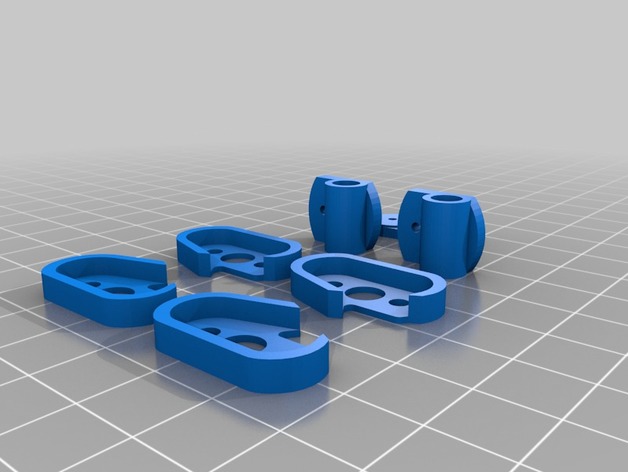
Tomoquads UL4 and UL3 3D Printed Accessories 3D Print Model
Summary
Tomoquads 3d printed accessories for the UL4 and UL3
Print only in TPU with 20-30% infill while the center bushing must be printed in PLA or ABS with high 50% infill
www.tomoquads.com -
CGC Classic: Creating Stencil Maps in Blender 2.4 Source Files Free 3D Model
For the 9th Anniversary of CG Cookie we wanted to share some of the first CG Cookie Blender Videos that paved the way for what became the standard 3D software taught at CG Cookie.
-
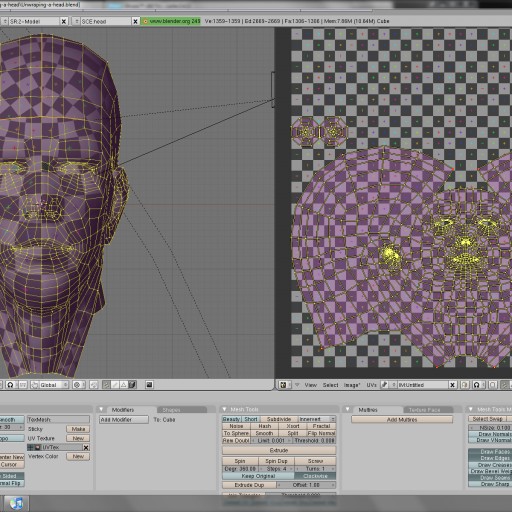
CGC Classic: Unwrapping a Human Head Blender 2.4 – Source Files Free 3D Model
For the 9th Anniversary of CG Cookie we wanted to share some of the first CG Cookie Blender Videos that paved the way for what became the standard 3D software taught at CG Cookie.
-
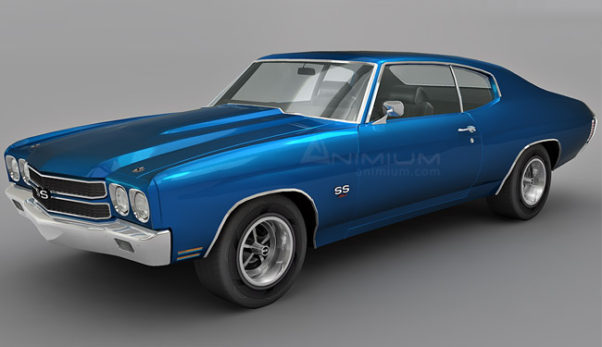
Chevrolet Chevelle SS 3d model
Realistic 3d model of Chevrolet Chevelle SS 3d model, detailed 2 door coupe, high-performance classic muscle car.
-
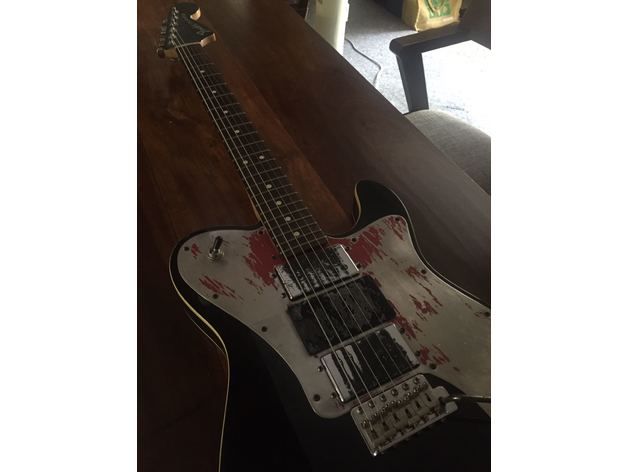
Fender Pickup Cover 3D Print Model
Summary
Cover plate for Fender John 5 Triple Telecaster.
A friend received a guitar with a missing humbucker (and a gaping hole).
Print this flat, and cut off the 8 corner struts, which are meant to keep the piece from warping during print.
Print Settings
Rafts:
No Supports:
No Infill:
20% -
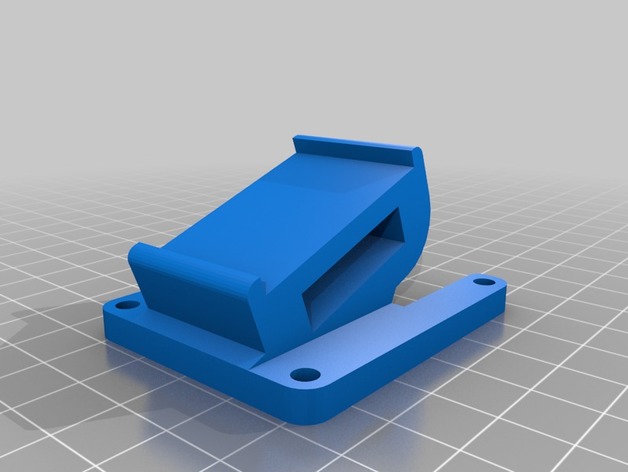
MQC-ONE or 40Width x50Length bolt, session mount 3D Print Model
Summary
40width by 50 length gopro session mount or runcam cube. -
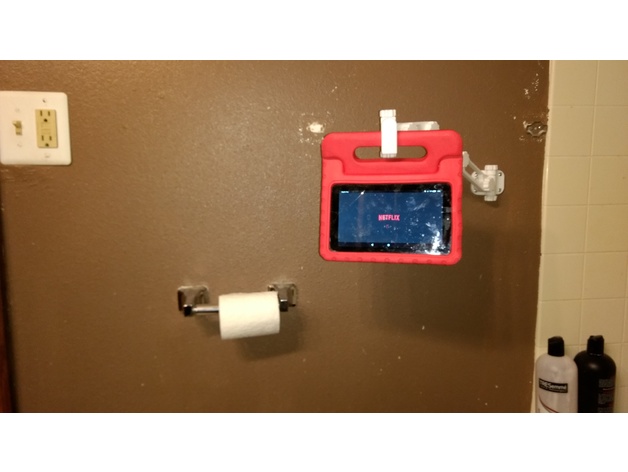
wall mounted articulating arm Tablet Hook 3D Print Model
Summary
I have a tablet with a handle on it that my wife generally watches shows on while in the bath. I added this hook to the original set of parts to fit that tablet. -
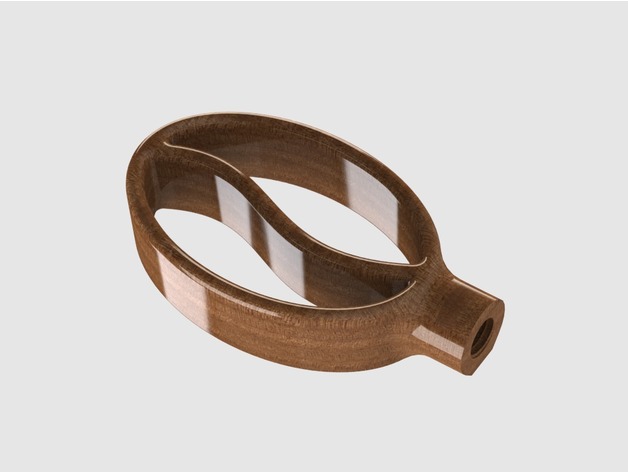
Tap Handle – Coffee Bean (3/8″-16 Thread) 3D Print Model
Summary
Please note: I still have to test this on a tap handle!
This design uses the icon Coffee Bean by Abir Alward from the Noun Project as a base.
The current stl is threaded for a 3/8″-16 Tap. -
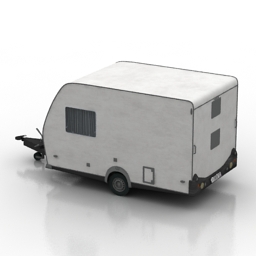
Trailer 3D Model
Additional Info: Trailer Weinsberg Caraone 400 Caravan N210517 – 3D model (*.gsm+*.3ds) for exterior 3d visualization.
-

NEMO Projecteur 165 pendant lamp Projecteur 365 floor 3D Collection
NEMO Projecteur 165 pendant lamp Projecteur 365 floor 3d Models
-
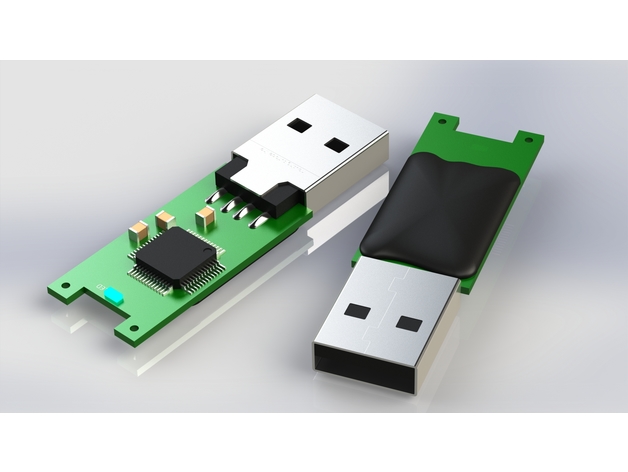
Cheap stick enclosure replacement 3D Print Model
Summary
The housing of a cheap USB stick (see photos) was broken easily, so I decided to make a model of the inner part to create a new printable enclosure.
The enclosure models here are very basic on the outside. Feel free to remix or redesign them! -

Cessna Citation X 3D Print Model
Summary
Solid. Rocket. Boosters.
These are the words that best describe the engines on this beautiful bird. Claimed to be the fastest civilian aircraft in the world, this plane can eat up a mile of sky in just six seconds, crusing comfortably over Mach 0.90. Cessna went about designing this airplane in response to the reputation the Citation line held as a slower fleet of business jet aircraft. To compete with rival Learjet in the high-speed market, the Citation X was created. The aircraft was designed largely from scratch, a significant departure from the rest of the Citation line.
This was a really fun build. I’ve loved the look of this airplane for a long time and it was a pleasure designing. The sweeping curves on the underside of the fuselage were challenging to create, as were the highly swept winglets, which due to their thin profile may experience difficulties in printing. I will be running this through a series of previews and renders in an attempt to improve printing stability while not sacrificing accuracy to the real thing. Enjoy!
Print Settings
Printer Brand:
MakerBot Printer:
MakerBot Replicator (5th Generation) Rafts:
Yes Supports:
Yes Resolution:
0.1mm High Resolution Infill:
10% 0.4mm Diamond (fast) -
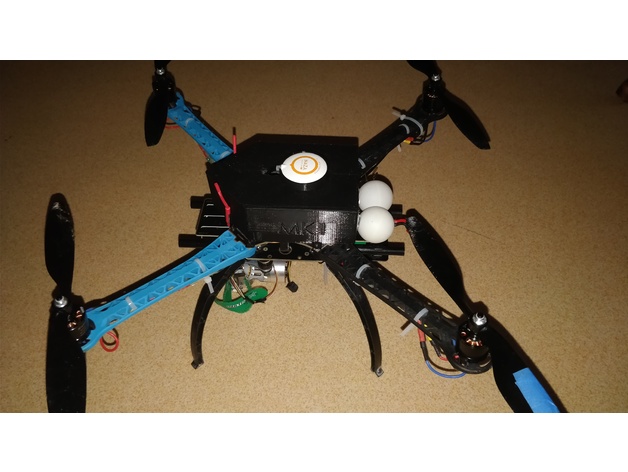
Cover S500 frame with naza gps 3D Print Model
Summary
This is a cover for S500 Frame with support for naza gps -
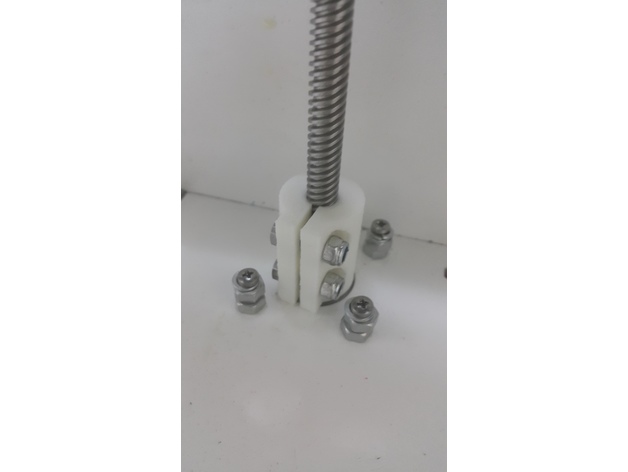
coupling_5x8 3D Print Model
Summary
please be in vertical position..
Print Settings
Printer:
diy printer Rafts:
No Supports:
No Resolution:
0,2 Infill:
60 -
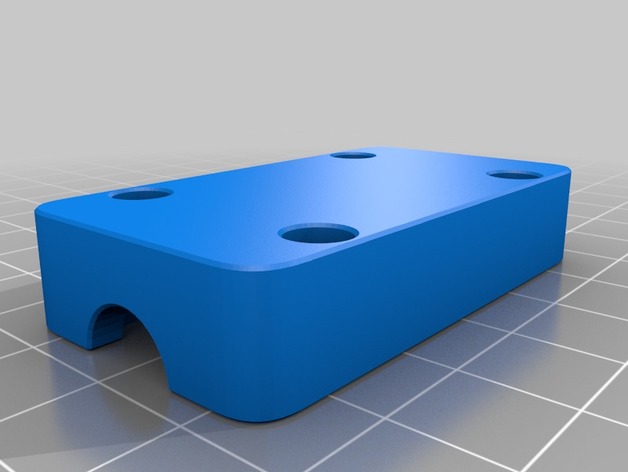
XY Clamp for RJ4JP-01-08 Bearings 3D Print Model
Summary
This is the clamp for the Hypercube to house two Ignus RJ4JP-01-08 bearings. Works with the XY Joiner from here: https://www.thingiverse.com/thing:2012443
Print Settings
Printer:
Anet A8 Rafts:
No Supports:
No Resolution:
0.2 Infill:
25-30 -
Homer Inciense Holder 3D Print Model
Summary
Homer Inciense Holder ( Homer porta incienso)
Print Settings
Printer:
CreateBot Mini Rafts:
No Supports:
Yes Resolution:
0.2 Infill:
15 Notes:
Fill density 10 (densidad de relleno)
2 perimeters (2 perímetros) -
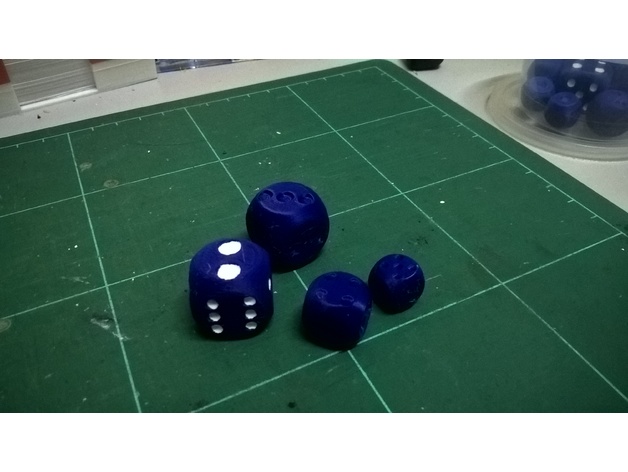
The Dramatic Yet Fair(er) D6 3D Print Model
Summary
Similar to my D20 design, this is what I considered to be an ideal D6 with the following characteristics:
Rolls just the right amount even with the smallest amount of effort (even as close to none), to prevent cheats or just standard flukes
Show a hint of uncertainty before settling on a face, making it more exciting to witness the results of a roll
All pips indented in a way that they can be easily read even without painting them
Have the (almost) perfect weight distribution with the right amount of indentation and pip sizes
Has a better numeric distribution on the die so that whichever the edge or corner it traverse would have an equal chance of getting both high and low values (inspired via this Youtube video https://www.youtube.com/watch?v=pF8goco4ix0)
Requires no supports when printing using FDM printers (* may need minimal supports for larger prints)
You can get a preview of how the die behaves in my video here: https://youtu.be/_clKuOQilCs
There are two versions of the die included:
D6_fairer.stl – This is what I consider to be default but uses a non-standard number distribution to ensure that which ever corner/edge the dice traverse, you are likely to encounter a good spread of possible low and high values
D6_standard.stl – This would be your standard “opposite faces add up to 7” dice. Have included this version because there are some modern tabletop dice games that use this characteristic as a mechanic where you manipulate the dice to its opposite face.
The design is a 100mm die and can be resized to whatever you fancy. Personally recommend standard sizes of 12mm, 15mm, 20mm and 25mm.
Print Settings
Printer Brand:
Prusa Printer:
Prusa Mk2 Rafts:
Doesn’t Matter Supports:
No Resolution:
0.15mm Infill:
30% Notes:
At 25mm or smaller sizes, would recommend a 25% or 30% infill to make the die have a satisfying weight and sound.
Post-Printing
You might want to use a file to smooth out the round edge of the bottom (where the 1 pip face is at) and probably the top. Just so you get a smooth feel to the whole die.
How I Designed This
The die is designed in FreeCAD 0.17.
As much as I won’t be posting the original file as it took me a long time to tune every single measurement to make it perfect, the general idea of how it is done can be viewed in this video tutorial by another Youtuber 🙂 https://www.youtube.com/watch?v=uBKhBwSP_iM -
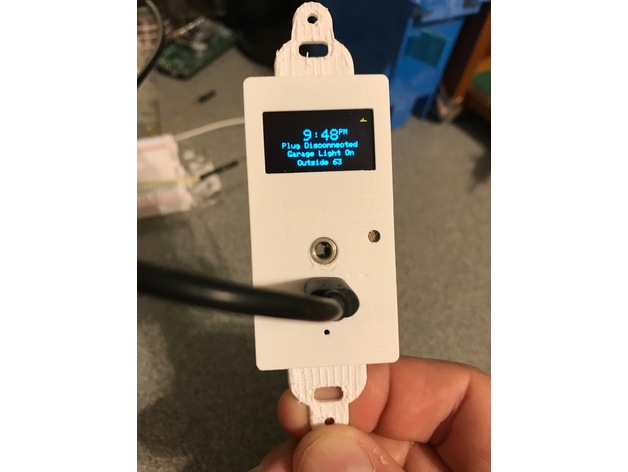
Room_Monitor 3D Print Model
Summary
Needed a sensor for detecting “lights on” and “door open” for the garage. Plate has a hole for a 3.5mm jack (I used Digi-key CP-SJ1-43502PM-ND), photo sensor, and mini USB jack. The photo cell glues into place. A Particle Photon slides into the plate exposing the USB port for power and is held in place with the …Bracket.stl. The complete unit mounts in a standard (USA) 2X4 electrical box.
I printed it in White PLA (to match the cover plate) at .2mm height and 10% fill
Post-Printing
Special Print Setting
This MUST be printed with Support BUT NO Raft. I printed the plate face down on glass to get a gloss smooth finish.
Also you must tap the two outside screw holes to 6-32 for the cover plate mounting.
How I Designed This
123D -
Rack 3D Model
Additional Info: Rack 3 N140817 – 3D model (*.gsm+*.3ds) for interior 3d visualization.
-
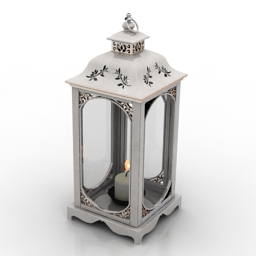
Lantern 3D Model
Additional Info: Lantern N040717 – 3D model (*.gsm+*.3ds) for interior 3d visualization.
-
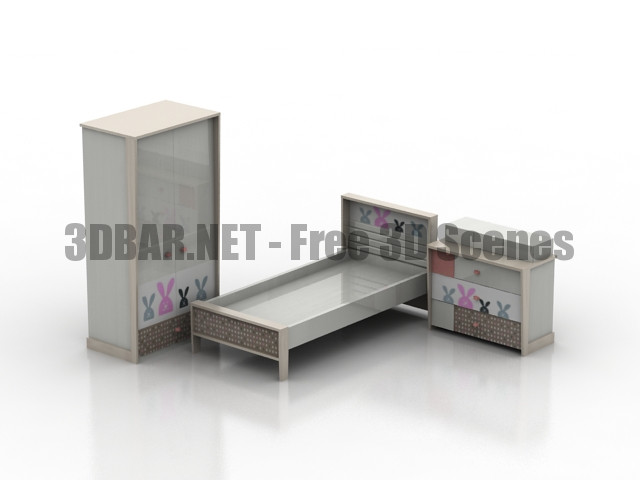
Chilek Childrens bedroom set 3D Collection
Zip Archive (3d Max 2009 + Vray 1,5 + 3ds) – Size 2,94 MBt
-
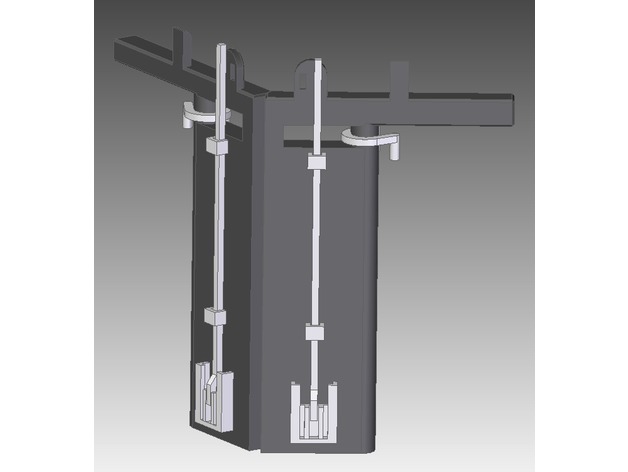
00 scale 7 foot wide canal lock 3D Print Model
Summary
Make from ABS so you can glue with acetone.
I split the Chamber into 7 parts and glued using acetone.
The paddles work they just need gluing using acetone.
Gate hinge pins for the base of the lock gates should be made form some 2mm wire rod.
The boat in the photos is a 00 scale 70′ long narrow boat (not 3D printed). -
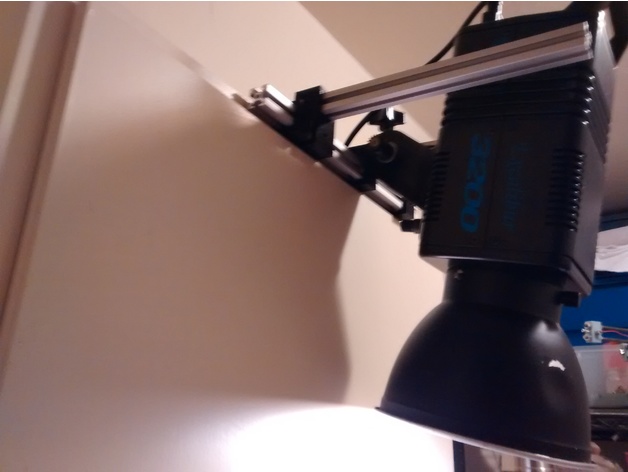
Cabinet Camera/Light holder 3D Print Model
Summary
This is designed for kitchen video system without drilling holes in the walls. It is mounted on top of a .75 inch thick wood cabinet.
Print Settings
Rafts:
Doesn’t Matter Supports:
Doesn’t Matter Resolution:
.2 Infill:
.2 -
PP3DP UP Plus 2 PLA printing kit 3D Print Model
Summary
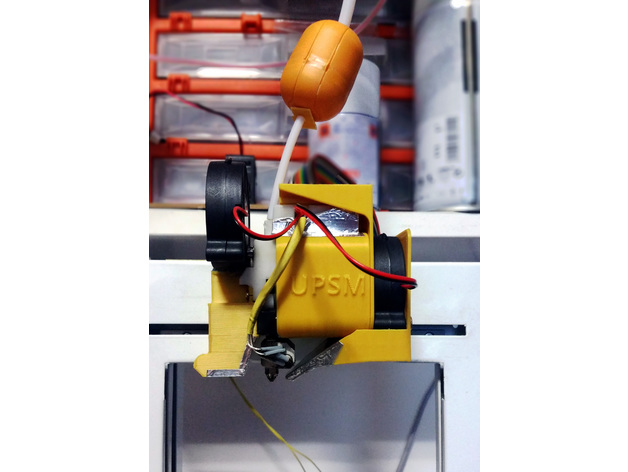
PP3DP UP Plus and UP Plus 2 are usually terrible with printing PLA. Three major issues with these printers are
The throat of the hotend gets too hot as heat creep up the steel tube and the PLA starts to bulge there and gets impossible to reliably extrude
Extruder stepper motor gets hot during print, both from the fact that it’s a puny motor doing a lot of work and because it’s used partially as a cooler for the cold part of the hot end. This heats up the PLA print and does not allow it to solidify properly, overhangs are crap and bridges are almost impossible.
PLA requires cooling, the “solution” originally is that hotend cooling duct has a “door” that let some of the air go into to part. The “solution” does not work.
To solve these problems I started by redesigning the extruder cooling. This solves both the issue of bulging inside the hotend and the problem with extruder getting too much heat from the hotend. This solves all the print issues with ABS, PETG, PC, Nylon.. but is not enough for PLA.
To tackle second and third problem this small project was created.
The fan duct goes over the stepper motor and allows for air to pass around the motor and exit back to cool the motor. Make sure you are extracting air and not pushing air in. The “cover” part will clip in to original top part on the UP Plus / UP Plus2 and will come behind the fun duct keeping it in place. As you can notice on both cover and duct there is 2 set of screw holes, 4 holes for the 40mm axial fan and 2 holes for the radial fan. If you do not need part cooling (ABS, PETG..) you mount 40mm axial fan here to extract air and you are golden.
If you do want to use part cooling fan (PLA requires it), I decided to recycle the air and push the air that we get from cooling the extruder motor into the part. This way the air is not “too cold” and will not stress neither the part nor the nozzle and it should (time will tell, so far so good) create PLA parts with less in-built stress. The part cooling duct houses a radial fan (no glue, hotsnot, silicone .. needed, just put it there) and screws trough the back of the cover into the duct.
I’m using custom firmware on the UP Plus2 so I’m controlling the fan trough there. On the top board you can see 3 3pin connectors (picture attached). The leftmost is 12V supply where your extruder cooler is connected. Middle (on the right side of the board the left connector) is also 12V supply and you can connect your fan here. If you are using only motor cooling (no part cooling) this is where you want to connect your fan. The third, rightmost connector is PWM-able. Originally this is where “light strip” is connected on some of these printers. If you have CPU upgrade with NXP chip to run smoothieware (I do) this is on port 1.18. If you are using original UP Studio software then probably check if you can change “light intensity” from software to change fan speed or just connect part cooling to a constant 12V, there’s usually never too much cooling for PLA so should work ok 😀
smoothieware config:
switch.fan.enable true
switch.fan.input_on_command M106
switch.fan.input_off_command M107
switch.fan.output_pin 1.18
switch.fan.output_type hwpwm
switch.fan.max_pwm 100
switch.fan.ignore_on_halt true
switch.fan.startup_state true
switch.fan.startup_value 0
switch.sw1.fail_safe_set_to 100
Print Settings
Printer:
self made Rafts:
Doesn’t Matter Supports:
Yes Resolution:
0.2 – 0.3 Notes:
You want the part to be solid but everything is “thin” here so the infill itself is irrelevant (I use 0%) but you want
4top, 4bottom solid layers
5 perimeters
I printed this in ABS, some other high temp plastic should work (PETG should be great for cover for e.g.)
Do not print in PLA it will deform quickly
Post-Printing
Self adhesive aluminium tape is your friend 🙂
remove supports
take a piece of self adhesive aluminium tape and attach it over the top part of the part cooling duct “nozzle”. This way the heat from the heater block will be reflected and part will last much longer. Also the ABS oils and other dirt that exist in vapors around the heater block will be easier to wipe off.
if you feel the whole contraption is not “stiff” enough, you can use a small piece of tape and attach the duct to the top plastic piece housing the small pcb board.
How I Designed This
onshape source available
this whole project was heavily influenced by PrintMo’s work -
Flexible motor dampener collection 3D Print Model
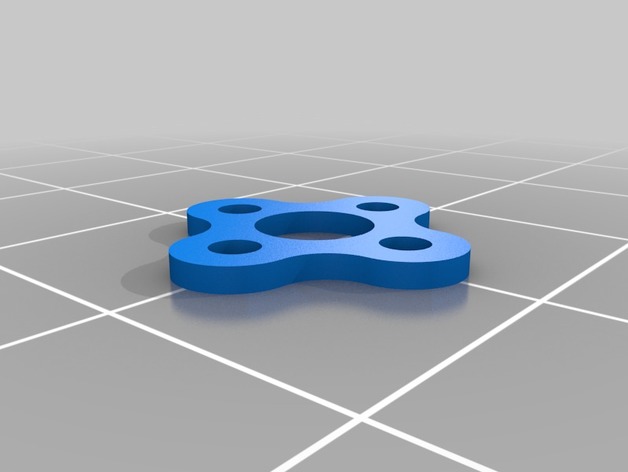
Summary
Shock absorber to reduce Motor vibration. Must be printed on TPU or TPE
Included Designs*:
· 11xx
· 13xx
· 18xx
· 22xx
· 23xx
· 28xx
· 31xx
· 35xx
· 40xx
· 41xx
*These are general designs for most brands and models. It is possible that with some mark does not coincide exactly the measures
By AIRK – http://www.airk.eu -
Boosted Board Logo Charger Cable Holder 3D Print Model
Summary
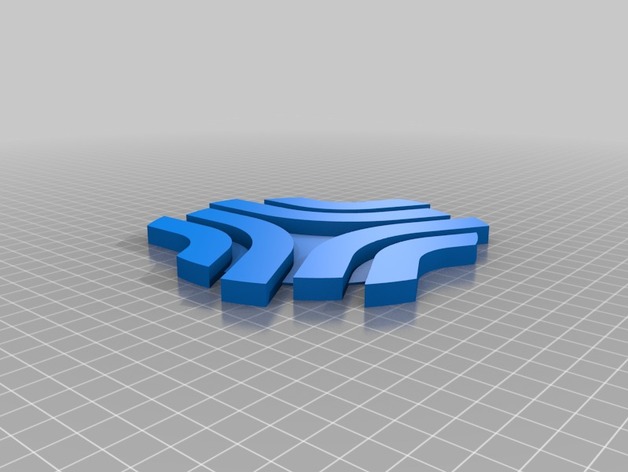
I wanted somewhere to put my charge cable when not in use, so decided to make a large version of the logo, where the spacing between the logo holds the charger cable. Lots of ways to place the cable in the logo. Grab the most orange filament you have, set your printer to fast, and stick the result to your wall, above your pride and joy! -
86Duino Steak profile 3D Print Model
Summary
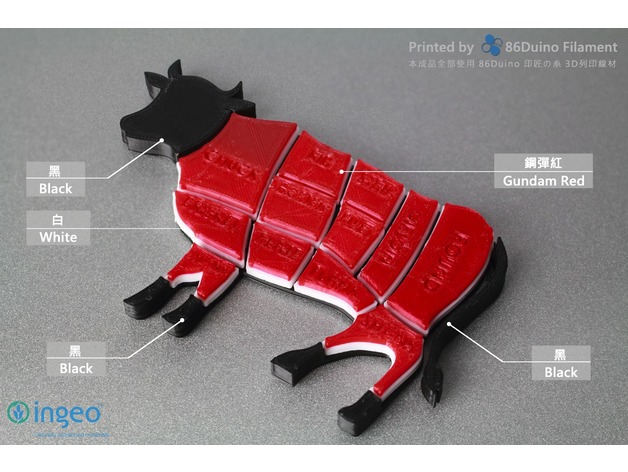
For more printing object please visit 86Duino facebook and give us a “like” and thanks for the tips…https://www.facebook.com/86duino
喜歡圖檔的好朋友請記得到 86Duino Filament 3D 列印 / 耗材 – 不正經研究中心 粉絲團給我們按讚哦 https://www.facebook.com/86duino
Post-Printing