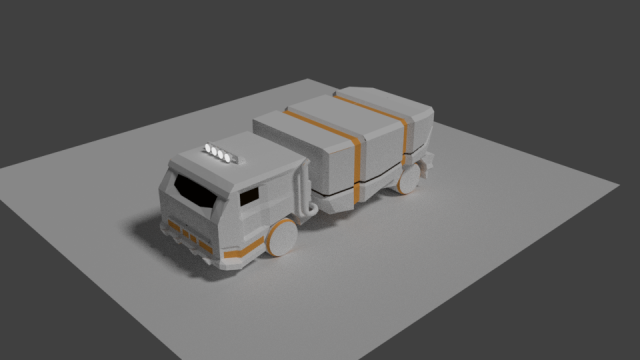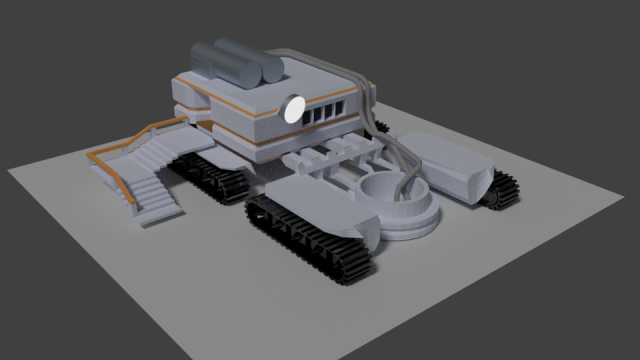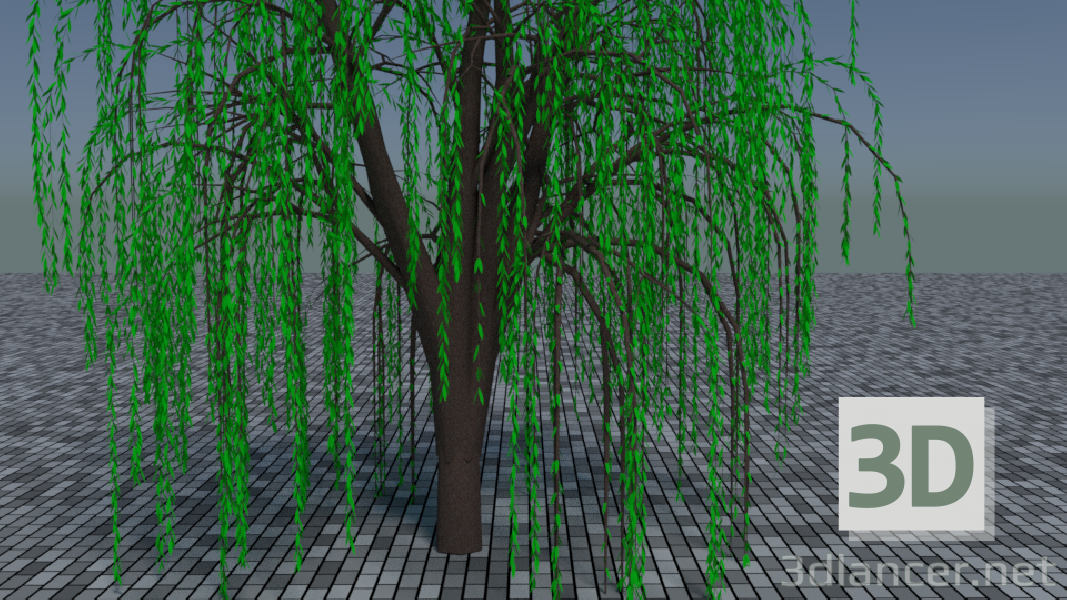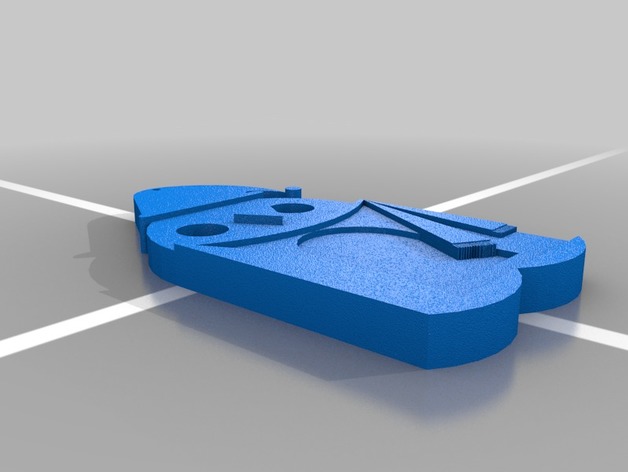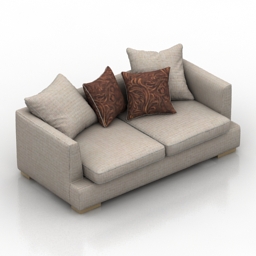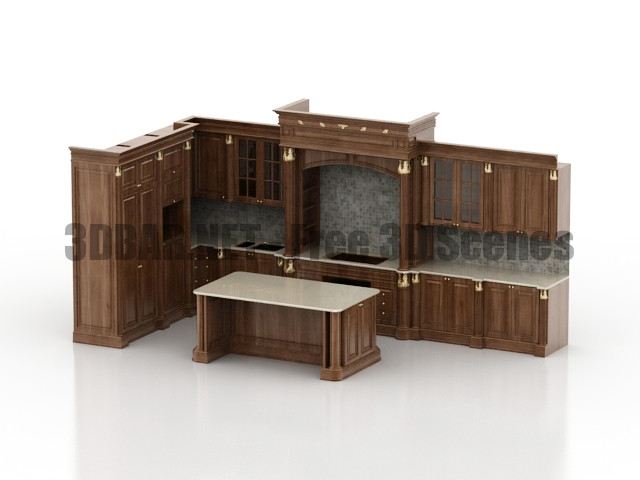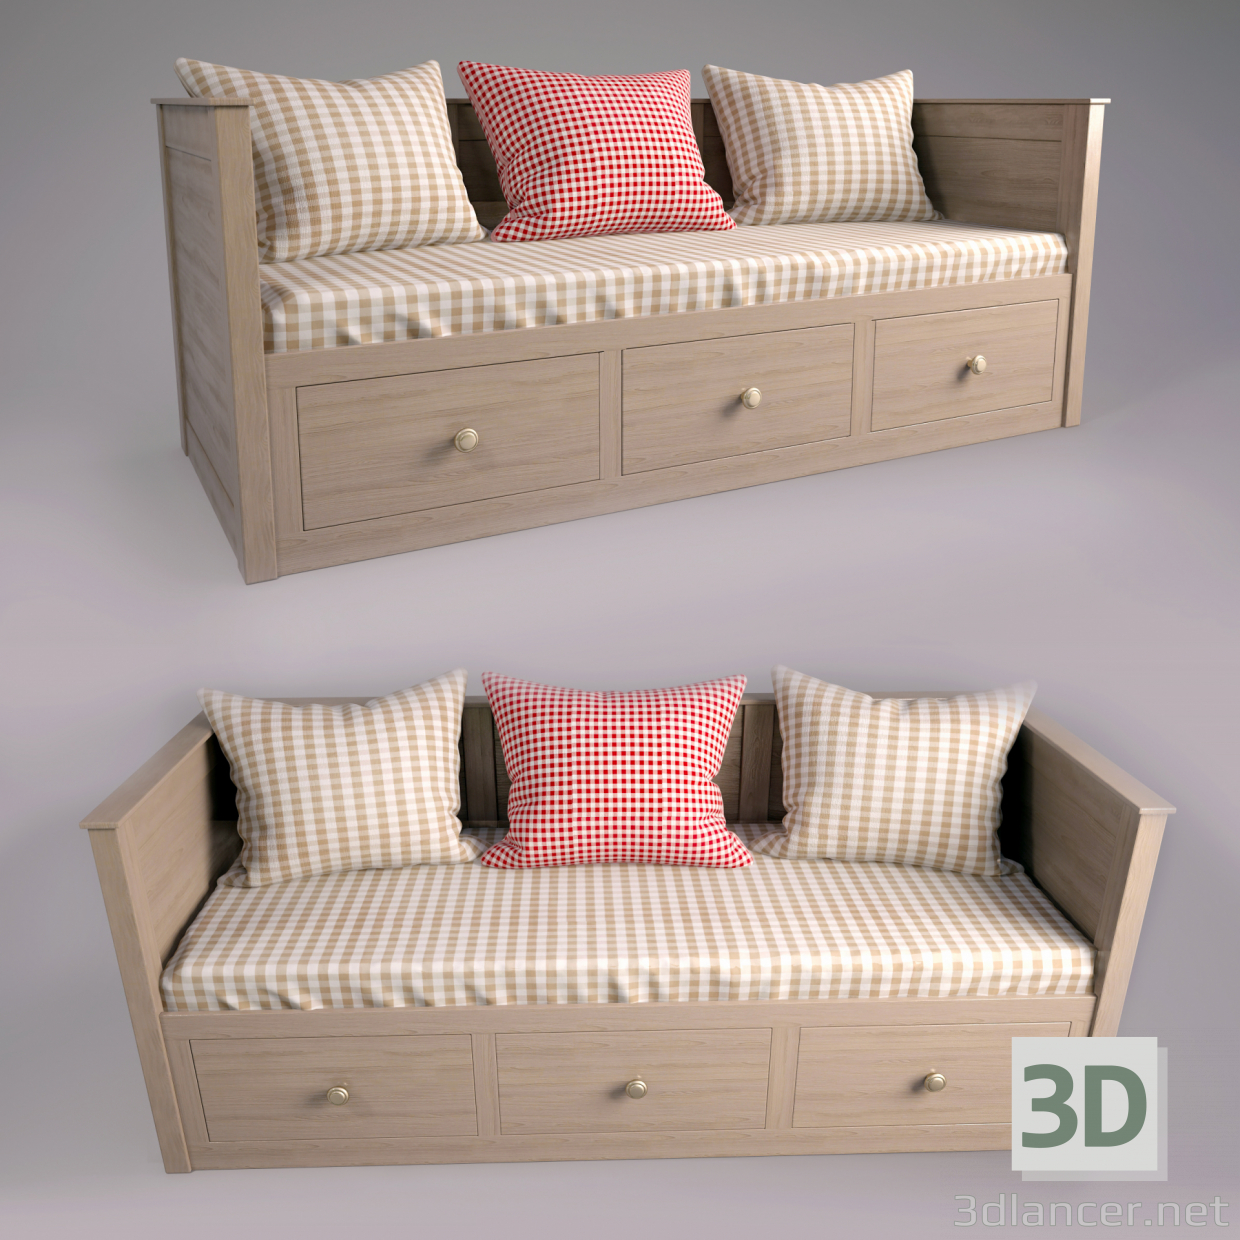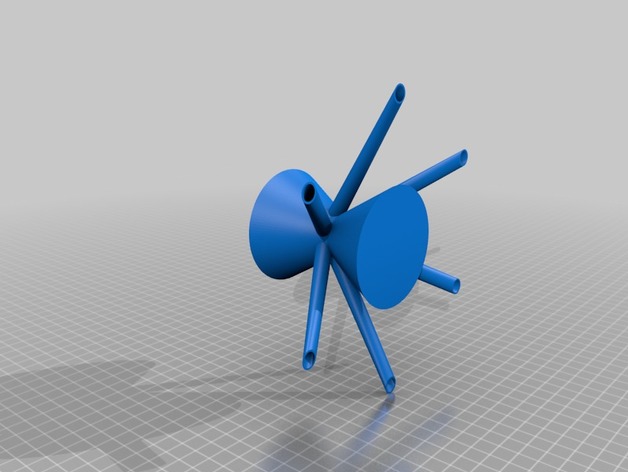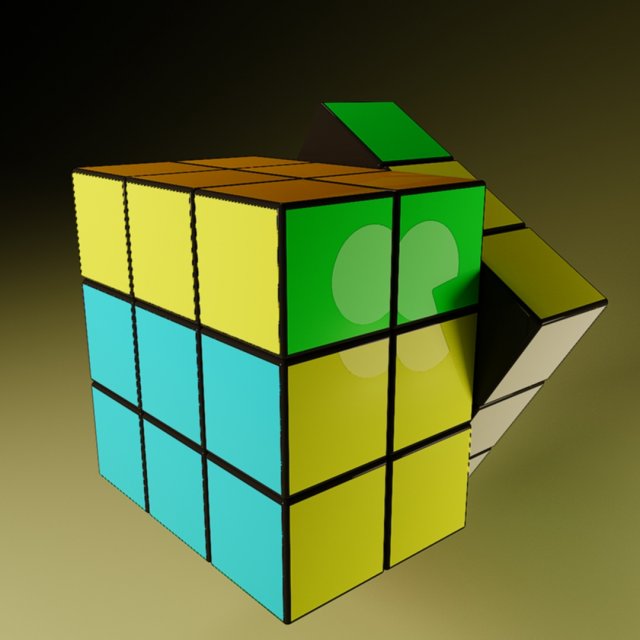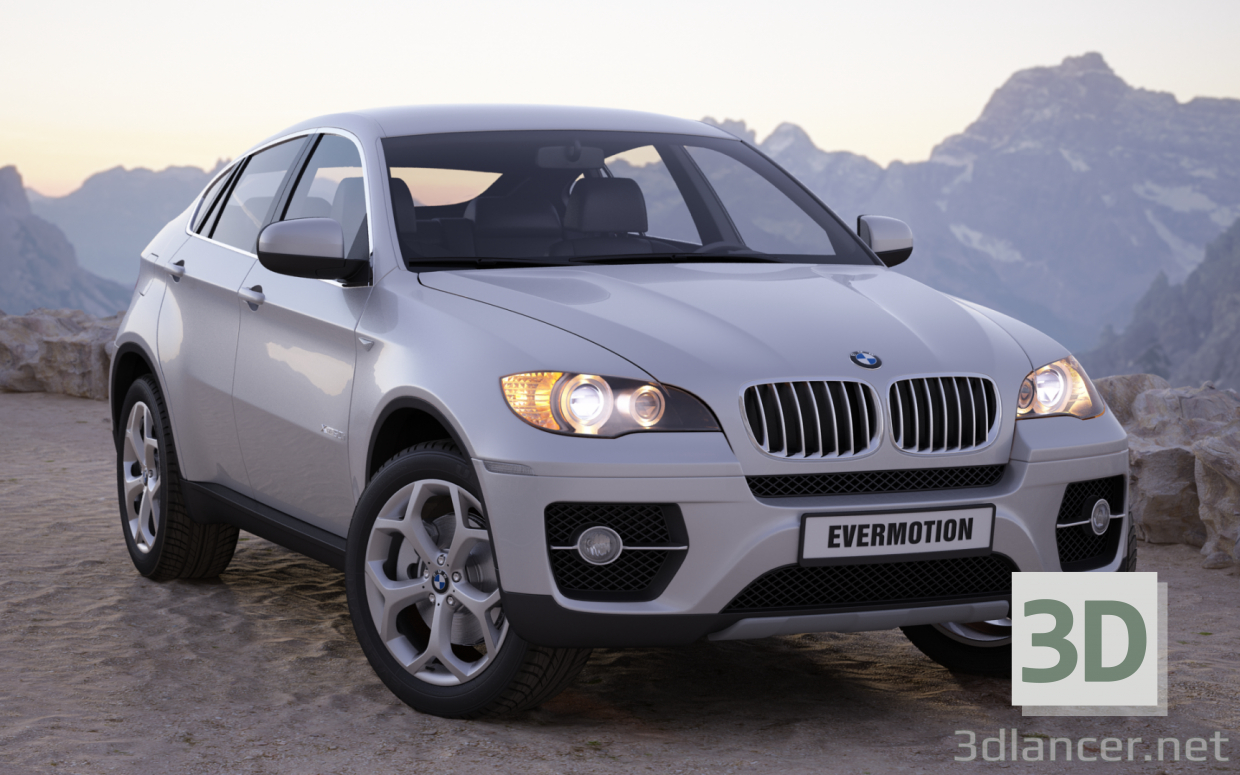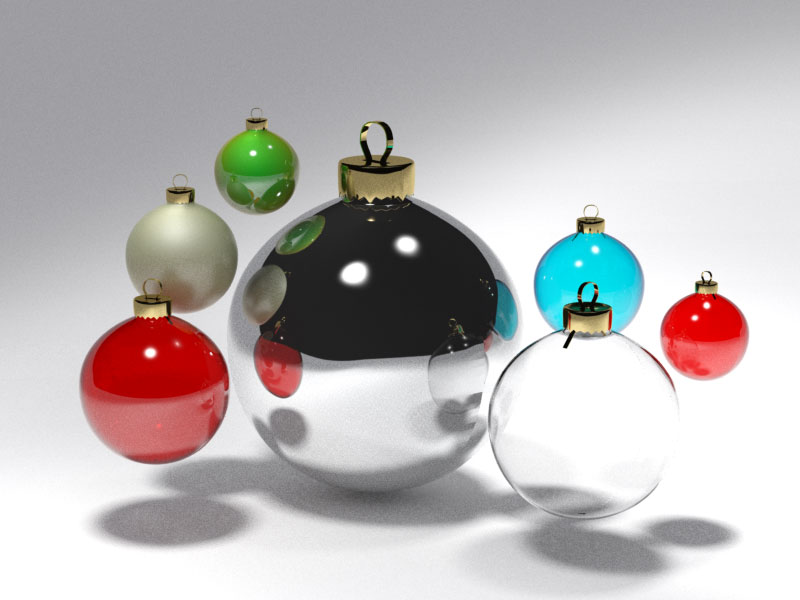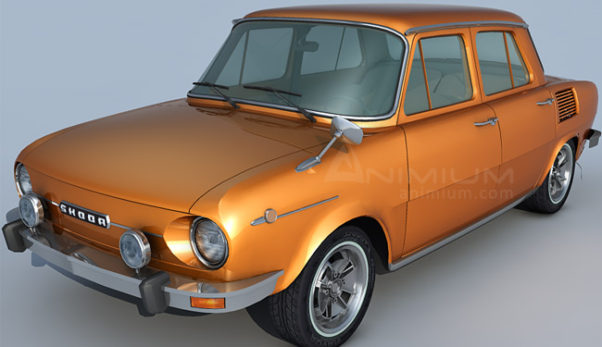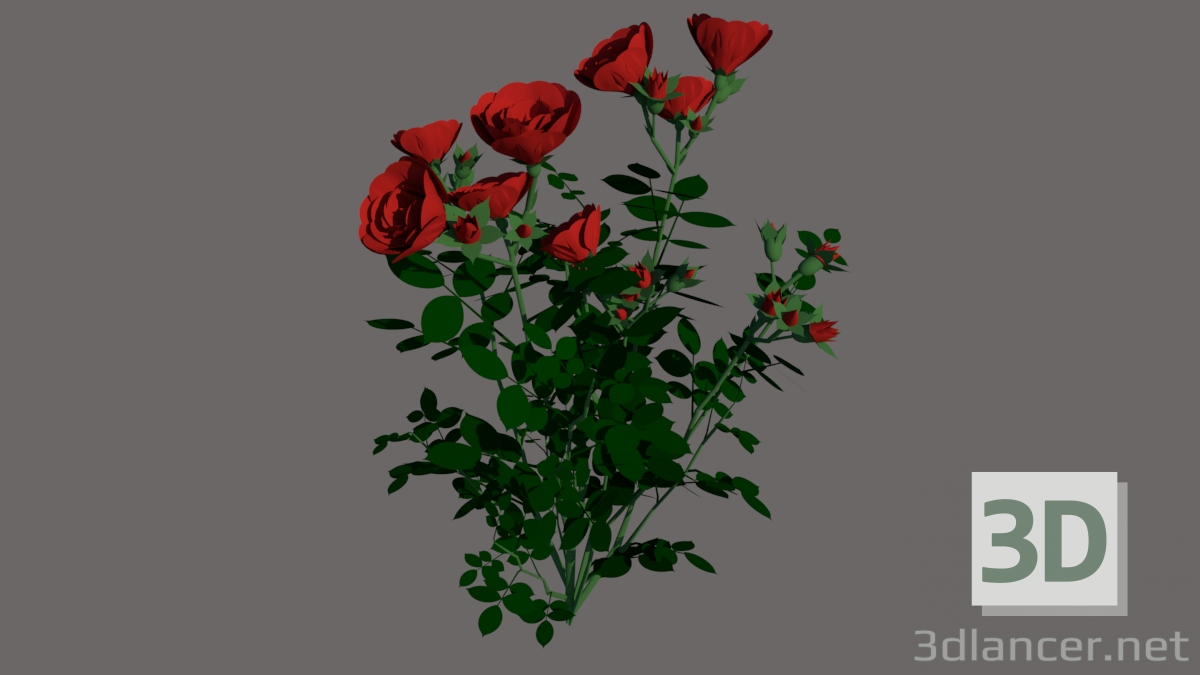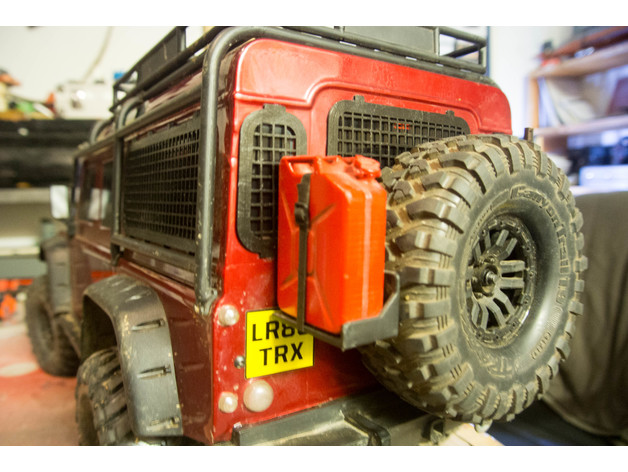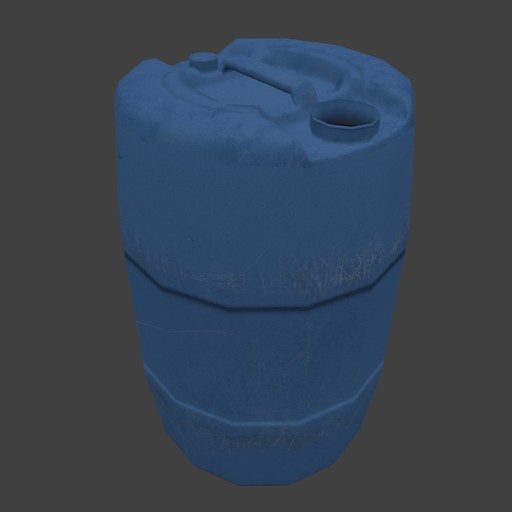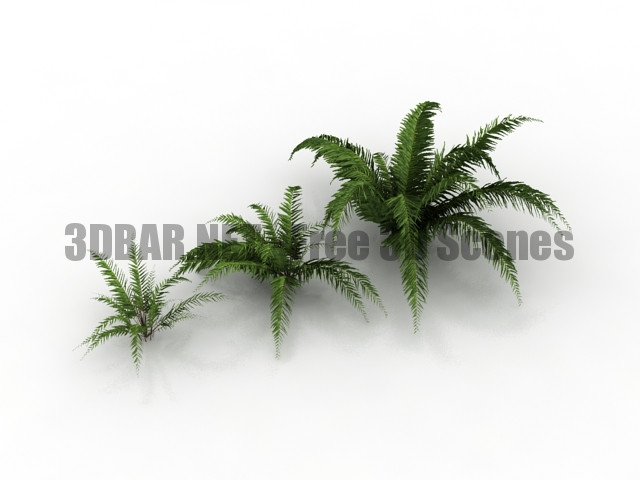
Fern Blechnum Bush Garden 3d Models
Category: Free 3D Models
Free 3D models ready to be used in your CG projects such as films, visualizations, games, VR etc. All 3D Models and Free 3D Print Models are available for download in several formats including .MAX, .STL, .FBX, .3DS, .C4D, .OBJ, .BLEND, .DWG, .DXF, .LWO and much more. If you’re in search of high-quality Free 3D assets, we have a huge library of 3d models for all your needs. Also you can visit 3D Models and 3D Print Models category.
-
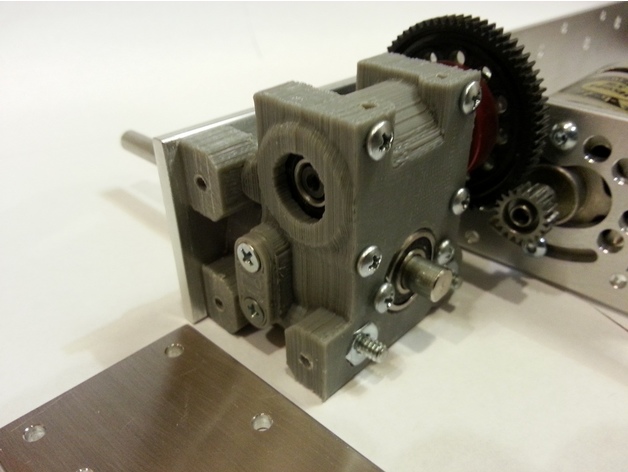
Tank2 undated Gear Cases for Kyosho RF006 worm gear set 3D Print Model
Summary
Hey back at it again with the original tank. Have gained a lot of knowledge in the last three years about gear boxes. Going back over the original tank and redoing some things to make it better, lighter, cheaper, easier and stronger. Going to try to keep the original looks and suspension the same. This new gear drive design I have had a lot of luck with and the Kyosho gear drive set has been proven to be indestructible. The new design uses fewer parts and is stronger than the old gear box. Uses a pair of 6x15x5m sealed ball bearings of the worm gear and two 6x16x5m sealed bearings for the shaft. My RF006 Kyosho gear set has the bearing tab cut off the one end. I have supplied a spacer to take up the slack but the original gear may fit in the case without removing the bearing tab. Make sure the worm wheel/axle is centered on the worm gear. There is a access plate that uses two #4×1/4 flat head sms (just in case the screw ever comes loose on the axle gear). Uses a pair of 6-32×1-1/2″ machine screws per side to go through the case and frame. Two #6×1/2 screws for the top frame, four #4×3/4 sms for the inner case and three screws per side #4×3/8 sms for the back plate and two #4×1/4 sms screws to hold the inner bearing and give you some adjustment. Drill #6 screw holes at .140″ (#28), #4 screw holes at .120″ (#31), #6 thread holes at .1065″ (#36) and the #4 thread holes at .086 (#44) on the flat and .093″ (#42) through the layers to keep from splitting.
Print the inner cases with raft and exterior support. Print the outer cases and the parts without raft. I use 2 extra shells and 20% fill. Break off extra tabs and buttons for support.
Have CNC machines up and going finally and will have frames rails and motor plates available on eBay for this tank and probably the old tank also. Search for fastmike tank2.
Always love to hear your comments. Thanks and enjoy! -
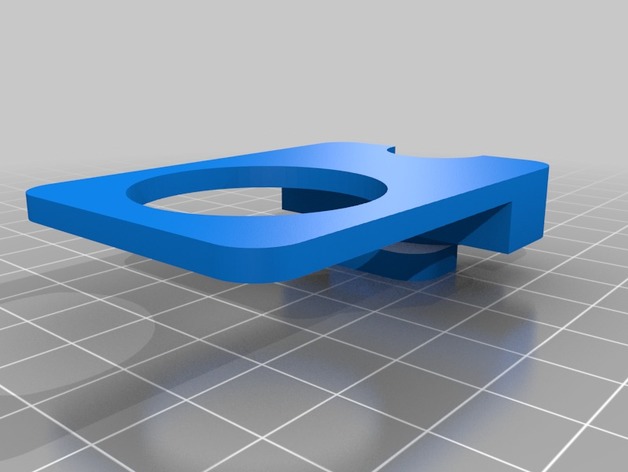
Ender 2 Spool Holder 3D Print Model
Summary
Ender 2 spool holder modification to make the printer smaller in z-height. You have to put it into the original spool holder ring and screw the tube onto it. Place it so that the spool is in front of the printer.
With this holder Ender 2 fits perfectly in Ikeas’s Lixhult. http://www.ikea.com/us/en/catalog/products/50328670/
This is my first own creation made with onshape.
Onshape link:https://cad.onshape.com/documents/641bbbc473dd174fe3b61717/w/a251211e59489ef57147337c/e/7e90d25bdd5e6cee71dc52af -
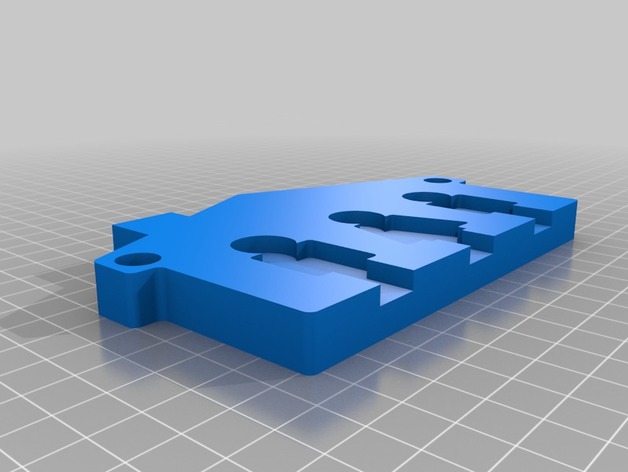
Key storage and chain 3D Print Model
Summary
Someone is asking for this kind of key holder/storage. Grab it if you like. -
Procedural geometric shader: “Pointes de diamant 1” Free 3D Model
Before applying this shader, you must make an UV unfolding of your object and it is better if apply scale.
This shader can be used as texture or surface on all materials.
This Blend contains six examples of setting -
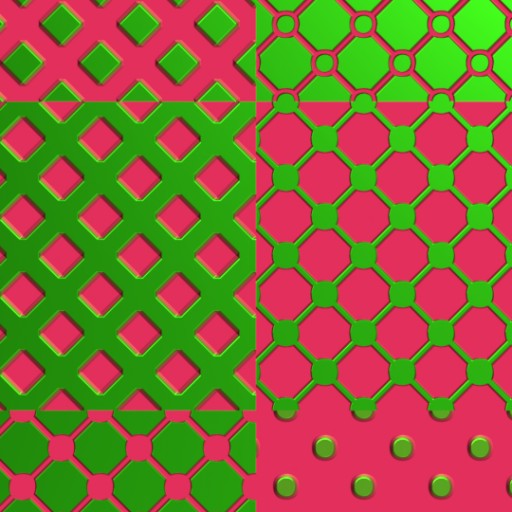
Procedral geometrique shader:”GRILLE 3″ Free 3D Model
Before applying this shader, you must make an UV unfolding of your object and it is better if apply scale. This shader can be used as texture or surface on all materials. This Blend contains six examples of setting
-
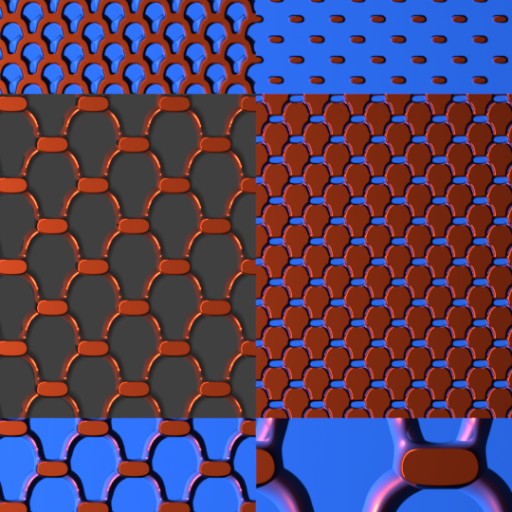
Procedral geometrique shader:”GRILLE 2″ Free 3D Model
Before applying this shader, you must make an UV unfolding of your object and it is better if apply scale. This shader can be used as texture or surface on all materials. This Blend contains six examples of setting.
No Image. -
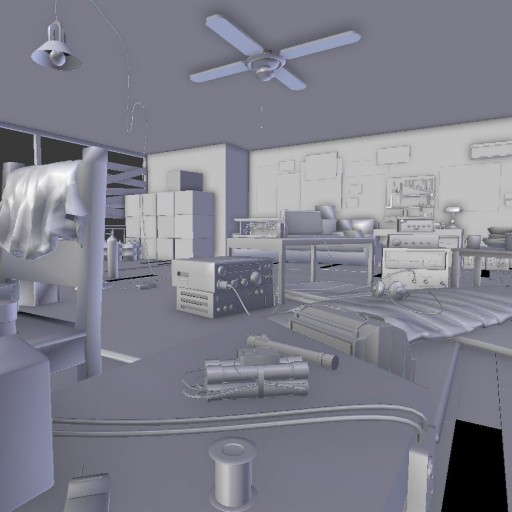
Sniper Room Free 3D Model
This is blend file for the 4th collaboration project done by the fine Blender Discord community.
Link to the server: https://www.discord.gg/blender -
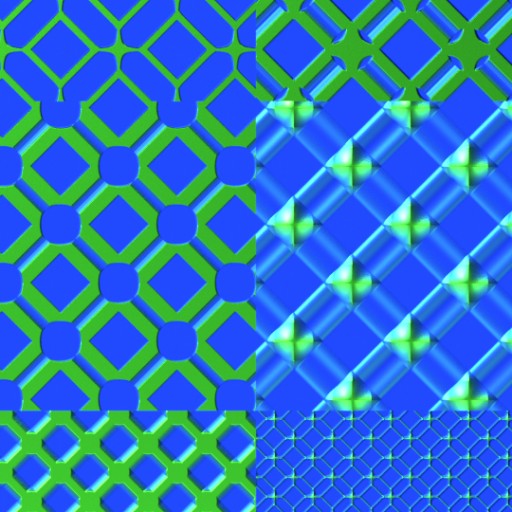
Procedral geometric shader: “Stars” Free 3D Model
Before applying this shader, you must make an UV unfolding of your object and it is better if apply scale. This shader can be used as texture or surface on all materials. This Blend contains six examples of setting. No Image.
-
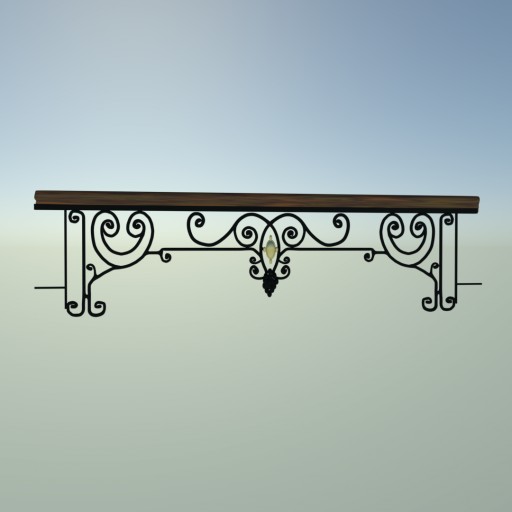
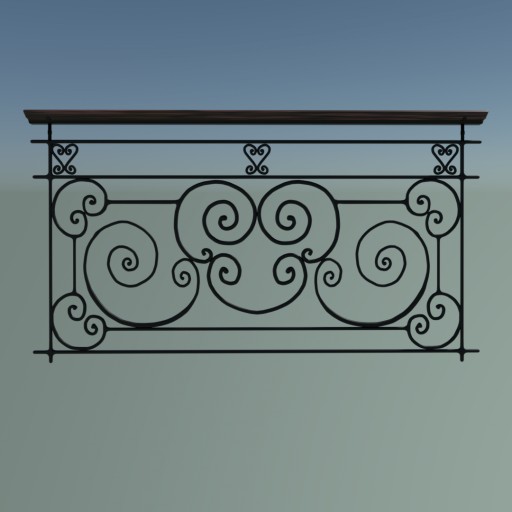
French Balcony Railing 1. (art nouveau) Free 3D Model
French balcony railing 1.
Dear friend,
during my visit to France/Paris, i saw many interesting examples
of art nouveau architectural elements,
facades, balconies, windows, doors and so on.
Regarding to some photos, i created this example.
It is not a perfect blend, i m still a beginner.
But perhaps,with some improvements…. -
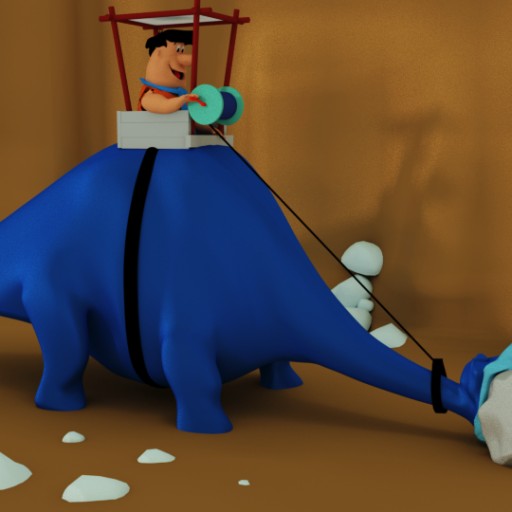
BedRock Quarry with Fred and Bronto Free 3D Model
This is my original sculpt based off a Flintstones reference photo. I hope you enjoy just render and enjoy.
-
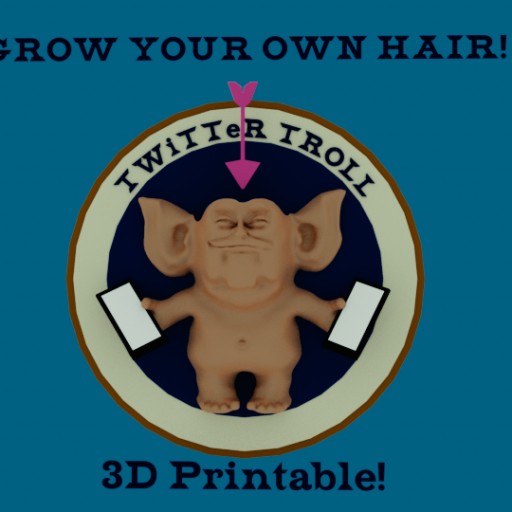
Twitter Troll Free 3D Model
This is our favorite twitter troll. Have him on your desk right before you fire off your next passionate diatribe. BYOH (Bring your own hair!) Use cotton or something better.
-
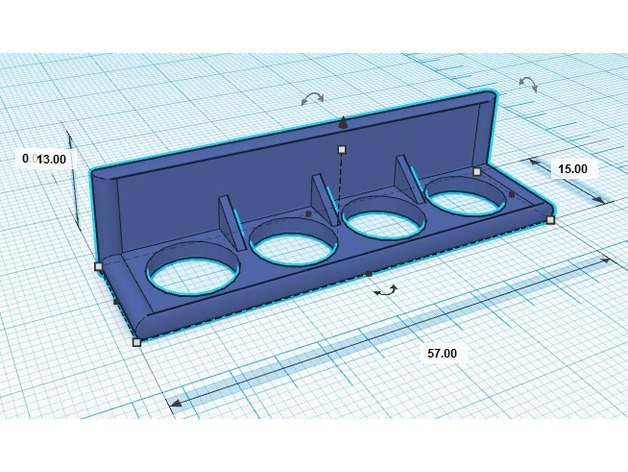
Dry-Erase Marker Holder X4 3D Print Model
Summary
The wife complained about her dry-erase markers always walking away from the board on our fridge. (I blame my kids). I fixed that.
This Hold the fine-tipped (11mm wide) thin dry erase markers top-down so the ink is always at the tip.
Print this out and add ANY adhesive backed magnets you want. There should be enough of a recessed area to make them as hidden as possible, though they might need trimming
Dimensions are (L) 57mm (W) 15mm (H) 13mm
Designed in Tinkercad
Print Settings
Printer:
Maker Select V2.1 Rafts:
No Supports:
No Resolution:
.1-.2 Infill:
10-50% Notes:
Resolution really isn’t a thing. I printed it at 50% because I had ALOT of extra filament and it will be handled regularly.
used PETG at 225c with 75c hotbed but PLA should do just fine. -
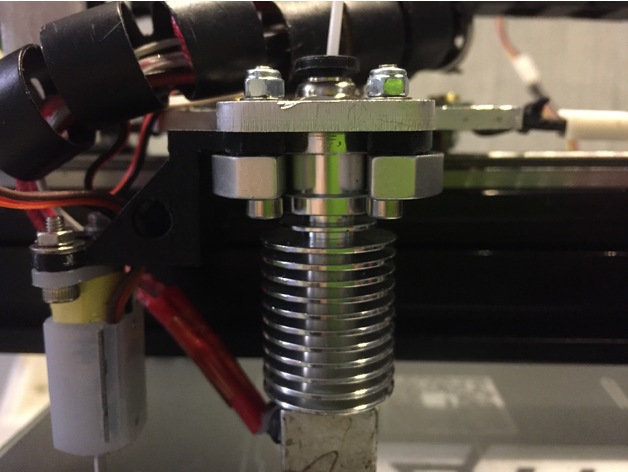
bl touch mount tarantula E3dv6 + entretoise 3D Print Model
Summary
I needed a spacer for my E3D v6 (in order to fill the void underneath my x carriage so as not to bend it by screwing too hard) and a holder for my 3d bltouch sensor. I had this support so I adapted it to my tarantula.https://fr.aliexpress.com/item/1Pc-Free-Shipping-Reprap-Kossel-For-E3D-V5-V6-Hot-End-Aluminum-Alloy-Groove-Mount-Horse/32642740136.html?spm=a2g0w.search0104.3.2.8aC08W&ws_ab_test=searchweb0_0,searchweb201602_2_10152_10065_5000015_10151_10344_10068_10345_10342_10343_10340_10341_5130015_10541_10084_10083_10305_10304_10307_10306_10302_10539_5080015_10312_10059_10313_10314_10184_10534_100031_10604_10603_10103_10605_10594_5060015_10596_10142_10107,searchweb201603_12,ppcSwitch_4&algo_expid=a04b9763-bf4c-45cb-8299-47732310a210-0&algo_pvid=a04b9763-bf4c-45cb-8299-47732310a210&rmStoreLevelAB=4
I put on line the support as well as the template of drilling / spacer, if someone would like to adapt it to his carriage. The holder has a wire-pass for the sensor as well as a wire-pass on the left rear eg for the wires of the heating cartridge and the probe of the hotend.
Print Settings
Printer:
Tarantula Rafts:
Yes Supports:
Yes Resolution:
0.2 Infill:
50 Notes:
ABS -
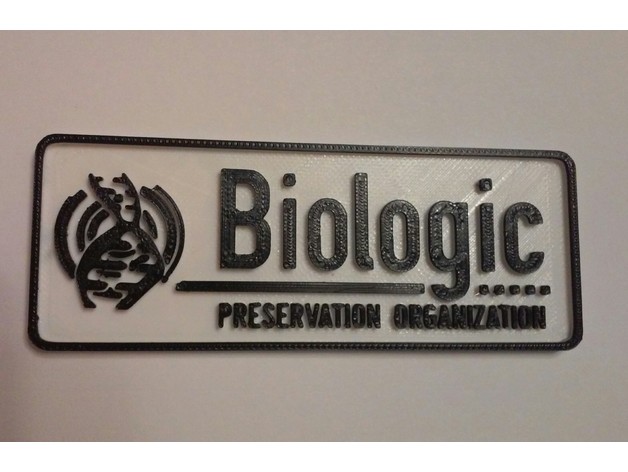
BPO Badge 3D Print Model
Summary
Now you too can complete your disguise and go undercover inside the insidious organization known as BPO.
Watch out for Whispers.
This looks best printed in two colors, though if you have a steady hand and can get a nice green, painting by hand to match the show might be nice too. I assume it would be pretty simple to get this to print in multiple colors with a dual extruder printer, too.
How I Designed This
Based off a photo from Daryl Hannah’s Twitter during shooting for the finale and the patches on some of the BPO agents seen in Season 1 (https://twitter.com/dhlovelife/status/915570400511348738).
Took a lot of staring at fonts, but in case anyone’s interested, Gliscor Gothic on dafont looks to be an exact match for the font used on the patch itself.
The DNA strands didn’t copy over well from the image so I found some royalty free clip art and warped it around in Photoshop until it looked close enough. -
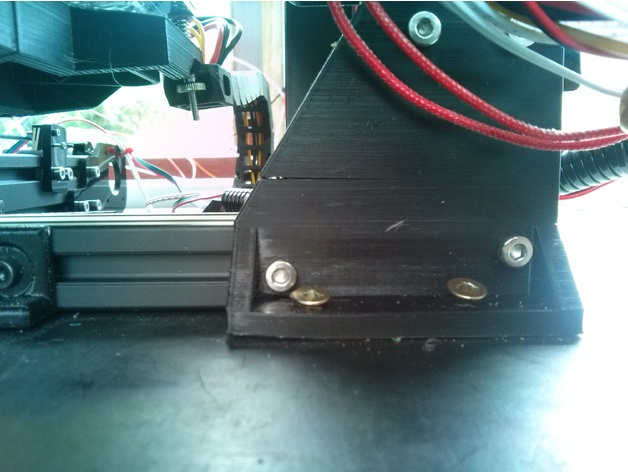
Tevo Tarantula Bottom Right Bracket 3D Print Model
Summary
Simple z axis strengthening bracket for bottom right hand corner
Print Settings
Printer Brand:
Prusa Printer:
i3 MK2 MMU Rafts:
No Supports:
No Resolution:
0.2 Infill:
25% -
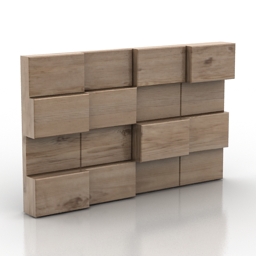
Panel 3D Model
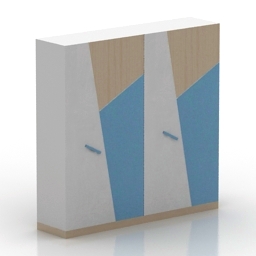
Additional Info: Panel decor wood N061017 – 3D model (*.gsm+*.3ds) for interior 3d visualization.
-
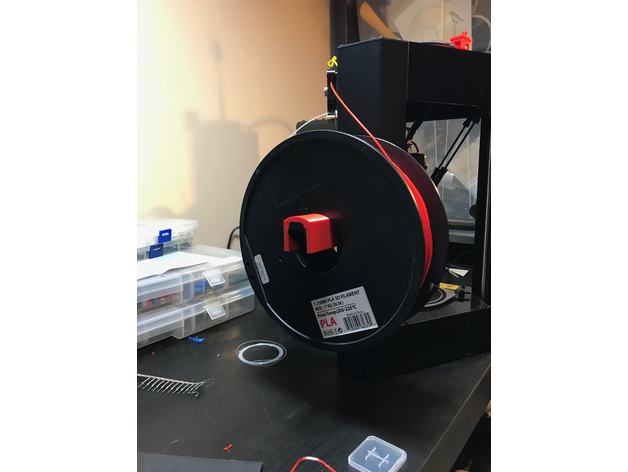
Monoprice Mini Delta Spindle Rounder 3D Print Model
Summary
I didn’t like the sharp edges of the bent metal spool holder on the Monoprice Mini Delta, so I modelled this up that slips over the spool holder and gives it a nice 26.5mm radius on the spindle. Should smooth out feeding of filament.
Inspired by Enzi1984’s design for the MPSM: https://www.thingiverse.com/thing:2036976
Print Settings
Printer:
MP Mini Delta Rafts:
No Supports:
No Resolution:
.2 Infill:
20% -
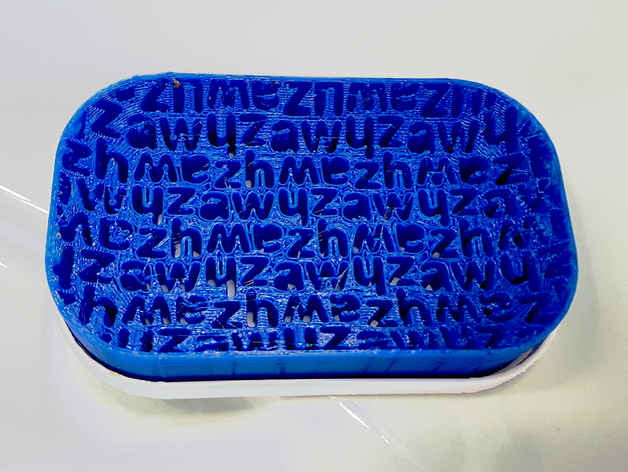
ZHAW Soap Dish / Sponge Holder 3D Print Model
Summary
This is a soap dish or sponge holder perfect for catching drips before they reach the counter. The design is based on the Zurich University of Applied Science (ZHAW) logo.
The holder consists of a top “dish” and a bottom “saucer”. STL files are provided for a 6x10cm version that fits common hand soap, as well as a larger 9.5x12cm version that is more suited for sponges.
The design was created in OpenSCAD using the SymmetryCAD library. The dimensions can be easily modified in the code, and the logo could be swapped for another with a minor effort. The tesselation pattern can also be modified to any of the 17 wallpaper groups; the ZHAW logo is tiled with cmm symmetry. -
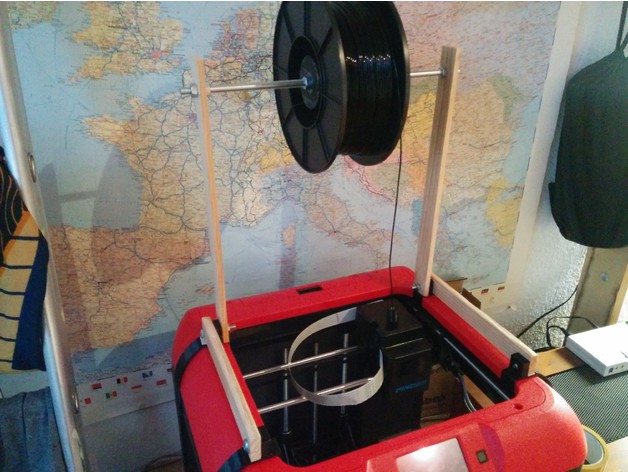
Flashforge Finder minimum resistance filament holder 3D Print Model
Summary
My Finder kept producing errors because of hard-to-pull filament,so I decided to build a mont with minimum resistance.
I think the pictures are self-exlanatory. If you still have questions, just leave a comment!:) -
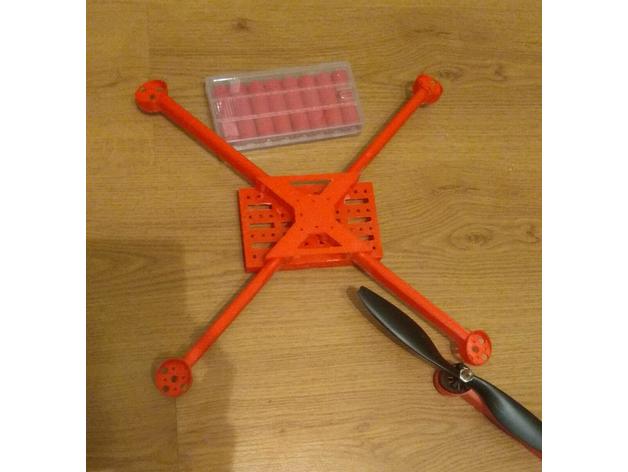
Copter 18650×8 3D Print Model
Summary
Copter on 8×18650
Motors 2212
Props 10″ – 9″
frame – 70g
ABS – 25% infil -
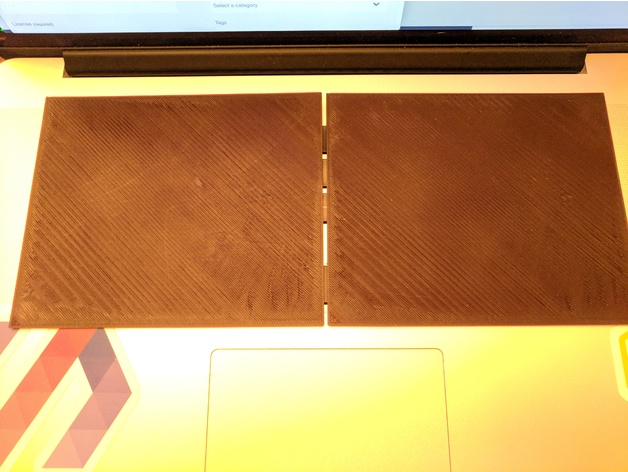
laptop keyboard cover 3D Print Model
Summary
I heard you like keyboards so I made a 3D printed keyboard cover so you can keyboard without hitting your keyboard.
This is a cover i made for my 2013 macbook pro so that i could rest my mechanical keyboard on top of the keyboard and not have any of the keys below triggered.
I made it in two parts to ensure that most printers would have the area to accommodate this print.
Print Settings
Printer Brand:
Wanhao Printer:
Wanhao Duplicator i3 V2 Rafts:
No Supports:
No -
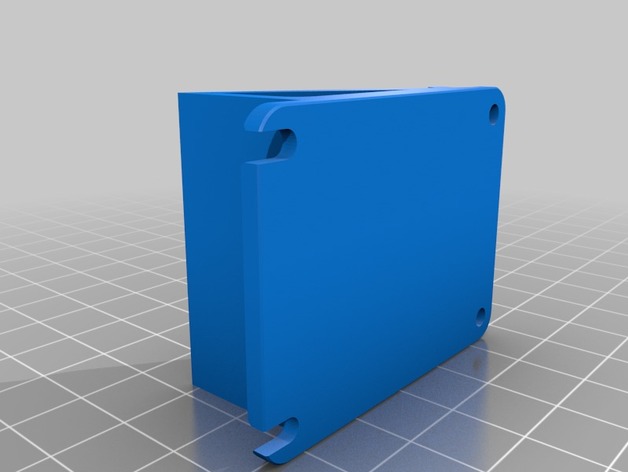
GoPro Session mount for Martian 2 frame 3D Print Model
Summary
30 degree GoPro Mount for martian 2
Martian 2 frames aren’t consistent, this is for the following mounting dimensions
Mounting points are ~45mm x ~32mm
more angles incoming
Print Settings
Printer Brand:
Wanhao Printer:
Wanhao Duplicator i3 V2 Rafts:
Doesn’t Matter Supports:
No Resolution:
.02 Infill:
20% Notes:
Print flat on screw mounts -
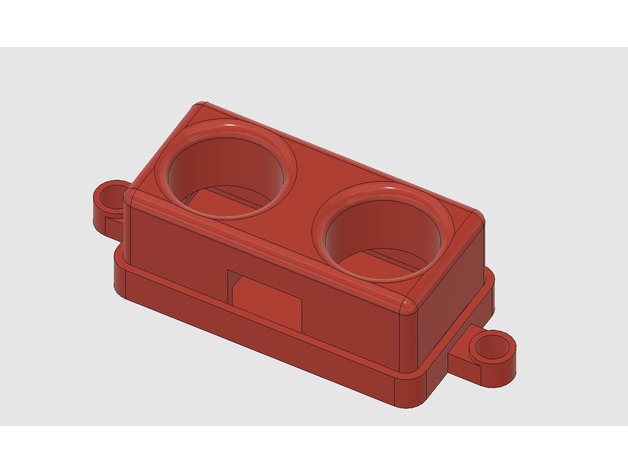
Sunfounder HC-SR04 Case 3D Print Model
Summary
The Sunfounder version of the HC-SR04 is slightly different from most low-budget modules out there. For one, it doesn’t have the protruding crystal oscillator between the emitter and receiver. It also uses a socket to prevent you from connecting the wires incorrectly.
This means that most of the HC-SR04 cases out there don’t work without considerable modifications.
This is a snap-fit case, allowing you to screw the backplate into position and then snap the front part of the case in place.
Print Settings
Printer:
Monoprice Select Mini v2 Rafts:
Doesn’t Matter Supports:
No Infill:
10% Notes:
I was able to print with PLA without supports on a pretty low-budget printer. Your experience may vary. -
Bedclothes 3D Model
Additional Info: Bedclothes N071117 – 3D model (*.gsm+*.3ds) for interior 3d visualization.
-
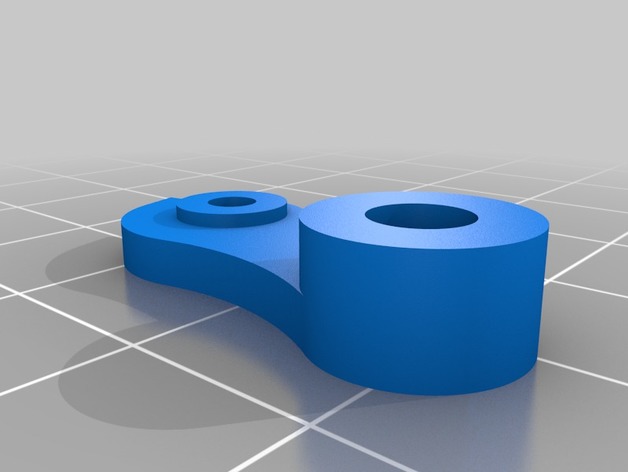
monoprice mini select Extruder Lever Arm 3D Print Model
Summary
Warning: The cover is as of yet untested. Tell me in the comments if it needs to be adjusted. This is a drop-in replacement for the monoprice mini select extruder arm and cover. After mine broke the day after my printer was delivered, I found Makerbot’s Replicator 2 extruder design to be the same except for the bearing size. I modified it in Onshape, and the bearing from the MP Select Mini fits snugly. If you had to replace parts other than the arm or cover of the extruder, Makerbot’s other parts should fit fine. I can’t find any dimensional differences between my part and the original, but your experience may vary. Tell me if it works in the comments! doesn’t seem to have any issues with it but if you do end up with problems, download the “fixed” version and try that. I also added a file with both the cap and the arm.
Print Settings
Printer:
monoprice mini select Rafts:
Doesn’t Matter Supports:
Doesn’t Matter Resolution:
0.2 Infill:
40-100%
Post-PrintingHow I Designed This
-
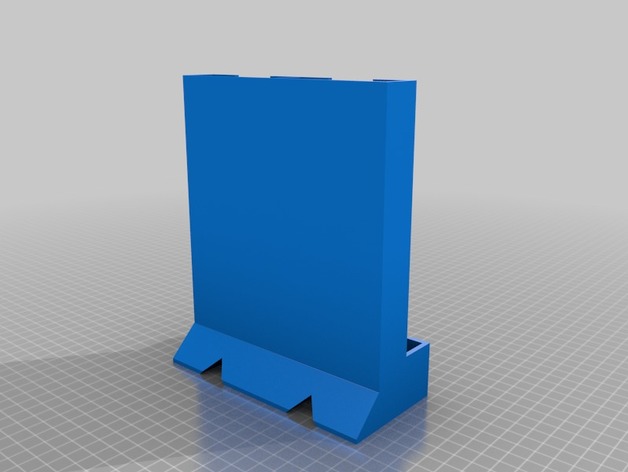
18650 Dispenser, Self Standing, Chunky (Dual version) 3D Print Model
Summary
Tall dual version of Chunky’s 18650 battery holder for 2×10 18650’s.
Print Settings
Printer:
Craftbot XL Rafts:
No Supports:
Yes Resolution:
0.3 Infill:
30 -
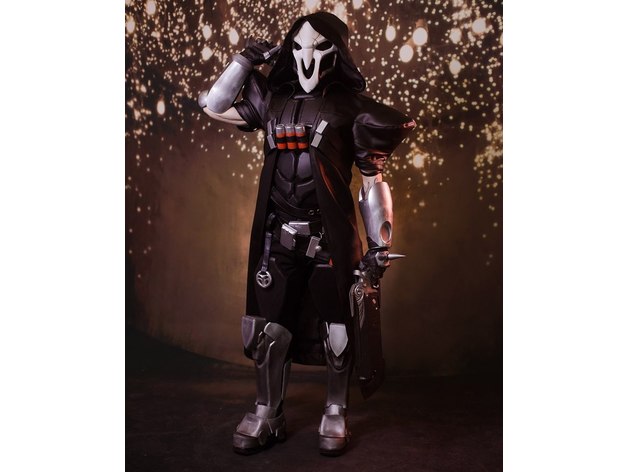
Reaper left wrist 3D Print Model
Summary
This is pretty simple full-size model of reaper’s wrist for cosplay. It is tube with enough diameter for put in your hand into wrist.
Print Settings
Printer:
Magnum Creative 2 UNI Rafts:
No Supports:
No Resolution:
0.3 Infill:
15-20 Notes:
Print this from PLA or another plastic without shrinkage. Thickness of wall – 0.6 mm. Wrist cutted Into 2 parts. Also u have connection rods for glueing two parts between themself. If u have high work zone – print full size model. -
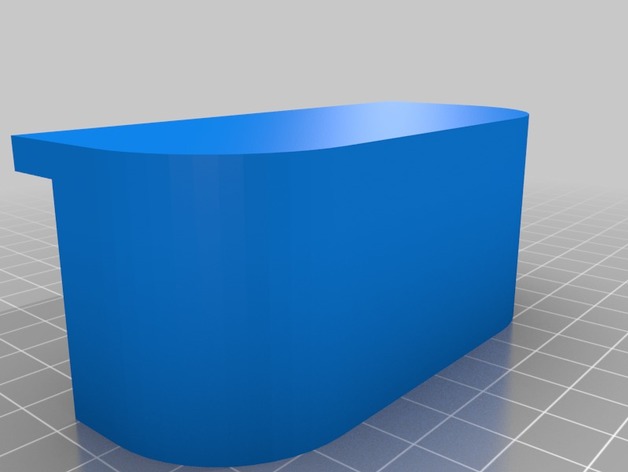
Carlon LED Candle Pedestal 3D Print Model
Summary
Pedestal to fit the Carlon battery operated LED candle. This has a cutaway for the window frame, and places the light sensor higher above the window frame. -
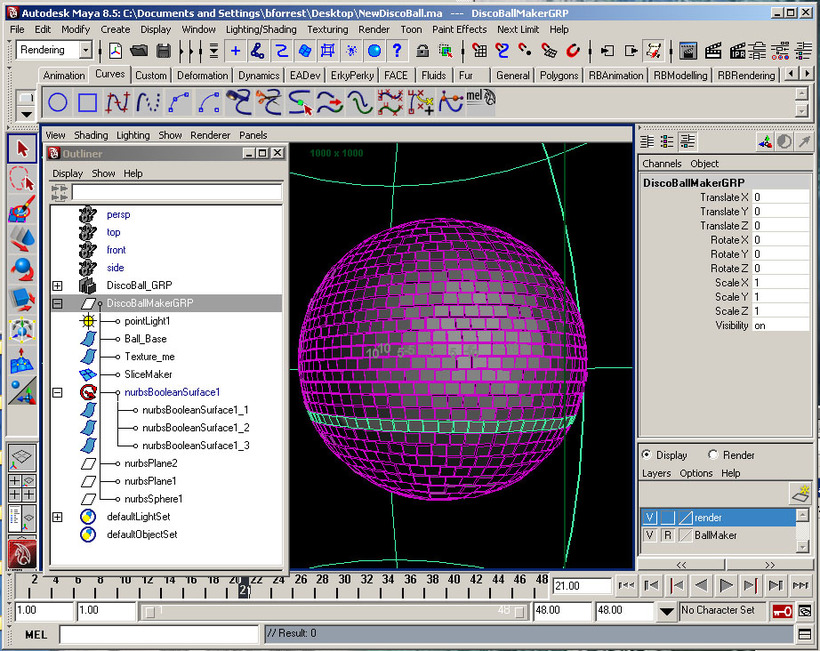
Disco Ball Pro 3D Model
Please use the Support Forum if you have any questions or problems.
Please rate and review in the Review section.
-
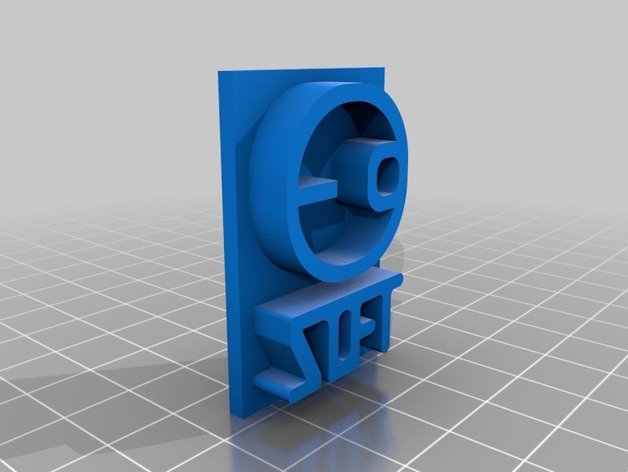
NES Homebrew Logo 3D Print Model
Summary
This is a model I made for a friend who create’s homebrew NES games, with this being his logo. I have no idea why YOU, random thingiverser, may want it, but this is mainly here in case I ever lose the original model.
How I Designed This
Fusion 360’s REALLY good for manually converting an image into a 3D model, all I did was trace over a picture given to me and extruded how I thought he’d like it. -
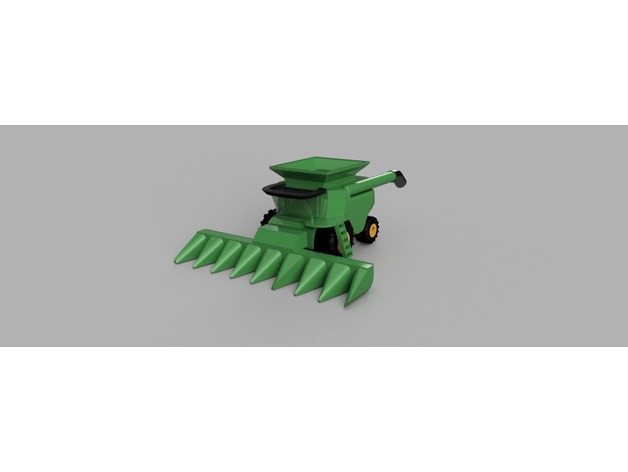
Combine Harvester with Corn Head 3D Print Model
Summary
If there was ever a work in progress, this combine harvester is it. A few hours of work went into this design, and it will likely require a few more. I would love to incorporate parts driven by drive wheels, gears, and chains in later revisions
I would love to hear back from users with what I need change, add etc to make this print better. I know tolerances are too tight on some surfaces, and will likely require some sanding at least to get items to fit. This project will also likely require some glue. I refer to part names by an “American” point of view – passenger side is meant to mean left according to driver (or Port Side).
This machine was very roughly modeled after the John Deere S690 combine (grain) harvester. I don’t have one of these at my disposal, so images from the internet are my best reference. -
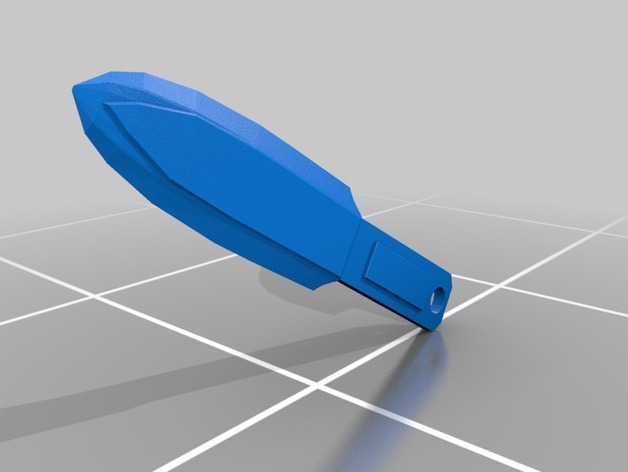
The Kulbeda 3D Print Model
Summary
Simple one part print.
Uploaded with faux leather wrap, and without.
All credit to original author: http://steamcommunity.com/sharedfiles/filedetails/?id=271657551 -
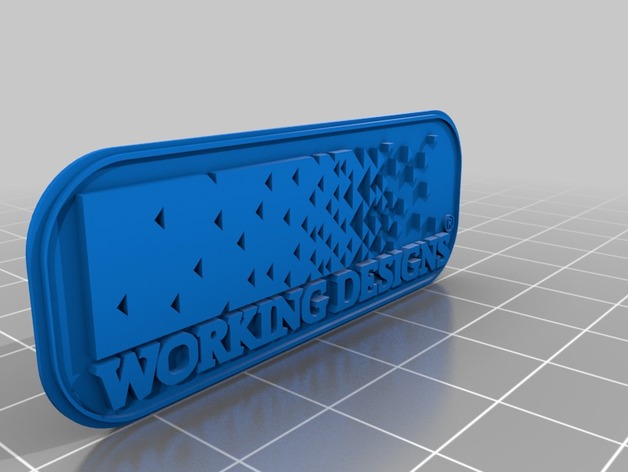
Working Designs Logo 3D Print Model
Summary
The logo from the beloved (and sadly gone) Working Designs. -
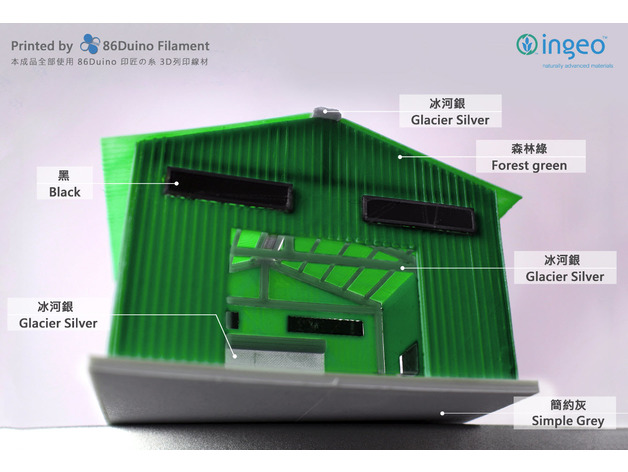
Taiwan style metal sheet building / 台灣鐵皮屋 3D Print Model
Summary
For more printing object please visit 86Duino facebook and give us a “like” and thanks for the tips…https://www.facebook.com/86duino
喜歡圖檔的好朋友請記得到 86Duino Filament 3D 列印 / 耗材 – 不正經研究中心 粉絲團給我們按讚哦 https://www.facebook.com/86duino
Post-Printing -
3D Printer Tool Stand (without “3D” lettering) 3D Print Model
Summary
I took STIG_’s remix and removed the “3D” lettering from the front since I found it unnecessary and it just increased the print time.
The print in my pictures was printed on a Prusa i3 MK2S at 150% speed and took 12hours47minutes and at a price of $23/kg of spool cost me $5.25.
Print Settings
Printer Brand:
Prusa Printer:
i3 MK2S Rafts:
No Supports:
No Resolution:
0.2 Infill:
10% -
Modular gaming hills 3D Print Model
Summary
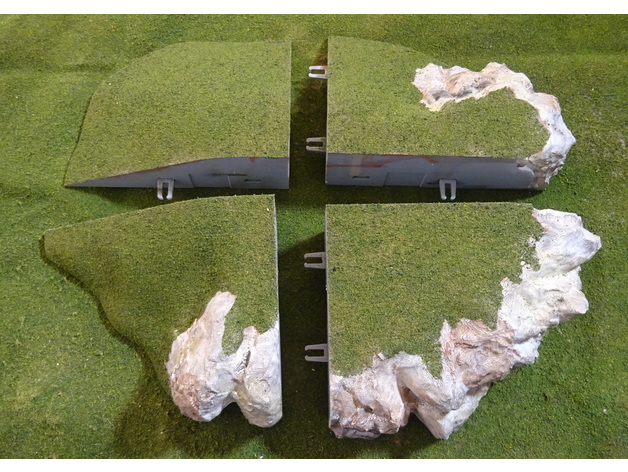
This is a set of pieces that lets you make hills for wargaming and roleplaying games. The pieces can be snap fitted together with the applied clip. There are different sizes so check out the possible combinations. Not everything fits with everything visually.
You can make full round hills, or edge hills (from two pieces) or corner hills (from one piece).
You should be able to print with very low infill. I use 5% honeycomb.
The hills on the pictures have been painted with different techniques. The desert hill is painted dark muddy brown the drybrushed with a lighter color. They dark grassy hill is painted black and then drybrushed with lighter and lighter grays. The lighter hills are painted white and then washed with yellow, red, brown and black.
The hills are textured and flocked with a simple technique. Thin down PVA glue with 50% water. Paint on. Sprinkle sand and grit on them. Let dry. Spray or paint with PVA glue 80% water. Let dry again.
Support me on Patreon
This thing is delivered with the outstanding help from my patrons. To help me deliver quality printable terrain models, please pledge $1 or more:
Video presentation
Miniatures used
Sci-fi miniatures used comes from pig-iron miniatures.http://www.pig-iron-productions.com/ -
Shimano BR-M315 Abstandhalter/Distance 3D Print Model
Summary
Dear all,
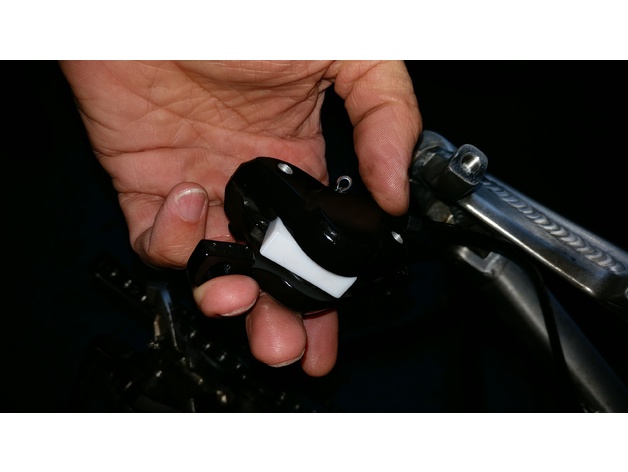
when bleeding the brakes, you should use an inlet inside the brakes.
I have uploaded two sizes. the larger one really requies full space – so cylinders must be pushed away.
I have been printing it with 40% and 60% infill and it seemed ok, even when pushing the brake.
thanks
christian -
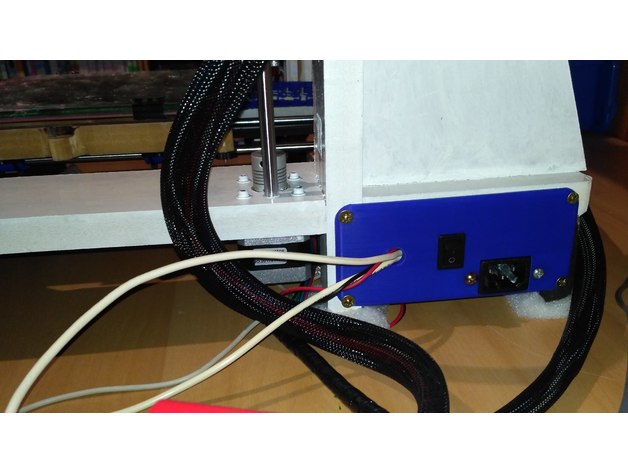
Support alim itopie 3D Print Model
Summary
I have create this piece for itopie with 2mm frame, for 20A power suplie (16.53.99.9cm).
You should be remix this thing by the solidworks file.
Print Settings
Printer:
Itopie Rafts:
No Supports:
No Resolution:
0.4 Infill:
0.2 Notes:
Print in PLA -
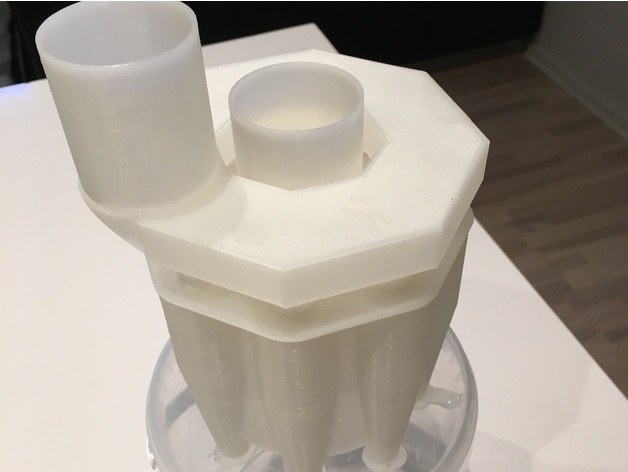
Multi Cyclone 3D Print Model
Summary
This is a multi cyclone I made to work as a pre-filter when cleaning the pool – and save a lot of water in the process – minimizing water needed for backwashing. Works fine as filter for the shop vac too.
In the making of this I did a lot of reading-up on the function and math involved in these. The design parameters are by no means randomly selected. The result is an efficient and easy to print cyclone.
In order to separate all the fine particles out, high speed and low travel distance is needed. Achieving this combined with high volume throughput resulted in a setup with multiple combined cyclones.
See post print noted for assembly.
The nozzles are designed to fit pool and shop vac hoses. I you want to use it for a household vac you will need to make a reducer.
This multi cyclone is designed to be printed with no support.
Print Settings
Rafts:
No Supports:
No Resolution:
0.3mm or less Infill:
100%
Post-Printing
Post-printing
File of the blobs and seems off to have a successful marriage between the cyclones and manifold.
You may want to break off one “tooth” on the nozzle to be mounted on the outlet manifold to have a good fit at the skew side. I keept all on mine though for better bond. Try and see what works for you.
Find an air/water tight bucket and makes some holes in the lid that matches the end of the funnels.
Insert funnels in the lid and make and glue it together with hot glue or silicone. -
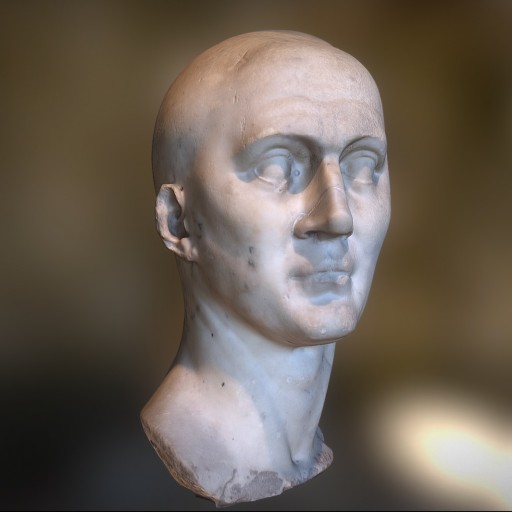
Portrait of a priest of Isis Free 3D Model
Portrait of a priest of Isis, first quarter of the 1st century BC, Rome, Marble. Museum of the Cinquantenaire (Brussels, Belgium). Made with ReMake and ReCap from AutoDesk.
-
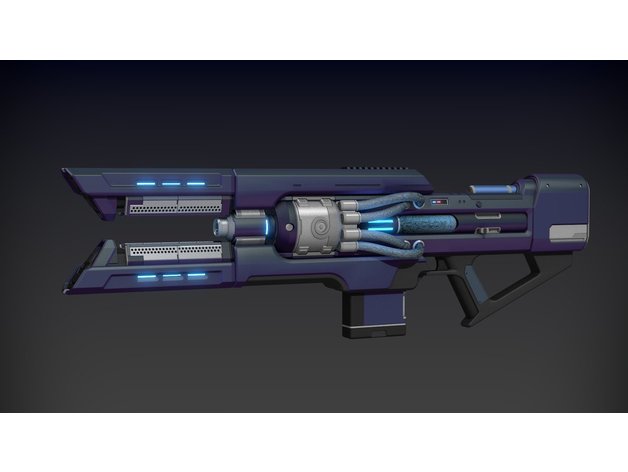
destiny 2 coldheart weapon sale model 3D Print Model
Summary
scale model of coldheart weapon from destiny 2. I could never figure out how to properly print the sights so please message me if you come up with an answer <3 -
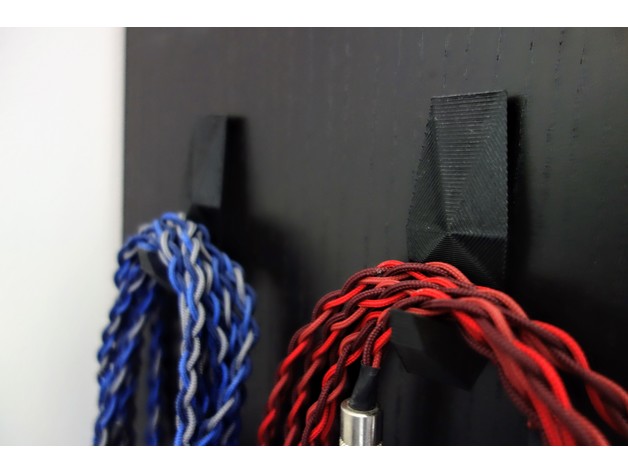
Stealthy Faceted Wall Hook 3D Print Model
Summary
A faceted hook remix with a pronounced angle to allow it to hold bigger objects.
Works perfectly with 3m double sided tape.
Print Settings
Printer Brand:
Wanhao Printer:
Wanhao Duplicator i3 V2 Rafts:
No Supports:
No Resolution:
.2mm Infill:
50 Notes:
PLA. Use high infil and # of perimeters to make it extra strong. -
Cardinal Desk Figurine 3D Print Model
Summary
I modelled this little bird in Sculptris – one of my first attempts at 3D modelling! It’s a cute little sculpture, especially if you’re a bird lover like me.
Print Settings
Printer:
Monoprice Mini Rafts:
Doesn’t Matter Supports:
Yes
How I Designed This
Sculptris
Sculptris is a free modelling software you can download for Windows and Mac. I modelled the bird and then exported to OBJ. MeshMixer
MeshMixer is free 3D software that I used to slice off the bottom of the bird. It originally had a long tail, but I flattened the bottom to make it easier to print.Custom Section
Follow me on Twitter for more of my work!
http://twitter.com/aprilswhitehead -
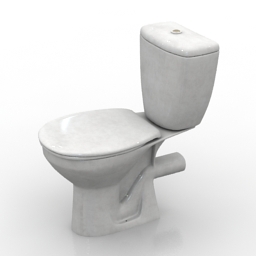
Lavatory pan 3D Model
Additional Info: Lavatory pan 2 – 3D model (*.gsm+*.3ds) for interior 3d visualization.
-
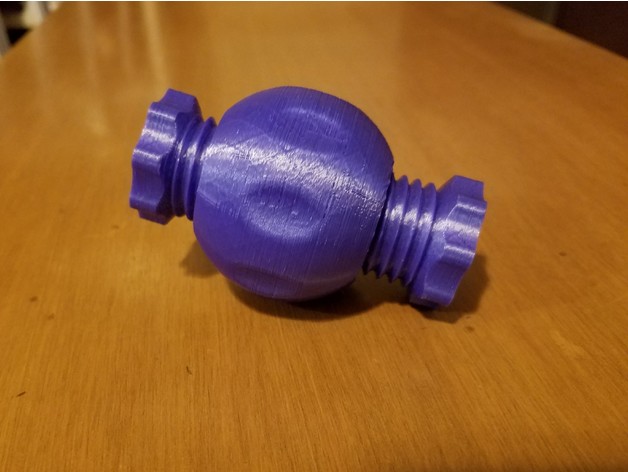
ScrewBall Toy 3D Print Model
Summary
This is a little toy I made for my toddler. He loves spinning things and manipulating objects. I thought a simple captured nut with some variation might intrigue him, and I was right. I’m planning on making several similar items for him to encourage him to manipulate his world!
Print with the cone down to support the floating ball nut and use the slot and a flat screwdriver to break the support off of the part. Although it will spin just fine even with the support in place! The support breaks off with minimal effort.
Print Settings
Printer:
Creality CR-10 Rafts:
No Supports:
No Resolution:
.1-.4 mm Infill:
10-50% Notes:
This is a pretty forgiving print, the support is built in, so no additional supports are needed. I printed on a glass bed with paste glue and had no problems.
How I Designed This
I used OnShape to design this assembly. -
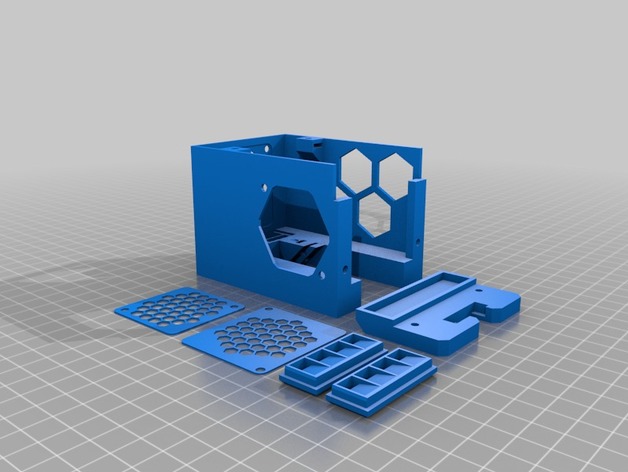
Anycubic i3 Mega partfan monstrosity 3D Print Model
Summary
Boxy, but good (enough).
This is an attempt to get partfan coverage from both/all sides, while retaining the original plate mount to the bearings. After several attempts I gave up in disgust with the quest to design something elegant, and just settled for monstrous and temporary: I am a little bit over trying to modify the mega’s existing hotend, so this is simply a temporary means of getting better part cooling while I print components for an entirely different printer.
I may eventually revise this later, but it will likely be in a version that completely replaces the megas hotend compartment right back to the X carriage bearings.
It’s not pretty, and despite having a COD LED inside it to illuminate the nozzle it’s almost impossible to see underneath the ducts anyway, and the LED reaaaaaly needs a trimpot to turn the light down a little. So consider the COB LED slot completely optional. I also soldered the connections to it so they exit *towards8 the leds light emitting surface, so the slots I allowed for solde blobs may not be big enough for your standard lazily soldered fat blobs of solder and a wire direction change… maybe, maybe not.
The top bolt on the partfan doesnt fit, due to an oversight, so mine runs with it missing.
LED COB 26x16mm has a heatsink stuck to it’s metal side:
heatsink 14x14x6mm (7x1mmVanes, typically sold in combination with an even smaller one for use on raspberry pi)
The partfan outlets just click in, helps if you put the short end thats closest to the actual partfan in first, and then force the further edge in last.
No supports, bridging sucks a bit on the partfan outlets, but it doesnt create enough surface roughness to pull the airflow onto the heatsink, so it’s ok. You could try flipping them, maybe use supports, and make the airflow surface nice and smooth by printing as the top face.
The partfan fan is a 5015 blower, some are stronger than others. I picked the strongest I had.
The heatsink fan is still the stock 4010None of the nuts require a print-pause now, but it is designed for square M3 nuts… which you may not have. Gluing in a hex nut would also work. I use glue to lightly tack several of them in just to make assembly easier.
PLA, 0.4mm nozzle, 20% infill … pretty standard (not really important)
1.2mm walls (IS important; or your bridging will suck and all of the basic design assumptions are for that thickness)
It’s annoyingly close to the print, and ugly.. but it is a slight partfan improvement.
dealwithit.jpg -
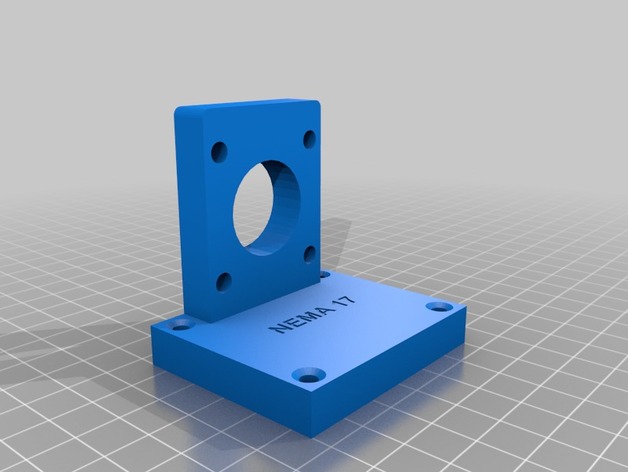
NEMA 17 Stepper Motor Mount 3D Print Model
Summary
First of all this is mostly just for example. This is custom made for my particular need. You can buy them for $3.50 plus $5+ for shipping but I needed a very specific height, and in my circumstance the motor was not going to get hot, so this made sense and was VERY cheap. Not to mention that even though it seemed to take forever (6 hours at hi-res) it was faster than even Amazon Uber delivery!
If you find this to your liking, simply load the Sketchup model, push-pull the underside of the bottom to your height needs and butta-bing-butta-boom Bob’s your uncle.
Print Settings
Printer Brand:
Ultimaker Printer:
Ultimaker 2 Rafts:
No Supports:
No Resolution:
.06mm Layer, 1.2 Shell & Top/Bottom, .4 Nozzle Infill:
20% -
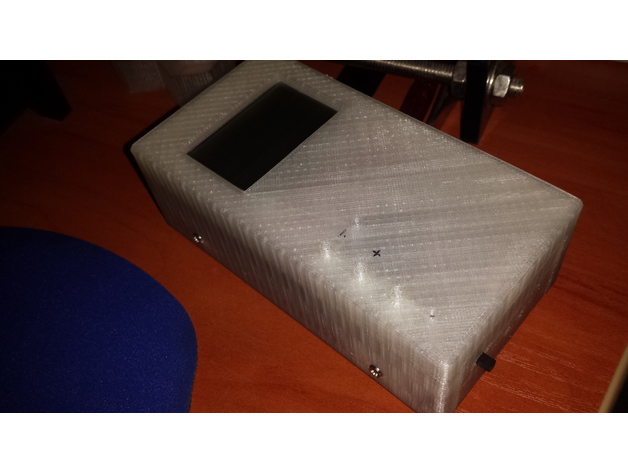
My geiger 2 case 3D Print Model
Summary
A case for My Geiger ver. 2 dosimeter from www.rhelectronics.com.
Print Settings
Printer:
Tronxy P802M Rafts:
No Supports:
Yes Resolution:
0.2 Infill:
15% -
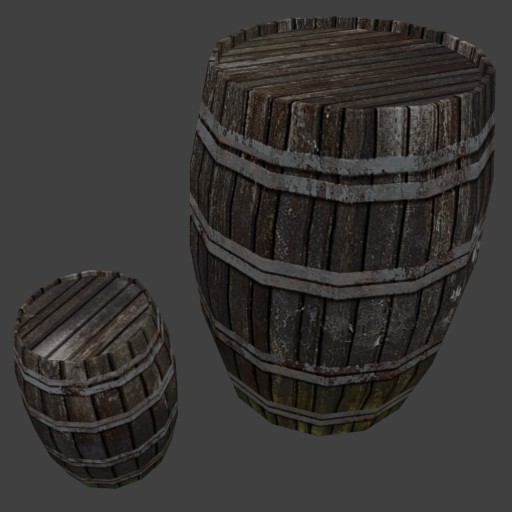
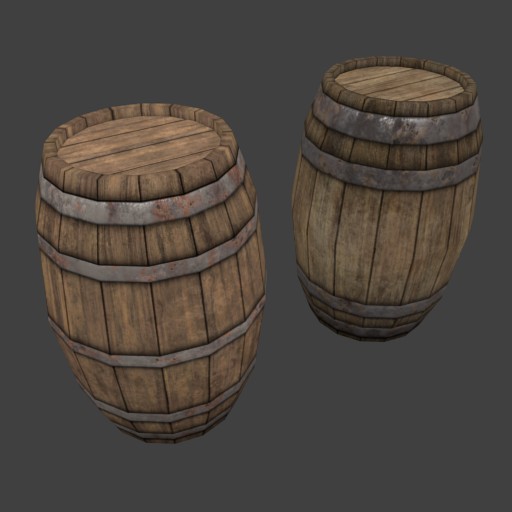
barrel_wood_02 Free 3D Model
Two wooden barrels, a small one and a big one, both have their own textures.
-
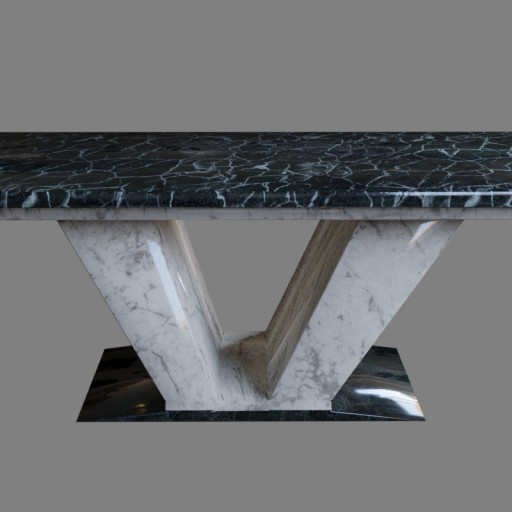
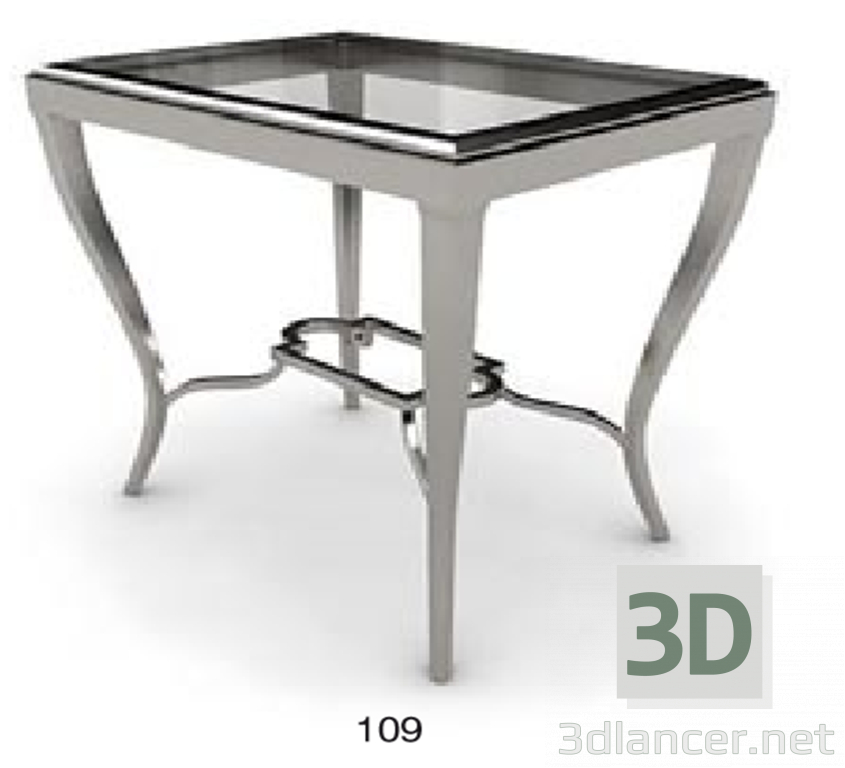
Table Marble Free 3D Model
Here’s an old model that I did a while ago for a old scene.
Texture maps in 1024×1024, 2048×2048 and 4096×4096, textured in Substance Painter. -
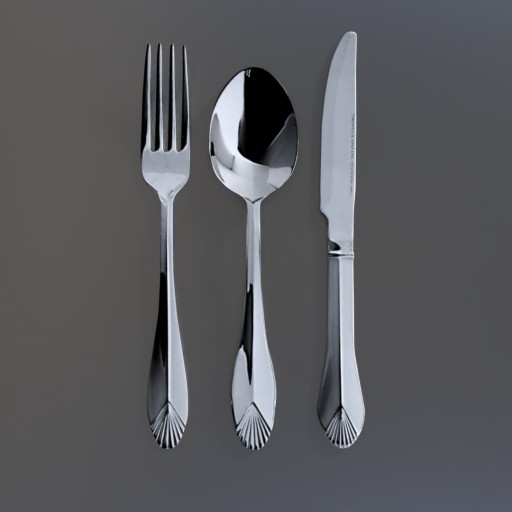
ULTIMATE KITCHEN SERVING SET Free 3D Model
A KNIFE A FORK AND A SPOON ALWAYS COME ALONG IN A GOOD INTERIOR SCENE, IT IS PROBABLY THE SPOON Y’ALL WAS WAITING FOR FOR, BUT I GOTEM ALL 3 IN ONE SO THAT YOU GUYS DONT HAVE TO BOTHER DOWNLOADING 3 FILES.
-
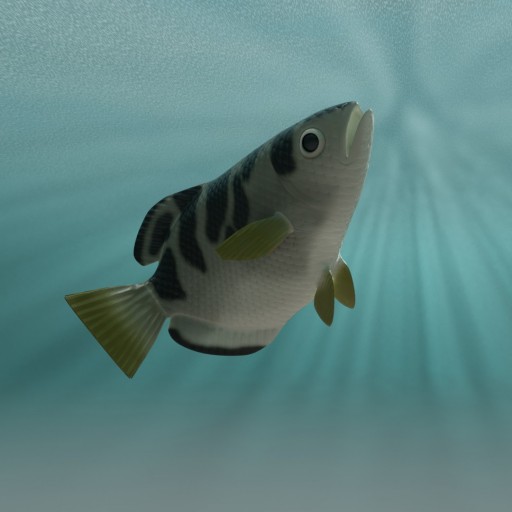
Rigged Archer Fish Free 3D Model
Rigged with the Rigify ‘Shark’ metarig.
Medium low poly for suitable for animation.
Cycles textures with Principled Shader and maps from Substance Painter.
Suitable for use with the free ‘FishSim’ fish swimming simulator which allows you to animate a target proxy and then animate the shark swimming action. -
LACK Attack #6: Pass the Lack (aka Wire The Lack Stack) 3D Print Model
Summary
This is a followup to:
LACK Attack #5: Inreda the Lack:http://www.thingiverse.com/thing:2673629
without further adieu….
Attack 6: Pass the Lack
Once I lit the Lack, the next step was to get the power cables out of the stack and filament into the stack…
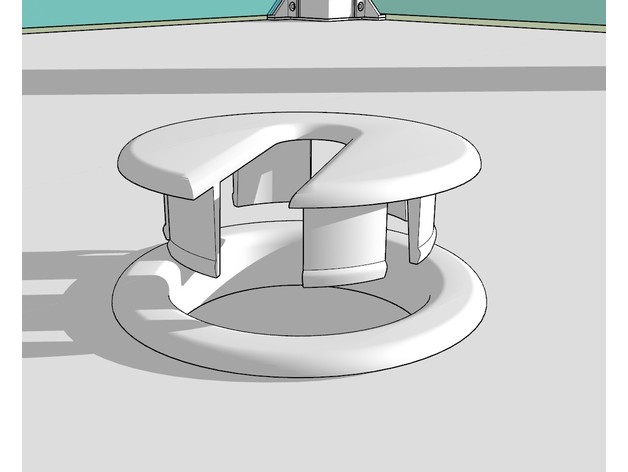
I looked at some at Home Depot, saw some on Thinkgiverse, decided instead to make my own passthroughs for it as I wanted a single port/type that could be used for multiple things. So far I’ve built a filament filter insert as well as cable inserts, (and a blankoff), I’m sure I’ll come up with a few more as time goes on…
As always, comments are greatly appreciated, If you’ve made/fixed something to work better please let me know so I can fix it for others.
Coming Next:
Attack 7: not sure yet, likely remote mounting the display & Octopi…
Print Settings
Printer Brand:
Prusa Printer:
i3 MK2S Rafts:
No Supports:
No Resolution:
0.20mm Infill:
100% Notes:
Printed in white RepRapper white PLA, 210C nozzle, 60C bed.
Post-Printing
Build & Assembly Notes:
Another simple build:
Print the parts as needed.
For each port use 2 1/8″ a hole saw to drill each port.
Insert the port through the table, tap it down with a rubber mallet flush, snap the lock ring on the bottom to finish off the edge.
4a. For the filament filter pass-through cut a piece of foam to fit in the filter, snap the bottom on, then use a large needle/stiff wire to push holes through for each of the openings. pulling the filament to the side when you’re done with it will lock it in place.
4b. for the Wire passthroughs feed your wires through, pop in a cover, and done!
How I Designed ThisRevisioning:
v1.0 – Initial upload
Posted the thing -
Holster for LED Remotes Holder 3D Print Model
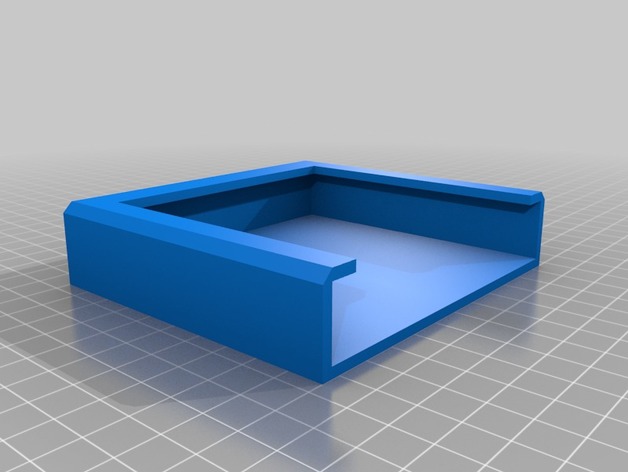
Summary
A holster for hanging an LED Remote Holder: https://www.thingiverse.com/thing:2655374
Print Settings
Printer Brand:
Prusa Printer:
Prusa Clone Rafts:
Doesn’t Matter Supports:
Doesn’t Matter Resolution:
0.2 -
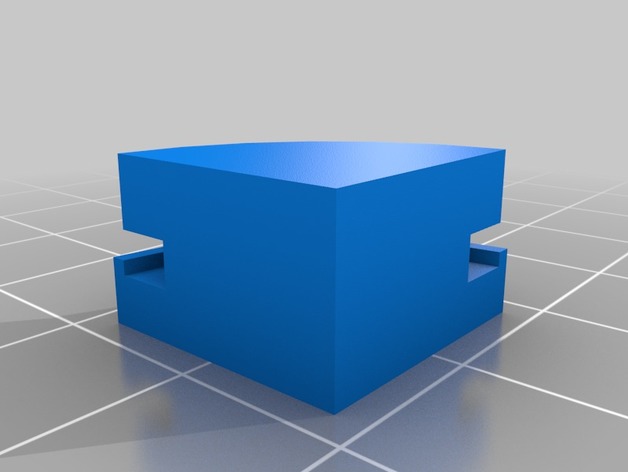
SMAZ TIME MACHINE CUBE 3D Print Model
Summary
A mod for a 2x2x2 cube. Based on the SMAZ Time Machine cube, since its rare to find.
The 2x2x2 cube must size 5cmx5cmx5cm.
72x small pieces
24x central pieces
Print Settings
Printer Brand:
Ultimaker Printer:
Ultimaker 3 Extended Rafts:
Doesn’t Matter Supports:
Doesn’t Matter Resolution:
– Infill:
100%Standards
NGSS
Overview and Background
–
–
Lesson Plan and Activity
–
–
Materials Needed
–
– -
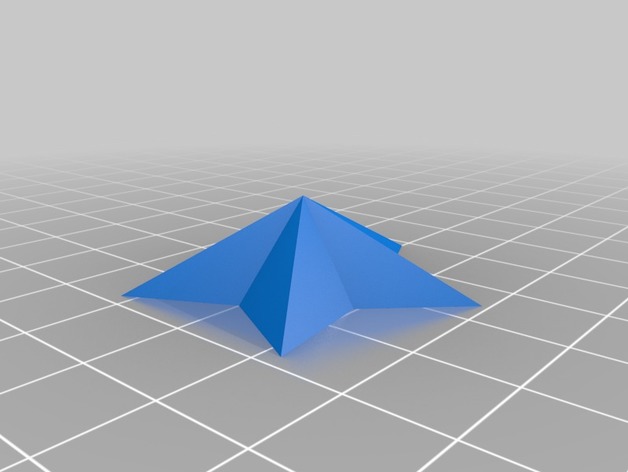
3D Star 3D Print Model
Summary
This is a nice decorative star
Print Settings
Printer Brand:
MakerGear Printer:
MakerGear M2 Rafts:
Doesn’t Matter Supports:
No Infill:
40% -

Resin Printer Torture Test 3D Print Model
Summary
This is a very thorough resin printer torture test that will test free standing and embedded features as well as overhangs. This print will give a very good understanding of the printing limitations of your printer/printer settings. Let me know what you think in the comments! -
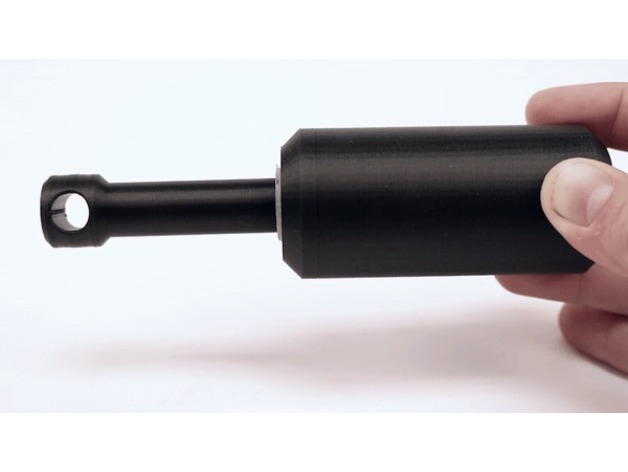
shock absorber 3D Print Model
Summary
This design was created by Markforged. To read the original full article follow this link: https://markforged.com/blog/part-of-the-week-3d-printed-shock-absorber/
This 3D-printed part shows that a lot of designs can be simplified when printed with a 3D-printer.
Print Settings
Printer:
Mark X7 and Mark Two Rafts:
Doesn’t Matter Supports:
No Resolution:
0.05 / 0.1 Infill:
50% Trinangular Notes:
The shock absorber was printed with Onyx and 0.05 layer height. It is important, that the support structure is disabled! The sleeve and bushing were printed with Nylon (to reduce the friction) and 0.1 layer height.