Summary
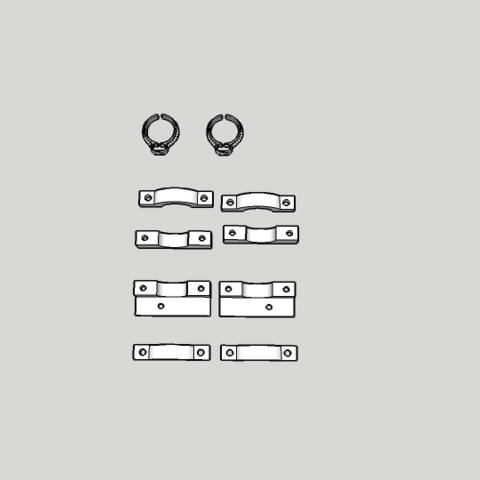
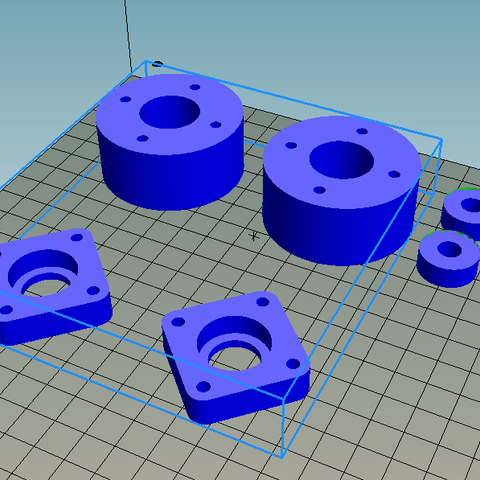
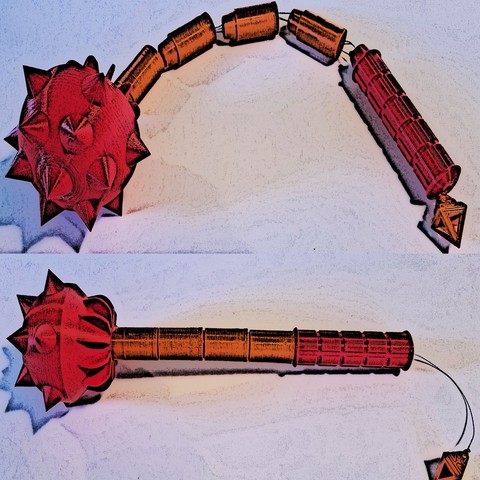
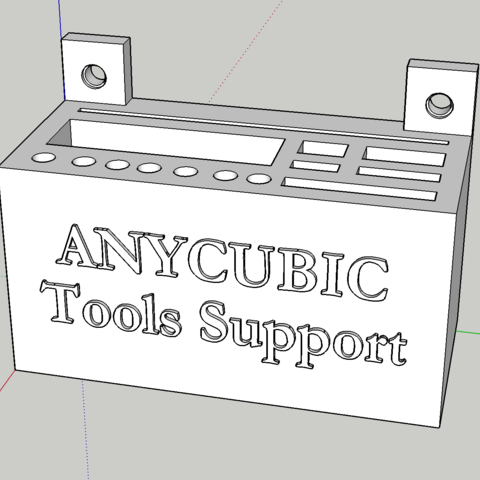
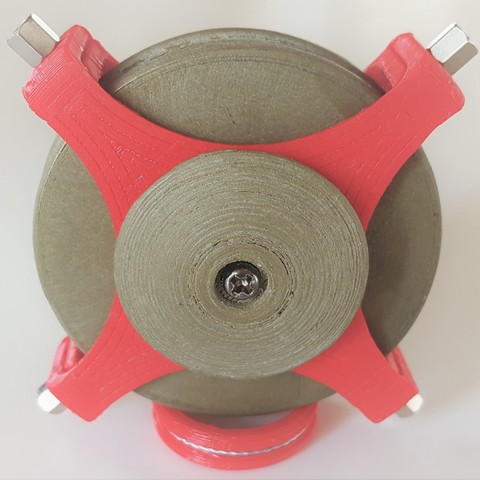
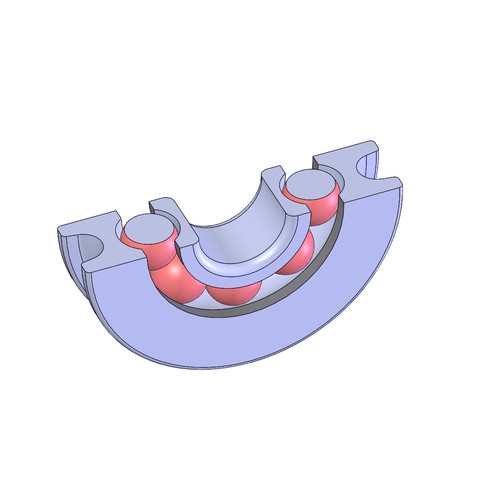
This is the clamp for the Hypercube to house two Ignus RJ4JP-01-08 bearings. Works with the XY Joiner from here: https://www.thingiverse.com/thing:2012443
Print Settings
Printer:
Anet A8 Rafts:
No Supports:
No Resolution:
0.2 Infill:
25-30
Category: 3D Print Models
Premium & 3D Print models ready to be 3d printed. 3D Print Models and Free 3D Print Models are available for download in several formats including .STL, .3DM, .OBJ, .3DS, .DAE, .SKP, .BLEND, .DWG, .DXF, .STEP and much more. If you’re in search of high-quality 3D printed assets, we have a huge library of 3d print models for any of your needs. Also you can visit 3D Models and All 3D Models category.
-
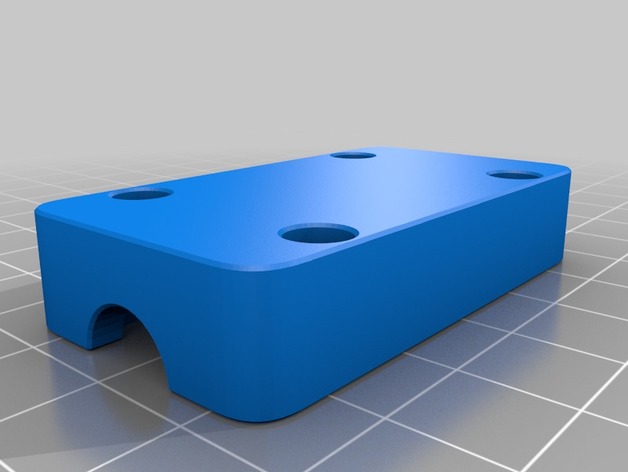
XY Clamp for RJ4JP-01-08 Bearings 3D Print Model
-
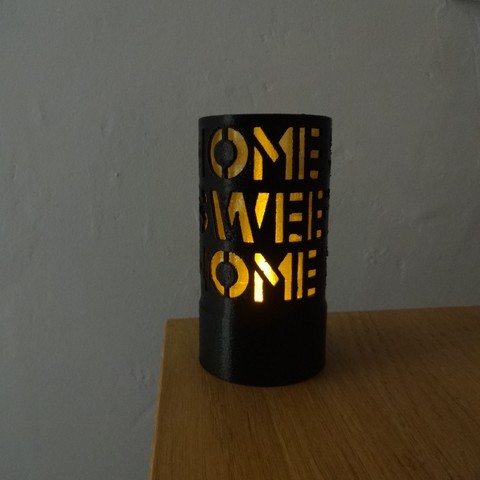
Homer Inciense Holder 3D Print Model
Summary
Homer Inciense Holder ( Homer porta incienso)
Print Settings
Printer:
CreateBot Mini Rafts:
No Supports:
Yes Resolution:
0.2 Infill:
15 Notes:
Fill density 10 (densidad de relleno)
2 perimeters (2 perímetros) -
The Dramatic Yet Fair(er) D6 3D Print Model
Summary
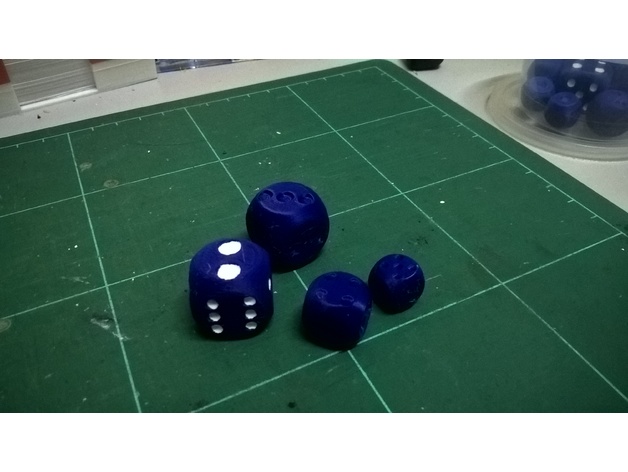
Similar to my D20 design, this is what I considered to be an ideal D6 with the following characteristics:
Rolls just the right amount even with the smallest amount of effort (even as close to none), to prevent cheats or just standard flukes
Show a hint of uncertainty before settling on a face, making it more exciting to witness the results of a roll
All pips indented in a way that they can be easily read even without painting them
Have the (almost) perfect weight distribution with the right amount of indentation and pip sizes
Has a better numeric distribution on the die so that whichever the edge or corner it traverse would have an equal chance of getting both high and low values (inspired via this Youtube video https://www.youtube.com/watch?v=pF8goco4ix0)
Requires no supports when printing using FDM printers (* may need minimal supports for larger prints)
You can get a preview of how the die behaves in my video here: https://youtu.be/_clKuOQilCs
There are two versions of the die included:
D6_fairer.stl – This is what I consider to be default but uses a non-standard number distribution to ensure that which ever corner/edge the dice traverse, you are likely to encounter a good spread of possible low and high values
D6_standard.stl – This would be your standard “opposite faces add up to 7” dice. Have included this version because there are some modern tabletop dice games that use this characteristic as a mechanic where you manipulate the dice to its opposite face.
The design is a 100mm die and can be resized to whatever you fancy. Personally recommend standard sizes of 12mm, 15mm, 20mm and 25mm.
Print Settings
Printer Brand:
Prusa Printer:
Prusa Mk2 Rafts:
Doesn’t Matter Supports:
No Resolution:
0.15mm Infill:
30% Notes:
At 25mm or smaller sizes, would recommend a 25% or 30% infill to make the die have a satisfying weight and sound.
Post-Printing
You might want to use a file to smooth out the round edge of the bottom (where the 1 pip face is at) and probably the top. Just so you get a smooth feel to the whole die.
How I Designed This
The die is designed in FreeCAD 0.17.
As much as I won’t be posting the original file as it took me a long time to tune every single measurement to make it perfect, the general idea of how it is done can be viewed in this video tutorial by another Youtuber 🙂 https://www.youtube.com/watch?v=uBKhBwSP_iM -
Room_Monitor 3D Print Model
Summary
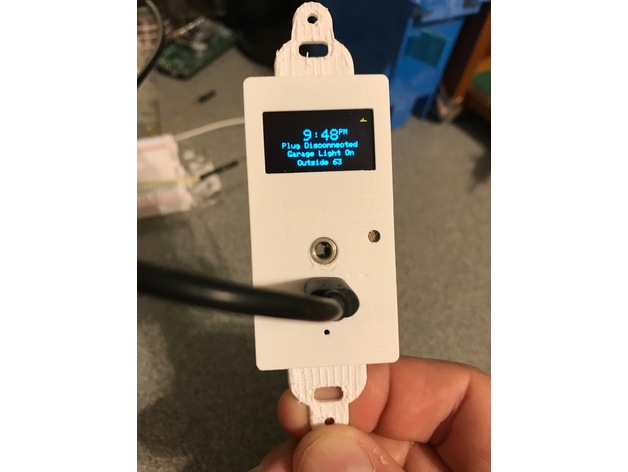
Needed a sensor for detecting “lights on” and “door open” for the garage. Plate has a hole for a 3.5mm jack (I used Digi-key CP-SJ1-43502PM-ND), photo sensor, and mini USB jack. The photo cell glues into place. A Particle Photon slides into the plate exposing the USB port for power and is held in place with the …Bracket.stl. The complete unit mounts in a standard (USA) 2X4 electrical box.
I printed it in White PLA (to match the cover plate) at .2mm height and 10% fill
Post-Printing
Special Print Setting
This MUST be printed with Support BUT NO Raft. I printed the plate face down on glass to get a gloss smooth finish.
Also you must tap the two outside screw holes to 6-32 for the cover plate mounting.
How I Designed This
123D -
New Invented Coin Value 100K 3D Model
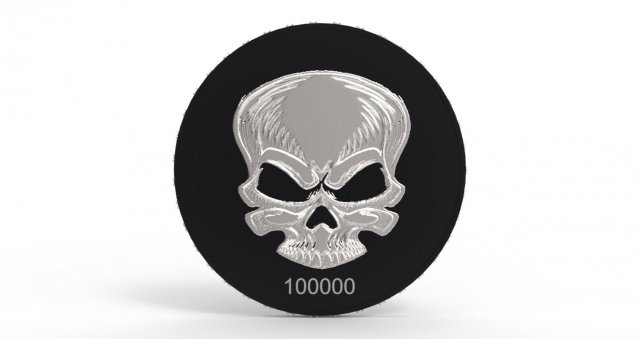
New Invented Coin60 mm2.5 mm Hcan be used by (hacker-spy-pirates-secret organization) currencyits has value from 1 to 1000000
-
New Invented Coin Value 1M 3D Model
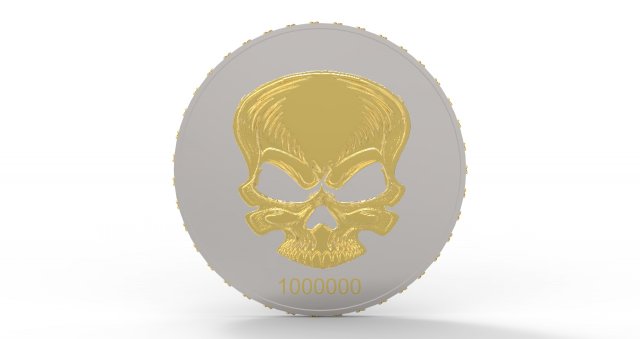
New Invented Coin60 mm2.5 mm Hcan be used by (hacker-spy-pirates-secret organization) currencyits has value from 1 to 1000000
-
New Invented Coin Value 1K 3D Model
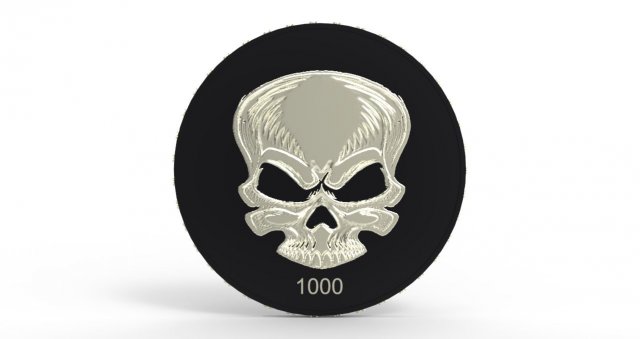
New Invented Coin60 mm2.5 mm Hcan be used by (hacker-spy-pirates-secret organization) currencyits has value from 1 to 1000000
-
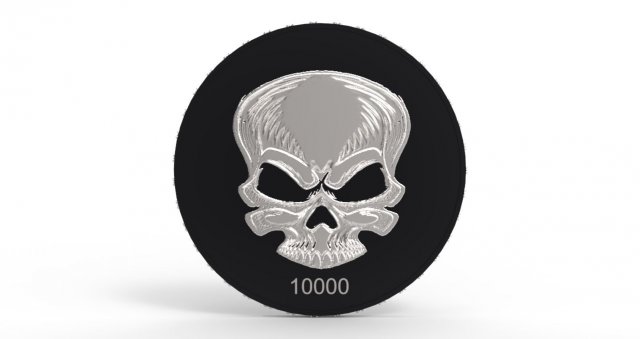
New Invented Coin Value 10K 3D Model
New Invented Coin60 mm2.5 mm Hcan be used by (hacker-spy-pirates-secret organization) currencyits has value from 1 to 1000000
-
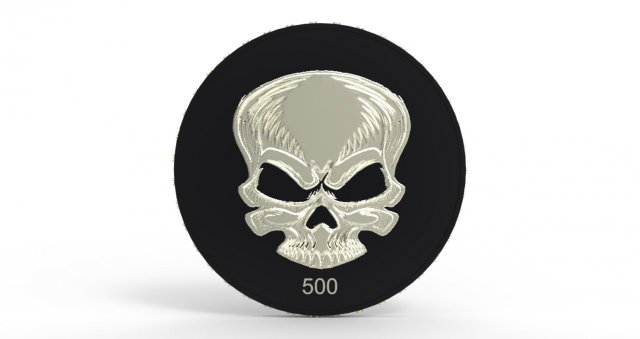
New Invented Coin Value 500 3D Model
New Invented Coin60 mm2.5 mm Hcan be used by (hacker-spy-pirates-secret organization) currencyits has value from 1 to 1000000
-
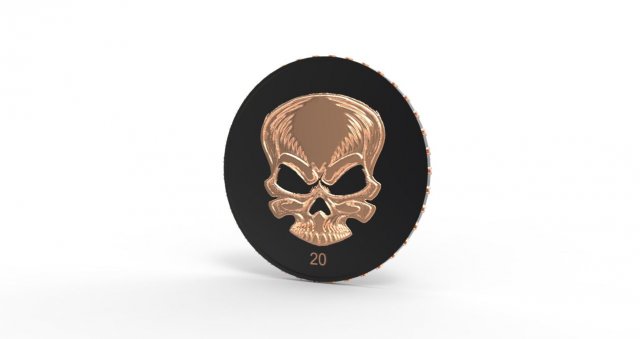
New Invented Coin Value 20 3D Model
New Invented Coin60 mm2.5 mm Hcan be used by (hacker-spy-pirates-secret organization) currencyits has value from 1 to 1000000
-
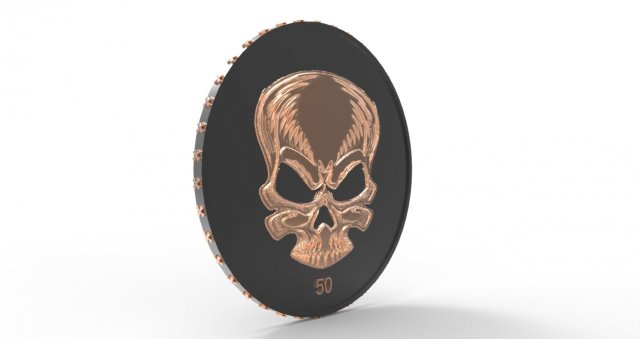
New Invented Coin Value 50 3D Model
New Invented Coin60 mm2.5 mm Hcan be used by (hacker-spy-pirates-secret organization) currencyits has value from 1 to 1000000
-
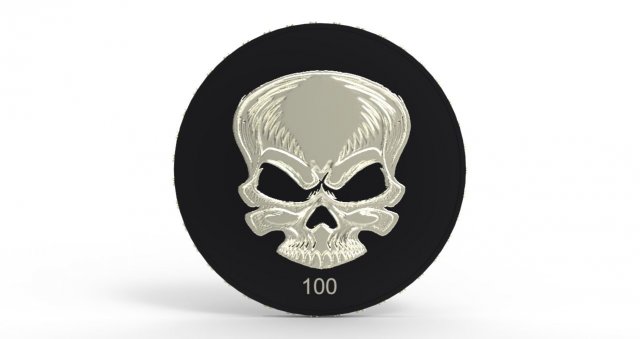
New Invented Coin Value 100 3D Model
New Invented Coin60 mm2.5 mm Hcan be used by (hacker-spy-pirates-secret organization) currencyits has value from 1 to 1000000
-
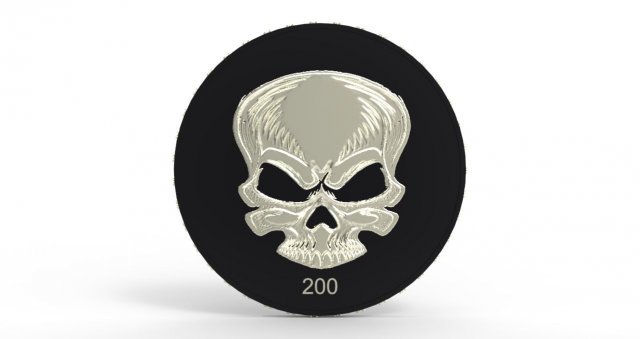
New Invented Coin Value 200 3D Model
New Invented Coin60 mm2.5 mm Hcan be used by (hacker-spy-pirates-secret organization) currencyits has value from 1 to 1000000
-
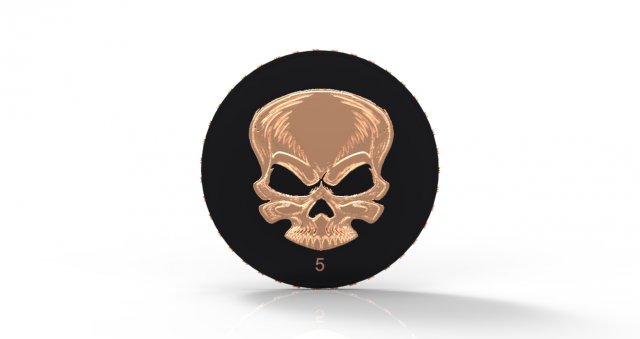
New Invented Coin Value 5 3D Model
New Invented Coin60 mm2.5 mm Hcan be used by (hacker-spy-pirates-secret organization) currencyits has value from 1 to 1000000
-
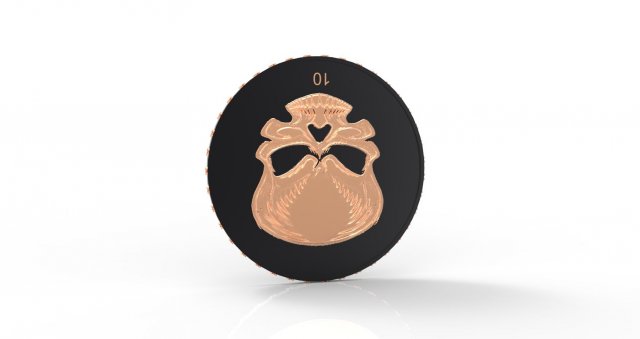
New Invented Coin Value 10 3D Model
New Invented Coin60 mm2.5 mm Hcan be used by (hacker-spy-pirates-secret organization) currencyits has value from 1 to 1000000
-
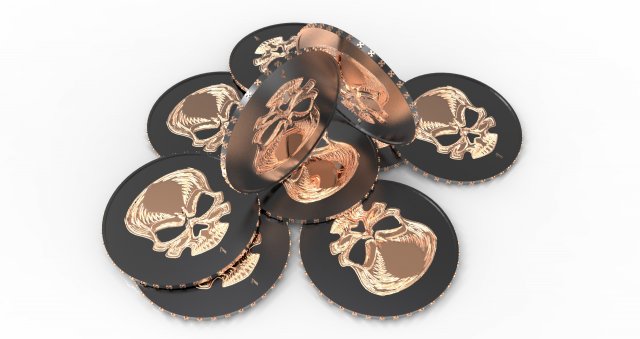
New Invented Coin Value 1 3D Model
New Invented Coin60 mm2.5 mm Hcan be used by (hacker-spy-pirates-secret organization) currencyits has value from 1 to 1000000
-
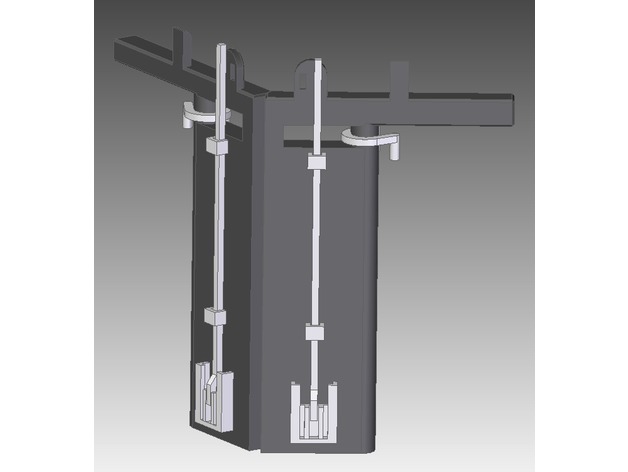
00 scale 7 foot wide canal lock 3D Print Model
Summary
Make from ABS so you can glue with acetone.
I split the Chamber into 7 parts and glued using acetone.
The paddles work they just need gluing using acetone.
Gate hinge pins for the base of the lock gates should be made form some 2mm wire rod.
The boat in the photos is a 00 scale 70′ long narrow boat (not 3D printed). -
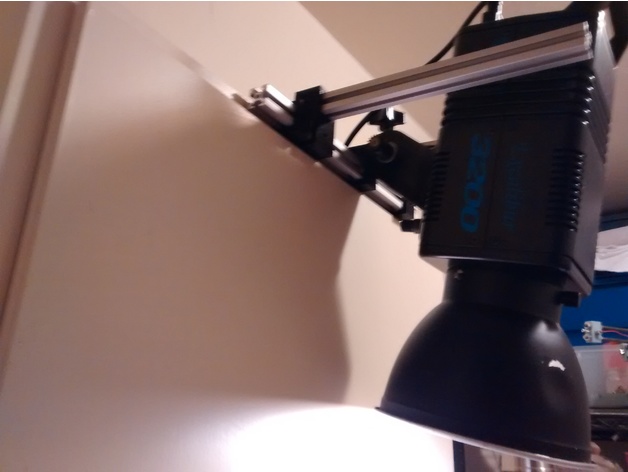
Cabinet Camera/Light holder 3D Print Model
Summary
This is designed for kitchen video system without drilling holes in the walls. It is mounted on top of a .75 inch thick wood cabinet.
Print Settings
Rafts:
Doesn’t Matter Supports:
Doesn’t Matter Resolution:
.2 Infill:
.2 -
PP3DP UP Plus 2 PLA printing kit 3D Print Model
Summary
PP3DP UP Plus and UP Plus 2 are usually terrible with printing PLA. Three major issues with these printers are
The throat of the hotend gets too hot as heat creep up the steel tube and the PLA starts to bulge there and gets impossible to reliably extrude
Extruder stepper motor gets hot during print, both from the fact that it’s a puny motor doing a lot of work and because it’s used partially as a cooler for the cold part of the hot end. This heats up the PLA print and does not allow it to solidify properly, overhangs are crap and bridges are almost impossible.
PLA requires cooling, the “solution” originally is that hotend cooling duct has a “door” that let some of the air go into to part. The “solution” does not work.
To solve these problems I started by redesigning the extruder cooling. This solves both the issue of bulging inside the hotend and the problem with extruder getting too much heat from the hotend. This solves all the print issues with ABS, PETG, PC, Nylon.. but is not enough for PLA.
To tackle second and third problem this small project was created.
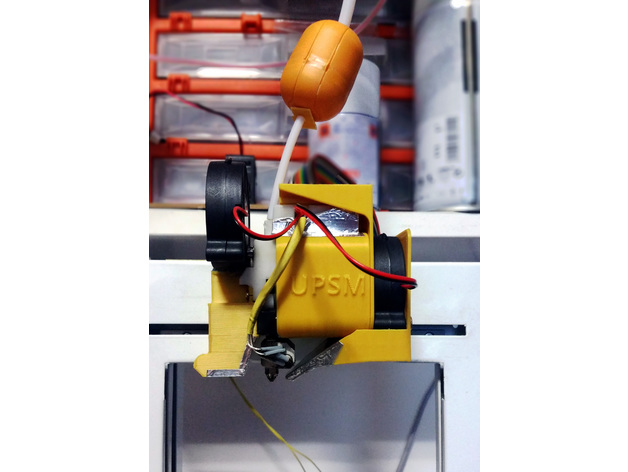
The fan duct goes over the stepper motor and allows for air to pass around the motor and exit back to cool the motor. Make sure you are extracting air and not pushing air in. The “cover” part will clip in to original top part on the UP Plus / UP Plus2 and will come behind the fun duct keeping it in place. As you can notice on both cover and duct there is 2 set of screw holes, 4 holes for the 40mm axial fan and 2 holes for the radial fan. If you do not need part cooling (ABS, PETG..) you mount 40mm axial fan here to extract air and you are golden.
If you do want to use part cooling fan (PLA requires it), I decided to recycle the air and push the air that we get from cooling the extruder motor into the part. This way the air is not “too cold” and will not stress neither the part nor the nozzle and it should (time will tell, so far so good) create PLA parts with less in-built stress. The part cooling duct houses a radial fan (no glue, hotsnot, silicone .. needed, just put it there) and screws trough the back of the cover into the duct.
I’m using custom firmware on the UP Plus2 so I’m controlling the fan trough there. On the top board you can see 3 3pin connectors (picture attached). The leftmost is 12V supply where your extruder cooler is connected. Middle (on the right side of the board the left connector) is also 12V supply and you can connect your fan here. If you are using only motor cooling (no part cooling) this is where you want to connect your fan. The third, rightmost connector is PWM-able. Originally this is where “light strip” is connected on some of these printers. If you have CPU upgrade with NXP chip to run smoothieware (I do) this is on port 1.18. If you are using original UP Studio software then probably check if you can change “light intensity” from software to change fan speed or just connect part cooling to a constant 12V, there’s usually never too much cooling for PLA so should work ok 😀
smoothieware config:
switch.fan.enable true
switch.fan.input_on_command M106
switch.fan.input_off_command M107
switch.fan.output_pin 1.18
switch.fan.output_type hwpwm
switch.fan.max_pwm 100
switch.fan.ignore_on_halt true
switch.fan.startup_state true
switch.fan.startup_value 0
switch.sw1.fail_safe_set_to 100
Print Settings
Printer:
self made Rafts:
Doesn’t Matter Supports:
Yes Resolution:
0.2 – 0.3 Notes:
You want the part to be solid but everything is “thin” here so the infill itself is irrelevant (I use 0%) but you want
4top, 4bottom solid layers
5 perimeters
I printed this in ABS, some other high temp plastic should work (PETG should be great for cover for e.g.)
Do not print in PLA it will deform quickly
Post-Printing
Self adhesive aluminium tape is your friend 🙂
remove supports
take a piece of self adhesive aluminium tape and attach it over the top part of the part cooling duct “nozzle”. This way the heat from the heater block will be reflected and part will last much longer. Also the ABS oils and other dirt that exist in vapors around the heater block will be easier to wipe off.
if you feel the whole contraption is not “stiff” enough, you can use a small piece of tape and attach the duct to the top plastic piece housing the small pcb board.
How I Designed This
onshape source available
this whole project was heavily influenced by PrintMo’s work -
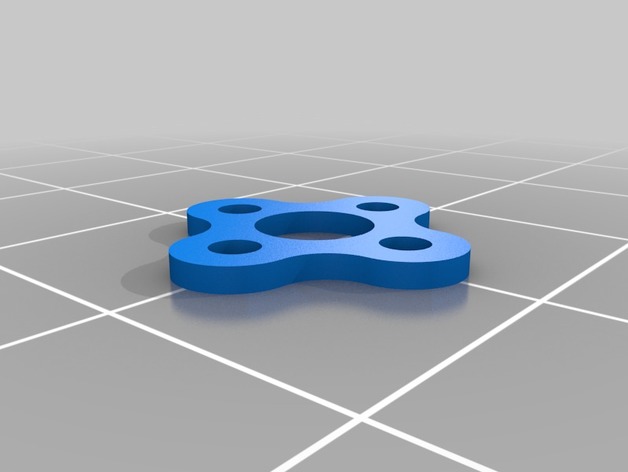
Flexible motor dampener collection 3D Print Model
Summary
Shock absorber to reduce Motor vibration. Must be printed on TPU or TPE
Included Designs*:
· 11xx
· 13xx
· 18xx
· 22xx
· 23xx
· 28xx
· 31xx
· 35xx
· 40xx
· 41xx
*These are general designs for most brands and models. It is possible that with some mark does not coincide exactly the measures
By AIRK – http://www.airk.eu -
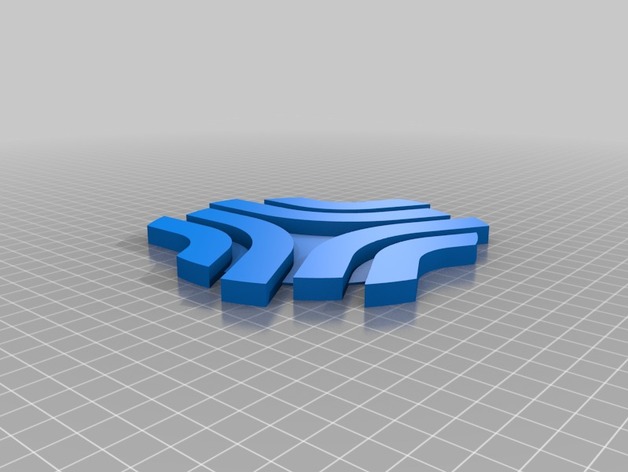
Boosted Board Logo Charger Cable Holder 3D Print Model
Summary
I wanted somewhere to put my charge cable when not in use, so decided to make a large version of the logo, where the spacing between the logo holds the charger cable. Lots of ways to place the cable in the logo. Grab the most orange filament you have, set your printer to fast, and stick the result to your wall, above your pride and joy! -
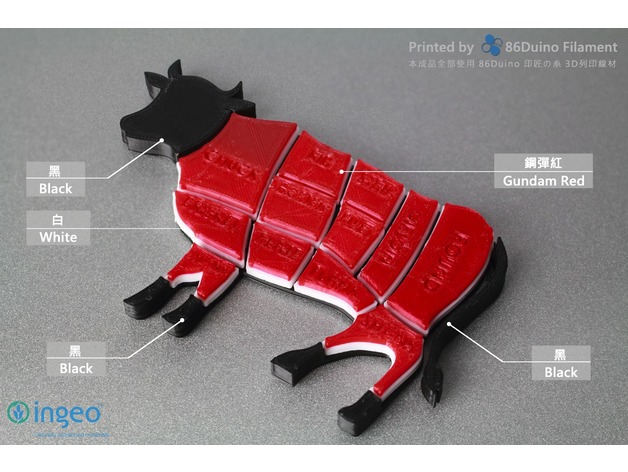
86Duino Steak profile 3D Print Model
Summary
For more printing object please visit 86Duino facebook and give us a “like” and thanks for the tips…https://www.facebook.com/86duino
喜歡圖檔的好朋友請記得到 86Duino Filament 3D 列印 / 耗材 – 不正經研究中心 粉絲團給我們按讚哦 https://www.facebook.com/86duino
Post-Printing -
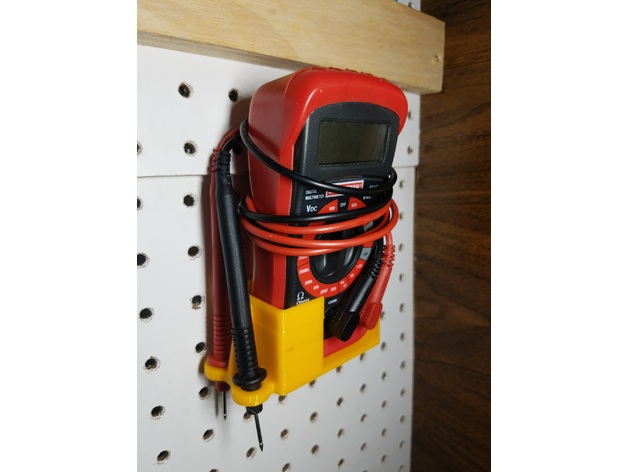
Multimeter Pegboard Holder 3D Print Model
Summary
Pegboard holder for a Multimeter,
Has the pegs as separate parts, they are a lose fit and made to be hot glued in place!
Can fit Meters about 2.5″ x 1.75″ base.
Print the holder and the pegs so the base plate is flat on your print bed.
If you make one, post it! Id like to see!
Print Settings
Printer:
Anet A8 Supports:
No Infill:
20 -
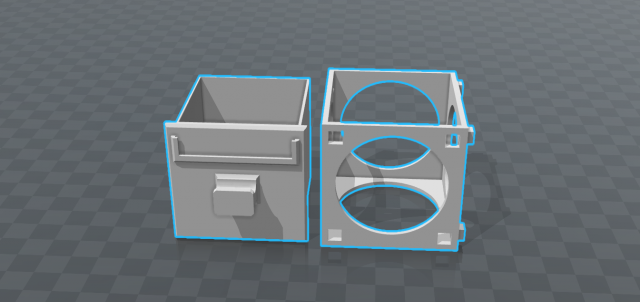
Radio component storage system Free 3D Model
Storage system for small parts. The number of boxes can be increased by attaching together
-
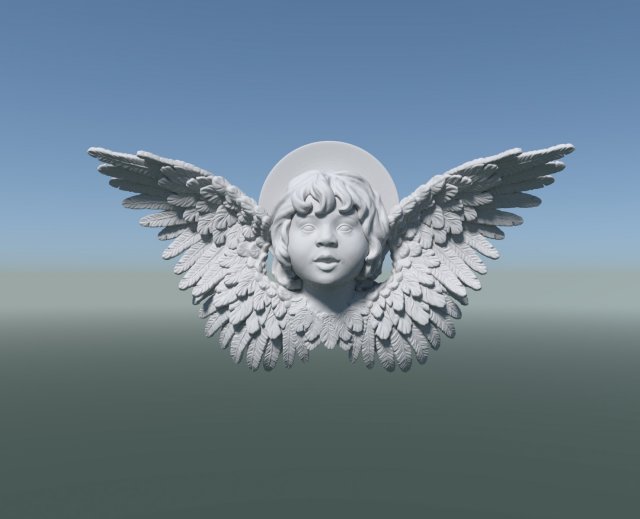
Cherub Angel 3D Model
High poly cherub.File contains one mesh object.Meters was used us measure units. It is about 6 cm in height.Object is manifold and print ready.File names contains suffixes _HR for high resolution and _LR for low resolution. For HR files there is 820500 faces and for _LR 63178 faces.Render performed in Cycles and there is just screenshots either.Native format is .blend.
-
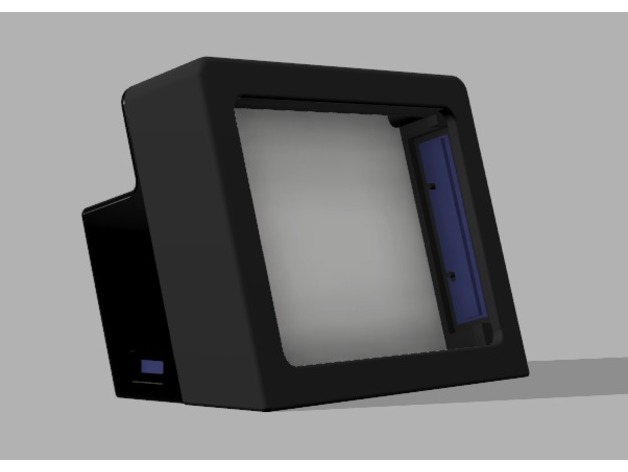
Neopixel Lithophane Frame 3D Print Model
Summary
This is a lithophane frame backlighted with 2×8 Neopixel sticks controlled by a Adafruit Trinket 3.3v.
It is designed for a 100x75x3 mm Lithophane with 5mm border.
It is powered from a 1100mAh battery and rechargeable via USB. It has an on/off switch and a potentiometer to go through different colors.
You can grab de Trinket code and schematic from GitHub.
Print Settings
Printer:
Tevo Tarantula Rafts:
No Supports:
No Resolution:
0.1 Infill:
20% Notes:
Print the frame in every color you want.
The reflector may be printed in glossy white.
The difusser for battery leds may be printed in clear PLA -
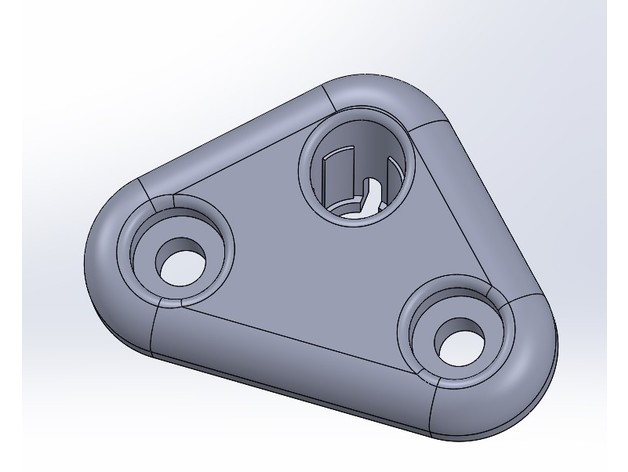
Subaru Forester Sun Visor Mount 3D Print Model
Summary
This is the mount that holds up the sun visor in a 2008 Subaru Forester. On my 10 year old car, the visor mount cracked and the visor fell out, so I designed this replacement. It works great. I would imagine that it works in other model years and maybe even other Subaru models as well, but I do not know for sure. I printed this in ABS and it works great. Keeps the sun out of your eyes!
SolidPart is from SolidWorks 2016.
Print Settings
Printer:
Fusion F306 Rafts:
No Supports:
Yes Notes:
I tried this part in several orientations. It worked best with the flat side on the printer bed. The determining factor is how well the ears at the bottom of the hole grab the end of the visor. I didn’t like having the flat side completely smooth because it doesn’t match the texture of the other materials in the vehicle, but the print was the best in this orientation. -
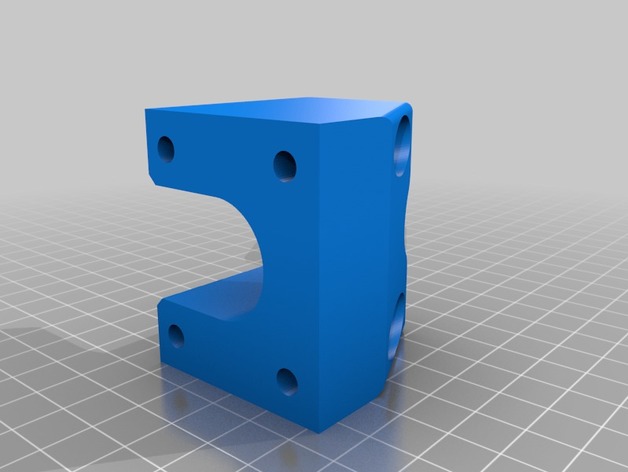
Skookum 18mm pipe side holder for shelving rolled sheet material such as fiberglass 3D Print Model
Summary
Made these to mount on plywood to make a rack for rolled sheet materials: Fiberglass, carbon fiber, protective sheeting etc.
Use M5 screws / bolts to mount. These are skookum as frig!
Print Settings
Printer:
CR-10 / Ender-4 Rafts:
No Supports:
No Resolution:
0.4mm Infill:
15 Notes:
1.8mm walls. If you feel it is not strong enough make thicker walls / Add infill.
PLA is suitable for this task.
Post-Printing
Might require some minor cleanup with a drill bit.
In my design i used 230mm x 230mm spacing for 2 rows of materials.
It means on first row 460mm between mounting points, and in the middle 230mm deeper is another roll.
Recommend lowest is a bit higher, measure your material and decide which suits you best 🙂 -
Garbage Bag Clip 3D Print Model
Summary
I want to try making a clip for garbage bags, based on a shortened version of a clip to an english muffin package I had laying around. -
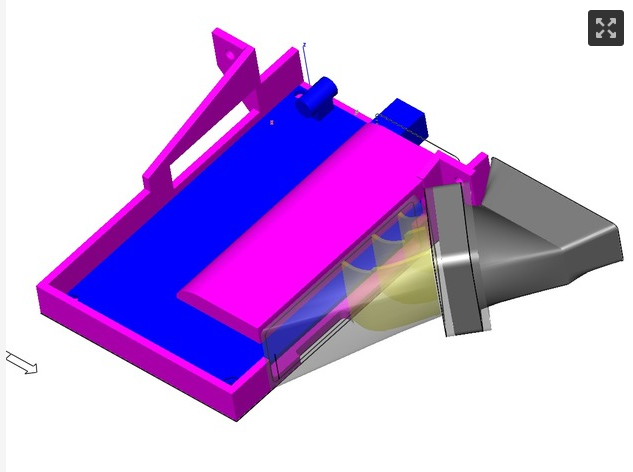
Anycubic kossel delta mainboard mod Free 3D Model
i made this to replace the original as it wasnt very good. i have designed a fan housing link for files are in video discriptionmain board housing https://youtu.be/EgR-f-XFoqEfan housing https://www.youtube.com/watch?v=2kAePRxTiFs
-
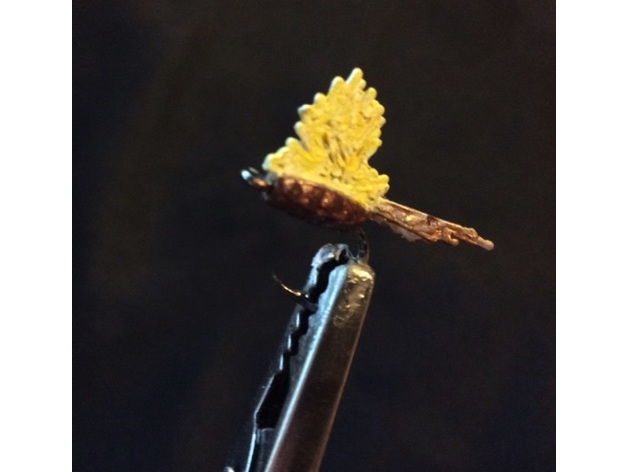
Worlds First 3D Printed Fishing Fly – The Garrett Adams 3D Print Model
Summary
Worlds First 3D printed “dry fly” – based on the popular Parachute Adams traditional tied fly.
More to come, as I get better at “hair” and related natural replications. Will also add pictures of 3D printed fly’s in action!
Enjoy! -
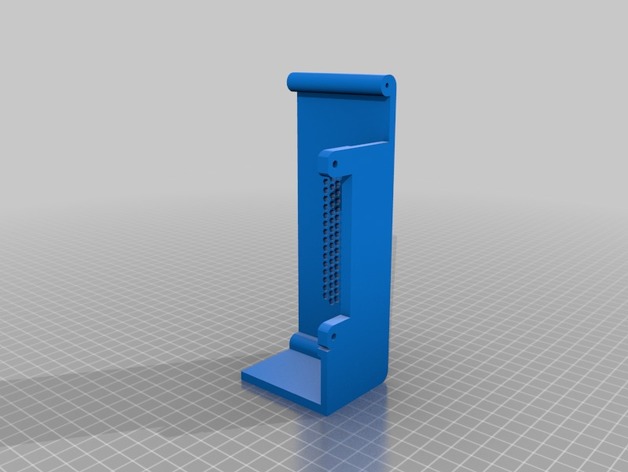
Mega Housing 3D Print Model
Summary
I got the idea for this after the significant other decided there was a good chance that a sideways glance from her would destroy my printer. I originally was going to just print something that had already been uploaded but I couldn’t find something that would really work so I used the lid off of the geeetech 2560 GT housing and designed my own frame. I have included 2 different versions though one I would suggest you print only if you are courageous. I have included links to the amazon fan controller and fan I opted to use. I also included the SolidWorks files for those who like to tinker.
Print Settings
Printer Brand:
Prusa Printer:
Prusa Clone Rafts:
Doesn’t Matter Supports:
No Resolution:
.2 Infill:
25% Notes:
YOU MUST USE RAFTS ON THE ONE WITH THE OVERHANG OR HAVE A HELL OF A MESS TO CLEAN UP.
Post-Printing
IT GOES WITHOUT SAYING
If you want to print the file with the stadium style top you are definetly going to have to tinker with the supports and the infill should be at lest 50 as the walls are rather thin.Custom Section
Items used
Temperature sensor and fan controller
https://www.amazon.com/gp/product/B016OA7KNE/ref=oh_aui_detailpage_o09_s00?ie=UTF8&psc=1
Fan 4 wire 80mmhttps://www.amazon.com/gp/product/B00H3SWJ24/ref=oh_aui_detailpage_o08_s00?ie=UTF8&psc=1 -
Bead Craft Station 3D Print Model
Summary
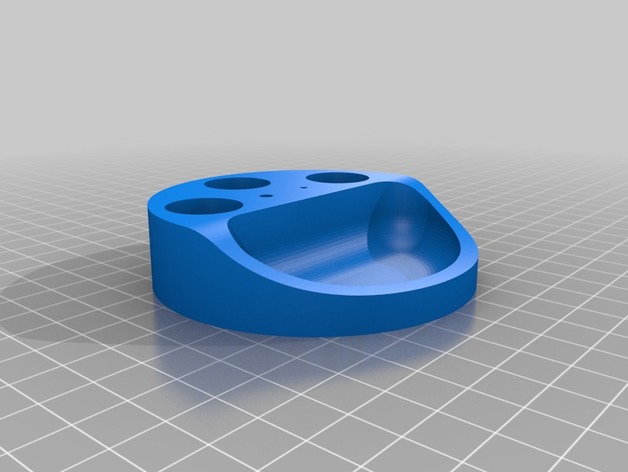
This is a beading station that holds 3 bead canisters (17.9mm diameter), a sewing needle (1.8mm) and a number 6 crochet needle (3.3 mm). It also has a rounded bead bowl in the front. My wife makes bead bracelets and needed a way to avoid spilling her tall canisters.
If the needle hole sizes do not match your taste, just drill them larger after printing.
Dimensions
80mmx80mmx20mm
Print Settings
Printer:
Monoprice Select Mini 3D V2 Rafts:
Yes Supports:
No Resolution:
0.2mm Infill:
15% Notes:
Speed: 35mm/s
Top/Bottom thickness: 1.2mm
Shell thickness: 0.8
Temp: 195/45 -
Raspberry PI case for RGB Matrix Hat 3D Print Model
Summary
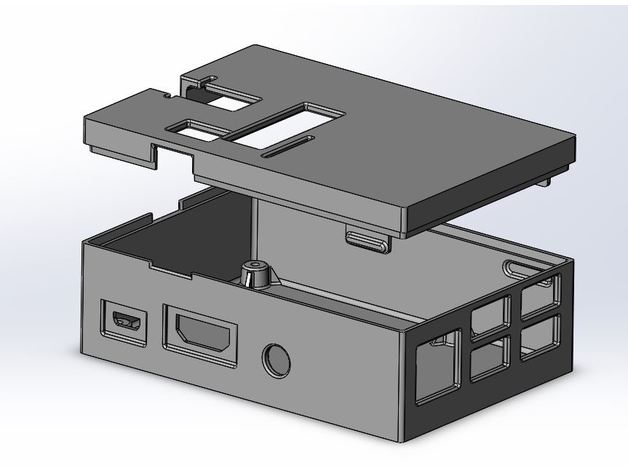
This Raspberry PI case was designed to accommodate the add-on card “RGB Matrix HAT + RTC” from Adafruit. See the product here: https://www.adafruit.com/product/2345
That add-on card was needed for the Raspberry PI LED Matrix Display project.https://learn.adafruit.com/raspberry-pi-led-matrix-display/software?view=all
I made the shell 2mm thick and mounting bosses 5mm high
Sidewall indents for the power plug and HDMI cable are only 1mm thick to ensure the plugs have a solid connection
Screws used to mount the Raspberry Pi:
“#4 x 3/8in” -
White Lantern Ring 3D Print Model
Summary
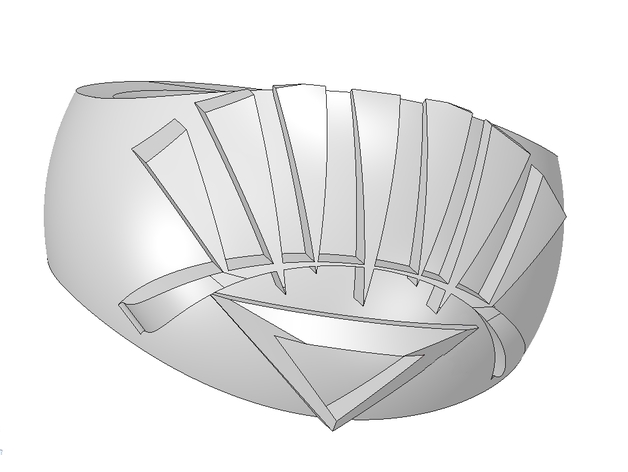
I made this ring for my 5 year old daughter. Should size nicely. Just making these for fun, and I’m open to requests! This is the White Lantern’s power ring. -
Adaptive Gripper V1 3D Print Model
Summary
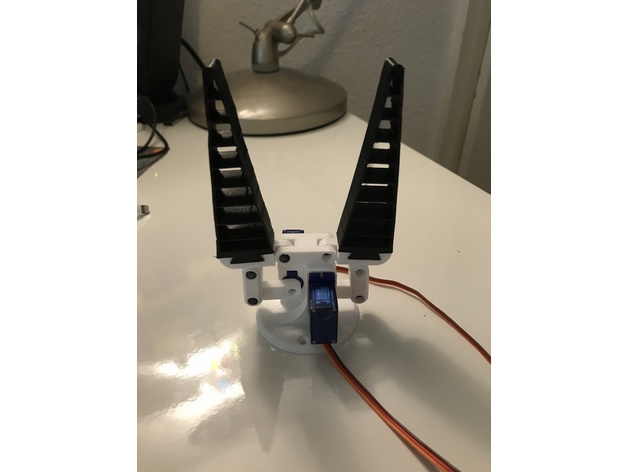
Created this thing for my robotic arm. It is not as strong as I wanted it to but it works great so I bought why not publish it here.
Servo:
Tower Pro 9g
Parts:
1x main
2xServoarm
2xconnectingpeace
2xGripperholder
2xGripperflex
6xBolt (5mm*15mm) you can print them aswell
Print Settings
Printer Brand:
Prusa Printer:
Prusa Mk2 Rafts:
No Supports:
Doesn’t Matter Resolution:
0.2 Infill:
20% Notes:
Main part needs support other parts can be printed without. -
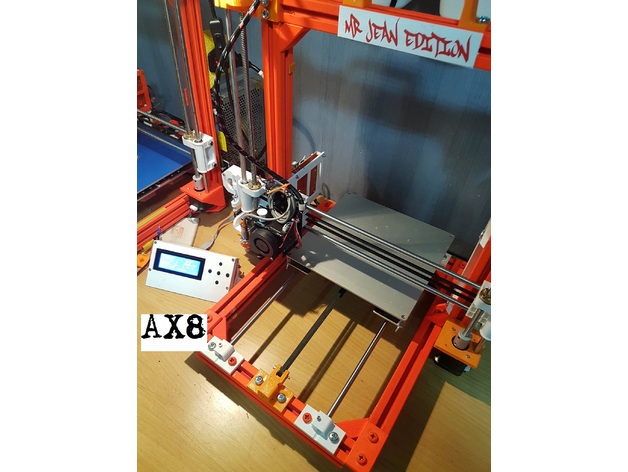
AX8 Anet a8 frame ( AM8 remix ) 3D Print Model
Summary
Just a 3030 anet a8 🙂 , is a AM8 remix so all credit go:
To pheneeny for https://www.thingiverse.com/thing:2263216 ( many parts )
To EclipseDS for https://www.thingiverse.com/thing:2374402 ( Z rod )
to Leo_N for https://www.thingiverse.com/thing:2360242/#files ( fan and sensor )
to jbrandonferg for https://www.thingiverse.com/thing:2127743/#files ( x belt tentions)
to GaryK47 for https://www.thingiverse.com/thing:2367376/#files ( cable holder )
to runtimejack for https://www.thingiverse.com/thing:2380794 ( psu mount )
LCD mount u get here https://www.thingiverse.com/thing:2005640
like i said before , i remixed somes parts and adapted them to 3030 , works perfekt , i just use screws from local store , m6 10 and m6 nuts , printed brackets and works like a dream, i used to put a screwdeiver on the side of the nut when i screw it , i dindt buy any special screw/nuts , i am not pro on this so please if u can make some upgrades just do it <3
Thx
Mr Jean
Print Settings
Rafts:
Doesn’t Matter Supports:
Doesn’t Matter -
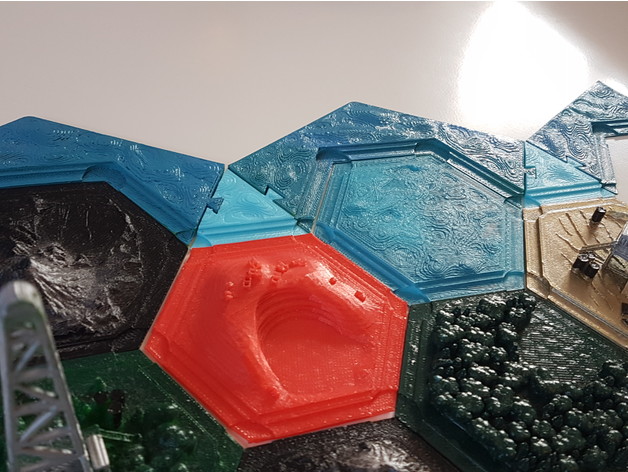
Settlers of catan triangle border 3D Print Model
Summary
For some scenarios the boarders don´t fit so i made a triangle for those cases i also have another remix coming soon. -
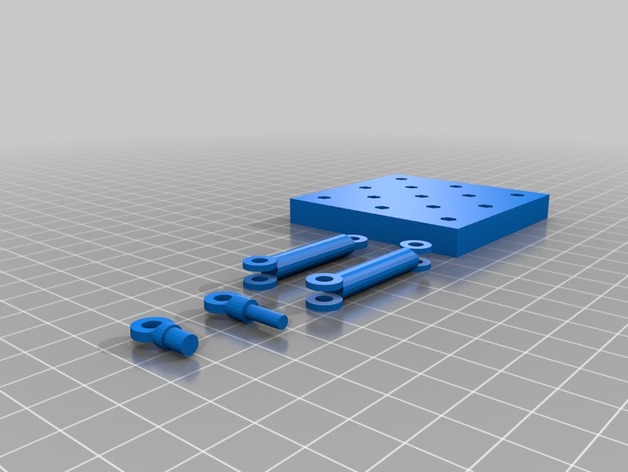
Nendoroid Stand / Base / Support 3D Print Model
Summary
Experimental version!! Need to print and test it
Nendoroid Base, using Legend Of Zelda Majora’s Mask version one for reference -
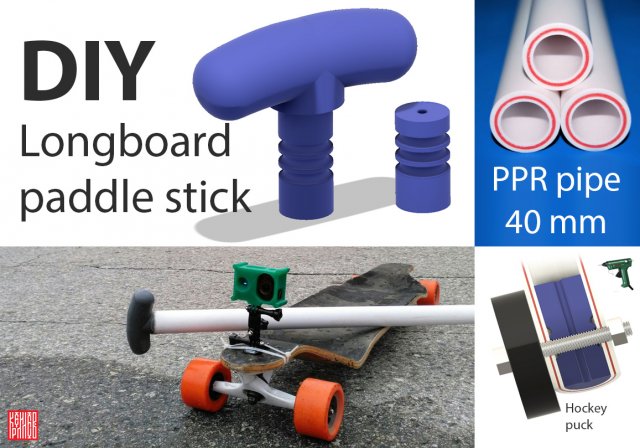
DIY Longboard paddle stick 3D Model
3D printed handle for make DIY Longboard paddle stick.You need to buy:1. PPR pippe 40mm (160-180mm lenght)2. Hockey puck or skate rubber brake3. screw boltuse glue gun.
-
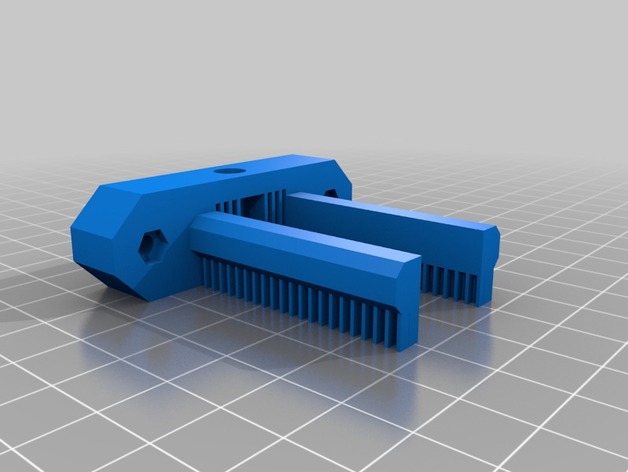
X-axis tensioner for use with toothed idler. 3D Print Model
Summary
I recently released a x tensioner for use with my own x axis parts. This version is based upon the same design but with a few modifications to suit a stock x axis on the Anet A8 (The version with ABS printed x axis sides though it may work with the injection moulded parts too!)
This is oriented as intended for printing with supports built in. You will need to cut away the supports on the underside of the two prongs, the supports inside the central rectangular hole and most (not all) of the cylinder in the center.
You should ideally leave an equal amount of the central cylinder on either side such that the idler wheel is barely able to move from side to side but can rotate freely when mounted.
My first print of this is not ideal as I had set the bed level incorrectly and had a belt tension problem at the time. I will be reprinting.
Print Settings
Printer:
Anet A8 Rafts:
No Supports:
No Resolution:
0.4mm nozzle and 0.32mm layer (0.2 would also be fine!) Infill:
50% but you can probably get away with a bit less
Post-Printing
Supports will need to be removed from the model after printing and before fitting. You will also need 3 sets of m3 screw and nut to hold the idler in place and fit to the top and bottom of the part to allow you to adjust the screws to tweak the tension in the x axis belt.
How I Designed This
A few modifications on a previous OpenSCAD design used in my version of the x axis idler and motor mounts. Slightly thicker walls to accomodate recesses for nut and screw head on the idler hole, thinner prongs due to available space and slightly increased gap for the idler to be mounted. -
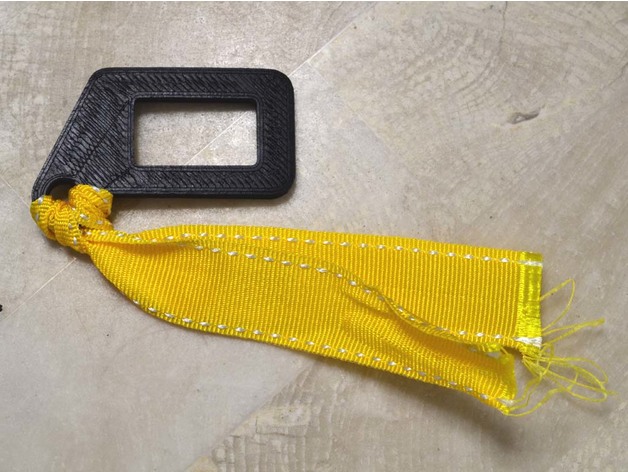
Seat Belt Alarm Stopper for SUBARU 3D Print Model
Summary
When putting a load on the rear seat, the seat belt alarm sounds.
I made alarm stopper as it is noisy.
Seat belt alarm stopper is commercially available.
But their heads were big and disturbing.
Print Settings
Printer:
JGAURORA A3 Rafts:
No Supports:
No Resolution:
Z Step : 0.2mm Infill:
20% Notes:
The filament used ABS.
Even if the inside of the car gets hot, it will not melt if it is ABS.
Post-Printing
I attached a ribbon to make it easy to handle. -
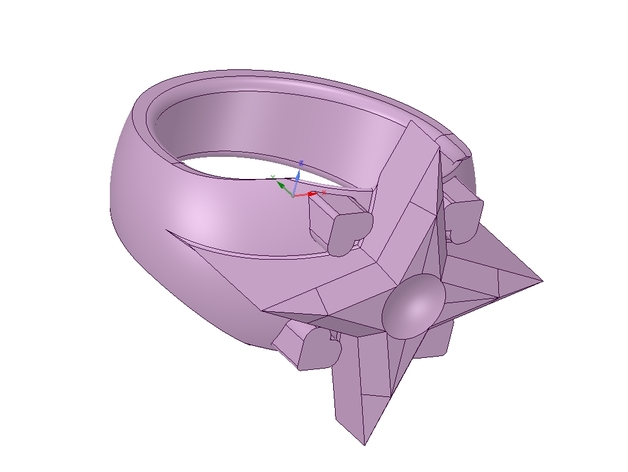
Star Saphhire Lantern Corps Ring 3D Print Model
Summary
I made this ring for my 3 year old. It’s my own interpretation of the otherwise plain logo that the Star Sapphire lanterns use. -
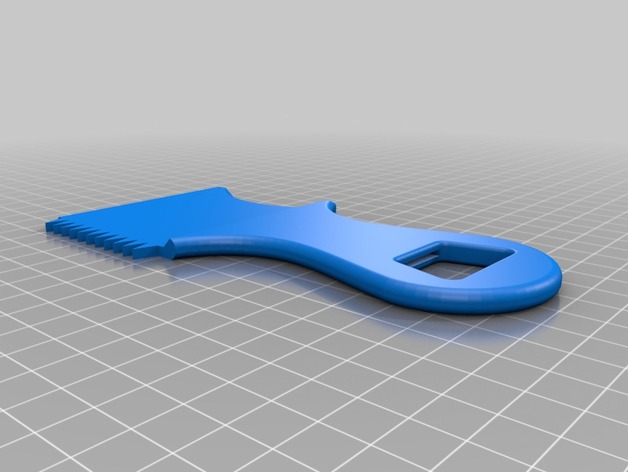
Surfboard Wax Comb with Bottle Opener 3D Print Model
Summary
Hey brah, wax your board then pop open a cold drink with this handy wax comb.
The bottle opener idea is from this model. After printing, use pliers to push a penny as far as you can into the slot. -
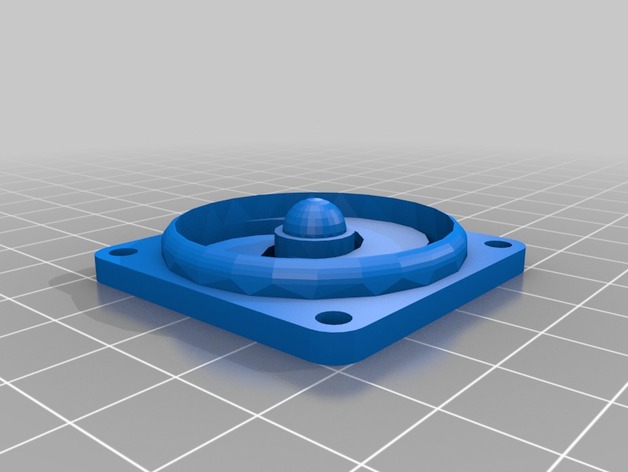
40mm fan cover for anet a8 3D Print Model
Summary
40mm fan cover designed to fit in place of the metal one on the anet a8 -
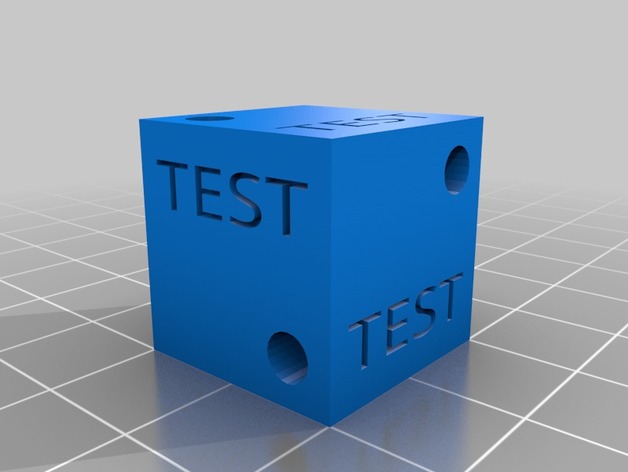
Calibration Testcube with bores 3D Print Model
Summary
simpe testcube for x y z axis bore calibration -
First Order Hanger Generator 3D Print Model
Summary
Created a First Order Hanger Generator for my 1:72 Hanger diorama. It is a bit small, but it works, Printed it in blue transparent filament. Can be scaled up for other models
There is a solid version (with a hole for a 3mm led)
and a open one that comes in 5 parts (3 handles, 1 lid, and one body)
Print Settings
Printer Brand:
Ultimaker Printer:
Ultimaker 2 Rafts:
No Supports:
No Resolution:
0.02 Infill:
100% -
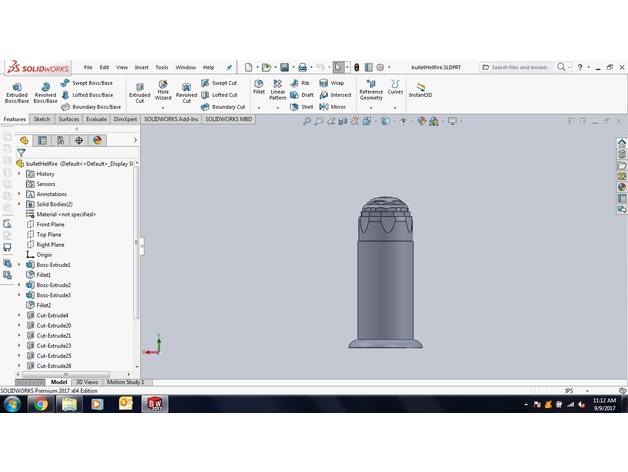
Shadows of Brimstone Hellfire bullet 3D Print Model
Summary
Hellfire bullet for Shadows of Brimstone -
Kite Foil 3D Print Model
Summary
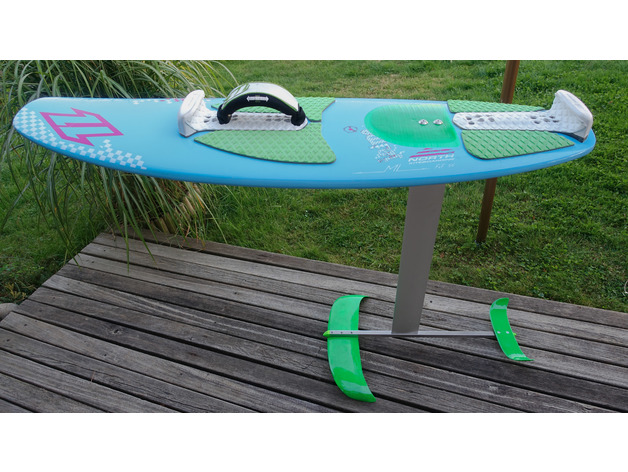
A hydrofoil allows kitesurfing in very low wind conditions. Unfortunately, they are quite expensive.Therefore, I decided to build my own.
I used for both wings an Eppler 817 profile
The wing area is about 600cm2 / 200cm2
The mast is a Manta 2 aluminium mast
buyed here: https://www.mantafoils.com/e-shop/Manta-aluminum-mast-production-scrap-p59642799
For the fuselange i choosed a 20×20 stainless steel square tube
The 3D-Printed wings were covered with gfk, the mast-box is also laminated with gfk.
The Board is a North freestyle fish 5`2″
The laminated wings are very stiff. The mast to board connection with the 3d mast adapter is not as stiff as i wished. Perhaps a laminated mast base plate is the better choice. -
Orc Hut 3D Model
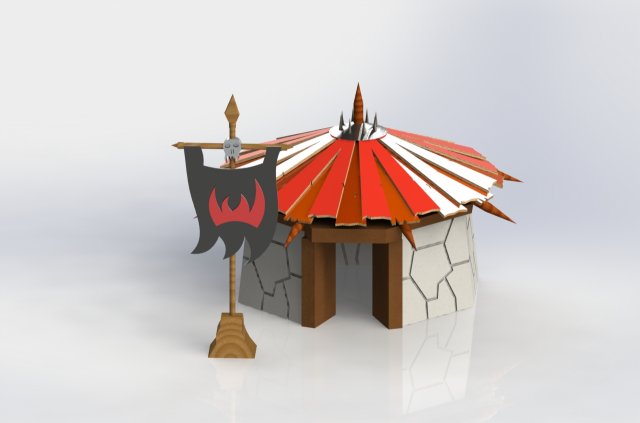
Orc hut ready for printFor all miniature games, you can separate the roof and play inside the walls.Hollow structure for optimice 3d print.three files in Orc Hut .RAR:Banner stlRoof stlWall stl
-
Not so sharp Shovel Wall Hook 3D Print Model
Summary
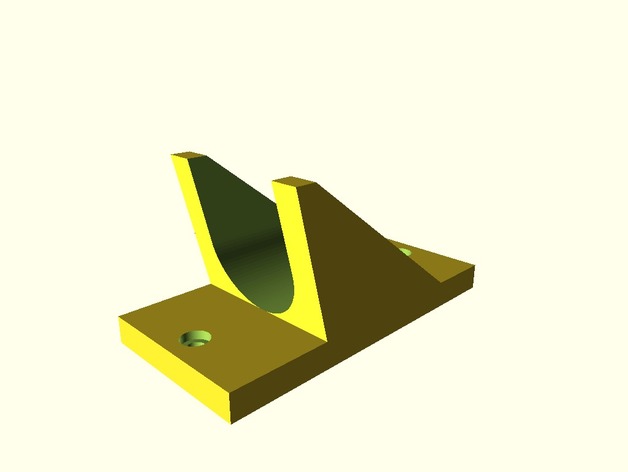
Altered the end angle a bit so it wasn’t so sharp. Also removed the backside relief pocket so it would print cleaner for me. -
Pathfinder Inquisitor with Crossbow 3D Print Model
Summary
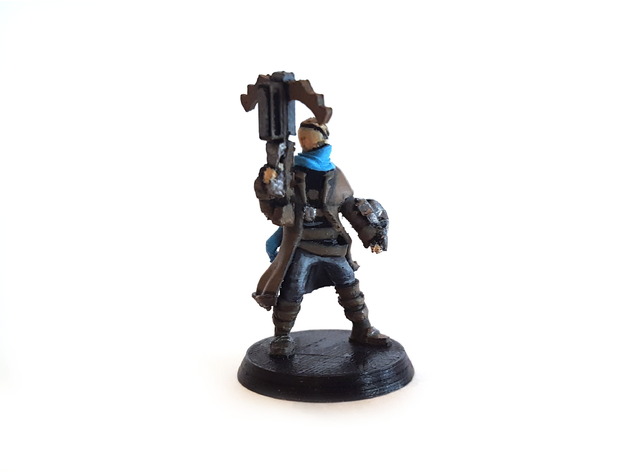
This is a miniature with a 25mm base for a recent game of Pathfinder that I was playing (model and character’s name is Tycho). Printed with a .3mm nozzle with supports built into the model. I would not recommend trying to print with a larger nozzle without enlarging the model as well since much of the detail will be lost.
There is a fair amount of trimming that must be done to remove the built in support but I found that the model comes out with better surface finish using modeled supports rather than automatically generated supports.
Happy gaming! -
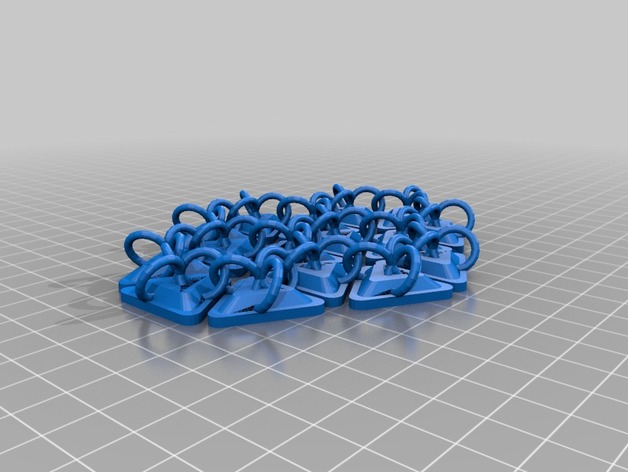
Triangular Scale Mail Pattern 3D Print Model
Summary
As with my other two scale mail patterns, this design is tileable and prints interlocked. I would recommend printing it on glass if you want it to look glossy…
I have not printed this design yet, and I doubt I am going to get a chance to soon. The school workload is stepping up. I wanted to upload my design so that others might print it and find ways to modify and improve it.
Please scale it to whatever dimensions you want. LMK what works and what doesn’t in the comments! I’ll get to it when I can.
Happy printing! -
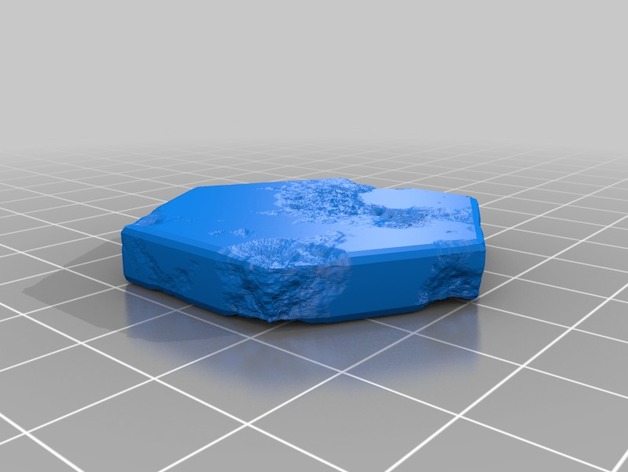
Hexagonal Armor for wasteland 3D Print Model
Summary
Some corroded hex plates for armor or hanging doodads and flare. use these for whatever you desire, but have fun. -
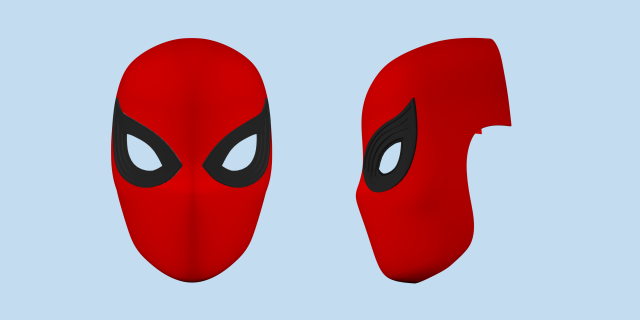
Spider-Man mask with shutter lenses v2 3D Model
Formats of the model: OBJ,STL,3Ds.Spider-Man is a fictional superhero appearing in American comic books published by Marvel Comics. The character was created by writer-editor Stan Lee and writer-artist Steve Ditko, and first appeared in the anthology comic book Amazing Fantasy #15 (Aug. 1962) in the Silver Age of Comic Books. Lee and Ditko conceived the character as an orphan being raised by his Aunt May and Uncle Ben in New York City, and as a teenager, having to deal with the normal struggles of adolescence in addition to those of a costumed crime-fighter. Spider-Man’s creators gave him super strength and agility, the ability to cling to most surfaces, shoot spider-webs using wrist-mounted devices of his own invention, which he calls “web-shooters”, and react to danger quickly with his “spider-sense”, enabling him to combat his foes.