Summary
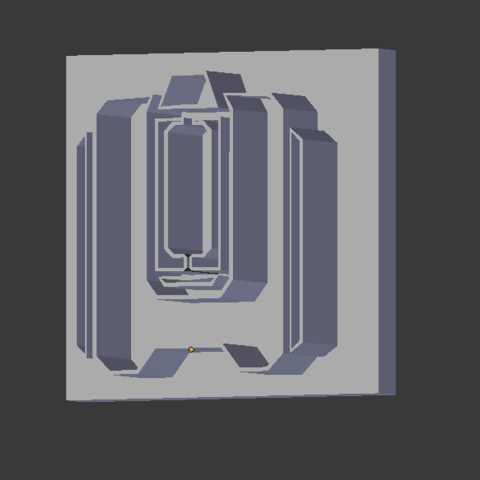
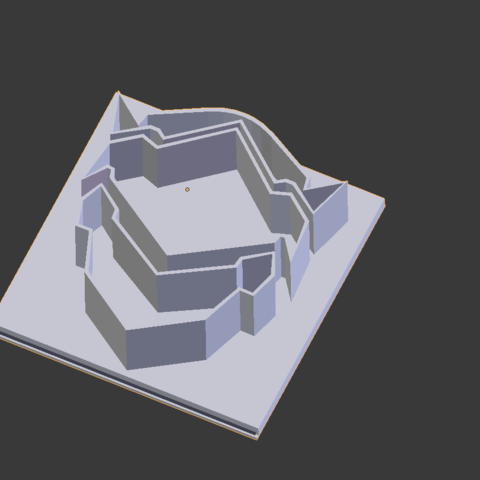
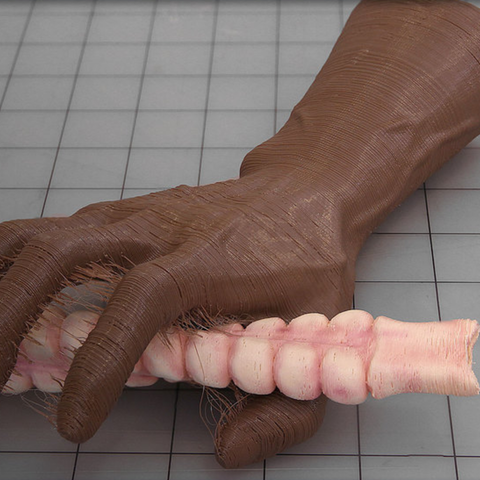
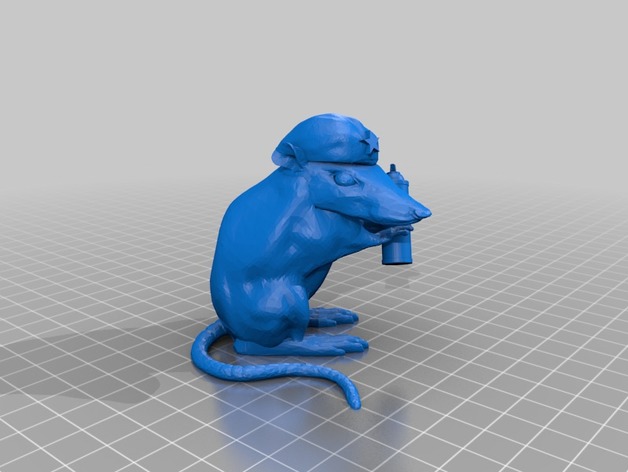
Here is another Banksy art piece brought to life.
The rat appeared on the historic Red Victorian hotel in the spring of 2010, around the time that Banksy’s documentary Exit Through the Gift Shop hit theaters
Print Settings
Rafts:
Doesn’t Matter Supports:
Yes
Category: 3D Print Models
Premium & 3D Print models ready to be 3d printed. 3D Print Models and Free 3D Print Models are available for download in several formats including .STL, .3DM, .OBJ, .3DS, .DAE, .SKP, .BLEND, .DWG, .DXF, .STEP and much more. If you’re in search of high-quality 3D printed assets, we have a huge library of 3d print models for any of your needs. Also you can visit 3D Models and All 3D Models category.
-
Banksy Che Rat 3D Print Model
-
Galaxy S8 car/room mount 3D Print Model
Summary
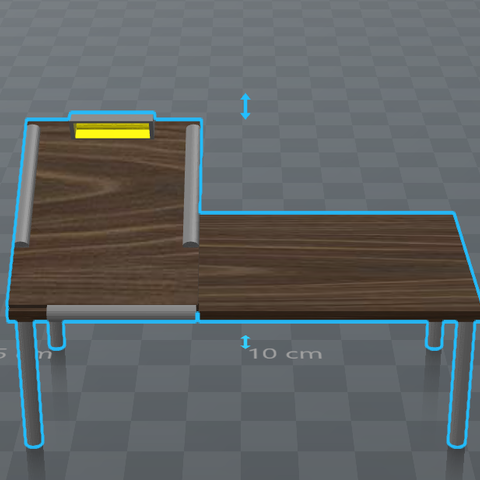
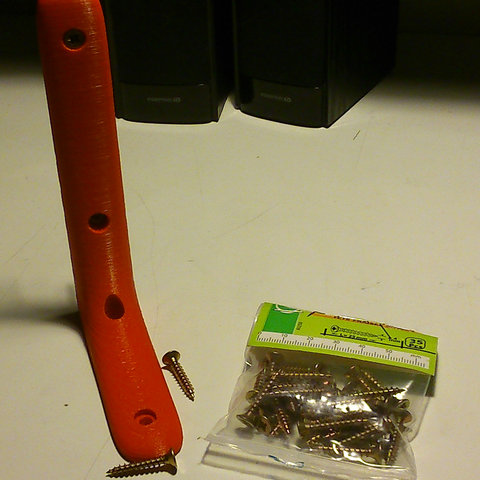
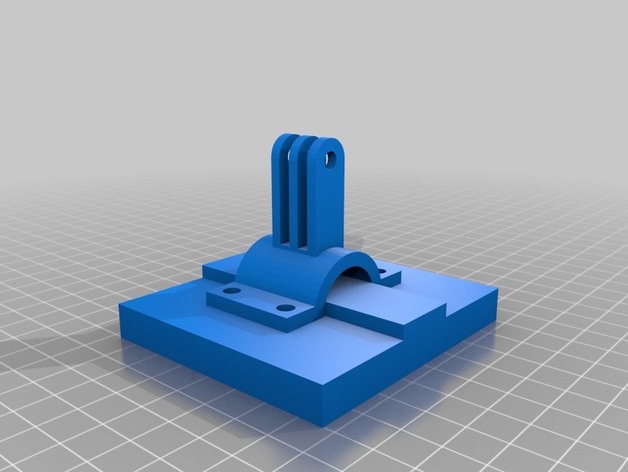
Hello, I created this because I didn’t want to buy an expensive mount. This is designed for a Galaxy S8. It fits a GoPro mounting system. Works well. Just mount your GoPro mount to anything and this will bolt up to it.Overview and Background
You will need a GoPro mounting system
Lesson Plan and Activity
And a GoPro screw. -
FT Cub Rear Wing Support 3D Print Model
Summary
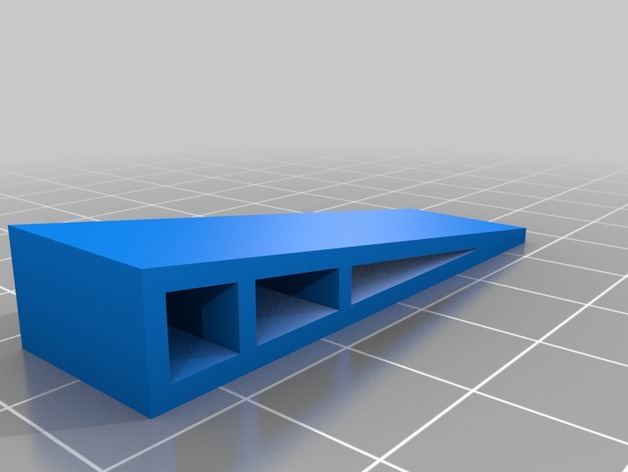
Upgrade part for the Flite Test Simple Cub RC airplane
When built to the plans the back of the wing that sits on the fuselage does not have a lot of support. The force that the rubber bands exert on the wing can fold the back part of the wing and mess up the wing angle. Two of these supports attached to the wing in that problem area will correct the problem.
I printed two supports with PLA, roughed up the surfaces to glue with sandpaper, and then hot glued the supports in place.
The position of the supports is a few millimeters in from the edge of the fuselage with the wing mounted to leave a bit of space for some rubber band protectors.
I also smear a thin layer of hot glue over the area of the wing that contacts the fuselage to better hold it in place so it doesn’t slide around. This includes the surface of the supports.
Print Settings
Printer Brand:
Wanhao Printer:
Wanhao Duplicator i3 V2 Rafts:
No Supports:
No Resolution:
0.2mm Infill:
100% -
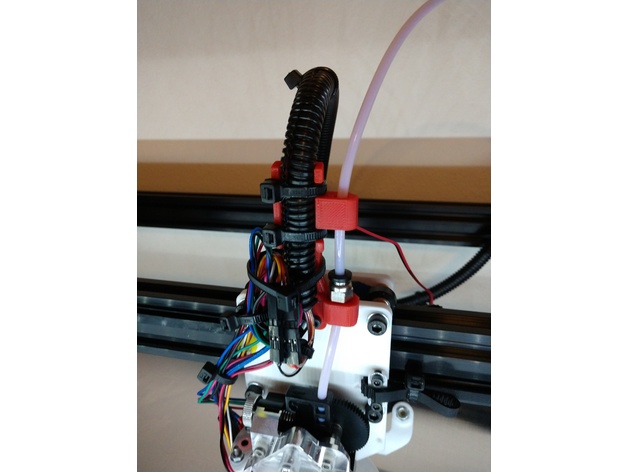
d-bot Titan Aero print carriage tube holder 3D Print Model
Summary
I made this tube holder to work with the d-bot print carriage for the Titan Aero, which is found at the following link:https://www.thingiverse.com/thing:2253498
This was done so I had a holder for my ptfe tube, and my wiring. I wanted it beefed up a bit, and added some channels for zip ties to make it more secure. -
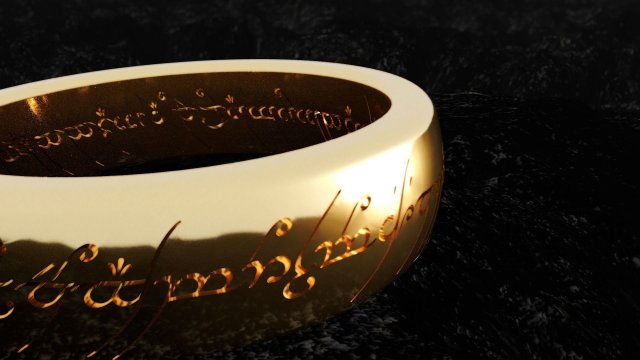
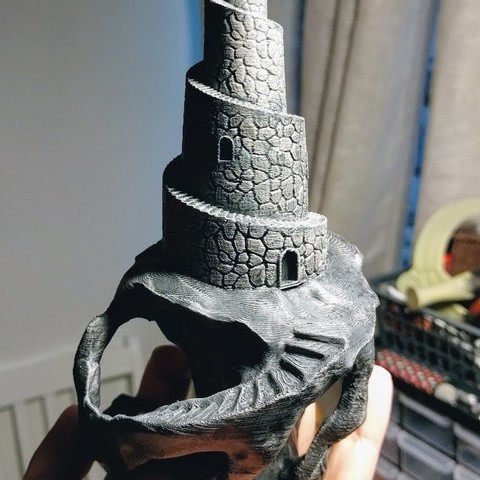
The lord of the rings – Ring of omnipotence 3D print model 3D Model
The lord of the rings – Ring of omnipotence 3D print modelThe lord of the rings – Ring of omnipotenceScale – 20 mmWidth – 10.04 mmThe ring is completely suitable for 3D printing.Everything is worked out to the last detail.Formats – stlYou can see here :https://sketchfab.com/models/34bf92b537ea44299dd39c649e552dea
-
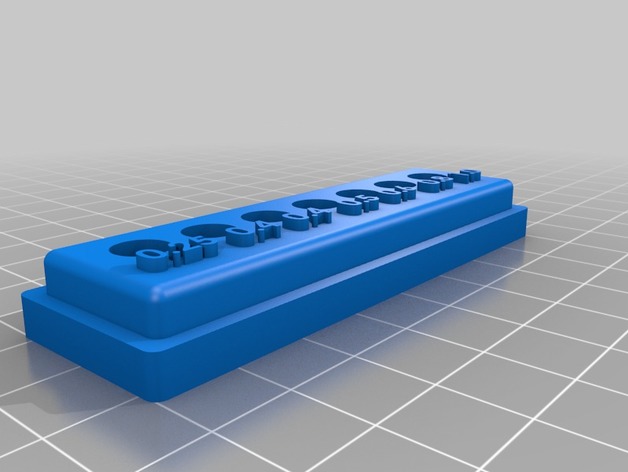
Nozzle holder (box) 3D Print Model
Summary
A simple nozzle holder with lid. I designed it for the Ultimaker 3 “Hard Core” set by Solex 3D but it can be used for any standard nozzle.
Any suggestion or request is welcome.
Print Settings
Rafts:
No Supports:
No Resolution:
0.2 Infill:
15% -
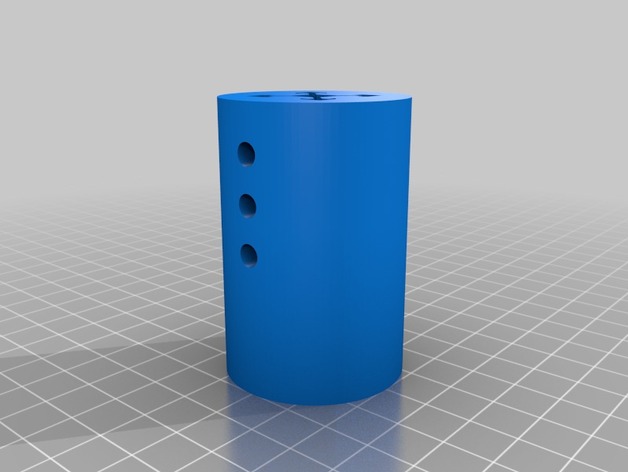
Tap Alignment Tool (20×20 extrusion) 3D Print Model
Summary
Basics
A printed 3D tool to aid in aligning 20×20 extrusion for tapping and drilling. Basically to help with assembly of printer frame made with 20x20mm extrusion such as the HyperCube or my ongoing design Cubeish! ..
How it works
Slide the tool onto one side of the 20×20, then use the top hole for aligning the tap bit for tapping the ends of the 20×20, or use one of the three M5 holes in the side to assist in fixing one 20×20 to another…
Note: I haven’t printer one yet but will do so and modify design if necessary…
Mike -
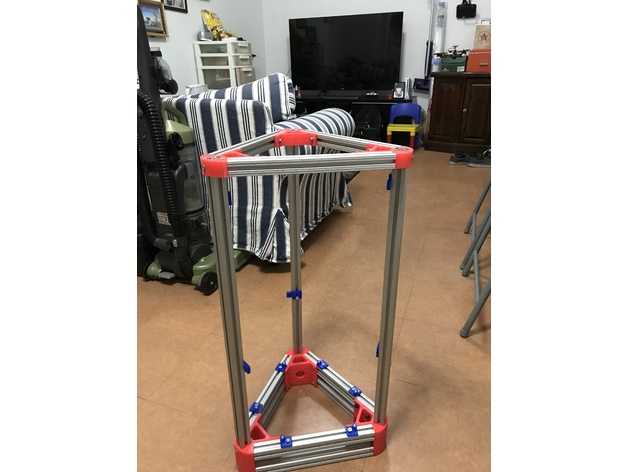
Delta 3D Printer for 25 mm Extruction bar 3D Print Model
Summary
This 3D Printer parts for 25mm aluminium extruction. -
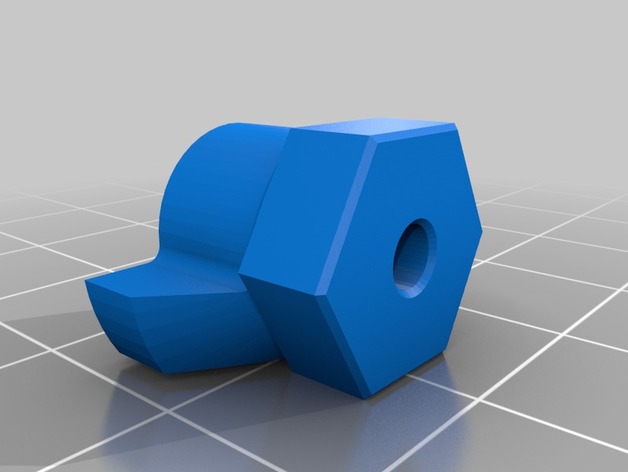
Steering Wheel adapter for Pistol Transmitters, Flysky, Axial, etc 3D Print Model
Summary
Be careful to use a screw in the correct size!
Have fun using your 12mm RC car rims/wheels on your Transmitter -
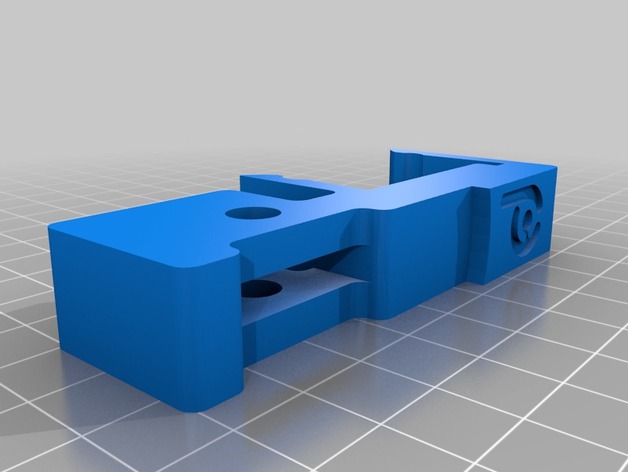
Peopoly Moai Dial Gauge Bracket 3D Print Model
Summary
This is a dial gauge bracket that friction fits on all sides of the build plate. The dial gauge can then be used to ensure the gap between build plate and vat is level on all sides.
The bracket has been designed around the digital dial indicator gauge available from Amazon and other places. It is available under several brand names, such as Neoteck and Wiysond. Here is a link to the Neoteck version on Amazon.
Simply attach the dial gauge to the btracket and secure tight to the bracket with an M6 bolt and nut. Then simply push the bracket onto the edge of the build plate at the required locations. Depending on how central your build plate is in relation to the vat you may need to adjust the bracket in or out slightly to ensure the tip is central on the vat top edges.
NOTE: You will need to adjust the Z Reset Position in the Advanced Menu to 60 to have the right position for the gauge to measure. Once the build plate has settled at the reset position attach the bracket, not before.
Print Settings
Rafts:
No Supports:
Yes Infill:
40% + recommended for strength in the flex arms. -
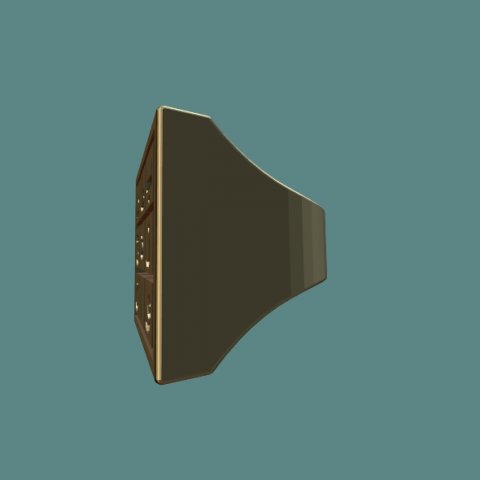
Magic Square Ring 3D Model
Magic Square means a square defined by values at raws and coloums totals are equal. Arabic letters has numerical values like Hebrew and Roman alphabets. This time the square magically on the rings face. This model is prepared to be print as prototype for a silicone mold to cast resin copies of it.
-
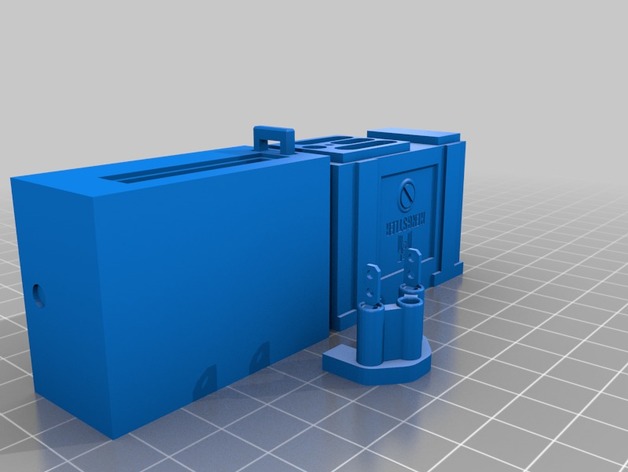
Hengstler Counter 3D Print Model
Summary
I remixed this to:
make it easier to print by removing the built-in supports under the object
flatten the text detail, screw, and surrounding area, to be more like what I see in similar images of real devices
fiddled with the area where the two parts join. My intent is to use a thin piece of card to separate them rather than print the detail. -
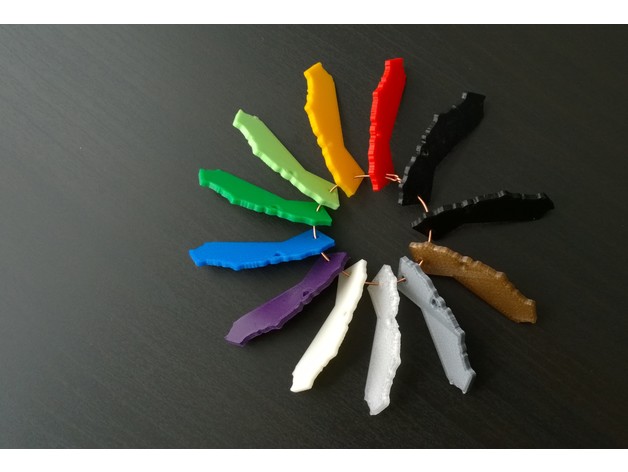
<3 Bay Area California Necklace 3D Print Model
Summary
CA outline with a heart on the SF Bay Area, the home of many silicon valley engineers and designers!
2in long x 0.5in wide
0.2mm layer height
10-20% infill
Print upside down on glass or a nice mirrored finish/shine. I print one in each of my colors to use as a color palate shown. Most are PLA.
How I Designed This
Onshape -
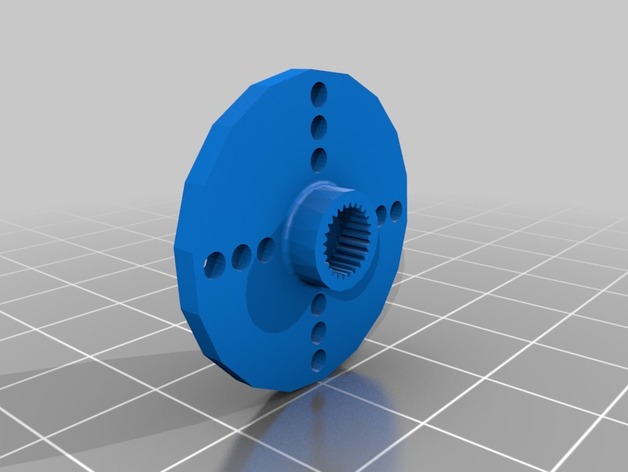
Servo Horn Compatible with Futaba 3F or Hitec H25T 3D Print Model
Summary
My hobby projects often find me needing a servo horn that I don’t have. I wanted to model a horn with the correct splines to fit the standard size servos that I typically use. This Thing includes the model for a round servo horn with splines that are compatible with either Futaba 3F or Hitec H25T spline servos (this covers most newer standard size servos).
The horn is a tight fit and you may need to slightly scale the model to account for your printer’s particularities.
The DesignSpark Mechanical source model is provided. This allows you to make a custom servo horn.
Print Settings
Printer:
Malyan M150 Rafts:
No Supports:
No Resolution:
0.2 Infill:
25% Notes:
Material: PLA
Slicer: Kisslicer v1.5 -
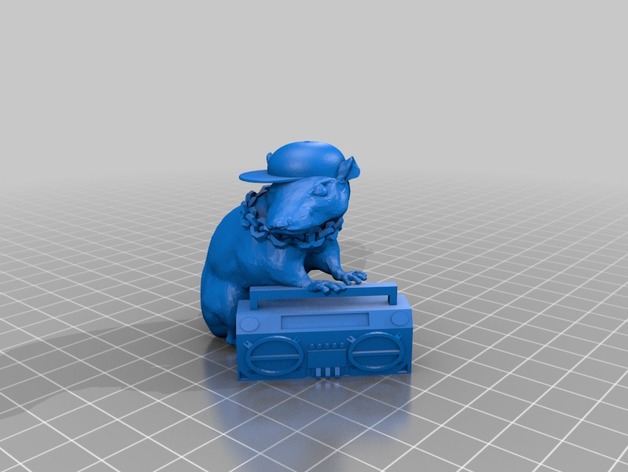
Banksy Rat 3D Print Model
Summary
This is my first attempt to make some Banksy art into an actual print file. This is the NYC Gangster Rat.
Banksy’s ‘Gangsta Rat’ character has appeared at various locations, but perhaps the most well documented ‘Gangsta Rat’ is the one in the picture here, which was first spotted at Moorfields Eye Hospital in London in 2006
Print Settings
Printer:
Monoprice Select Mini Rafts:
Doesn’t Matter Supports:
Yes -
Enhanced Glock Magazine Baseplate 3D Print Model
Summary
Improved baseplate for Glock Magazines.
Positive grip and larger grip size – suitable for IPSC, IDPA or other sporting purposes.
Best to print upright, with high resolution, with a strong material. -
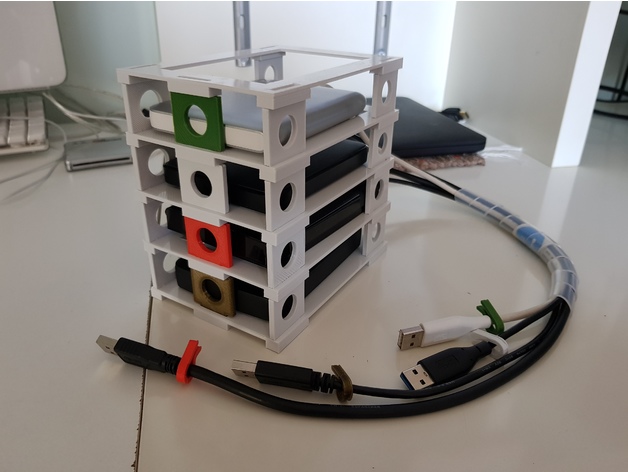
HD SKYSCRAPER 3D Print Model
Summary
Multi HD support vertically
To get more space on your desk
Print Settings
Printer:
Sharebot NG Rafts:
No Supports:
No Resolution:
0.2 Infill:
20% Notes:
Material : PLA
Maximum size HD 128x83x25
Details are upgraded to an improved version -
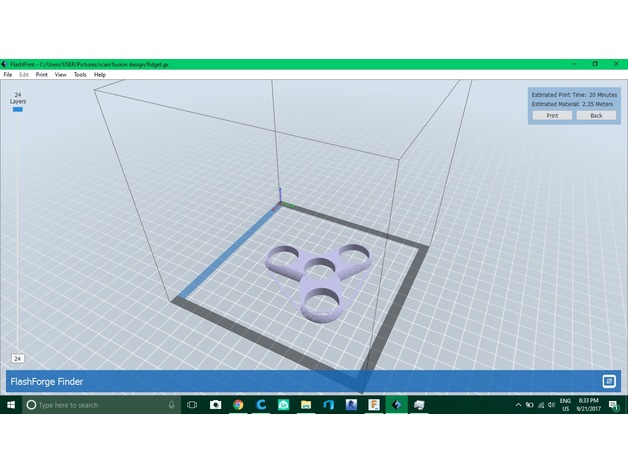
three ray fidget 3D Print Model
Summary
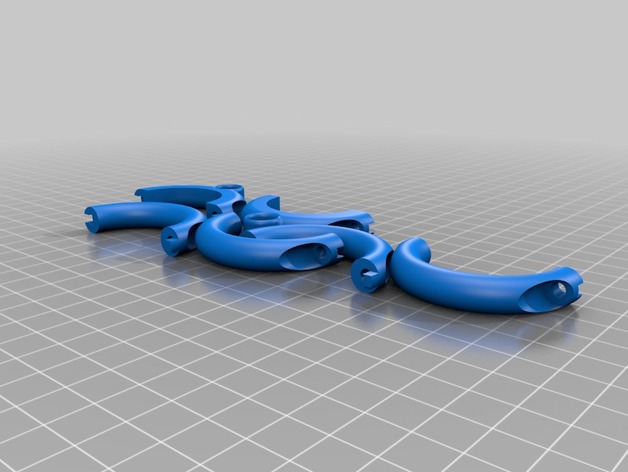
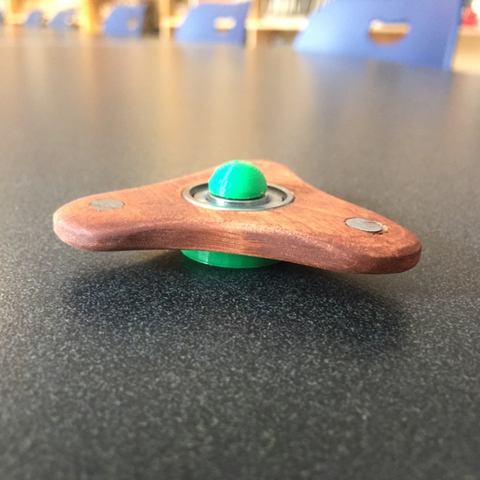
This is actually a three ray fidget. The barrels’ diameter are 23 mm which is one mm more than real bearings. If you want to me customize please comment. Any remix please be free to do it. 3D print and enjoy it.
How I Designed This -
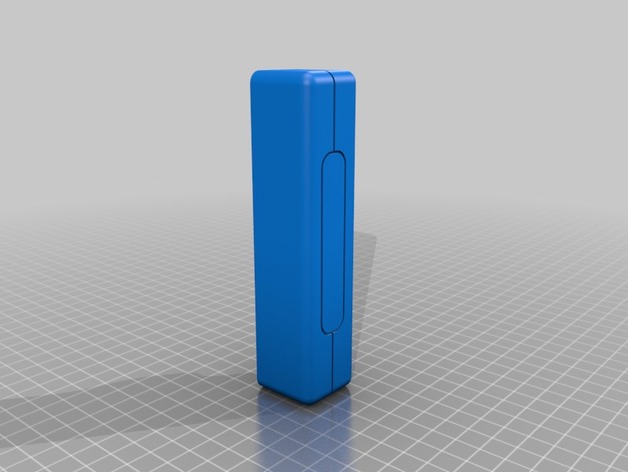
SNES cartridge wall mount 3D Print Model
Summary
This is a wall mount for Super Nintendo cartridges. It is inspired by the visuals of the PAL SNES console and it prints without support in one piece. The games fit tightly, so if you want the fit to be more loose, then I recommend that you scale it up a bit. The front plate is meant for the SNES logo or game titles. I hope that you’ll contribute and remix this piece with inspiring plates and so on. Enjoy!
Print Settings
Printer Brand:
Printrbot Printer:
Simple Black Rafts:
Yes Supports:
No Resolution:
0.1984 Infill:
15
How I Designed This
I’ve made this design with an online CAD tool called Onshape. It works really well, but when you start to add many features, such as fillets, then it begins to run slowly. -
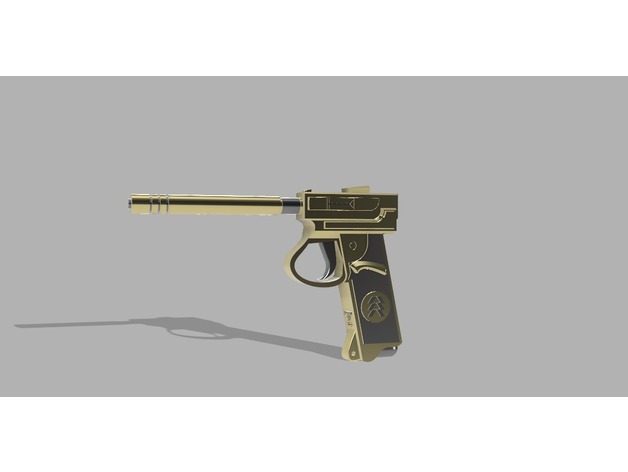
Destiny 2 – Drang Sidearm – Hunter Edition 3D Print Model
Summary
Since the Collapse, these pistols have been retooled several times to boost their firepower. A worn inscription reads, “To Victor, from Sigrun.”
The legendary sidearm Drang, to scale with Hunter insignia’s on either side of the grip.
If you would like a finished piece I’d be happy to make one for you. Check out my etsy store for more 3D printed fun: https://www.etsy.com/shop/BigBabyProps?ref=seller-platform-mcnav -
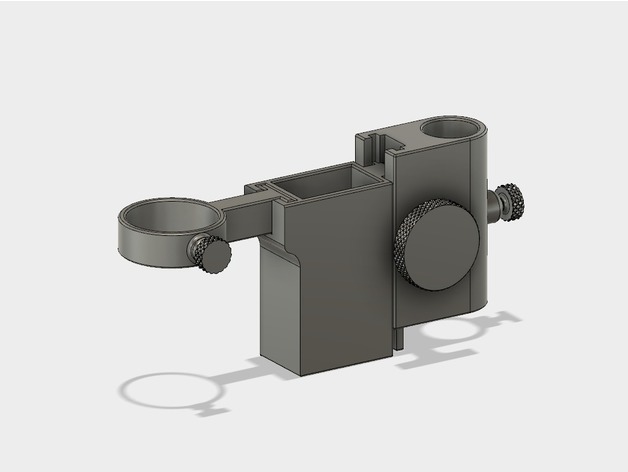
C-Mount Adjustable Microscope Stand 3D Print Model
Summary
I threw together this USB Microscope Stand for my 14MP C-Mount Microscope with 180X Lens I purchased off of eBay. I also own one of the cheaper $20 2MP USB microscopes I purchased off of eBay and I have included an adapter for in as well. I wanted to make the stand modular so the adapters are easily exchangeable and also new adapter for different applications can be made and used as well. All parts can be printed on a 200x200x200mm bed 3D Printer. If you own a printer that can go up to 300mm in height like my CR-10 then you can printer the 300mm tall rod instead and take advantage of an extra 100mm of adjust height. I also included a DIY LED ring light mount that can be used for different camera lenses as well.
As for the printing I used PLA with a layer height of 0.15mm, 3-Layer perimeter top and bottom layers and infills ranging from 5-15%
Build List:
Qty (1) – Microscope Stand Base 10% infill (20.76g)
Qty (1) – 30x200mm Rod 10% infill (48.80g)
Qty (1) – Main Housing 5% infill (73.27g)
Qty (1) – Gear Rack Housing 5% infill (85.21g)
Qty (1) – Right Height Adjustment Knob 15% infill (12.70g)
Qty (1) – Left Height Adjustment Knob 15% infill (9.47g)
Qty (1) – Right Adapter for C-Mount Lens 5% infill (19.37g)
Qty (1) – Height Adjustment Ring 10% infill (4.10g)
Qty (1) – M8x1.25 x 11 mm Length Screw for Threaded Stopper 15% infill (1.64g)
Qty (2) – M8x1.25 x 18 mm Length Screw for Threaded Stopper 15% infill (1.86g)
Total weight about 279.04 grams *your mileage may vary
Optional:
Qty (1) – 30x300mm Rod 10% infill (73.06g)
Qty (1) – 2MP USB Microscope Adapter 5% infill (6.19g)
Qty (1) – All 3D Printed Stand Base 200x200mm 5% infill (85.26g)
Qty (1) – All 3D Printed Stand Base 300x300mm 5% infill (174.55g)
Hardware:
Qty (4) – #8-32 x 1/2″ Machine Screws (If you only have Metric then you can drill out the 4 holes in the base to fit what you have.)
As for the 3D printed threads, they fit a little tight at first, but if you slowly work them in and out they wear in a little start to move smoothly, Printing threaded parts at 0.1mm layer height will be helpful (include parts with internal threads)
I used this for the LED ring light and I soldered a connect and used a 12VDC wall power supply:
https://www.aliexpress.com/item/B86-Hot-2Pcs-Bright-White-100mm-Angel-Eyes-33-SMD-LED-Ring-Car-Light/32777360207.html
Print Settings
Printer:
Creality CR-10 Rafts:
No Supports:
No Resolution:
0.2 Infill:
5-15% -
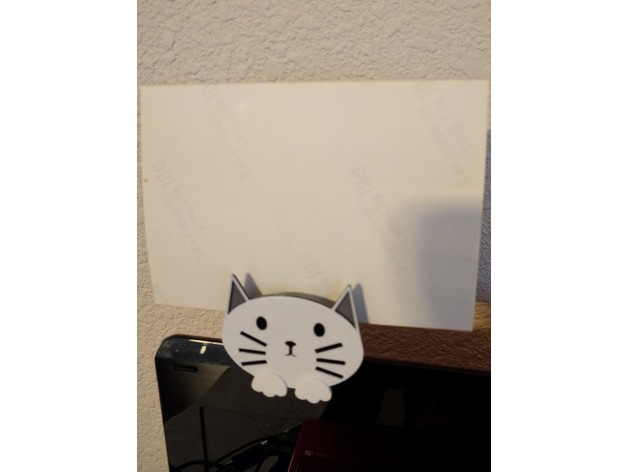
Cat Photo Stand Clip 3D Print Model
Summary
A picture stand that clips on monitors or other things. It is made to snugly fit a monitor 7.5-8 mm thick and hold 1 picture.
Print Settings
Printer Brand:
Prusa Printer:
i3 MK2S Rafts:
No Supports:
No Resolution:
.2 Infill:
20% Notes:
Ears and features are printed at different heights to allow for color changes.
Simply super glue the back to the front when finished printing. -
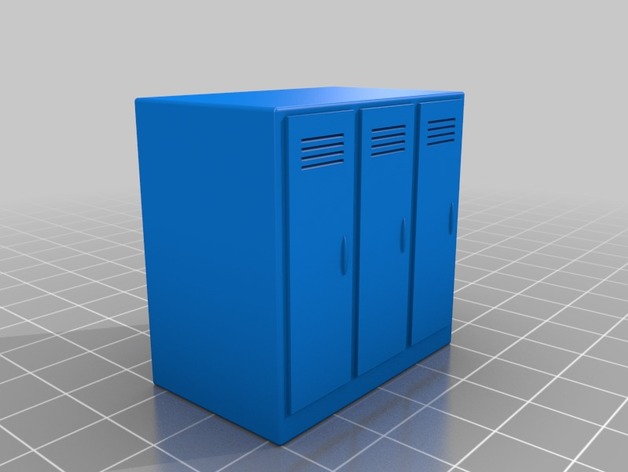
Miniature Lockers for Lobotomy Board Game 3D Print Model
Summary
Based on paper models created by JudgementDave here: https://boardgamegeek.com/filepage/145100/jds-papercraft-lockers-cabinets-lobotomy
Print Settings
Printer:
Cetus3D Extended Rafts:
Yes Supports:
No Resolution:
.15 Infill:
13% Notes:
I only use rafts because my bed is not heated. -
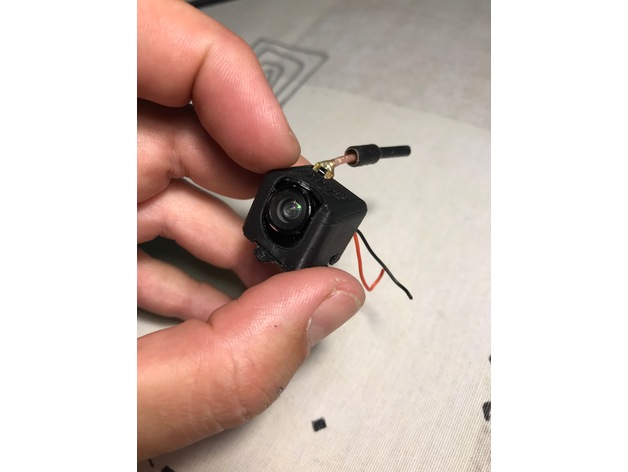
16×16 camera mount 3D Print Model
Summary
This is tiny camera/VTX combo mount for 16x16mm setups.
I use it with this camera:https://aliexpress.com/item/AKK-BS2-5-8G-48CH-25mW-VTX-600TVL-1-3-Cmos-AIO-FPV-Camera-for-FPV/32804924139.html
But most likely it will fit popular VM275T:https://aliexpress.com/item/VM275T-Upgrade-Ver-HC48-5-8G-25mw-48ch-Picture-Transmission-Integrated-FPV-Camera-w-Magnesium-Light/32821847503.html
I printed it with ABS and camera goes inside veri tight – be carefull.
Probably if printed with some FLEX – it would be better – more easy to install, more secure against crashes…
Print Settings
Printer:
TEVO Tarantula Rafts:
No Supports:
No Resolution:
0.25 Infill:
100% Notes:
I print without supports, but probablu you will need it…Custom Section
-
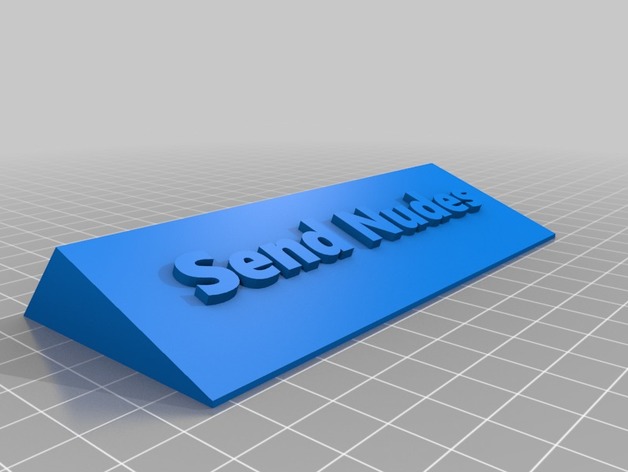
Send Nudes 3D Print Model
Summary
Just a sign that says “Send Nudes”
simple as that.
Print Settings
Printer:
Anet A8 Rafts:
Doesn’t Matter Supports:
Doesn’t Matter Resolution:
0.2 Infill:
20% Notes:
Just for Fun -
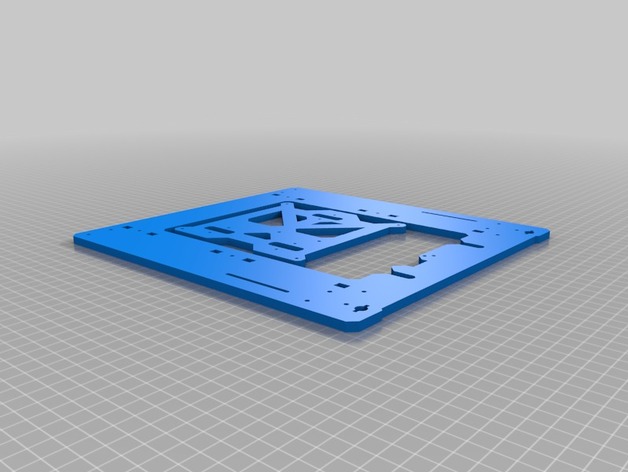
Prusa Mini i3 Printable Frame 3D Print Model
Summary
This is a printable version of Prusa’s “Mini” version of the i3 printer frame and bed carriage. It is designed to be printed out of PLA (less warping) but you could do it out of any material you like.
You will need a LARGE print bed for this! It is designed to fit on the Creality3D CR-10 bed with no modifications.
You can download all of the files for the Mini i3 at https://github.com/josefprusa/Prusa3/tree/master/mini and build your own! -
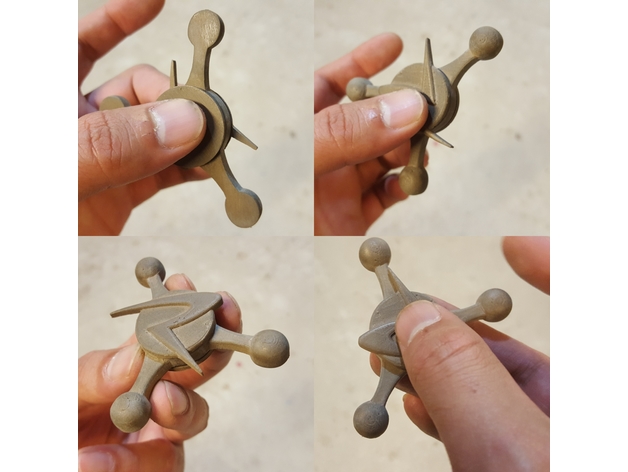
Council Ricks Fidget Spinner Badge 3D Print Model
Summary
Council of Rick fidget spinner! Make, and enjoy!
Don’t have a printer get prints made at www.animaspiritus.com
Print Settings
Printer Brand:
Wanhao Printer:
Wanhao Duplicator i3 V2 Rafts:
No Supports:
No Resolution:
200 microns Infill:
7% Notes:
Uses a 608 bearing should slide in nice, you may need to glue the cap on for it to stay anchored. -
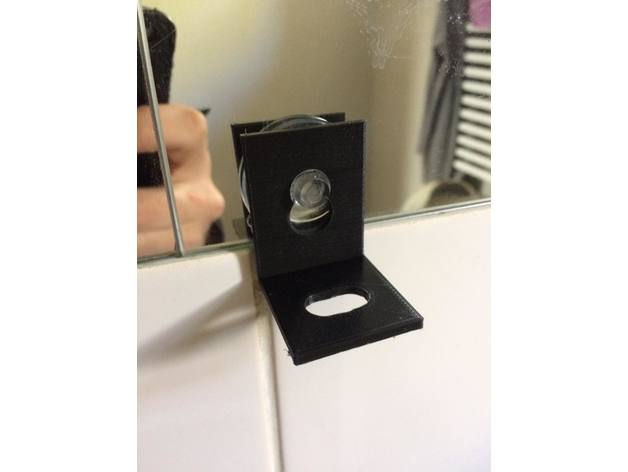
support brosse à dents 3D Print Model
Summary
PLA DiscoEasy200
0.1
210°C
Diamétre de la ventouse :
Print Settings
Printer:
discoeasy200 Supports:
No Resolution:
0.1 -
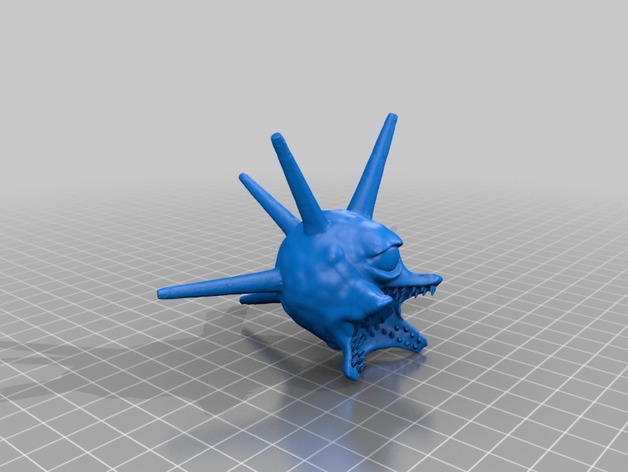
beholder demagorgon 3D Print Model
Summary
This is very much a work in progress, so come back and ill have more done. this is my beholder demagorgon mashup for my d&d group, now please roll initiative. lol
i could really use the feedback on the eye stocks!!!!! idk how to make those look more…. tentacle like. -
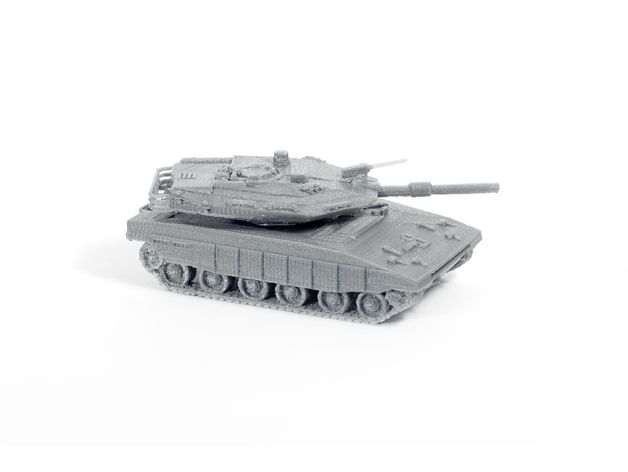
Merkava Tank Simple Model Kit 3D Print Model
Summary
Merkava Tank 3D Print Model Kit, play war with the Israeli tank.
Scale 1/100
Settings for FDM/FFF printers (high quality):
Layer height: 0.1 mm
Infill: 50 %
Speed: 50 mm/s
Supports: yes
05 body parts assembled step by step following instruction photos. -
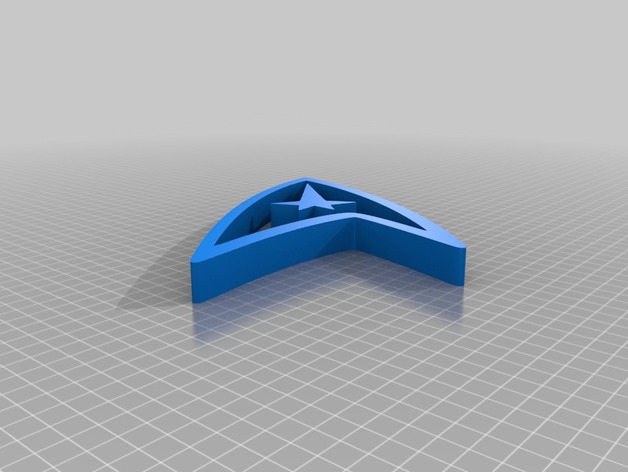
Trekkie Star Trek Wall Art 3D Print Model
Summary
Wanted to finish the trio set of wall art with some Star Trek
Print Settings
Printer Brand:
Prusa Printer:
Prusa Mk2 Rafts:
No Supports:
No Resolution:
.25 Notes:
3M wall tape recommended to hang without damaging the wall -
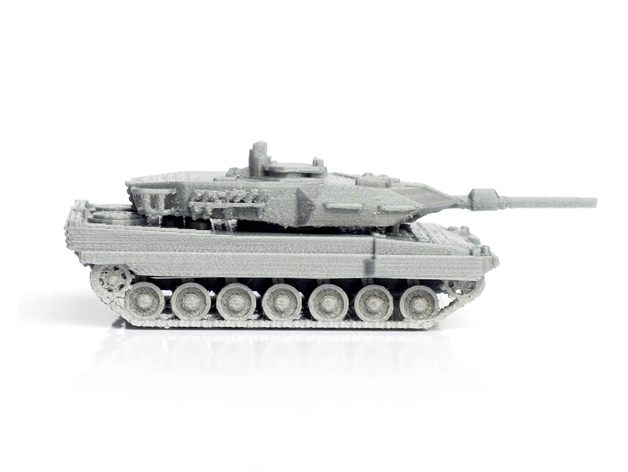
Leopard Tank Simple Model Kit 3D Print Model
Summary
Leopard Tank 3D Print Model Kit, play war with the German tank.
Scale 1/100
Settings for FDM/FFF printers (high quality):
Layer height: 0.1 mm
Infill: 50 %
Speed: 50 mm/s
Supports: yes
05 body parts assembled step by step following instruction photos. -
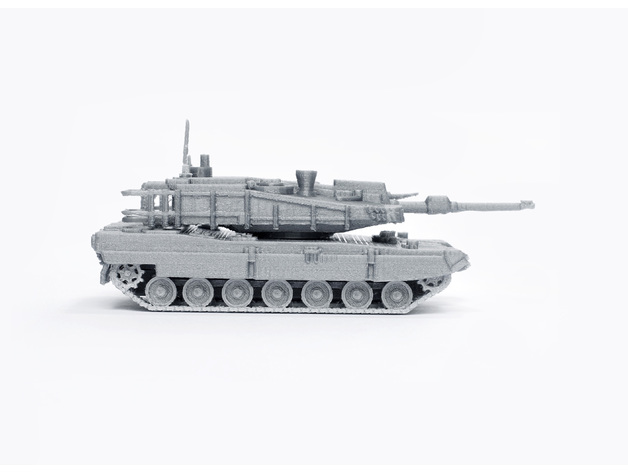
K2 Black Panther Tank Simple Model Kit 3D Print Model
Summary
K2 Black Panther Tank 3D Print Model Kit, play war with the North Korean tank.
Scale 1/100
Settings for FDM/FFF printers (high quality): Layer height: 0.1 mm Infill: 50 % Speed: 50 mm/s Supports: yes
05 body parts assembled step by step following instruction photos. -
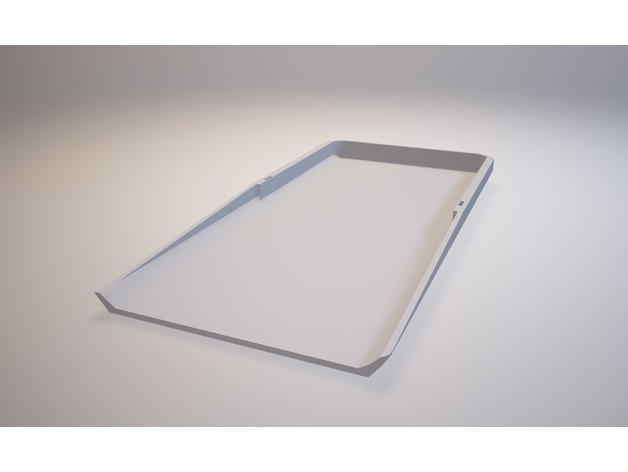
Texas Instruments Nspire CX cover 3D Print Model
Summary
I received my calc without cover so I made one. I have no idea what the original looks like and what features it has. Sorry. It has integrated supports for the slide in side of 0.4 thickness so you need to turn on single extrusion width walls in your slicer. These do come of easily, much more than regular slicer support for this case.
Print Settings
Printer Brand:
Wanhao Printer:
Wanhao Duplicator i3 V2 Rafts:
No Supports:
No Resolution:
0.2 Infill:
100 Notes:
I made mine using black PETG with 100% infill for flexibility and strength. I don’t guarantee that less infill won’t make it fragile. -
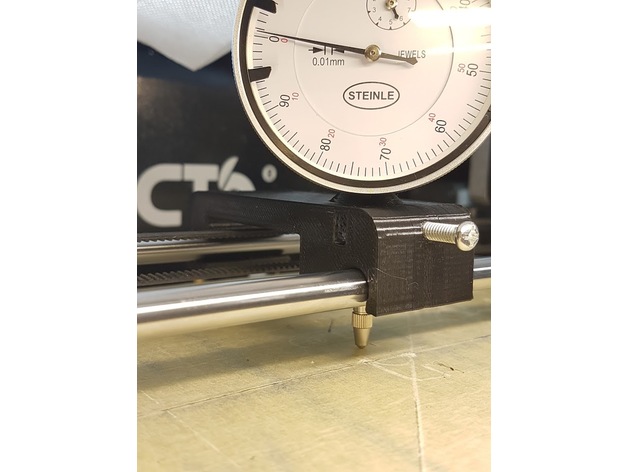
Snap-on CTC Dual bed levelling jig 3D Print Model
Summary
Designed from scratch using the layout and coarse dimensions from https://www.thingiverse.com/thing:2460482
OnShape link where you can edit to your custom specifications: https://cad.onshape.com/documents/28e0bcaa853c187d0624b81f/w/fd7acef5713bafce038c5cfe/e/7e7969d14473af0ccc5dd0ed
Improvements:
snaps on instead of using magnets or other means
wider base for improved stability
longer support for the indicator shaft
offset on top to allow clearance for the indicator dial
Instructions: printed laying on one side, PLA, infill 15%, no raft or support. The indicator shaft will deform a bit while printing, hence why it’s oversized.
Design notes:
Distance between rails is 70mm, rail diameter is 8mm, indicator shaft diameter is also 8mm. All holes have been oversized to 8.5-8.7mm, this is both to allow for printer tolerances and to make it easier to slide the “carriage”. You can edit the first two sketches to reduce the oversize, if you want a tighter setup.
I currently have about 0.05mm slop/play with this setup, but my bed is warped almost 0.2mm, so the jig play doesn’t affect the readings so much.
The chamfer on top is ugly but allows for better printing without supports.
The snap-on distance is 0.7mm. You can increase it if you want a tighter fit, decrease it if the required force to snap is too high.
Post-printing:
The indicator should be a tight fit (“good enough”) but there is a hole for an M4 screw that’s designed to be tapped. There’s also an M4 nut retainer, if you don’t want to tap the hole. You can also probably just drive the screw in, without tapping, -

紅龍,雙髻鯊可動關節-by orangeteacher 3D Print Model
Summary
紅龍,雙髻鯊可動關節-by orangeteacher
請不要開支撐 (no support is need) -
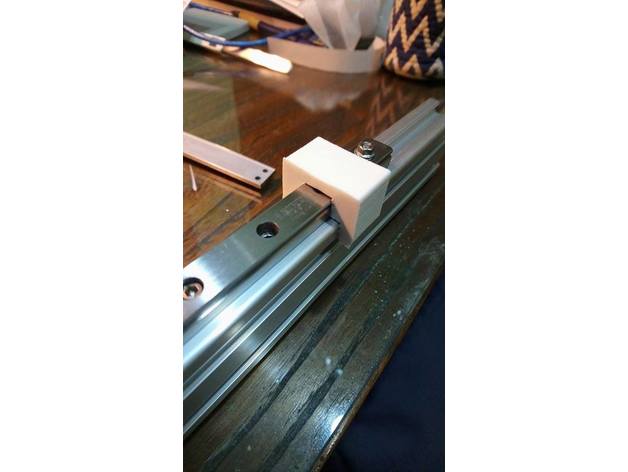
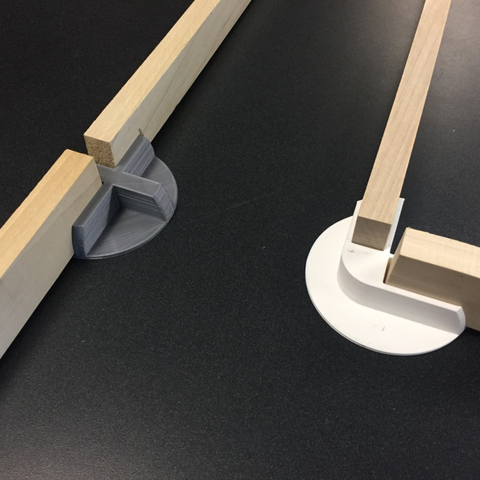
railhelper 3D Print Model
Summary
When you are installing rail, this object can help you keep it at center. -
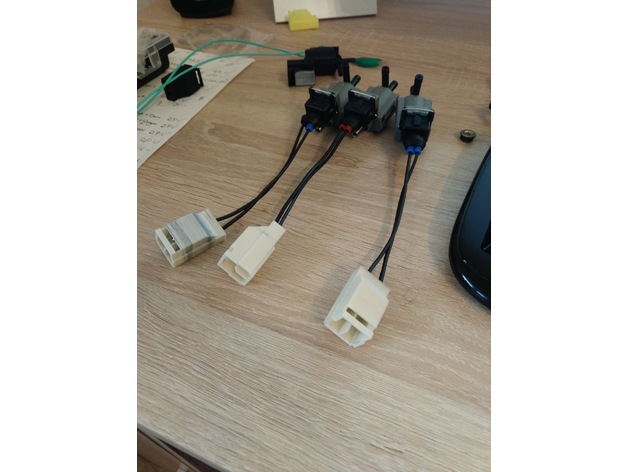
RX7 S7 and S8 Solenoid Connector 3D Print Model
Summary
Connector to make a pigtail or adapter for non mazda solenoids.
Standard Power Time Male Connector 33-0626 is needed. -
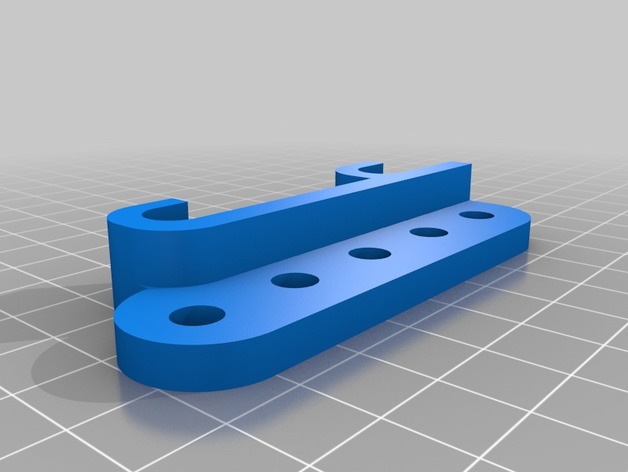
Dial Indicator Mount for Prusa i3 3D Print Model
Summary
Could not find a good Dial indicator mount for Prusa i3 that would mach the one I bought from Amazon, so i created my own version. Apparently different models have different probe length. -
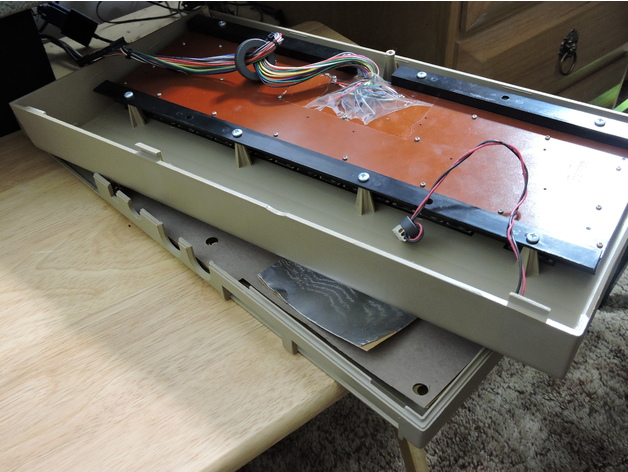
Commodore 64 Rear Case Hinge Tabs 3D Print Model
Summary
Replacement tab / hinge for repairing the rear upper section of a Commodore 64 “breadbin” style case.
Print Settings
Printer:
Monoprice Maker Select Rafts:
Doesn’t Matter Supports:
No Resolution:
.2 Infill:
100%
Post-Printing
If you are printing the tabs using PLA, you might want to use an epoxy to stick these to your case. They don’t seem to stick very well when clamped to the case and fastened with Super Glue. I took a Dremel and sanded down the broken tabs so they were even with the rest of the lip of the case, then fastened these over the broken section. -
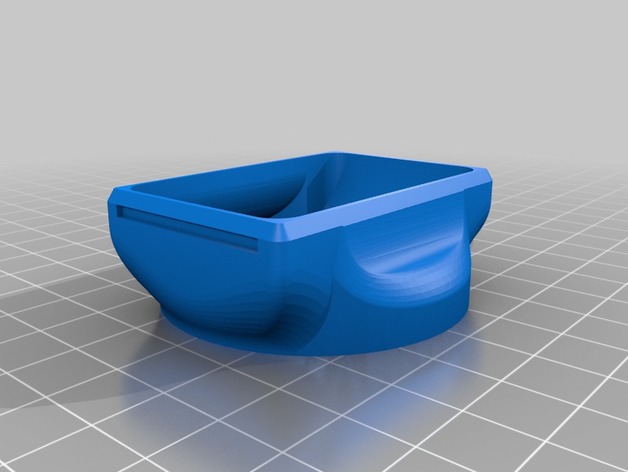
Zeiss 35mm F2.8 ZM Hood 3D Print Model
Summary
Fits Zeiss 35mm F2.8 ZM snuggly, no locking mechanism. Comes with hood cap, fits loosely but secure, you can scale it to your liking. Some minor testing was done and the hood doesn’t seem to cause any noticeable vignetting. I will confirm this once I get the first roll shot with it developed.
Print Settings
Printer:
Malyan M180 Rafts:
No Supports:
No Resolution:
100 Micron Infill:
15% -
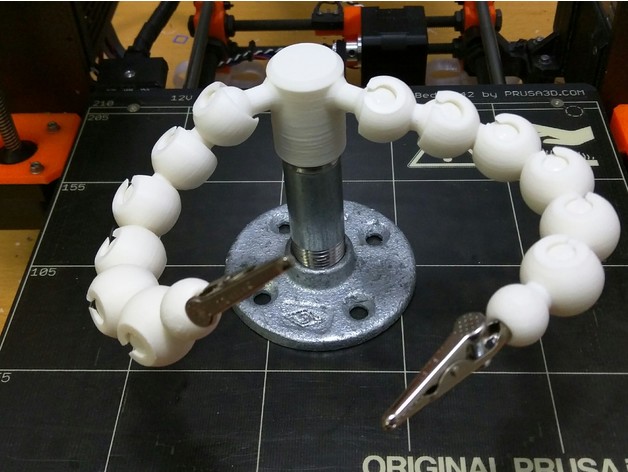
Helping Hands 3D Print Model
Summary
This is a single piece version of dougc314’s helping hands design. It has 1/2 inch tapered pipe threads, so you don’t have to glue it to the pipe. Assembly is similar to the original design except with 1/2 inch pipe.
This is compatible with either the original ball and socket joints or my modified version:https://www.thingiverse.com/thing:5578https://www.thingiverse.com/thing:2539262
Print Settings
Printer Brand:
Prusa Printer:
Prusa Mk2 Rafts:
No Supports:
Yes Resolution:
0.2mm Infill:
20% Notes:
In Slic3r PE, I used “support on build plate only” and set the contact Z distance to 0. This is required, otherwise the lower layers of the balls will curl up at the edges and get caught on the nozzle. After printing the support residue can be sanded off. -
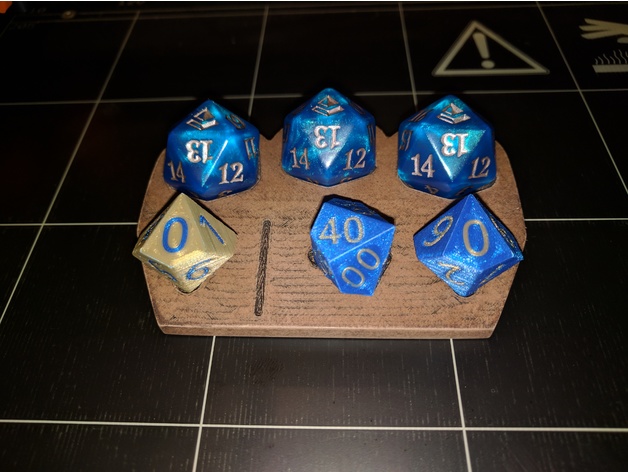
Multi Color Spindown 10 Sided Die – d10 d100 d% 3D Print Model
Summary
As an update to my previous spindown d10 dice, I’ve made a two-color version. The two-color version really pops if you have some good colors, and you should even be able to match your favorite dice if you have the right colors.
I mainly use these to track numbers during games, and having them in a spindown order makes it much quicker to tick them up or down by just a couple of points at a time.
There are two sets–one with zero as the lowest number, and one with it at the highest. Use whichever you prefer, or mix and match depending on your intended use.
Print Settings
Printer Brand:
Prusa Printer:
i3 MK2 MMU Rafts:
No Supports:
No Resolution:
.15 Notes:
No infill is necessary, since the digits fill the majority of the body anyway. I printed at .15, but .2 should turn out fine as well. When printing, make sure to orient the models so that the pointy end of the zero face is pointing in the direction of your cooling fan, to maximize airflow over the steepest overhangs. -
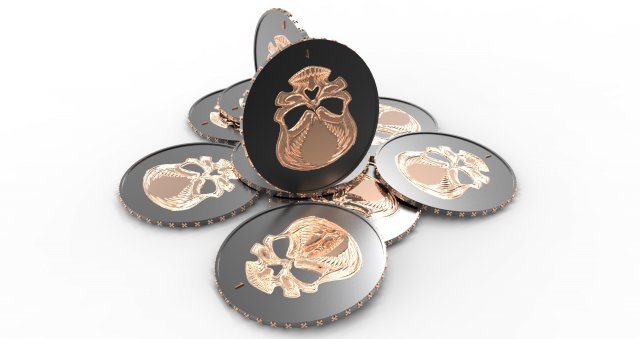
New Invented Coin 3D Model
New Invented Coin60 mm2.5 mm Hcan be used by (hacker-spy-pirates-secret organization) currencyits has value from 1 to 1000000
-
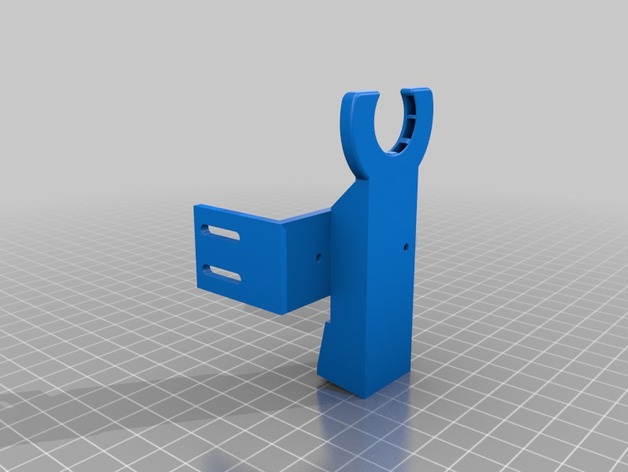
713maker gantry with stock hotend cooler 3D Print Model
Summary
This is a cooler/BLtouch mount for the stock hotend with the 713maker gantry. This is still a work in progress -
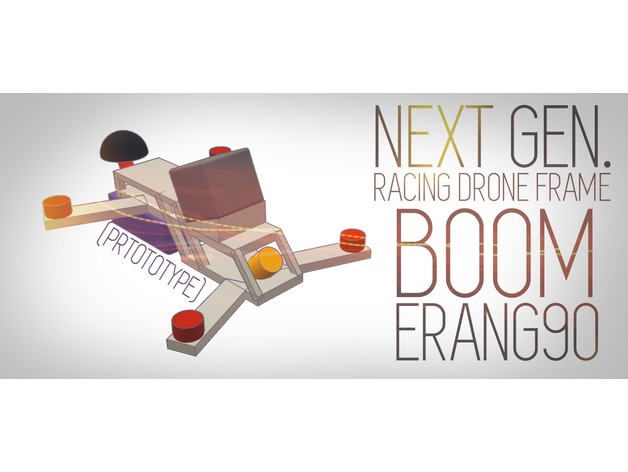
BOOMERANG90 – Prototype FPV Racing Frame – V0.1 3D Print Model
Summary
My new NEXT GEN Racing drone
BOMERANG90 (Boomerang wtih rotated half)
Low center of gravity – battery is under upper part
Preinstalled GoPro mount
A lot of space for components
TELL ME IN COMMENTS WHAT DO YOU THINK ABOUT THIS FRAME, EVENTUALLY WHAT WILL YOU IMPROVE 🙂
(This one is in size of 2″inches micro, but final version could be for big size racing quads) -
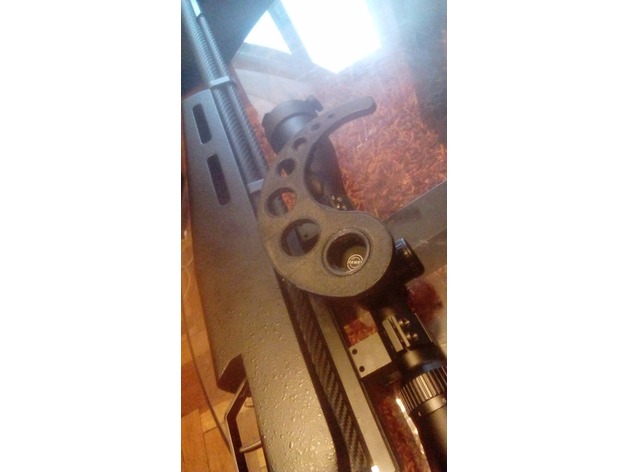
Comma Scope Wheel for Hawke 4-16 3D Print Model
Summary
I’ve designed this comma wheel for my Hawke 4-16
160mm of total size this wheel is equivalent to a big wheel of 260mm OD!!!
Enjoy
Print Settings
Printer:
Flyingbear Rafts:
Yes Supports:
No Infill:
50% Notes:
PLA 1.75mm used to print the wheel -
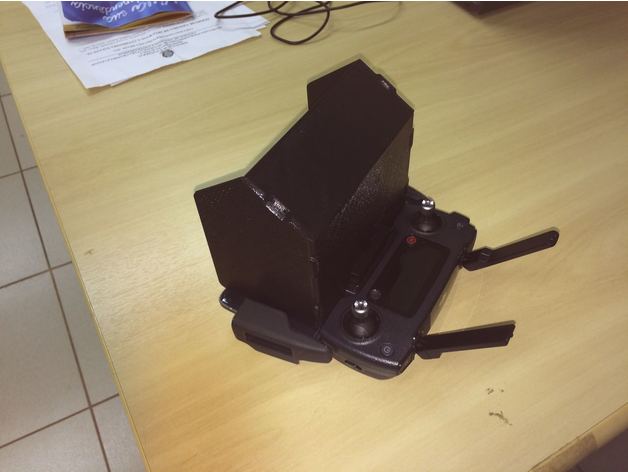
DJI Mavic Pro cellphone Hood iPhone 6 & 7, Note 4 3D Print Model
Summary
It´s very difficult to fly the Mavic while you stay under the sunlight and properly watch the attached cellphone visor, even if you crank up the brightness to the maximum. This device aims to minimize that stress. It’s detachable, so you can easily fit the parts into the Mavic shoulder bag.
Included are parts to fit iPhone 6 & 7, iPhone 6 & 7 plus and Samsung Note4. The parts named “base”, “sideL” and “sideR” are the same for all models. Only “back” and “top” are customized according to the phone model.
Print Settings
Printer Brand:
Prusa Printer:
Prusa Clone Resolution:
0.25 Infill:
50% Notes:
Printed in PETG. The hood parts are 2mm wide to make the whole assembly as light as possible. If you want to make them thicker, just scale them up in the proper axis in your slicer. -
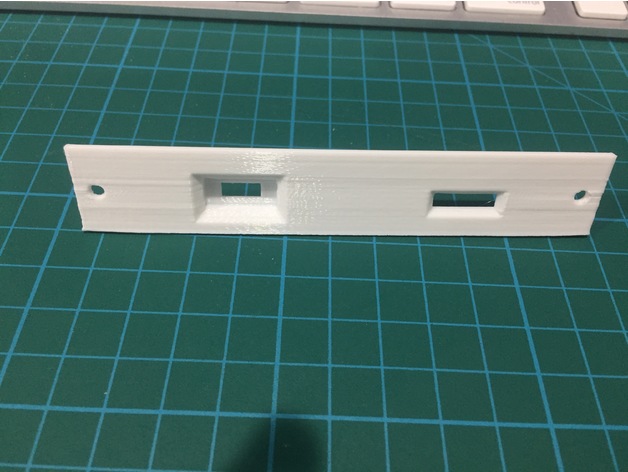
SCSI2SD Mac SE Bracket 3D Print Model
Summary
Macintosh SE expansion port mount for SCSI2SD v5
My SE has dual floppy drives, and I didn’t want to remove a floppy drive, or mount the SCSI2SD close to the CRT on top of the floppy drives.
Print Settings
Printer:
FF Creator Rafts:
No Supports:
Doesn’t Matter Resolution:
.2 Infill:
25%