Summary
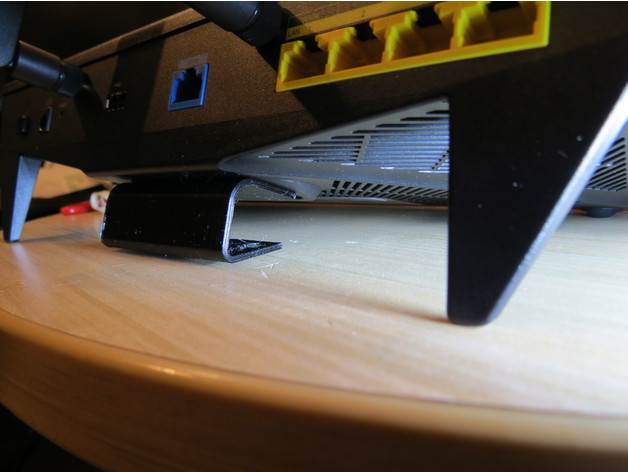
Lovely router by all reports (I haven’t actually set it up yet), but the steep angled legs make the built-in mounting slots rather ridiculous. They’re an inch away from the wall and tilted at about a 26-degree angle.
CAUTION: Synology’s instructions for this router say simply to place it on a flat surface and make no reference to the keyhole slots underneath. There is also a safety note, “Place the product right side up at all times.” Possibly I’ll have gone to all this trouble just to cook my router. I doubt it, but if yours overheats and you think it was because you put it on the wall, do let me know!
(I have so little flat surface available between computers, ink printers, 3D printers, a solder rework station and bookshelves, I’m willing to risk it.)
Print Settings
Printer Brand:
Prusa
Printer:
i3 MK2S
Rafts:
No
Supports:
Yes
Resolution:
0.20mm
Infill:
100%
Notes:
To avoid strain along layers, I rotated it to print standing tall with a 2mm brim. (See the PrintSetup.PNG screen capture.)
Make sure that the axis along which the little pins extend is your X or Y as printed, not Z, or the layers and the pins might detach under strain.
Post-Printing
Try #6 screws to mount it. #8 screws are a bit too large. I put the keyhole slots 2″ apart.
How I Designed This
Mostly just trial and error. Third try was the charm. I’m puzzled by the fact that according both to my digital caliper and the values I had to put into FreeCAD to make it work, the centers on the router’s mounting slots are about 2.06″ apart. That doesn’t even make sense as ~52.3mm.
Synology RT2600ac Wall Mount Adapter 3D Print Model