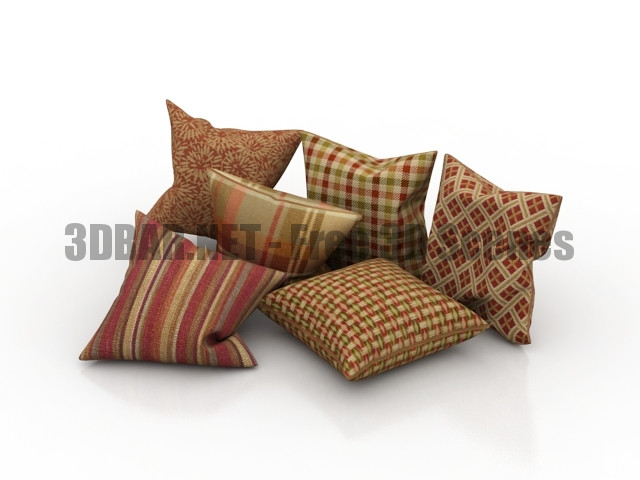
Pillows set 3d Models
Category: Free 3D Models
Free 3D models ready to be used in your CG projects such as films, visualizations, games, VR etc. All 3D Models and Free 3D Print Models are available for download in several formats including .MAX, .STL, .FBX, .3DS, .C4D, .OBJ, .BLEND, .DWG, .DXF, .LWO and much more. If you’re in search of high-quality Free 3D assets, we have a huge library of 3d models for all your needs. Also you can visit 3D Models and 3D Print Models category.
-
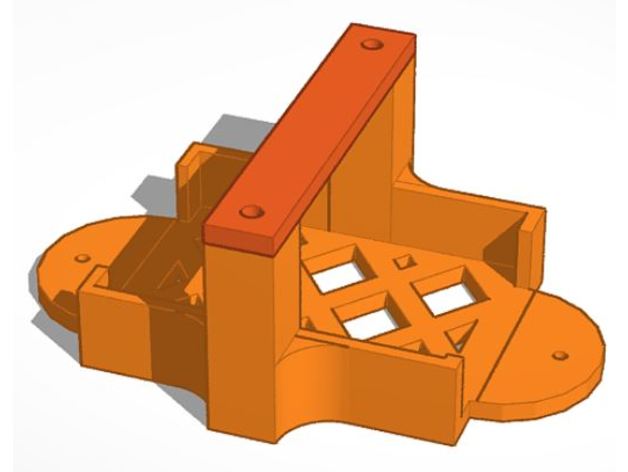
CH-Ignition Module Holder 3D Print Model
Summary
Used to hold a CH-Ignition module for a gas engine. Probably will work on RCExl ignition as well. Designed to have 3mm foam between base and module to provide vibration resistance. Base uses M3-0.5 threaded heat set inserts to keep the stay in place. -
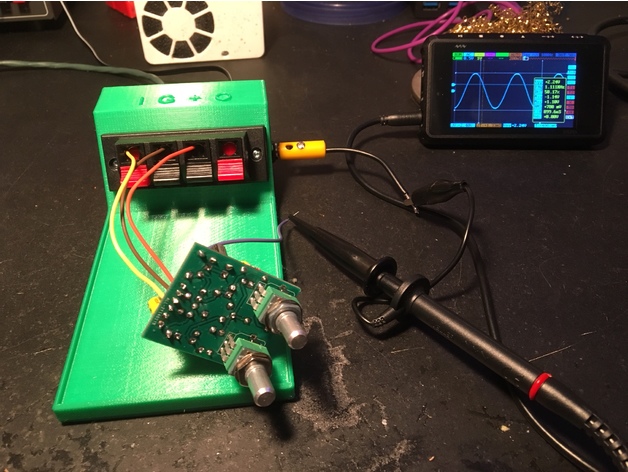
Stompbox Test Rig 3D Print Model
Summary
This is a rig to simplify testing your pedal with a signal generator and oscilloscope. -
Sad Geishas 3D Print Model
Summary
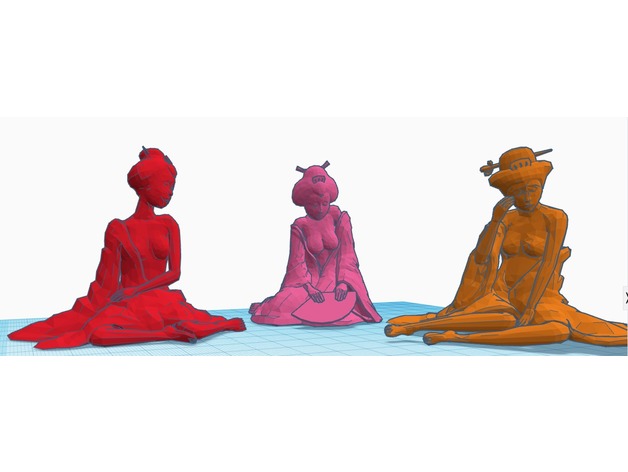
Sad Geisha figures throughout the Mysterious East from Alice: Madness Returns. There are 3 different figures in the game which I’ve included all in 1 download. Please note that this is for personal and non-commercial use only.
Feel free to remix though and build upon it. Please upload a photo if you’ve made one, I’d love to see what people create.
Also, this will require supports for some of the legs not all of the geishas legs/feet would lay completely flat on the base. Supports will also be required to uphold the arms, head, and hair accessory.
If you look at the default photo, the Geishas are red, pink, and orange.
Here are their corresponding file names:
Red = SadGeisha1
Pink = SadGeisha2_Fan (since she is the only one holding a fan)
Orange = SadGeisha3 -
![FillamentHolder Accessories [pipe] Spoel 3D Print Model](https://3dhunt.co/static/2018/04/a089d6a19d0ceb395fef82677b909732.jpeg)
FillamentHolder Accessories [pipe] Spoel 3D Print Model
Summary
FillamentHolder Accessories [pipe] Spoel
3d printer stl3dmodels.com -
Mercedes ML W163 headlamp lid 3D Print Model
Summary
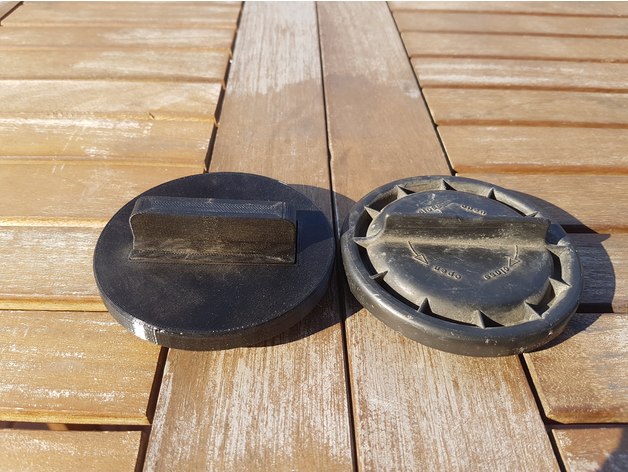
Lost a headlamp lid from my Mercedes ML270 W163, so had to print a new one.
MercedesLid_1.stl : PETG / ABS, 5 perimeters, 50% infill (this should be strong enough)
MercedesLid_2.stl : PETG / ABS, 2 perimeters, 10% infill
MercedesLid_rubber.stl: any flex material, 3 perimeters, 10% infill
Post processing:
Glue together Mercedes_Lid1 and Mercedes_Lid2 parts
Remove support under hooks in Mercedes_Lid2 part
Push rubber part inside (might be tight)Print Settings
Printer Brand:
Prusa
Printer:
Prusa Mk2
Rafts:
No
Supports:
No
Resolution:
0.2
Infill:
see description -
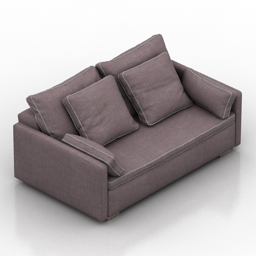
Pillows Free 3D Model
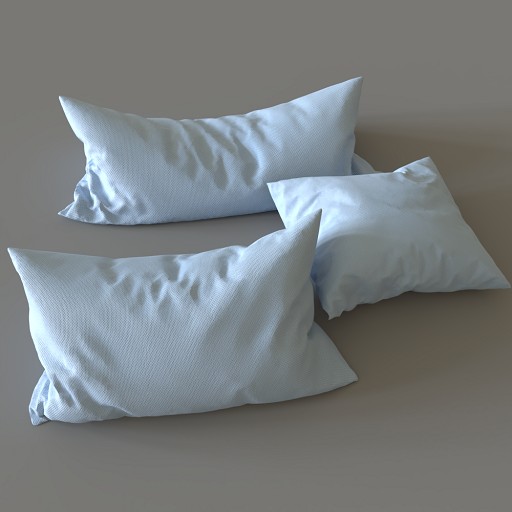
Slightly realistic 3 different pillows with cc0 texture. I made them. Hdri map in the scene is also cc0. Use them (pillows) where required.
-
Simple Bidet Free 3D Model
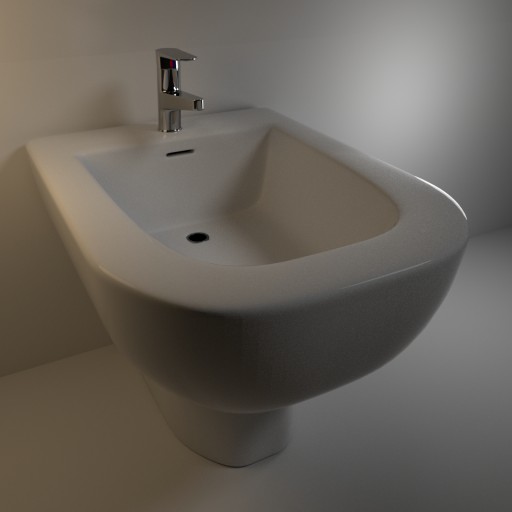
A simple model of a bidet, unwraped and with basicmaterials applied to it. glossy for the faucet and a mix of diffuse, glossy and fresnel for the ceramic
Verts: 17’476 -
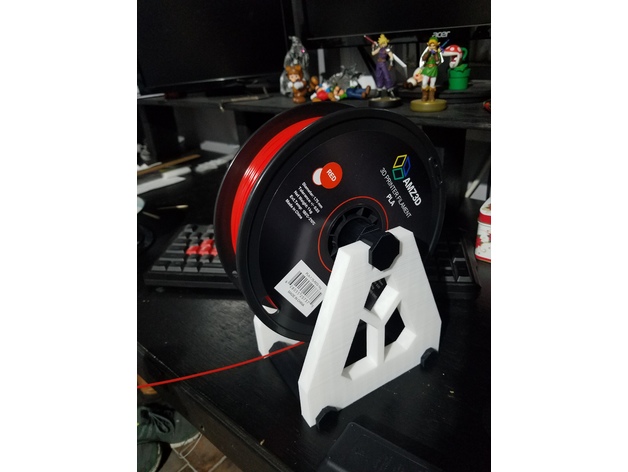
Custom Spool Holder 3D Print Model
Summary
Custom made basic spool holder 5 parts. i printed both sides at once upright.
Print Settings
Printer Brand:
TEVO
Printer:
Tarantula
Rafts:
Doesn’t Matter
Supports:
No
Resolution:
.2
Infill:
20% -
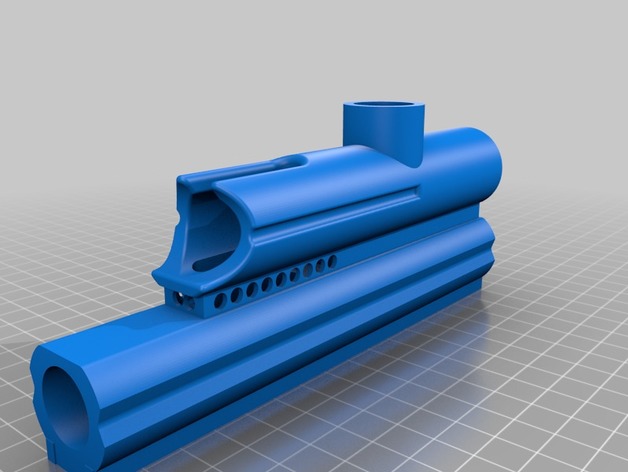
Paintball mini cocker 3D Print Model
Summary
It does need threads for barrel, IVG and front block, built in valve. -
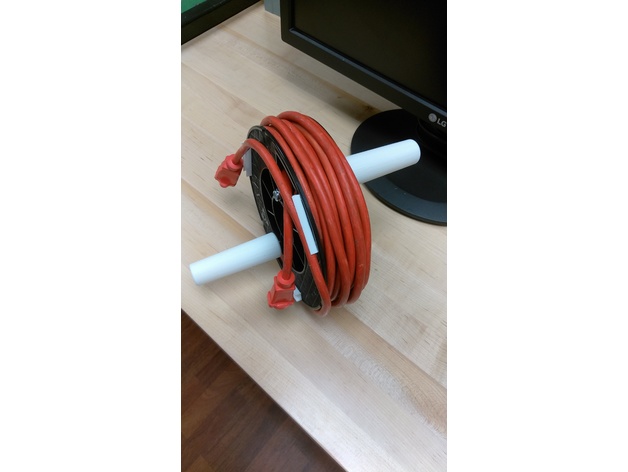
Hydras Cord Cleaner _Extention Cord Reel 3D Print Model
Summary
WEISS School Industrial Design Project to repurpose a 3D Filament Spool. Students designed an extension cord holder. -
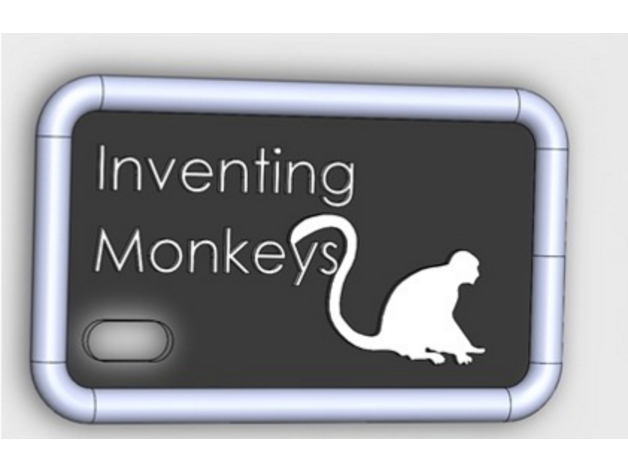
Inventing Monkeys_Rocket Fin Holder 3D Print Model
Summary
WEISS School Industrial Design Students created a fin holding apparatus to hold fins in place while glueing. Design accommodates both 3, and 45-fin rocket designs.
Print Settings
Printer Brand:
FlashForge
Printer:
Creator Pro
Rafts:
Yes
Supports:
Yes -
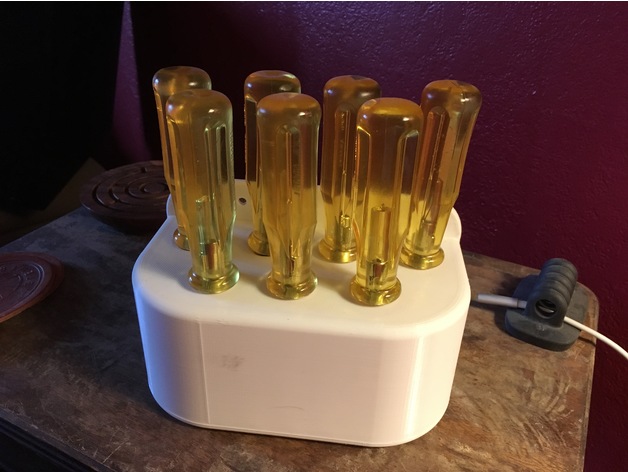
Nut Driver Set Holder 3D Print Model
Summary
I’m not sure if this exact nut driver set holder will be of any use to others, but I am putting it up here so someone else might benefit from my design.
I inherited a set of nut drivers without a case. I wanted to wall mount them and wanted them to stay put in the wall mount. The bottom piece holds small rare earth magnets (6mm or 8mm in diameter x 3mm thick). These hold the nut drivers in securely in place while still allowing them to be easily removed. The magnets are a tight fit and need to be pressed in place. I also put a drop of super glue on the edge of each magnet to make sure that they don’t accidentally come out.
Assembling this is a tight fit. I had to put the pieces together on the floor, stand on the top piece and jump a tiny bit. After that I then used a rubber mallet to get them to sit fully flush. I put in three screw holes which probably aren’t necessary, but hey, over engineering is the American way! -
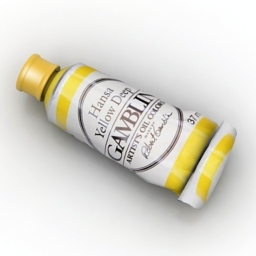
Tube 3D Model
Additional Info: Tube oil color N190418 – 3D model (*.gsm+*.3ds+*.max) for interior 3d visualization.
-
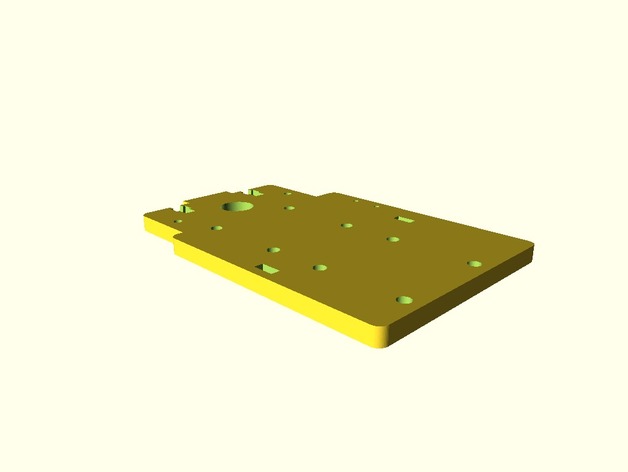
Carriage Module for FLSUN Cube 3D Print Model
Summary
This is to be a set of carriages for the FLSUN Cube, suitable for the three different extruders supplied in the kit. Each carriage can be swapped in and out with minimal effort by clipping Iand optional bolt) on to the universal belt bracket.
Very much a work in progress.
First stage are the STL’s for the Acrylic carriages (Single and Dual) supplied with the kit.
All work done in SCAD – file attached -
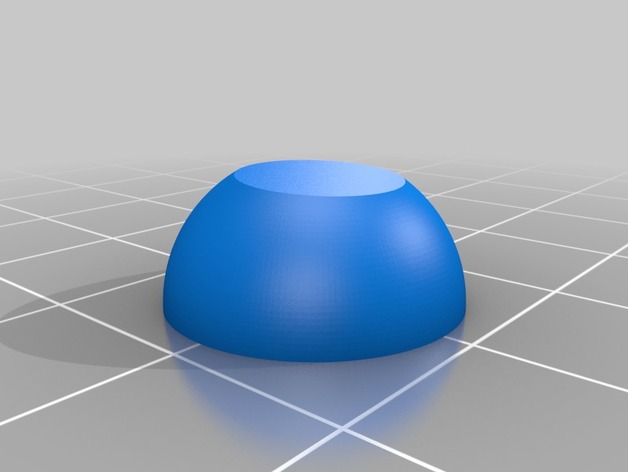
Mac Book Pro raised feet for extra cooling 3D Print Model
Summary
Replacement for almost every Mac book and Mac book pro, I thought to combine riser and replacement feet.
I’ve discovered that although pro’s got at least one fan the aluminum case is responsible for a lot of cooling.
Print Settings
Printer Brand:
Wanhao
Printer:
Wanhao Duplicator i3 Plus
Rafts:
No
Supports:
No
Resolution:
0.06
Infill:
25%
Notes:
print @ 0.06 res because I like the finish, no need to process it…
I’m sure that if you’re not concerned with aesthetic you can go way higher…
the only thing I’m not sure of is the infill, I was thinking of printing with 100% but then I changed for my default 25%… I’ll let know if they survive on my Mac.
I’ve opted not to model the ridge in the middle but to make them concave for best adhesion
I’ve glued them with a dab of rubber cement… maybe let me know if you know a better glue for bonding aluminum and pla… -
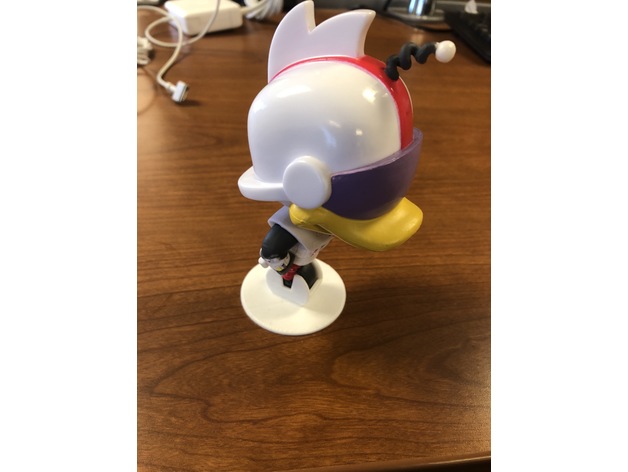
Funko Pop Gizmoduck Stand 3D Print Model
Summary
The stand that comes with the Funko Pop Gizmoduck doesn’t work terribly well, so I made this replacement.
Print Settings
Printer:
Hictop i3
Rafts:
No
Supports:
No
Resolution:
.2
Infill:
doesn’t matter -
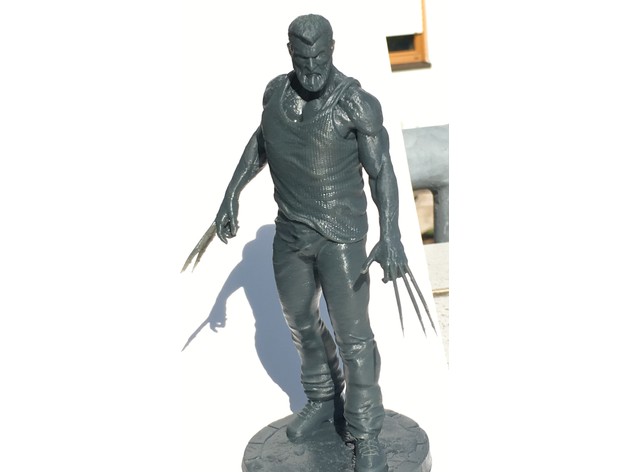
Logan old Man prepared for D7 3D Print Model
Summary
prepared an free available STL for printing with Wanhao D7
unfortunately I lost the origin -
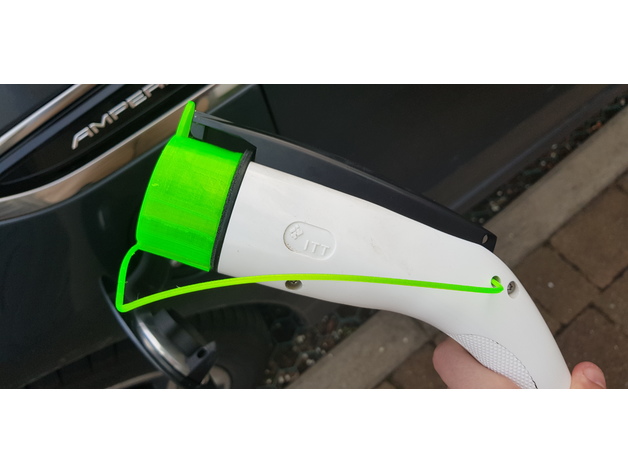
EV J1772 Type 1 Connector Dust Cap – Various types 3D Print Model
Summary
Hey guys,
First design here after using many from here! After I couldn’t find a design I liked for a dust cover cap for my Type 1 lead I decided to design my own. Although my lead is normally partially covered I would find sometimes after heavy rain my external charger would trip, I assume due to moisture in the connector. Having recently got a 3d Printer (Anet A8) I figured I would make my own!
I have 4 .stl files here:
1 – EV Type 1 Connector Cap: bog standard cap, with no real way of securing it anywhere.
2 – EV Type 1 Connector Cap with hole: same as above but contains a loop hole to attach to the lead. My initial thoughts was to use an elastic band to attach it
3 – EV Type 1 Connector attachment: For use with 2). Is simply a connector long enough to attach it to most leads
4 – EV Type 1 Connector Cap with connector: A cap with no loop, instead with the connector already attached. This is what I’m currently using in the pictures above.
All 4 are pictured above
Printed using TPU filament, so it has a little give whilst attaching it. Its a nice snug fit on the end, which means it doesn’t come off when you try shaking it.
All feedback is welcomed, hope you like my design!
Print Settings
Printer:
Anet A8
Rafts:
No
Supports:
No
Resolution:
0.2mm
Infill:
10%
Notes:
Printed at 180 degrees, without retraction. 30mm/s print speed, 15mm/s infill speed and 150mm/s travel speed. Print cooling enabled and set to 90%. No supports and only a Skirt of 3mm -

Improved Pac-Man Free 3D Model
This is the same model that downloaded before but this one is an improved one for his mouth can open up wide like he normally does in the games or clips
-
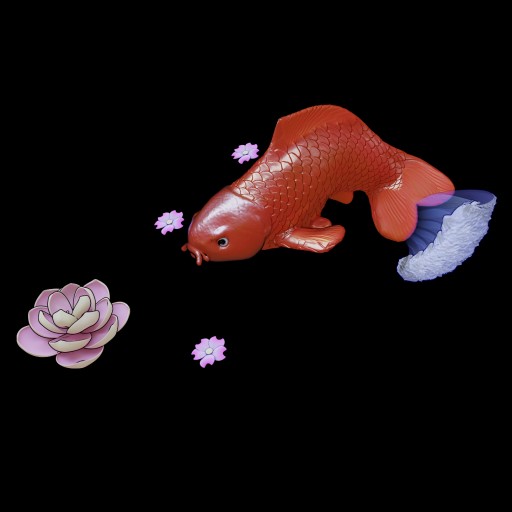
Koi Free 3D Model
NPR-styled koi I created in order to make tattoos for models. Rigged (including facial bones lol), textures + materials. Includes a wave and flowers. Edge line is done with duplicated meshes and specialized materials rather than freestyle, which I dislike for a number of reasons; no compositing. For the Cycles rendering engine.
-
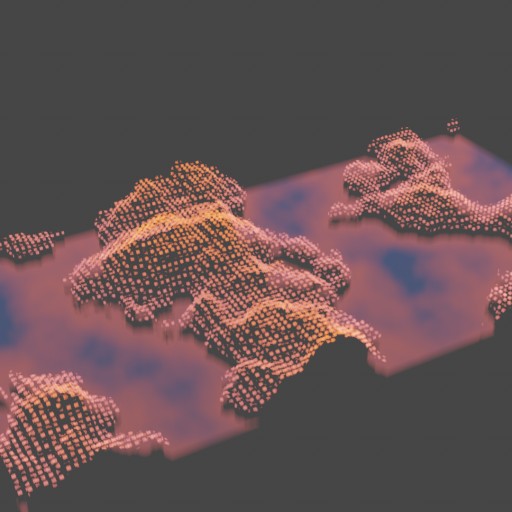
Procedural Holographic Landscape (Volumetric emission) Free 3D Model
Renders pretty fast, doesn’t require a lot of samples (16~32 is gonna be enough).
Node setup is commented as much as possible.
If you don’t know what volumetric emission means, it means there’s no geometry except for a box, containing all of this.
All you see is generated with the material node setup and is procedural, any parameter can be animated. -
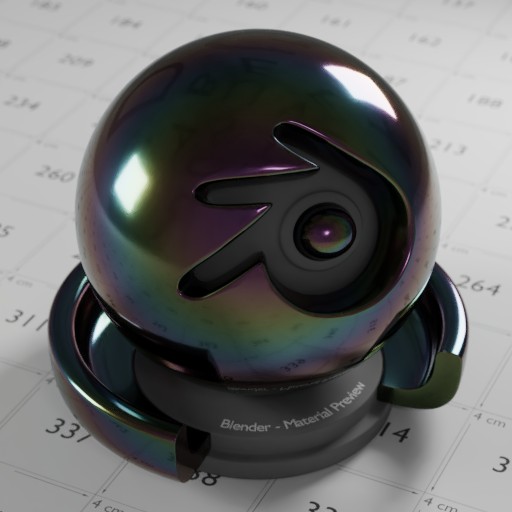
Realistic thin film iridescence Free 3D Model
This cycles shader has been designed to try and produce a semi realistic thin film iridescence effect. I created it by combining offset R, G, B sine waves to try and recreate the iridescent spectra as shown on websites like this (“Colours of a Soap Film”)
-
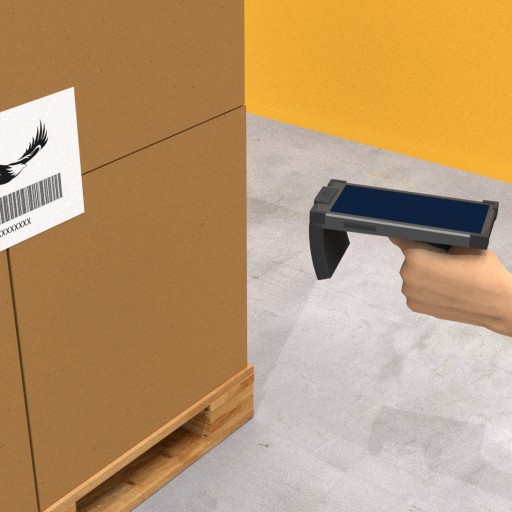
Handheld RFID Label Code Scanner Free 3D Model
I made this scanner an animation for one of my clients. I haven’t seen any models of something like this so here’s my design. Feel free to use it as freely as you want no restrictions except re-sell. Obviously. Commercial use OK, credit not required but appreciated.
-
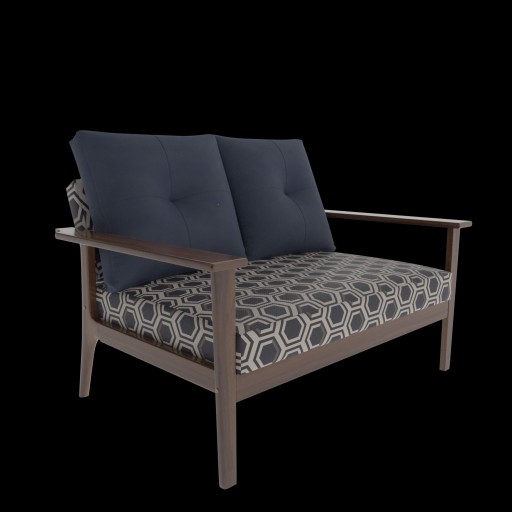
Two seat sofa Free 3D Model
A comfy midcentury modern sofa. Created according to real-world scale, easy to import by appending.
-
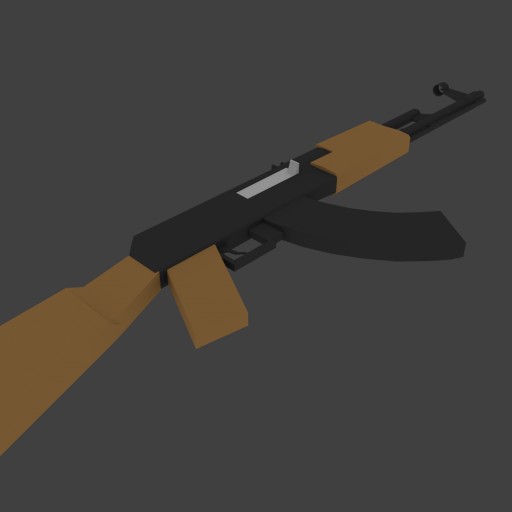
AK-47 (low poly) Free 3D Model
This is my second attempt at an AK-47, or at modeling anything really. My first was a total failure (I tried to use a bunch of cubes instead of the traditional method). But this model turned out a lot better than I had expected. It’s not much, but it’s low-poly and I figured I’d share it. It’ll be used in my game, Polystrike, but you can use it however you like without giving me credit.
-

cubes Free 3D Model
simple wallpaper
I designed and built this blend on my own
-blender
-cycles
-composite -
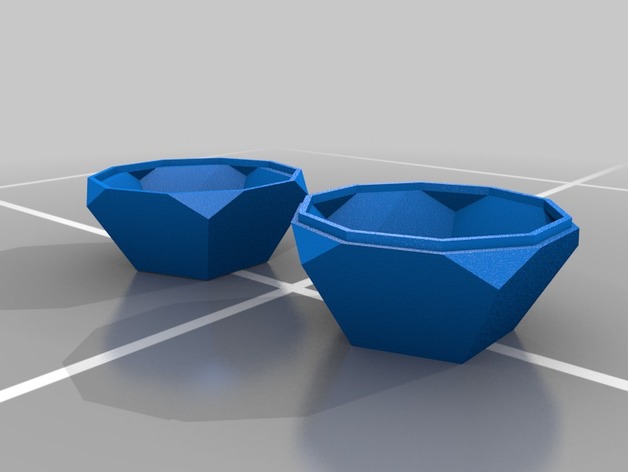
Dodecabox 12 sided box 3D Print Model
Summary
This is a 12 sided box that splits down the middle. Inside each half is a 10 sided decagonal rim. When printing, I recommend making it large enough that when you put the lid on, it can also be pulled apart without breaking. -
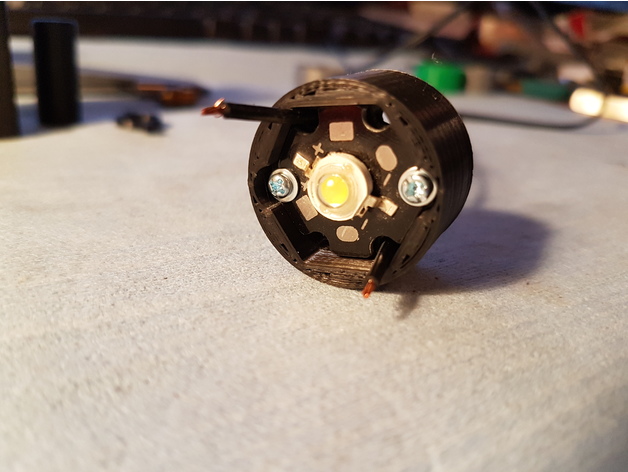
Diode/LED with HeatSink Holder 3D Print Model
Summary
Hello! Here is my Diode-LED with HeatSink holder.
I do not know what heat can be released by the diode but you should print it in ABS or PETG ( or others Thermal resist material ).
The Diode is fixed with 2 M2X12mm Screws and nuts ( Screws on pictures have 19mm )
It need support ( I put 80° Overhang Angle Support ) just to have the support needed…
Have a nice day!
Print Settings
Printer Brand:
TEVO
Printer:
Tarantula
Rafts:
No
Supports:
Yes
Resolution:
0.18
Infill:
100% -
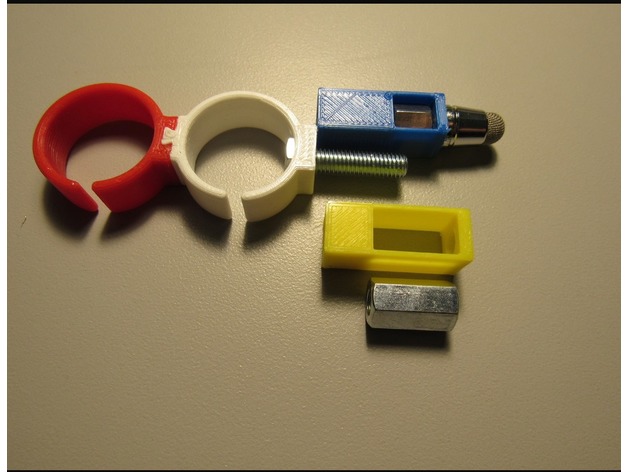
Long Slot Post for Sixth-Finger / Sixth-Toe Capacitive Stylus 3D Print Model
Summary
This remix is strictly to take advantage of a 15 mm long coupling nut that I found on Amazon (https://www.amazon.com/gp/product/B00Z3XE5ZA). The longer nut requires a longer slot be cut in the post (yellow post in picture) but it also means that, for the same length post, a shorter bolt can be used – between 5 and 8 mm shorter). A shorter bolt may be easier to insert into a small diameter ring.
As with the original design, you should only download the zipx file. The STL file is included just for visualization purposes. And, as with the original design, all assembly instructions can be found here: https://wp.me/P9evBA-25
Print Settings
Printer:
Monoprice Select Mini
Rafts:
No
Supports:
No
Resolution:
0.1 mm
Infill:
20% -
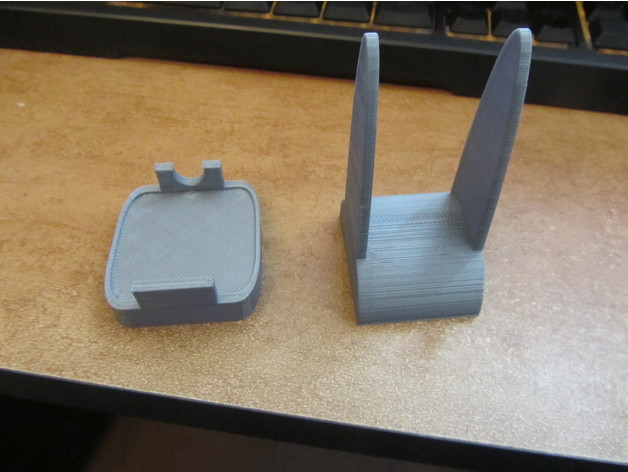
Fitbit Versa Stand 3D Print Model
Summary
A simple stand for the Fitbit Versa smartwatch.
Print Settings
Printer:
Anet A8
Rafts:
No
Supports:
No
Notes:
To avoid printing a lot of supports I broke it up into two pieces. Print and glue them together.
How I Designed This
Tinkercad -
stokke tripp trapp hook 3D Print Model
Summary
Hook for stokke tripp trapp -
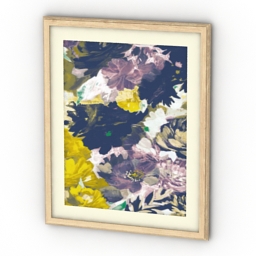
Picture 3D Model
Additional Info: Picture 5g – 3D model (*.gsm+*.3ds) for interior 3d visualization.
-
PUBG Erangel Heightmap 3D Print Model
Summary
An extracted PUBG Map named Erangel. I added the Tutorial in the comment section. Have tun with reproducing. -
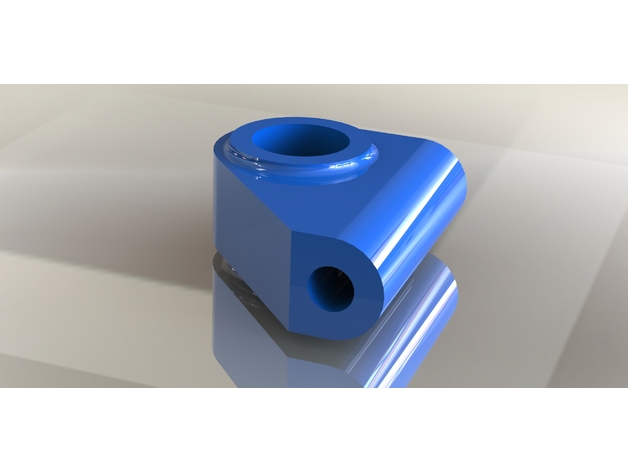
HPI Savage OFNA throttle/brake mod 3D Print Model
Summary
Fixes these issues:
Brakes are weak
Car shuts off when braking due to closing the carburettor MORE than idle setup
Carburettor does not fully return to idle configuration, sticky throttle.
Needs some hardware, picture for illustration. Remove stock throttle/brake horn and install a normal one.
After you have installed, be careful how you tune the brakes! The truck will front-flip or lock up all four wheels at maximum tightness! -
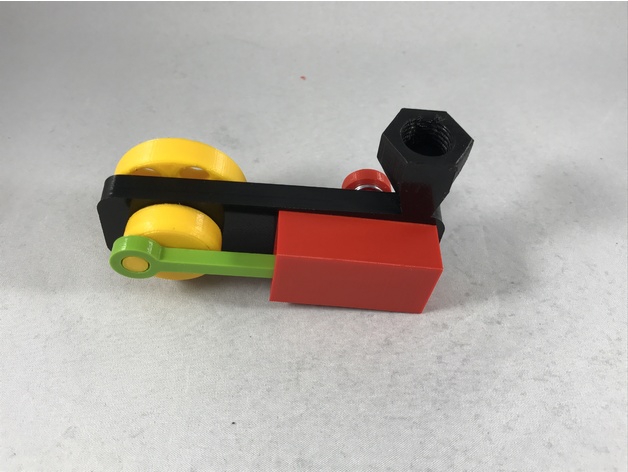
“Wobbler” Style Air Engine 3D Print Model
Summary
“Wobbler” Style Air Engine is another of my 3D printed air engine designs. You can find hundreds, if not thousands of wobbler style engines in various forms all over the internet. I machined my first wobbler many years ago on my cnc mill and lathe, and as I’ve read, but not confirmed, the original wobbler appeared in a magazine article in the 1940’s.
A video of “Wobbler” Style Air Engine in action is here: https://www.youtube.com/watch?v=KSpeL_5g9Jc, and at 15psi here: https://www.youtube.com/watch?v=hYXx1mSMStk.
If you wish to modify the design for an even further reduction in parts count, I’ve included the Autodesk Fusion 360 file “Wobbler.f3d” which contains the designs for all of the 3D printed components used in ‘3D Printed “Wobbler” Style Air Engine’ along with the ability to animate the assembly as shown in the video (right click on “Rev 1” joint in the “Joints” Component, then select “Animate Model”).
The wobbler engines I’ve printed and assembled will run at around 1PSI, and as shown in the second video will really move at 15PSI.
And as usual, I probably forgot a file or two or who knows what else, so if you have any questions, please do not hesitate to ask as I do make mistakes in plenty.
Designed using Autodesk Fusion 360, sliced using Cura 3.0.4 and printed in PLA on an Ultimaker 2+ Extended and an Ultimaker 3 Extended.How I Printed and Assembled “Wobbler” Style Air Engine
Purchase, Print and Prepare the Parts.
The spring I used is 19mm long with a diameter of 9.5mm and section of .7mm. Mine came from a “Maxcraft 7707” spring assortment available on line.
I printed all parts at .1mm vertical resolution, and with 50% infill, with the exception of “Bolt Cylinder.stl” and “Flywheel.stl” which were printed with 100% infill.
Prior to assembly, test fit and trim, file, sand, etc. all parts as necessary for smooth movement of moving surfaces, and tight fit for non moving surfaces. Depending on the colors you chose and your printer settings, more or less trimming, filing and/or sanding may be required. Carefully file all edges that contacted the build plate to make absolutely sure that all build plate “ooze” is removed and that all edges are smooth. I used small jewelers files and plenty of patience to perform this step.
Also, for the wobbler to work successfully, the contact surfaces between “Base.stl” and “Cylinder.stl” must be smooth, and “Piston.stl” must slide easily but not sloppy in “Cylinder.stl” in order to keep air loss at a minimum. To accomplish this, I sanded the these parts starting with 200 grit sandpaper, followed by 400 then 600 grit, and finally “polished” them with 1500 and 1800 Micromesh material.
Wobbler uses threaded assembly, so a 6mm by 1 tap and die may be needed to clean the threads.
Assemble the Wobbler.
Place the spring over “Bolt Cylinder.stl” as shown, then use it to attach “Cylinder.stl” to “Base.stl” as shown.
Slide “Piston.stl” into “Cylinder.stl” as shown.
Place “Flywheel.stl” into “Base.stl” as shown.
Place the pin on “Crank.stl” into the hole in “Piston.stl”, then place the crank into position over the threads in the flywheel, then thread them together such that they are tight, but rotate easily.
Test and Run the Wobbler.
Apply light machine oil between the base and cylinder and on the piston.
Thread a 1/4″ air hose coupler into the base as shown in the video.
Using a compressor at around 20PSI, connect the compressor air hose to the coupler as shown in the video, then give the wobbler a nudge and off it goes!
If your wobbler doesn’t take off running, increase the air pressure slightly then try again.
If you have any questions or comments, please feel free to comment and I’ll do my best to answer them.
That’s how I printed and assembled “Wobbler” Style Air Engine!
Hope you enjoy it! -
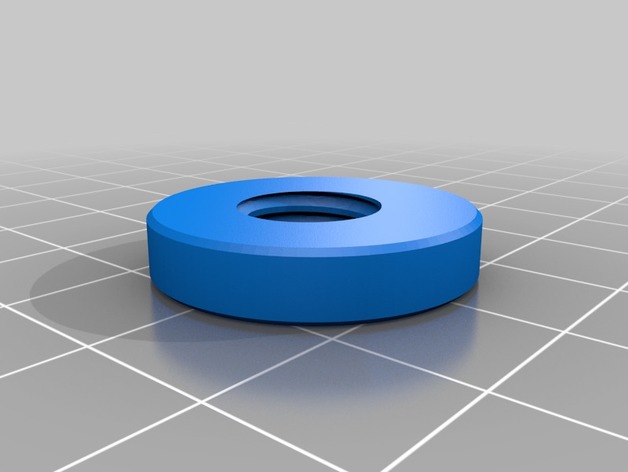
Miele Espresso Machine Plate Grommet for Discharge Tube 3D Print Model
Summary
This is a grommet to hold the discharge tube into the metal plate of the Miele CM5100 Espresso Machine.
Print Settings
Rafts:
Doesn’t Matter
Supports:
No
Resolution:
.1
Infill:
100 -
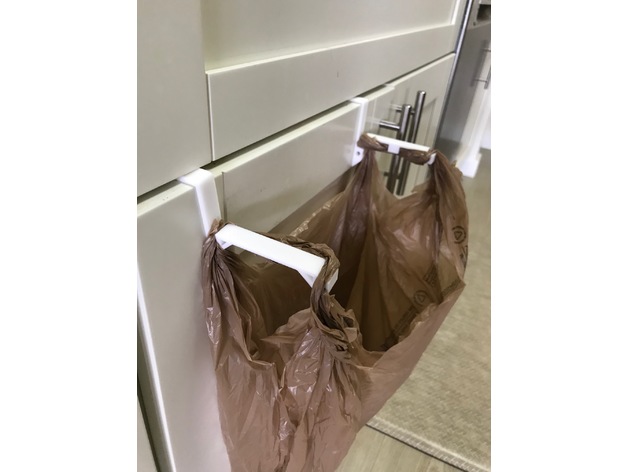
Grocery bag trash hanger for cabinets 3D Print Model
Summary
Our store bought hangers broke. So searched thingiverse for replacements. The one available didn’t fit the thickness of our cabinet doors, so remixed the one available. -
U Hook Reupload 3D Print Model
Summary
Just re-uploading because the original isn’t working for me in customizer -
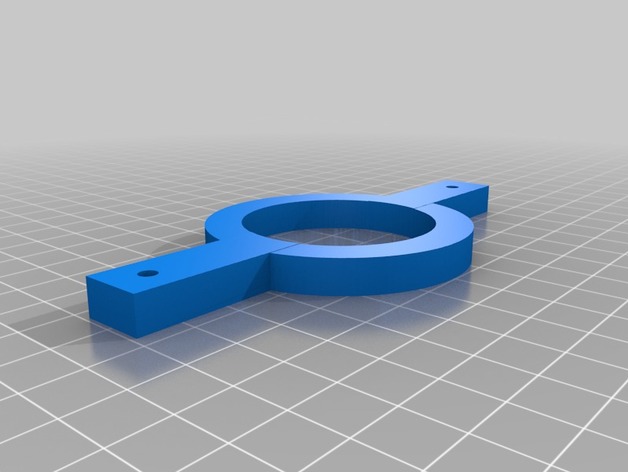
Z axis strap for Maslow 3D Print Model
Summary
I saw a picture on a Maslow forum where someone created one of these straps and used some bungee cords to keep a little tension on the z axis motor so that the router didn’t jerk.
Get some two cheap bungee cords and you’re set. There are holes already in the strap.
You don’t need a big 3D printer. This will fit on a 4″ x 4″ printer at a diagonal. -
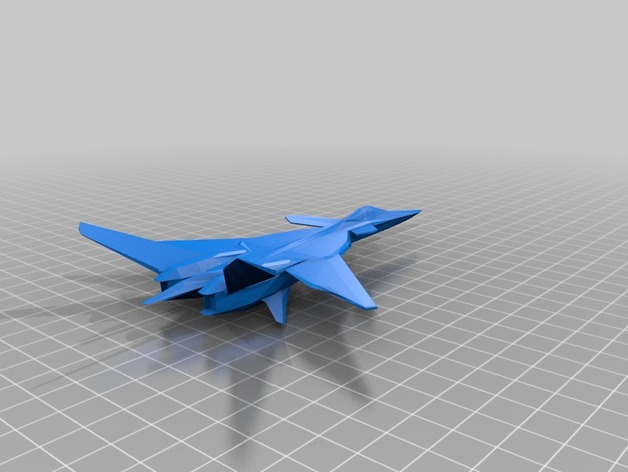
XFA-27 Scarface1 3D Print Model
Summary
Hey guys I am back with a corrected version of my XFA-27 Scarface 1. The Intakes are fixed and engine nacells corrected. I also fixed the front canards a bit. Enjoy. In the process of 3d printing it soon. Will upload when Its done. -
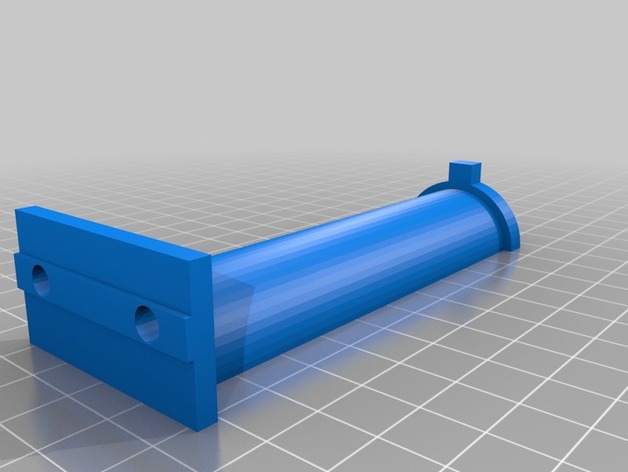
2020 Extrusion Filament Spool Holder 3D Print Model
Summary
Wanted an easy to print, beefy, spool holder for my Folgertech FT-5. This is it. Should work with any 2020 extrusion. -

Picture 3D Model
Additional Info: Picture 3c – 3D model (*.gsm+*.3ds) for interior 3d visualization.
-
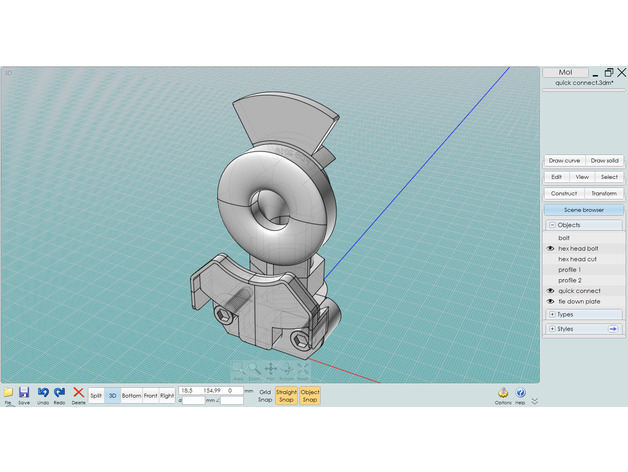
Quick Air Connect or Disconnect aka ( gladhand ) 3D Print Model
Summary
This quick disconnect is use on large trucks for air line connections.
It is known as a GLADHAND -
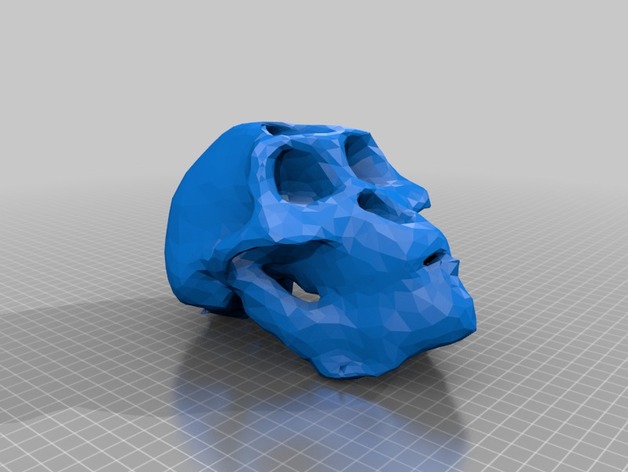
Australopithecus afarensis skull (with jaw) 3D Print Model
Summary
Australopithecus afarensis skull (with jaw) 3D scanned with Kinect and Skanect. For educational use. Made from replica.
Print Settings
Printer:
Anet A8
Rafts:
Yes
Supports:
Yes
Resolution:
0.2
Infill:
10% -
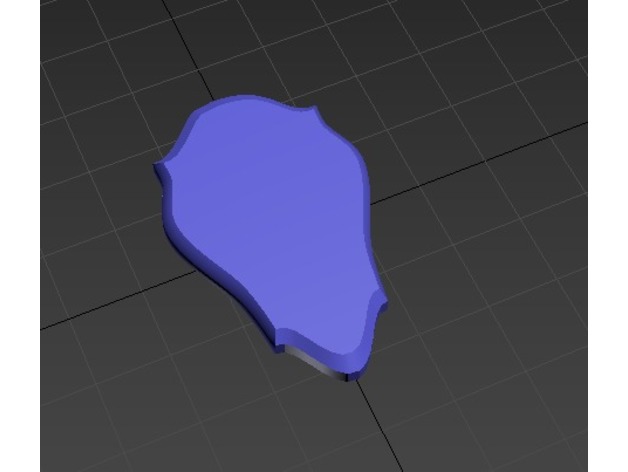
Mounting Plaque 3D Print Model
Summary
I use this as a fridge magnet to mount my tiny 3D printed heads onto! Now the awesome random head you printed can become a hunting trophy. Use some super glue to put a magnet into the hole in the back. -
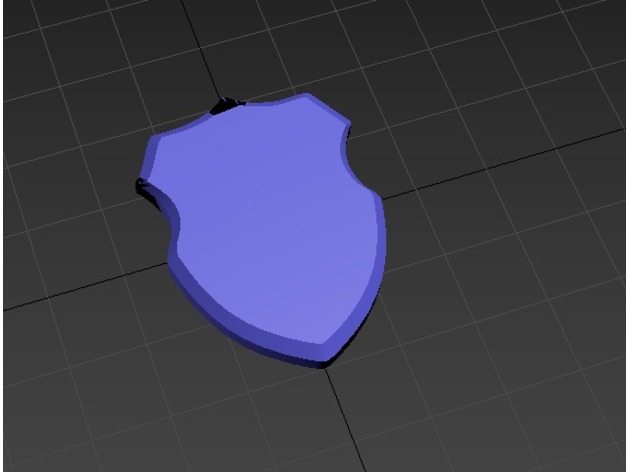
Mounting Plaque 3D Print Model
Summary
I use this as a fridge magnet to mount my tiny 3D printed heads onto! Now the awesome random head you printed can become a hunting trophy. Use some super glue to put a magnet into the hole in the back. -
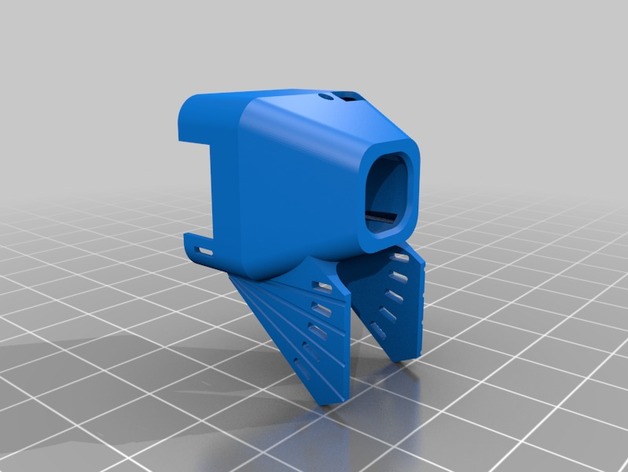
Turbowing Cyclops 3 Angle Mount 3D Print Model
Summary
This allows you to mount your Cyclops 3 using two zipties. The rear tie holds the cam into the housing, the front one determines the angle. Simply choose an angle then cut the excess plastic off. Print face down with no supports.
Print Settings
Printer Brand:
Prusa
Printer:
Prusa Clone
Rafts:
No
Supports:
No
Resolution:
0.3mm
Infill:
Any
Notes:
See photos for orientation. Prints face down with no supports. -
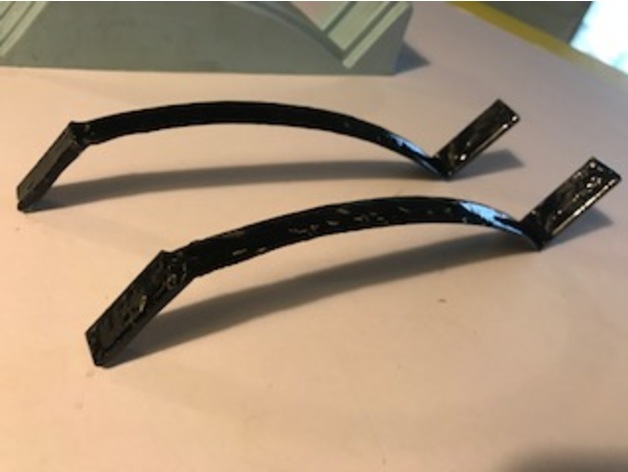
Landing gear Mold 3D Print Model
Summary
Cosmic wind control line stunter plane hardware , landing gear mold and fuel tank bracket .
Another great way to use 3D printing awesome endless possibilities 😉 -
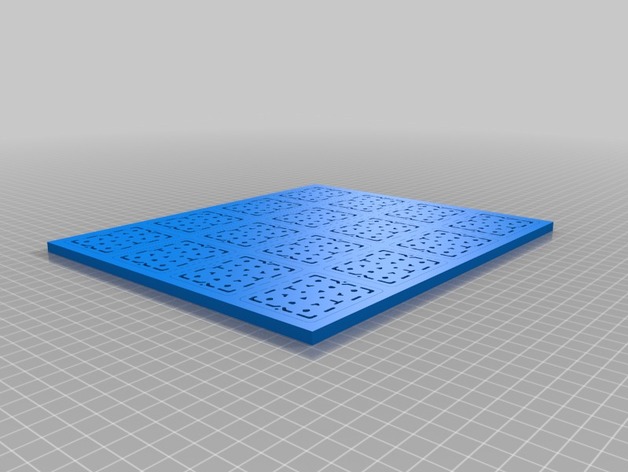
RACOR FLOOR GATE 3D Print Model
Summary
This is a model of the Rancor Pit Floor Gate that was seen in Jabba’s Palace from the Star Wars movies. Made to go with 1:18 scale action figures to enhance a collector’s display. It can also be scaled up to fit 1:12 scale figures, this may require some file editing (ie splitting the model into smaller printable parts) in order to make the parts work.
Feedback is greatly appreciated! Please be sure to give a shout out via IG (isntagram) and FB (Facebook) @figureworkscustoms if you end up printing or offering these as goods, I would love to see how these turn out.
More goods to come!
Happy printing!! 😀 -
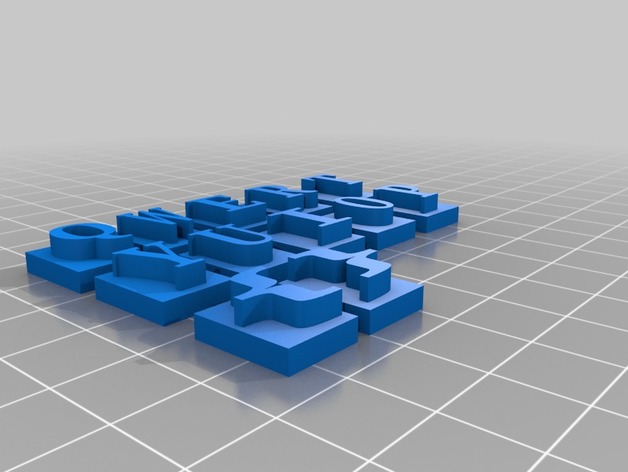
Raised Keyboard Letters – Elementary School 3D Print Model
Summary
An overlay of important keyboard features geared toward students who are visually impaired based on feedback by vision therapists. This tactile keyboard enlarges letters to more than 200% of their original size on a standard keyboard, and can be color coded. A great way to introduce keyboarding to younger students as well!
Print Settings
Printer Brand:
MakerBot
Printer:
MakerBot Replicator Mini+
Rafts:
Yes
Supports:
No
Resolution:
0.3mm
Infill:
Diamond (fast)Post-Printing
1) remove from raft
2) adhere to standard keyboardImmediately after printing (on print bed)
Red Letters (TOP ROW) removed from raft. NO post-processing necessary.
Blue letters (MIDDLE ROW) removed from rafts. NO post-processing necessary. The ;: and ” ‘ are delicate
Keyboard with sharpie (modified)
Keyboard with 3D Printed Tactile Letters (modified)
How I Designed This
Tinkercad
Block tool (14x11x3mm for the base) and standard text (sizing in approximate for most letters of 11.5×6.5x6mm) groupings.Standards
CCSS
Overview and Background
Standards Met (CCSS)
Writing – CCR.6 =
Grade 3: With guidance and support from adults, use technology to produce and publish writing (using keyboarding skills) as well as to interact and collaborate with others.
Grade 4: With some guidance and support from adults, use technology, including the Internet, to produce and publish writing as well as to interact and collaborate with others; demonstrate sufficient command of keyboarding skills to type a minimum of one page in a single sitting.
Grade 5: With some guidance and support from adults, use technology, including the Internet, to produce and publish writing as well as to interact and collaborate with others; demonstrate sufficient command of keyboarding skills to type a minimum of two pages in a single sitting.
Grade 6: Use technology, including the Internet, to produce and publish writing as well as to interact and collaborate with others; demonstrate sufficient command of keyboarding skills to type a minimum of three pages in a single sitting.
Lesson Plan and Activity
Objectives for 3D Keyboard with Students
Tactile keyboard with color coordination for visually impaired elementary school students learning finger placement or letter recognition while interfacing with a computer. The 3D printed letters in a bold color (organized by top, middle and lower row) help students focus their attention while searching for keys. In addition, the raised letters are 200% larger than the printed type on the standard keyboard.
Materials Needed
Requirements:
~2 contrasting PLA Filament Colors
*after the final layer of the base blocks are complete, pause the printer if you have a single color printer (like the MakerBot Replicator Mini+). Change the PLA color to a contrasting color to the base block, and resume the print job. In this way, the raised lettering will be more visible to students. -
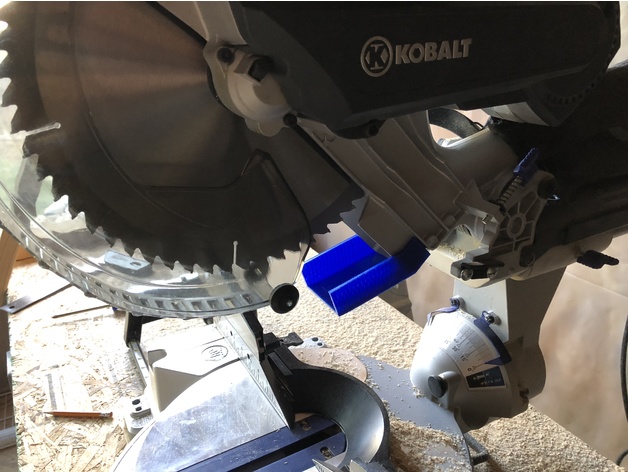
Kobalt Miter saw Dust Channel 3D Print Model
Summary
Used for better duct collection on a Kobal 12″ miter saw. Available in shot and long version. Photos are the short version.
I used double sided sticky tape to attach it to the saw, even though it is a snug fit. -
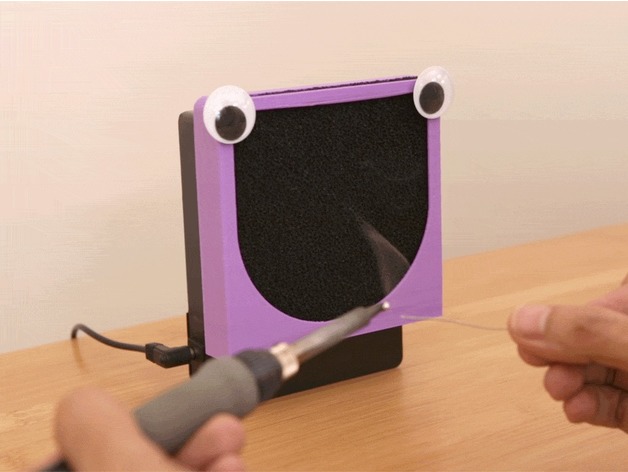
Fumey The Fume Extractor 3D Print Model
Summary
Here’s how to turn a PC fan into a solder fume extractor using a 3D printed retainer. Use an activated carbon filter to catch that pesky solder smoke and eliminate the smell of fumes.
Mini Desktop Fanhttps://www.adafruit.com/product/3544
9VDC Power Supplyhttps://www.adafruit.com/product/63
Ultimaker 3https://www.adafruit.com/product/3300
Design source fileshttps://learn.adafruit.com/desktop-fume-extractor/overview
Visit the Adafruit shop online – http://www.adafruit.com
Adafruit on Instagram: https://www.instagram.com/adafruit -

Vase 3D Model
Additional Info: Vase flowers N100118 – 3D model (*.gsm+*.3ds) for interior 3d visualization.
-
HyperCube Cube 40mm fan grill 3D Print Model
Summary
Replaced text with HyperCube logo.
Used on the fan for my Duet-Wifi, but should work with any 40mm fan. -
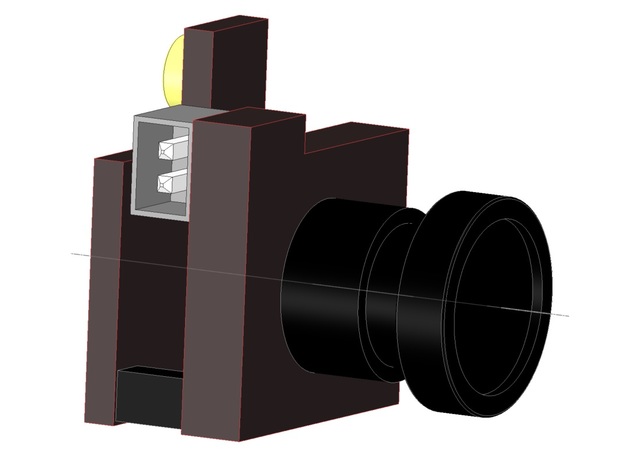
LST – S2 5.8G 800TVL HD Micro CMOS FPV Camera template 3D Print Model
Summary
Template for all-in-one LST – S2 5.8Ghz 800TVL Micro CMOS FPV camera.
You can find it at 10$ at amazon or Gearbest. Made with Designspark Mechanical. -
Tevo Leveling Rim 3D Print Model
Summary
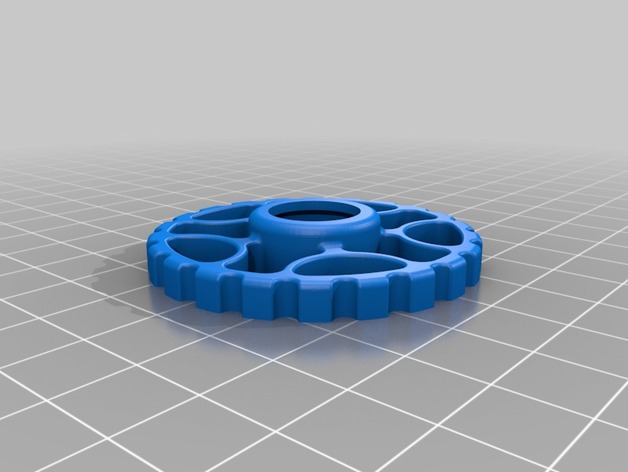
Put the bolts into the oven and press them in the printed parts for a good fit. -
Vase 1215bowl 3D Print Model
Summary
Also at Shapeways: https://www.shapeways.com/product/VDTAD2P29/vase-1215bowl?optionId=64852128 -
NINTENDO SWITCH 3D Print Model
Summary
FUN TO PLAY WITH AND YOU CAN TELL YOUR FRIENDS THAT YOU GOT A MINI SWITCH! -

CGC Classic: Cupcake Free 3D Model
In this tutorial, David Ward goes over creating a plate/saucer, and then a paper cupcake wrapper, followed by the cupcake itself. He then jumps into creating textures for each, and shows you how to create a nice spongey/bread-like texture using volumetric materials. Then he goes on to create the frosting for the cupcake, and begins creating a nice composition with multiple cupcakes, a bite-mark out of the main one, as well as scattered crumbs using the particle hair “object” settings. Finally, you’ll use Jonathan’s technique of adding a depth of field to focus on the cupcake in the foreground.
-
Storm window slide bolt 3D Print Model
Summary
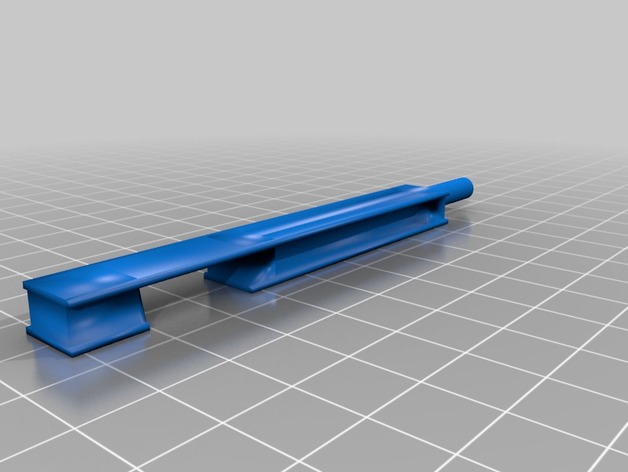
This is a replacement part for my storm windows. The hardware store (and Amazon, etc.) had replacements, but they are just a LITTLE bit too big. So they fit really snug and just won’t work. I’m hoping this will do the trick. Haven’t printed it yet, and not sure what kind of printer I’ll be using. The community college where I teach has several, and I need to consult with the folks who run them as to which would be most appropriate. Will update this once I try printing.
How I Designed This
It’s a pretty simple part, mostly made up of rectagular solids, with one thin wedge and a cylinder thrown in. For something like this, Tinkercad was more than adequate, and it’s really easy to use. -
Broom Stick Handle Repair Joiner Coupling 3D Print Model
Summary
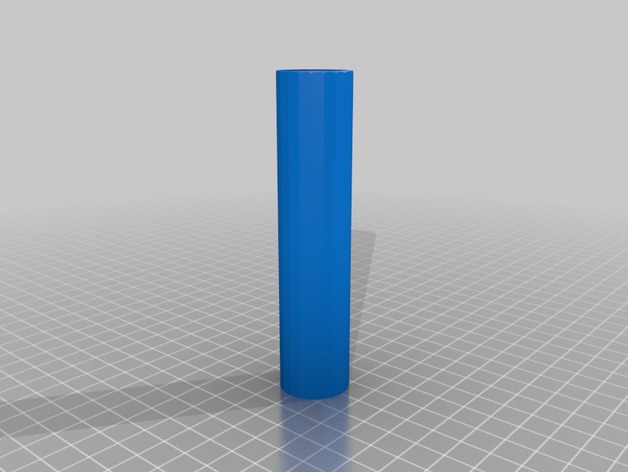
I remixed happysoul’s broom stick repair joiner piece thingy. to add and improve the following.
Made it longer: For metal broom handles when you cut out the section of the bent squished part since it would have an oval shape by the crease you end up cutting a away a longer length of material so the remaining stick remainsuniform and round. Since you lose about 30-40mm of material I made this joiner longer to compensate.
Put a spacer on the inside to keep the two pieces apart…essentially gaining the length of material you cut out of the original broom stick. The inserted sleeve was tapered at a 45 degree so you won’t require any support material.
Filleted the top end. Depending where your break is and where your hand will rest will depend if you put this end on the top of bottom. I supposed you’ might wrap tape to hold it all together which would accomplish the same thing but thought to add it anyway.
4 Can wrap the ends with tape to hold secure but later on I drilled two holes and used self tapping metal screws.
screws to hold in place -
Castle Sidewinder 4 ESC cage 3D Print Model
Summary
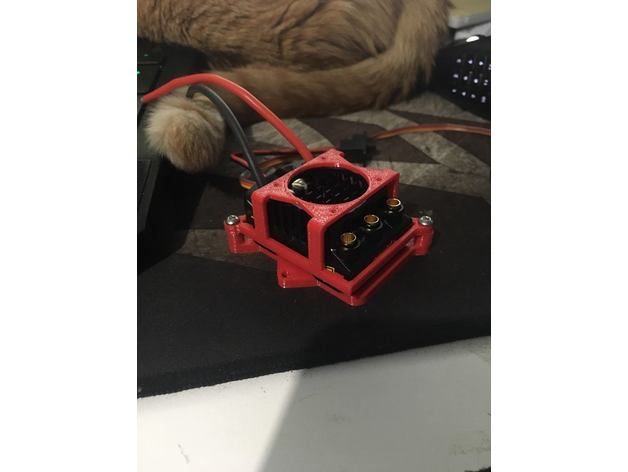
Inspired By RPM`s previous ESC Cages i have made one of my own. The cage consists of two parts, top and bottom. and held together by two m3 Screws. the design allows for quick removal of the stock cooling fan and makes use of the flat surface.
There is no position for mounting the switch as of yet. one is planned
Print Settings
Printer Brand:
Robo 3D
Printer:
R1 ABS + PLA Model
Rafts:
No
Supports:
Yes
Resolution:
.2
Infill:
100 -
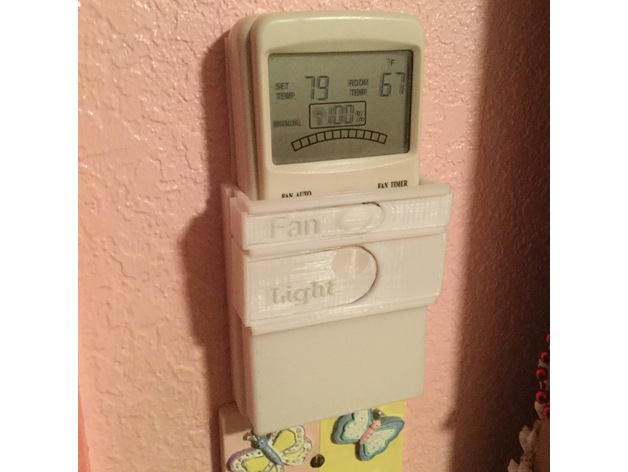
Fan / Light controller holder 3D Print Model
Summary
Fan/Light controller holder
Many years ago the pull fan switch broke in one of our bedrooms. The replacement switch was no longer ‘available’. So instead of buying a new light/fan fixture I upgraded to a wireless fan/light controller. (Model FAN-9T) It worked great, the only problem was the controller. It kept getting moved all over, and it was impossible to turn it on (too many buttons) in a dark room!
So I designed this to hold the controller above the now unused light switch. And it allow someone to turn on the light and fan with the push of a button even in a dark room. What about the other buttons? Hardly ever used, but if you want to – the controller can be slipped out to operate the other buttons, and when done – slipped quickly back in. The perfect solution.
Print Settings
Printer:
TronXY X5S
Supports:
Yes
Notes:
Use supports as needed. Make sure the fan and light buttons are ‘flat’ on your print bed. They tend to be lifted up slightly if just rotated for printing. This is because the case is smaller at the bottom than at the top.
Post-Printing
remove any supports. sand and file for switch clearance as necessary.
Use ‘Super Glue’ to assemble the body pieces.
With the spacer, the fan switch didn’t quite reach the button, so I super glued a little spacer to the bottom of the switch.
How I Designed This
Designed in Fusion 360. The first printing didn’t work and was a little too tight, so I added the spacer and split the body into three pieces for ease of printing.
There is also a mounting plate in case you want to mount under an existing light switch.
I just used double sided tape to secure it to the wall. -
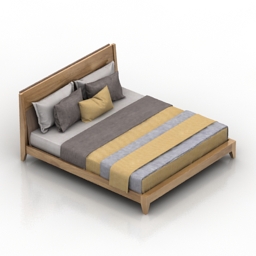
Bed 3D Model
Additional Info: Bed Poliform Java N240218 – 3D model (*.gsm+*.3ds) for interior 3d visualization.
-
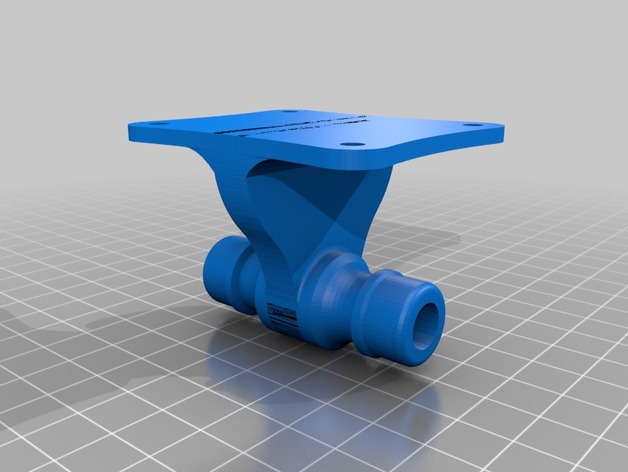
Gardena connector with wall mount 3D Print Model
Summary
Gardena connector for mounting on a wall.
Print with connector upright! (Not as displayed here.)
The model includes support on the nut, but needs support on the rest of the model.
Dry-tested. -

Table for printer 3D Print Model
Summary
If you bought a printer recently, then first of all you have to solve the issue with the place of its placement.
A cheap and simple solution:
Buy table from IKEA like “LACK” (about $9.99)https://www.ikea.com/us/en/catalog/products/20011408/#/40104270
Design compatable with table legs size: 50×50 mm 😉
Just print my file four times and install without screws
Enjoy 🙂Print Settings
Rafts:
Doesn’t Matter
Supports:
Yes
Resolution:
0.25
Infill:
100%