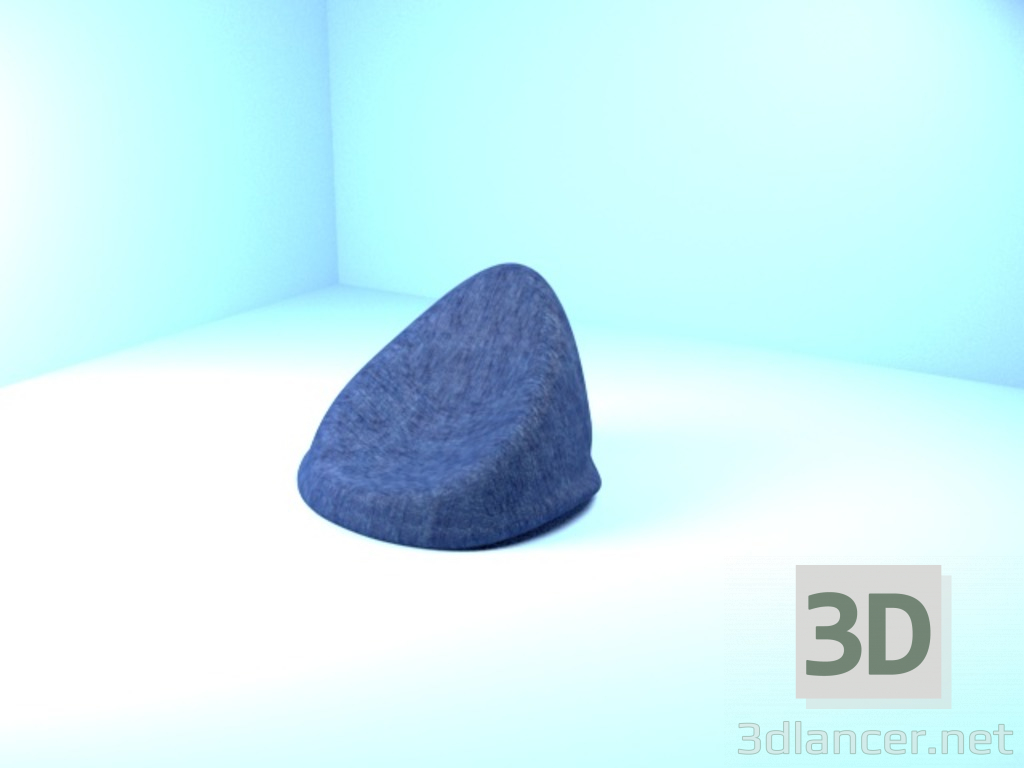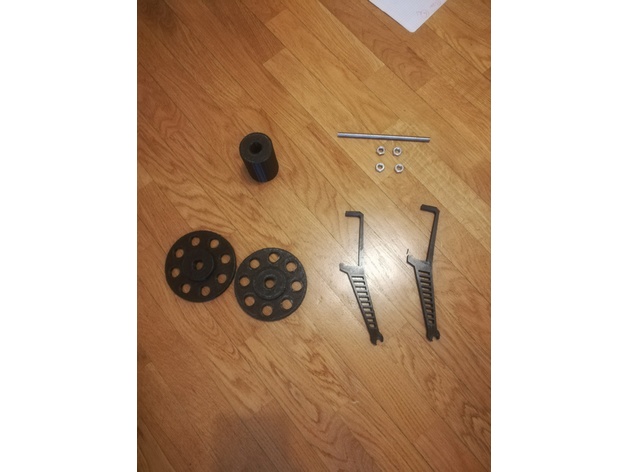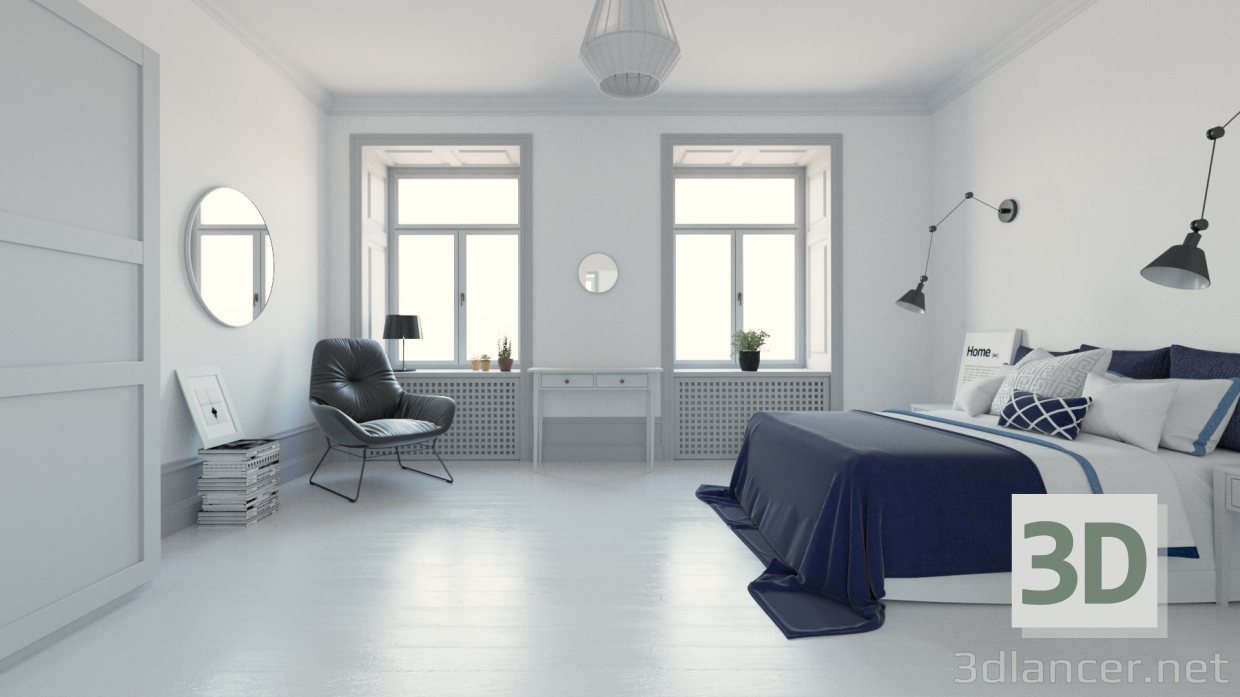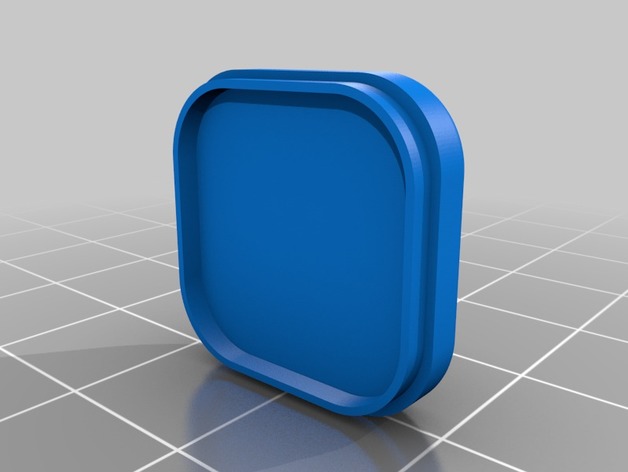
Summary
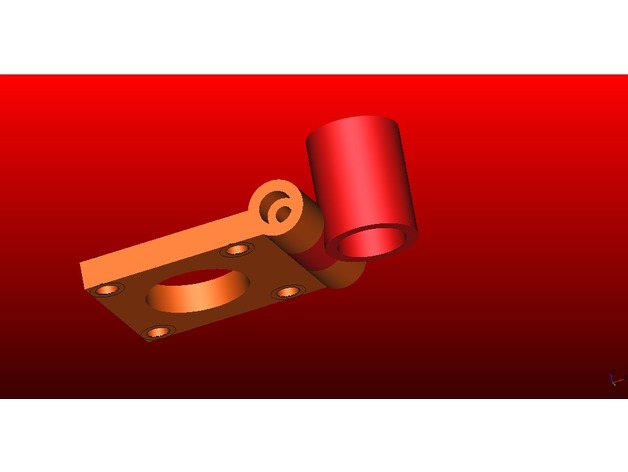
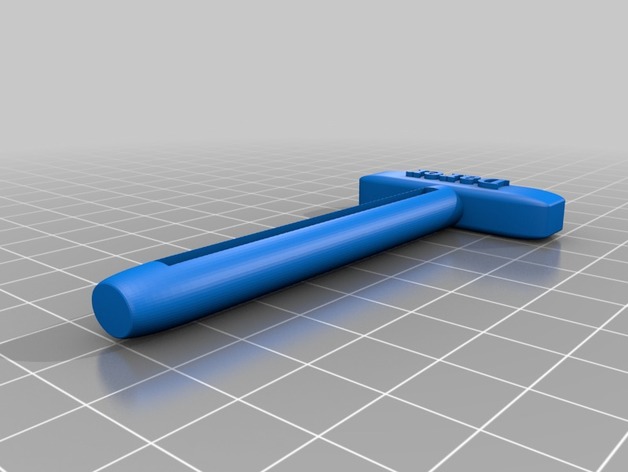
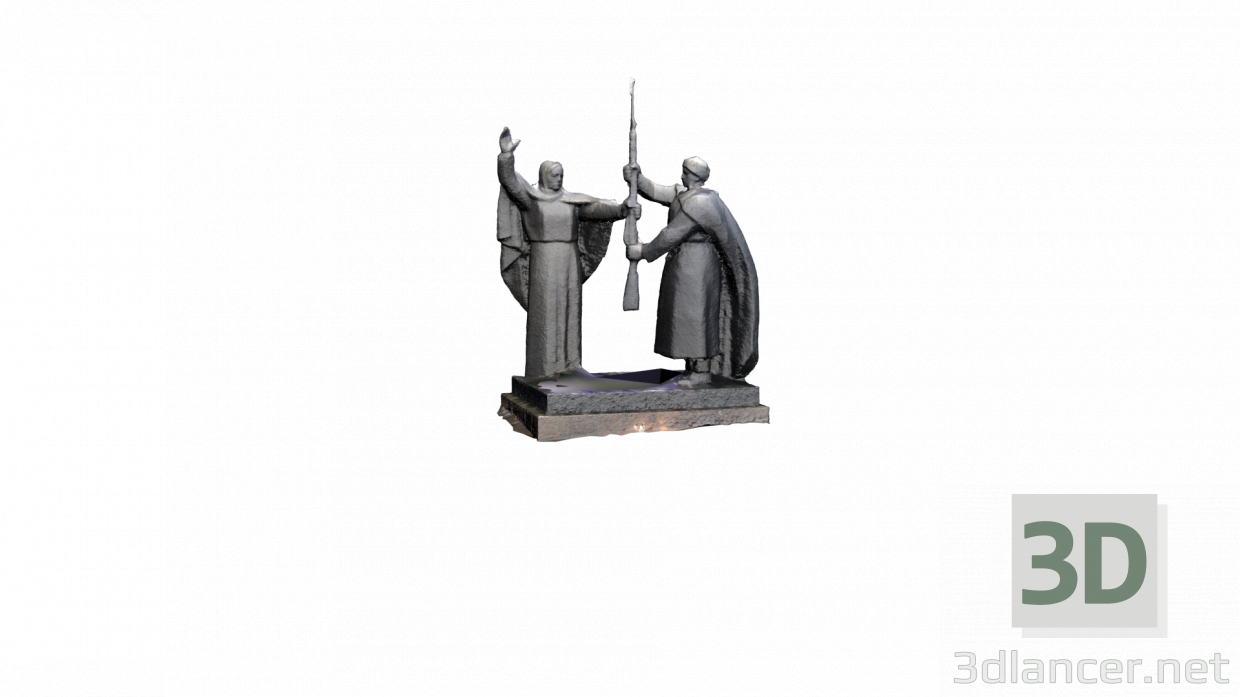
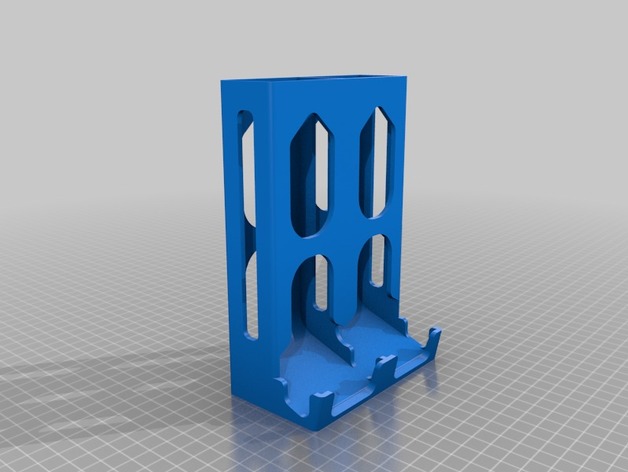
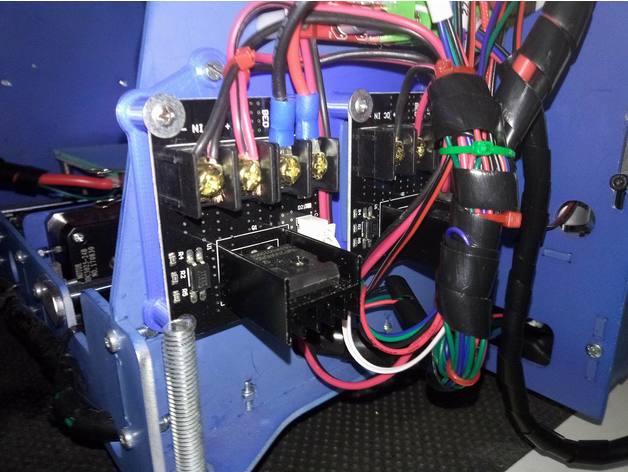
Tatara mount double mosfet
Category: Free 3D Models
Free 3D models ready to be used in your CG projects such as films, visualizations, games, VR etc. All 3D Models and Free 3D Print Models are available for download in several formats including .MAX, .STL, .FBX, .3DS, .C4D, .OBJ, .BLEND, .DWG, .DXF, .LWO and much more. If you’re in search of high-quality Free 3D assets, we have a huge library of 3d models for all your needs. Also you can visit 3D Models and 3D Print Models category.
-
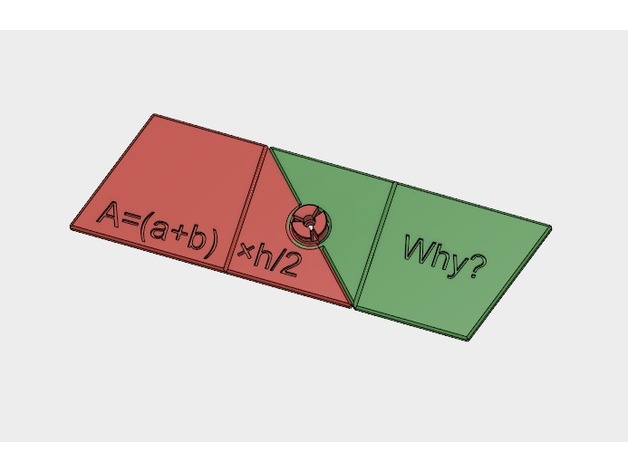
Trapezoid Area Formula, A= (a+b) × h /2, why? 3D Print Model
Summary
Trapezoid Area, A= (a+b) × h /2, why?
Given any trapezoid, if the parallel top and bottom are a and b, respectively, and the corresponding height (altitude) is h, the area is (a+b) × h /2. But why?
To see why, we take two congruent copies of a trapezoid and make a parallelogram with the same height and a base of (a+b). Such a parallelogram can be easily converted to a rectangle with a base of (a+b) and height (h, or width), and, accordingly, an area of (a+b) × h. Why do we have to divide that by 2? Well, it is because we want to know the area of the trapezoid. Of course, there are other ways to explain it. One way or the other, it goes back to what we know about rectangles or other shapes.
Two versions are provided to demonstrate the process behind A= (a+b) × h /2. The trapezoid is just a random one. Have fun.
Print Settings
Rafts:
No
Supports:
No
Resolution:
.1 to .2mm
Infill:
5-20% -
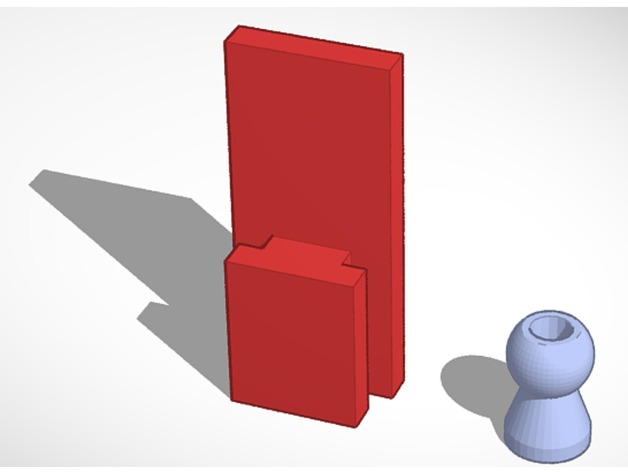
Earbud Organizer/Hanger 3D Print Model
Summary
I always have my earbuds laying around on my desk. I use them for work, to listen to music, for movies, games, etc. I like to keep things organized, so I roll them around my hand and try to keep them in one place on my desk. It doesn’t work well. I need to figure out how to store these things better (and I am not that fond of the cases that hold the earbuds here on Thingiverse… no offense, I just want something more permanent than a case.
I recently bought a phone/tablet stand on Amazon, and I noticed that I keep hanging my buds off that to keep them off the desk. The problem is that I then have to remove them to put my tablet or phone on the stand, and I have that problem with the earbuds laying around on the desk again. So, I took a look at the stand and realized that I could build a custom hanger on the back to hold my earbuds. Perfect!
I printed the Body first (less than an hour), got it to fit perfectly to my stand, then printed the support (7 minutes). Then, I promptly welded the support to the body… on the bottom instead of the top. Oops. I printed another support (another 7 minutes), and then welded that one on as well, and it worked out even better.
I’ve attached all of the files, including one that shows the final build. I’m fairly new to 3DP, so let me know if I did something wrong and I’ll try to fix it.
Enjoy!
Print Settings
Printer Brand:
FlashForge
Printer:
Creator Pro
Rafts:
Doesn’t Matter
Supports:
Doesn’t Matter
Resolution:
.2 mm
Infill:
15%
Notes:
There are several .stl files, each with a variation to give you options on how to print.
I printed each piece independently with the following files:
EarbudBody.stl and
EarbudSupport.stl
You can also print the pieces all together in one print (one support only):
Earbud Hanger-All.stl
Earbud Hanger-All-rotated.stl
You can also print the entire model pre-assembled (but you’ll need supports):
EarbudHanger.stlPost-Printing
Attaching the support to the body
If you print the pieces individually, you can permanently bind them using a Q-Tip and a bit of acetone. A drop on the bottom of the support is all you need to weld the pieces together. It’s very strong.
You may need to file the groove a bit to make it fit perfectly, and I got mine to fit exactly into the slot in my tablet/phone stand.
How I Designed This
Custom pieces: this is why I own a 3D printer
I created the .stl on Tinkercad, saved various different configurations of it, and printed it up. I found out that it fit nearly perfectly, and just needed a bit of post-print smoothing and filing to make it fit like a glove.Tinkercad layout of the holder
-
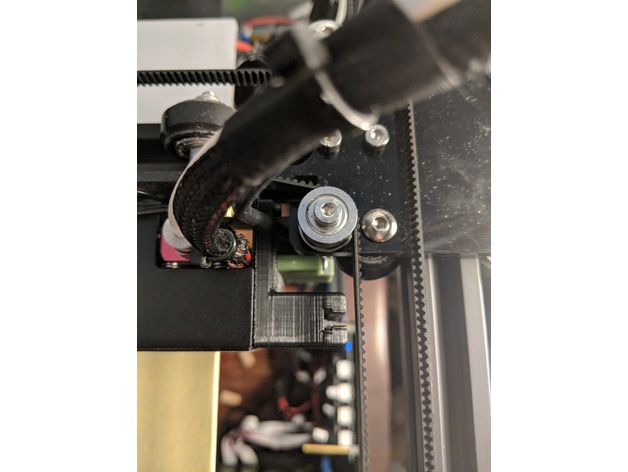
Creality Ender 4 Laser & Bed Leveling Sensor Mount 3D Print Model
Summary
I wasnt happy with the magnetic mounting for the laser on the ender 4, so i designed this to quickly mount and remove the laser when wanting to engrave stuff, without getting in the way of anything and allowing the bed leveling sensor to mount in the same spot. the holes for the mounting should be fixed, originally they were too small. please let me know if they are still too small.
when you get the ender 4 you should have a bunch of extra hardware. use the same type of screws that you used to mount the leveling sensor to mount the laser, by removing all the magnets from the laser and using the 2 center holes and screwing in the screws all the way.
you should now be able to slide the laser into the mount whenever you want to use the laser, and slide it out when done.
Print Settings
Printer Brand:
Creality
Printer:
Ender 4
Rafts:
No
Supports:
No
Resolution:
.2
Infill:
10%
Notes:
200C extruder
45c bed -
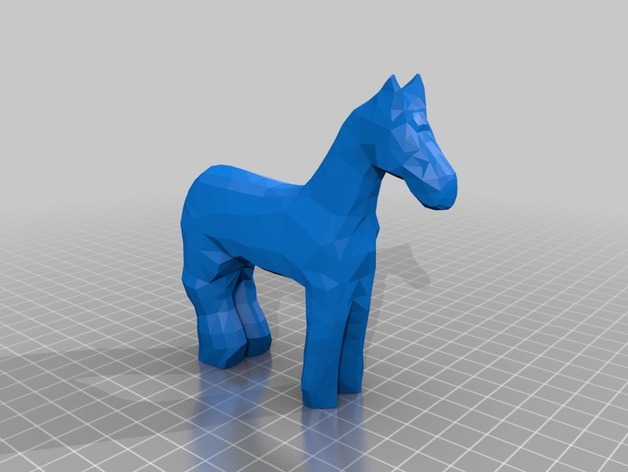
Blade Runner 2049 Wooden Horse 3D Print Model
Summary
This is a replica of the wooden horse from Blade Runner 2049. Includes the date engraving on the bottom. It was modeled in about 3.5 hours. Printed once and the date engraving was too thin so I widened the numbers but haven’t yet printed it again. I used a woodburner with a razor attachment to fix the engraving manually. Use a respirator if you do this. If you print it, let me know how it goes. This is my first gift back to this wonderful maker community who helped get me off the ground with dope projects. Thanks all. -
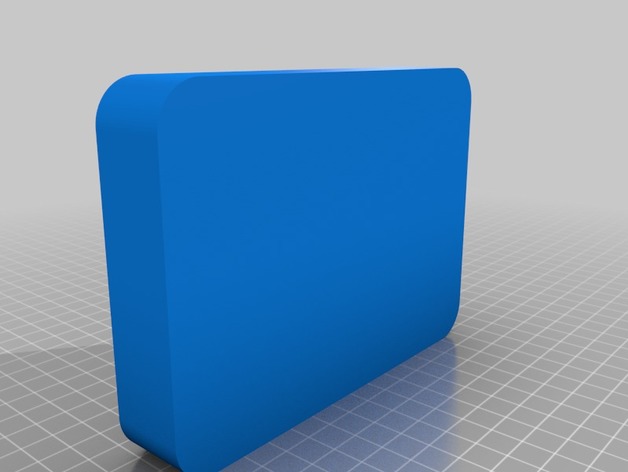
Simple FPV Inspired tool box 3D Print Model
Summary
This is just a simple tool box designed around the idea of keeping the amount of tools to minimum but still having enough with me for minor repairs.
This is geared towards FPV racing as the logo suggest.
Print Settings
Printer:
Hyper cube evo
Rafts:
No
Supports:
No
Resolution:
.100-.300
Infill:
50%
Notes:
Note the tool box printed in the pictures was printed @ 1.25 on the Z axis to make room for additional tools.
How I Designed This
fusion 360 -
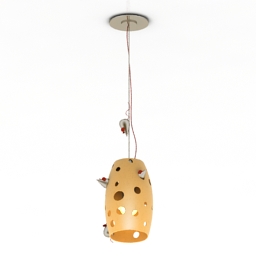
Luster 3D Model
Additional Info: Luster massive cheese N190418 – 3D model (*.gsm+*.3ds) for interior 3d visualization.
-
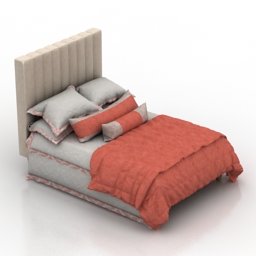
Bed 3D Model
Additional Info: Bed Laura Ashley N220418 – 3D model (*.gsm+*.3ds) for interior 3d visualization.
-
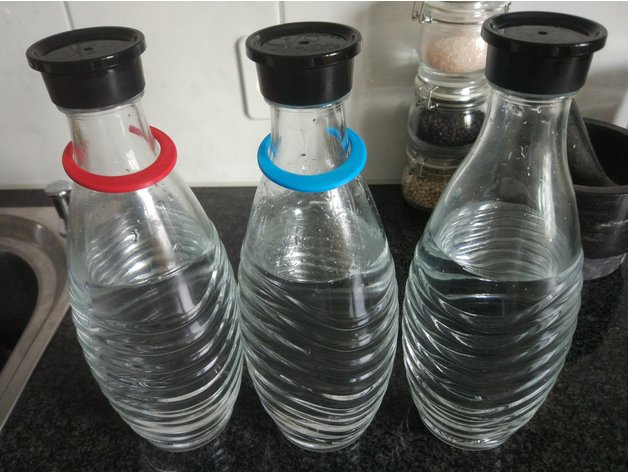
SodaStream bottle label 3D Print Model
Summary
Clip made to label SodaStream glas bottles.
Tested with PETG (red) and ABS (blue).
Print Settings
Printer:
MP select mini
Rafts:
Doesn’t Matter
Supports:
Doesn’t Matter
Resolution:
0.1mm
Infill:
30% -
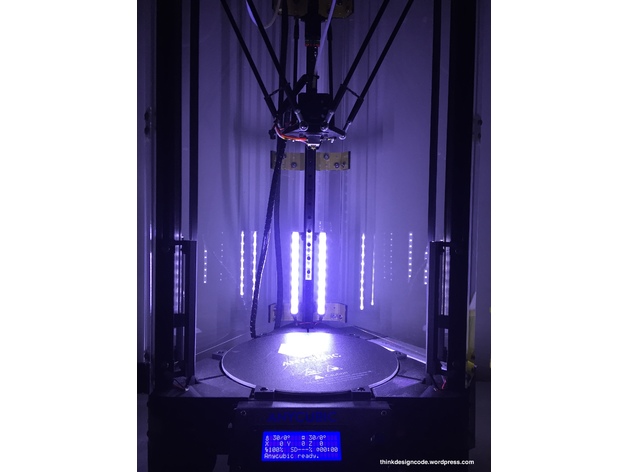
Add light for Delta / Kossel 3D printer 3D Print Model
Summary
I decided to add LED for my Kossel 3d printer (My model is Anycubic Kossel Linear Plus) to make it easier for me to check if I need to print overnight.
Material:
6x LED stripes (12VDC, width: 1cm, length: 15cm each)
M3x10mm bolts and M3 T-nuts
Wires
Printed parts:
6x Part01
6x Part02
6x Part02_Mirror
I already show to you guys how to make it step by step in each picture. Just follow them and you can make it.
Here are all those steps:
Step 01: Using 12V LED stripe (1cm in width) and cut to 6 pieces (15cm each)
Step 02: Soldering all 6 LED stripes.
Step 03: Wire out all LED stripes.
Step 04: Make a small board to attach all LED stripes, 12VDC power supply and ON/OFF switch
Step 05: Connect and test all LED stripes.
Step 06: Using a piece of thick tape to cover all circuit board.
Step 07: Using M3 bolts and M3 T-nuts for the board.
Step 08: Attach the board to the frame (below the heated bed)
Step 09: Print 6xPart01, 6xPart02 and 6xPart02_Mirror to make 6 LED stripes holder.
Step 10: Using super glue to attach LED stripe into LED stripe holder (Part01). Remember to attach the Part02 and Part02_Mirror to Part02 before doing this step.
Step 11: Attach all LED stripes to 3d printer frame with M3 T-Nuts.
Step 12: Remove the heated bed and connect all LED stripes to the small board we’ve made before. For the 12VDC input, you can use directly from 3d printer power supply.
Step 13: For the ON/OFF switch, you can place it in front.
DONE!!!
Print Settings
Printer:
Anycubic Kossel Linear Plus
Rafts:
No
Supports:
No
Resolution:
0.2mm
Infill:
20%How I Designed This
-
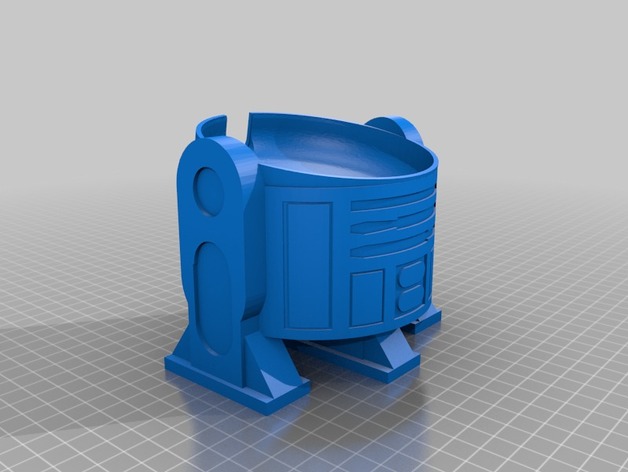
R2D2 Google Home Mini Upright 3D Print Model
Summary
I really like the original design by Simomura, but found that I couldn’t see the top lights of the Google Home Mini when interacting with it. My Home Mini sits by TV, and the angle of the R2D2 angled the lights away from my viewing perspective.
Using TinkerCad, I was able to hack together a modified design that has R2D2 standing up vertically. I also changed the cup that the Home Mini sits in so that it angles slightly forward (rear is higher than the front).
Print Settings
Printer:
JG Aurora A3
Rafts:
Doesn’t Matter
Supports:
Yes
Infill:
10% -
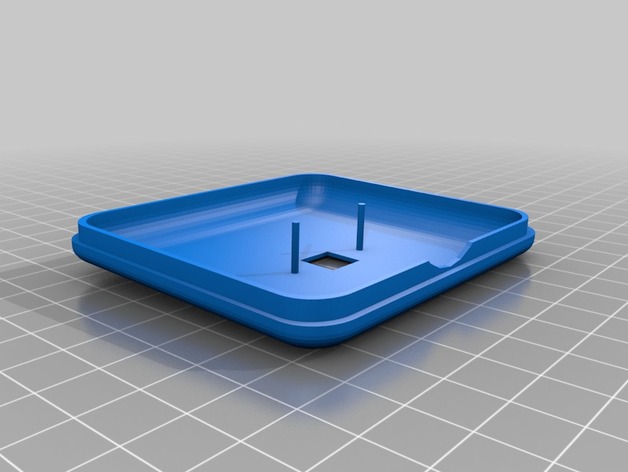
Google AIY Vision Kit Box 3D Print Model
Summary
A printed box to replace the cardboard box for the Google Vision AIY kit.
Print Settings
Printer:
Tronxy P802
Rafts:
No
Supports:
No
Resolution:
0.2
Infill:
20 -
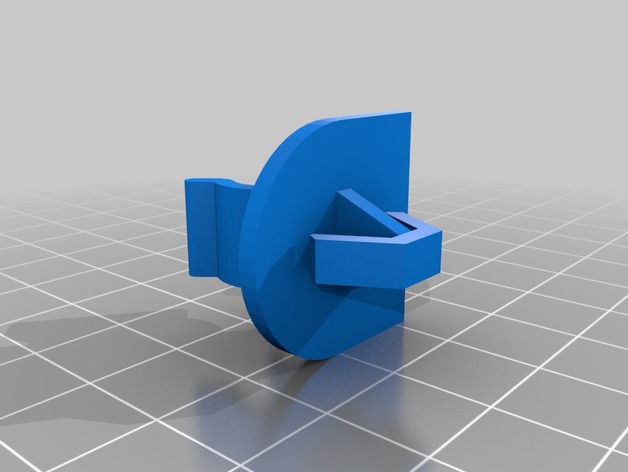
Honda Odyssey Hood Latch Clip 3D Print Model
Summary
This is a replacement for the breakage-prone hood latch clip of the Honda Odyssey. To remove the old hood latch clip, just use pliers to compress the clip and pull it out. This one should pop in place with a snap and hold the hood latch bar no problem. I printed it in ABS, but PETG should work fine too. I also printed with supports and 100% infill.
Print Settings
Printer Brand:
Wanhao
Printer:
Wanhao Duplicator i3 Plus
Rafts:
No
Supports:
Yes
Resolution:
.2
Infill:
100% -
Star Trek DS9 Curry Class 3D Print Model
Summary
Also called a Shelby class, the Curry class was one of the ships in the Dominion War in DS9, it’s a weird design to be sure, so I had to do it. -
Saber Crystal 3D Print Model
Summary
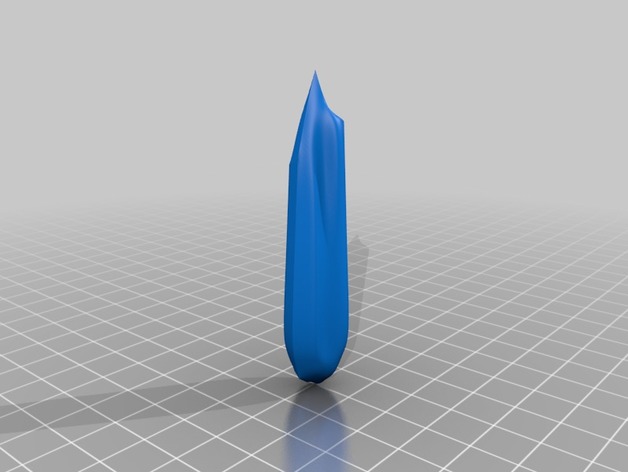
This is a prop crystal for a light saber. Nothing fancy. There is one design for just the model. The second design includes supports. The ideal resin is a clear resin with a VERY small amount of dye added to create a translucent color. About 0.2 grams glow pigment per 100ml resin will give it a slight glow after exposure to light. Recommend UV protective coating to stunt curing of finished piece.
After post-cure cleanup, using sanding to polish (up to 4000 wet sand is adequate) for glass effect. Polishing with rotary tool and rouge bar not recommended due to temperature issues.
Print Settings
Printer:
Peopoly Moai
Rafts:
No
Supports:
No
Resolution:
50 Microns
Infill:
80% Cure for Moai -
Simple Frog House 3D Print Model
Summary
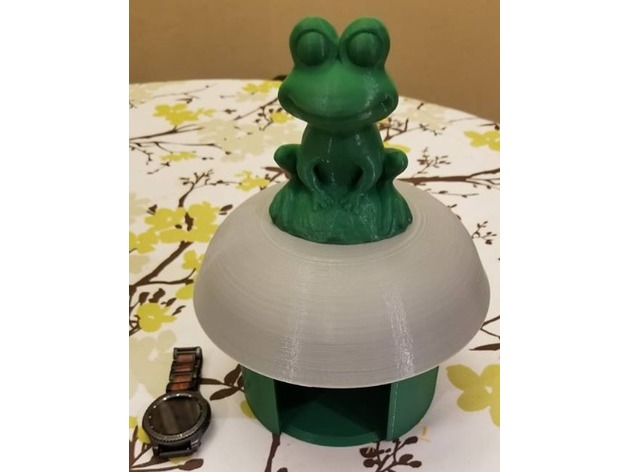
Wife wanted a frog house so I fired up the (ok…its never “off” per say) CR10 S5
This is the frog I used and scaled up to fit my needs: https://www.thingiverse.com/thing:2136760
Base was printed at .2 and 3000mm/min @ 20% infill; no supports
Top was printed at .2 and 3000mm/min @ 20% infill; with supports
Attached frog with Gorilla glue
All printed in Solutech PLA
Sliced with S3D
Designed in AD Inventor
Print Settings
Printer Brand:
Creality
Printer:
CR-10S
Rafts:
No
Resolution:
.2
Infill:
20% -
Iron Giant Bolt Stand 3D Print Model
Summary
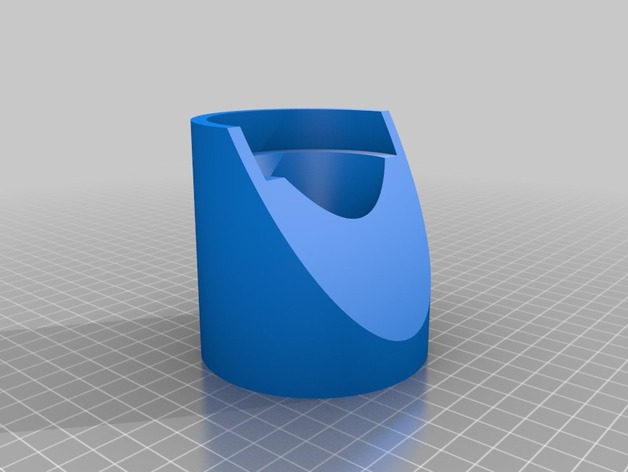
A stand made in Microsoft 3d Builder for jeffarazzi’s Iron Giant Bolt -
Armchair 3D Model
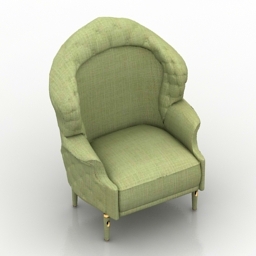
Additional Info: Armchair Visionnaire Alice N210418 – 3D model (*.gsm+*.3ds) for interior 3d visualization.
-
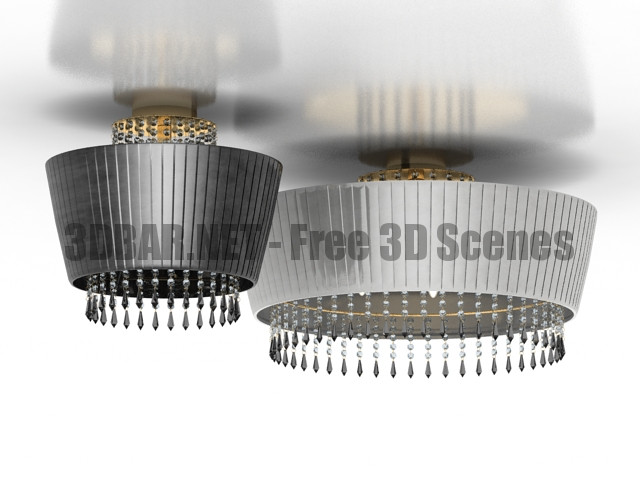
Donolux C110237 3 black C110237 8 white 3D Collection
Donolux C110237 3 black C110237 8 white 3d Models
-
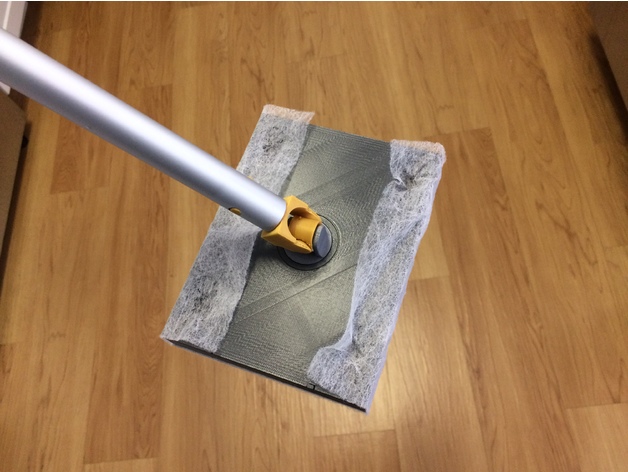
Square mopper that recycles clothes dryer sheets 3D Print Model
Summary
Made a box-style Swiffer that his narrower and lower in profile than the original Swiffer. You can use the original handle. Just like my previous version of this that uses binder clips, use a foam bottom from self-adhesive foam paper. There are instructions on how to do this on this posting:
https://www.thingiverse.com/thing:2688054
Print the HandleJoint.stl with support.
If you found this useful, it would bring me great joy to see your work – so be sure to share. 🙂
Or, better yet, please feel free to dump a bitcoin or two here (I’m trying to collect as many as I can before the apocalypse):
1Py3TUeR8noBN2giHyFV1GfB6x3Kh2WEVv
… include a note to the effect of “Hi 3E8, thanks for the box-style Swiffer thing… my life is infinitely better on account of it and please accept this small handful of bitcoins in gratitude”.
You’re welcome! (in advance) 😀
Also, feel free to peruse my other submissions which are almost as varied as they are many:
http://www.thingiverse.com/3E8/designs
Enjoy! -
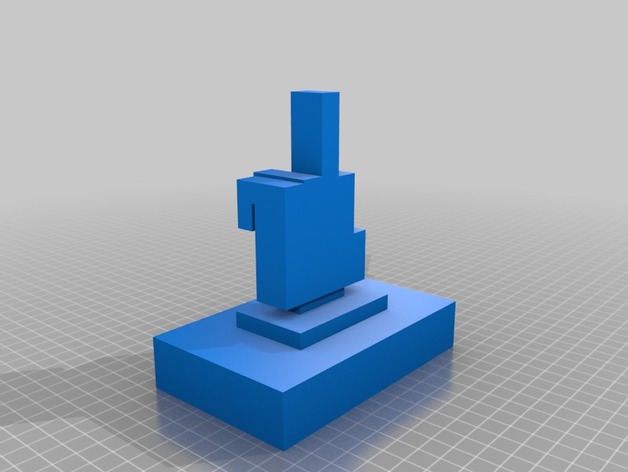
The Bird 3D Print Model
Summary
This thing was created for the sheer purpose of a practical joke to your fellow workers
Print Settings
Printer Brand:
MakerBot
Printer:
MakerBot Replicator (5th Generation)
Supports:
Yes -
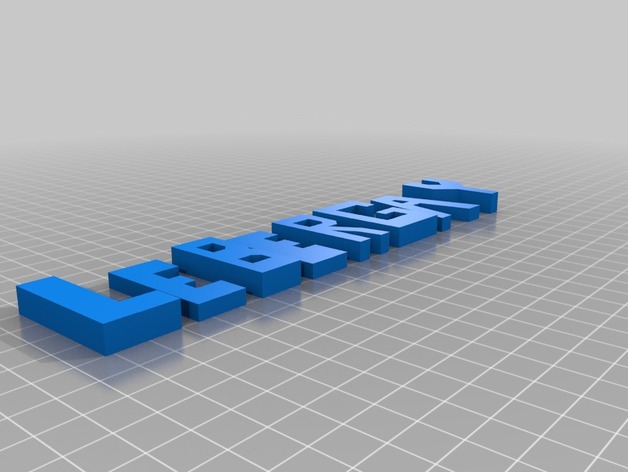
A Name 3D Print Model
Summary
This this is also a practical joke for workers, specifically ones names lebergay
Print Settings
Printer Brand:
MakerBot
Printer:
MakerBot Replicator (5th Generation)
Supports:
Yes -
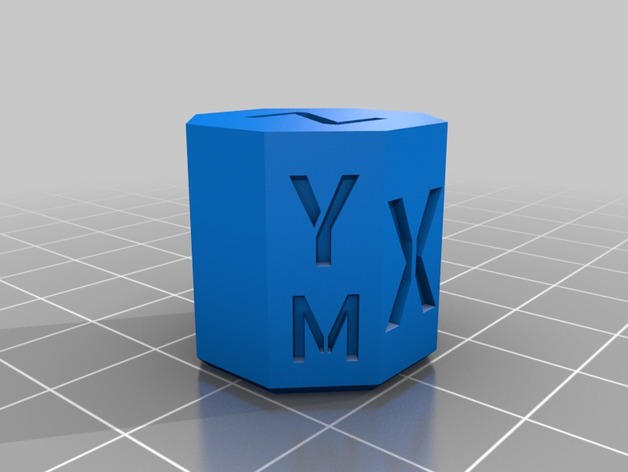
CoreXY Calibration Ocatagon (“cube”) 3D Print Model
Summary
Now you can check if your belts lengths are correctly tuned and check the quality of the single motor movements!
The parallel faces are all 20mm apart and there is a small chamfer at the base to cut any problems with elephant foot.
I’ll tune the font ASAP. Not printed yet,
Print Settings
Printer:
Hypercube Evolution
Rafts:
No
Supports:
No
Resolution:
0.2
Notes:
Do not worry about the thin parts of the letters of the motor faces. 😀 I just like the font and would like to test it. -
Hamster ball (sorta) 3D Print Model
Summary
Ever wanted a hamster ball (sorta) laying around your house?
…Then this is just for you!
Print Settings
Printer:
Monoprice mini
Rafts:
No
Supports:
Yes
Infill:
50 -
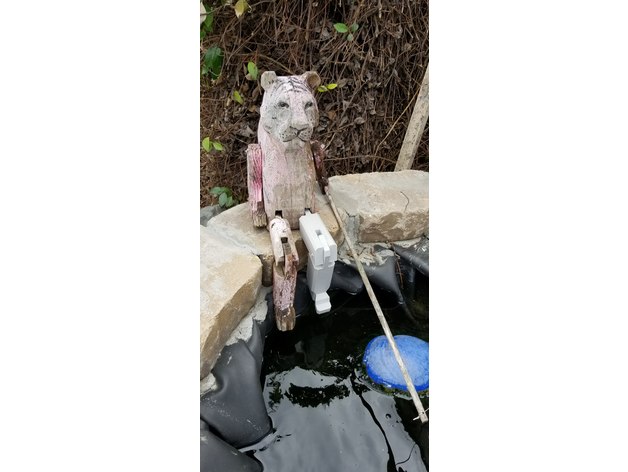
Lucky Fishing Cat Leg 3D Print Model
Summary
So at the end of my koi pond I’ve had my lucky fishing cat (tiger). He’s been there for years, and over time he somehow lost a leg.
Thanks to 3D printing we can rebuild him. I intend on replacing his other leg, his right arm, and his eye soon, so he can be just like the bionic man:)
Print Settings
Printer:
Hictop CR-10
Rafts:
No
Supports:
No
Resolution:
.2
Infill:
20
Notes:
Just sharing, doubt anyone would print…unless of course you have a lucky fishing cat.
How I Designed This
Blender -
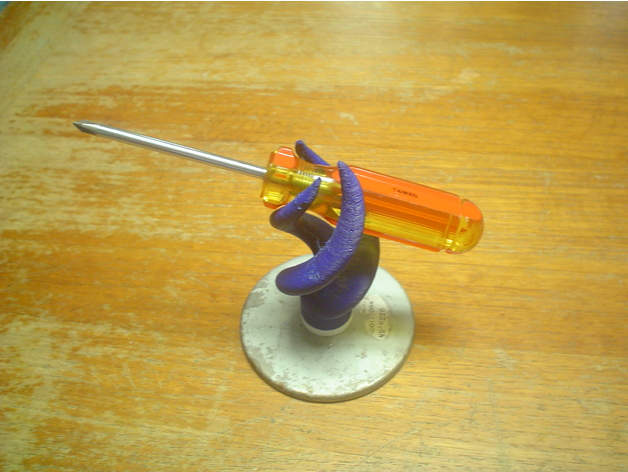
Flex tentacle tool holder 3D Print Model
Summary
This is a triplet of twisted tentacles that can hold a tool or something similar. It is made to be printed with flexible filament.
The tentacle base slips over the knob on the holder. The holder can be screwed to things like a magnetic base (as shown).
How I Designed This
The shape was made from a mathematical shape created with the Octave Isosurface function, and warped into something that looked good. I imported the resulting raw stl file into openscad where I added the mounting parts and the notation.
I started by playing with the fascinating “monkey saddle” (z=x*(x^2 – 3 y^2) ) which has three fold symmetry without trigonometry. I worked up an interesting shape in Mathematica, but transferred it to Octave, since it is open source. -
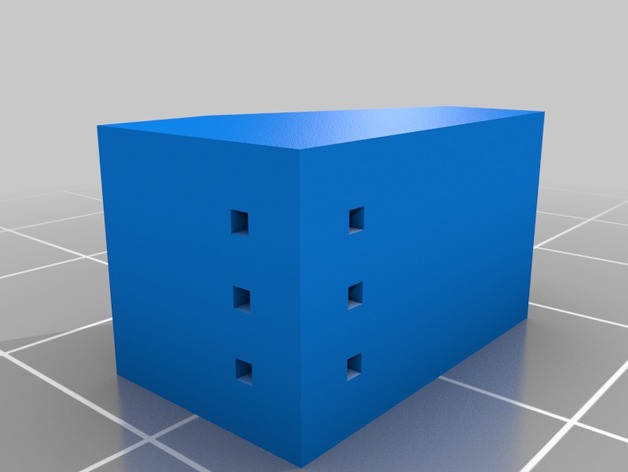
T-Pin BuilderBlocks by BalsaBuilder Magazine 3D Print Model
Summary
These builderblocks are super useful right angle pin blocks that readily accept DU-BRO’s small 1-inch “T” Pins #252. BuilderBlocks are used in model airplane stick construction and support the Lavoie Method of Stick building. See BalsaBuilder Magazine Issue 8 for more information on this method. Lavoie also offers a selection of great works on YouTube describing this method. Have fun out there!
Keep’em Flying!
—BuildIt!
Print Settings
Printer Brand:
Printrbot
Printer:
Printrbot Simple Metal
Rafts:
Doesn’t Matter
Supports:
No
Notes:
These simple blocks are easy to print and don’t require any special printer settings. I picked the defaults in Simplify3D and let them rip!
How I Designed ThisCompleted builderblocks with “T” Pins installed
Additional supporting tools for the Lavoie stick building method.
builderblocks in use
-
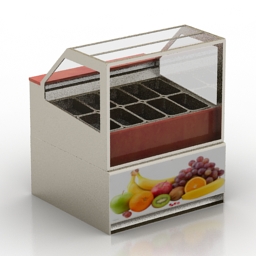
Refrigerator 3D Model
Additional Info: Refrigerator 1 – 3D model (*.gsm+*.3ds) for interior 3d visualization.
-
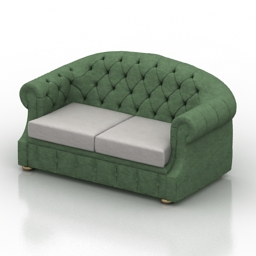
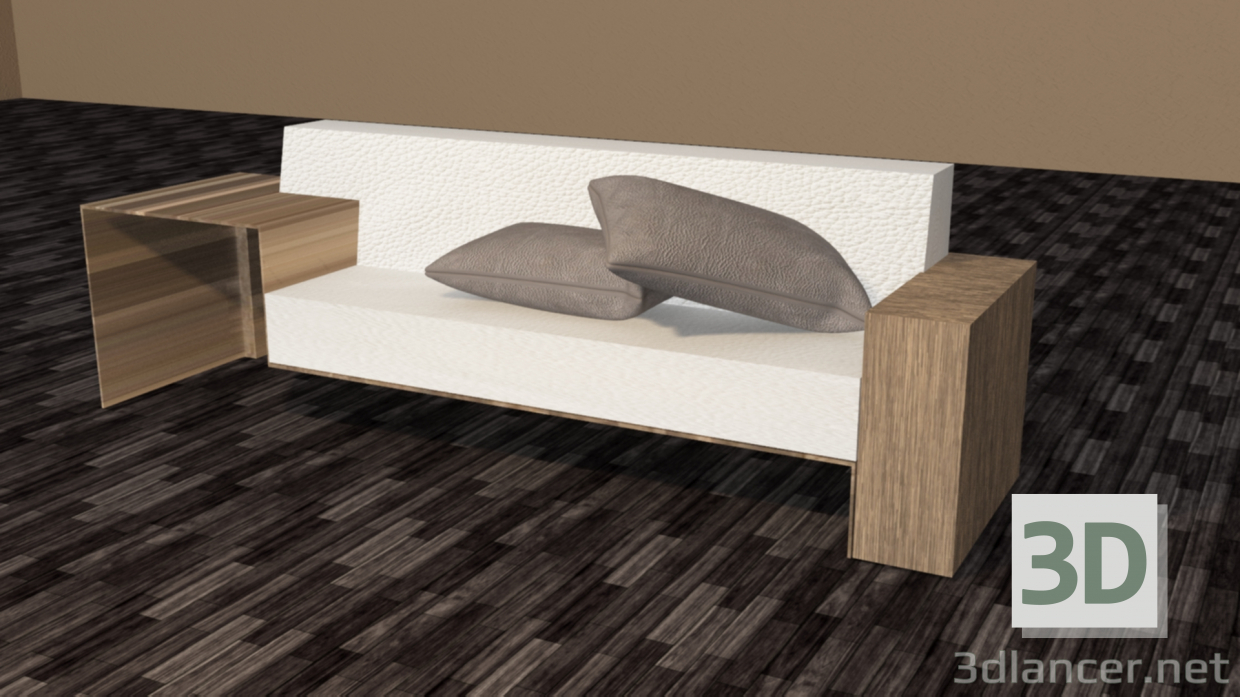
Sofa 3D Model
Additional Info: Sofa luis dls N230418 – 3D model (*.gsm+*.3ds) for interior 3d visualization.
-
Communicator Belt Holster 3D Print Model
Summary
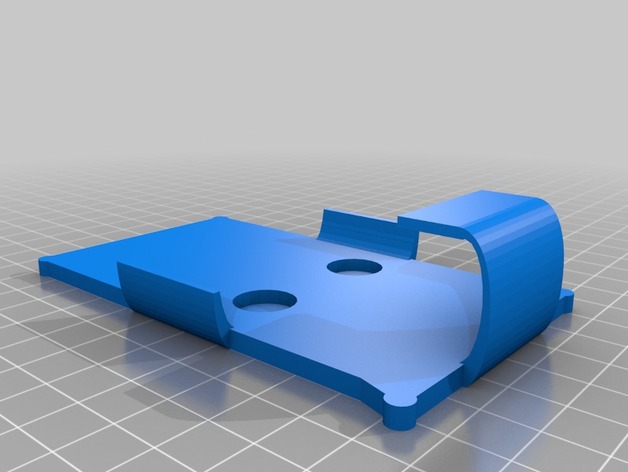
The Star Trek TOS communicator made by The Wand Company is a great prop replica. The only downside to it is you can’t put Velcro on the back and wear it like they did in the show. They were nice enough to give you a pouch to put it in, but that just provides some protection if you pocket carry it. I like to use mine to listen to podcasts while puttering around the house. The speaker is not super loud so putting it in a pocket also means I won’t be able to hear it.
I decided to create a holster that could be worn on the belt that would capture the feel of the way the communicator is meant to be worn. This holster leaves the front of the communicator unobstructed so I can get the maximum sound from the speaker.
To make the holster you will need 2 neodymium magnets ½” x 1/8” disc shaped. I used M12x18DI from Apex Magnets. Also, you will need some black peel and stick felt which you can get at any craft store.
You need to 3D print the main holster. I print mine with the flat side on the print bed and with support type set to everywhere and fill amount at 10% (cura). This provides support for the bottom lip that keeps the communicator from falling. You will probably have to do some filing to smooth down the areas where the supports printed. Once that is done, super glue the 2 magnets into the holes in the holster. Note: determine the proper polarity of the magnets first by sticking them to the back of the communicator and make sure you glue them in the right way. Once the glue is dry cut a piece of felt and place it over the back to hide the magnets and keep the communicator from getting scratched.
Next you need a belt clip. I did not feel the need to re-invent the wheel on this, as there are a number of belt clips available on Thingiverse. I used this one: https://www.thingiverse.com/thing:35940 Maybe you are a serious cosplayer and already have a uniform with pants that has Velcro on it. I guess you could skip the belt clip and put Velcro on the back to attach the holster directly to your pants.
There are a couple of things you could also do if you are so inclined. The only element missing now is the Velcro rip sound when you remove the communicator. You could put a small piece of Velcro on the communicator near the top, high enough so it won’t interfere with the recharging base. Then you would get the appropriate Velcro sound when you call for that emergency beam up.
Print Settings
Printer:
Maker Select
Supports:
Yes
Resolution:
0.1
Infill:
50%
Notes:
My support setting in Cura is set to 10% for this print. -
MPCNC chain mount 3D Print Model
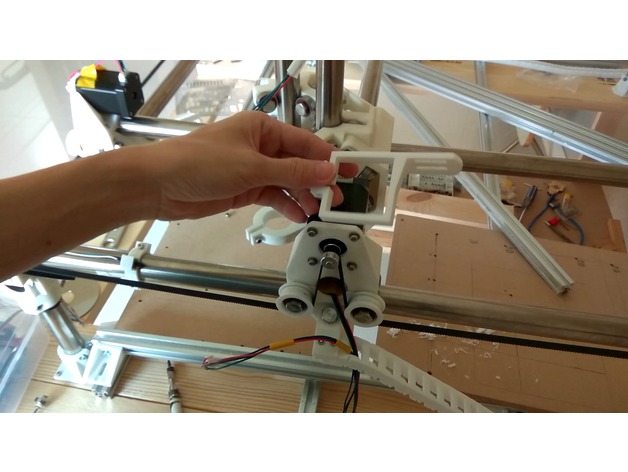
Summary
USE Open_Cable_Chain to connecthttps://www.thingiverse.com/thing:611593 -
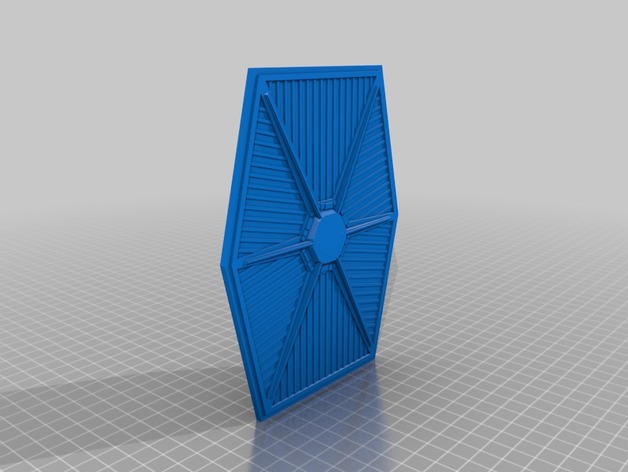
Legion scale Tie Fighter 3D Print Model
Summary
Legion scale (1:48) version of the Tie Interceptor version of the model by Astrofossil.
Please note that this is set up as non-derivative so I cannot add it as a remix but he has given his ok to publish. This is an remix of https://www.thingiverse.com/thing:2256033 -
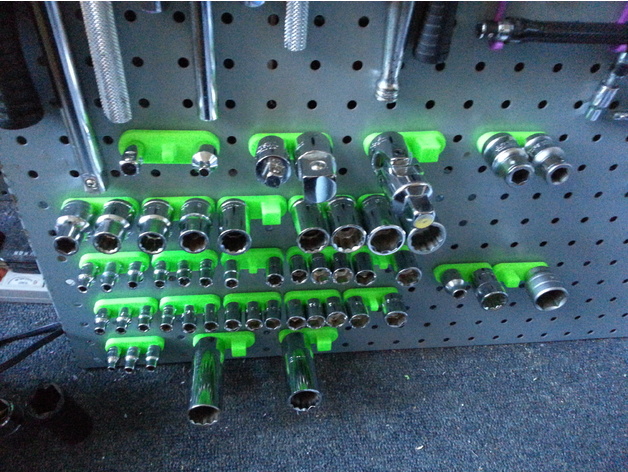
Pegboard Socket Holders 3D Print Model
Summary
Tired of all your socket sets being in a box and not on your pegboard and easily available?
Yeah… me too.
For STANDARD PEGBOARD (25.4mm / 1inch BETWEEN HOLES + 6mm holes)
Takes 1/4inch sockets, 3/8ths inch sockets and 1/2inch sockets.
Angled upwards for ease of supporting heavy sockets and to prevent those suckers falling off…
Enjoy.
Print Settings
Printer Brand:
Prusa
Printer:
Prusa Clone
Rafts:
Yes
Supports:
Yes
Resolution:
0.2 works fine for me.
Infill:
60% works fine for me.
Notes:
ALL my prints are in ABS because I only make actual working parts, not busts of Yoda…
My ABS was printed at 225degC with the bed at 45degC.
Raft typically takes out the imperfections in my print bed but print the ABS as you see fit and as works for you.
How I Designed This
Designed in Fusion360.
I find them very useful and easier to access than having them in a box have to root through every time I want to use them.
Fusion360 file included so you can see how the shape was created, which is often the best way to learn. -
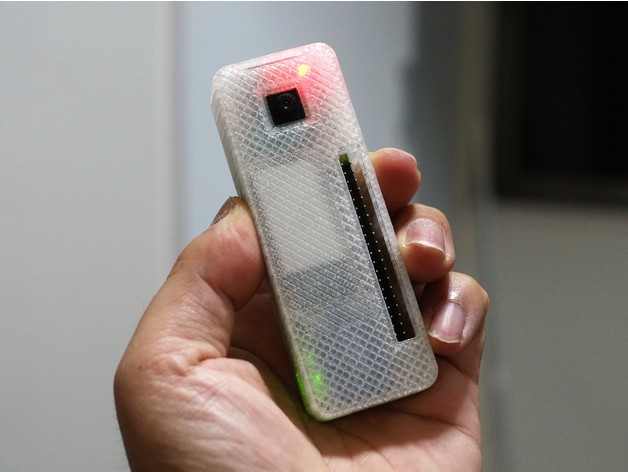
Pi Zero Cam 3D Print Model
Summary
batteru : https://amzn.to/2HlLKfH
Charger : https://amzn.to/2vAn2qi
Print Settings
Printer:
D-Bot CoreXY
Rafts:
Doesn’t Matter
Supports:
Doesn’t Matter
Resolution:
0.2mm
Infill:
25% -
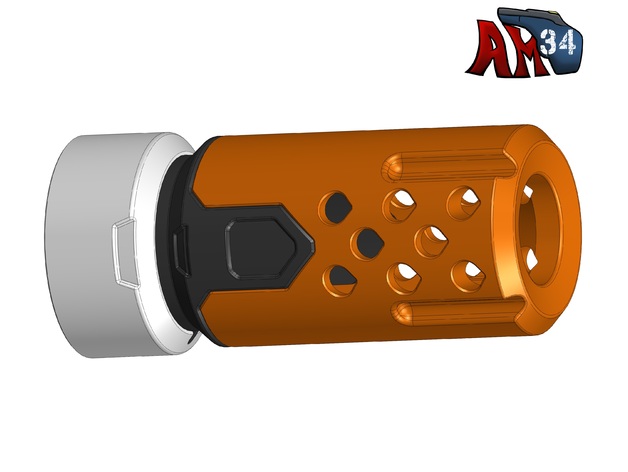
Nerf Barrel Attachment 3D Print Model
Summary
This is a custom 3D printable Nerf-compatible barrel attachment. It’s a 3-piece design so you can very easily customize the colors. All the parts need to be epoxied together. If anything doesn’t fit well, try scaling one or more of the parts by several percent to adjust the fitment. You’ll need to print my “locking ring” in addition to secure this to a Nerf Blaster (see below).
My hope is that people use this barrel attachment as an example of how to use my locking ring to make custom Nerf barrel attachments. All the hard stuff is in the locking ring which makes a custom barrel very easy to design & build. I hope to get people sharing more of their cool custom attachments to spread around the online community.
The “base” part needs to be printed with support, the “middle” and “top” parts do not need support.
In order to attach this to a Nerf blaster you’ll need to print a locking ring from here: https://www.thingiverse.com/thing:2910094
I’ve included the IGS files for most of the parts in case anyone wants to modify them, add features, etc so they can further customize this design. Just post anything you share as a remix so others can more easily find it.
This is my first Nerf-related donation to the free 3D printing pool. I have other cool designs I offer for sale on my Etsy Shop: https://www.etsy.com/shop/AM34Designs -
WilderRig-PopSinker 3D Print Model
Summary
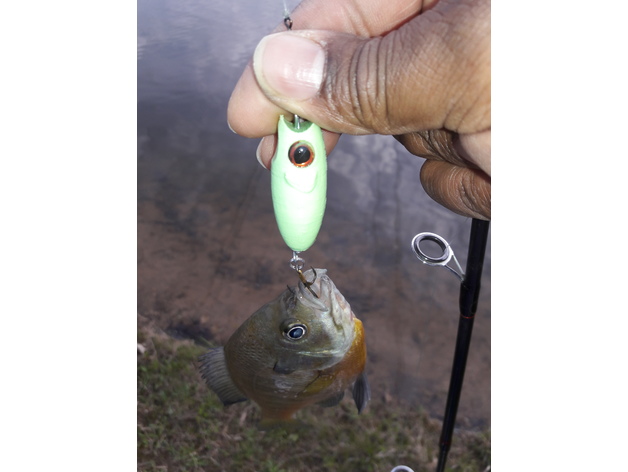
It got it name because it act as a POPPER and can dive with a steady retrieve and hold its depth rising slowly. Like the Mini-Bite with the treble hook dressed it moves though thin weeds very well.
I print with a 2 part file stopping at the point I want to drop the BB’s in, but you can use the one file, pause the print, add your weight and continue that’s up to you.
It has a through hole to either add your wire or line and hook if that’s your preference. It has an air chamber in the top half and a belly chamber for up to 3 BB’s. Depending on the amount of infill and BB’s you use will determined how it sinks/floats.
I use different color PLA and a Sharpie maker to give it some life and as you can see in Pics it at-least fools the fish.
Good Luck and “GO GET SOME FISH!!!”
Print Settings
Printer Brand:
Creality
Printer:
CR-10
Rafts:
No
Supports:
No
Resolution:
0.2
Infill:
10 to 15%
Notes:
I go at least 4 to 5 top and bottom for durability with 2 to 3 shells. Eyes socket size I think are 8mm x8mm. -
Conair Hair Dryer Nozzle Adapter 3D Print Model
Summary
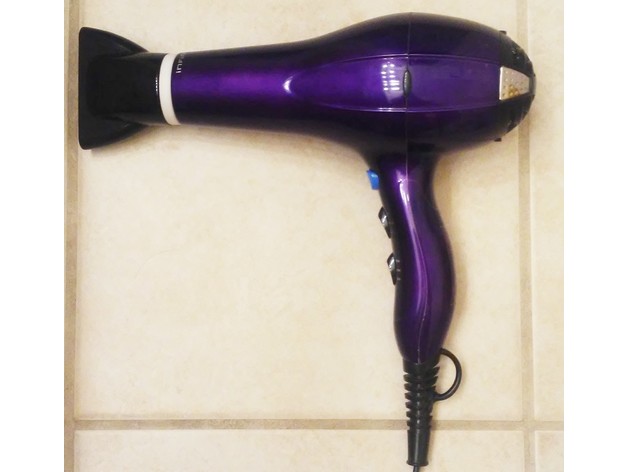
The nozzle for my Conair Infinity Pro hair dryer has 2 broken tabs. With only one holding tab and 3 other non-holding tabs left, the nozzle does not stay on to the dryer. This adapter fits snugly with the original nozzle and the hair dryer without having to glue it for me. It is printed with the ABS and recommended with other high temp filaments only. The print time for the 0.2 mm layer height, 30% infill will take about 30~60 min, depending on your speed settings.
Print Settings
Printer Brand:
TEVO
Printer:
Tarantula
Rafts:
No
Supports:
No
Resolution:
0.2
Infill:
30%
Notes:
Rotate 90 degree and print with the tabs on top. Due to the hair dryer’s high temperature, it is recommended using only with the ABS and other high temperature filaments. -
MK3 style X-motor end for MK2(S) 3D Print Model
Summary
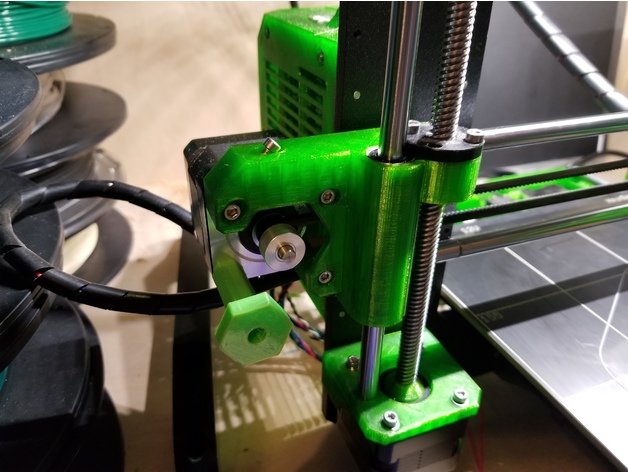
Added the mount for the endstop onto the MK3 X-motor end to fit MK2(S)
Use MK3 X-idler end in conjunction with this design.
Helps alleviate belt rubbing, twisting at the idler end AND easier belt tension adjustment.
You will need (4) 3x18mm for the trapezoidal nuts as the mounts are thicker. -
Winter Soldier Combat Mask 3D Print Model
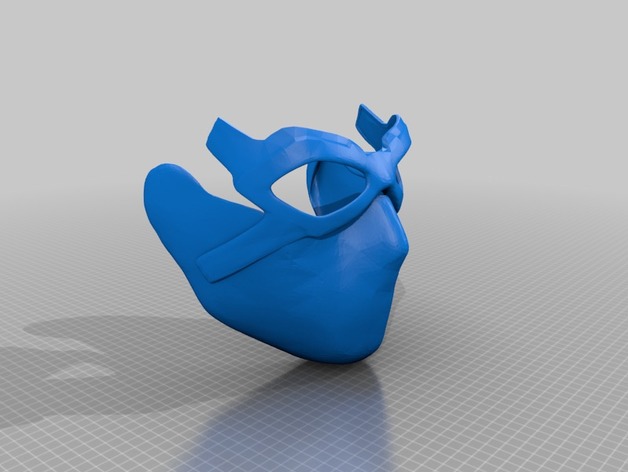
Summary
This Thing is a break apart of the Winter Soldier mask by Jace1969 to fit on my print bed. I broke each part (mask and goggles) into half and then half again. -
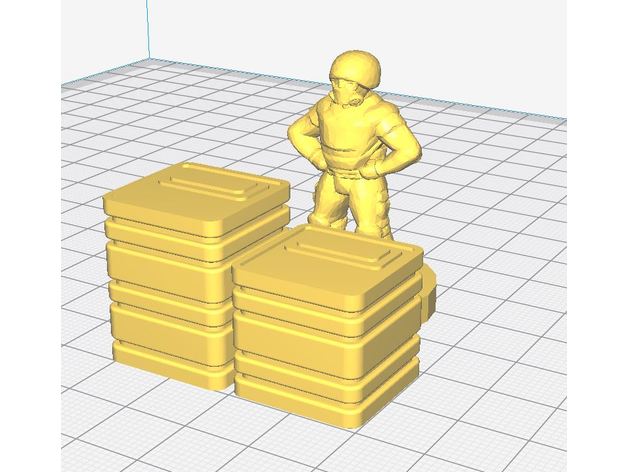
Star Wars Legion Terrain – Lothal Merchant Crates (Rebels) 3D Print Model
Summary
Two different sized crates based on those seen on Lothal in the TV series Star Wars Rebels. Not entirely sure what they’re for, but they were in the market scenes on Lothal, hence the name “Lothal Merchant Crate”. Multiple crates can be combined to create a makeshift barricades or just for scenery, and the larger crate can be oriented vertically or horizontally to offer heavy cover to trooper units (I think).
The miniature used for scale IS NOT MINE, all credit for the trooper model goes to sablebadger, who remixed dutchmogul’s model to make it legion compatable.
Star Wars Legion – Scale Model Dummy (sablebadger): https://www.thingiverse.com/thing:2859230
Sgt. Scalesby, the Miniature Scaling Dummy (ducthmogul): https://www.thingiverse.com/thing:1465372
Comments are encouraged, and I ask that you please post your makes (in action on the tabletop if possible).
Print Settings
Printer Brand:
Creality
Printer:
CR-10
Rafts:
No
Supports:
No
Resolution:
0.12mm
Infill:
10
Notes:
The design is optimized for a 0.40mm or 0.20mm nozzle, and 0.12mm layer height.
I also recommend using 4+ top layers to reduce gaps in the top surface. -
Filament Spool axis adapter 3D Print Model
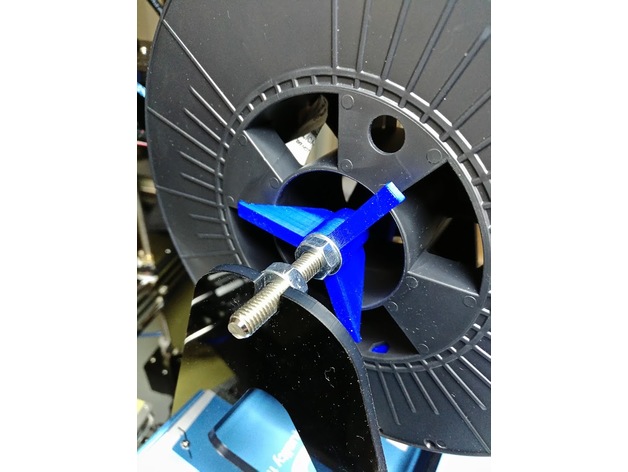
Summary
Filament spool adapter for M8 type axis.
The part is optimized, it consume only 2m of 1.75 filament.
The adapters must be tight against the spool using the nuts and washers on the shaft. The axis rotates with the roller on the support.
The Solidworks file is provided to enable customization.
Print Settings
Printer:
ANET A8
Rafts:
No
Supports:
No
Resolution:
0.2mm
Infill:
20%
Notes:
Consumed: 1910mm of 1.75 PLA
Print time: 20 min -
Compact 90 straight and cross for 15×15/OpenBeam/Makerbeam XL 3D Print Model
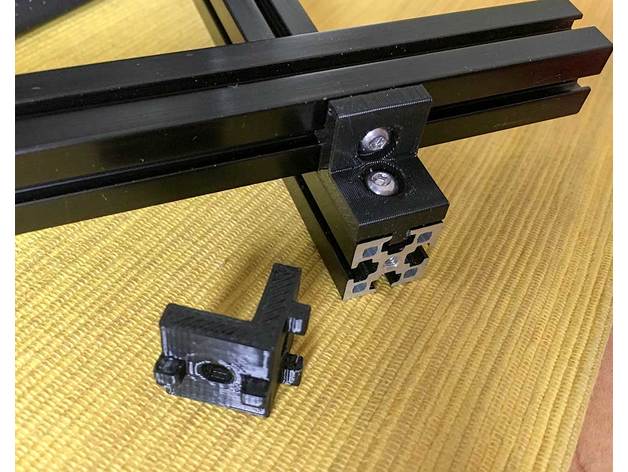
Summary
This is a compact 90 degree brace for Openbeam/Makerbeam XL 15×15 extrusion. There are two versions – one is a straight 90, the other is a very handy 90 degree rotated variant so you can do crossovers. The crossover version is pictured in the as-built photo.
A couple of things make this design different than the numerous other corner braces out there. This one has channel grooves to keep the part stable, which makes for a really nice, sturdy brace. I also did countersunk holes to make for a nice clean installation.
You do need to print this with supports but cleanup isn’t bad.
Print Settings
Printer Brand:
LulzBot
Printer:
Mini
Rafts:
No
Supports:
Yes
Resolution:
Any. I did 0.3mm
Infill:
20%
Notes:
Supports are required. Rotate the part so it sits flat. -
Wemos D1 Box (reminder Box) 3D Print Model
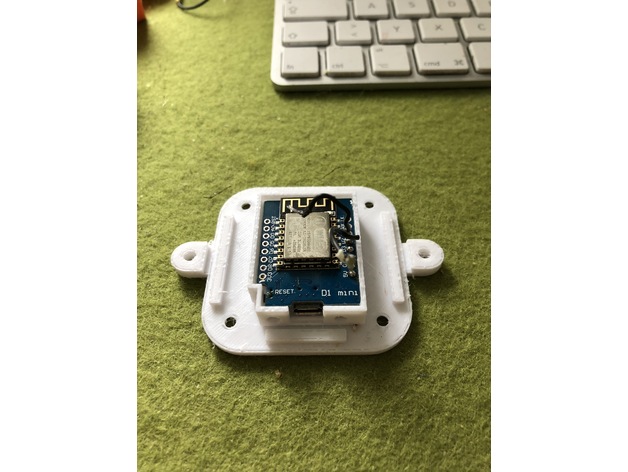
Summary
I made 2 fittings for screws for my Reminder box, made by Andreas.
Additionally i made a better fitting for the wemos D1, see photos.
Made with PETG – Filament from eSun: https://amzn.to/2wCj297
I am using this box for my BME 680 Sensor:Fhem: Air-Qualitysensor BME 680 – Temperatur – Luftfeuchte – Luftdruck über MQTT getestet
Print Settings
Printer Brand:
Ultimaker
Printer:
Ultimaker 2
Rafts:
Yes
Supports:
No
Resolution:
0.4
Infill:
100% -
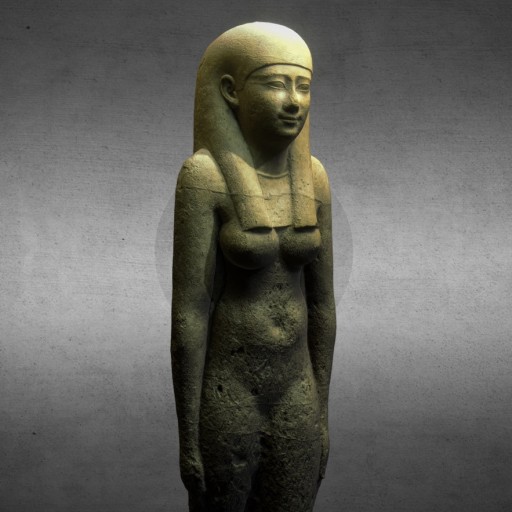
Ptolemaic statue of a woman Free 3D Model
Ptolemaic statue of a woman, unknown source, Ptolemaic period, 3rd or 2nd century BCE, limestone. Musee du Cinquantenaire (Brussels, Belgium). Made with CapturingReality.
-
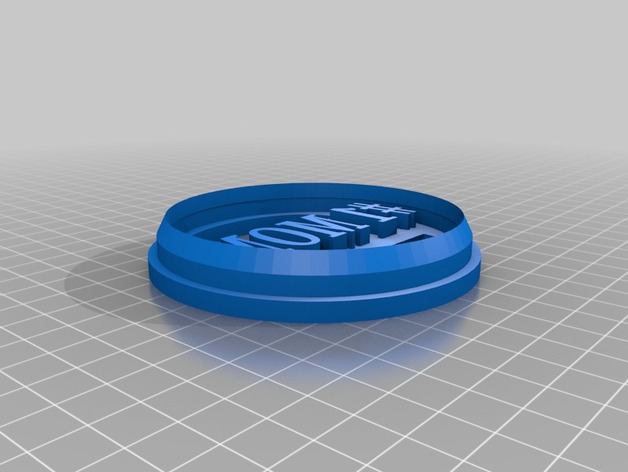
#1 Mom Cookie Cutter 3D Print Model
Summary
Make your mother happy with a sweet gift – a Mother’s Day cookie in her honor! Using regular sugar cookie dough, roll it out to about 1/2 inch, then use this cutter to cut out. Two similar designs. Enjoy!
Print Settings
Printer:
Monoprice Maker Select V2
Rafts:
Doesn’t Matter
Supports:
No
Infill:
20-30% is adequate
Notes:
Should use food-safe filament, and wash well and de-burr to remove any tiny loose filament. Remember that if you’re using regular PLA, hand wash in soapy water, not too hot, and do NOT wash in a dishwasher that uses hot water, heats water, or has a heated dry setting. I use MakerGeeks Raptor PLA and PETG for cookie cutters (can use ABS, but I don’t print with it at all). -
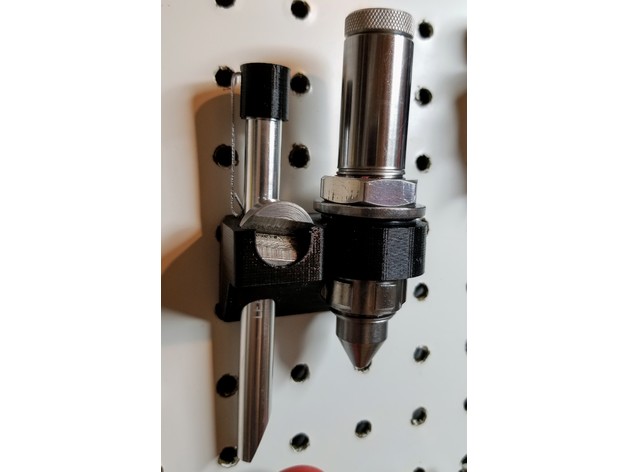
Lee Hardness Tester Peg Board Holder 3D Print Model
Summary
I customized https://www.thingiverse.com/thing:537516 to create a pegboard holder for the Lee Precision Hardness Tester.
Also included is a lens cap for the microscope.
The opening for the pressure die is sized for a Hornady Lock-N-Load die bushing, but it should work without the die bushing (though it will be loose).
If anybody is interested in the OpenSCAD files I will post them here.
Lee Precision Hardness Tester: https://amzn.to/2KWLRjT
Hornady Lock-N-Load Bushings:https://amzn.to/2HBnVRS (10)https://amzn.to/2qAi7Qe (3)https://amzn.to/2GZ7AcC (2)
Print Settings
Printer:
i3 “dolly” clone
Rafts:
Doesn’t Matter
Supports:
Doesn’t Matter
Resolution:
.2mm
Infill:
20%
Notes:
I usually print these successfully without supports, brim, or rafts. -
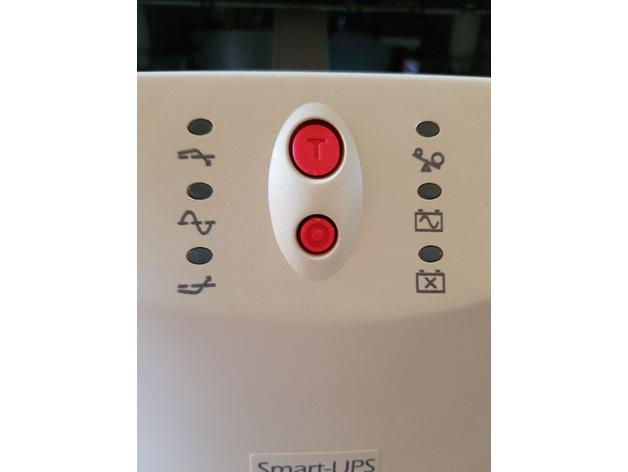
APC UPS Button Assembly 3D Print Model
Summary
This is a replacement off/on/test button for APC UPS units.
You need to print the STL which contains two parts. Install them into the front panel of the UPS back to back and reinstall the PCB. -
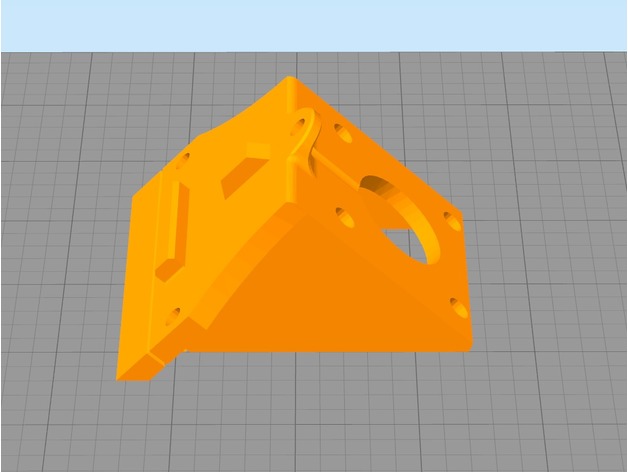
TronXY X3 Z Axis Motor 3D Print Model
Summary
the first time i built my printer, i hated how much unnecessary time i spent puting the Z motors.. everything was loose or not in perfect alignment. Then i found Lexa’s one and i loved it, except for one thing.. i had to screw the piece first and then the motor, which for me, was troublesome or unconfortable, so I created this piece which has the scew holes outside, so.. if you t-nut wasnt placed correctly you can fix it without too much trouble.
TL;DR; the screw holes are outside from the motor case so you can put the motor or the screws in whatever order you want.
YOU WILL NEED:
3x m4 screws (i used only the 2 from the original ones, one on top and one on the side)
3x m4 nuts (t-nut or else)
Print Settings
Printer:
Ttronxy x3
Rafts:
Doesn’t Matter
Supports:
No
Resolution:
0.2
Infill:
20%
Notes:
im so sorry, but the ideal print way is as in the first picture and, ideally, with a fan, since i kept modifying the file, i found it was better to just fix the position in the slicer rather than in Fusion 360 -
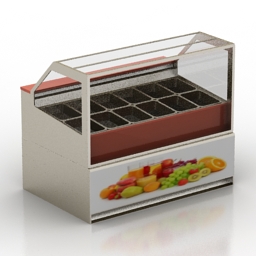
Refrigerator 3D Model
Additional Info: Refrigerator 2 – 3D model (*.gsm+*.3ds) for interior 3d visualization.
-
Interior for C4D + Corona Renderer (Windows only)
Sample interior scene for CINEMA 4D R16/17 (all editions).
Requires Corona Renderer (Windows only now, Mac OS X coming later) -
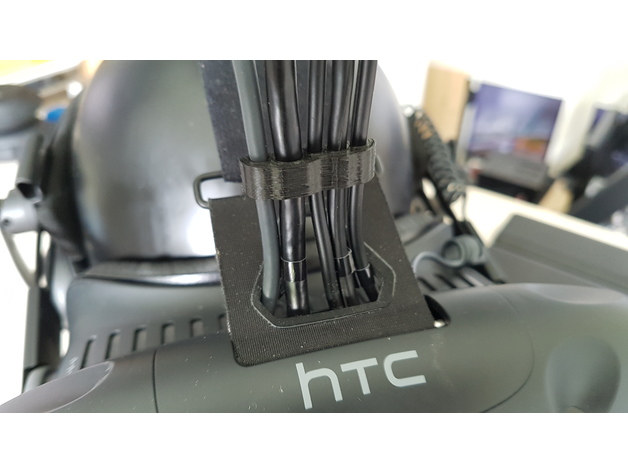
HTC VIVE – TPCAST CABLE CLIP FRONT 3D Print Model
Summary
I wanted to arrange all front cables used by TPCAST on my vive. Now they are all alligned and do fit perfectedly. Also no further risk of connection lost.
Print Settings
Printer:
Anycubic I3 Mega
Rafts:
No
Supports:
No
Resolution:
0.2
Notes:
PLA, ~ 8 minutes print time -
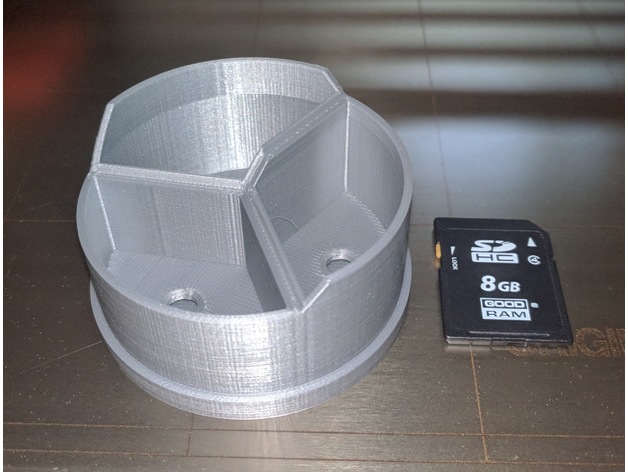
Tripple Succ 3D Print Model
Summary
This is my first succulent planter that I’ve made. Not sure why the model is on it’s side, but just rotate it in your slicer.
The modele is really big so I recommend scaling it down to ~50% but YMMV. Mine pictured above was at 30% and I’d say that’s too small.
I tried to implement a base and water holes for healthier plants. I also added a circular riser so it can actually drain.
Feel free to remix or whatever.
Happy printing!
Print Settings
Printer Brand:
MK3
Printer:
Prusa i3
Rafts:
No
Supports:
No
Resolution:
1.5
Infill:
15
Notes:
Infill doesn’t need to be high. Scale down the model, you will see how large it is if you actually try to print. If you do print, post a pic and what scale/resolution you printed at! -
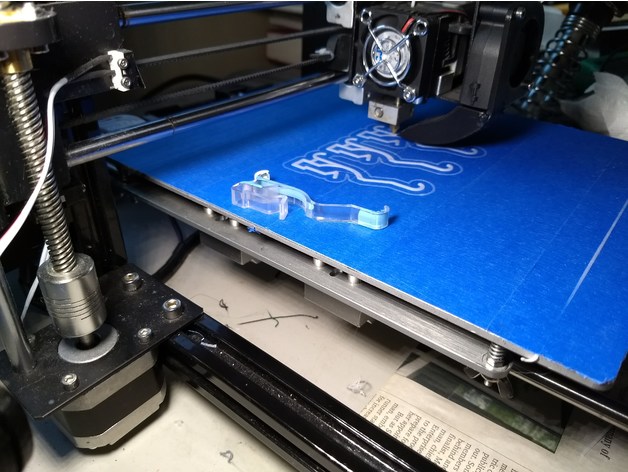
Valance Clip 3D Print Model
Summary
This is a valance clip I made to replace one we broke adjusting the blinds. -
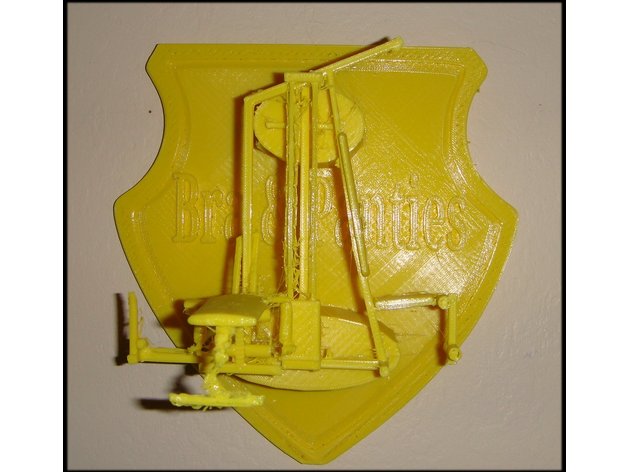
Exercise Gym Bra and Panties hook 3D Print Model
Summary
As far back as I can remember, every girlfriend I’ve ever had has had the habit of hanging their bras and panties on my exercise equipment. When I complained about it, they would always say something like “Well, you never use it!”.
Anyway, so I got this idea: Why not make a bra and panties hook that looks like exercise equipment? I mean it just seems like women would naturally gravitate towards using it for that express purpose.
Print Settings
Printer Brand:
Robo 3D
Printer:
C2 R2
Rafts:
No
Supports:
Yes
Resolution:
Fast (0.2mm)
Infill:
15%
Notes:
This thing needs a lot of support material so you might want to set your support density to 5 to 10% for easier clean-up.
Post-Printing
Mounting on the wall
Just hang it on the wall using the mounting hole in the back.
How I Designed This
Credit goes to….
I got the exercise gym model here:
https://free3d.com/3d-model/big-gym-1571.html
The wall mount I got here:
https://www.thingiverse.com/thing:387890
Thanks Geoffro
I put them all together with TinkerCAD -
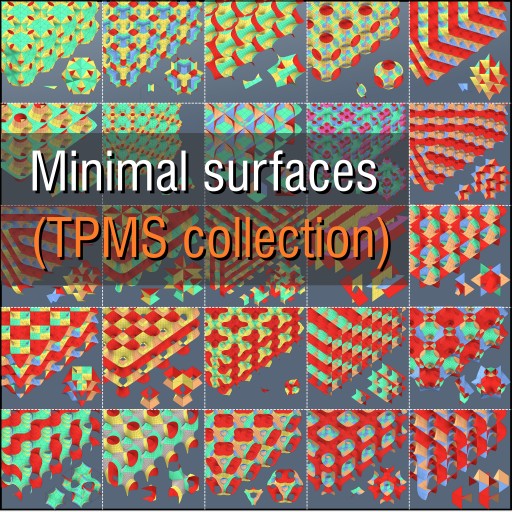
MINIMAL SURFACES (TPMS collection) Free 3D Model
MINIMAL SURFACES
Triply periodic minimal balance surfaces (TPMS)
Collection by 1D_Inc (lowpoly representation) -

TISSUE: PATCH Free 3D Model
Collection of patterns by 1D_Inc (CC0 license) 05.2018
222 unique patterns are inscribed into rectangles to be used with different deformers/generators like shown in video
-
Esqueleto 3D Print Model
Summary
Esqueleto miniatura, ideal llavero, espejo del auto, etc.
Print Settings
Printer Brand:
RepRap
Printer:
Prusa I3 Rework
Rafts:
No
Supports:
No -
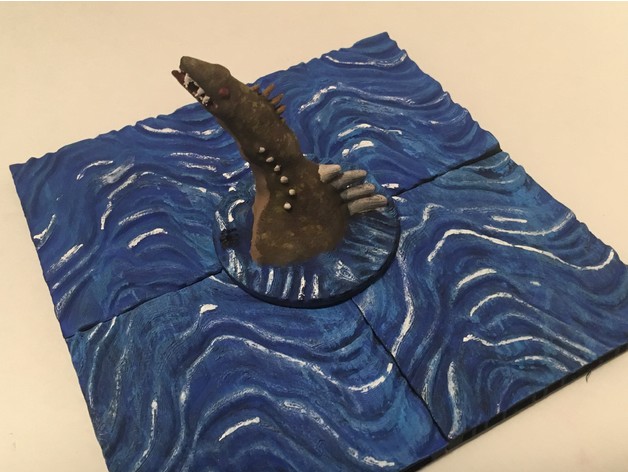
Spinosaurus Emerging from Sea 3D Print Model
Summary
The large Spinosaur dinosaur emerges from the sea after eating his share of fish and looking for other prey. His left claws are just starting to show.
Spinosaurus was among the largest of all known carnivorous dinosaurs, nearly as large as or even larger than Tyrannosaurus or the less familiar Giganotosaurus. Scientists believe it lived on land and in the sea eating both aquatic and terrestrial prey. Best known for his sail fins and arms similar to the Tyrannosaurus with sharp claws.
Piece is designed to be placed in a sea campaign as if emerging to attack or discover your players.
The sea surrounding the dinosaur can be found here for printing.https://www.thingiverse.com/thing:2902642
Print Settings
Printer Brand:
PowerSpec
Printer:
PowerSpec 3D Pro
Rafts:
No
Supports:
No
Resolution:
0.2
Infill:
15% -
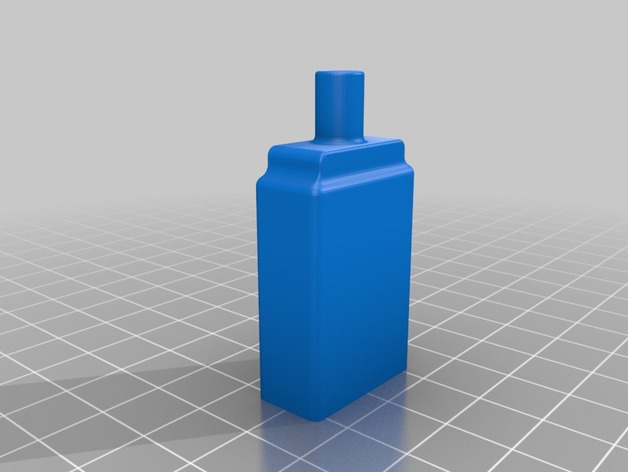
2 Vape Pen Holder 3D Print Model
Summary
When 1 vape just is not enough. Mix flavors get baked! 3 pen holder coming soon. -
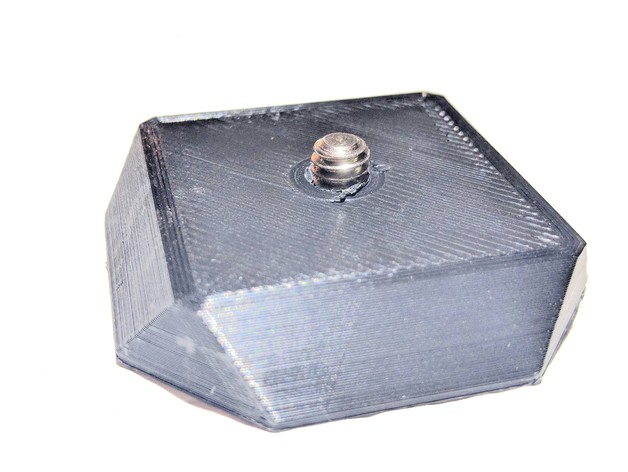
SLIK 618-330 Tripod Plate – Parametric 3D Print Model
Summary
I designed this plate for my SLIK PRO 340DX Tripod with a SLIK SH-705E 3-way head.
The part number is: SLIK 618-330
Print Settings
Printer Brand:
3D Systems
Printer:
Cube 3
Rafts:
No
Supports:
Yes -
Parametric 4-post mounting plate for symmetrical circuit boards 3D Print Model
Summary
I’ve made enough 1-off designs for specific boards to motivate me into designing a fully parametric mounting plate. The included .stl file is for a Raspberry Pi with 6mm magnets as the mounting method, but you could use screws or glue just as well. The .f3d file can quickly generate similar mounting plates for other symmetrical 4-mounting-point circuit boards.
Print Settings
Printer:
creality cr-10
Rafts:
Doesn’t Matter
Supports:
No
Resolution:
.16
Infill:
25%
Notes:
MakerGeeks pro-HTPLA, 235C.
Post-Printing
The example print uses CA glue to secure 6mm magnets as the mounting method. -
Picture 3D Model
Additional Info: Picture 4f – 3D model (*.gsm+*.3ds) for interior 3d visualization.
-
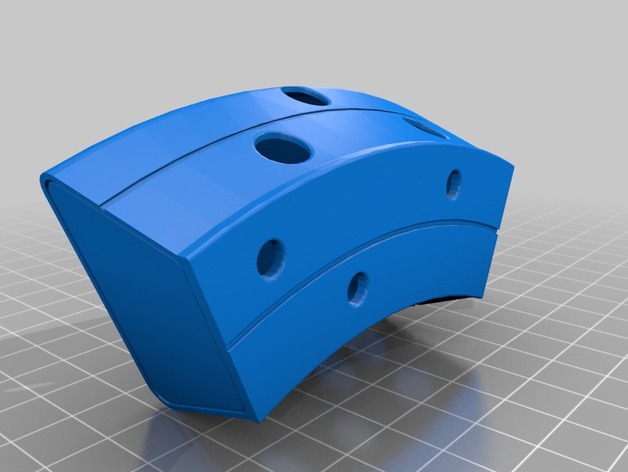
ITEM-THING W/ HOLES 3D Print Model
Summary
ITEM-THING W/ HOLES
Print Settings
Printer:
MP SELECT MINI
Rafts:
Doesn’t Matter
Supports:
Yes
Resolution:
0.001
Infill:
NOHow I Designed This
IDK PLUS AUTOCAD -
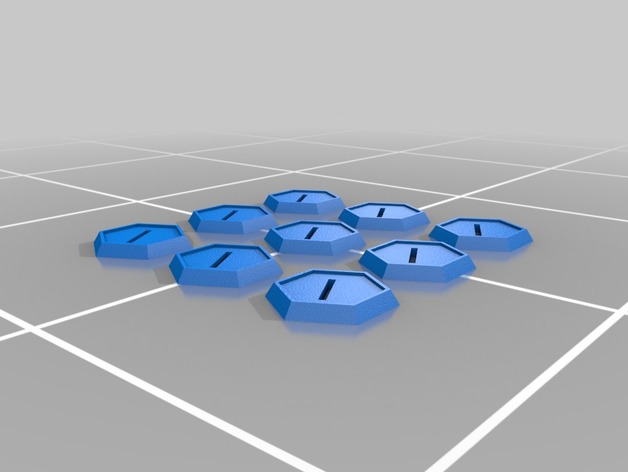
customisable miniature base plate 3D Print Model
Summary
customisable miniature base.
option to include an indentation as well as a slot.
parameters to print multiple copies too. -
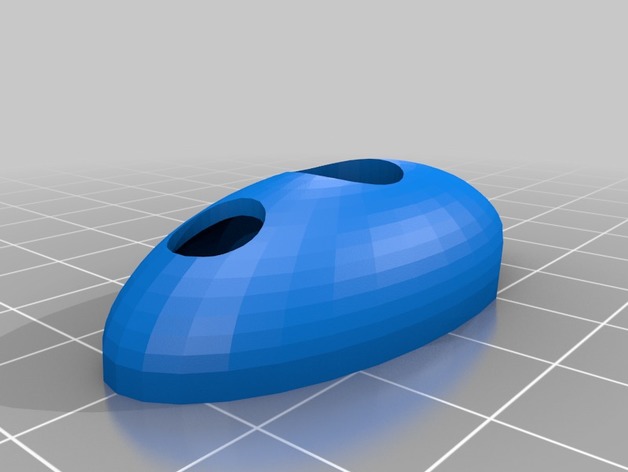
Kayak Bungee cord clip 3D Print Model
Summary
This is a model similar to the bungee clips (not sure what they are really called, feel free to correct me) that come on my sundolphin kayak.
Included models with and without supports.