Summary
I always have my earbuds laying around on my desk. I use them for work, to listen to music, for movies, games, etc. I like to keep things organized, so I roll them around my hand and try to keep them in one place on my desk. It doesn’t work well. I need to figure out how to store these things better (and I am not that fond of the cases that hold the earbuds here on Thingiverse… no offense, I just want something more permanent than a case.
I recently bought a phone/tablet stand on Amazon, and I noticed that I keep hanging my buds off that to keep them off the desk. The problem is that I then have to remove them to put my tablet or phone on the stand, and I have that problem with the earbuds laying around on the desk again. So, I took a look at the stand and realized that I could build a custom hanger on the back to hold my earbuds. Perfect!
I printed the Body first (less than an hour), got it to fit perfectly to my stand, then printed the support (7 minutes). Then, I promptly welded the support to the body… on the bottom instead of the top. Oops. I printed another support (another 7 minutes), and then welded that one on as well, and it worked out even better.
I’ve attached all of the files, including one that shows the final build. I’m fairly new to 3DP, so let me know if I did something wrong and I’ll try to fix it.
Enjoy!
Print Settings
Printer Brand:
FlashForge
Printer:
Creator Pro
Rafts:
Doesn’t Matter
Supports:
Doesn’t Matter
Resolution:
.2 mm
Infill:
15%
Notes:
There are several .stl files, each with a variation to give you options on how to print.
I printed each piece independently with the following files:
EarbudBody.stl and
EarbudSupport.stl
You can also print the pieces all together in one print (one support only):
Earbud Hanger-All.stl
Earbud Hanger-All-rotated.stl
You can also print the entire model pre-assembled (but you’ll need supports):
EarbudHanger.stl
Post-Printing
Attaching the support to the body
If you print the pieces individually, you can permanently bind them using a Q-Tip and a bit of acetone. A drop on the bottom of the support is all you need to weld the pieces together. It’s very strong.
You may need to file the groove a bit to make it fit perfectly, and I got mine to fit exactly into the slot in my tablet/phone stand.
How I Designed This
Custom pieces: this is why I own a 3D printer
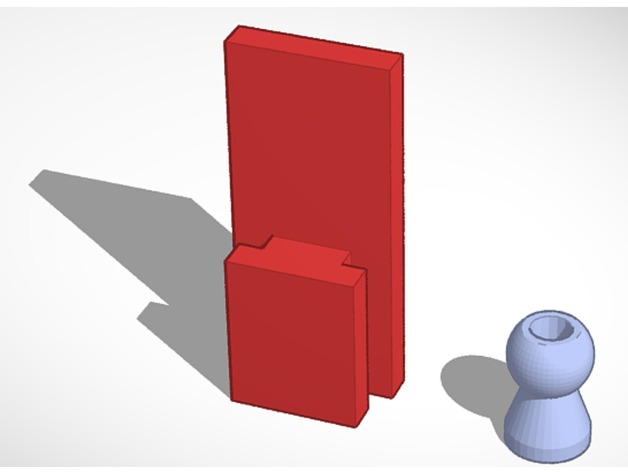
I created the .stl on Tinkercad, saved various different configurations of it, and printed it up. I found out that it fit nearly perfectly, and just needed a bit of post-print smoothing and filing to make it fit like a glove.
Tinkercad layout of the holder