Category: Free 3D Models

Free 3D models ready to be used in your CG projects such as films, visualizations, games, VR etc. All 3D Models and Free 3D Print Models are available for download in several formats including .MAX, .STL, .FBX, .3DS, .C4D, .OBJ, .BLEND, .DWG, .DXF, .LWO and much more. If you’re in search of high-quality Free 3D assets, we have a huge library of 3d models for all your needs. Also you can visit 3D Models and 3D Print Models category.

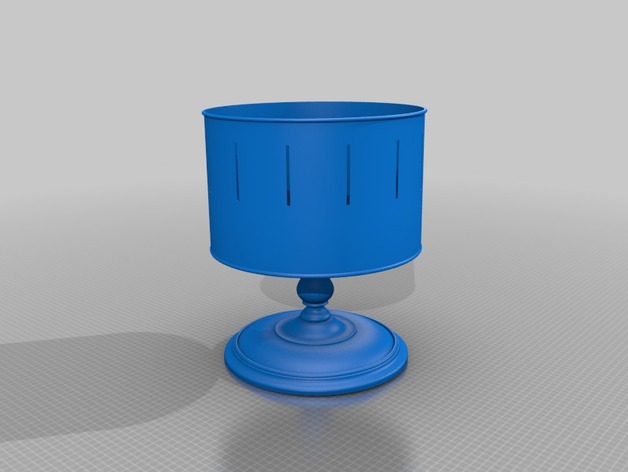
  • Zootrope du 19ième siècle – Activité éducative 3D Print Model

    Zootrope du 19ième siècle – Activité éducative 3D Print Model

    Summary
    Le zootrope est l’un des premiers instruments d’animation. Il a ravi les enfants et les adultes à la fin du 19e siècle. La présente activité permettra aux élèves de construire leur propre zootrope et de créer leur propre bande d’images pour zootrope.

    Overview and Background
    Objectifs d’apprentissage
    Cette activité permettra aux élèves de :
    i) Apprendre comment un zootrope crée une impression de mouvement au moyen d’une série d’images fixes;
    ii) Donner libre cours à leur imagination afin de créer une bande pour zootrope.
    Informations supplémentaires
    Le zootrope est l’un des premiers instruments d’animation. Inventé en 1834 par William George Horner, il a d’abord été appelé « daedalum » ou « roue du diable ». Il n’est devenu vraiment populaire que vers 1867, lorsque William F. Lincoln, aux États Unis, et Milton Bradley, en Angleterre, l’ont redécouvert et fait breveter. C’est Lincoln qui l’a nommé « zootrope » ou « roue de la vie ». L’invention d’appareils d’animation plus perfectionnés, comme le praxinoscope, et l’avènement du cinéma et de la télévision ont entraîné un important déclin de l’intérêt pour le zootrope. Aujourd’hui, on trouve rarement des zootropes dans les foyers, bien que certains artistes et animateurs-graphistes continuent d’en utiliser.
    Remarque : L’image 3D originale de l’artefact porte le nom « zootrope-artefact.stl ». Le zootrope est conçu pour être visualisé dans un environnement virtuel au moyen d’un logiciel. Vous pouvez tenter de l’imprimer. Toutefois, nous ne pouvons garantir la qualité de l’impression. Nous avons modifié le modèle afin de le rendre plus facile à utiliser (« zootrope-base-modifié.stl » et « zootrope-support-modifié.stl »). Vous utiliserez ces fichiers dans cette activité.
    Pour un complément d’information et des autres activités éducatives sur les zootropes, visitez le sitehttps://ingeniumcanada.org/ingenium/musees/educatif/zootrope-3D.php
    Vous trouverez nos conditions d’utilisation à l’adresse https://ingeniumcanada.org/ingenium/doc/content/cstmc/CSTMC%20terms%20of%20use%203D%20FR.pdf
    Lesson Plan and Activity
    Bande d’images pour zootrope
    Pour cette activité vous utiliserez les modèles que vous pouvez trouver sur cette page. Le modèle que vous choisirez dépend de l’âge des élèves. Dans le cas des élèves les plus jeunes, vous pouvez utiliser le modèle de bande avec images, sur lequel les élèves n’ont qu’à ajouter la bouche à un visage. Nous avons inclus un exemple de ce qui peut être dessiné. Dans le cas des élèves les plus âgés, vous pouvez utiliser le modèle de bande vierge sur lequel les élèves peuvent dessiner les images qu’ils veulent.
    1) Demandez aux élèves de planifier ce qu’ils veulent dessiner dans chacune des sections de la bande. Il peut être utile de leur faire esquisser les idées qu’ils ont en tête sur du papier brouillon avant de faire des dessins sur la bande. Vous pouvez leur donner les conseils généraux suivants :
    i. Optez pour la simplicité.
    ii. Commencez et terminez la bande avec des dessins semblables, pour que la séquence d’images soit continue lorsque le zootrope tournera (c’est ce qu’on appelle une « animation en boucle »).
    2) En suivant les lignes pointillées, découpez le modèle de bande vierge ou avec le
    modèle de bande avec images.
    3) Demandez aux élèves de dessiner la séquence d’images qu’ils ont planifiée sur leur bande d’image. Si vous utilisez le modèle de bande vierge, laissez environ 1,2 cm d’espace au bas pour que la base ne perturbe pas l’animation.
    4) Pour utiliser ces nouvelles bandes, les élèves vont devoir fabriquer un zootrope en suivant les instructions ci-dessous.
    Fabrication d’un zootrope
    Pour cette activité, les noms suivants seront utilisés (Image 1 dans l’écran de visionnement).
    Fabrication du tambour
    1) En suivant les lignes pointillées du modèle, découpez l’un des tambours de zootrope. Si votre imprimante ne permet pas d’impression bord à bord, prolongez le haut et le bas du tambour pour que les bords du papier soient les bords du tambour (comme on le voit dans le document en format PDF).
    2) Formez un cylindre en fixant un côté du tambour à l’autre côté. Pour obtenir le meilleur résultat possible, faites chevaucher les bords sur environ 2 mm.
    Fabrication des bandes d’images
    1) Transformez la bande en cylindre en fixant une extrémité à l’autre extrémité. La section en gris à une extrémité d’une bande peut chevaucher l’autre extrémité. Si votre imprimante ne peut faire d’impression bord à bord, utilisez la marge du papier pour remplacer la section en gris.
    Fabrication du zootrope
    1) Placez le stylo dans le support. Assurez-vous que le stylo pointe vers le haut et que la pointe dépasse d’au moins 4 cm le sommet du support (Image 2 dans l’écran de visionnement).
    2) Insérez le bas du tambour dans les rainures aux extrémités des bras de la base (Image 3 dans l’écran de visionnement).
    3) Placez la bande cylindrique à l’intérieur du tambour. Pour obtenir de meilleurs résultats, assurez-vous que chaque image se trouve directement en face d’une fente du tambour (Image 4 dans l’écran de visionnement).
    4) Insérez l’ensemble formé de la base, du tambour et de la bande sur le support avec stylo.
    5) Le zootrope est prêt à être utilisé (Image 5 dans l’écran de visionnement).
    L’animation que le zootrope produit repose sur la « persistance de la
    vision ». Ce phénomène est le suivant : quand on cesse de regarder un objet, le cerveau en conserve l’image pendant environ 1/30 de seconde. Lorsqu’on regarde une image à travers les fentes d’un zootrope, le cerveau retient cette image jusqu’à l’apparition de l’image suivante, ce qui donne l’impression que la première image se « déplace » jusqu’à l’image suivante. Les fentes sont importantes, car elles limitent le temps d’observation de chaque image. Sans elles, les images en rotation deviendraient floues.
    Materials Needed
    1 – Ensemble tridimensionnel de parties du zootrope (« zootrope-base-modifié.stl » et « zootrope-support-modifié.stl »)
    1 – Modèle imprimé de tambour de zootrope^
    1 – Ciseaux
    1 – Imprimé d’un modèle de bande vierge ou d’un modèle de bande avec images^
    1 – Ruban adhésif
    1 – Stylo (les stylos BIC ® fonctionnent bien)
    Crayons, craies de cire (ou autres fournitures pour dessiner)
    ^ Remarque : Imprimez le modèle de tambour sur un carton de format tabloïd (279 mm x 432 mm ou 11 po x 17 po). Imprimez les autres modèles sur une feuille de format tabloïd. N’imprimez pas à l’échelle du papier : assurez-vous que l’impression est à une échelle de 100 %. Si possible, faites en sorte que les modèles soient imprimées bord à bord.
  • 15W Stereo Amplifier Case 3D Print Model

    15W Stereo Amplifier Case 3D Print Model

    Summary
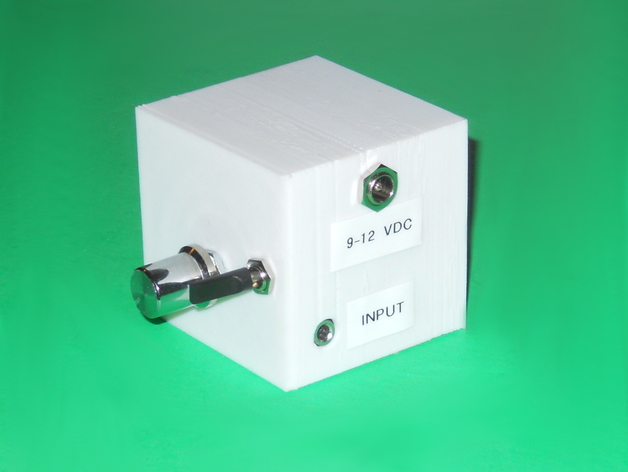
    This is a case to a 15W audio amplifier board that can be found on eBay, AliExpress, … such as https://www.aliexpress.com/store/product/Hot-Sale-1pc-TDA7297-Version-B-2-15W-Digital-For-Audio-Amplifier-Board-Dual-Channel-AC/1959068_32666077241.html?spm=2114.12010615.0.0.7a894502EdjFEn . I use this amplifier for an Asus Tinker Board.
    You will also need a mini toggle switch, a barrel power jack and a 1/8″ stereo jack and some 22 gauge wire. The hole for the power jack is 8.25 mm. The hole for the audio jack is 6.25 mm.
    The board is held in the case with one 8 mm, M3 screw on the front. Since the screws in the back are difficult to reach, using 20 mm, M3 screws help. Then with tweezers, it is possible to put the nut on top of the screw. The heads of the screws are on the bottom of the case.

  • Ikea Trådfri Motion Sensor Corner Mount 3D Print Model

    Ikea Trådfri Motion Sensor Corner Mount 3D Print Model

    Summary
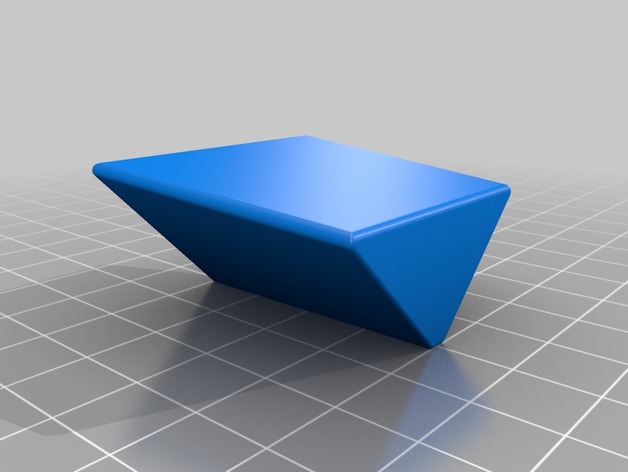
    Ikea Trådfri Motion Sensor Corner Mount
    This is a simple wall edge/corner mount for the Ikea Trådfri Motion sensor.
    I recommend using double-sided adhesive tape for mounting on the wall as well as attaching the motion sensor plate.
    There’s two versions – a regular version and a version with a 5° skew in case you want to hang it at an angle.

  • Marblevator, Mechanisms 3D Print Model

    Marblevator, Mechanisms 3D Print Model

    Summary
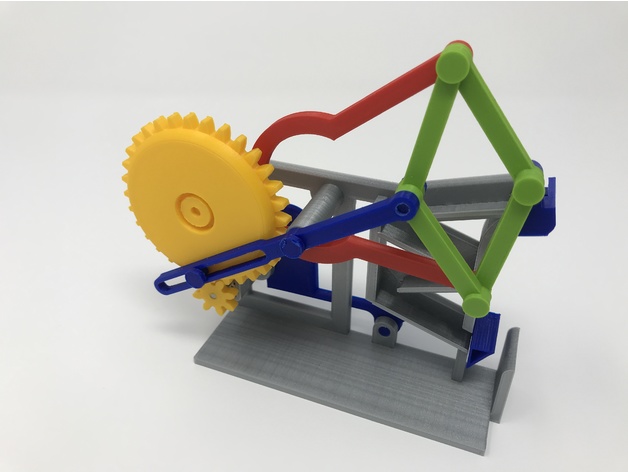
    “Marblevator, Mechanisms” is the latest in my Marblevator series of marble machines. My fascination with gears, mechanisms, marble machines and history formed my inspiration for this model.
    A video of Marblevator, Mechanisms in action is here: https://www.youtube.com/watch?v=bl2-R0jftvw.
    The model incorporates two antique mechanisms; a “Peaucellier–Lipkin” straight line mechanism (vintage 1864), and a “Whitworth” quick return mechanism (vintage 1800’s) that, when combined as they are in this design, provide a straight line slow ascent, and a straight line rapid descent. In this model, these combined functions are use to slowly raise a bucket containing a marble (an 8mm ball bearing) to the top of a short, built in, track, dump the marble onto the track, rapidly lower the bucket to pick up the marble at the bottom of the track, and then repeat the process.
    I’ve included a sketch illustrating the method I used to compute the bar lengths for the straight line mechanism. If you have any questions about the illustration leave a comment and I’ll do my best to answer.
    As usual, I probably forgot a file or two or who knows what else, so if you have any questions, please do not hesitate to ask as I do make mistakes in plenty.
    Designed using Autodesk Fusion 360, sliced using Cura 3.3.1 and printed in PLA on both an Ultimaker 2+ Extended and an Ultimaker 3 Extended.
    How I Printed and Assembled Marblevator, Mechanisms.
    Purchase, Print and Prepare the Parts.
    Marblevator, Mechanisms requires a 300 rpm gear motor (33x12mm 300RPM Metal Mini DC 6V Gearbox Gearwheel Motor Mini Reduce Speed Geared Electric Motor), a 1.5 vdc power supply, and an 8mm (3/8″) ball bearing.
    I printed “Bucket.stl” with .1mm layer height and 100% infill. I printed the remaining parts at .15mm layer height with 15% infill. I printed two “Bolt, 4.2mm shoulder.stl”, four “Bolt, 8.4mm shoulder.stl”, four “Arm, DB.stl” and one each of the remaining parts.
    Prior to starting assembly, test fit and trim, file, sand, etc. all parts as necessary for smooth movement of moving surfaces, and tight fit for non moving surfaces. Depending on the colors you chose and your printer settings, more or less trimming, filing and/or sanding may be required. Carefully file all edges that contacted the build plate to make absolutely sure that all build plate “ooze” is removed and that all edges are smooth. I used small jewelers files and plenty of patience to perform this step.
    Marblevator, Mechanisms uses threaded assembly, thus a tap and die set ((M4 by 0.7, M6 by 1) may be required for thread cleaning.
    Assemble the Upper Arm (Arm CD).

    Position the first “Arm, DB.stl” onto “Arm, CD.stl” as shown.

    Position the second “Arm, DB.stl” onto the first as shown.

    Secure the three arms together with the first “Bolt, 8.4mm shoulder.stl” as shown.

    This is the upper arm assembly.

    Assemble the Lower Arm (Arm CE).

    Position the third “Arm, DB.stl” onto “Arm, CE.stl” as shown.

    Position the fourth “Arm, DB.stl” onto the third as shown.

    Secure the three arms together with the second “Bolt, 8.4mm shoulder.stl”.

    This is the lower arm assembly.

    Assemble the Mechanisms.

    Position the upper and lower arms together as shown, then position “Bucket.stl” into position as shown and secure the bucket and arms together using the third “Bolt, 8.4mm shoulder.stl”

    Secure the remaining two arms together by positioning “Arm, Wheel.stl” as shown then secure the arms together using the fourth “Bolt, 8.4mm shoulder.stl as shown.

    This is the mechanism assembly.

    Attach the Mechanism Assembly to the Base.

    Position the mechanism assembly on “Base.stl” as shown.

    Position “Wheel, Geared (64 teeth).stl” as shown.

    Secure “Arm, Wheel Geared.stl” to the base with the first “Bolt, 4.2mm shoulder.stl”.

    Secure “Wheel, Geared (64 teeth).stl” using “Axle, Wheel Geared.stl”. The axle will travel through the center hole in the geared wheel, through the free hole in the lower arm assembly, throughout the free hole in the upper arm assembly, then into the threads in the base.

    Attach the Mechanisms to Wheel, Geared (64 Teeth).stl.

    Position “Arm, Wheel.stl” as shown then secure it to “Wheel, Geared (64 teeth).stl” using the second “Bolt, 4.2mm shoulder.stl”.

    At this point, “Wheel, Geared (64 teeth.stl)” should easily rotate and the mechanism should work smoothly. If any binding occurs, make sure the arms are positioned properly and the bolts are not over tightened.

    Attach the Gate.

    ​Position “Gate.stl” onto the base assembly as shown, then secure it in place with “Axle, Gate.stl”.

    Final Assembly.

    Press “Gear, Spur (8 teeth).stl” onto the motor shaft as shown, then slide the assembly into the base until “Gear, Spur (8 teeth).stl” aligns with the teeth on “Wheel, Geared (64 teeth).stl”

    Apply 1.5vdc to the motor such that “Wheel, Geared (64 teeth).stl” rotates counter-clockwise when viewed from the front.

    That’s how I printed and assembled “Marblevator, Mechanisms”!

    Hope you enjoy it!

  • BUTToN GEAR FOREVER 3D Print Model

    BUTToN GEAR FOREVER 3D Print Model

    Summary
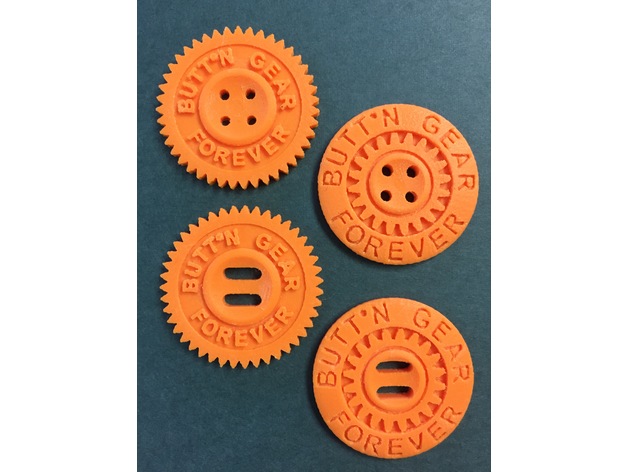
    BUTToN GEAR FOREVER is here!
    Like past years there is a functional version and a decorative version. Both have the four hole or the two slots design available. Each style is available for download individually or as a complete collection.
    Thermally calibrated filament will help with maintaining the crispness of the fine detail and eliminate any under or over extrusion. One of these two calibration methods below is highly recommended.
    https://www.thingiverse.com/thing:1037301https://www.thingiverse.com/thing:2502677
    A good part cooling fan helps as well.
    Enjoy!
    Print Settings
    Printer:
    Rigidbot 2 (RB2) and RB3
    Rafts:
    No
    Supports:
    No
    Resolution:
    0.05mm
    Infill:
    24%
    Notes:
    Can be printed with 0.1mm layers or 0.05 mm layers. These were printed with a 0.4mm nozzle. A 0.3 or 0.2 will also work well.
    Post-Printing
    Stringing cleanup
    The engraved version is prone to getting little strings across the engraved letters if retraction is not well tuned. Tune retraction for small close distance features. What strings you may still get can be cleaned up nice with a hobby knife.

  • Dodge Charger 3D Print Model

    Dodge Charger 3D Print Model

    Summary
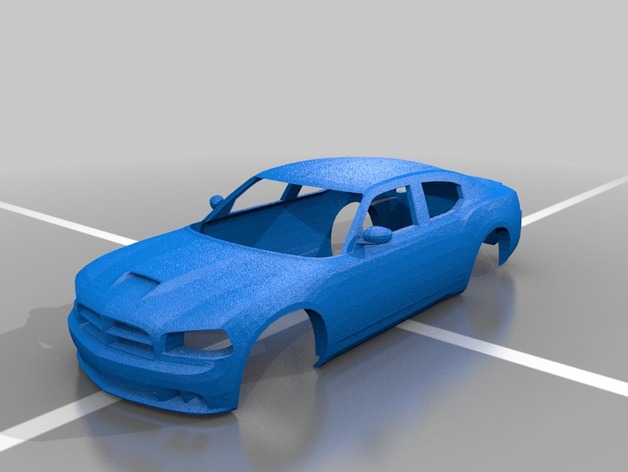
    Dodge Charger 1/10 Body

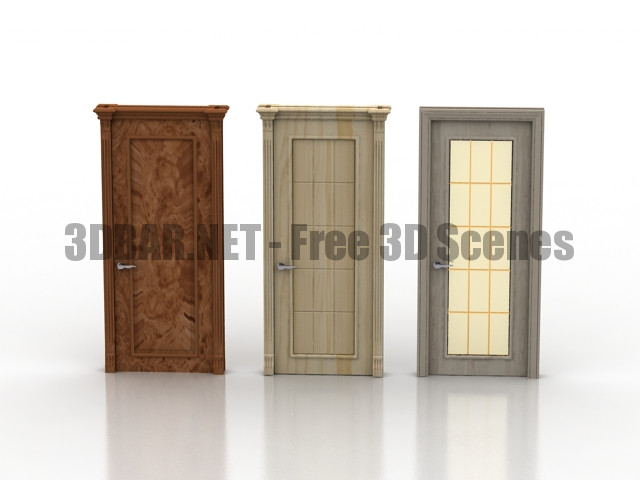
  • Door 3D Model

    Additional Info: Door 3 – 3D model (*.gsm+*.3ds) for interior 3d visualization.

  • Sofa 3D Model

    Sofa 3D Model

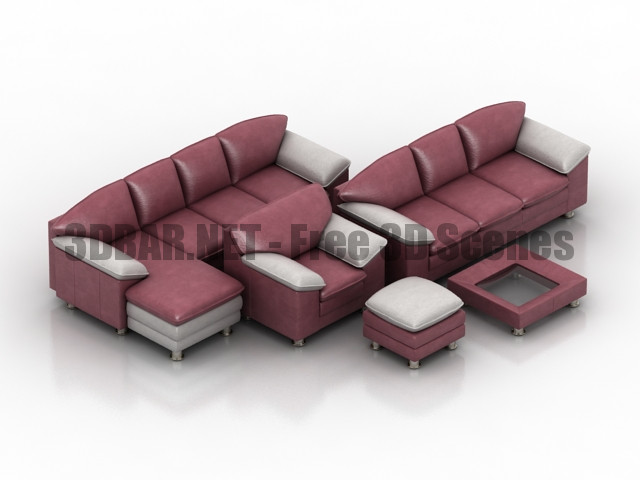
    Additional Info: Sofa 1 – 3D model (*.gsm+*.3ds) for interior 3d visualization.

  • Corsica Doors 3D Collection

    Corsica Doors 3D Collection

    Corsica Doors 3d Models

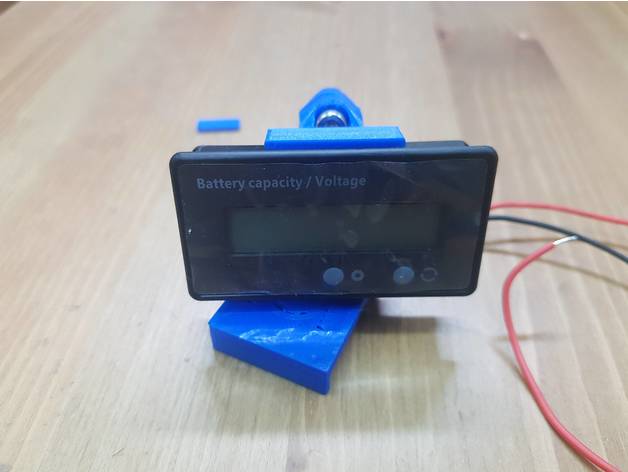
  • ebike handle bar voltage mount 22mm & 1/2 inch 3D Print Model

    ebike handle bar voltage mount 22mm & 1/2 inch 3D Print Model

    Summary
    magnet dia. is 13mm , voltage mount need support ,print as is and glue it later
    Print Settings
    Printer:
    Hypercube
    Rafts:
    No
    Supports:
    Yes
    Resolution:
    0.2
    Infill:
    50

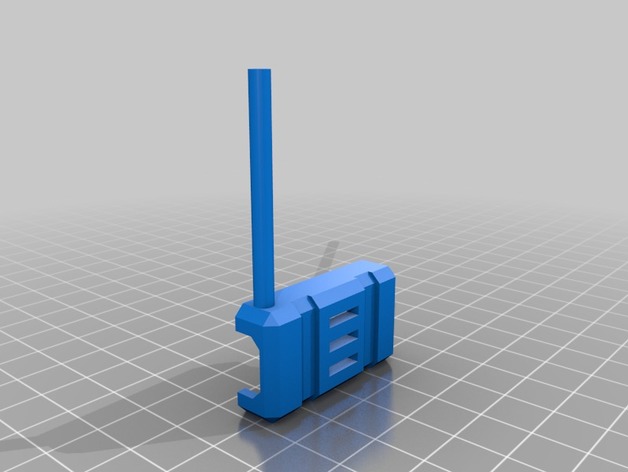
  • esc cover with rx antenna tube 3D Print Model

    esc cover with rx antenna tube 3D Print Model

    Summary
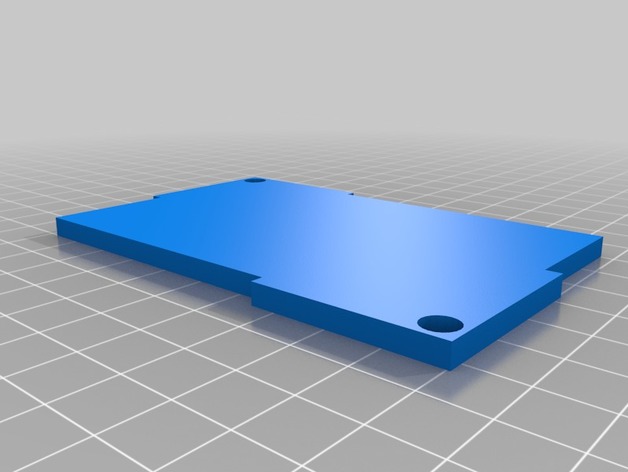
    Imported existing esc cover into fusion 360, converted to a BRep and added an antennna tube for my rx antennas.
    Fusion 360 source at: https://a360.co/2HUtSfT
    Orient the stl in your slicer to position the antenna tube at a 45 degree angle to the horizontal, and print with supports in TPU. Use mirror in your slicer to print for the arm on the opposite side.

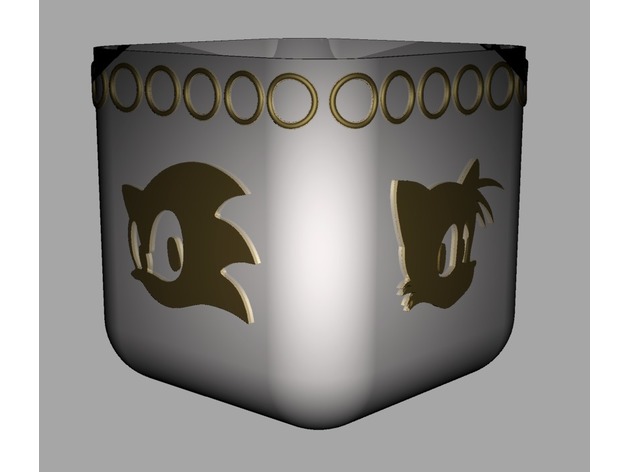
  • Sonic 3 Planter 3D Print Model

    Sonic 3 Planter 3D Print Model

    Summary
    Inspired by Augustin Flowalistik’s work with some of his gaming planters – this is one made with some 16 bit love for the Sega side of the console wars. Featuring the classic silhouettes of Sonic, Tails and Knuckles, and a fourth side featuring the 7 chaos emeralds. The top is adorn with rings all the way around.
    Designed in Rhino, this comes in both single and dual extrusion varieties, and theres options for drainage or no drainage hole versions.

  • Balkonhalter Sonnenschirm 3D Print Model

    Balkonhalter Sonnenschirm 3D Print Model

    Summary
    Hallo. dies iat ein Halter für den Sonnenschirm auf dem Balkon! Der Rohr vom Sonnenschirm sollte einen Durchmesser 32mm haben! Die Balkonaufnahme beträgt 42mm.
    Print Settings
    Printer Brand:
    TEVO
    Printer:
    Tornado
    Rafts:
    No
    Supports:
    No
    Resolution:
    0.2
    Infill:
    20

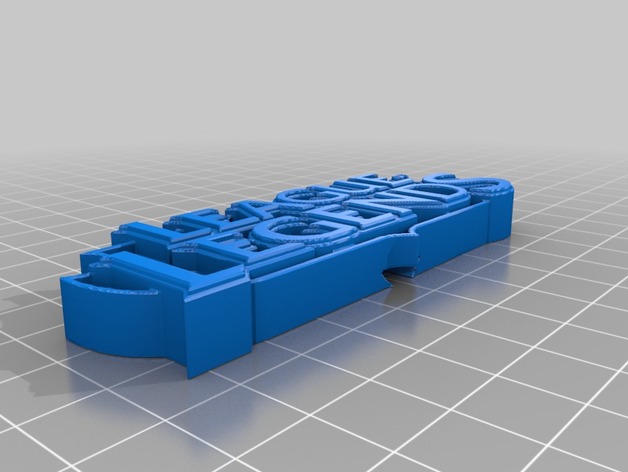
  • League of Legends 3D Print Model

    League of Legends 3D Print Model

    Summary
    This is a LoL Logo not designed by me.
    I’ve added a little triangle holder at the bottom which fits with a master base as a support stand.
    Currently there is only one base stand but there will be more coming soon.
    Print Settings
    Printer:
    prusa i3 aluminum
    Rafts:
    Doesn’t Matter
    Supports:
    Yes
    Resolution:
    best with 0.15
    Infill:
    15+%
    Notes:
    Support is recommended due to the fact that it has a little triangle holder at the bottom and that doesn’t fit with the other part if printed without support

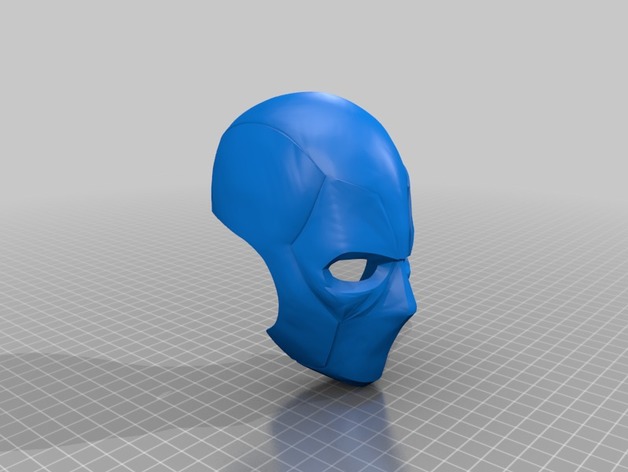
  • DeadPool Head Alternative Options & Ideas 3D Print Model

    DeadPool Head Alternative Options & Ideas 3D Print Model

    Summary
    Hi Jason, This is the only examples I have. I was going to make holes in the shell but though printing it would require more unecessary support, so opted out to just drill them in afterwards once printed. I’ve compiled 2 – 3 different eye concepts, which do not necessarily fit the head shell. But it was all I could do. I look forward to what you can make of it and please post some picks if you do take the challenge on. Please note the shell was originally a pep file uplaoded to the net for free and also check the sizing suits your needs, Cheers Jace

  • Visuo Gear Cover 3D Print Model

    Visuo Gear Cover 3D Print Model

    Summary
    Visuo XS809 Gear cover so u dont loose your small pinion gear, with small holes for heat ventilation. The other cover on thingverse does not print bc the walls are too thin for 90% of nozzles

  • Socket Holder V2 3D Print Model

    Socket Holder V2 3D Print Model

    Summary
    Second Version of my socket holder

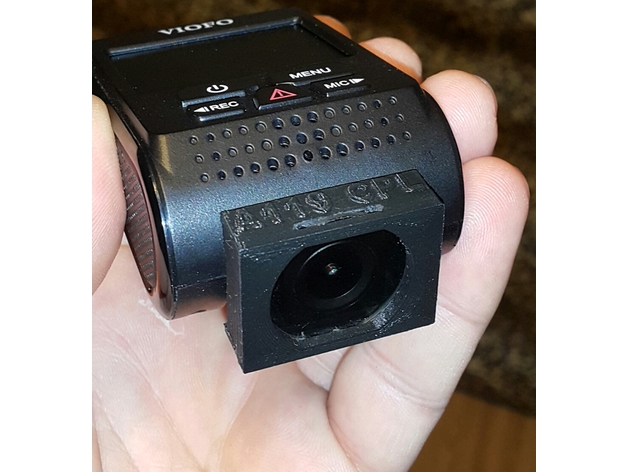
  • Viofo A119 Dashcam CPL Lens Holder 3D Print Model

    Viofo A119 Dashcam CPL Lens Holder 3D Print Model

    Summary
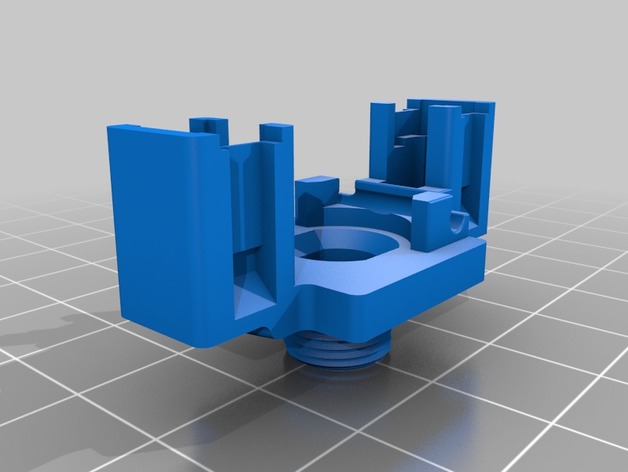
    Suitible for 25mm diameter, 1.2mm thickness CPL lens…
    Clear 2 and 3 columns in the CPL lens location after print & before placing the CPL lens.

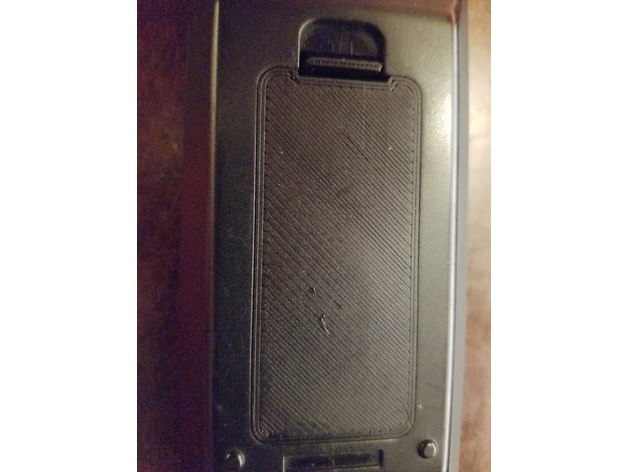
  • Insignia remote battery door / cover 3D Print Model

    Insignia remote battery door / cover 3D Print Model

    Summary
    This is a replacement battery cover / door for an insignia tv remote.
    Print with 100 percent infill.
    You may want supports on the little rear tab, and possibly under the spring arm tabs if they come out droopy.
    No raft needed.
    Print Settings
    Printer Brand:
    Wanhao
    Printer:
    Wanhao Duplicator i3 Plus
    Rafts:
    No
    Supports:
    Yes
    Resolution:
    .2mm
    Infill:
    100%

  • Picture 3D Model

    Picture 3D Model

    Additional Info: Picture 1a – 3D model (*.gsm+*.3ds) for interior 3d visualization.

  • Rack 3D Model

    Rack 3D Model

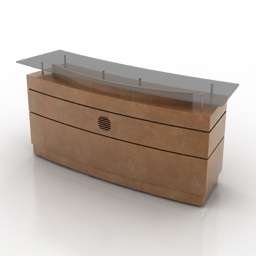
    Additional Info: Rack reception 1 N060418 – 3D model (*.gsm+*.3ds) for interior 3d visualization.

  • Pushe rona 3D Collection

    Pushe rona 3D Collection

    Pushe rona 3d Models

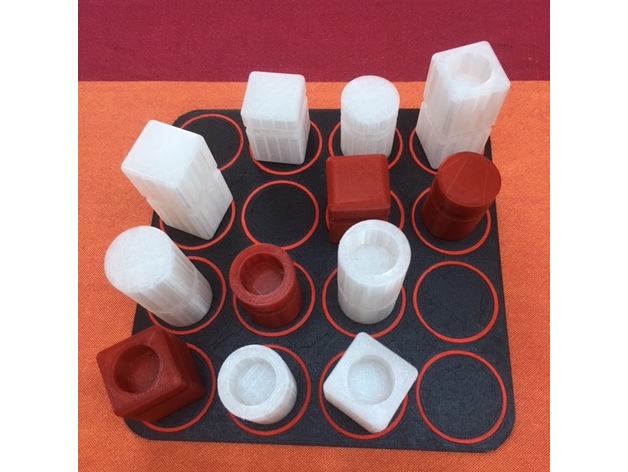
  • Quarto game + holder 3D Print Model

    Quarto game + holder 3D Print Model

    Summary
    Easy to print QUARTO GAME and it’s support if you need to transport it.
    Print Settings
    Printer:
    discovery200
    Rafts:
    No
    Supports:
    No
    Resolution:
    0.2
    Infill:
    17

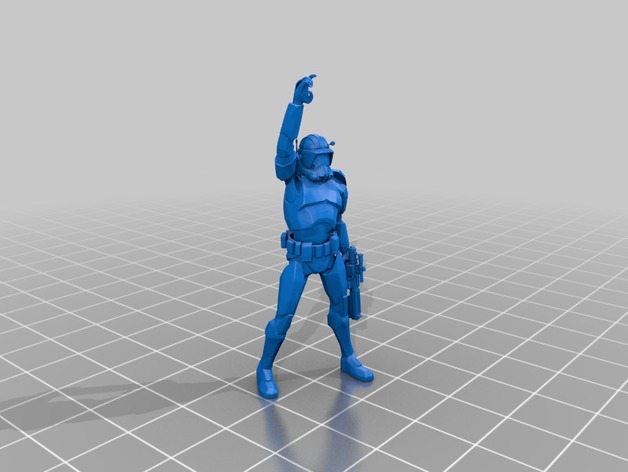
  • Clone Cody Commander Star Wars Legion Scale 3D Print Model

    Clone Cody Commander Star Wars Legion Scale 3D Print Model

    Summary
    I extract the clone body from a game and then put the commander head and blaster.
    It’s for Legion scale, hope you like.
    I
    Print Settings
    Printer Brand:
    Formlabs
    Printer:
    Formlabs Form 1
    Rafts:
    Doesn’t Matter
    Supports:
    Yes
    Resolution:
    50 micrones

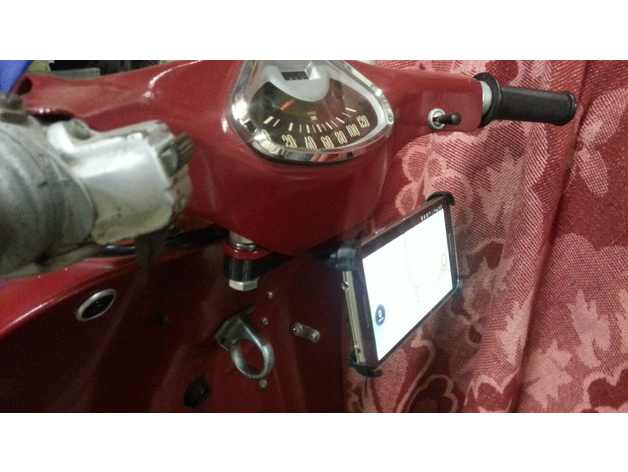
  • Samsung S5 Bracket for Heinkel Tourist Scooter 103 A1 & A2 (Windshield mount) 3D Print Model

    Samsung S5 Bracket for Heinkel Tourist Scooter 103 A1 & A2 (Windshield mount) 3D Print Model

    Summary
    I needed a way to hold my GPS when riding with my old Heinkel Tourist Scooter 103 A1.
    I used the holder from here:https://www.thingiverse.com/thing:1114561 (Thanks For Sharing!) It’s a nice design, lightweight, yet sturdy.
    I then designed an adapter for the windshield-holder on the scooter, to adapt to the S5 holder created by Sonmor.
    I added the famous Heinkel logo on it. (just for show)
    -Additionnel Parts-list-
    You will need the following to assemble the whole thing:
    2x M3 (16mm)
    4x M3 Washers
    2x M3 Bolts
    2x M10 (40mm)
    4x M10 Washers
    2x M10 Bolts
    -PrintStuff-
    No need for supports, they are included.
    PartII needs to be rotated so that the cylindres touch the buildplate.
    Tested print on Prusa MKII.
    -Material-
    I advise to print in ABS as it’s sturdier, and UV-resistant. (NoFan, preferably a small brim to avoid warping of ABS)
    -Assembly-
    Remove supports from PartII. (they break off when twisting’em)
    First assemble PartII and PartIII with the small M3 bolt’n screws.
    Then use M10 bolt’n screws to attach to the windshield bracket.
    Now clip the Samsung Galaxy S5 holder on it.
    -Additional Idea-
    I made an USB cable going from battery (with power adapter) to the underside of the handlebars .. so I don’t drain the S5 battery.
    -Usage-
    I put 4 small foam pieces in each corner of the bottom of the Samsung S5 holder, to keep the phone from shaking too much (oldtimer=vibrations), and avoid the risk of jumping out of the holder whiles driving.
    That’s it.
    I can only say how gratefull I am that people share stuff so others can change it. So if you’re keen to that principle, don’t go making money on what people share for free !
    -enjoy-

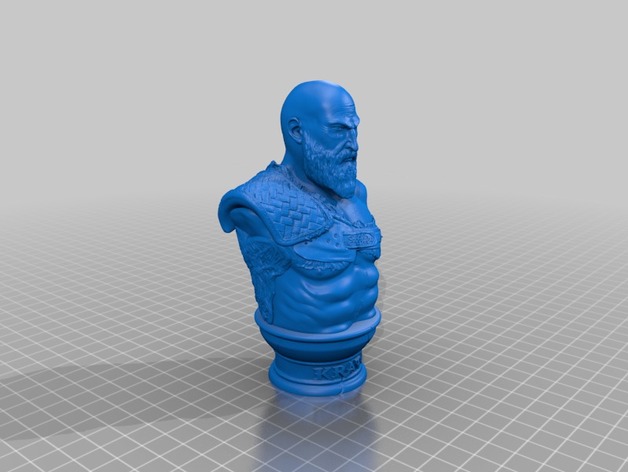
  • Kratos Busto 3D Print Model

    Kratos Busto 3D Print Model

    Summary
    full without support 0.1 100 50 PLA enjoy

    Standards

    NGSS

    Overview and Background


    Lesson Plan and Activity


    Materials Needed

  • AirBlade Eclair V2 Backpack for Split Mini 3D Print Model

    AirBlade Eclair V2 Backpack for Split Mini 3D Print Model

    Summary
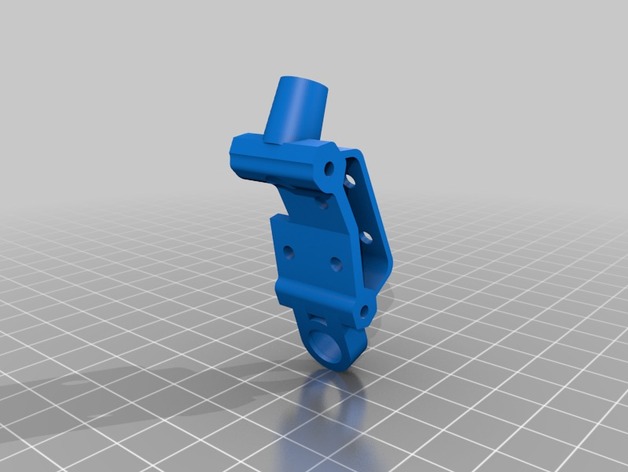
    This is designed to re-locate the pouch on the backpack to the top, freeing up spaces inside the Eclair frame to stack up Split Mini boards. The eclair frame is able to take up to 4 boards inside the cage. The pouch is still for VTX. The receiver can be installed behind the stack.
    Print Settings
    Printer Brand:
    Prusa
    Printer:
    i3 MK3
    Rafts:
    No
    Supports:
    Yes
    Notes:
    Print in TPU

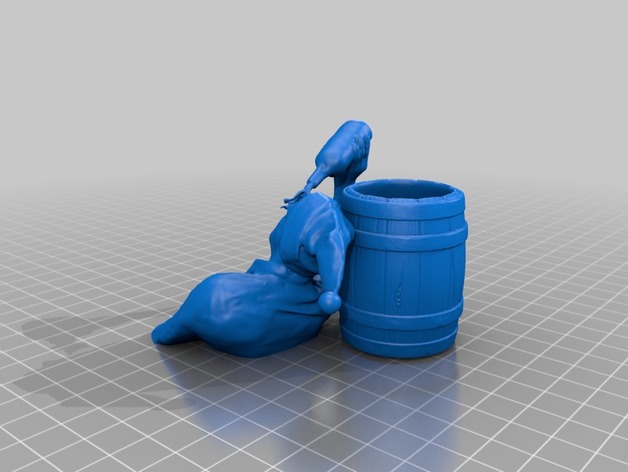
  • santa claus sloppy drunk 3D Print Model

    santa claus sloppy drunk 3D Print Model

    Summary
    I’ve made this with a friend ! my model lol ^^
    funny 🙂
    Print Settings
    Printer Brand:
    Prusa
    Printer:
    i3 MK2S
    Rafts:
    No
    Supports:
    Yes
    Resolution:
    0.2 max
    Infill:
    25%

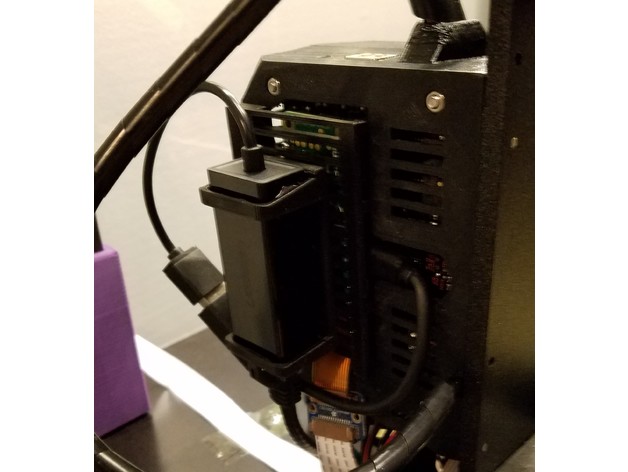
  • Extended RPi Zero W Einsy Door + Hub Mounts 3D Print Model

    Extended RPi Zero W Einsy Door + Hub Mounts 3D Print Model

    Summary
    Milo5000’s Einsy case mod was great but I was having issues putting in my RPi with a heatsink mounted. The modded lid allows for a heatsink extending at least 4mm above the MK3 PI frame so around 7mm total in height for the heatsink. The additional space also allows for easier removal of the SD card with pliers or really precise fingers.
    I have also included two different sizes for hub mounts. One fits a 26mm X 18mm X 61mm hub which I use for just ethernet connectivity. The larger one fits a 31mm X 21mm X 96mm hub which has 3 usb ports and an ethernet ports.

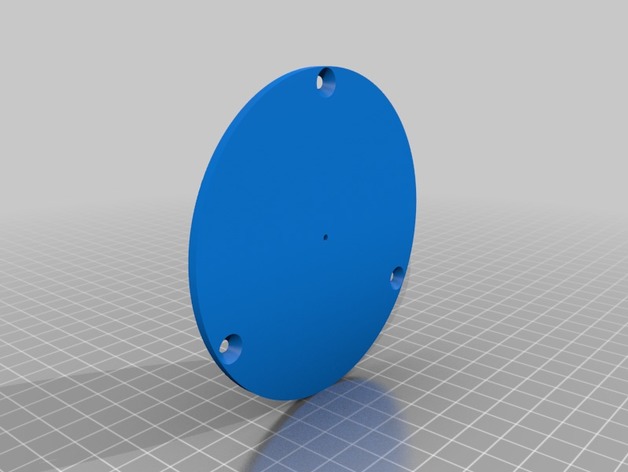
  • Rocklet router plate insert 3D Print Model

    Rocklet router plate insert 3D Print Model

    Summary
    This is an insert for Rockler’s router plates.
    It’s for the 4 inch OD inserts that these router plates use: http://www.rockler.com/rockler-aluminum-pro-router-plates
    I’ve included the Fusion360 f3d file so you can customize the hole size, or you can print out the pilot hole version and drill your own hole.
    Print Settings
    Rafts:
    No
    Supports:
    No
    Infill:
    35
    Notes:
    I used PLA at 35% infill, PETG or ABS should work too.
    How I Designed This
    Fusion360

  • Loyal Order of the Water Buffalo Hat 3D Print Model

    Loyal Order of the Water Buffalo Hat 3D Print Model

    Summary
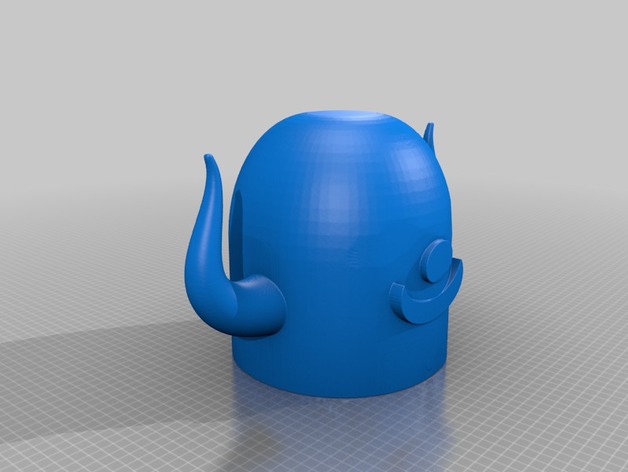
    Loyal Order of the Water Buffalo hat. print upside down with proper supports, paint the horns and the forehead details, then roll on down to the fabric store for some blue fur and some spray adhesive to glue on.

  • Circular-cap杯子 3D Print Model

    Circular-cap杯子 3D Print Model

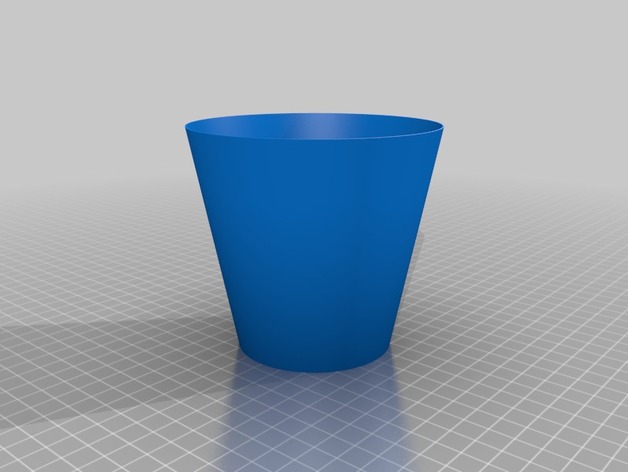
    Summary
    看最小壁後可以到多少
    順便拿來當作零件盒
    Print Settings
    Printer:
    X1E-PLUS
    Rafts:
    Yes
    Supports:
    No
    Resolution:
    0.2
    Infill:
    0%

    Post-Printing

  • Door 3D Model

    Door 3D Model

    Additional Info: Door 1 – 3D model (*.gsm+*.3ds) for interior 3d visualization.

  • Bed 3D Model

    Bed 3D Model

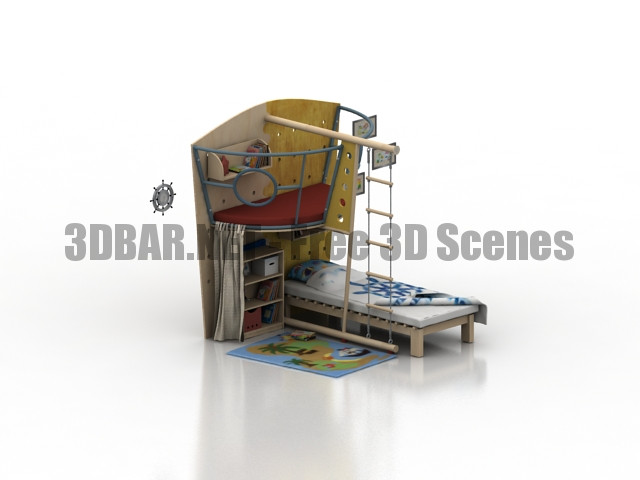
    Additional Info: Bed dls shelli N270318 – 3D model (*.gsm+*.3ds) for interior 3d visualization.

  • HABA childrens room bedroom 3D Collection

    HABA childrens room bedroom 3D Collection

    HABA childrens room bedroom 3d Models

  • tronxy xy-08n sensor stable mount to Anet A8 3D Print Model

    tronxy xy-08n sensor stable mount to Anet A8 3D Print Model

    Summary
    tronxy xy-08n sensor stable mount
    Print Settings
    Printer:
    Anet A8
    Rafts:
    No
    Supports:
    No
    Resolution:
    0.2
    Infill:
    100

  • Prusa I3 MK3 Build Volume Reminder 3D Print Model

    Prusa I3 MK3 Build Volume Reminder 3D Print Model

    Summary
    Just thought I would print something to remind myself of my printers Build Volume 🙂
    Held onto Frame with BluTak
    Print Settings
    Printer Brand:
    Prusa
    Printer:
    i3 MK3
    Resolution:
    0.2
    Infill:
    100%
    Notes:
    If you want to change the numbers, Goto Tinkercad – Upload .stl – click .stl – click Ungroup – click Text (numbers) – edit to your own Build Volume – when done select all objects (ctrl+A) – click group – click Export, and your done.
    Use Settings that work for you.

  • Robot Monka 6×4 3D Print Model

    Robot Monka 6×4 3D Print Model

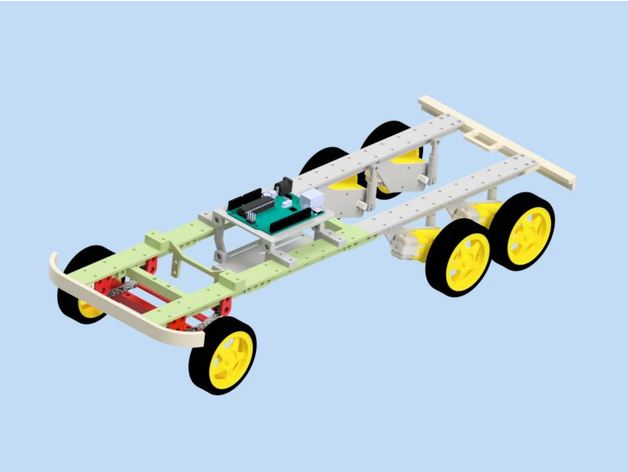
    Summary
    3D model of 6×4 Monka robot. All parts are there: https://www.patreon.com/Jirkasirka
    Monka is cheap but smart 3D printed robot, I will discover some usefull tools and upgrades for monka and pepe robot.
    Monka 4×2 files:https://www.thingiverse.com/thing:2867512https://www.thingiverse.com/thing:2892049https://www.thingiverse.com/thing:2876379
    Pepe files:https://www.thingiverse.com/thing:2886866

  • Wood tile with Yeti 3D Print Model

    Wood tile with Yeti 3D Print Model

    Summary
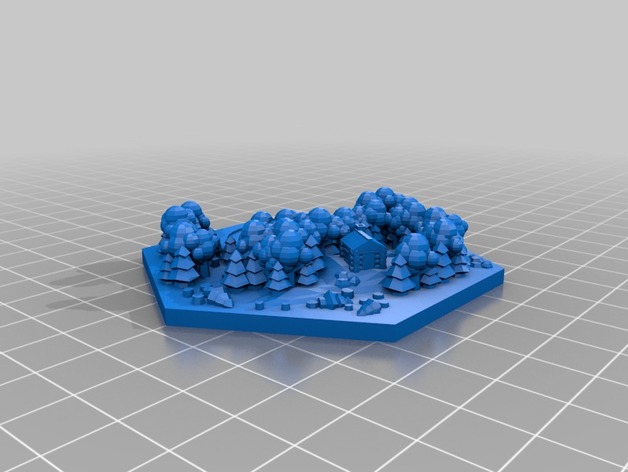
    I decided to hide a Yeti in one of Dakanzia’s wood tiles. I’m going to print one of these for my board and hopefully it turns out good.
    I’m not sure how this will turn out so if someone prints one let me know, i’ll report back if it goes good when I get a chance. I hid his hands in some trees, hopefully the printer doesn’t have issues with the angles of his arms.
    I grabbed the yeti from here (https://www.thingiverse.com/thing:2401220)
    The wood tile from here (https://www.thingiverse.com/thing:2525047)
    Hope you like.

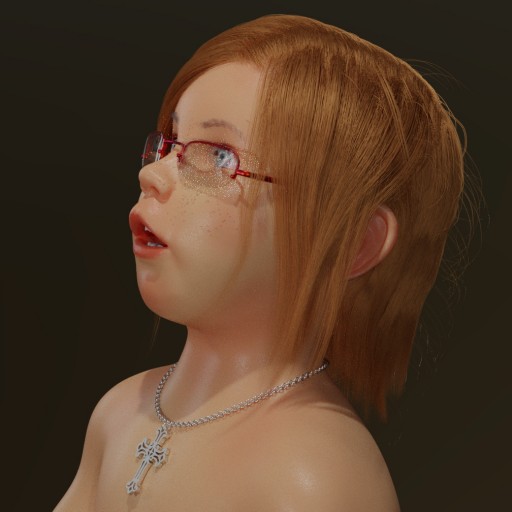
  • Girl without name						 Free 3D Model

    Girl without name Free 3D Model

    One of my projects to test pc. Creat without reference Image.
    It is so fanny wenn i use simple Setups.
    I will Add the artstation link her. https://www.artstation.com/artwork/YkEqw
    Pls give comments;)

  • Digoo camera DG-MYQ wall mount 3D Print Model

    Summary
    Printed to mount the camera on the wall or other flat surface. I printed in PLA 30% infill, supports are optional. You’ll need a 4cm 3M screw and nut.

  • warframe busts 3D Print Model

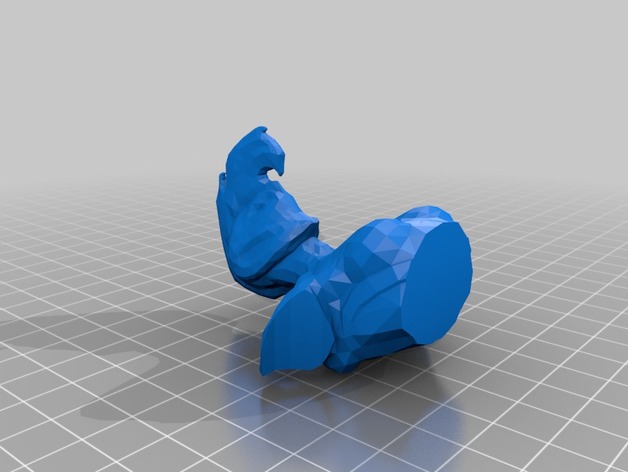
    warframe busts 3D Print Model

    Summary
    found the tenno gen file decided to make some fun stuff with them

  • Smaller Gödel, Escher Bach shadow cube 3D Print Model

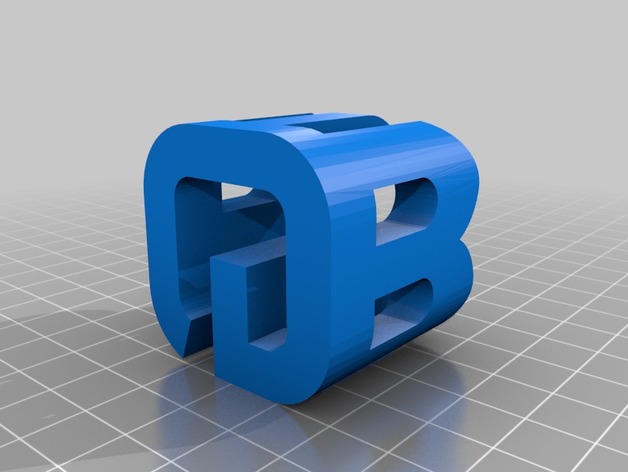
    Smaller Gödel, Escher Bach shadow cube 3D Print Model

    Summary
    This is just the design of https://www.thingiverse.com/thing:151240, scaled down to 40% of its original size (40mm).
    Print Settings
    Resolution:
    0.2mm
    Infill:
    20%

  • Wide Mouth Mason Jar Handle 3D Print Model

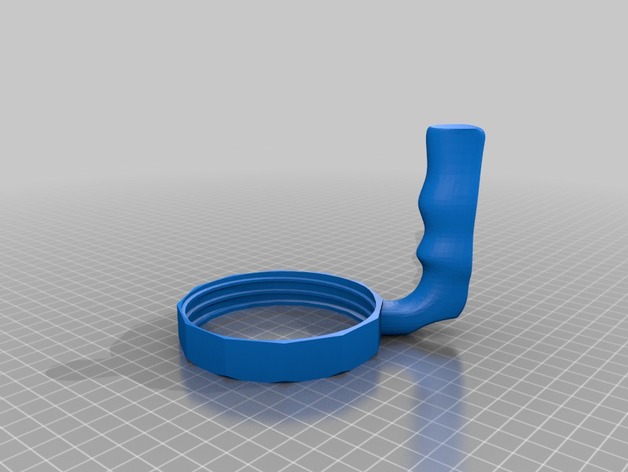
    Wide Mouth Mason Jar Handle 3D Print Model

    Summary
    Needed to make a Wide Mouth version of this thing… so I took two different things and mashed them together.
    Print Settings
    Printer Brand:
    MakerBot
    Printer:
    Thing-O-Matic
    Rafts:
    No
    Supports:
    Yes
    Resolution:
    .25
    Notes:
    Print with supports because the thumb nub is elevated.

  • Ratchet (507 Mechanical Movements #75) 3D Print Model

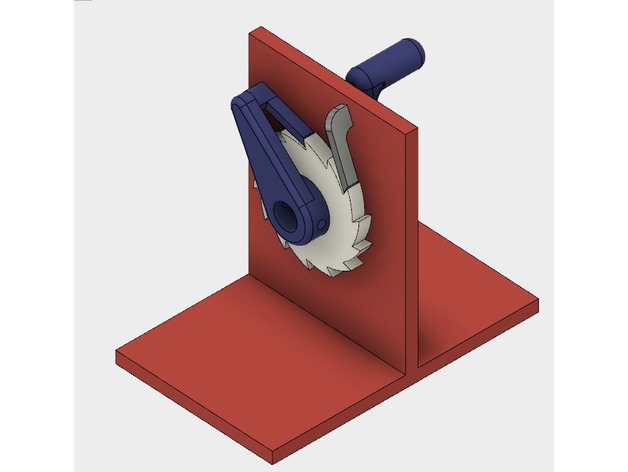
    Ratchet (507 Mechanical Movements #75) 3D Print Model

    Summary
    This is the ratchet model from 507 Mechanical Movements: http://507movements.com/mm_075.html
    You will need a 3/8″ dowel and 2x 1″ #6 sheet metal screws. It is best to assemble everything on the dowel, pilot drill through handle and moving pawls hole, screw screws in, and cut the dowel ends flush.
    Some filing will be necessary to get the stop pawl to fit.
    See my blod post about this here: http://artofrandomness.net/blogs/matts-blog/ratchet-model-maychanisms-1/

  • Curtain 3D Model

    Curtain 3D Model

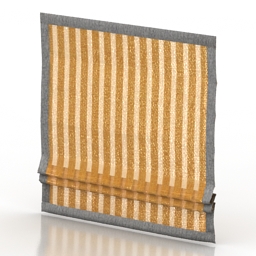
    Additional Info: Curtain 5 – 3D model (*.gsm+*.3ds) for interior 3d visualization.

  • Seat 3D Model

    Seat 3D Model

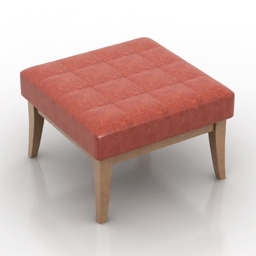
    Additional Info: Seat 2 – 3D model (*.gsm+*.3ds) for interior 3d visualization.

  • ARETI Disc and Sphere Pendant Light 3D Collection

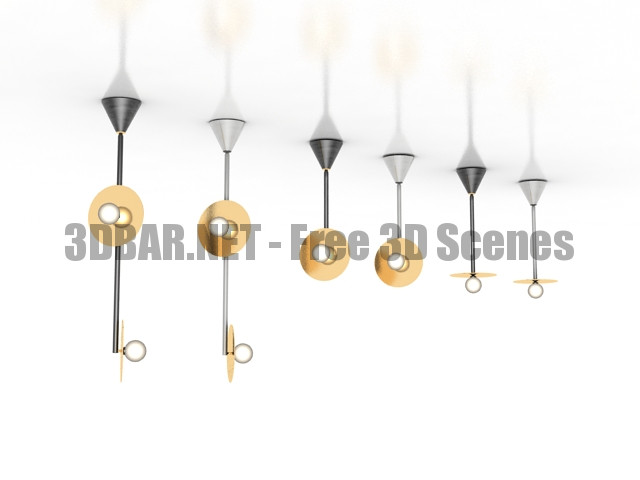
    ARETI Disc and Sphere Pendant Light 3D Collection

    ARETI Disc and Sphere Pendant Light 3d Models

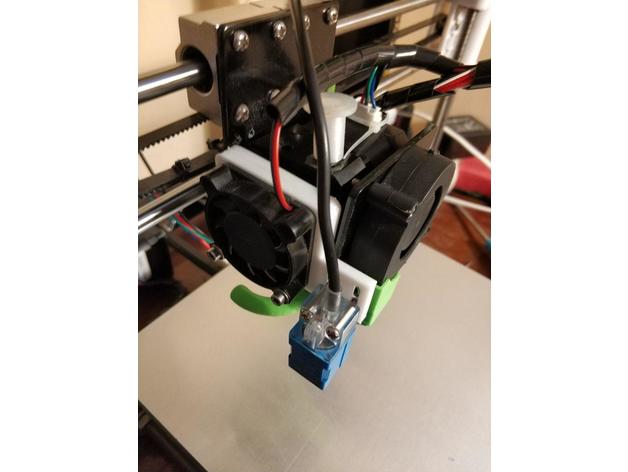
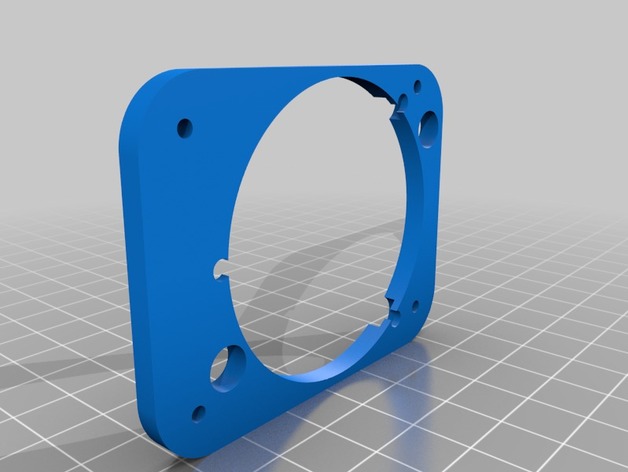
  • centrifugal fan hotend support 3D Print Model

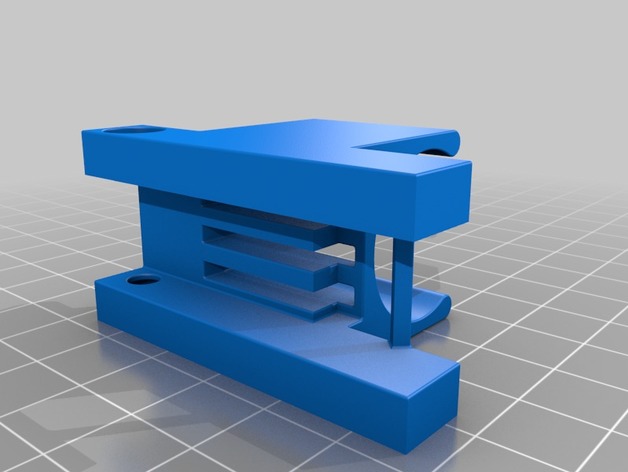
    centrifugal fan hotend support 3D Print Model

    Summary
    centrifugal fan support for E3D hotend

    Overview and Background

  • axial fan support for E3D hotend (40×40) 3D Print Model

    axial fan support for E3D hotend (40×40) 3D Print Model

    Summary
    axial fan support for E3D hotend 40×40

  • Geometric Lithops Plant Pot 3D Print Model

    Geometric Lithops Plant Pot 3D Print Model

    Summary
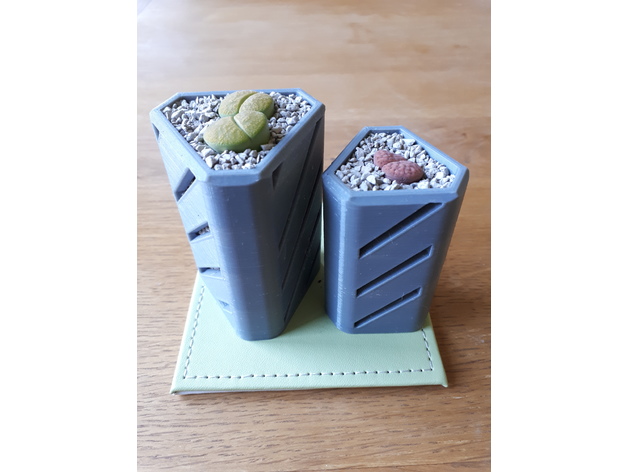
    As Lithops/Living Stones are a type of succulent that require very good drainage, this pot is designed with gaps in sides to allow the water to escape. They are also taller than wide to allow space for the tap roots.
    The slots down the side are 1.5mm wide so to ensure the mix doesn’t fall through its a good idea to sift out anything smaller than this size. My soil sifter design has a 1.5mm option to do this: https://www.thingiverse.com/thing:2853130
    I tend to print these pots with infill for the base but 0% infill above so there will be no infill showing.
    I will be printing more at different sizes so will upload more when i make them.
    Print Settings
    Printer:
    Anet AM8
    Rafts:
    No
    Supports:
    No
    Resolution:
    0.2mm

    How to Print Different Infills on same model in Cura
    After adding the model you want to print into cura, add a basic solid stl, such as a 10mm cube.
    Scale the cube to cover the area you want to have a different infill to the rest of the model.
    On the left click Per Model settings, then select Modify setting for overlap with other models.
    Then you can select settings that are modified within this area, just select infill density, in the example below i used 15% for the base and the rest of the model was printed with 0% infill as per the general settings.
    I thought i would put this instruction online somewhere as i took some time looking up how to do this!

  • Tripoly / Michigan Rummy Tray 3D Print Model

    Tripoly / Michigan Rummy Tray 3D Print Model

    Summary
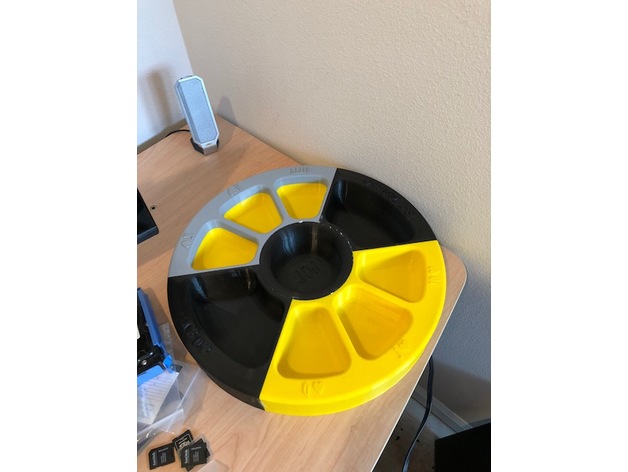
    Chip tray for Tripoly / Michigan rummy card game.
    Print Settings
    Supports:
    Yes

  • Kota Reliquary Figure 3D Print Model

    Kota Reliquary Figure 3D Print Model

    Summary
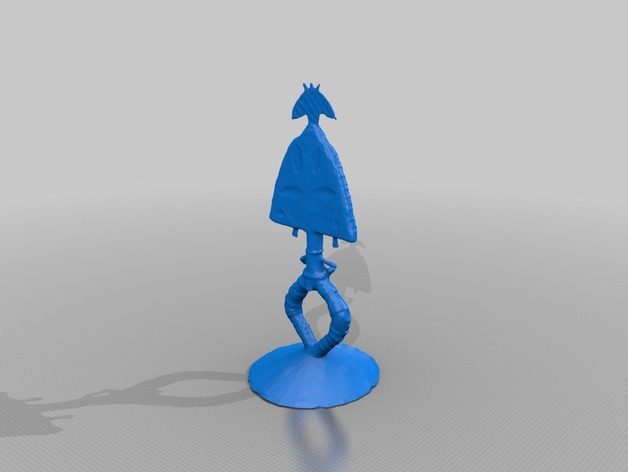
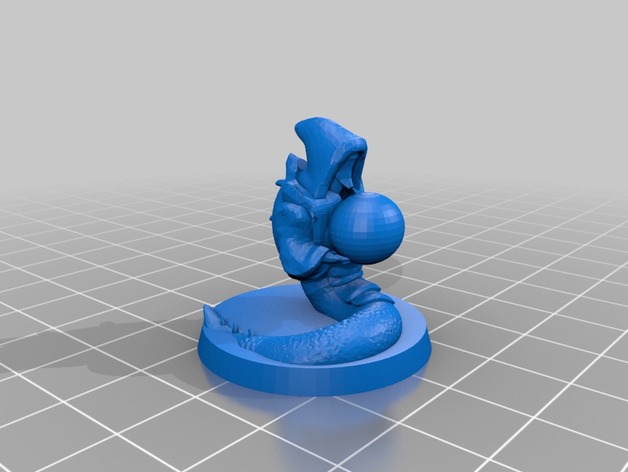
    This is a scan of a Kota Reliquary Figure.

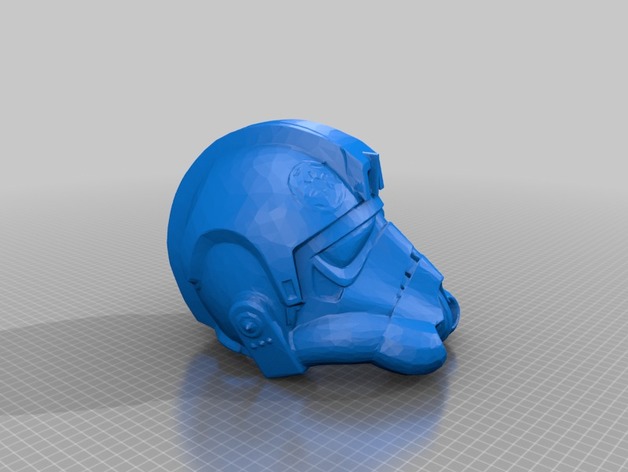
  • Tie fighter helmet  3D Print Model

    Tie fighter helmet 3D Print Model

    Summary
    a helmet you can print so you can wear it or you can print it small so you can have a little toy.

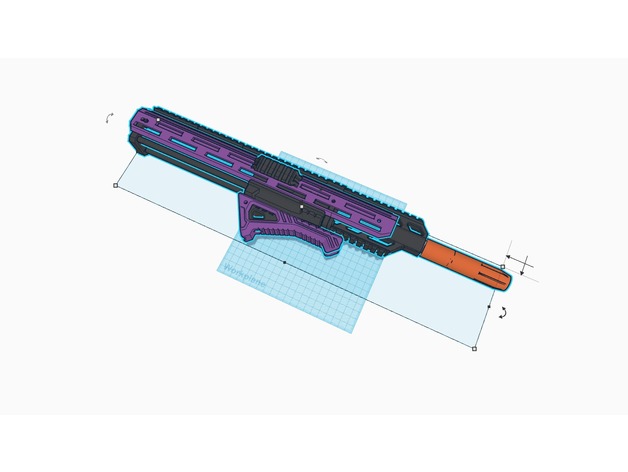
  • Caliburn Extended Barrel Shroud 3D Print Model

    Caliburn Extended Barrel Shroud 3D Print Model

    Summary
    This is designed to cover longer Caliburn Barrels, over 18″.
    All parts except for rail print without support. Requires 4 10-32 screws.
    You’ll need to split the shroud into two parts.
    Inspired by, but completely distinct from the original Argus Modworks barrel shroud.
    Designed at the request of a customer.
    etsy.com/shop/remzak

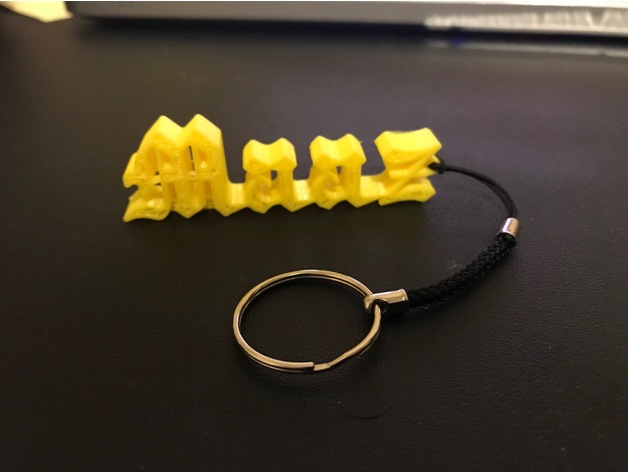
  • Key Chain (Maaz) 3D Print Model

    Key Chain (Maaz) 3D Print Model

    Summary
    Name Key Chain.
    Print Settings
    Printer:
    MP Delta Mini
    Rafts:
    Yes
    Supports:
    No
    Resolution:
    .2
    Infill:
    10%

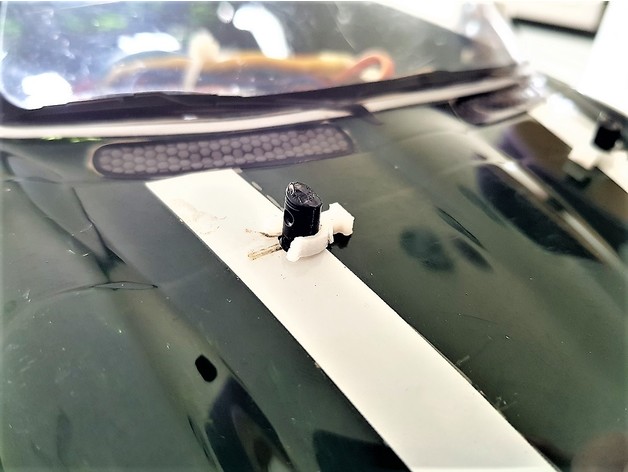
  • RC Body Clip 1/10 Tamiya etc 3D Print Model

    RC Body Clip 1/10 Tamiya etc 3D Print Model

    Summary
    Here’s a redesigned body clip and spacer for Tamiya style RC cars. It’s an alternate design to the little metal clips which is more suitable for printing in plastic.
    These little suckers break easily so just print out a stack of them and have plenty of spares on hand.

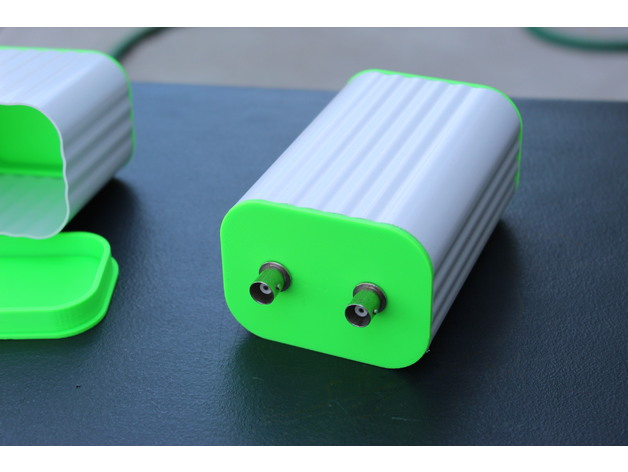
  • Projects box 3D Print Model

    Projects box 3D Print Model

    Summary
    The caps fit nicely in the standard plastic downspout that I used and are very easy to cut. Saves a lot of time for making electronic enclosures providing the boards will fit.

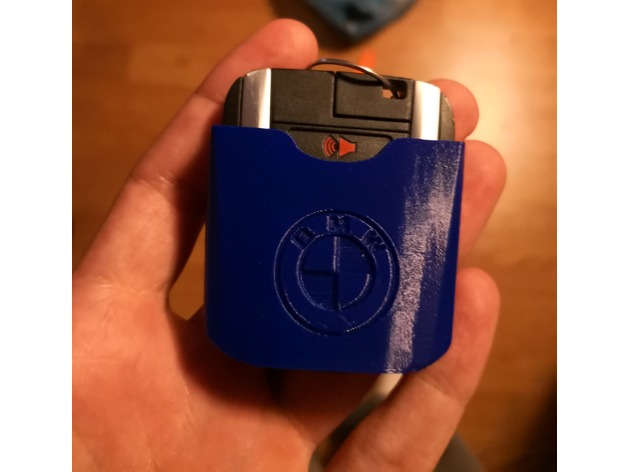
  • BMW i3 Key fob cover 3D Print Model

    BMW i3 Key fob cover 3D Print Model

    Summary
    The key fob for the BMW i3 has got to be the worst shape and design I’ve ever seen. This thing is obnoxiously wide and flat. In my pocket, I’ve accidentally unlocked the car at least 7 times in 3 months. One time caused my car to be burglarized. So I decided that I needed a cover to block the buttons from being pressed. It took some iterations to get the shape right, but I now have a working cover that easily slides on and off for the BMW i3 key fob.
    Hopefully this helps you too.
    Print Settings
    Printer Brand:
    Prusa
    Printer:
    Prusa Mk2
    Rafts:
    No
    Supports:
    Yes
    Resolution:
    0.2mm
    Infill:
    50%
    Notes:
    The edge that this prints on has very little surface area, make sure your first layers are good or it will get loose from the bed.

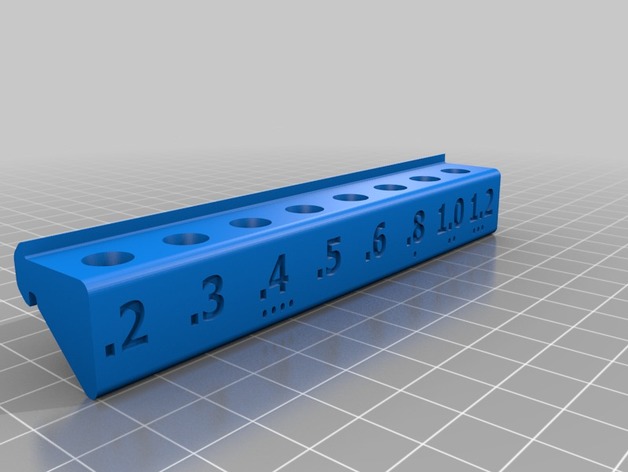
  • 2020 Volcano Nozzle Rack 3D Print Model

    2020 Volcano Nozzle Rack 3D Print Model

    Summary
    Nozzle holder for volcano nozzles. The dots below the numbers are from https://wiki.e3d-online.com/E3D-v6_(Volcano)_Documentation#Nozzle_Identification. The other sizes are from Aliexpress and have the number stamped on the nozzles. .step and .ipt files included for relabeling.
    Push the nozzle from the bottom for easier access.
    Print Settings
    Printer:
    Voron 072
    Rafts:
    No
    Supports:
    Yes
    Resolution:
    .3
    Infill:
    10%
    Notes:
    print with 2 outline brim.
    2 shells
    How I Designed This
    Autodesk Inventor

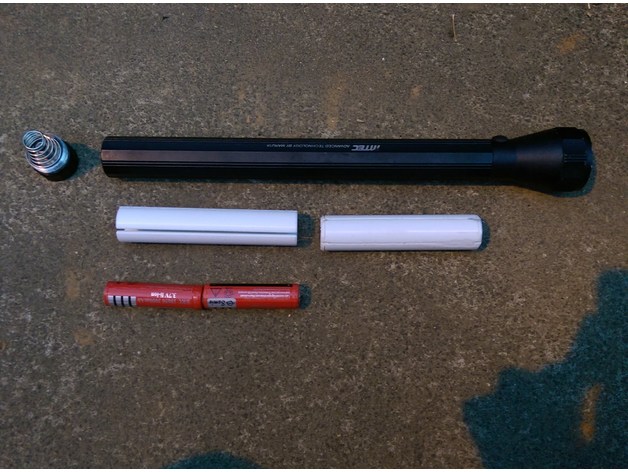
  • 18650 to C-Type Battery Flashlight 3D Print Model

    18650 to C-Type Battery Flashlight 3D Print Model

    Summary
    C_Battery Flashlight change for 18650 Li_battery
    C_battery x 5 change for 18650 Libattery x2 。
    18650 to C_Battery x1
    C Battery-Ext 105mm x1
    C Battery-Ext EndCap x2
    Print Settings
    Printer:
    CR-8
    Rafts:
    No
    Supports:
    Yes
    Infill:
    30

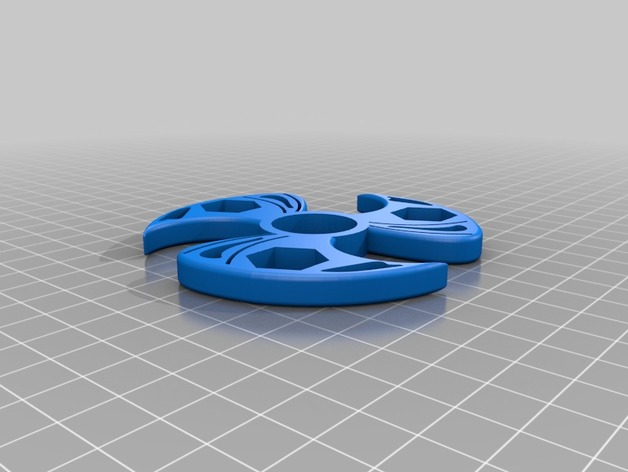
  • SPINNER FAST 3D Print Model

    SPINNER FAST 3D Print Model

    Summary
    Modelo de elemento giratorio. Se le debe introducir en el centro un rodamiento 608, sin obturacion. Si fuera posible se debe quitar
    Print Settings
    Printer Brand:
    Prusa
    Printer:
    Prusa Clone
    Rafts:
    No
    Supports:
    No
    Resolution:
    0.2 mm
    Infill:
    40%

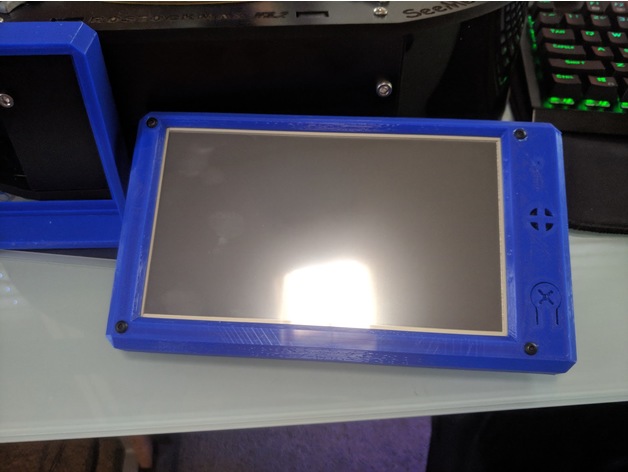
  • PanelDue 7i case (thin) 3D Print Model

    PanelDue 7i case (thin) 3D Print Model

    Summary
    This is a modified version of the ‘PanelDue 7i Case with flexible mount by LumberjackEngineering’. I printed the original design and discovered it was just far to thick for my liking so I was able to shave 10mm of thickness out of it and it fits perfect. I also widen the cut out in the back to accommodate the wire connectors. The rest of the mounting stl are located on the original file so make sure to toss a thumbs up for the original creator!

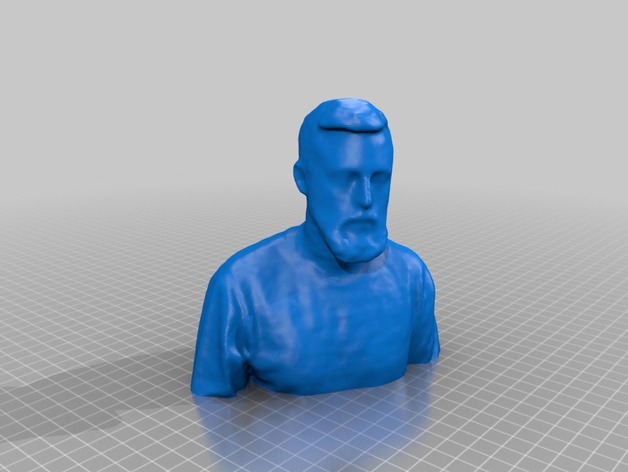
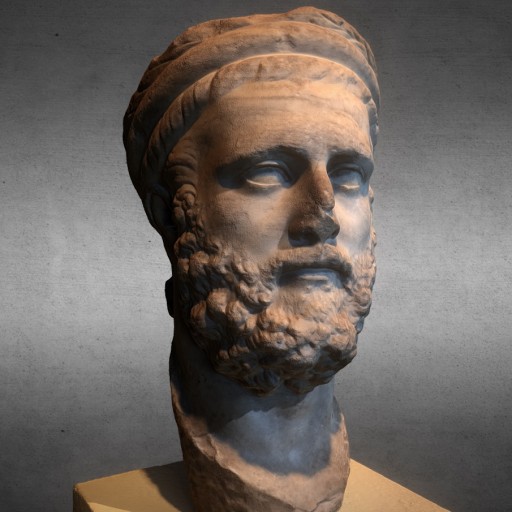
  • Portrait of a hierophant						 Free 3D Model

    Portrait of a hierophant Free 3D Model

    Portrait of a hierophant, circa 120-130, Athens, marble. Musee du Cinquantenaire (Brussles, Belgium). Made with Capturing Reality.

  • Cannon Bar Tap V2 3D Print Model

    Cannon Bar Tap V2 3D Print Model

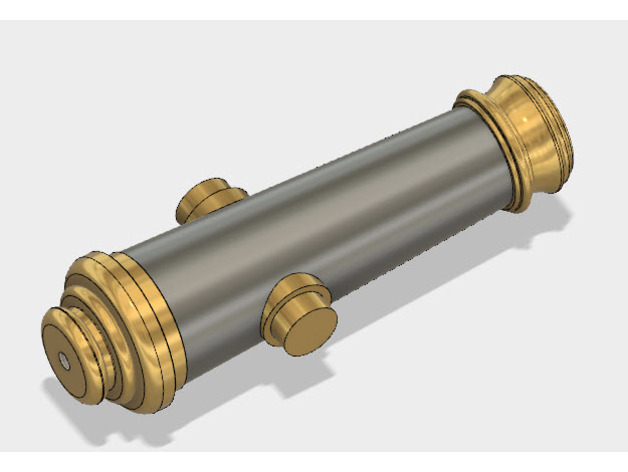
    Summary
    Check out all my tips at http://Makersteve.com! It’s worth the trip.
    Redlegs!
    As requested with threaded hole on breech end.
    Working on a project for the St. Barbara’s Ball. Everyone likes cannons and everyone likes beer.. this is both.
    It’s a fatty, 9 inches tall by 2 inches wide.
    print it standing on breech end with supports for trunnions.
    Threaded for a standard 3/8-16 UNC Bar tap thread.
    If you need some brass colored filament, please consider the link below.
    Brass Filament https://amzn.to/2rnnrqN (affiliate link)
    Inexpensive, quality filament
    Sunlu White https://amzn.to/2rnt1dD (affiliate link)
    Sunlu Black https://amzn.to/2HQdbCh (affiliate link)

  • 2 Mode Slider 3D Print Model

    2 Mode Slider 3D Print Model

    Summary
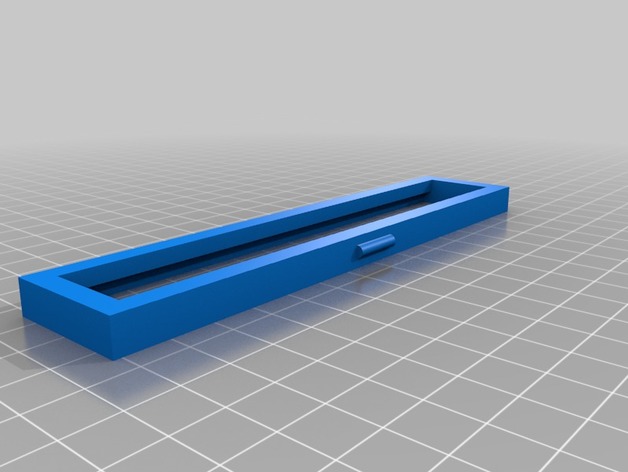
    Just a simple slider with a small cutout to make room for a label on each side. Good for use on things like dishwashers to mark as clean or dirty etc. You just need to make a label for each side and stick them onto the indented portion. I have included the solidworks parts so that you can add raised text or art etc to the base if so desired!
    Print Settings
    Printer Brand:
    Prusa
    Printer:
    Prusa Clone
    Rafts:
    Doesn’t Matter
    Supports:
    Doesn’t Matter
    Resolution:
    Medium
    Infill:
    50%+
    Notes:
    Some printers have issues printing the little notches on the base and face-plate. If you have these issues, use supports.
    Post-Printing
    the face-plate will be a tight fit into the base, but align all four corners with the slider under the face-plate and squeeze the midpoints of the face-plate. Push, and it should click in.
    NOTE: It is VERY hard to remove the face-plate after install. MAKE SURE YOU HAVE EVERYTHING THE WAY YOU WANT IT FIRST!

  • Novelty Glasses Mustache Extruder Indicator 3D Print Model

    Novelty Glasses Mustache Extruder Indicator 3D Print Model

    Summary
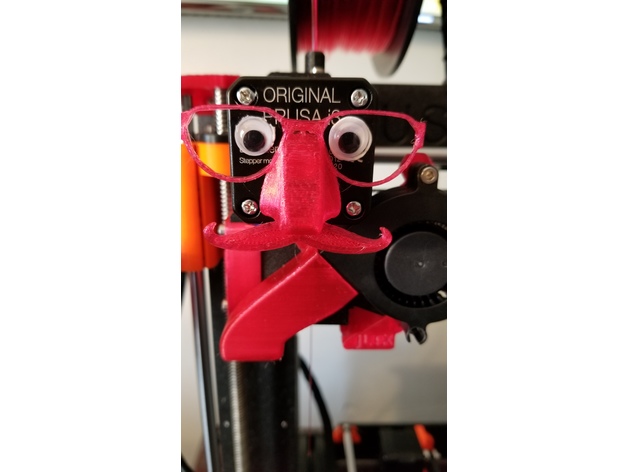
    Just a funny Extruder Indicator i had to do up after adding the eyes lol
    https://youtu.be/InjhvkvRYXw
    Print Settings
    Printer Brand:
    Prusa
    Printer:
    i3 MK3
    Rafts:
    Doesn’t Matter
    Supports:
    Yes
    Resolution:
    .2
    Infill:
    30
    Notes:
    Just secure an 6-8MM magnet to the post and let’er spin

  • Sonoff Basic – Consumer distribution Unit Rail mount 3D Print Model

    Sonoff Basic – Consumer distribution Unit Rail mount 3D Print Model

    Summary
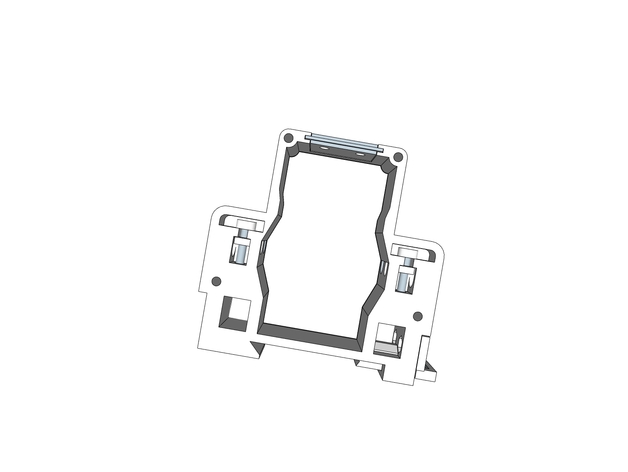
    This is a design for mounting the PCB of the Sonoff Basic on the rail inside a consumer distribution box (Mains electric box, power distribution box)
    This has not been tested, since my printer is broken for now.
    USE THIS AT YOUR OWN RISK
    I do not recommend using this in the same box as your power Breakers (MCB, FI, fuses etc.)
    Make sure you know what you are doing.
    This is technically not the right dimensions as a single slot MCB, since the Relay of the Sonoff is as tall as that, but I didn’t want it to take 2 MCB slots.

    Requirements
    Sonoff Basic PCB:
    with a removed push button or shortened push button “shaft” &
    and led either bend, or removed,
    if you are using one of the designs with the LED and button holes you can use some wire to extend them to the face
    4x M3x25 screws
    4x M3x18 screws
    2x M3x10 screws
    6x M3 nuts
    4x M3 square nuts
    4x M3 washers (optional)
    4x Screw terminal crimp (preferably one that has a hole so it doesn’t get of while installing)
    1x Small spring

  • GP7/9 upper speaker body mount 3D Print Model

    GP7/9 upper speaker body mount 3D Print Model

    Summary
    1 of 4 parts to build the upper speaker enclose to mount a Visaton FRS 5 in a G scale USA trains GP7/9. This is the mounting base that gets bolted to the existing mounting holes in the top of the engine and the first part installed. it is designed to use 3- 3mm x 5mm thread forming screws. Sorry about the orientation I’m new to 3D drawing just rotate 90 deg on axis X

  • Curtain 3D Model

    Additional Info: Curtain N050418 – 3D model (*.gsm+*.3ds) for interior 3d visualization.

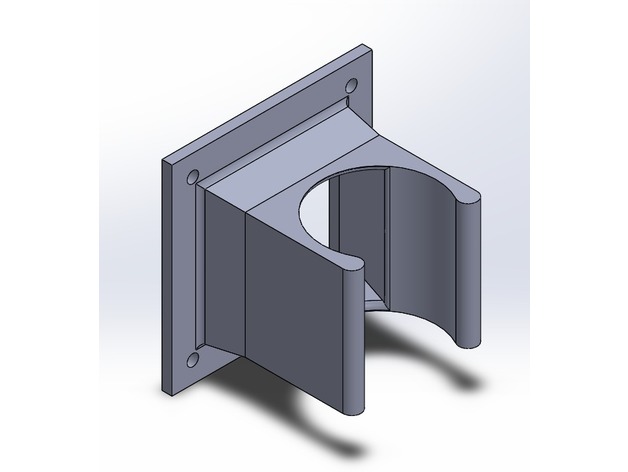
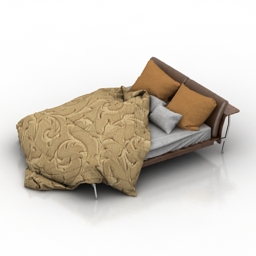
  • Bed 3D Model

    Bed 3D Model

    Additional Info: Bed Cassina L41 Sled N240118 – 3D model (*.gsm+*.3ds) for interior 3d visualization.

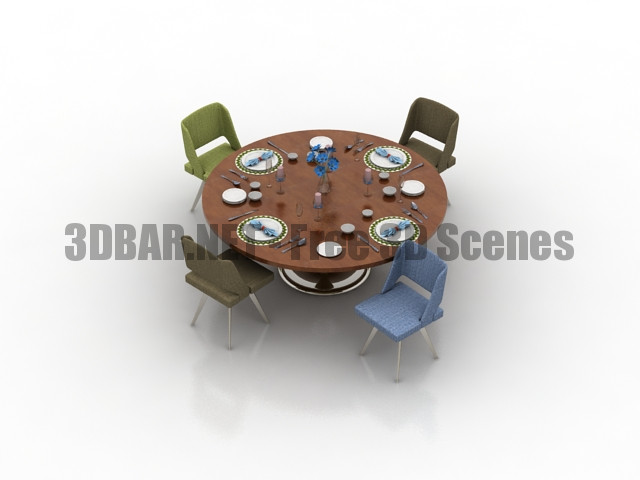
  • Dining Set Table and chairs dishes 3D Collection

    Dining Set Table and chairs dishes 3D Collection

    Dining Set Table and chairs dishes 3d Models

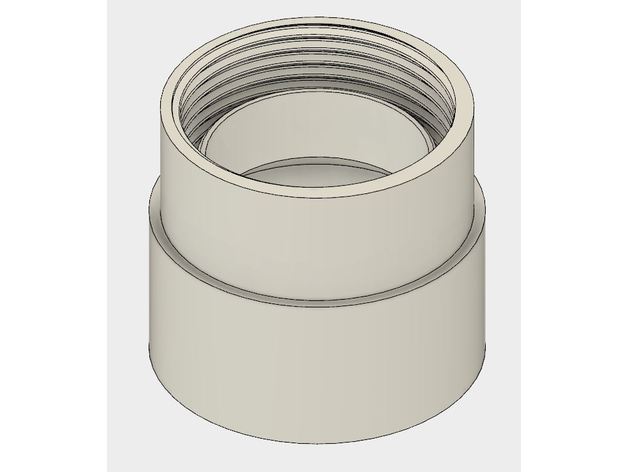
  • Uk to USA Plumbing Adaptor 32mm (1-1/4 BSP) to USA 1-1/2 Schedule 40 Fittings 3D Print Model

    Uk to USA Plumbing Adaptor 32mm (1-1/4 BSP) to USA 1-1/2 Schedule 40 Fittings 3D Print Model

    Summary
    I needed a 32mm threaded UK style plumbing adapter to it a USA style schedule 40 P trap.
    In true maker fashion i knocked on up on the 3d Printed.
    UK Style 32mm / 1-1/4 BSP Female Thread to USA Style 1-1/4 male.
    Used a small o ring in the bottom of the threaded section to help seal.

  • dual unregulated mod. 18650 Vape 3D Print Model

    dual unregulated mod. 18650 Vape 3D Print Model

    Summary
    nice box mod with mosfet and 15Kohms resistor. I purchased other supplies on aliexpress for 8 bucks in total. I used neodym magnets from Geomag (3 mm high and 6 mm width)
    How I Designed This
    Easy design in TinkerCAD. It took me about 15 minutes

  • DanO’s BIg O Extruder 3D Print Model

    DanO’s BIg O Extruder 3D Print Model

    Summary
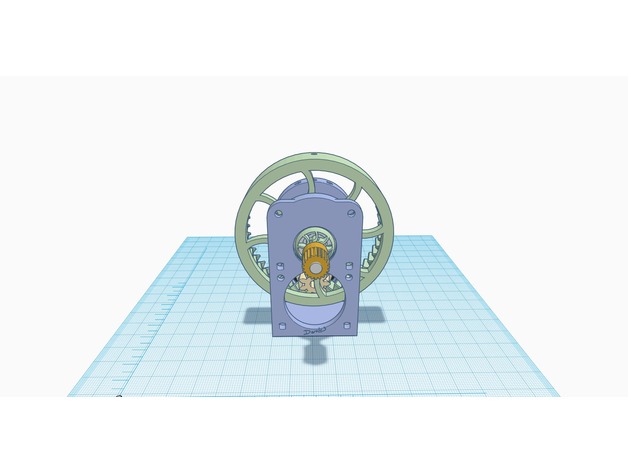
    This is a Geared extruder I designed to be compact.
    The gear ratio is 1:5.22
    Printed with PLA
    You will need
    2x 609zz bearings
    1x 5mmX70mm bolt
    8x 3mm screws
    4x 3mm nuts
    Print with supports except for the large gear (causes binding if not cleaned fully)
    Assembly
    If you are mounting to a base Do it now
    Press in Bearings
    Attach drive gear to the motor. align gears.
    Assemble large gear assembly.
    Add the motor to the housing. Do not tighten.
    Align gears.
    Secure the motor
    Add Direct drive extruder of your choice.
    Have a beer for a job well done.
    Please allow 2-4 hrs of use to break-in for smoothe action. (realign and retighten bolts)
    Print Settings
    Printer Brand:
    Prusa
    Printer:
    Prusa Clone
    Rafts:
    No
    Supports:
    Yes

  • Rollei 35 S Lens Cap 3D Print Model

    Rollei 35 S Lens Cap 3D Print Model

    Summary
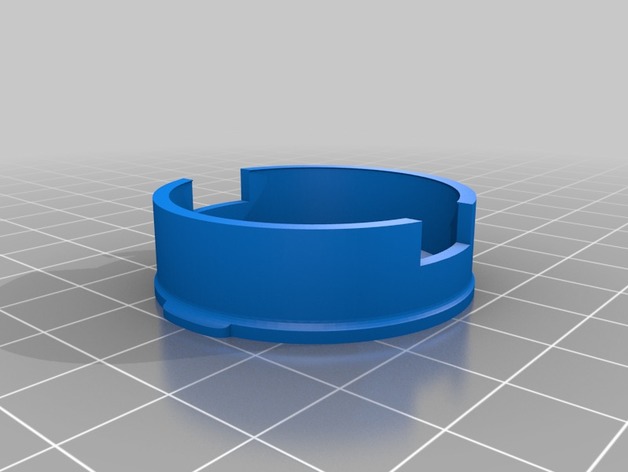
    Works best when printed with flex material like TPU to snugly fit on the lens. The inner diameter is like 0.1mm narrower than the lens so the cap doesn´t fall of.

  • Display Holder for Tevo Tarantula 3D Print Model

    Display Holder for Tevo Tarantula 3D Print Model

    Summary
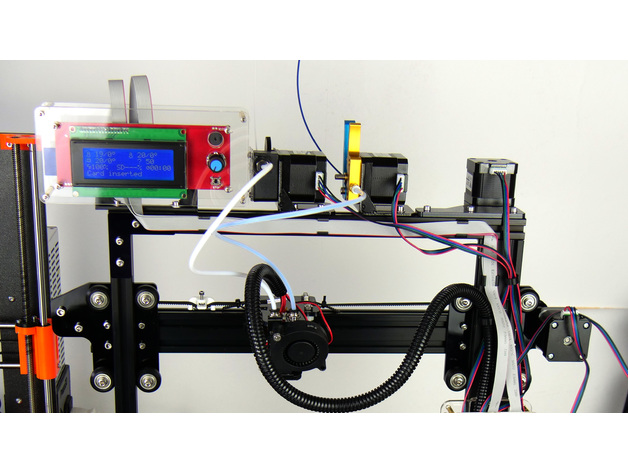
    Mount your LCD ontop of the printer.

  • Guava Fruit Free 3D Model

    Guavas are common tropical fruits cultivated and enjoyed in many tropical and subtropical regions. The term “guava” appears to derive from Arawak guayabo “guava tree”, via the Spanish guayaba. It has been adapted in many European and Asian languages, having a similar form. Another term for guavas is peru, derived from pear. It is common in countries bordering the western Indian Ocean and probably derives from Spanish or Portuguese.
    It is a low poly model textured made in Blender internal.

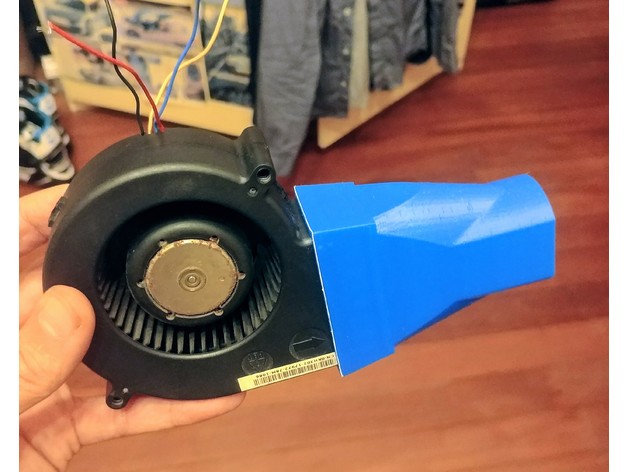
  • BBQ 97mm to 40mm Blower Server Fan Duct press fit 1012 KH302 3D Print Model

    BBQ 97mm to 40mm Blower Server Fan Duct press fit 1012 KH302 3D Print Model

    Summary
    this should also fit ANY fan with a output size of ~58mm x ~33mm
    i designed this blower duct to attach to a Delta KH302 BFB1012EH blower fan, to use for stoking a fire pit which had a 50mm pipe put through it with air holes. to allow the middle of the fire to suck in air from outside
    the outside of the top circle is 40mm and 33mm between the two flat sides.
    it is a press fit onto the output of the fan.
    thickness of the walls is about 2mm, however it does get quite thin in a couple of spots where the fan presses in.
    Haribo Prusa i3 mk2
    printed at 60mm/s
    0.2mm layers
    ABS @ 245C with a 40% fan in a enclosure which reaches about 50C
    supports are required for the lip where the fan pushes in until.
    this lip is about the same thickness as the fan case, so has a nice smooth airflow.
    yet to test this on the fire pit, hoping that a 12v 3amp fan, moving a lot of air through the plastic will keep it cool enough to not melt. (thus why the walls are only 2mm thick)
    Print Settings
    Printer Brand:
    Prusa
    Printer:
    Prusa Clone
    Rafts:
    No
    Supports:
    Yes
    Resolution:
    0.2
    Infill:
    20%

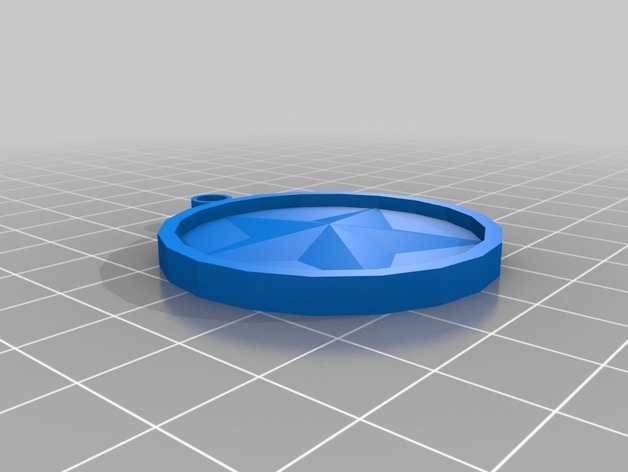
  • Texas Key Chain 3D Print Model

    Texas Key Chain 3D Print Model

    Summary
    made with Sketchup

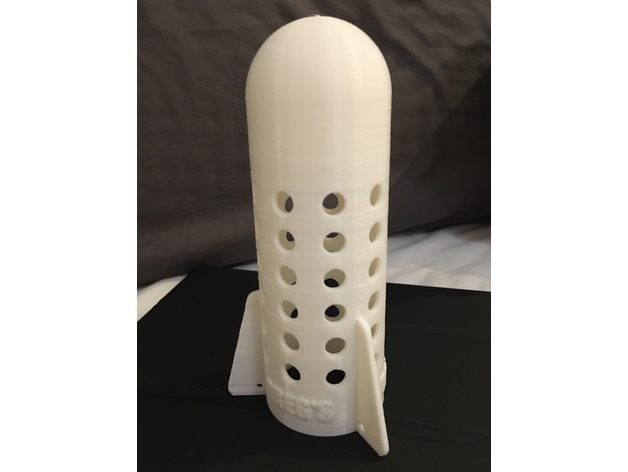
  • Greg’s Bait Bomb – Bait Rocket – Spod – Carp Fishing 3D Print Model

    Greg’s Bait Bomb – Bait Rocket – Spod – Carp Fishing 3D Print Model

    Summary
    A simple Bait Rocket (Spod) Design. the original one is small, you can cast it with a regular carp rod. no support required, the inside has a dome shape. I tried it in my bathtub and it works and floats properly, still need to test it in real conditions.
    Print Settings
    Printer:
    CR-10s
    Rafts:
    No
    Supports:
    No
    Resolution:
    0.2
    Infill:
    No
    Notes:
    few infill or none in order to make it float correctly. Walls are 1.5mm to make it as watertight as possible. I still advice you to spray a lacquer coat or two on it, you don’t want any water to enter in the head/float part.
    How I Designed This
    Fusion 360

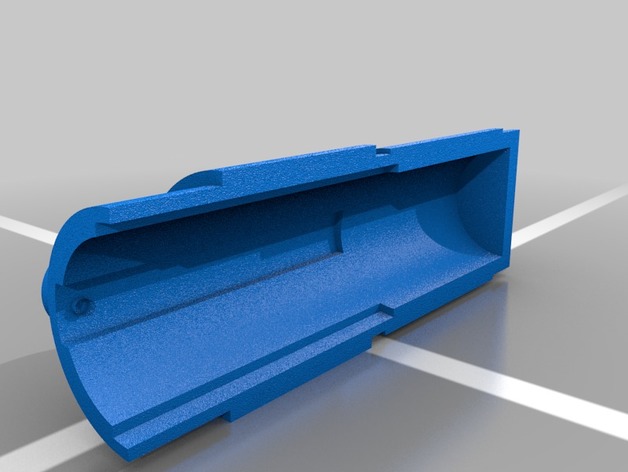
  • Lightsaber Conversion Handle for Night Ize LED Glow Stick 3D Print Model

    Lightsaber Conversion Handle for Night Ize LED Glow Stick 3D Print Model

    Summary
    Convert LED glow stick into a miniature lightsaber toy. I found these at Home Depot and couldn’t help but make a handle for them to make them look more like a lightsaber for my daughter. I just printed the two halves and you can either glue them together or use a zip tie.

  • Dungeon Guardian 3D Print Model

    Dungeon Guardian 3D Print Model

    Summary
    (pending description)

  • Weed 10 Free 3D Model

    Weed 10 Free 3D Model

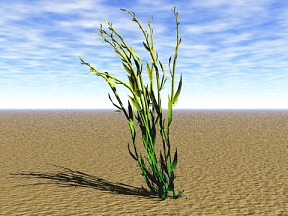
    Free Model of 3DPlants.com “Plant Model Libary CD?s” and Downloadable Model Sets! This Model also available on CD…with UV mapped textures! More Info?s, Preview Images, Shop and Downloadable Texture Sets or a “Seamless Natural Texture CD” you find directly at 3DPlants.com!

  • Door 3D Model

    Additional Info: Door 2 – 3D model (*.gsm+*.3ds) for interior 3d visualization.

  • Armchair 3D Model

    Armchair 3D Model

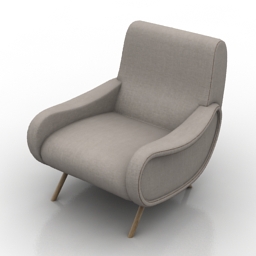
    Additional Info: Armchair cassina_lady_720 N210218 – 3D model (*.gsm+*.3ds) for interior 3d visualization.

  • Pushe duxe 3D Collection

    Pushe duxe 3D Collection

    Pushe duxe 3d Models

  • Battery case for 30 AAA batteries 3D Print Model

    Battery case for 30 AAA batteries 3D Print Model

    Summary
    Probably there are allready many around but still i designed and printed a battery case for 30 AAA batteries. I had cases for 4 or 8 batteries and had a few of them so i decided to make one case for all of them. This is it.
    Print Settings
    Printer Brand:
    Prusa
    Printer:
    i3 MK3
    Rafts:
    No
    Supports:
    No
    Resolution:
    0.20
    Infill:
    20%

    How I Designed This
    Designed in Tinkercad

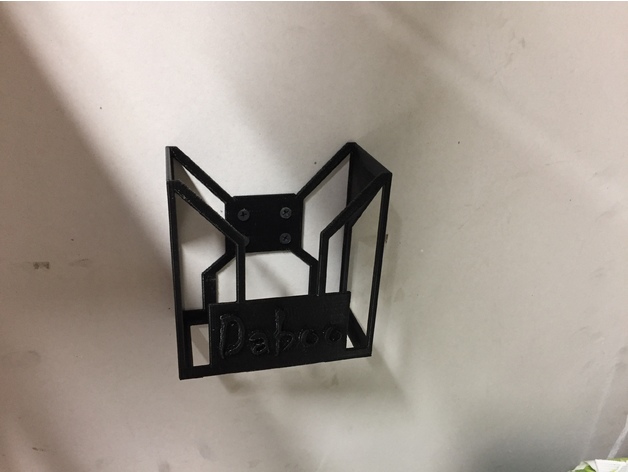
  • Harbor Freight Nitrile Glove Dispenser 3D Print Model

    Harbor Freight Nitrile Glove Dispenser 3D Print Model

    Summary
    I designed this Harbor Freight Nitrile Glove Dispenser so I could free up a bit more valuable workspace from my desktop, and still have readily available. In order to decrease print time, I cutaway the side walls and used angles less than 45 degrees so that support material wouldn’t need to be generated.
    While my pics display “Daboo” on the front, which is my nickname, I’ve removed it from the uploaded file here.
    Print Settings
    Printer:
    Cetus Extended
    Rafts:
    Yes
    Supports:
    No
    Resolution:
    .36
    Infill:
    15%
    Notes:
    I printed this in fast mode at a .36 layer height so that it would print in ~3hrs. Being a tool that is only holding a box of gloves, this provides enough strength and while the finish isn’t perfect at this speed, it looks fine and functions perfectly.

  • Potentiometer with 2 Tactile Switches 3D Print Model

    Potentiometer with 2 Tactile Switches 3D Print Model

    Summary
    This is a set of widgets to incorporate two switches into a potentiometer. The potentiometer shaft can be moved side to side to activate one or other of the switches, or axially to activate both switches at the same time. I created it for use in my electric (synth) guitar: https://youtu.be/sHcr7bk1pW0

  • Evil Space elf Generator-Spire 3D Print Model

    Evil Space elf Generator-Spire 3D Print Model

    Summary
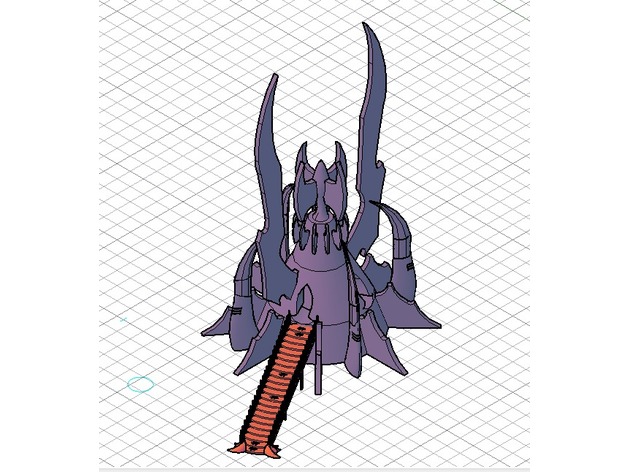
    A base-generator-spire for my evil space elf army.
    Not spliced yet. The stairs could be printed 4 times if you want for the whole entries.
    Enjoy it!!!

  • Knight 600A Tube Tester Lever Cap 3D Print Model

    Knight 600A Tube Tester Lever Cap 3D Print Model

    Summary
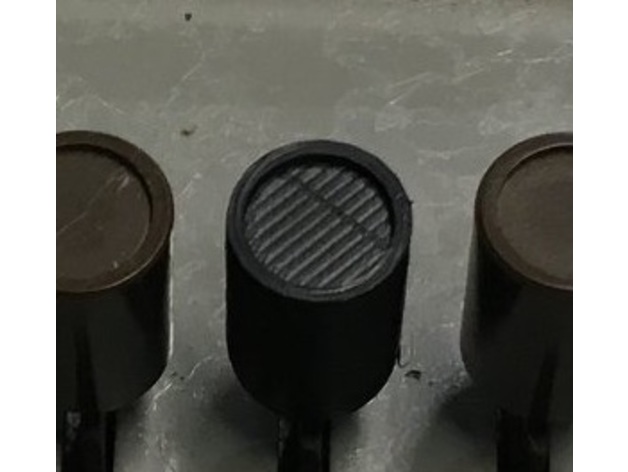
    This is a replacement lever cap for a Knight 600A tube tester. It probably will fit other Knight models.
    Print Settings
    Printer:
    Monoprice Select Mini V2
    Rafts:
    Yes
    Supports:
    No
    Infill:
    20%

  • Imperial Star Destroyer						 Free 3D Model

    Imperial Star Destroyer Free 3D Model

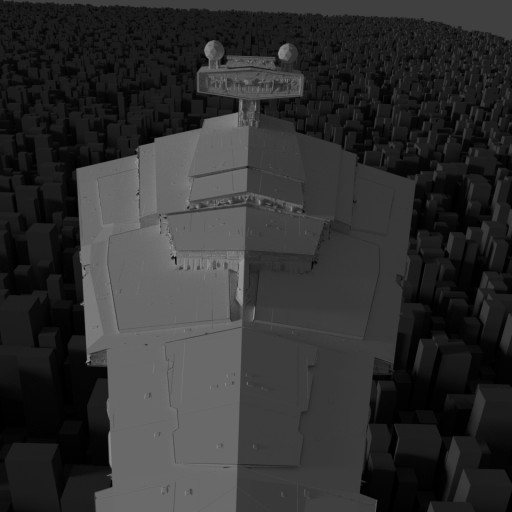
    Made watching CG Geek’s star destroyer tutorial. The displacement maps are by CG Geek.

  • Silver YouTube Play Button						 Free 3D Model

    Silver YouTube Play Button Free 3D Model

    A Realistic YouTube Play Button Award. Pretty much looks like the real.
    Enjoy!!