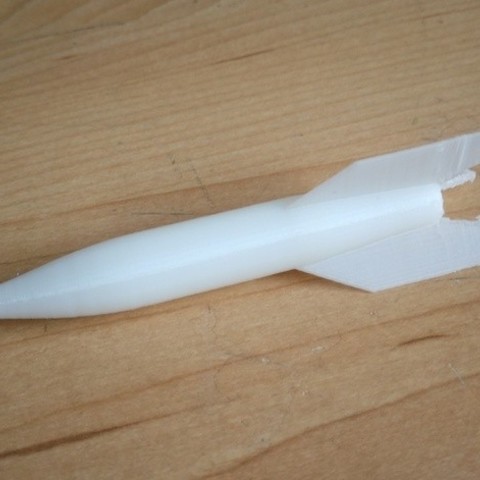
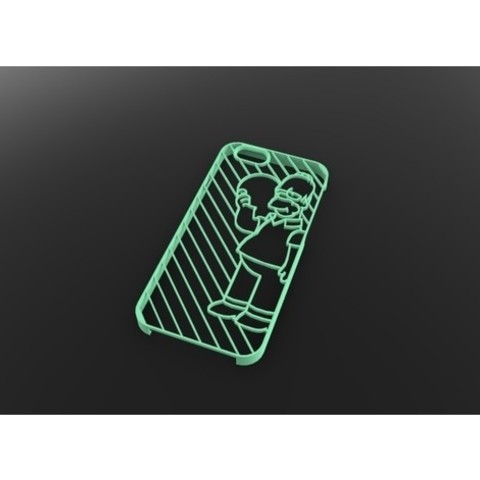
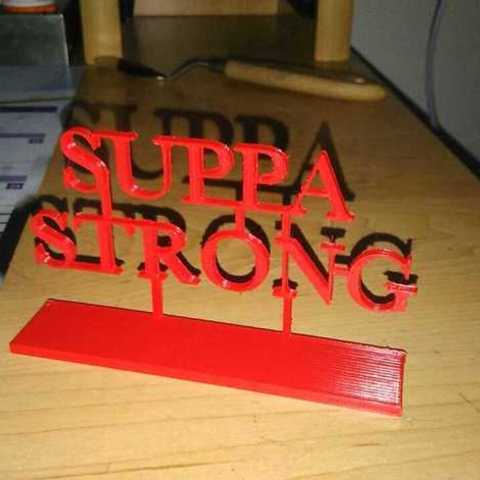
Summary
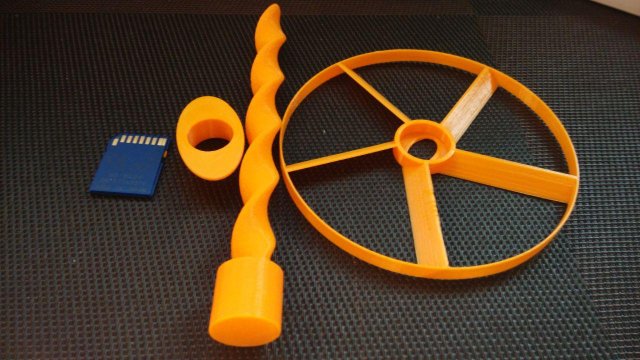
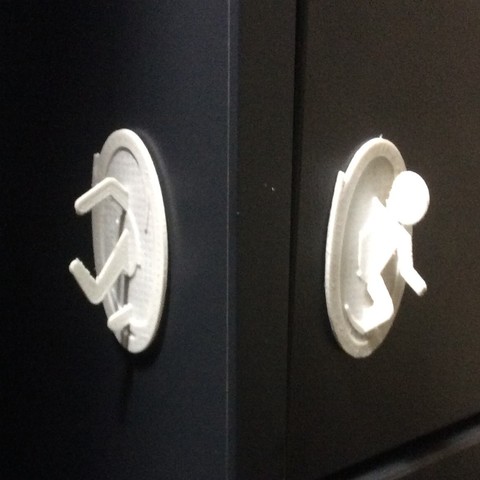
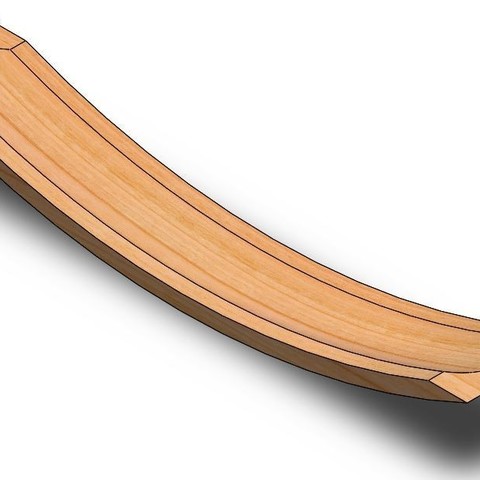
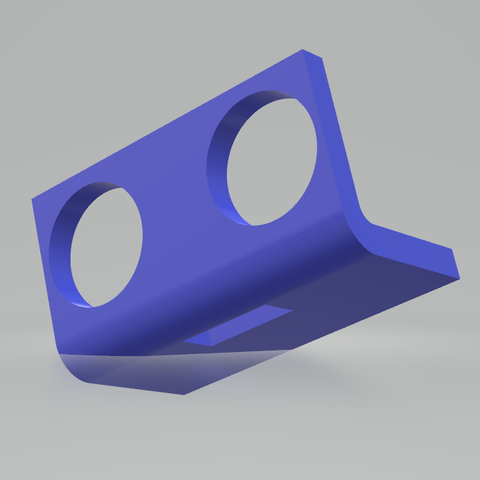
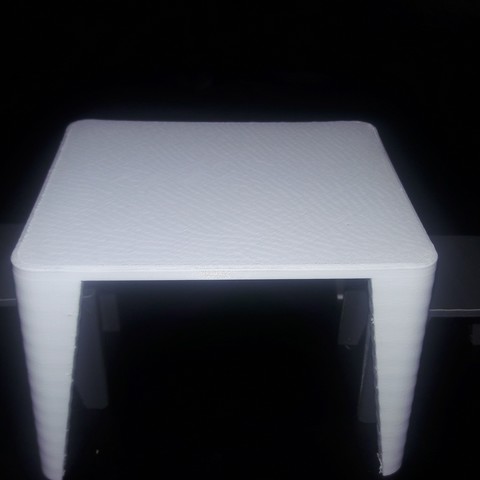
Z Axis Bearing Holder 1.0 for 3030 profil
Print Settings
Rafts:
No Supports:
No Resolution:
0,2 Infill:
30-50
Category: 3D Print Models
Premium & 3D Print models ready to be 3d printed. 3D Print Models and Free 3D Print Models are available for download in several formats including .STL, .3DM, .OBJ, .3DS, .DAE, .SKP, .BLEND, .DWG, .DXF, .STEP and much more. If you’re in search of high-quality 3D printed assets, we have a huge library of 3d print models for any of your needs. Also you can visit 3D Models and All 3D Models category.
-
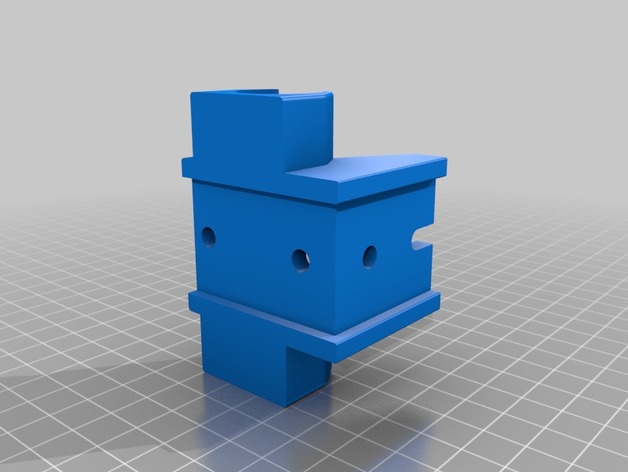
Z Axis Bearing Holder 3D Print Model
-
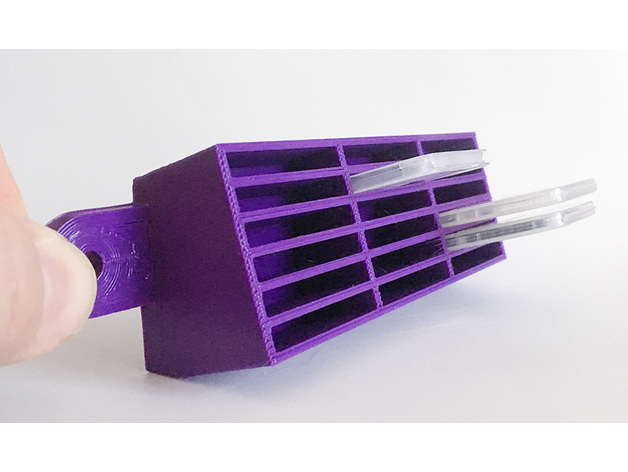
SDHC/MicroSD card case holder with flanges 3D Print Model
Summary
This is a wall/rack mountable holder for the plastic cases SDHC/MicroSD cards come in. It’s designed to be screwed into the wall or onto the face of a 1RU rack panel. You could also foam tape it to whatever you want. It’s angled upwards to keep the cards from falling out easily, and the inside is tiered so that cards at the top stick out further than cards at the bottom. This makes it easier to remove the cards.
I have another similar design (“SD Card Holder with mounting flanges”) for SDHC cards without cases.
Prints easily with pretty much anything. I’m using cheap PLA and it works fine with no supports when oriented in the obvious direction (flange side down). The base of it is a big ol’ plastic rectangle so you’ll have the usual gotta-pry-it-off-the-bed issues you get with any piece with a wide base. You could use a raft if that’s an issue for ya.
It’s 171mm wide so on a Lulz Mini you have to orient it diagonally to fit and you might have to tighten up your skirt a bit to keep everything on the bed.
Print Settings
Printer Brand:
LulzBot Printer:
Mini Rafts:
No Supports:
No Resolution:
I did 0.3mm Infill:
20% worked Notes:
It’s 171mm wide so on a Lulz Mini you have to orient it diagonally to fit and you might have to tighten up your skirt a bit to keep everything on the bed. -
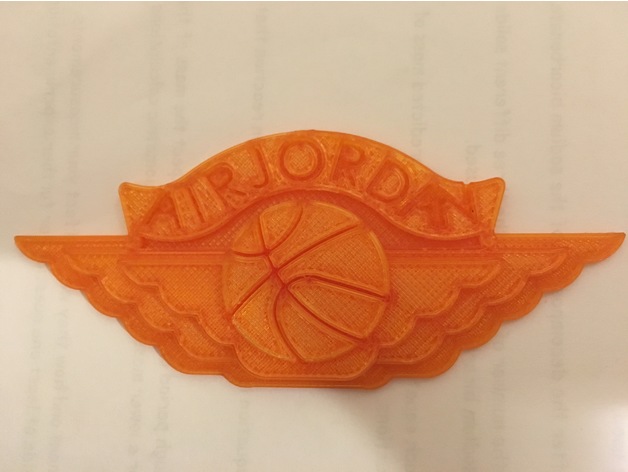
Air Jordan Logo 2D Art 3D Print Model
Summary
This is an extruded model of an old fashioned Air Jordan logo. It fits in a constraint box roughly 7.5 cm by 3.5 cm. There are 4 different layers of extrusion, as each layer of wings is extruded 0.2 cm higher then the next. The ribbon is included in the first layer, and the final layer contains just the basketball. We also included 2 different extruded cuts, one for the lettering and one for the lines on the basketball.
In the final printed product, for the most part the piece came out pretty good except for some failure on the small detailed letters and basketball lines. Because of this, I recommend when printing scale by at least 150% of the original STL fileOverview and Backround
This is the source image our design is based off of.
Lesson plan and Activity
Problem Statement –
With a partner, you will design a “2D” placard using Solidworks. You and your partner will have the same design which meets the constraints below, and you will EACH use Solidworks to create your design.
Constraints –
Should have a flat back; detail will be on the front side
Should fit inside a box that is 25cm2 when lying flat
Should be no more than 1cm thick
Detail will be made using sketches that are extruded to different heights
Sketch must begin with a constraint box, (a center-rectangle created from the origin)
Dimensions should be detailed but efficient
Sketch must contain zero error messages
Sketch must be fully defined when complete
Demonstrate efficient use of “Construction Lines”/”Reference Geometry”
Demonstrate efficient use of “Offset Entities”
Demonstrate efficient use of “Manual Relations”
Demonstrate efficient use of “Smart Dimensions”
Demonstrate efficient use of “Mirroring”
Demonstrate efficient use of “Linear Patterns” -
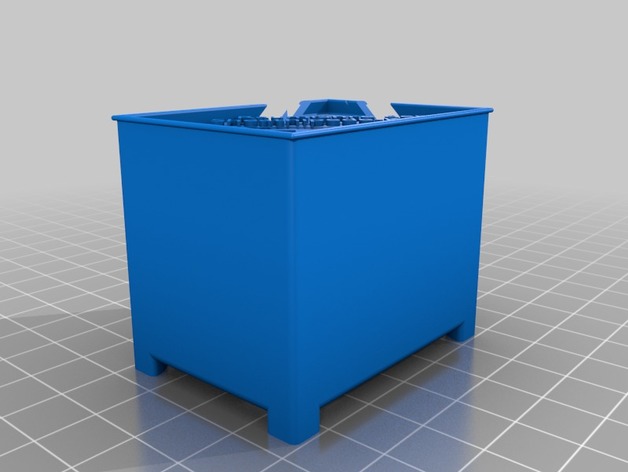
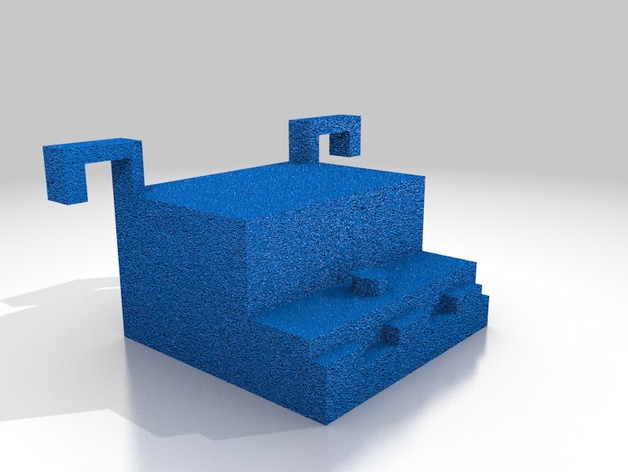
Seathipede-class Shuttle Holder (X-Wing Miniatures) for Stanley organizer 3D Print Model
Summary
There is an english and a german version. They only difference is the text (“Sheathipede Shuttle” or “Raumfähre der Sheathipede-Klasse”) and the position of the rebel symbol.
This thing follows Lord_Dowrkins idea and adds a storage box the Sheatipede-class Shuttle. The following text is mostly copied from him (except of my notes).
I use the Stanley 25-Compartment Organizers for my X-Wing Miniatures collection, and have tried many solutions for maximizing space and keeping the models safe. I reviewed most of the similar designs on Thingiverse, but there were none that had everything I wanted. So I started to design my own series, and based on my collection (I own at least one of almost everything, including Epic (note: I don’t own any Scum, so don’t expect any Scum ships to be added. I do own everything else)).
My design goals:
Maximize Space
Attractive Presentation
Include the pilot cards (note: unline Lord_Dworking i’ll never do so)
Include the movement dials whenever possible (note: unlike Lord_Dworkin i’ll try to always do so)
So, here is my design for the Sheathipede-class Shuttle, holding also one dial.
This will fit the Stanley 25 Compartment Organizer (https://amzn.com/B00005QWYF) or the Harbor Freight 20 Compartment version (https://www.harborfreight.com/tool-storage/part-storage/19-bin-portable-parts-storage-case-93928.html).
As I complete and post more of this collection, I will link them here as well. (note: i also include links to Lord_Dwonkins, but not the other direction)
A-Wing
B-Wing
E-Wing
K-Wing
Sabine’s TIE Fighter
Sheathipede-class Shuttle
T-65 X-Wing
T-70 X-Wing
U-Wing
YT-1300
YT-2400
TIE Bomber
TIE/fo-Fighter
Movement Dial Holder (7x) -
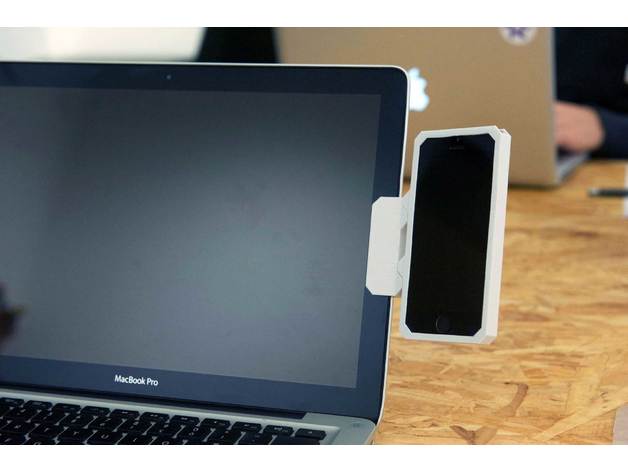
Phoneside Cover – version 2 3D Print Model
Summary
COVER available for :
iphone4
iphone5
iphone6
iphone6+
samsungS5
samsungS6
samsungS7
HOLDER available for :
holder mini : for laptop
holder maxi : for computeur screen
Soon costumizable, Rest in touch !
Comments are welcoms !
Post-Printing
Need some foam rubbber.
Photos available soon. -
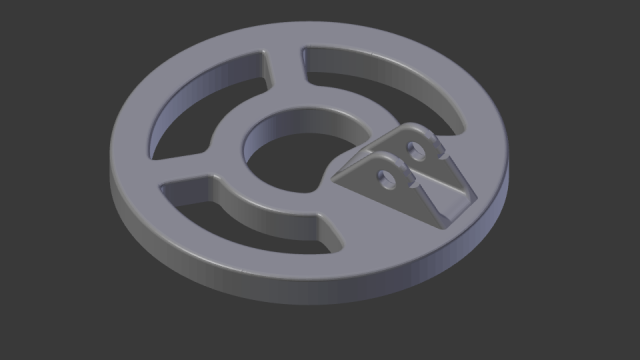
Mono detector housing 200 mm 3D Model
Mono housing of the metal detector. The size 200 mm.Internal height of the board is 15 mm.The width of the groove is 10.5 mm.The distance between the ears is 20 mm.
-
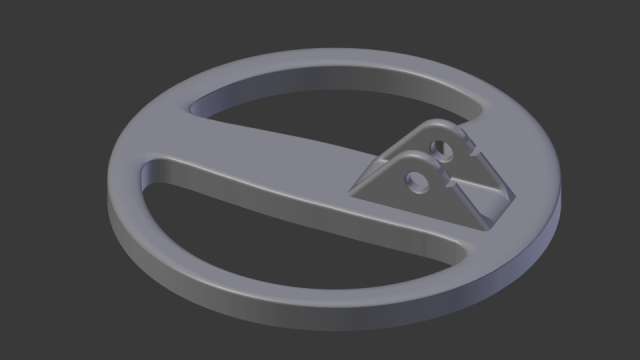
DD sensor housing of metal detector 200mm 3D Model
DD housing of the metal detector. The size 220 mm.Internal height of the board is 13 mm.The width of the groove is 10.5 mm.The distance between the ears is 20 mm.
-
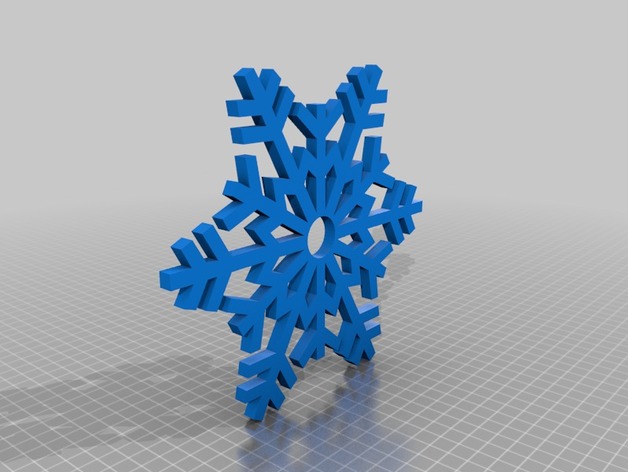
Snowflake Fidget Spinner 3D Print Model
Summary
A fidget spinner shaped like a snowflake.It is very large and needs a 200×200 bed surface.
Print Settings
Printer Brand:
Prusa Printer:
Prusa Clone Rafts:
No Supports:
Doesn’t Matter Infill:
10%
Post-Printing
Add a bearing and bearing caps. -
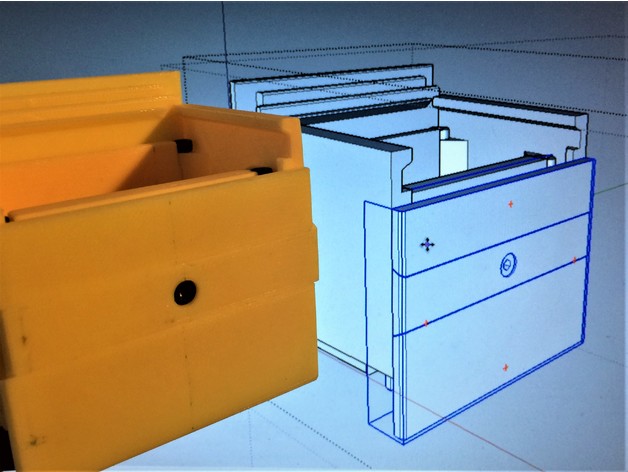
Awesome Epic Puzzle Box 3D Print Model
Summary
2 slider Chinese puzzle box. 9hr print. Can print custom paths for unique combinations.
18 moves to open.
Based on Bruce Viney’s Impossible Odds at: http://www.homemadepuzzles.co.uk/index.html
Designed for my Design Print Build youtube video series.
Requires 10x m3-8mm bolts.
Printed at .25mm layers, .4mm nozzle, 50mm/s 2 wall, 20% infill. Very little sanding required.
May require supports touching bed on Front and Back panels, that hold the sliders.https://www.youtube.com/watch?v=wRqW6jQDPlY -
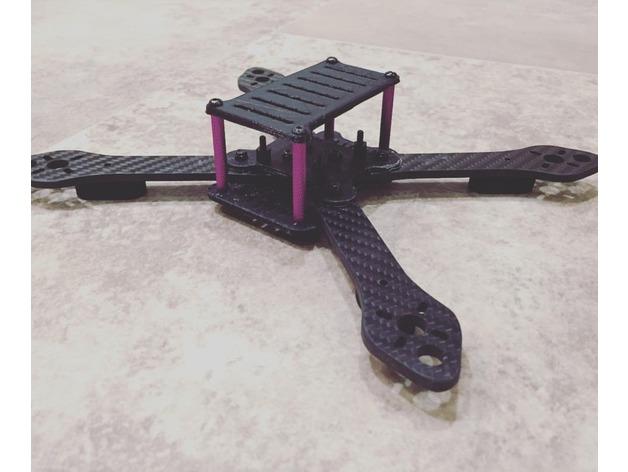
Martian 3d frame. 3D Print Model
Summary
A friend of mine crashed and broke his drone frame, and I had some spare martian arms (yes they are all the same) and put this together for him. It actually flies like the carbon frame. If you want to build a cheaper frame then the already cheap martian frames off ebay and banggood, try this one!
I added some improvements for zap strapping things to the top plate.
Buy these ones, you’ll need 4 of them and some standoffs, screws, nuts, ect….https://www.banggood.com/Martian-190mm-230mm-255mm-Carbon-Fiber-4mm-Arm-Kit-p-1052454.html?rmmds=search&cur_warehouse=CN -
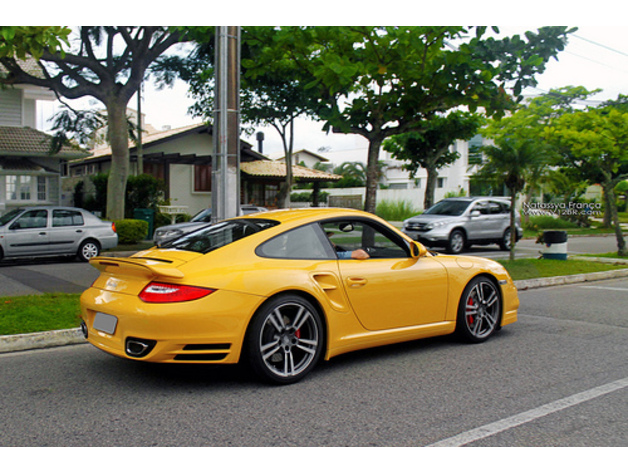
Porsche 911 3D Print Model
Summary
nice carStandards
NGSS
CCSS
Overview and Background
decoration
Lesson Plan and Activity
impress youre friends
Materials Needed
anything 3D printable -
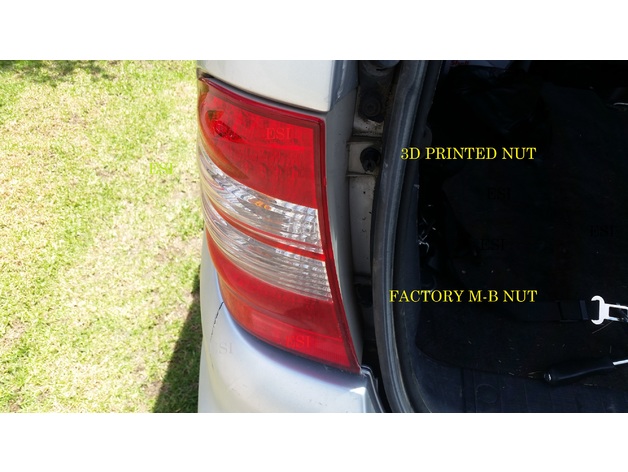
Mercedes Benz Trim Retainer Nut 3D Print Model
Summary
These nuts are used to retain the tailights in Mercedes Benz W163 ML series SUVs.
Over time the factory nuts come loose and the thread becomes worn and they no longer hold the tail lights correctly, resulting in wobbling lights, damaged bulb filaments, and large unsightly panel gaps
This replacement nut takes about 20 minutes to print with a 0.1mm layer height.
This is very similar to the interior carpet retainer nut used on many models on Mercedes Benz that era, so may be able to be used to retain carpet too.
I’ve designed this without an internal thread inside the nut. The factory retainer is threaded onto tapered self tapping thread fixed onto the vehicle. It should be forced onto the thread with a 10mm socket, so that the vehicle thread bites into the plastic to retain the nut. Make sure you clean the thread of old sealants or plastic for a good bite. -
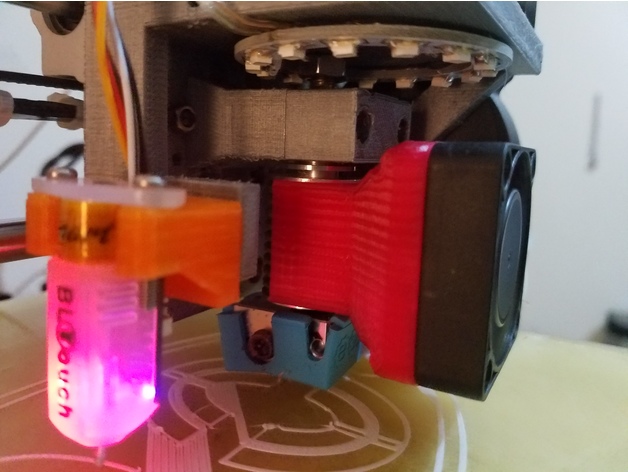
E3d 40mm Fan Mount 3D Print Model
Summary
First Fusion 360 model I feel comfortable sharing, not perfect, but works great for me. Time for me to start contributing.
Made to fit the real E3d V6 hotend found here:http://a.co/hnA3NVu
Highly suggest PETG or Nylon, I printed mine in PETG and it’s rock solid and has not loosened in over 20hrs of printing.
Material – PETG or Nylon
Support – No
Infill – 100%
You will need to flip it 180º on the build plate as it’s upside down and don’t know how to correct it after the model has been drawn. 🙂
Feel free to leave constructive feedback.
Print Settings
Printer:
Anet A8 Rafts:
No Supports:
No Resolution:
0.1 Infill:
100 -
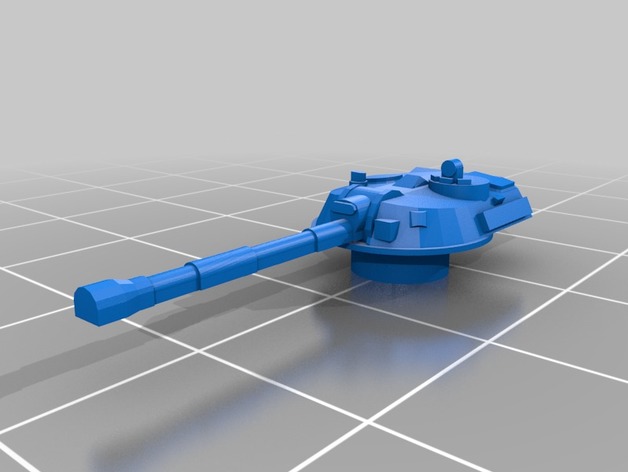
2С1 Gvozdika 3D Print Model
Summary
The first model for games in the scale of 1-200
All other models will be exclusively in this scale -
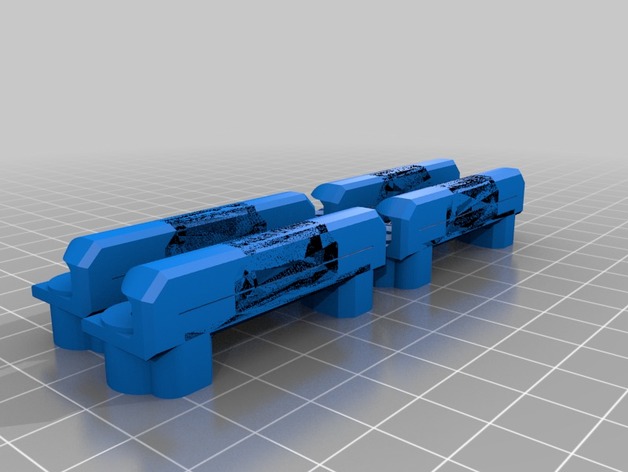
Glass clip monoprice 3D Print Model
Summary
remix shorten the distance between the clips holding the glass and heating bed.
also the heating bed and gantry -
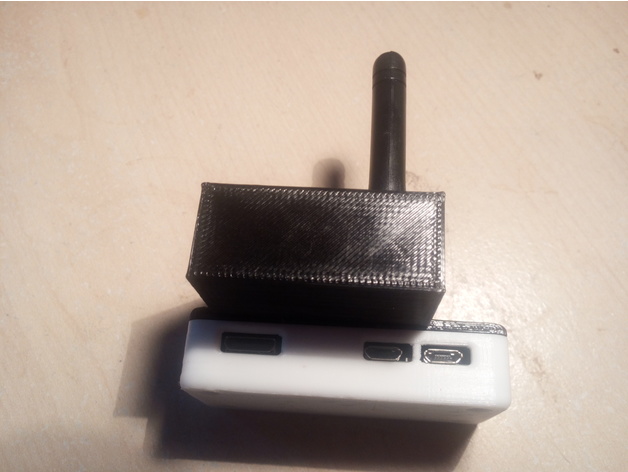
DV Mega Case for Raspberrypi Zero W 3D Print Model
Summary
I have a Raspberrypi Zero W running MMDVM through a DVMega and printed a case that I thought I would share.
It’s a bit tricky to print and it’s fiddly to connect the DVMega through the case to the raspberrypi, but once together it works great.
The bottom half is this
https://www.thingiverse.com/thing:1160140
I hope it works for you but it is a bit tricky as the shape is complex.
73’s -
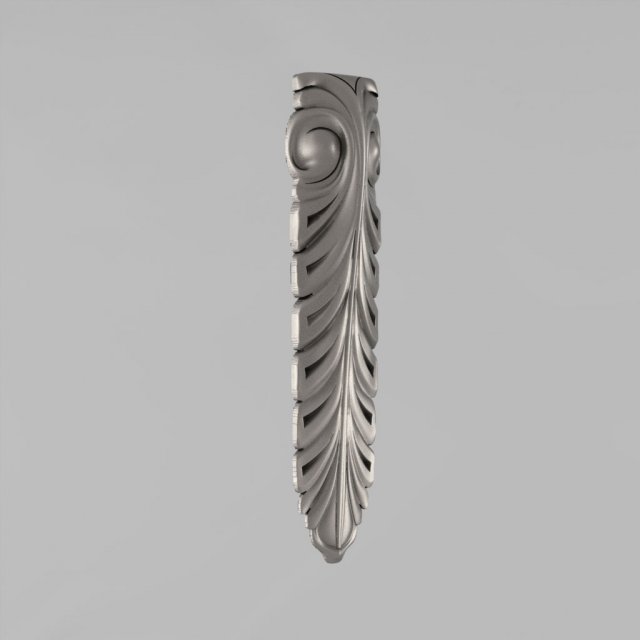
Corbels – 51 3D Model
STL 3D model – corbelsThe model is ready for prototyping with CNC machining and 3D printing.
-
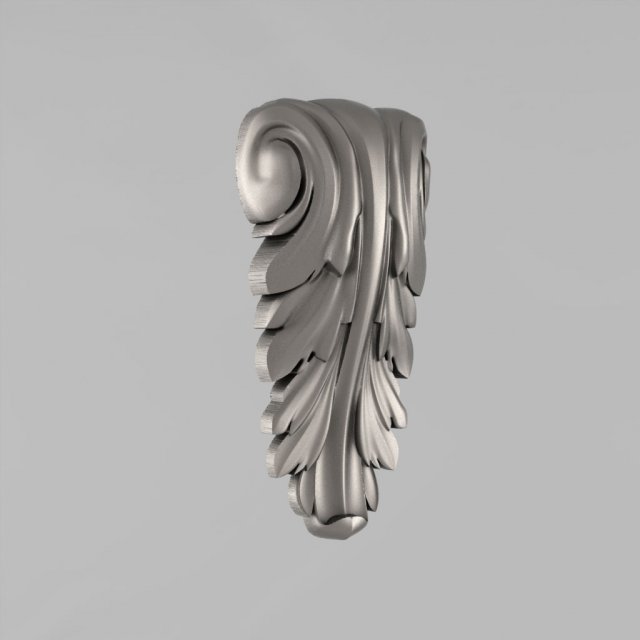
Corbels – 52 3D Model
STL 3D model – corbelsThe model is ready for prototyping with CNC machining and 3D printing.
-
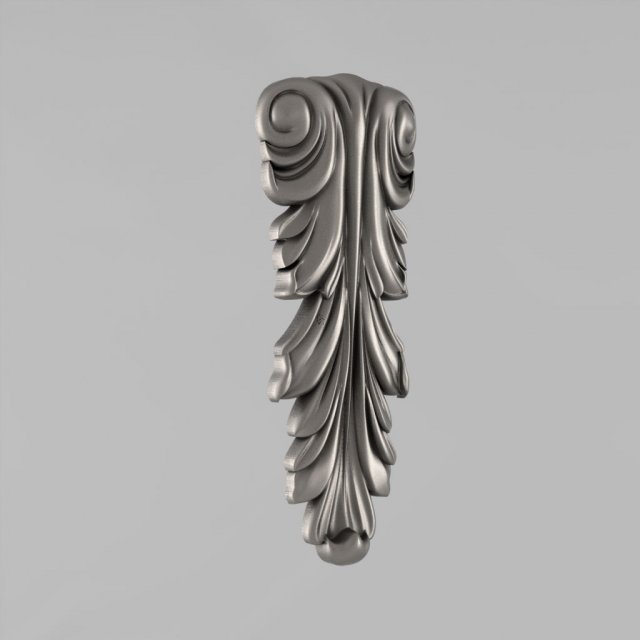
Corbels – 53 3D Model
STL 3D model – corbelsThe model is ready for prototyping with CNC machining and 3D printing.
-
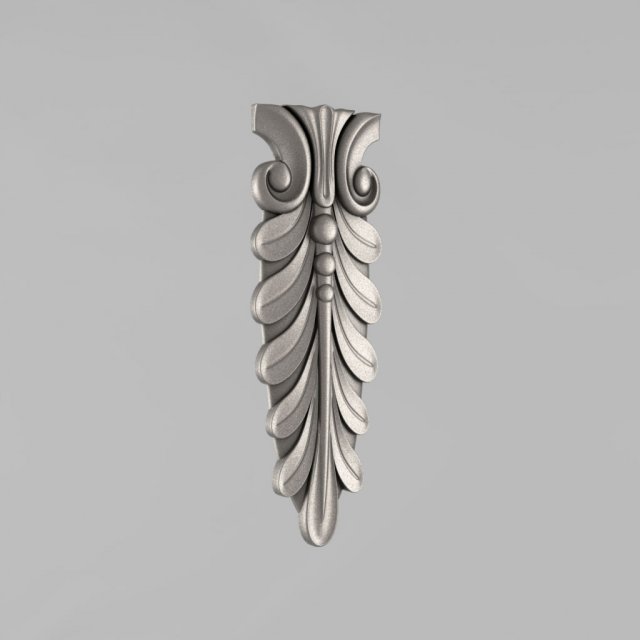
Corbels – 54 3D Model
STL 3D model – corbelsThe model is ready for prototyping with CNC machining and 3D printing.
-
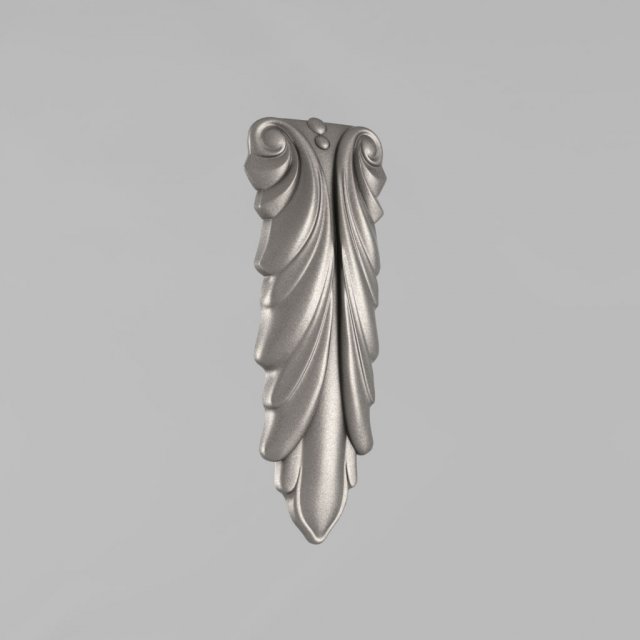
Corbels – 55 3D Model
STL 3D model – corbelsThe model is ready for prototyping with CNC machining and 3D printing.
-
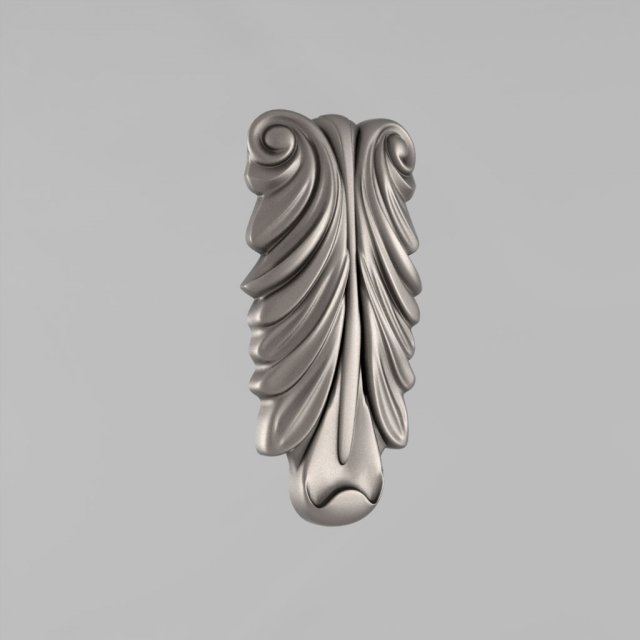
Corbels – 56 3D Model
STL 3D model – corbelsThe model is ready for prototyping with CNC machining and 3D printing.
-
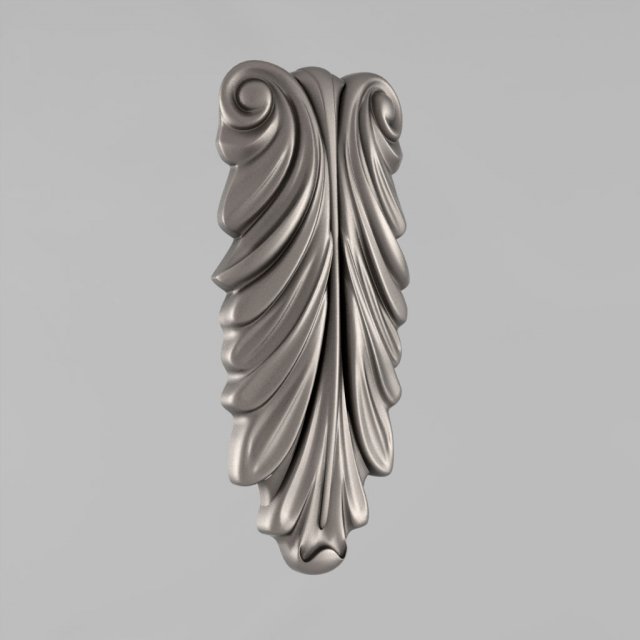
Corbels – 57 3D Model
STL 3D model – corbelsThe model is ready for prototyping with CNC machining and 3D printing.
-
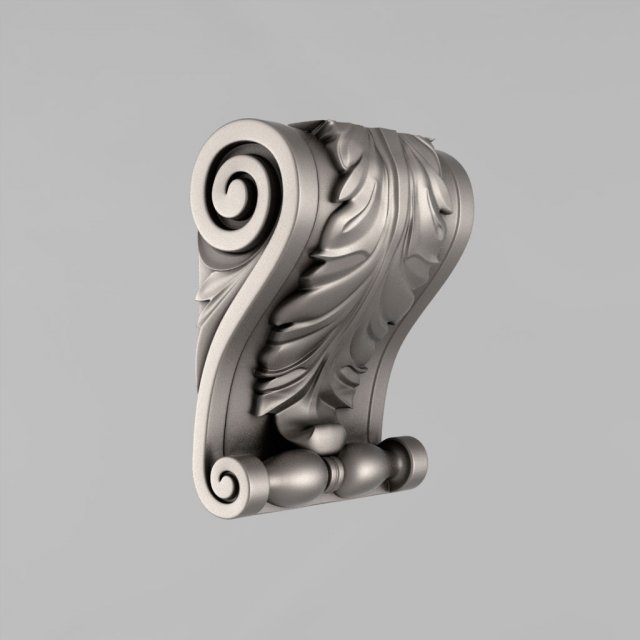
Corbels – 58 3D Model
STL 3D model – corbelsThe model is ready for prototyping with CNC machining and 3D printing.
-
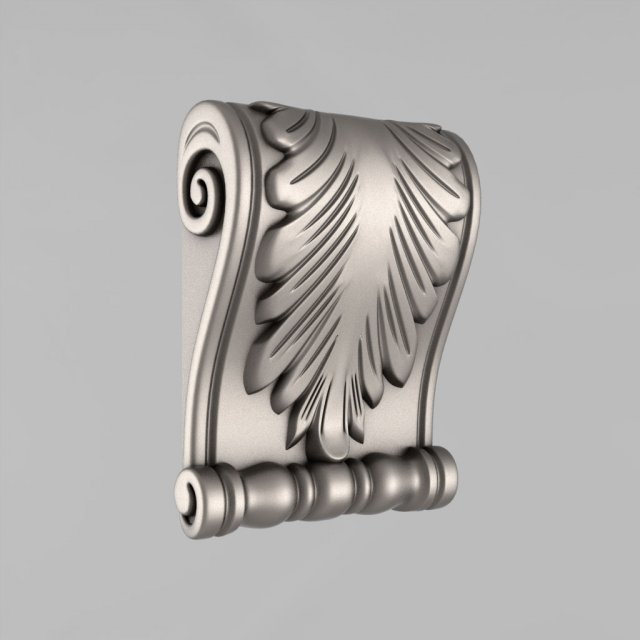
Corbels – 59 3D Model
STL 3D model – corbelsThe model is ready for prototyping with CNC machining and 3D printing.
-
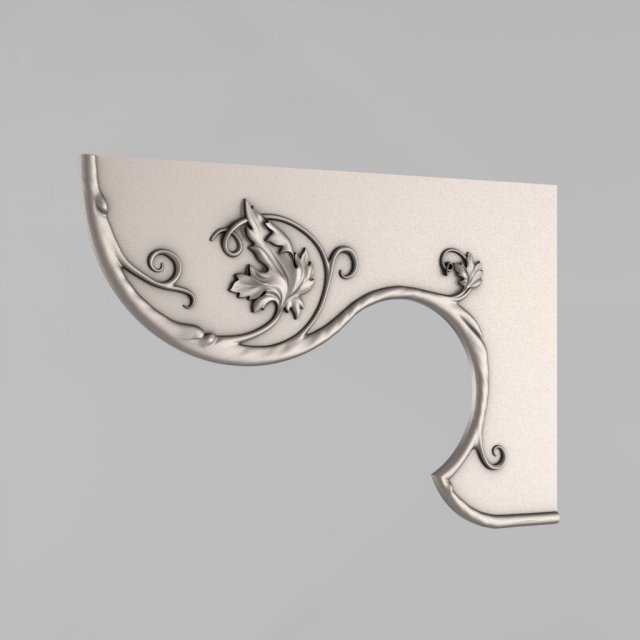
Corbels – 60 3D Model
STL 3D model – corbelsThe model is ready for prototyping with CNC machining and 3D printing.
-
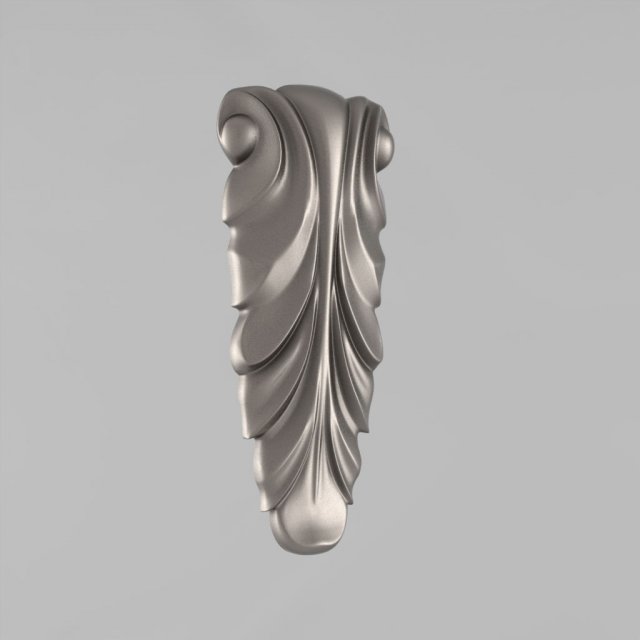
Corbels – 61 3D Model
STL 3D model – corbelsThe model is ready for prototyping with CNC machining and 3D printing.
-
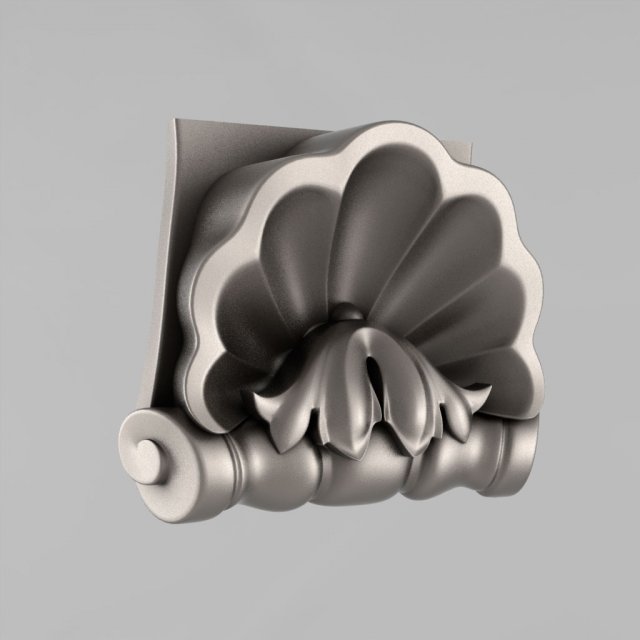
Corbels – 62 3D Model
STL 3D model – corbelsThe model is ready for prototyping with CNC machining and 3D printing.
-
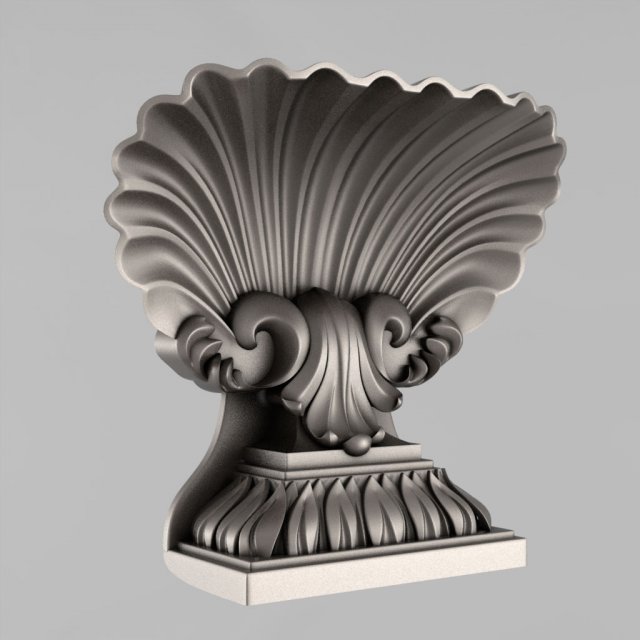
Corbels – 63 3D Model
STL 3D model – corbelsThe model is ready for prototyping with CNC machining and 3D printing.
-
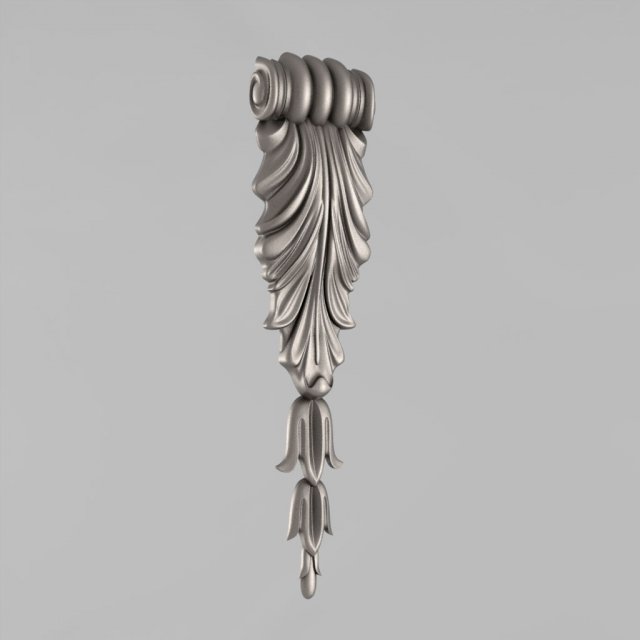
Corbels – 64 3D Model
STL 3D model – corbelsThe model is ready for prototyping with CNC machining and 3D printing.
-
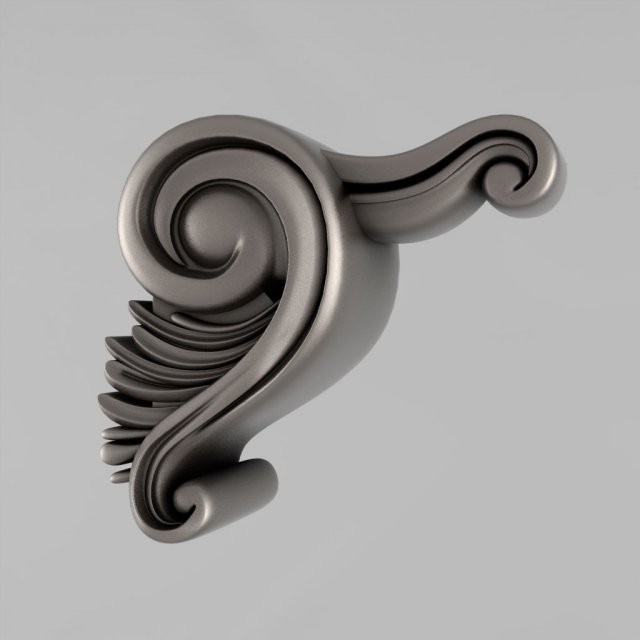
Corbels – 65 3D Model
STL 3D model – corbelsThe model is ready for prototyping with CNC machining and 3D printing.
-
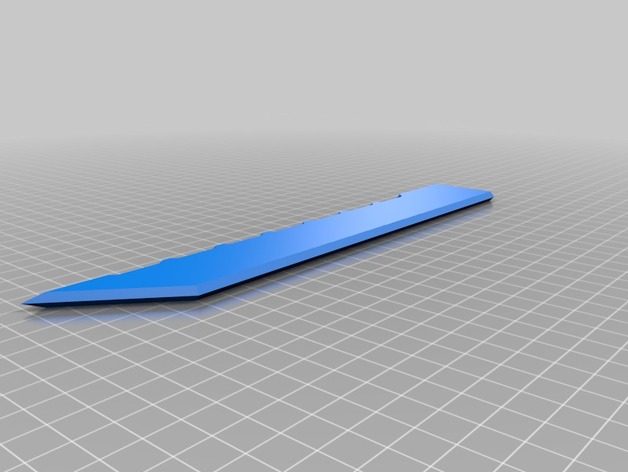
Airsoft Dummy Knife/Bayonet 3D Print Model
Summary
This is my first ever attempt at making a custom design. I am self taught with the program so some dimensions may be off (like i said first ever design)
THIS IS NOT A REAL KNIFE AND IS NOT DESIGNED TO BE ONE ITS MADE TO BE USED AS A MELEE WEAPON IN AIRSOFT GAMES
But here are some things you will need:
A 3D printer (Duh)
Hot glue or super glue
sand paper or a metal file
a small metal pick or knife -
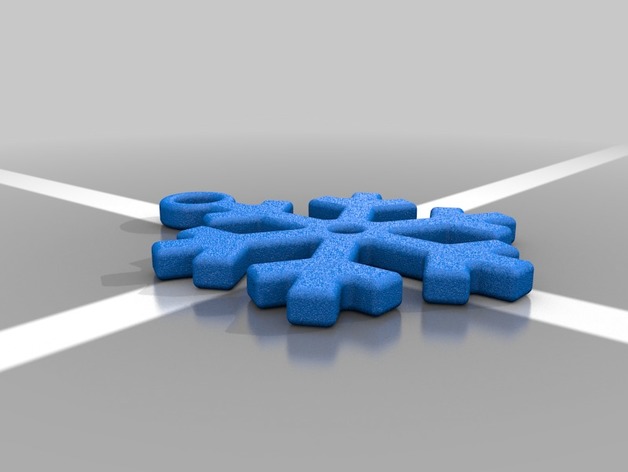
Snowflake Keychain 3D Print Model
Summary
Simple snowflake keychain as part of my “things to print for people for Christmas” exercise. Enjoy.
Print Settings
Printer Brand:
FlashForge Printer:
Creator Pro Rafts:
No Supports:
No Infill:
30% -
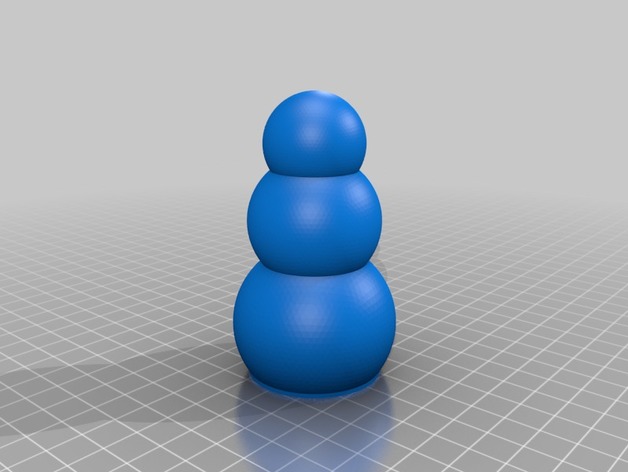
Snowman! 3D Print Model
Summary
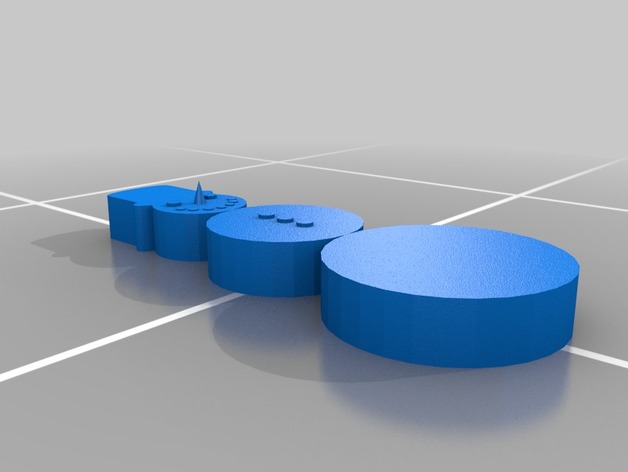
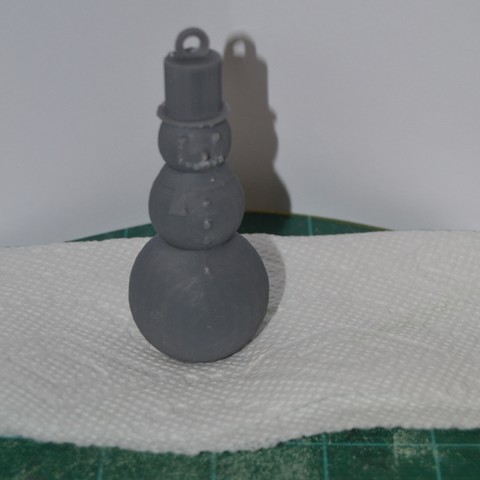
Here is a simple snowman model designed to be illuminated with a tea light.
Print Settings
Printer Brand:
Wanhao Printer:
Wanhao Duplicator i3 Plus Rafts:
Yes Supports:
Yes Infill:
20% Notes:
I’ve printed 18 of these with clear PLA. Sliced with Cura, the central support is easy to remove.
How I Designed This
Designed with MS 3D Builder -
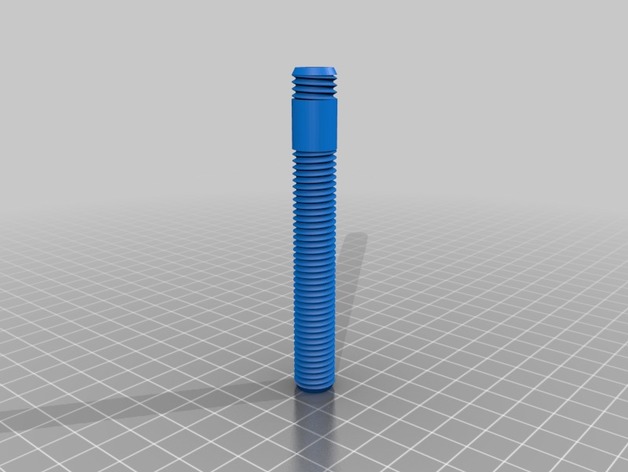
Secret compartment hollow screw trick puzzle 3D Print Model
Summary
Top screw is links threaded which makes it counter intuitive as intended. Walls are 2mm. Threads are M12x1.75
Original is made by robrook https://www.thingiverse.com/thing:330688 but there were some problems with scaling in the slicer, and some minor problems with the secret screw threads showing when screwed in.
I also included an exported step-file from fusion 360
Print Settings
Printer Brand:
Wanhao Printer:
Wanhao Duplicator i3 V2 Rafts:
No Supports:
No Resolution:
0.1 Infill:
60% Notes:
I printed with PLA, heated bed and 8mm brim. No support was needed. It is rescaleable but below 50% makes it brittle. -
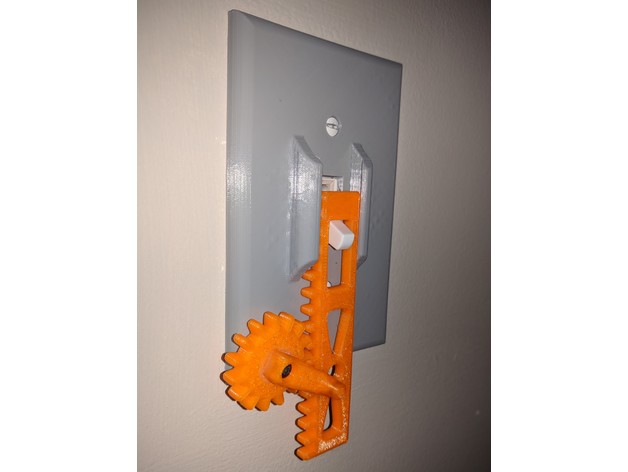
Geared Light Switch Single Plate 3D Print Model
Summary
I made the original three switch design for my son who loves gears. It’s worked fine for the past 3 months so I made a single light switch plate for my basement light switch.
I printed the whole thing out in 14 hours at one time in gray PLA. I used 20% infill which worked but didn’t have the best surface finish. (the all gray picture above) In later runs I used 40% and that worked much better.
I didn’t like the prison look for the light switch so I remade the gear and pinion using orange PET-G.
I noticed that the gears run smoother with the orange PET-G. So that’s interesting. . . .
Print Settings
Printer Brand:
Wanhao Printer:
Wanhao Duplicator i3 V2 Rafts:
Yes Supports:
Yes Resolution:
output as “fine” from onshape Infill:
40 % Notes:
The small gear and crank do not need to be glued together but I did anyway.
The crank and gear are held onto the light switch plate by an m3 screw. I sized the hole in the post so that it does not need to be drilled out. It does need to be tapped with an m3 tap.
Post-Printing
Tap that hole
After you print this out and remove the supports. The post on the light switch plate needs to be threaded with an m3 tap.
The Pinion has to be in the groove before you put it on the wall. The holes in the bottom of the pinions are so you can sneak the bottom screw into the light switch.
If it gets jammed you might not have tightened down the screw enough. -

King Bhumibol 3D Model
Bhumibol Adulyadej,conferred with the title King Bhumibol the Great in 1987, was the ninth monarch of Thailand from the Chakri dynasty as Rama IX.Born: December 5, 1927, Mount Auburn Hospital, Cambridge, Massachusetts, United StatesDied: October 13, 2016, Siriraj Hospital, Bangkok, ThailandCremation: October 26, 2017, Sanam Luang, ThailandGrandchildren: Dipangkorn Rasmijoti, Sirivannavari Nariratana, MOREChildren: Maha Vajiralongkorn, Sirindhorn, Ubol Ratana, Chulabhorn
-
Dva Orimant ver 2 in 3D Print Model
Summary
It is an orimant that is 2 inches tall -
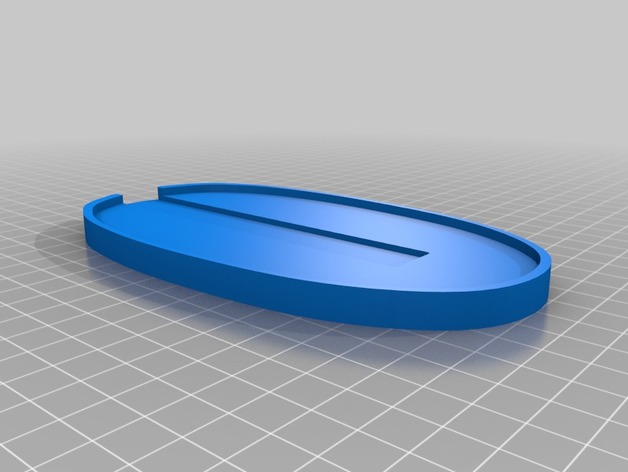
Base for the Moby iPhone Dock 3D Print Model
Summary
This is a Tiny-Remix. Just added a base to conceal the cable and give it more room. -
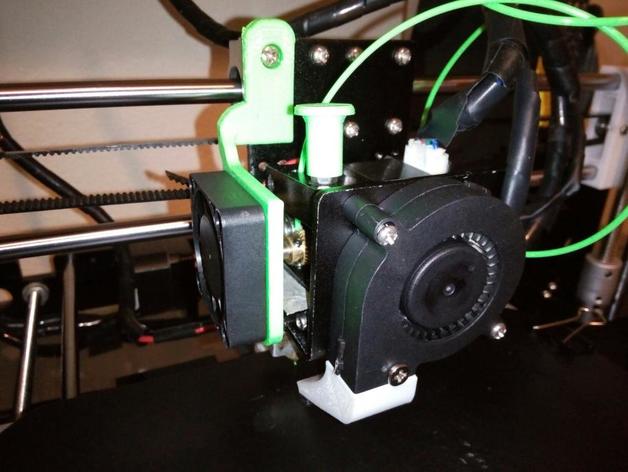
Anet A8 Fan Hinge V2 3D Print Model
Summary
A remix of a Mod for easily accessing the extruder gear.
Print Settings
Printer:
Anet A8 Rafts:
No Supports:
Yes Resolution:
0.3mm Infill:
100% Notes:
Print with fan plate facing down and arm getting vertical supports. (Same as shown in the Cura screenshot.)
Post-Printing
Post-Printing
Remove the support material holding the hinge arm and inside the screw hole. Get a long M4 screw (not sure how long mine is, whatever screw you use in your existing fan hinge configuration should work). Remove the top left screw holding onto the top left linear bearing and install the mod there. Optionally, remove the screw under the top left-most screw for a smoother hinge.
How I Designed This
Design
I simply took bartoaster’s awesome Anet A8 fan hinge (https://www.thingiverse.com/thing:2380825) and beefed it up in 123D Design. I then cleaned it up in Blender. -
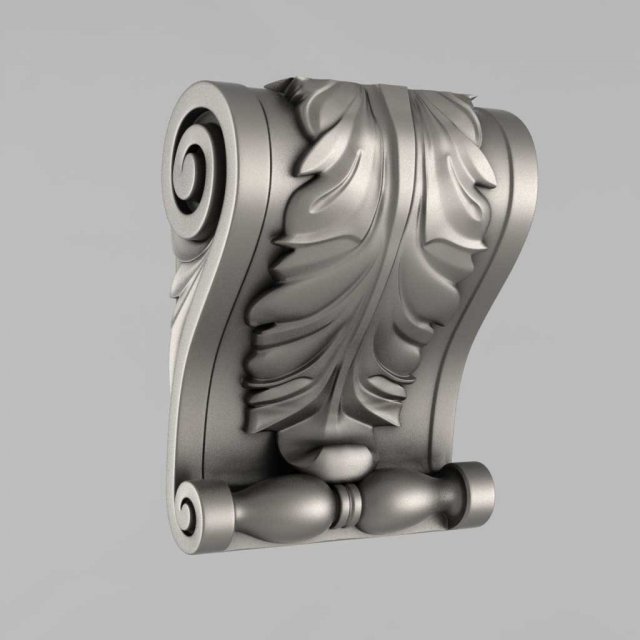
Corbels – 31 3D Model
STL 3D model – corbelsThe model is ready for prototyping with CNC machining and 3D printing.
-
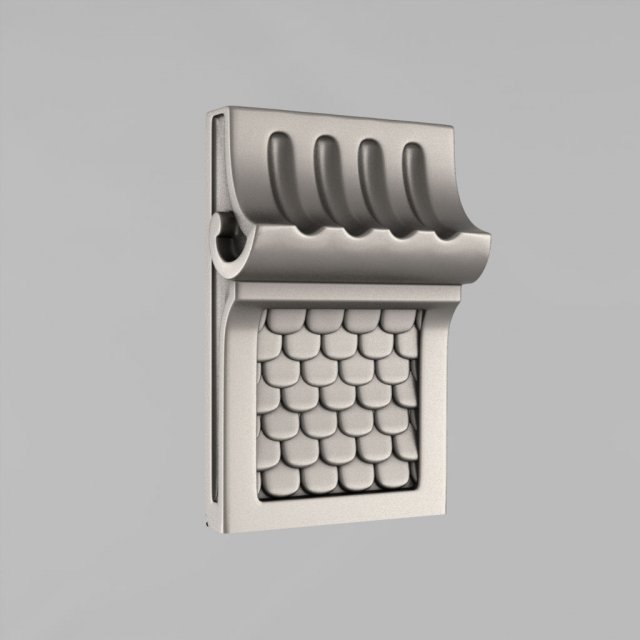
Corbels – 32 3D Model
STL 3D model – corbelsThe model is ready for prototyping with CNC machining and 3D printing.
-
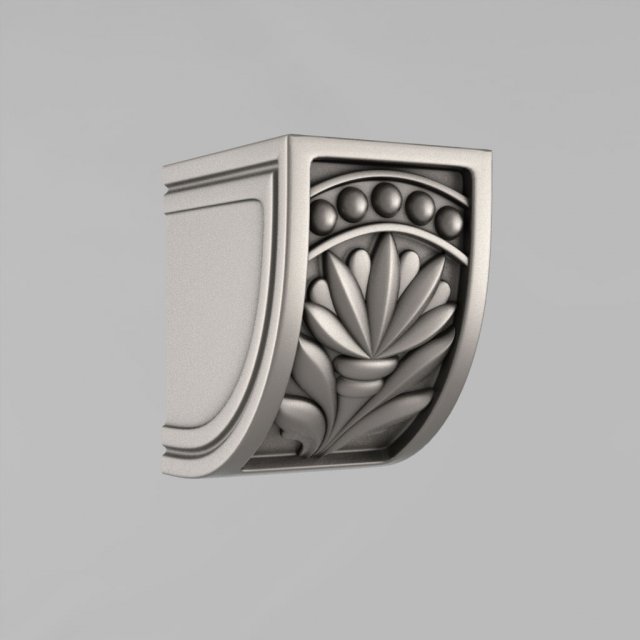
Corbels – 33 3D Model
STL 3D model – corbelsThe model is ready for prototyping with CNC machining and 3D printing.
-
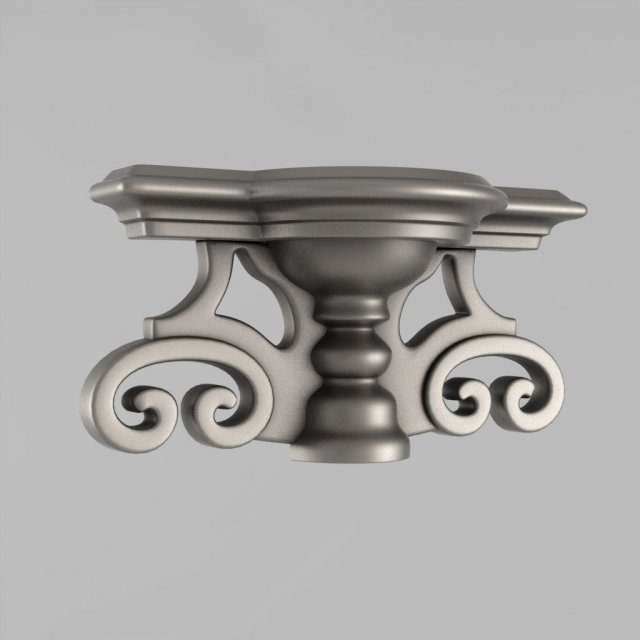
Corbels – 34 3D Model
STL 3D model – corbelsThe model is ready for prototyping with CNC machining and 3D printing.
-
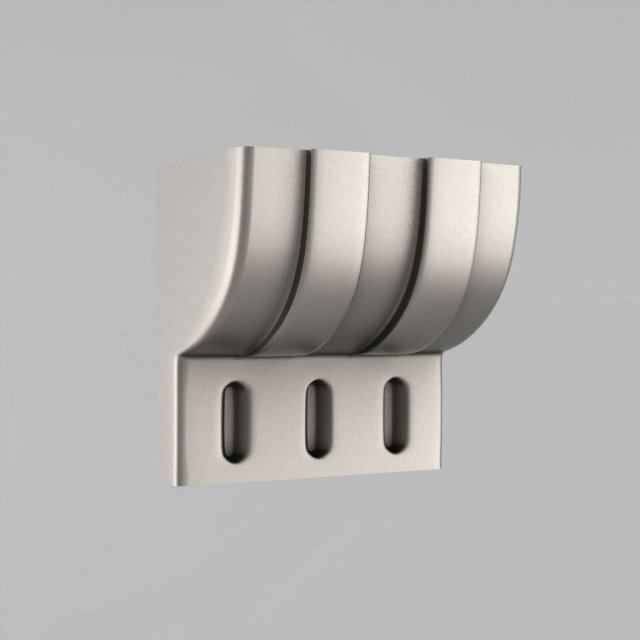
Corbels – 35 Free 3D Model
STL 3D model – corbelsThe model is ready for prototyping with CNC machining and 3D printing.
-
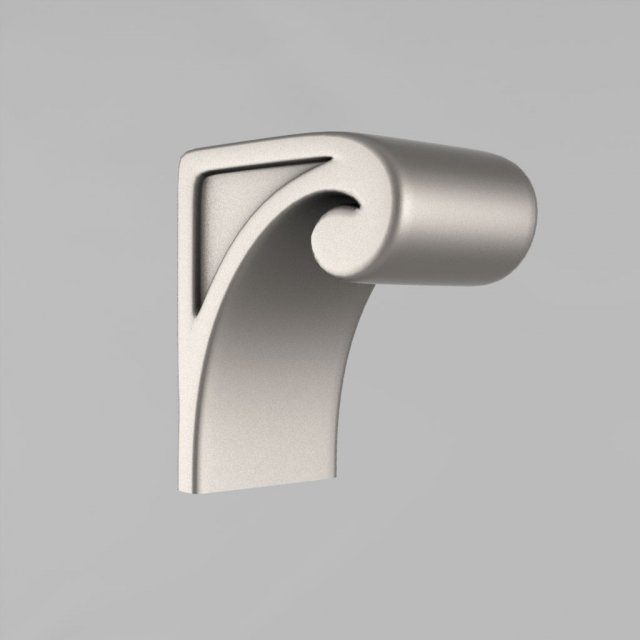
Corbels – 36 Free 3D Model
STL 3D model – corbelsThe model is ready for prototyping with CNC machining and 3D printing.
-
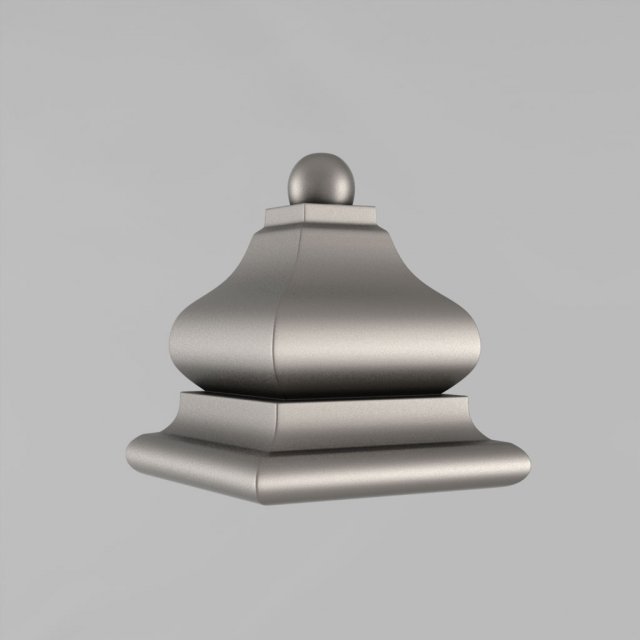
Corbels – 37 Free 3D Model
STL 3D model – corbelsThe model is ready for prototyping with CNC machining and 3D printing.
-
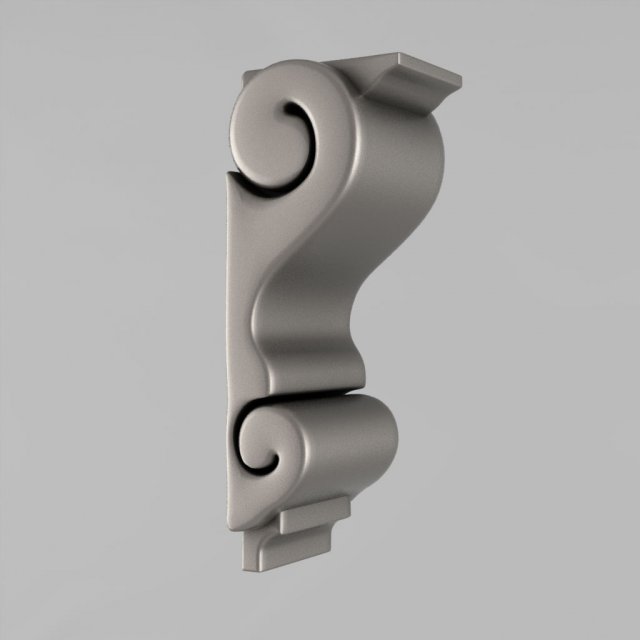
Corbels – 38 3D Model
STL 3D model – corbelsThe model is ready for prototyping with CNC machining and 3D printing.
-
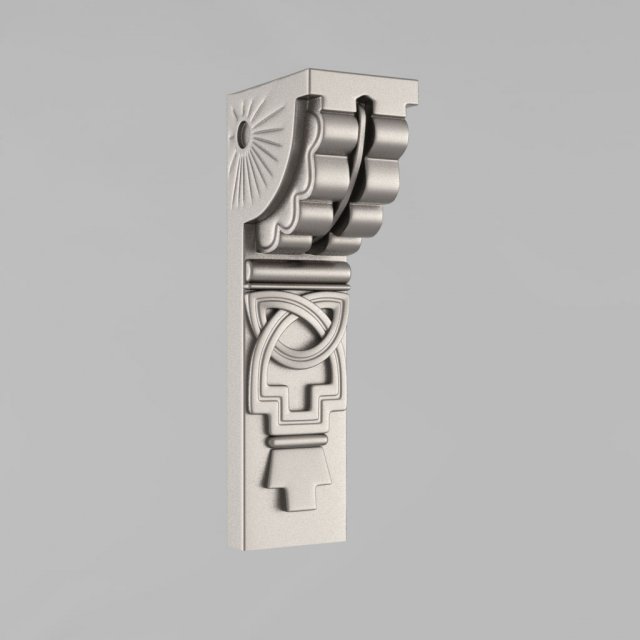
Corbels – 39 3D Model
STL 3D model – corbelsThe model is ready for prototyping with CNC machining and 3D printing.
-
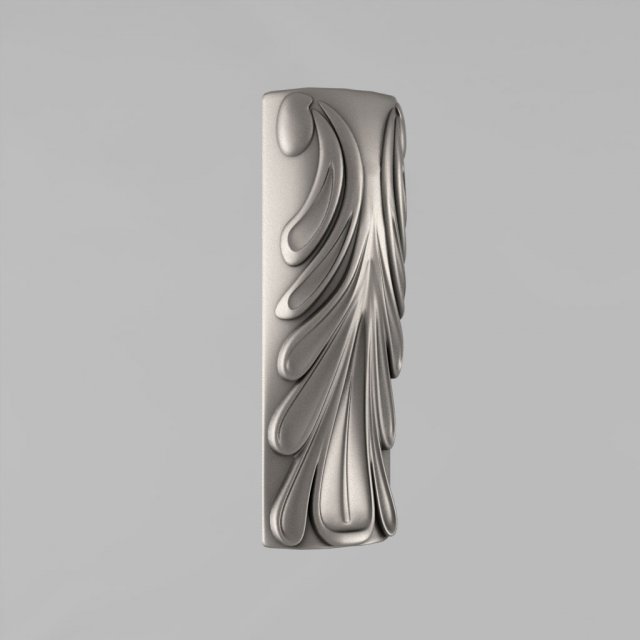
Corbels – 40 3D Model
STL 3D model – corbelsThe model is ready for prototyping with CNC machining and 3D printing.
-
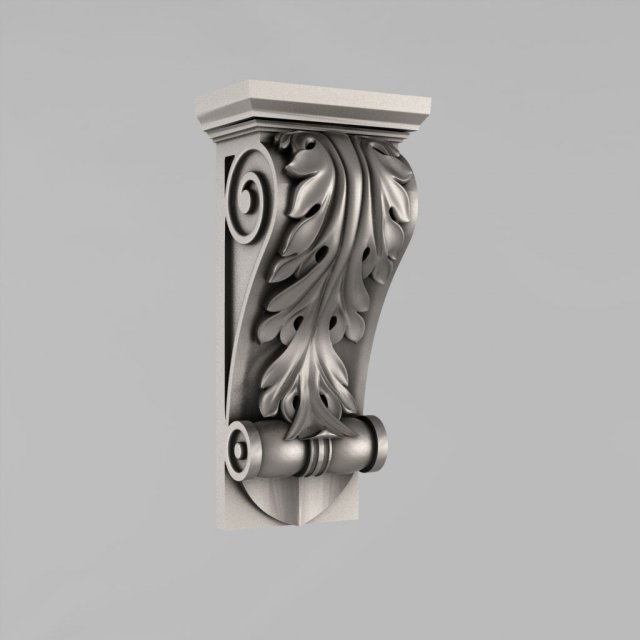
Corbels – 41 3D Model
STL 3D model – corbelsThe model is ready for prototyping with CNC machining and 3D printing.
-
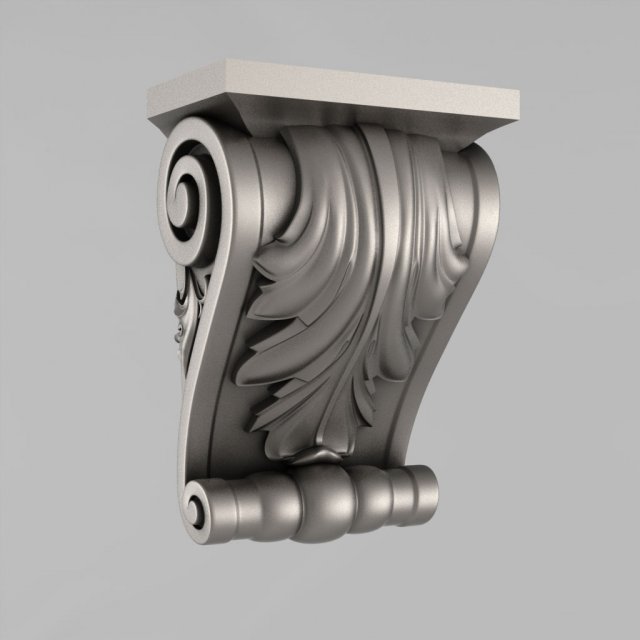
Corbels – 42 3D Model
STL 3D model – corbelsThe model is ready for prototyping with CNC machining and 3D printing.
-
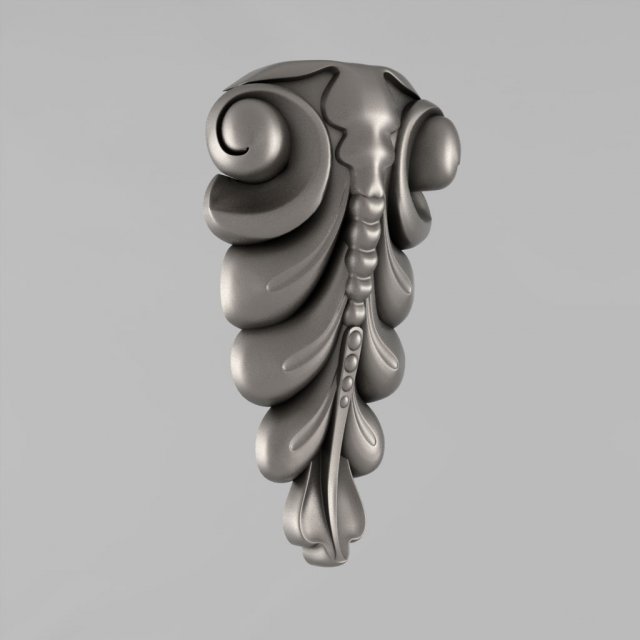
Corbels – 43 3D Model
STL 3D model – corbelsThe model is ready for prototyping with CNC machining and 3D printing.
-
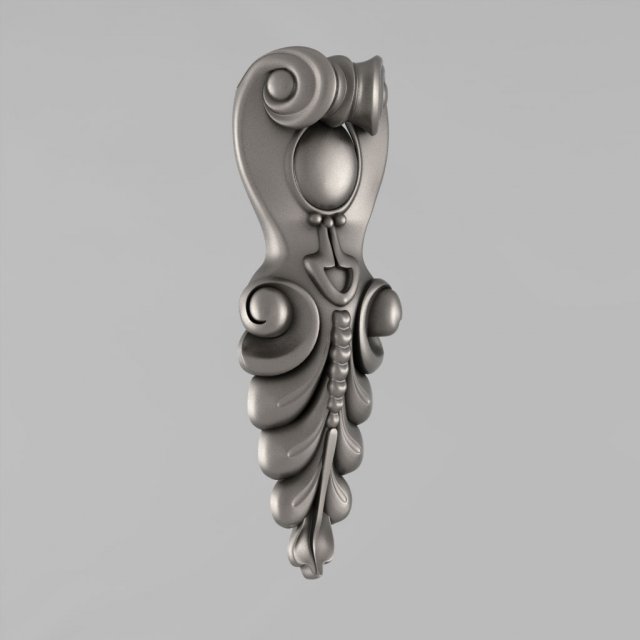
Corbels – 44 3D Model
STL 3D model – corbelsThe model is ready for prototyping with CNC machining and 3D printing.
-
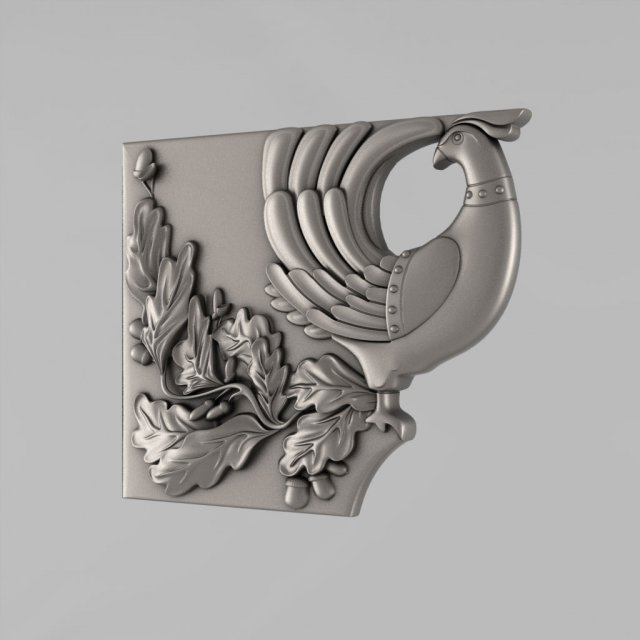
Corbels – 45 3D Model
STL 3D model – corbelsThe model is ready for prototyping with CNC machining and 3D printing.
-
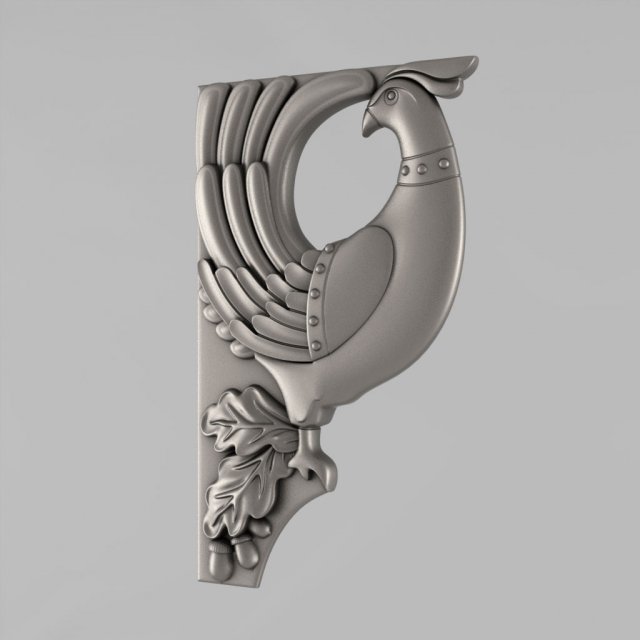
Corbels – 46 3D Model
STL 3D model – corbelsThe model is ready for prototyping with CNC machining and 3D printing.
-
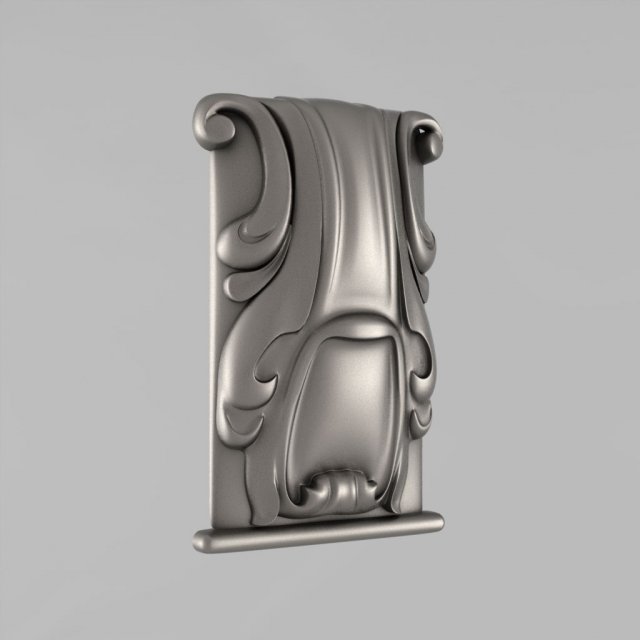
Corbels – 47 3D Model
STL 3D model – corbelsThe model is ready for prototyping with CNC machining and 3D printing.
-
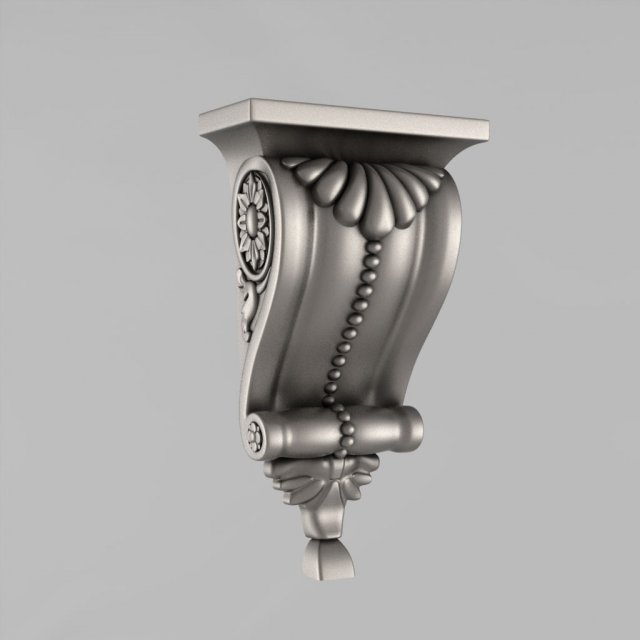
Corbels – 48 3D Model
STL 3D model – corbelsThe model is ready for prototyping with CNC machining and 3D printing.
-
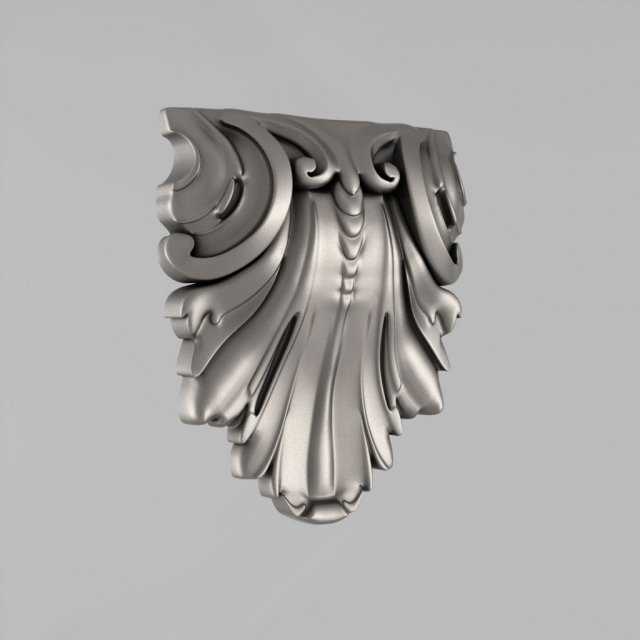
Corbels – 49 3D Model
STL 3D model – corbelsThe model is ready for prototyping with CNC machining and 3D printing.
-
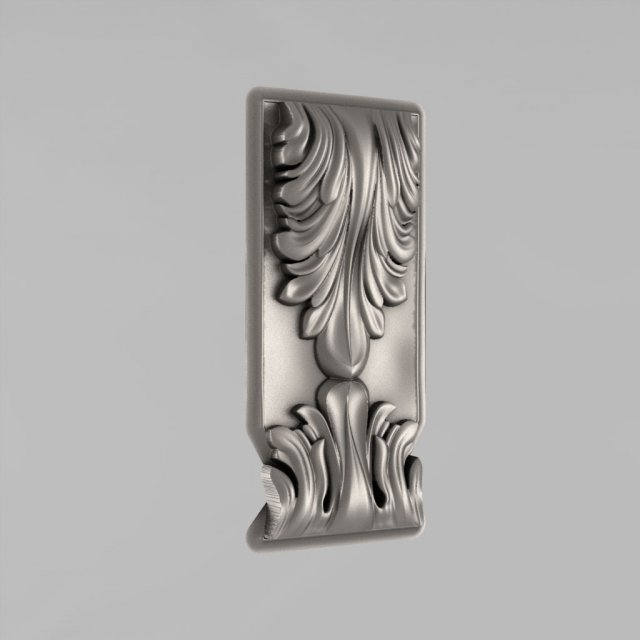
Corbels – 50 3D Model
STL 3D model – corbelsThe model is ready for prototyping with CNC machining and 3D printing.
-
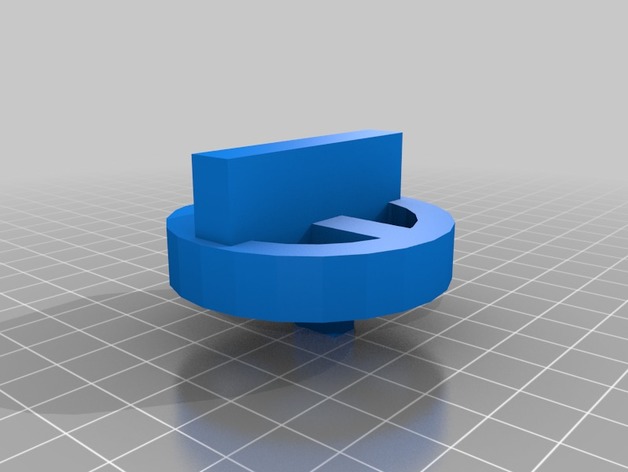
Hardwick Stove Knob 3D Print Model
Summary
Our aging Hardwick stove has lost most of its knobs. Printing these out will get us a bit more life out of it before we finally give in and buy a new stove. -
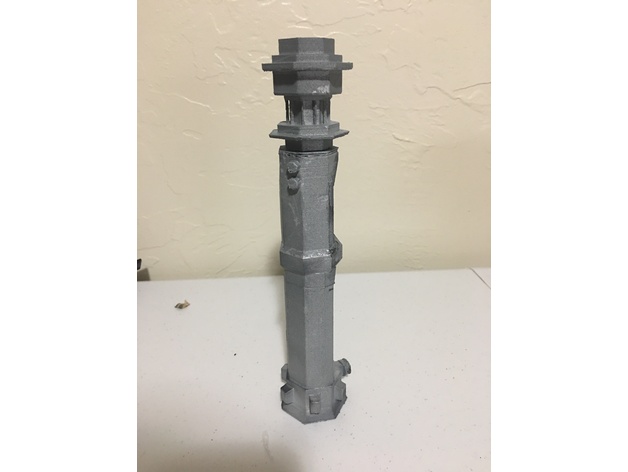
Star Wars Kyle Katarn Lightsaber 3D Print Model
Summary
This is a replica of Jedi Battlemaster Kyle Katarn’s third lightsaber. I claim no rights to this model seeing as I was able to take it directly from Star Wars Jedi Knight: Jedi Academy. I did though size and make sure that the saber could print on a Monoprice select mini v2. This means that those of us with the entry printers can print this thing easily. Just use some super glue to attach and spray paint to desired finish. Enjoy.
— Walrusking
Print Settings
Rafts:
No Supports:
Yes Resolution:
0.2 Infill:
10 Notes:
This was printed with a Monoprice Select Mini V2
Post-Printing
Spray Paint to desired finish -
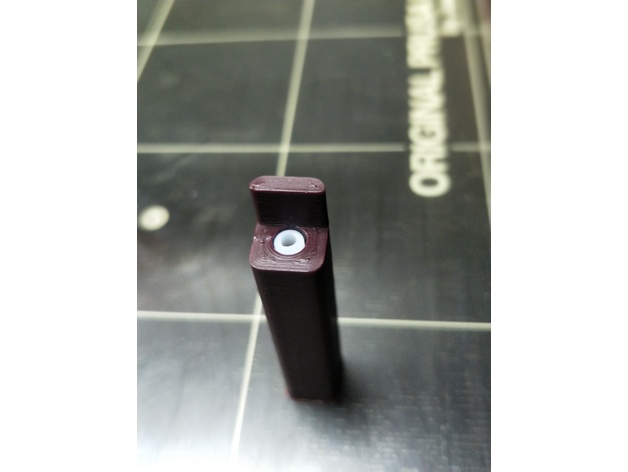
Prusa Multimaterial upgrade heatsink PTFE cutting jig – 41mm 3D Print Model
Summary
A very simple jig to enable precisely 41mm of 4mm OD PTFE tubing to be cut to insert into the top of the MMU heatsink. Insert tubing all the way into the hole and cut parallel and flush with the wall at the entrance point.
Please note that this is not the only step required with this tubing. It must also be reamed and chamfered (official specs here). Also note that the inside diameter of this tubing is specified as 1.85-1.9mm, which is not the same as you will find on generic PTFE tubing.
Print Settings
Printer:
Original Prusa I3 MK2 MMU Rafts:
Yes Supports:
No Resolution:
0.2mm Infill:
Doesn’t matter Notes:
Use a small brim and print vertically. I printed this with 4 perimeters. Insert tubing all the way to the end of the jig and wse a razor or utility knife blade and cut flush with vertical surface at entry point. -
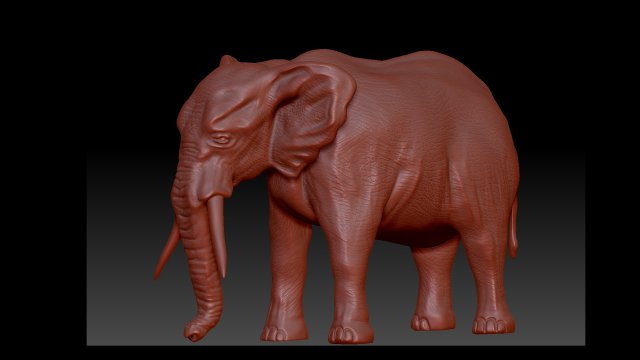
Elephant 3D Model
Elephant 3D Model for printAvailable in multiple formats.Usable for 3D print.Sculpted in Zbrush.File contains one mesh object with 600 000 polygons.