Summary
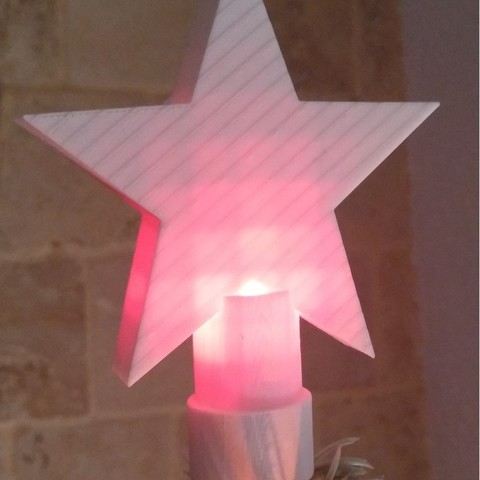
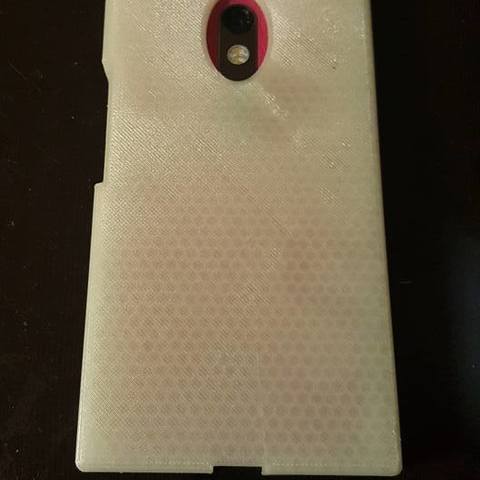
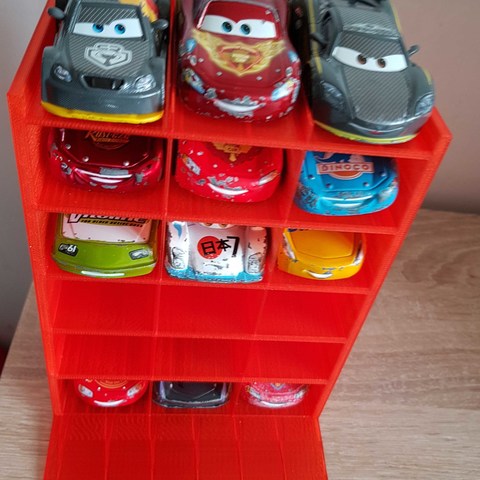
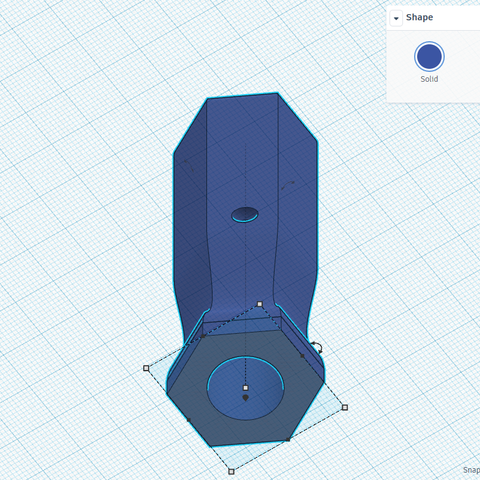
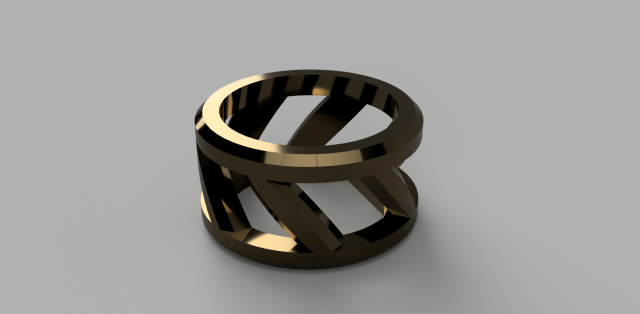
I wanted a better knob for the control panel on my Prusa i3 MK2, but none that I found on Thingiverse were quite what I wanted. I designed this version with two main advantages over others. First, it has a four-point star shape that comfortably accommodates your right thumb for navigation without looking away from the screen (with a recessed center area for clicking the current selection). And second, the back side has a flexible socket patterned after the original Prusa knob, which makes installation much easier than a simple hole on the back. In the sample shown, I changed filament near the end so that I’d have a contrasting ring in the center button area.
Print Settings
Printer Brand:
Prusa Printer:
Prusa Mk2 Rafts:
No Supports:
No Resolution:
0.15 Infill:
35% Notes:
Because this part is relatively small, I opted for much more infill than I normally use on larger items. The 35% infill provided plenty of support for the concentric rings at the top. A smaller infill percentage might work just fine, but I haven’t tried it.
Due to the fine detail on the first layer, I found it helpful to print layer 1 at half the speed of the normal, already slower first layer. Also, a layer of glue stick on the build platform helped the details stick well. Once the second layer started, I cranked the speed back up to 100%, and the printing was easy after that.
Category: 3D Print Models
Premium & 3D Print models ready to be 3d printed. 3D Print Models and Free 3D Print Models are available for download in several formats including .STL, .3DM, .OBJ, .3DS, .DAE, .SKP, .BLEND, .DWG, .DXF, .STEP and much more. If you’re in search of high-quality 3D printed assets, we have a huge library of 3d print models for any of your needs. Also you can visit 3D Models and All 3D Models category.
-
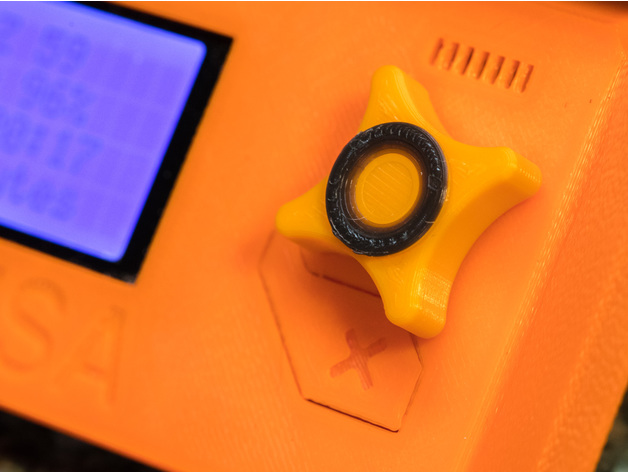
Prusa i3 Mk2 Ergonomic Control Knob 3D Print Model
-
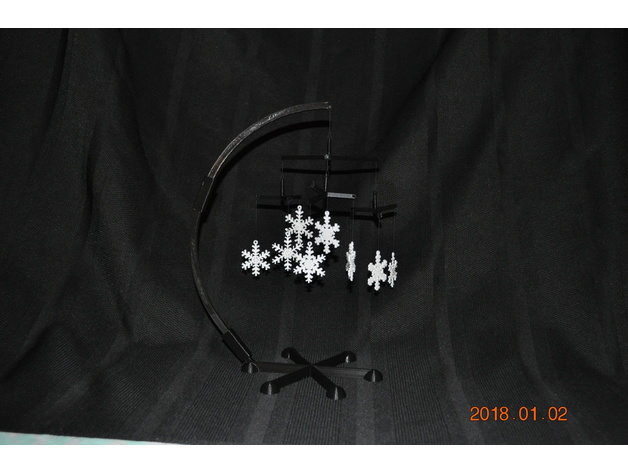
SnowFlake Mobile – Desktop or Free Hanging 3D Print Model
Summary
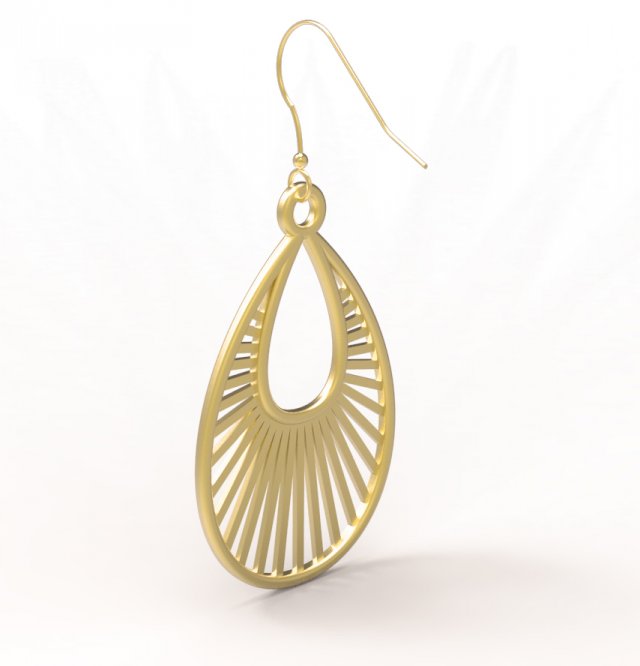
This is a snowflake mobile created in BlocksCAD. This can be either a desktop mobile or a (simpler) free hanging mobile.
It uses the “earring” snowflakes from https://www.thingiverse.com/thing:2728193 for the snowflakes.
The xml files used to create the geometry in BlocksCAD are also provided.
PRINT INSTRUCTIONS FOR DESKTOP MOBILE:
suggestion: white snowflakes
print 9 “earring” snowflakes from https://www.thingiverse.com/thing:2728193
suggestion: black mobile pieces
print 3 small arms
print 1 large arm
print 1 base
print 1 lower arm
print 1 upper arm
print 1 connector straight
print 1 connector curved
ASSEMBLY INSTRUCTIONS FOR DESKTOP MOBILE:
I used heavy duty black thread to connect the snowflakes to the arms.
Attach 3 snowflakes to outer ends of the arms of the small arm using black thread. The distance between the top of the snowflake and the small arm should be about 1 to 5 cm. Repeat for the other two small arms. Varying the thread lengths provides a more esthetic display.
Attach the center of one of the small arms to one of the outer end of one of the arms on the large arm using black thread. This thread length should be about 2 cm. Repeat for the other two small arms
Attach the center of the large arm to the hole in the top of the large arm using black thread. The length should be about 2 cm.
Assemble the straight end of the lower arm to the base using the straight connector.
Assemble the upper arm (& snowflakes) to the lower arm using the curved connecter.
NOTE WELL:
The small arms and large arms will not hang level with random snowflakes with different weights. The thread length has an insignificant impact on whether the arms hang level.
ENGINEERING INSTRUCTORS: A student challenge would be to compute the equilibrium position of the small arm based on the weight of the individual snowflakes attached. It would be considered cruel and unusual punishment to ask students to compute the equilibrium position of the entire assembly.
OPERATION:
No batteries required.
The slightest breeze will set the mobile in motion when thread is used.
put it near a heating register and the air currents will set it in motion
when all else fails:
— gently spin the top of the center large arm
— or blow on it
PRINT INSTRUCTIONS FOR FREE HANGING MOBILE:
suggestion: white snowflakes
print 9 “earring” snowflakes from https://www.thingiverse.com/thing:2728193
suggestion: black mobile pieces
print 3 small arms
print 1 large arm
ASSEMBLY INSTRUCTIONS FOR FREE HANGING MOBILE:
Attach 3 snowflakes to outer ends of the arms of the small arm using black thread. The distance between the top of the snowflake and the small arm should be about 1 to 5 cm. Repeat for the other two small arms. Varying the thread lengths provides a more esthetic display.
Attach the center of one of the small arms to one of the outer end of one of the arms on the large arm using black thread. This thread length should be about 2 cm. Repeat for the other two small arms
Attach a long piece of black thread to the center of the large arm.
Hang the assembly at a convenient location. -
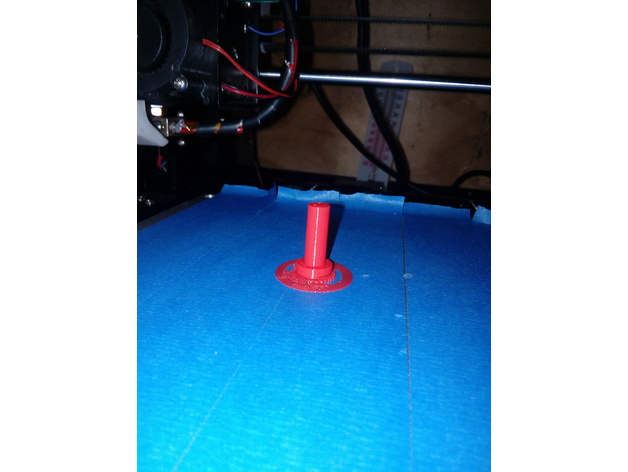
herf dart repair 3D Print Model
Summary
for nerf darts to repair the rear damage caused by miss load
printed in pla
use your own printer settings
inserts in to back of dart
tested on a modulas regulator
flywheel blaster
Print Settings
Printer Brand:
Prusa Printer:
Prusa Mk1 Rafts:
Doesn’t Matter Supports:
No Infill:
20% -
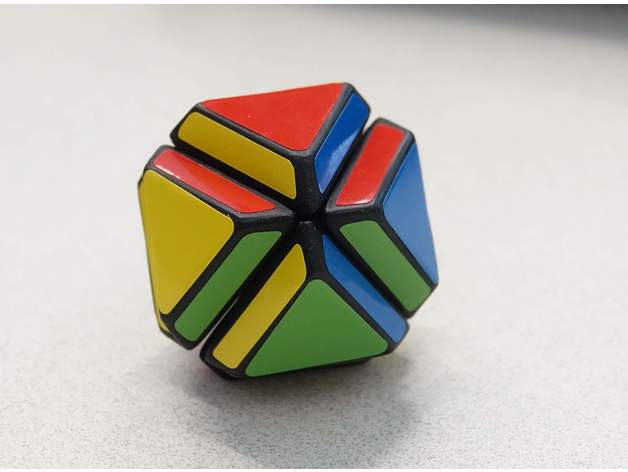
RCP Truncated Dueling Tetra Jr. 3D Print Model
Summary
Note: this puzzle requires a 24mm mini 2×2 to build. The print files are simply glued onto that puzzle.
Print Settings
Printer Brand:
LulzBot Printer:
Mini Rafts:
No Supports:
No Resolution:
.2 Infill:
20%
Post-Printing
I recommend sanding the surfaces smooth before gluing. Not only will this make the puzzle look great, but it will also help the stickers stay put.
The puzzle pictured has been printed in PLA and sanded through to 1500 grit. -
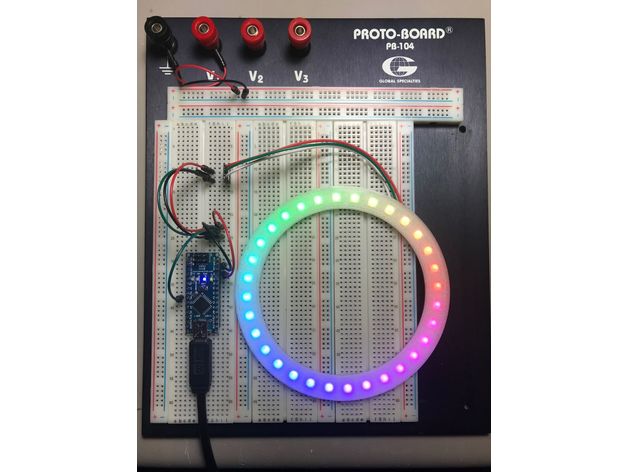
Customizable NeoPixel Ring 3D Print Model
Summary
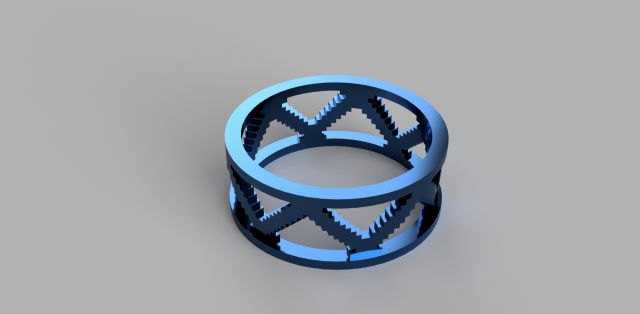
Want a special NeoPixel ring, but cannot get right size or they do not have your favorite RGBWW chip? Create your own!
……………………
This customizable NeoPixel ring consists of holder, which is used as a jig to assemble individual NeoPixel breakout boards (like these https://www.amazon.com/gp/product/B01K4HCVDC) and also as a case to hold chips together and protect them from damage. Second part is a an optional cover, which can completely enclose ring in plastic and can be glued together with the holder.
Using this principle, you can create more complex custom shapes, but that’s beyond this simple guide.
……………………
For soldering individual chips breakout boards together I recommend using thin tinned copper wire (not stranded) and thin soldering tip. It looks daunting at first but with all boards aligned and soldering with one piece of continuous wire goes really quickly and you can get it done under 10 minutes. Then use thin (midget) cutting pliers to cut wires between data (middle) pads on each board. Attached pictures should help to explain the whole process (good observer can see I also cut wire between + and – pads which is totally unnecessary, I just got carried away …)
……………………
Ring is designed in OpenSCAD for extrusion width 0.5 mm and layer height 0.2 mm. I strongly recommend to regenerate STL files for different values because of very thin walls. 100% infill recommended, no supports required. Print with clear filament (tested with PETG).
……………………
Source file is included. If you remix, please also share your source file.
Print Settings
Printer Brand:
FlashForge Printer:
Creator Pro Rafts:
No Supports:
No Resolution:
0.2 mm Infill:
100% Notes:
Extrusion width 0.5 mm. -
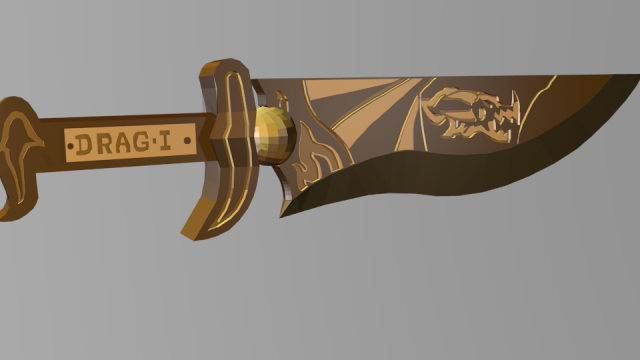
Dagger Drag-1 3D Model
This 3D print model it’s a dagger, with dragon design on its leaf, a collectible object for the desktop.-Model formats:3Ds.-Includes a file with the textures shown in the image.
-
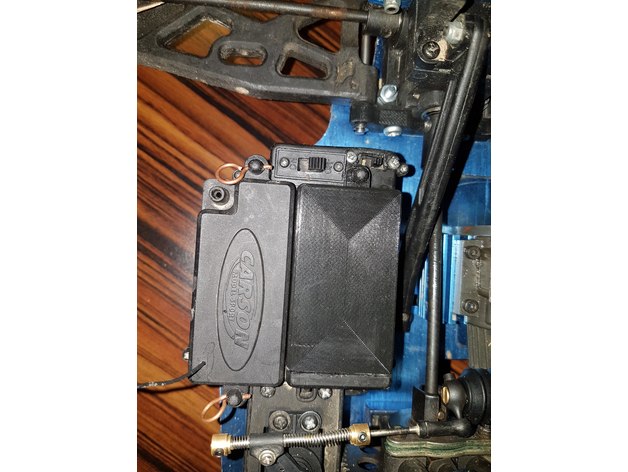
CARSON Battery cover 3D Print Model
Summary
Carson thor 1:8 truggy replacement battery cover.
Dont know why but I need to scale it to 1000% in Cura. Fits perfect I print it with PLA.
Print Settings
Printer:
ANYCUBIC I3 MEGA Supports:
Doesn’t Matter Resolution:
0.1 Infill:
15 -
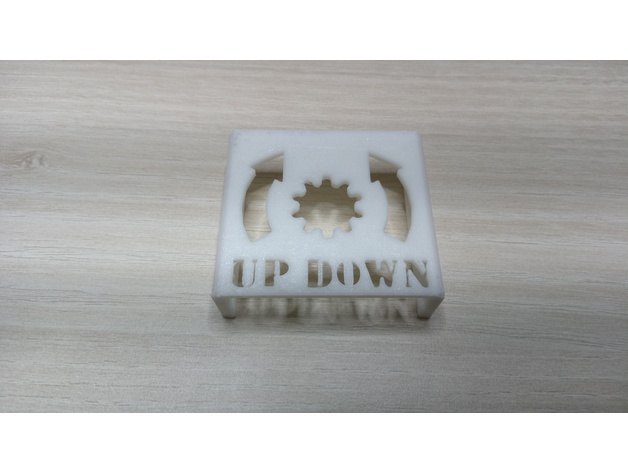
Bed leveling reminder for CR-10, CR-10 mini etc (2040 aluminium) 3D Print Model
Summary
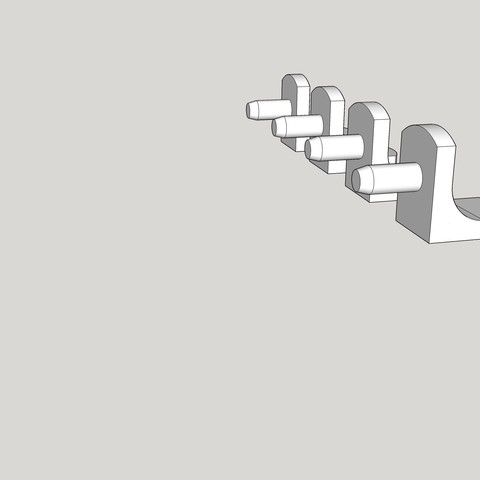
I changed the direction of the arrows.. 🙂
I made this model in sketchup and also uploaded the .skp file so you can edit it. Maybe some resize is necessary.
Print Settings
Printer:
CR-10 mini Rafts:
No Supports:
No Resolution:
0.2 Infill:
20% -
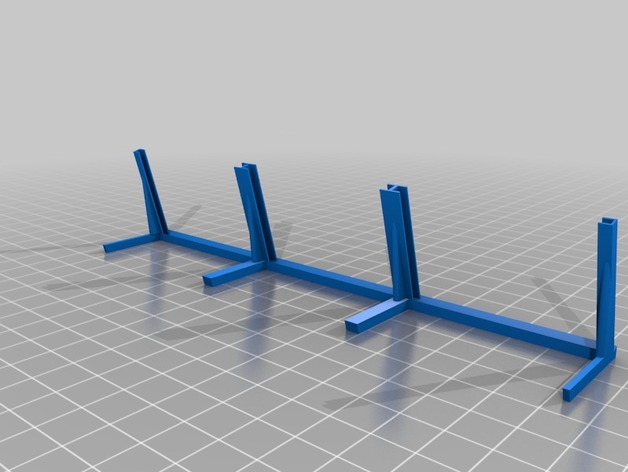
Polaroid Photo Stand 3D Print Model
Summary
Photo stand for 3 Polaroid mini 8, size 54 x 85.
Light and easy to print
Print Settings
Printer:
CR-10 Rafts:
No Supports:
No Resolution:
0.28 Infill:
15 -
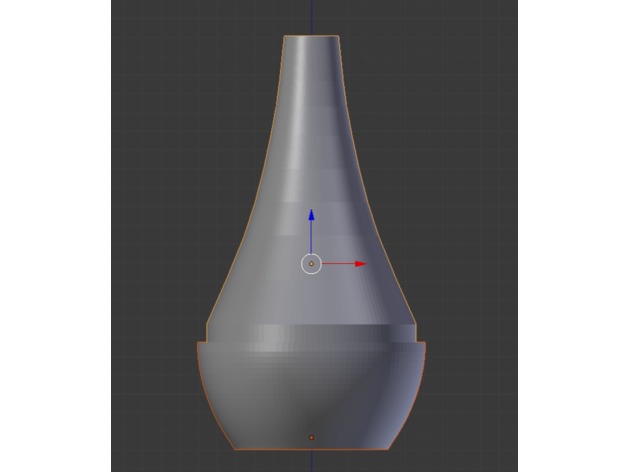
Trombone and Trumpet Mute 3D Print Model
Summary
Trombone and trumpet mute in 2 parts.
You can glue each part to another or drill one or two holes and use a screw.
This mute was made based on an image of a real mute.
The purpose of this mute is to make the volume lower. Use it to make your neighbors happy!
Print Settings
Printer Brand:
Ultimaker Printer:
Ultimaker 2 Extended Rafts:
No Supports:
No Resolution:
0.5 Infill:
40 Notes:
Trombone mute in 2 parts.
You can glue each part to another or drill one or two holes and use a screw.
This mute was made based on an image and size of a real mute.
The purpose of this mute is to make the volume lower. Use it to make your neighbors happy! -
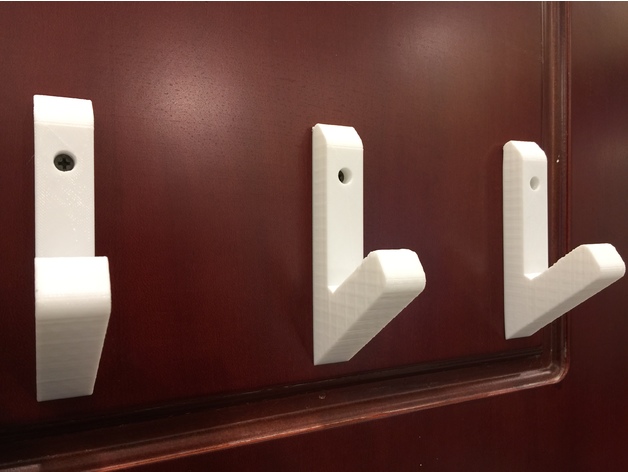
Clothes hanger “Jacket ON! Jacket OFF!” 3D Print Model
Summary
I needed a thing to hang my jackets on after come home. so i made some versions.
no supports or rafts needed.
you can glue them or screw them on the wall.
if you print it and find it usefull please let me know.
cheers°
Print Settings
Printer:
Anycubic i3 MEGA Rafts:
No Supports:
No Resolution:
0,3mm layer is enough Infill:
20% enough – 50% for smoother look/stronger -
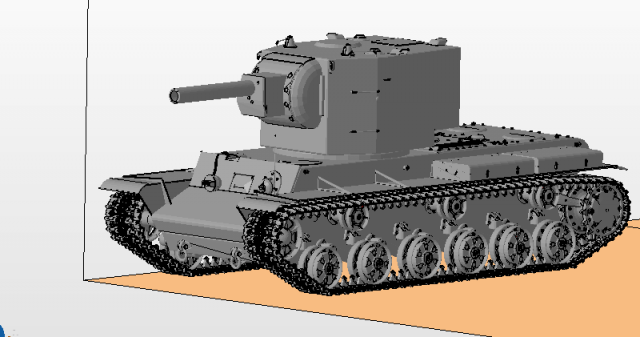
KV 2 Tanks 3D Model
tank square 2 (for the printer)High quality modelsis presented in the formatKV2.objKV2.stlKV2.3dsModel without textures
-
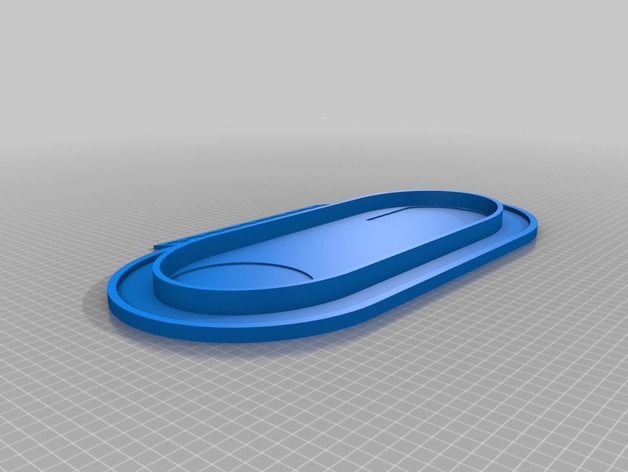
FFG Star Wars Dice Arena v2 3D Print Model
Summary
Inspired by a Dice Tower posted by the Staggering Dragon on Facebook here is my take on a FFG Star Wars Dice Arena.
This file is a free download. Please note that it is listed as “non-commercial”. Neither you nor I are allowed to buy or sell physical copies of this 3D model. You are allowed (and encouraged) to print copies for your own personal use. If you have been re-directed to this file from a source other than my site on thingiverse.com they have done so without my permission. Thank you for respecting the rights of the original copyright holder.
Print Settings
Rafts:
Doesn’t Matter Supports:
Yes Resolution:
.2 Infill:
20% Notes:
For the Towers, print with support. The tray has no overhang so its a mute point.
Post-Printing
Feel free to glue the Towers to the tray. -
GT2 Idler Pully with chamfered edge 3D Print Model
Summary
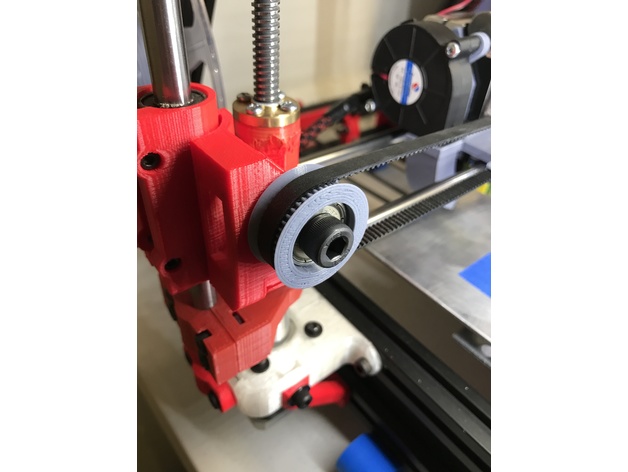
46 Teeth. GT2 with 2mm spacing. Designed for a 608 Bearing.
Some designs available have a chamfer, some designs available have two parts that press together. I could not find a design that had both so I made one.
Includes a spacer so that it will not rub on a frame if applicable. -
Time Turner 3D Print Model
Summary
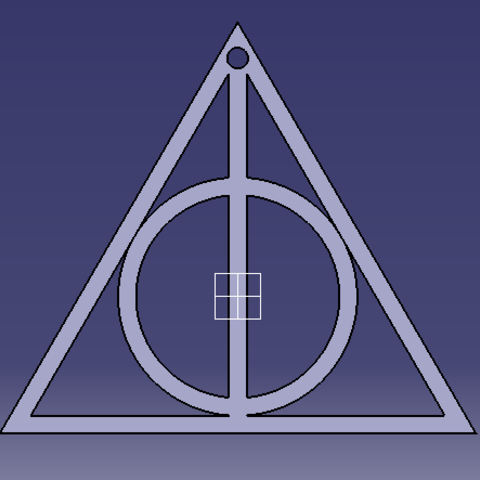
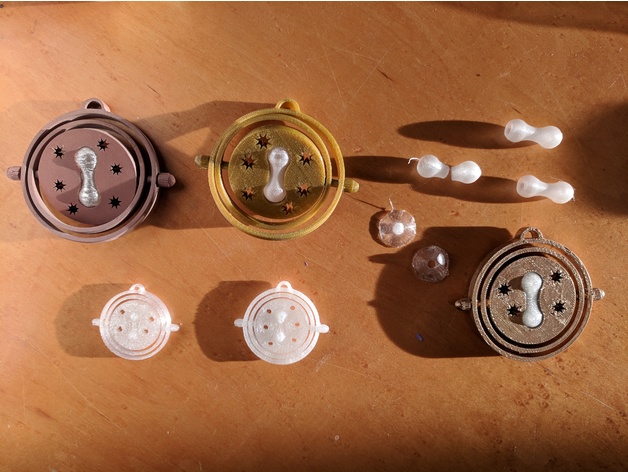
Harry Potter style Time Turner. You have the option of printing an immobile design in one piece or two. You can also print a mobile design. This was originally intended to be an ornament and so is only about 20mm across. It scales well to 200%. You may not get an intact print at 100% scale (see print settings). Right now the mobile designs inner ring moves a bit so I’m working on a flanged model.
I printed with a variety of filaments including petg, PLA, polysmooth, colorfab copper.
Print Settings
Notes:
Scaling
I use Simplify 3d to slice and I couldn’t get it to fill the rings at 100% scale. This probably has to do with my nozzle dimeter of 0.4mm and extrusion width but I’m not sure. It would fill in at 110% scale. So the smallest items pictured are 110% scaled. I scaled all my mobile prints at 200% with modification for the hour glass and pins as below.
Infill
I used 100% infill on all prints scaled at 110%. I used 30% infill on larger single piece designs and the star piece for the mobile design. I used 100% infill for the rings and pins for the mobile design.
Hour glass
For designs with a separate hour glass, I printed in vase mode using a clear PETG for one and Polysmooth clear for another. For one piece designs, I printed using the same clear materials and then painted. For 200% scale prints, I printed the hour glass at 197% scale to provide a snug fit. I used an attached 10 shell skirt. If you print in vase mode, the hour glass will be fragile and you will have to carefully adjust your temperature and extrusion multipliers to get the best adhesion. You can see a few failed hour glasses in my picture.
Pins
These are tiny. I used rafts and supports at 100% infill. Consider scaling to 195% in the cross section to facilitate fit. Scale the long axis to that of your base design.
Post-Printing
Non-mobile
If you print a non-mobile one piece design, printing in a clear material and then painting makes for a nice look. The gold painted large sample is a one piece made from petg. For two piece designs you can use a clear material for the hour glass and your preferred color for the body and rings.
Mobile
Print the hour glass clear and the rings and stars in your preferred material. I’d suggest using a drill bit to regularize the holes in the rings and the stars. You may have to sand the pin slightly.
Assembly
I used cyanoacrylate glue sparingly in the pin holes on the stars. You can do one side and then the other. The hour glass can be placed and then have a small amount of CA glue to hold it in place. -
Reaper Full Armor Set 3D Model
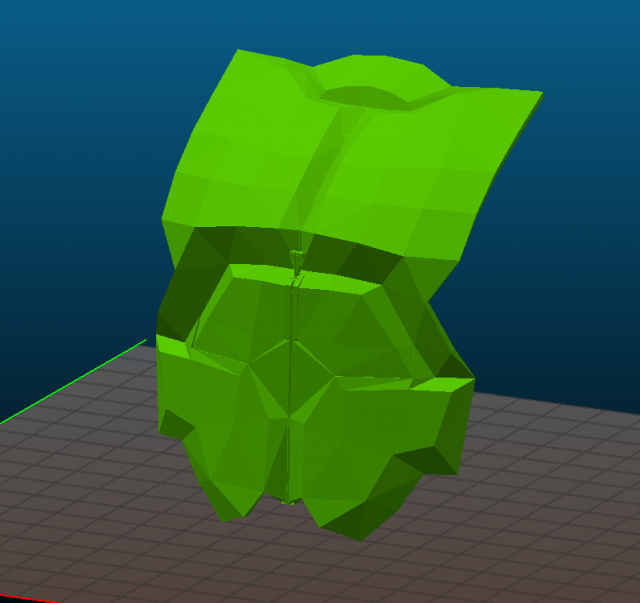
Reaper from overwatch full armor setPack includes:Chest Armor (2 Parts – Lower and Upper)Chest Armor Grenades (Same as on the belt)Upper leg armor plates (1 File)Lower leg armor (Boots) (2 Files)Armor for Shoes (1 File)Belt Accessoires (Bags, Grenades) (2 Files – 1 for Bags, 2 for Grenade)Forearm armor (4 Files – 2 for left hand, 2 for right hand) Spikes one is for right hand.Hands Armor (2 Files) Spikes on for left hand.Fingers (Claws x10, Armor rings for thumbs x2, Armor plates for other fingers x8)Mask (3 Files – 1 is full model, 2 is sliced to print)All models ripped from in-game model and forged to print.Sizes is 50% of In-game model as default, so its up to you to fit size of models for your own preferences
-
Captain Planet 3D Print Model
Summary
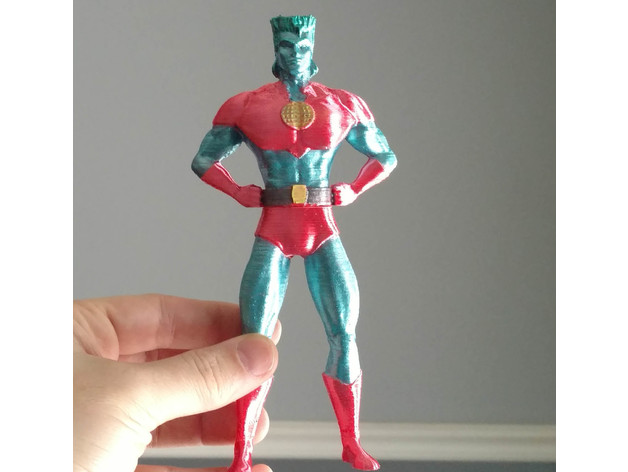
Captain Planet is back, and he’s a little miffed.
Supports are needed. Painted with acrylics. 180mm tall when finished. -
Maker Coin 3D Print Model
Summary
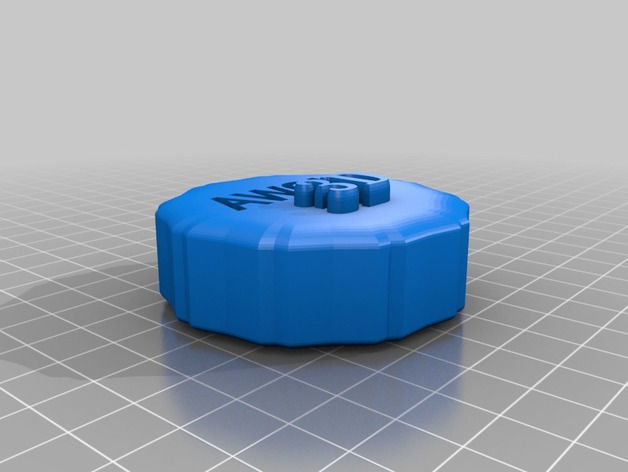
Just a bit of fun, its the first thing that I have designed and was done so in TinkerCad
Print Settings
Printer:
Anet A8 Rafts:
Doesn’t Matter Supports:
No Resolution:
0.2 Infill:
35% -
PC Cat Proofing 3D Print Model
Summary
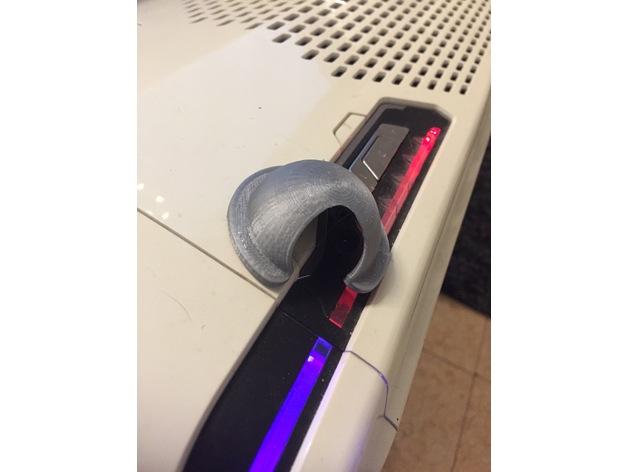
My new kitten keeps stepping on the power switch on my PC, so I made this Cover for the PC power button.
!Don’t forget to CHECK OUT my other designs and FOLLOW my daily KooKoo uploads, Enjoy 😉 -
FPV Googles Holder 3D Print Model
Summary
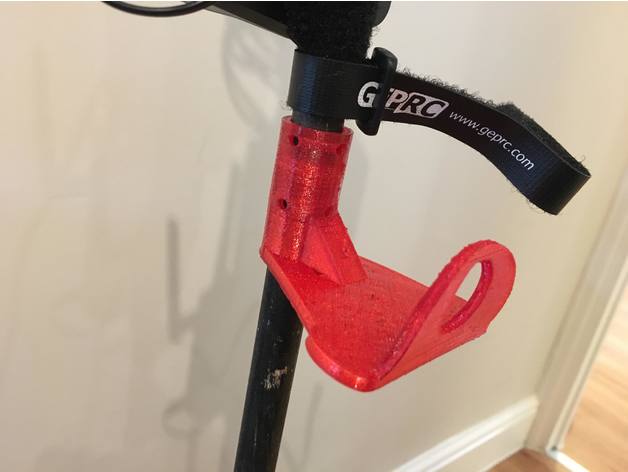
I designed this to hold my googles to the pole of my ground station. The googles sit in there quite nicely and can be strapped in position more firmly with a battery strap.
Printed in TPU with 10% fill. -
Leica Rangefinder Polarized Filter Holder 3D Print Model
Summary
This is a polarized filter holder I designed and printed for my Leica M6 and M9 rangefinder cameras. It holds a 77MM polarized filter and fits on the end of my 50mm f/2 Summicron lens. Filter thread diameter: 77mm, Lens diameter end: 47mm. Clearances permits pressure fits of filter and on lens and can be removed easily so no screws, clamping, or other scratch inducing mechanisms are necessary! I’ve please a slot on the outside of the flange so that the filter effect can be seen while twisting the filter within the ring. The holder is small enough to clear the focusing square in the viewport – so focusing obstruction. This same design could be adapted easily for for other lens sizes. I designed in in Fusion 360.
Printing note: I printed it with the lens side (small diameter) facing the bed and used support.
Print Settings
Printer Brand:
Prusa Printer:
Prusa Mk2 Rafts:
No Supports:
Yes Resolution:
0.2mm Infill:
40% Notes:
Printed using PLA -
Stormtrooper Helmet Interior Gear (Star Wars) 3D Print Model
Summary
Hi Guys,
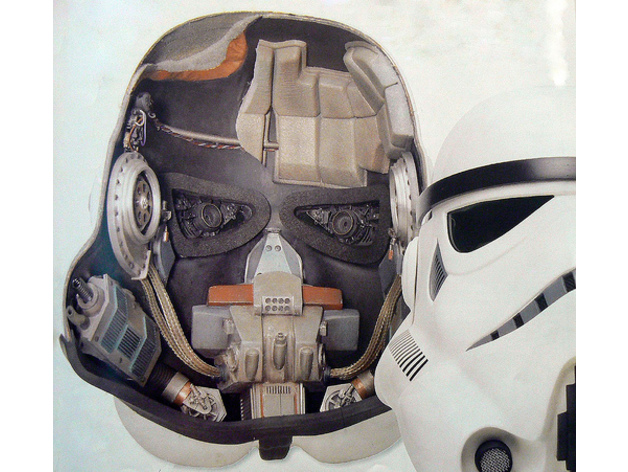
As a New Year gift for all of you, this is the Gear and devices inside a Stormtrooper helmet from Star Wars.
My work is based on the first two pictures and several others over the net.
This has been already printed and added to my TK helmet, the kit has enough space to add small fans, speakers and a mic.
Sorry I didn’t make an assembly manual, but the pictures and common sense will help you out (the force will guide you, LOL) to install the pieces once printed.
Wish the best for you and your families.
Kind Regards.
Straeker!!
Post-Printing
For the assembly, You’ll need a small piece of plastic rugged electrical conduit, normally it came in orange color.
also a sink water hose, the ones that came with a steel mesh, cut the connectors, retire the rubber hose and use only the mesh. -
Star Trek – Ganine Classic Chess Set: King 3D Print Model
Summary
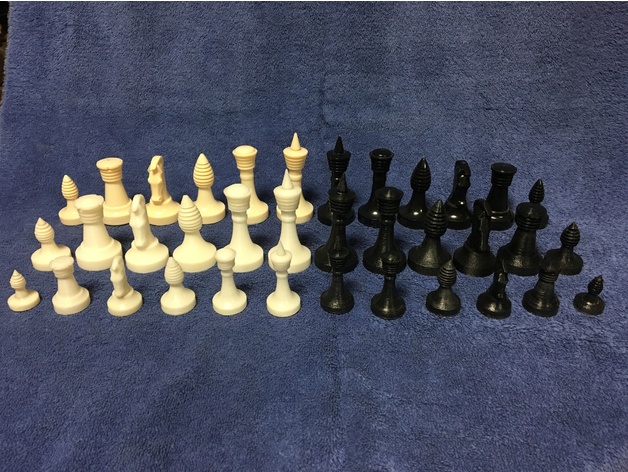
The cover photo shows 3 set; original in the back, full size print in the middle row and 70% prints in front.
In each of these uploads, I have included photos which show the printed piece, a 70% sized print (which actually fit under the attack boards) and an original piece, for comparison. For the Bishops and Pawns, when stacking the rings on the base part, I found it useful to drill a hole in the centers to run a length of filament up the center for stability and alignment. I also found that a product called “Plastruct Plastic Weld” works wonders on ABS plastic! It melts ABS, so I could even use it to smooth out the surfaces after assembly, although my wife calls it “stinky glue” so use it in a well ventilated area!
It will take some time to complete a set, but I think the results are worth it. Enjoy! -
Star Trek – Ganine Classic Chess Set: Queen 3D Print Model
Summary
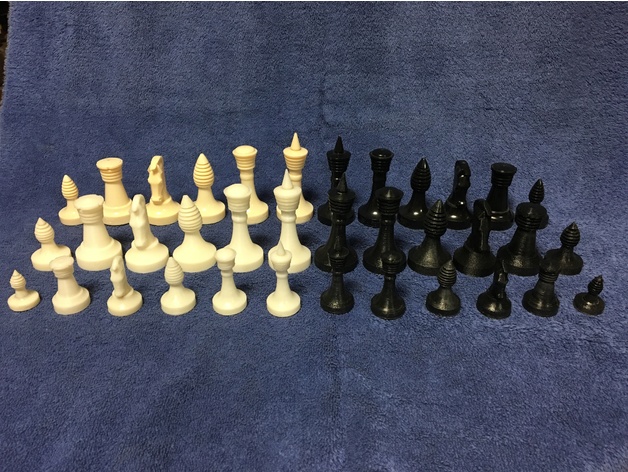
The cover photo shows 3 set; original in the back, full size print in the middle row and 70% prints in front.
In each of these uploads, I have included photos which show the printed piece, a 70% sized print (which actually fit under the attack boards) and an original piece, for comparison. For the Bishops and Pawns, when stacking the rings on the base part, I found it useful to drill a hole in the centers to run a length of filament up the center for stability and alignment. I also found that a product called “Plastruct Plastic Weld” works wonders on ABS plastic! It melts ABS, so I could even use it to smooth out the surfaces after assembly, although my wife calls it “stinky glue” so use it in a well ventilated area!
It will take some time to complete a set, but I think the results are worth it. Enjoy! -
Ultrasonic Cleaner Small Parts Cup 3D Print Model
Summary
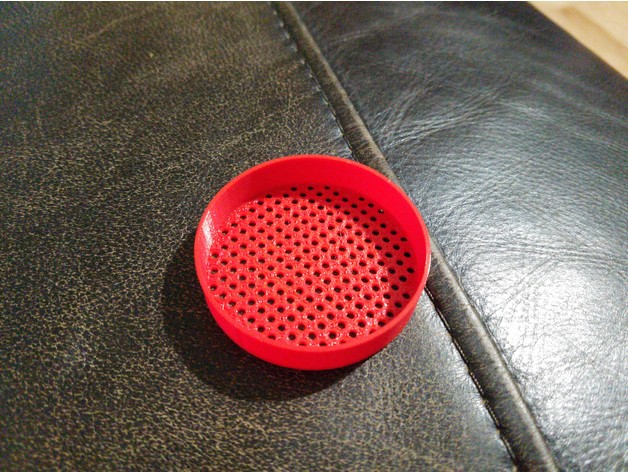
This is a cup that I use in a large ultrasonic parts cleaner when trying to clean small parts. The dimensions are 50mm x 11mm and the small holes are 2mm in diameter. This works great for cleaning small parts like pins and wafers from locks (what I use it for). I’ve used this in mineral spirits and simple green chemicals (printed in PLA) without issue. -
野村一晟卡片盒 – 戰場最強 挑戰勝利 3D Print Model
Summary
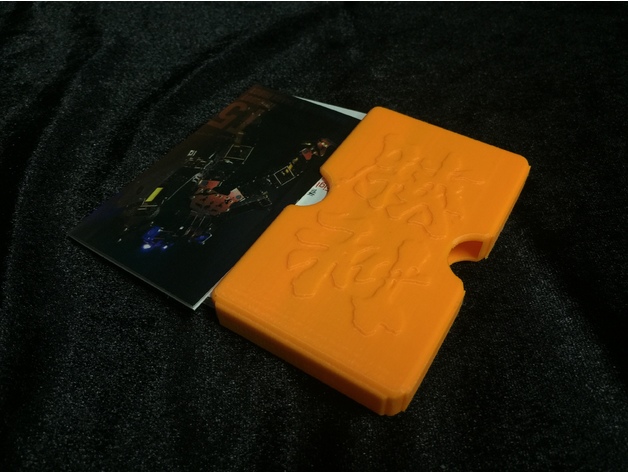
早兩日見到報導,日本瘋傳的賽艇海報,字體由高中老師野村一晟設計,真係神級,向大師致敬,立刻用咗大師的字體,設計了卡片盒。唔知有冇人想要? -
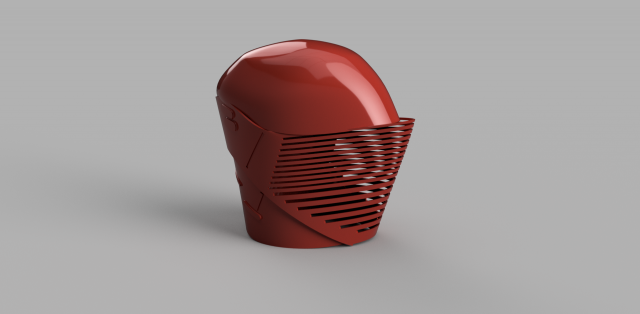
Elite Praetorian Guard Helmet- Star Wars The Last Jedi 3D Model
This is a model of the Elite Praetorian Guard Helmet as shown in the movie Star Wars “The Last Jedi”.
-
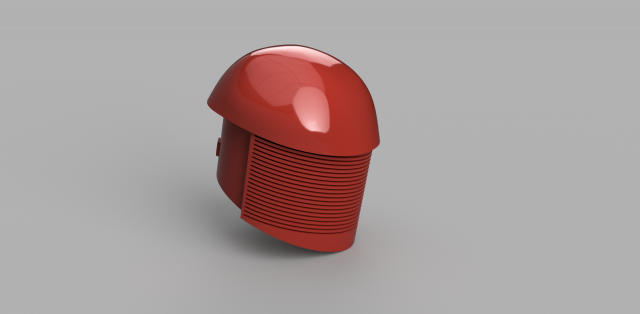
Elite Praetorian Guard Helmet- Star Wars The Last Jedi 3D Model
This is a model of an Elite Praetorian Guard Helmet shown in Star Wars “The Last Jedi”
-
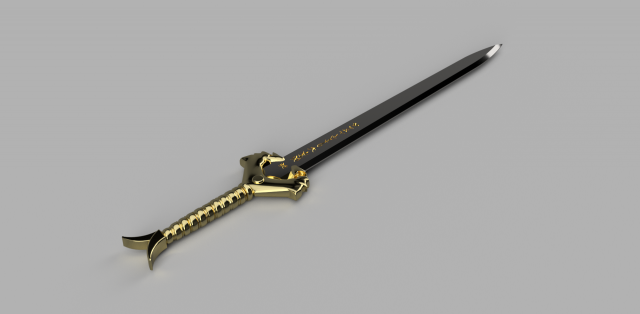
Godkiller Sword- Wonder Woman 3D Model
This is a replica of the “Godkiller” sword from the Wonder Woman movie. All of the pieces must be glued together once printed.
-
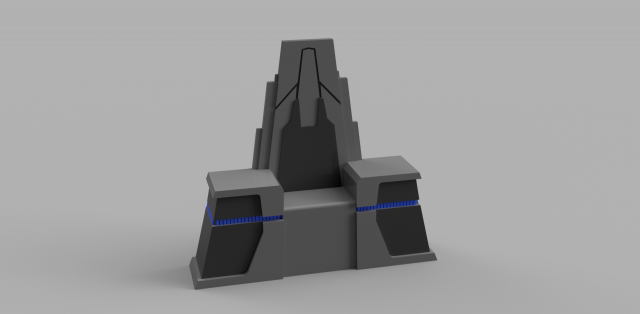
Snokes Chair- Star Wars The Last Jedi 3D Model
This is a replica of Supreme Leader Snoke’s Chair from Star Wars “The Last Jedi”.
-
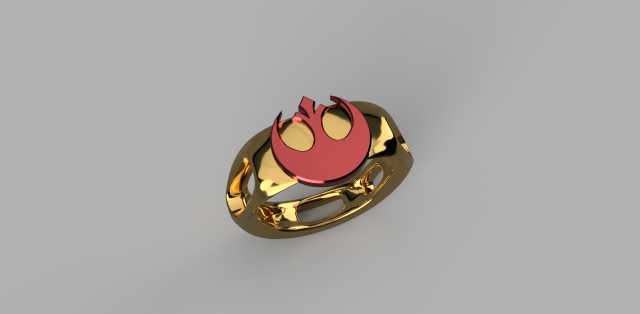
Rebellion Ring- Star Wars 3D Model
This model is of a 22 cm (inner diameter) ring inspired by the rebellion symbol from the Star Wars movies series.
-
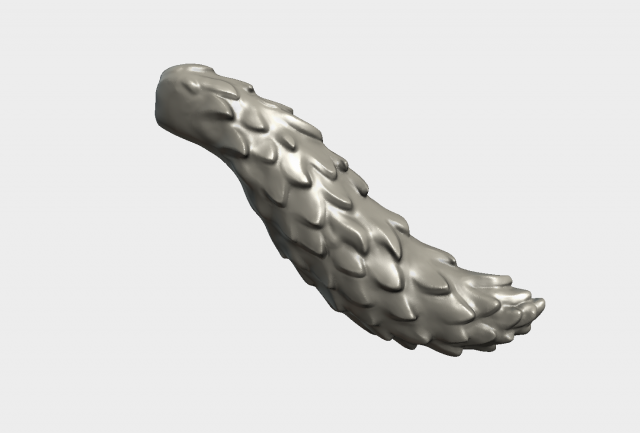
Wolf Tail 3D Model
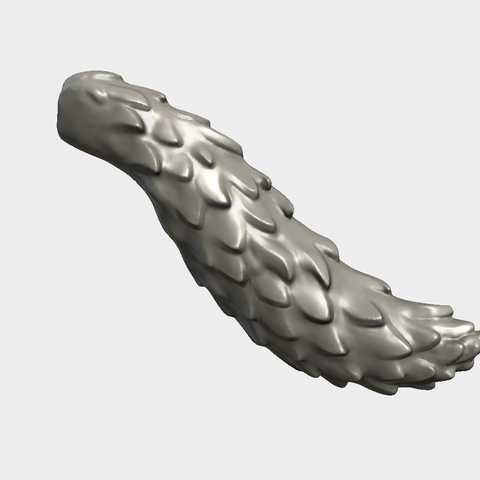
High poly wolf tail.File contains one object. The model is print ready.Measure units are meters. It is about 1 meter in length.Available formats : .blend, .obj, .stl, .fbx, .3ds.Native format is .blend.Faces count is 252654For .3ds format there is 63162 faces.
-
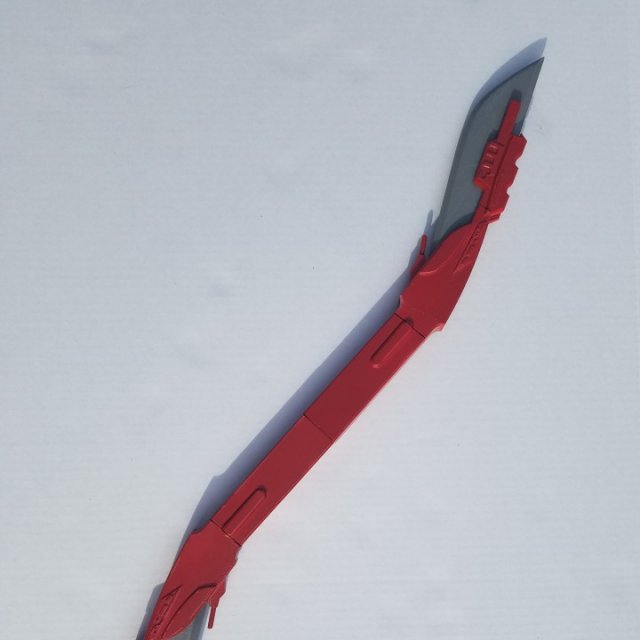
Praetorian Guard Double Blade- Star Wars The Last Jedi 3D Model
This is a replica of the “Praetorian Guard Double Blade” featured in Star Wars “The Last Jedi”. Each piece of the design will have to be printed twice except for the connector piece. All of the pieces must be glued together after they are printed.
-
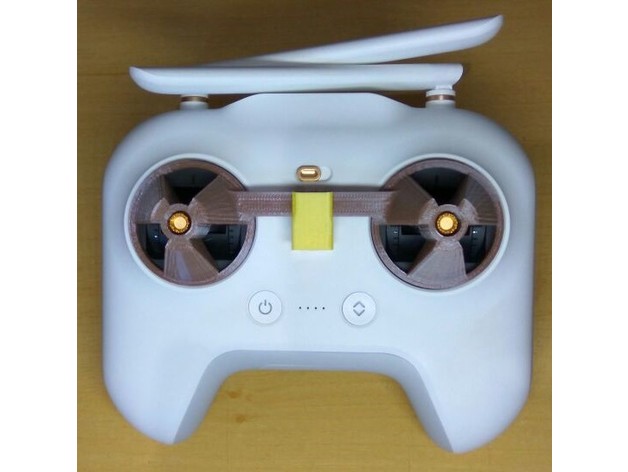
Mi Drone Stick Cover with Clip 3D Print Model
Summary
English: Mi Drone Stick Cover with Clip
Portuguese: Protetor de Stick (manche) com clip (grampo) de fixação para o MI Drone
Print Settings
Printer:
Anet A8 Rafts:
No Supports:
Yes Resolution:
0.2 Infill:
10 -
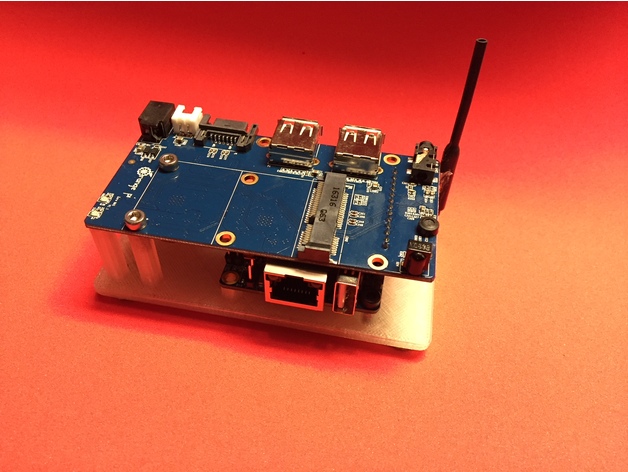
Orange Pi Zero NAS (minimal) 3D Print Model
Summary
A minimalistic open mount for the Orange Pi Zero NAS.
Print Settings
Printer Brand:
MakerBot Printer:
MakerBot Replicator 2 Rafts:
No Supports:
Doesn’t Matter Resolution:
.25 Infill:
10% -
Cute Whale 3D Print Model
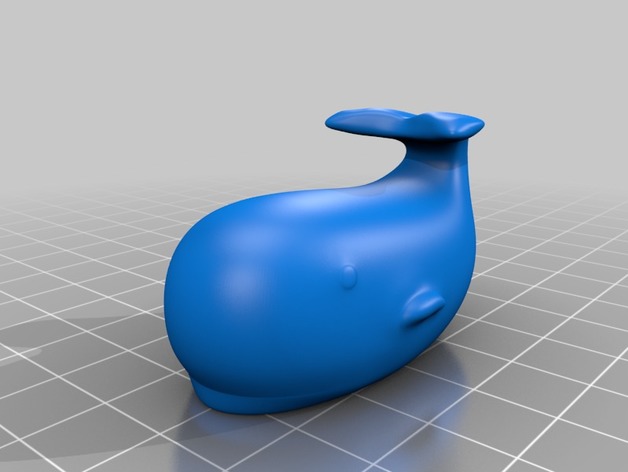
Summary
Cute Whale Model. When you print this you will need supports for the tail portion.