Summary
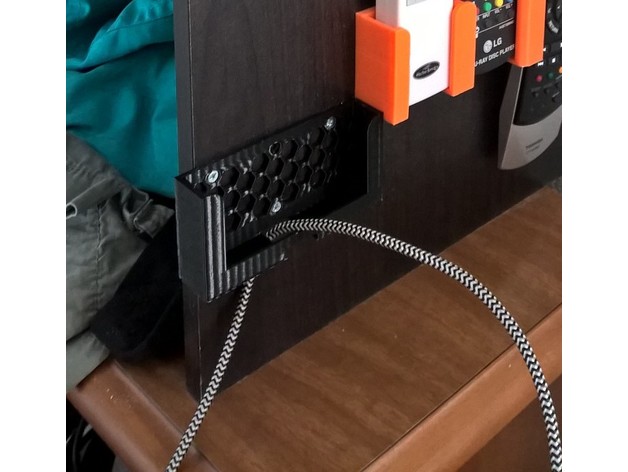
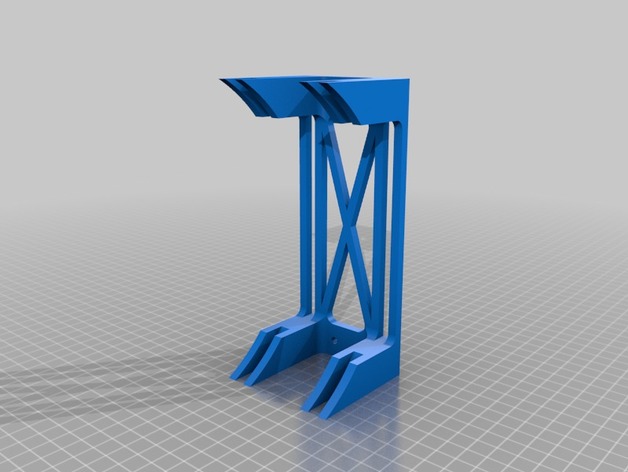
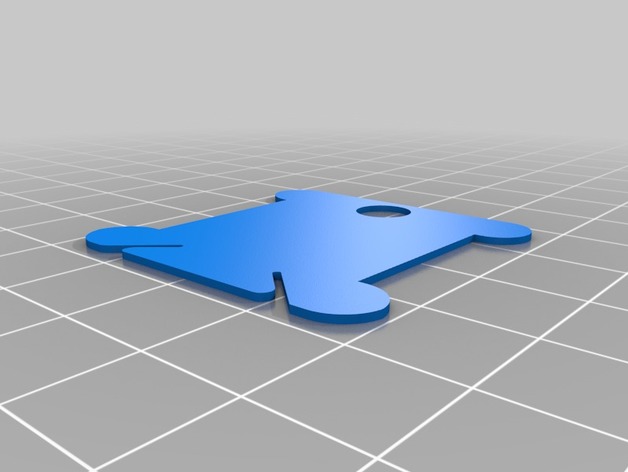
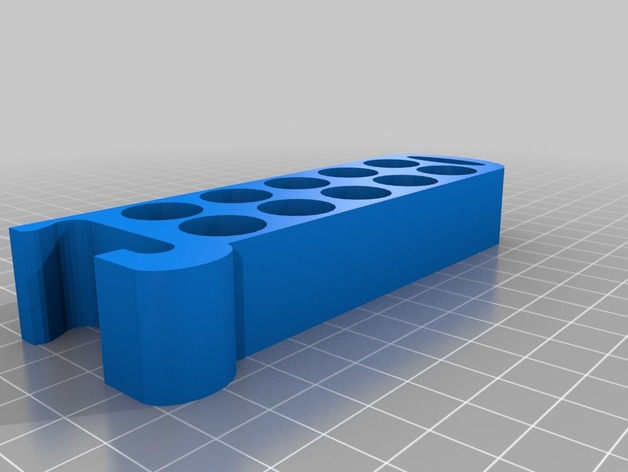
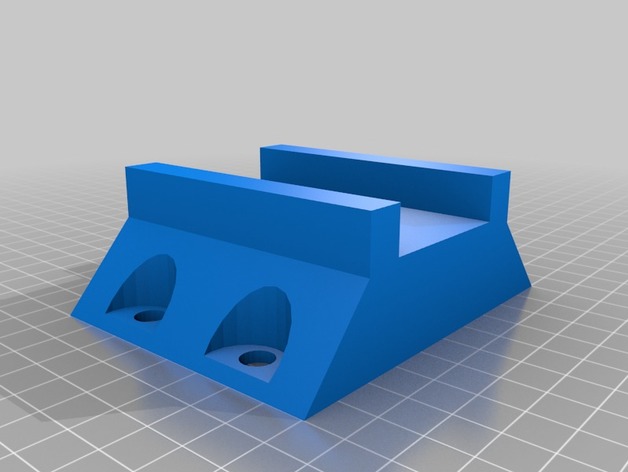
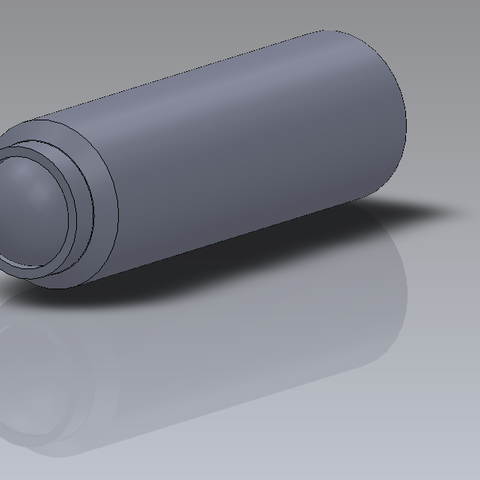
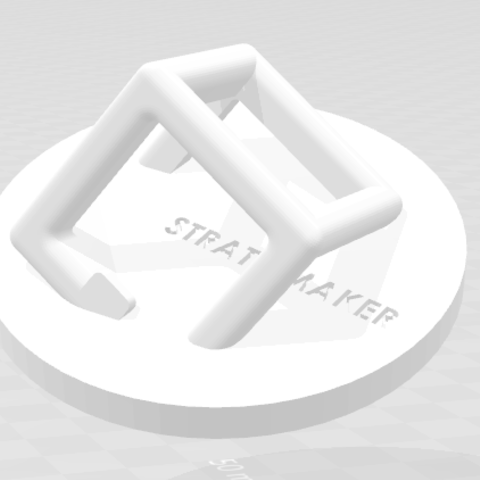
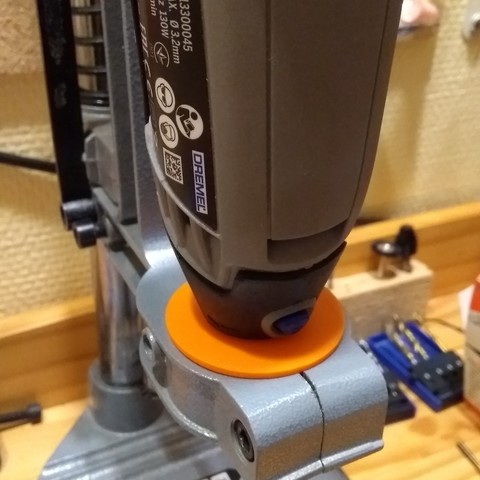
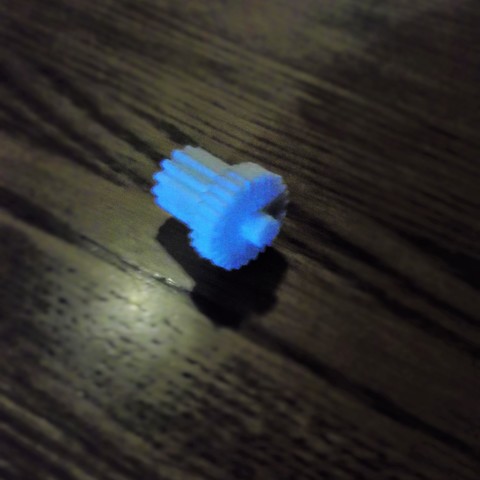
I’ve broke a few of these trying to slide it onto the 2020 v-slot extrusion. The back of it also rubs against the 2040 vertical extrusions. I removed some of the material from the inside to allow it to slide onto the 2020 easier and removed some from the back so it didn’t rub on the 2040 vertical extrusions.
Mirror the part for the opposite side.
Print Settings
Printer:
AM8 Rafts:
No Supports:
No Resolution:
.2 Infill:
80%
Category: 3D Print Models
Premium & 3D Print models ready to be 3d printed. 3D Print Models and Free 3D Print Models are available for download in several formats including .STL, .3DM, .OBJ, .3DS, .DAE, .SKP, .BLEND, .DWG, .DXF, .STEP and much more. If you’re in search of high-quality 3D printed assets, we have a huge library of 3d print models for any of your needs. Also you can visit 3D Models and All 3D Models category.
-
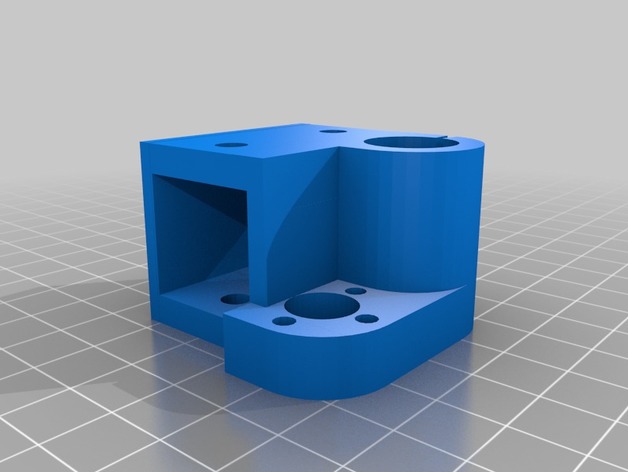
AM8 Z Axis Single Bearing 3D Print Model
-

Benicio Del Toro 3d printable portrait 3D Model
Portrait sculpture of Benicio Del Toro head made for 3D printing.Files provided:-stl files, bout solid and with 0.9 mm shell. Sculpture is 120 mm height.-OBJ fileBrowse my store to see more of my work. Contact me if you are interested in custom work for you.
-
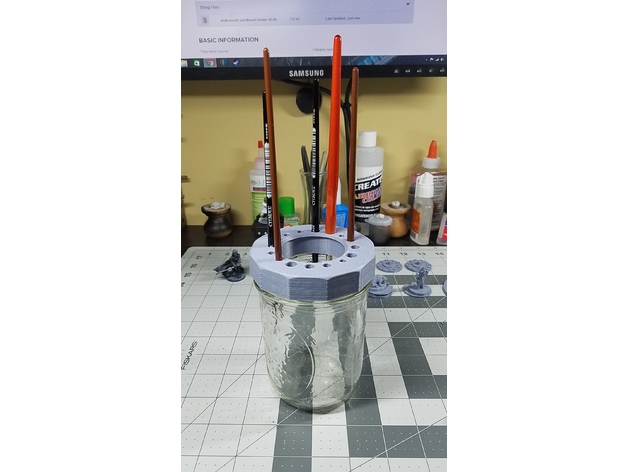
MASON JAR PAINTBRUSH HOLDER 3D Print Model
Summary
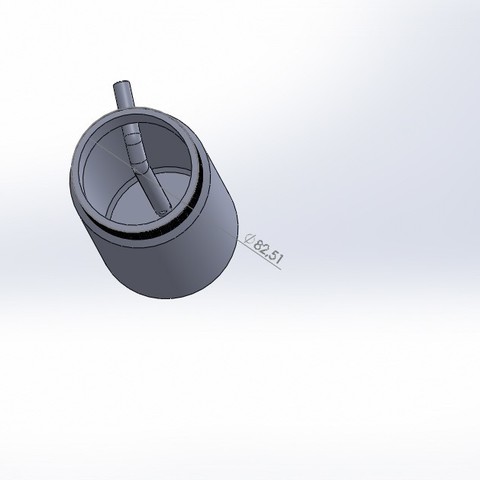
Idea taken from GW’s water pot — Designed to wash your brushes in, the water pot uses a widemouth mason jar and features a lid which holds up to 16 brushes of various sizes, allowing them to rest in the water without flattening and bending their bristles on the bottom of the pot.
Print Settings
Printer:
SINDOH 3DWOX DP200 Resolution:
.2 -
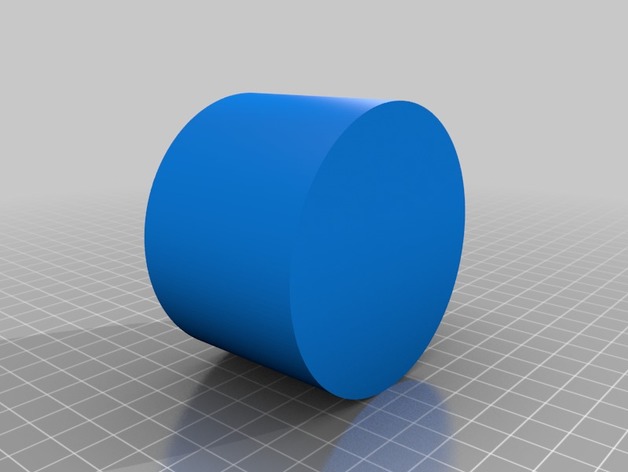
BMW 6 Series (F06) RedBull Adapter 3D Print Model
Summary
This is an adapter for the BMW 6 Series (F06) cup holder so it will fit a normal RedBull can it also includes a BMW logo inside 😉
Print Settings
Printer Brand:
Prusa Printer:
Prusa Mk2 Rafts:
Doesn’t Matter Supports:
Doesn’t Matter Resolution:
I printed at 0.2mm layer height Infill:
I printed at 20% infill -
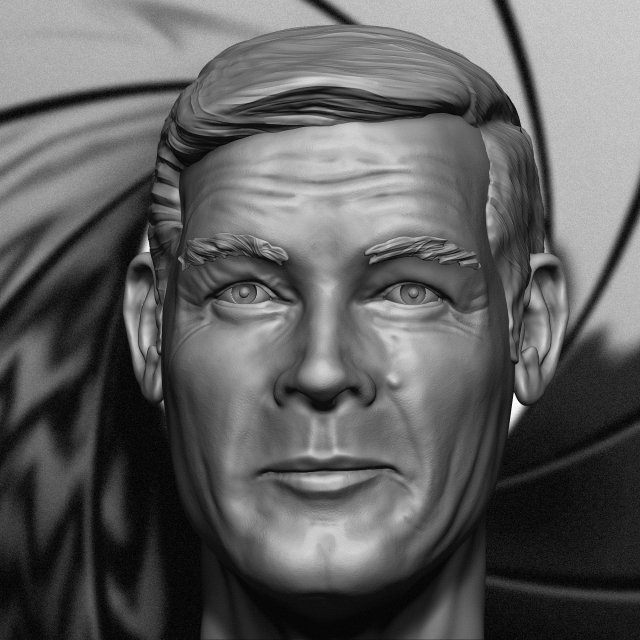
Roger Moore 3D printable portrait 3D Model
Portrait sculpture of late Roger Moore head made for 3D printing.Files provided:-stl files, bout solid and with 1 mm shell. Sculpture is 120 mm height.-OBJ fileBrowse my store to see more of my work. Contact me if you are interested in custom work for you.
-
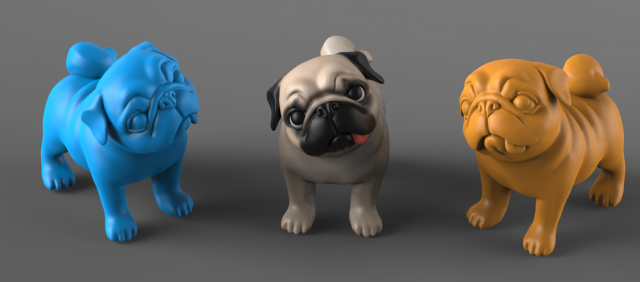
Question Pug 3D Model
Cute Puppy Pug with QuestionOBJ & STL File formatSize :X : Face length : 6.2 CMZ : Depth Length : 10 CMY : Height : 10 CMModel is STL file format and Ready to 3D Printing (None Errors )Enjoy ^^
-
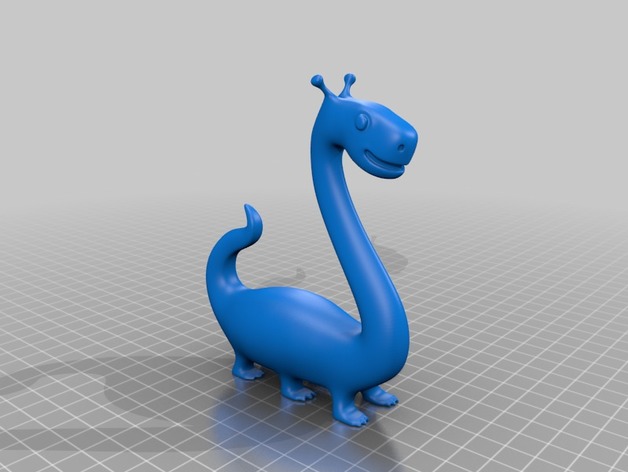
Nessie – Cute Loch Ness Monster 3D Print Model
Summary
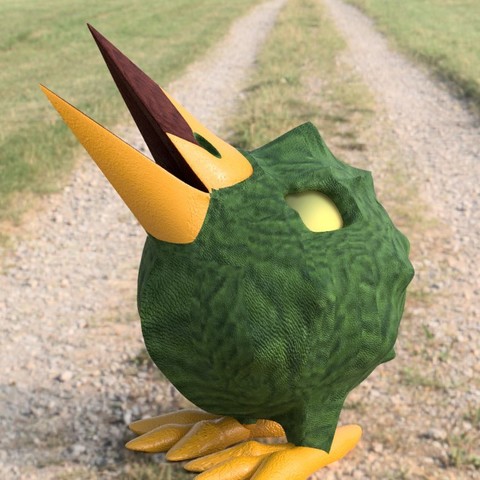
Nessie – Cute Loch Ness Monster.
Sculpt Practice in Blender. -
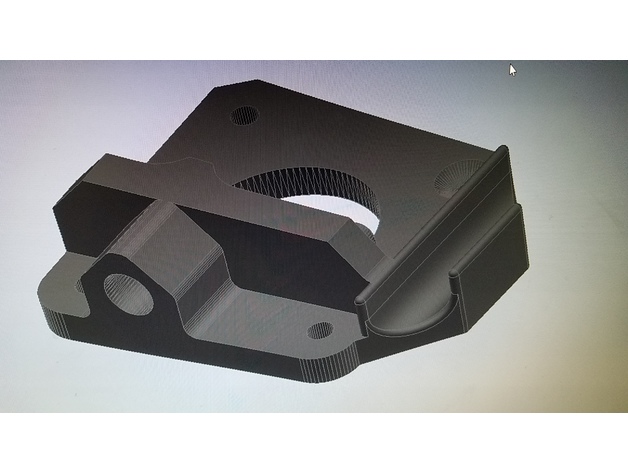
Extruder_Bracket_PTFE_Insert_Remix 3D Print Model
Summary
This is joshvv’s original with a simple wire holder added. -
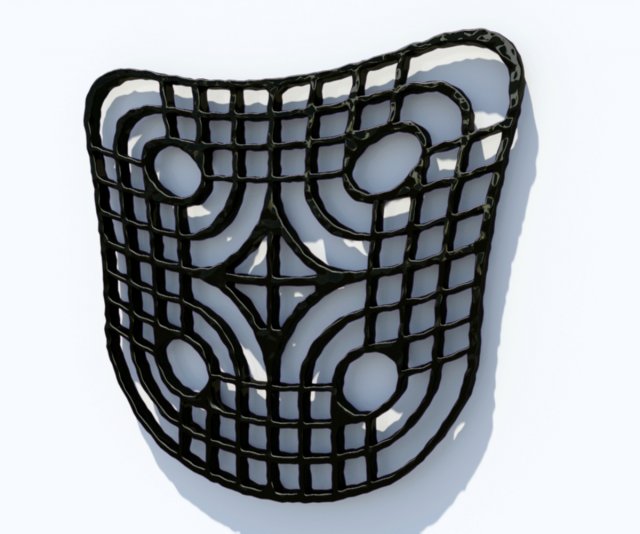
Tribal Noise Pattern 3D Model
Tribal style pattern for 3d printing.x: 41,197 cmy: 1,724 cmz: 38,264 cmFaces: 73662Vertices: 73662The object is named Pattern.Created in 3ds Max.STL-checked in 3ds Max.Check run with Blender Add-on 3d printer box.The presentation above is rendered with Mental Ray
-
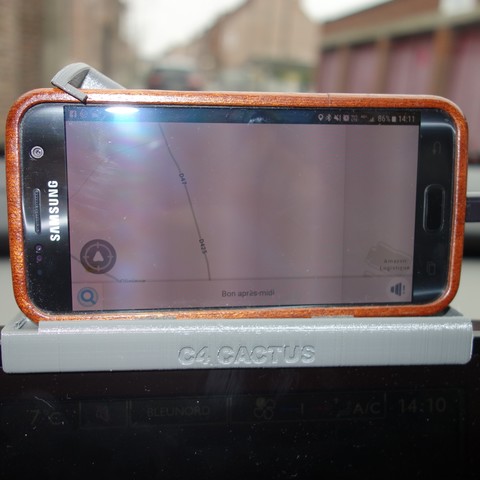
Dodge Charger Galaxy S8 Otterbox Defender Phone Holder 3D Print Model
Summary
So I got sick of my phone not having a place to sit in the car. I tweaked the heck out of the awesome design that TTTurner68 did. I will update after I print it out.
It should allow you to slide the phone in from the front, built it in 5 pieces to allow it to breakaway neater and fit together solidly. It should work on 2015-2017 Dodge Chargers at the very least and sits solidly in the whatever that thing is next to the gear shift.
Please feel free to comment, critique, remix. I’m still learning this and can use all the input I can get. -
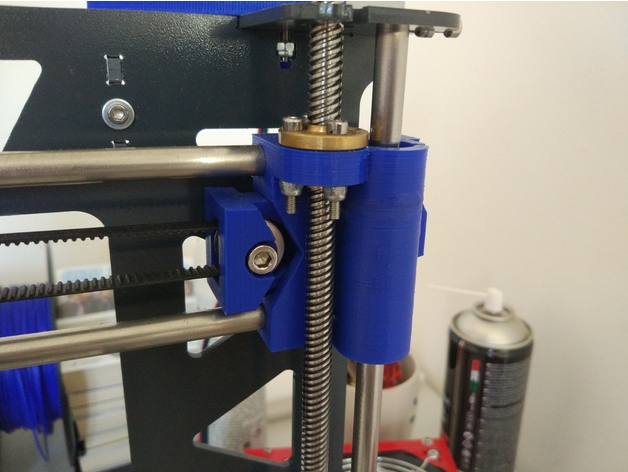
Prusa Steel X axis with tensioner and 8mm leadscrew support 3D Print Model
Summary
This X axis for the Prusa steel frame features a convenient single screw belt tensioner and supports 8mm leadscrews.
You need some M3 screws and nuts to mount the leadscrew nuts in place, a M4 screw and nut for the tensioner and a M5 screw and nut for the toothed idler, I use a cheap aliexpress toothed idler with a M5 bore.
Prints without supports.
Print Settings
Printer Brand:
Prusa Printer:
Prusa Steel Rafts:
Doesn’t Matter Supports:
No Resolution:
0.3-0.25 Infill:
25-30% -
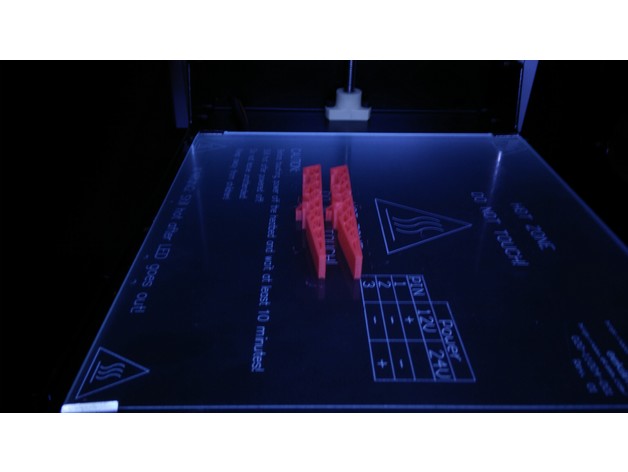
Clothes peg 3D Print Model
Summary
I guess it would have been cheaper to buy new clothes pegs, but I wanted to reuse the spring, so I 3D-printed it. -
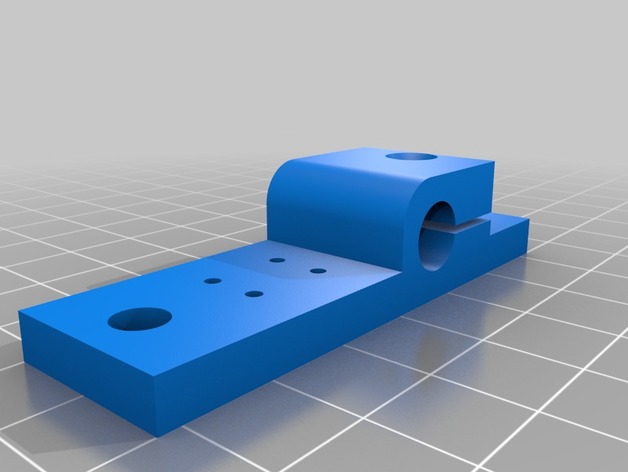
Y axis completely 3D Print Model
Summary
This is a complete construction of the Y axis on the 40×20 nut 5 A profile. The motor is a NEMA 17 with 22 mm flange, dimensions 42.3×42.3×39.2 mm, without shaft. The shaft is 22.6 mm long and has Ø 5 mm. The assembly mountet with M5x12mm screws 12 pieces, M3x12mm countersunk screws 4 pieces (motor mount), M3x24mm 1 piece and 2 self-tapping screws Ø2mm x10mm 2 pieces. The assembly of the motor must be carried out after mounting the mounting on the A-profile.
This is a very compact design that does not need any extra parts when using hot bed mount ANET and other 3D printers.
The idea of the development was, as economical as possible, to use the space and get by with a few parts. -
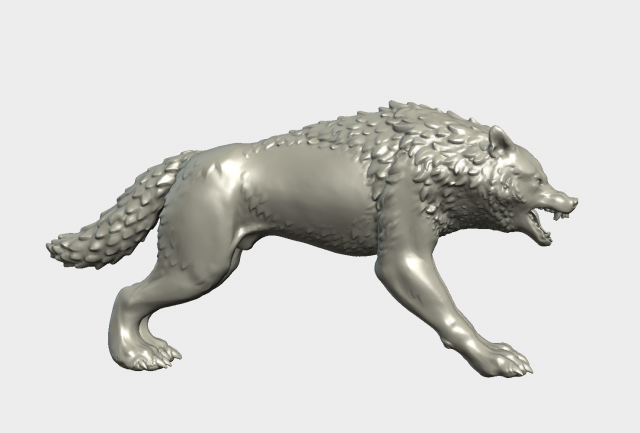
Fantasy Wolf 3D Model
High poly wolf.File contains one print ready object.Measure units are meters, it is about 1.65 meters in height.Available formats: .blend, .stl, .obj, .fbx, .3ds.Faces count : 974688.For .3ds there is 62378 faces.
-
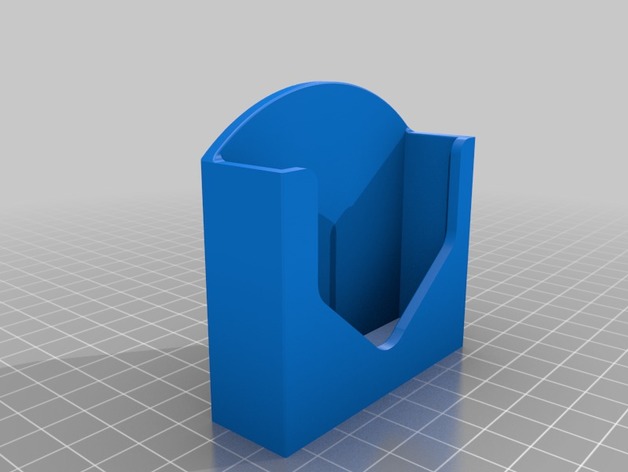
HK Diversity Receiver Mount to Ground Station Power Supply 3D Print Model
Summary
Bought Hobby King ground station power supply with HK Diversity Receiver
Power supply comes with two mounting brackets for single receiver and none for diversity one.
So I made one. Will post picture when printed. -
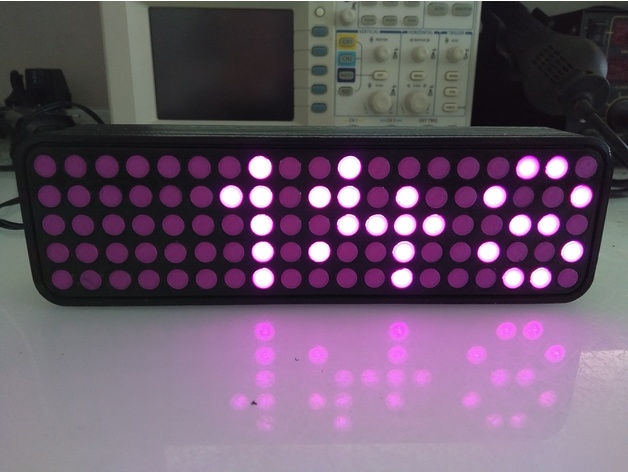
LOL Clock redesign 3D Print Model
Summary
This is a remake of robaux’s LOL Clock (https://www.thingiverse.com/thing:2219658). A new back piece 18mm thinner than the original has holes for the power socket and buttons.
A new circuit design has been done that uses two LED constant current drivers and five MOSFETs row drivers. There are two PCBs. One to hold all the LEDs (board is cut in half so that it can go in the case) and the second board holds the Arduino Mini, DS1307 RTC, DC-DC Buck convertor, Constant current LED drivers/shift registers and some buttons to set the time.
All Eagle files and Arduino sketch have been included along with the new back STL file. I made my boards using the toner method. The board contains SMD components because that is what I had on hand.
……………………………
To set the time:
Press the MODE button, the hours will flash 5 times a second
Use the UP and DOWN buttons to set the hours
Press the MODE button, the minutes will flash 5 times a second
Use the UP and DOWN buttons to set the minutes
Press the MODE button and the normal time mode is shown. (denoted by the colon separator flashing once a second). -
Jupiter 3D Print Model
Summary
Hello fellow space travelers
Here is a 140mm diameter Jupiter. Enjoy!
Print Settings
Printer:
Maker Select V2 Rafts:
Yes Supports:
No Resolution:
.02mm Infill:
100% Notes:
I would recommend a raft since there is not much surface area on the printbed.
You may need to add supports at the very bottom depending on how well your printer handles overhangs.
Post-Printing -
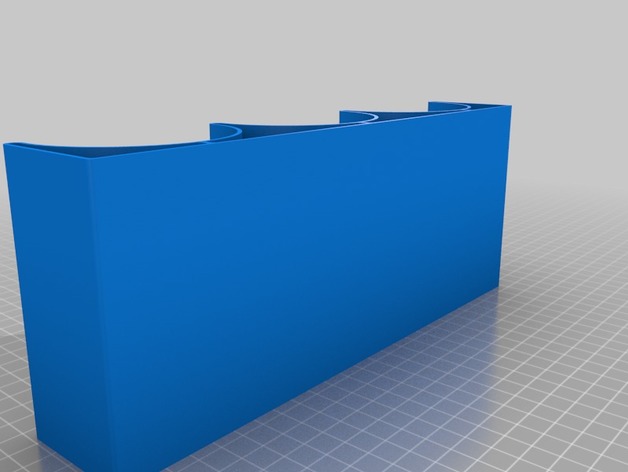
Beer Bomber Holder (Horizontal) for Shelves 3D Print Model
Summary
Scared Sh*tless that your precious cellar beers are going to decide to roll off the shelf one day, well preemptively maximize their entropy with this horizontal beer caddy. Also good for tight spaces in the fridge. 3″ diameter and 4″ long, meant for 22oz bombers but can hold anything smaller obviously.
Print Settings
Printer:
D300VS Rafts:
Yes Supports:
No Resolution:
0.2 / 0.4 mm h/w Infill:
100% with 3 loops -
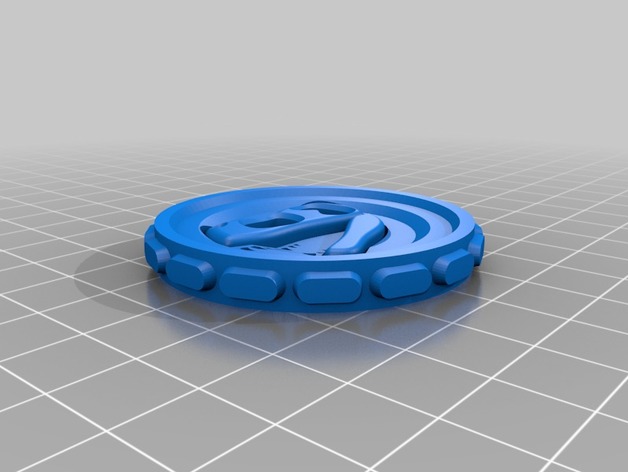
DinosaurNothlit’s Maker Coin 3D Print Model
Summary
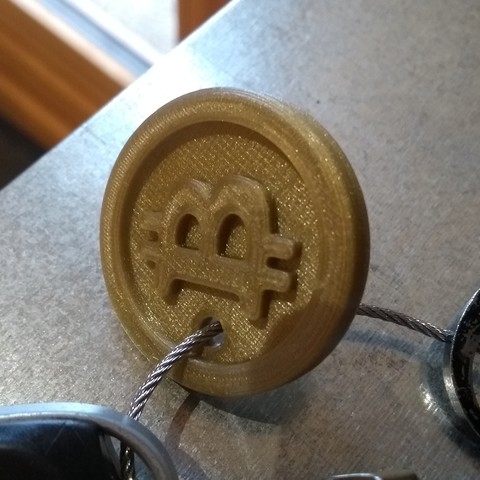
It’s my maker coin. It’s the thing I use to test filaments and such. I don’t really care if other people use it (why else would I post it here, after all?), but it’s worth noting that it’s a lot more fun to design your own! -
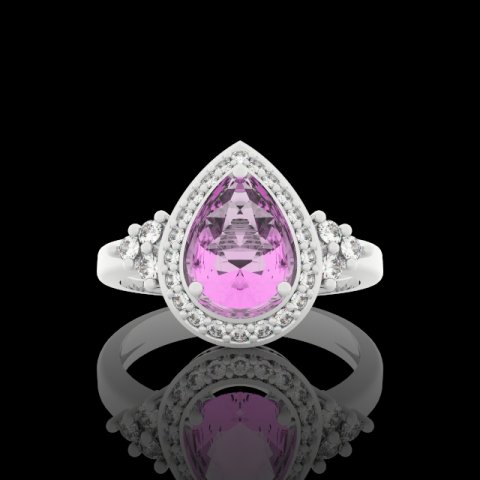
Ring Drop Classic Diamonds 3D print model 3D Model
3D model, intended for the jewelery industry or personal use. Models for CNC prototyping and 3D printing. Files: STL (stereolithography)Center stone Pear Shaped 7x5mm, approx. 0.75 ctAccent stones×6 Round 1.5mm, approx. 6 × 0.015 ct,×22 Round 1mm, approx. 22 × 0.005 ctTotal approx. 0.2 ctWeight 3.7 (14k), 4.3 (18k), 6.4 (pt), 2.9 (silver)Diameter 18 mmSize 7¾ (US)Style ClassicSetting Type (Mounting) ProngSide stone setting Bead & Bright Cut, Shared ProngShank / Band Traditional
-
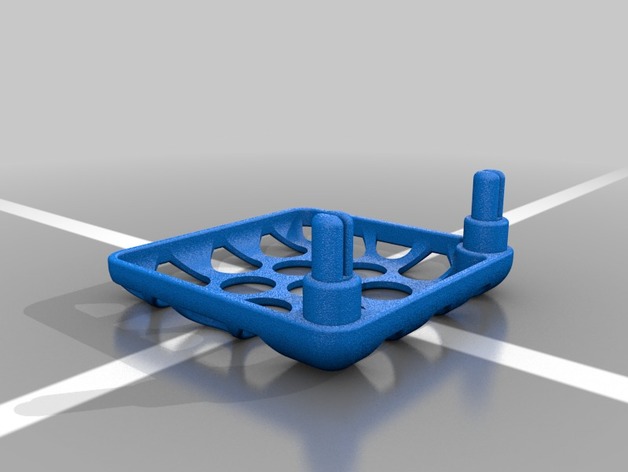
40mm Fan Grille 3D Print Model
Summary
Fan shroud for a 40mm fan. After destroying two fans I decided it was time to protect the third one. -
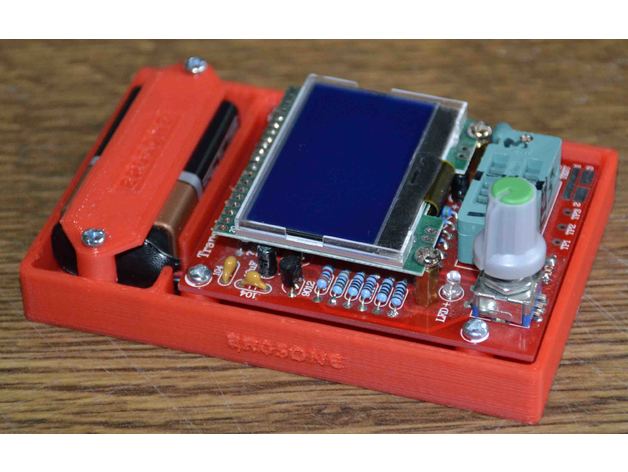
Component tester mounting for type: Hiland DIY M12864 3D Print Model
Summary
Requires to drill and tap to M3
4 off M3 x 10mm screws
2 off M3 x 15mm screws
OR
Small self tappers
Printer Anet A6
200 degrees nozzel, 50 degrees bed
50mm/sec speed, infill 20%, print flat side down.
Print Settings
Printer:
Anet A6 Rafts:
Doesn’t Matter Supports:
Doesn’t Matter Resolution:
.2 Infill:
20% -
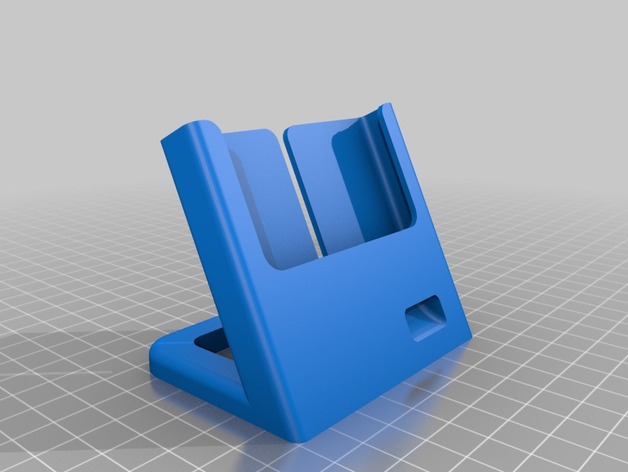
iPhone6 dock for Fairtec cable and Tech21 cover 3D Print Model
Summary
Created an iPhone6 dock that is compatible with Fairtec charging cable and Tech21 cover.
Print Settings
Printer:
Creality CR10 Rafts:
No Supports:
No Resolution:
0.2mm Infill:
20% -
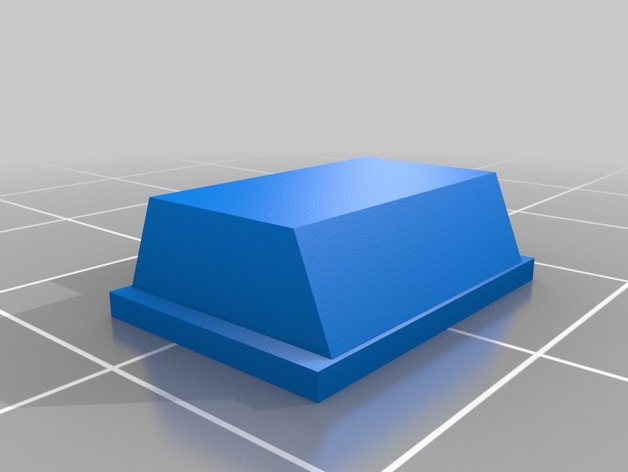
Clip for AT&T Slimline phone 3D Print Model
Summary
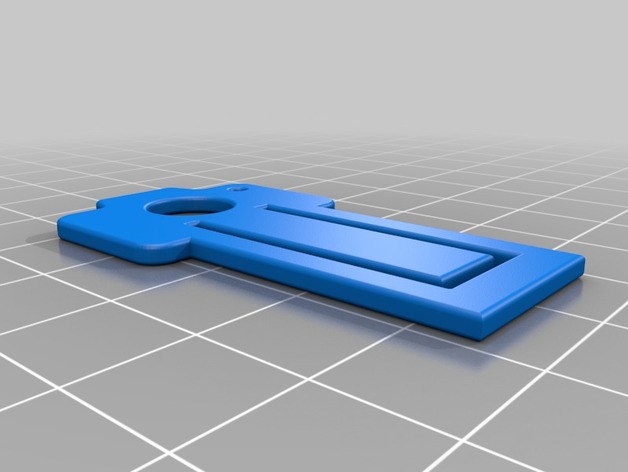
This replaces that little clip that both ensures the phone hangs up and holds it to the wall. It’s easy to break off the little nub that the phone hangs on. -
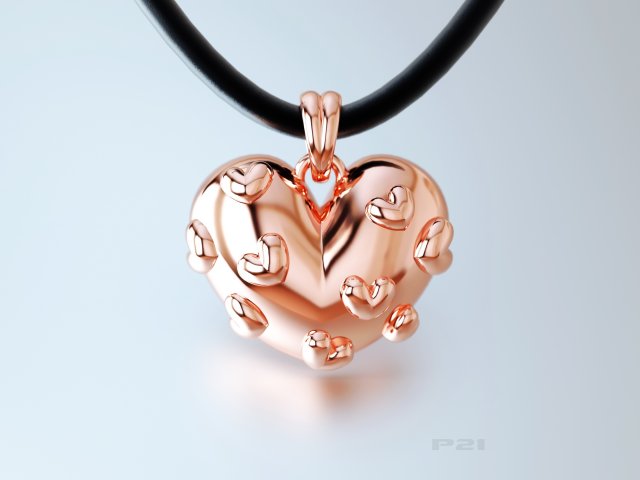
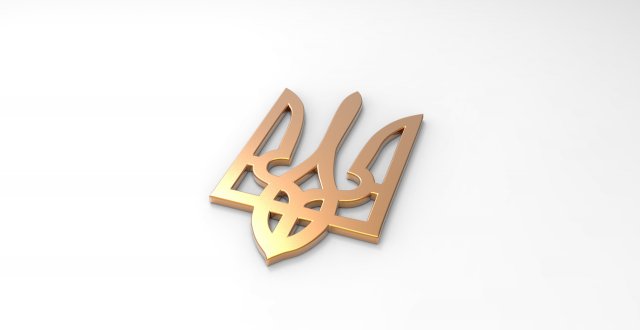
Pendant has a heart of gold 3D Model
The model can be used for production, for casting and machining.STL model is ready for prototyping on CNC and 3D PrintingHigh quality modelweight in gold 9,700 gramweight in gold silver 6,500 gram
-
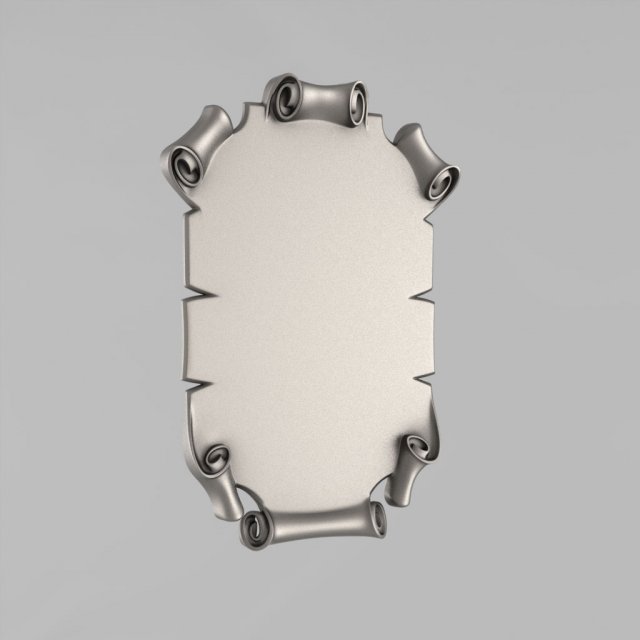
Cartouche decor 3 3D Model
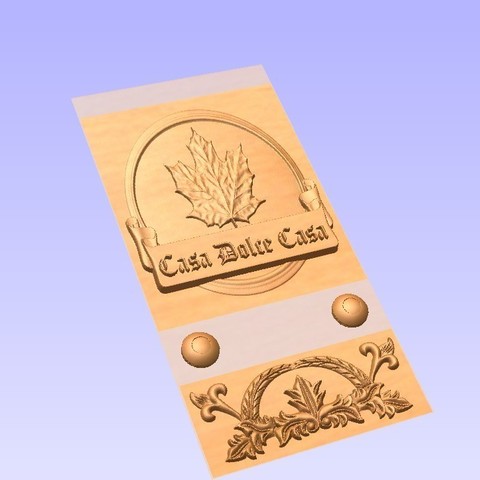
STL 3D model – Cartouche decorThe model is ready for prototyping with CNC machining and 3D printing.
-
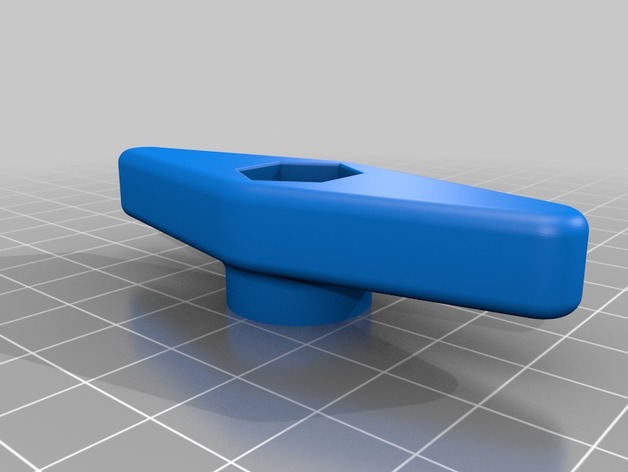
M8 Handle 3D Print Model
Summary
M8 Handle. Enjoy
Print Settings
Rafts:
Doesn’t Matter Supports:
Doesn’t Matter Resolution:
.1 > .2 Infill:
35% > 100% -
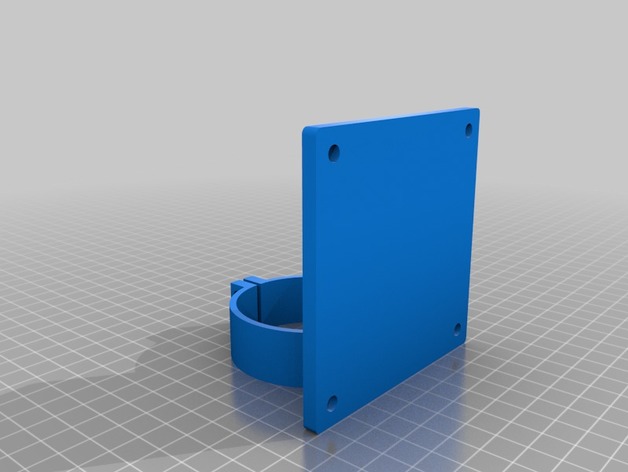
VESA Poll Mount 3D Print Model
Summary
This is a VESA poll mount for 56mm / 2.18″ poll and 75 or 100 VESA plates. It was built for to hang my Intel NUC computer on the back of my display. -
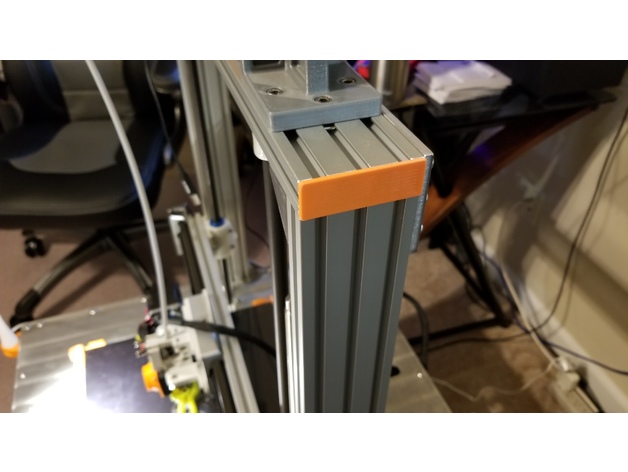
Aluminatus Extrusion End Covers 20mm x 60mm 3D Print Model
Summary
Removed the lines and made it smooth on the outside.
Printed in ABS
.2 Layer height -
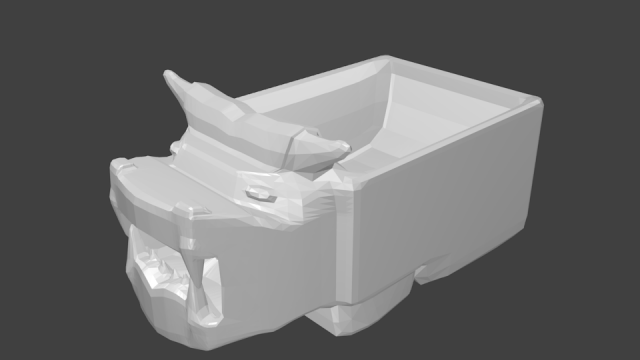
FlowerPot Bonsai 3D Model
This 3D print model flowerpot, designed for bonsai.Model Dimensions:Length: 13.998 cmWidth: 23.336 cmHeight: 11. 212 cmModel formats:3Ds.Autodesk FBX.Wavefront OBJ.Stl.
-
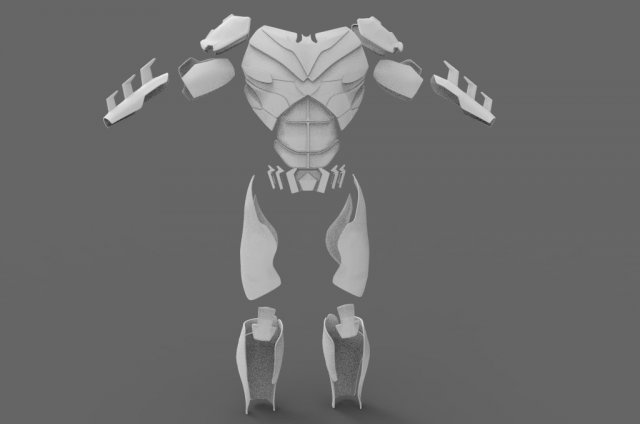
Batman Injsutice 2 Armor Pieces 3D Model
Batman Injsutice 2 Armor Pieces Print 3D print modelBatman Injsutice 2 Armor piecesThe helmet isn’t includedHigh Poly modelAutodesk FBX (.fbx) 35 MB3D Studio (.3ds) 3.62 MBStereolithography (.stl) 67.8 MB3D Studio Max (.max) 98.6 MBOBJ (.obj) 96.2 MBPls check the size before useContact me if there are any problems.Thank you.
-
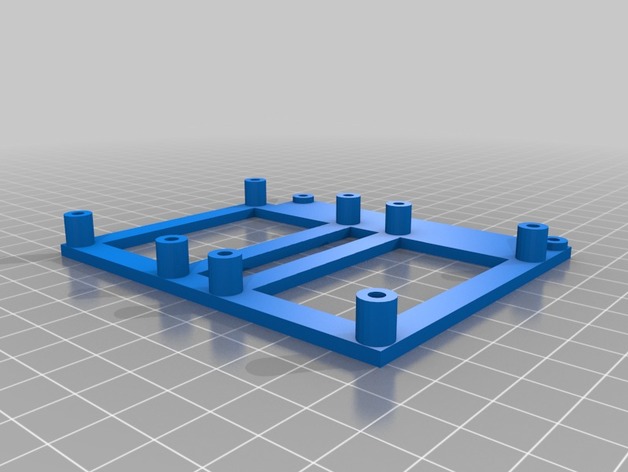
yet another Dual DMOS holder 3D Print Model
Summary
Another Dual DMOS holder for the bigger DMOS Version like this: https://www.amazon.de/gp/product/B0714JXQT7/
fits into existing holes -
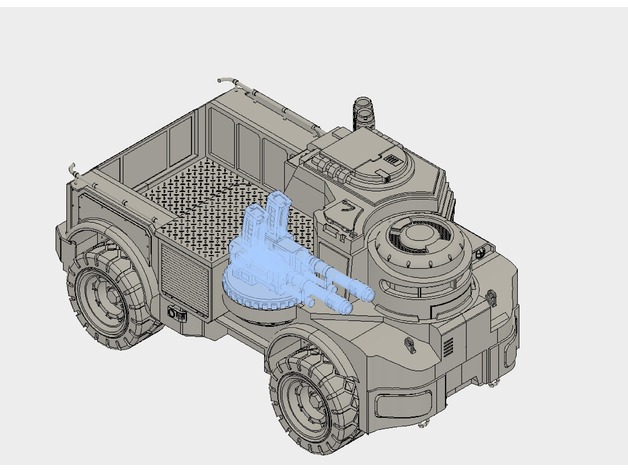
Twin-linked autocannon for Genestealer Cults Galyat Truck 3D Print Model
Summary
Weapon option to the Genestealer Cults Galyat Truck available at https://www.thingiverse.com/thing:2736962
Print base, cannon 1 and cannon 2 for the complete assembly. -
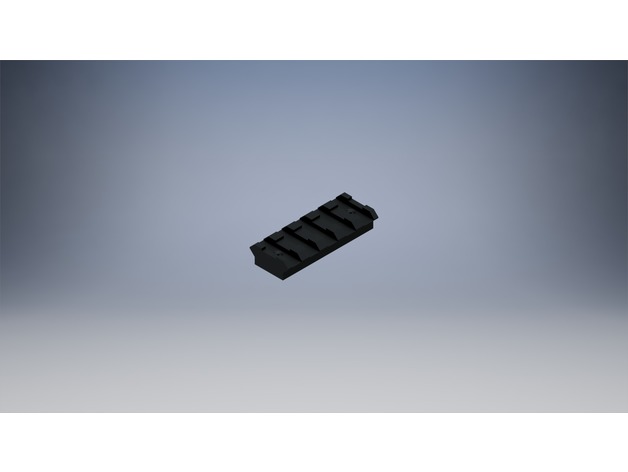
Nerf top mount rails 3D Print Model
Summary
Nerf top mount rails… should be compatible with Worker mod top mount rails
e.g. https://www.amazon.com/Worker-15-Slot-Picatinny-Mount-Printed/dp/B0767G117B/ref=sr_1_8 -
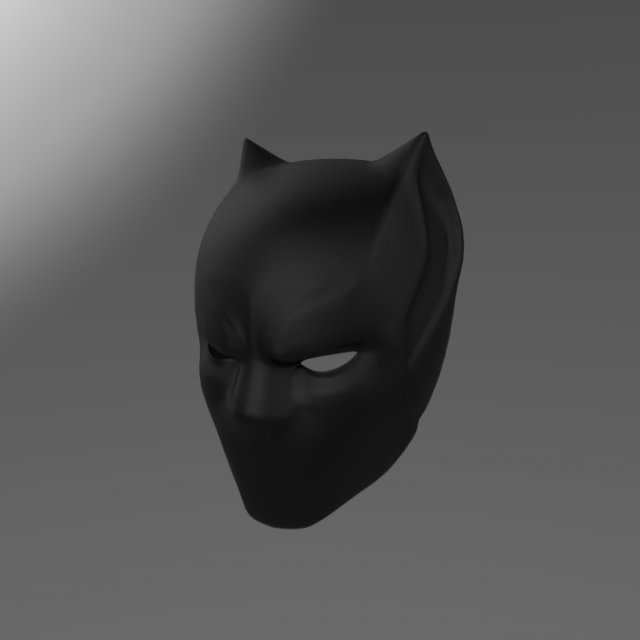
Black Panther Helmet 3D print model 3D Model
Black Panther Helmet 3D print modelBlack Panter Helmet 3D print modelObj – 3dsmax – Fbx – StlCheck the size before print.Thank you
-
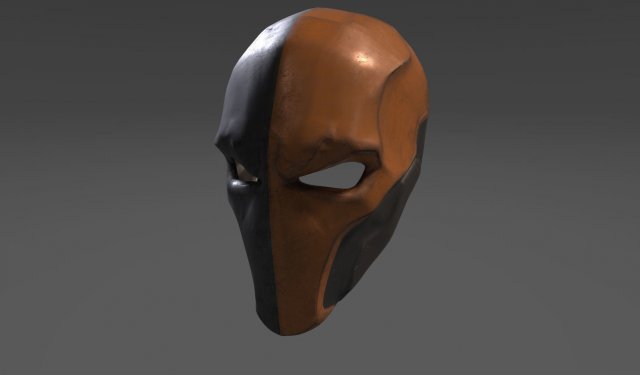
Deathstroke Mask 3D print model 3D Model
Concept is base on Deathstroke mask.High polyCheck the size before using. Thank you.
-
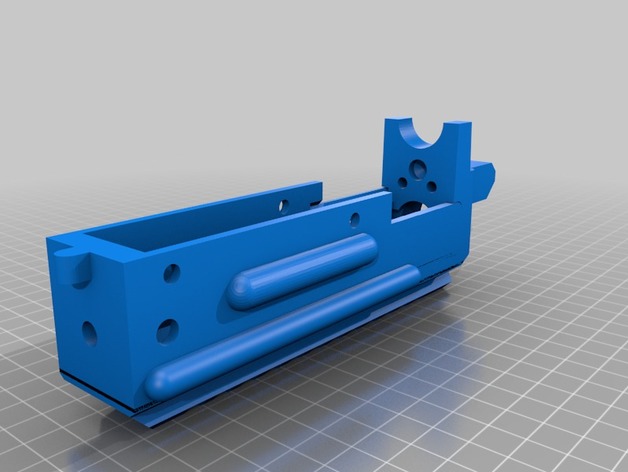
Ruger 10/22 Dummy Receiver (PROP) 3D Print Model
Summary
This is only a prop and does not work on a real firearm. I’m using it on a futuristic looking prop gun.
!Don’t forget to CHECK OUT my other designs and FOLLOW my daily KooKoo uploads, Enjoy 😉 -
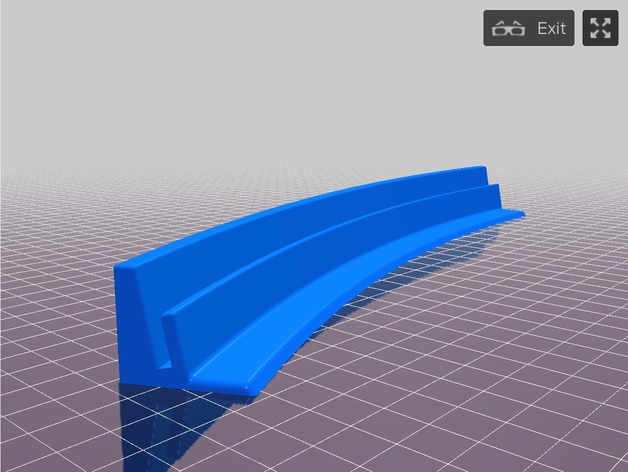
Playing Card Holder 3D Print Model
Summary
This handy holder sits nice and stable and will hold up to 20 (15-17 average) playing cards depending on size. With its subtle curve and slight rear tilt, it holds the cards at an optimal angle and keeps your hand out of view of prying eyes. I use these for playing “Tick” or “Arizona Rummy”. -
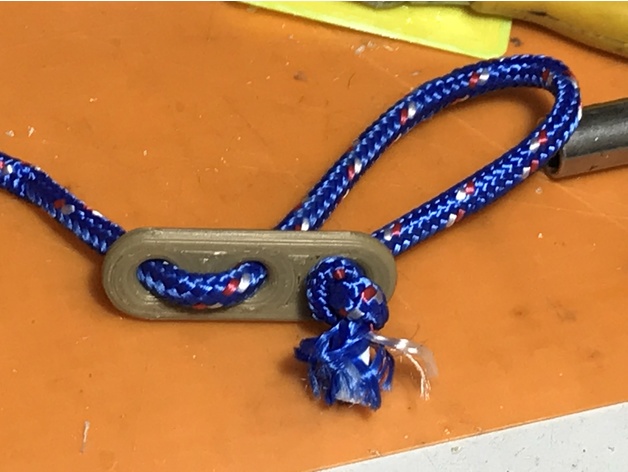
Geoffs Tent Rope /Guy wireTensioner 3D Print Model
Summary
simple – but very useful, print 1 or a set of 12 -
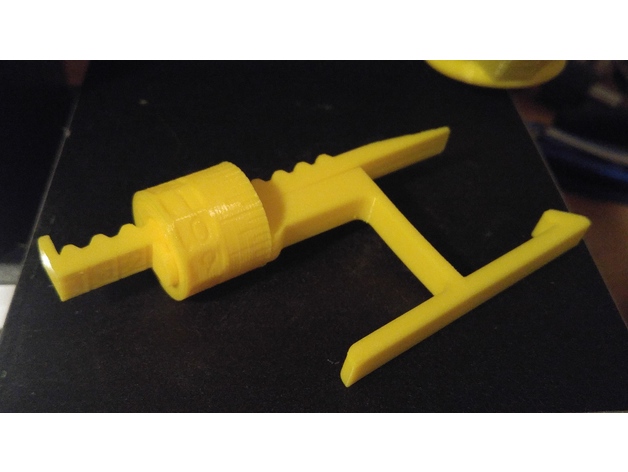
MPSM Fully Adjustable Z Spacer (MP Select Mini) 3D Print Model
Summary
Fully Adjustable Z Spacer
MP Select Mini
By Wiley Kyoto
This Z spacer is designed to give you continuous adjustment from 1mm to 5mm. If you want to switch between the stock bed and glass bed, you don’t have to adjust your print bed and then re-level it. If the beds already level, just adjust the spacer for the change in height to account for the glass thickness. Also If you change nozzles, the new one might be slightly longer or shorter, so just adjust the Z offset accordingly. I gave the Bracket a slight bend so it keeps constant pressure to hold it firmly in place.
My Print Setup:
PLA
210/60C
No Supports
0.175mm Layer Height
1.4mm Wall Thickness
1.05mm Top and Bottom Thickness
Orientation – Lay the AdjArm and Bracket flat on their sides. Put the AdjDial on one of the flat ends (I had numbers near the top).
Assembly:
Put the AdjDial on the Bracket, in the groove next to the indicator mark, with the numbers closest to the outside edge.
Insert the sloped edge of the AdjArm through the AdjDial, with the threads of the AdjArm facing away from the Bracket.
Keep pressure pushing the AdjArm into the AdjDial as you start to turn the AdjDial clockwise. Keeping in mind that the thread is reversed thread, such that turning the AdjDial clockwise will wind the AdjArm farther in.
Set the AdjDial to roughly the right spot (See Reading the Dial).
Make sure the head position of the printer is a good couple centimetres in the +Z direction, to prevent damage to the Z limit switch.
Insert the assembled spacer through the vertical slot in the back of the printer tower, snapping it into place on the Z Bearing Block(Black Plastic Block with metal rods running vertically through it), which you can see through the vertical slot. You should hear and feel a solid click as it snaps securely into place, pushing forward firmly on the top lever of the spacer should help it snap into place.
Make final adjustments the the AdjDial but homing the printer and checking the fit with a piece of paper under the nozzle.
Reading the Dial:
Note – the readings won’t have absolute accuracy as it depends on the exact placement of the Z Limit switch, but the relative accuracy should be great.
The AdjArm has 4 notches, with numbers 1 to 4 next to them. These represent whole mm steps.
The AdjDial has 40 notches, every 4 notches are numbered .0 through .9. These represent decimal mm steps. Each notch is a 0.025mm step.
The Bracket has one indicator notch which lines up with the notches on the AdjDial to indicate where to read the setting.
When the outside edge of the Bracket is lined up with the first notch(next to the 1) on the AdjArm and the .0 setting on the AdjDial is centred on the indicator notch, the spacer is set to 1.0mm.
When the AdjArm is all the way into the AdjDial, and the AdjDial is set to .0, the spacer is set to 5.0mm.
The spacer can be set less than 1mm but at some point (around 0.7mm on my printer) the limit switch will slip off the end of the spacer and effectively act as 0mm offset. -
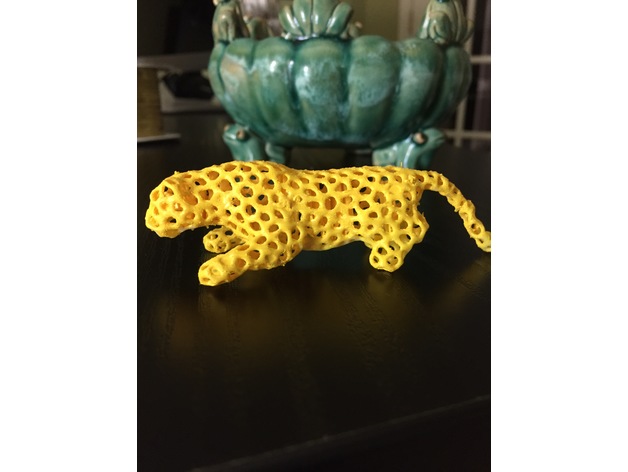
Panther 3D Print Model
Summary
A low poly panther with voronoi structure generated using voronator.com. Tried using Cura for 5 times using different settings for temperature, speed, retraction and support none of them worked. Simplify3D did the trick in first go! ( love it!) . Painted yellow acrylic paint, no sanding.
Used Meshmixer for orientation, that why the panther seems to be sleepy 🙂
Print Settings
Printer:
Monoprice Maker v2 Rafts:
Yes Supports:
Yes Infill:
0% Notes:
Keep an eye on the support for tail needs a little massaging after automatic support generation in Simplify3D. -
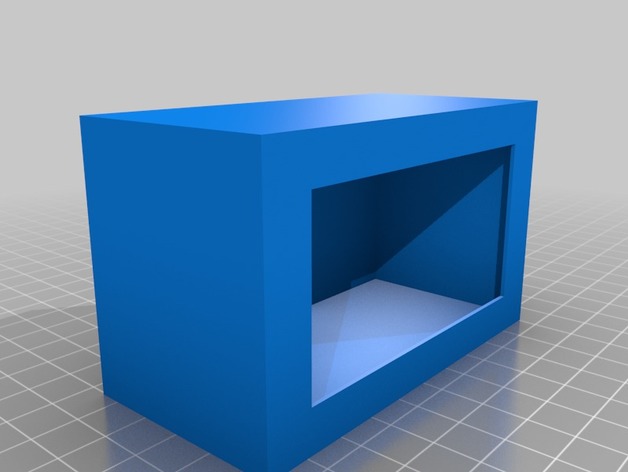
Housing for KKmoon DC 12V 24V 4-20 mA Signal Generator 3D Print Model
Summary
This is my first design. Its just a housing for the KKmoon DC 12V 24V 4-20 mA Signal generator.
I didnt print it yet since im waiting for my printer to arrive. I might have to tweak it a little.
Maybe someone owns that thing too and wants to use a housing aswell -
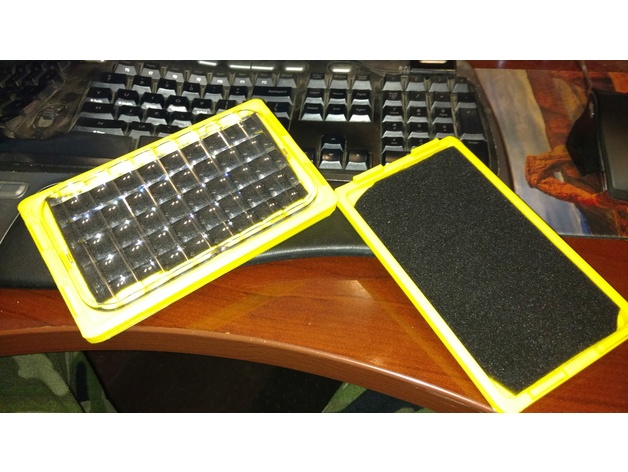
GoLight RadioRay LED Lens Case 3D Print Model
Summary
I purchased a set of GoLight RadioRay LEDs for my truck and I also got the Flood Lens set for both of them. These lens are really nice but I prefer the focus beam generally so these lens need a safe home while gettin tossed around in my old beat up truck.
So I designed this case and if I print it twice, I have a case for each lens 😉
There isn’t much special about this except that it works exactly as I wanted. The only post printing suggest I would have is to add some thin foam to ensure the lens doesn’t get scratched while in the case however the lens do not move around much as is. Still, I added the foam since I get enough packaging foam things shipped in so I had something that was perfect already 🙂
Print Settings
Printer Brand:
LulzBot Printer:
TAZ 5 Rafts:
No Supports:
No Resolution:
.25 Infill:
15% Notes:
This is a “box” with no details so no need to get super fancy on your resolution; just whatever prints the fastest for you.
I went with PLA because it has a greater chance for dimensional accuracy and my PEI sheet is finally giving up on me with bubbles at 100C so ABS just isn’t working out so well however even with a few bad prints in ABS, the case still performed well.
I recommend a low infill simply because this will hold up due to size and shape.
I used 1.5mm perimeter and top/bottom and that may be more than it needed. Honestly I wouldn’t be surprised if I could set this under my truck’s tire and run it over and it’ll still hold up. Might test that out with a failed job later 😀 -
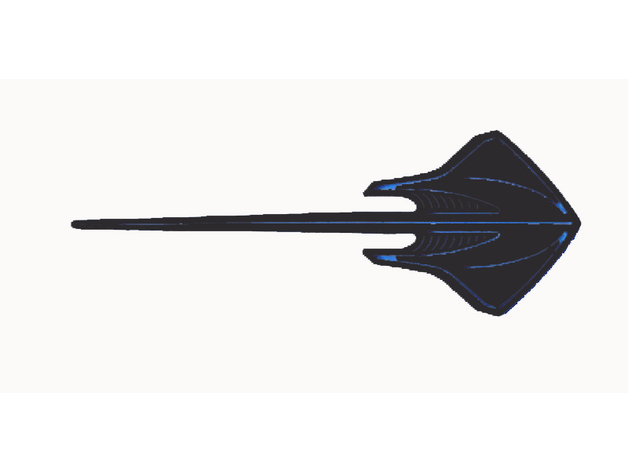
C7 Stingray Corvette badge 3D Print Model
Summary
C7 Stingray Corvette badge
please like, follow and enjoy
If you enjoy my models please follow me to keep up with all the new models i post.
My models take a lot of time and work to make.
please consider supporting my work on Patreonhttps://www.patreon.com/saintmythi
Print Settings
Printer:
ScrapBot Rafts:
Doesn’t Matter Supports:
No Resolution:
any Infill:
any -
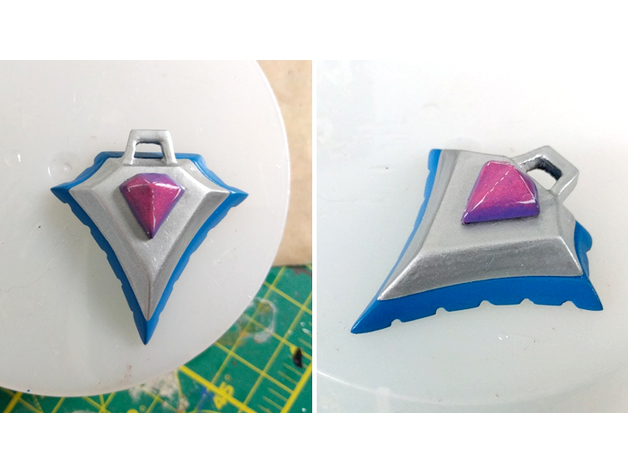
Null Talisman 3D Print Model
Summary
I scaled the original model to better match the in-game icon. The top part was moved to the middle portion instead of the bottom I also split it into 3 parts to make it cleaner for painting. -
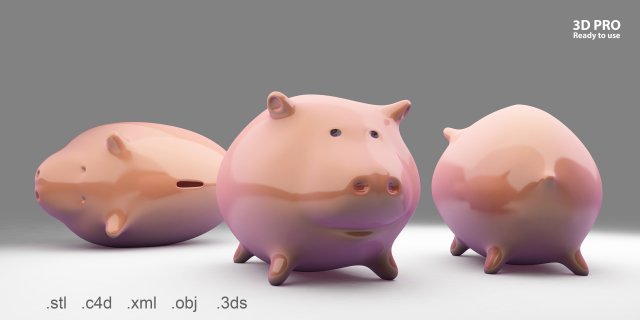
PIGGY BANK 3D PRO 3D Model
THE DESCRIPTIONThis is a model of a modern and easily printable piggy bank.Originally created with Maxon Cinema 4D 17 and textured using built-in hardware.USEThis model is suitable for the use of 3D printing, broadcasting, cinema, advertising, design visualization, real-time, video games …PROPERTYThis model contains several format usable under other 3D software.IMAGESAll preview images are rendered with Global Illumination.The product is ready to be returned. The rendering configuration is included in a Cinema 4D ” .c4d ” file needed to produce thumbnail imagesTEXTUREno external textureGENERALThe model is built on the scale of the real world. No rendering engine or third-party plug-in is required.ADDITIONAL NOTESOther file formats may be needed to reassign textures and will not be rendered as preview images.- FBX- OBJ- 3DS- STL- C4D- XMLFormats available on request:.ma / .mb, .lwo / .lws, .3dm / .dxf / .dwgDownload 3D Model PIGGY BANK 3D PRO