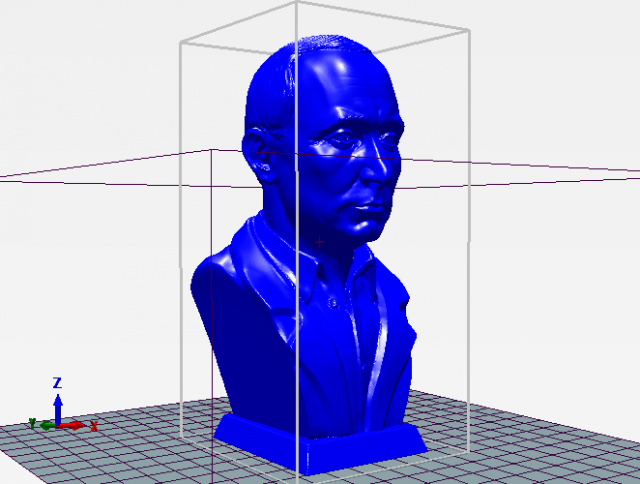
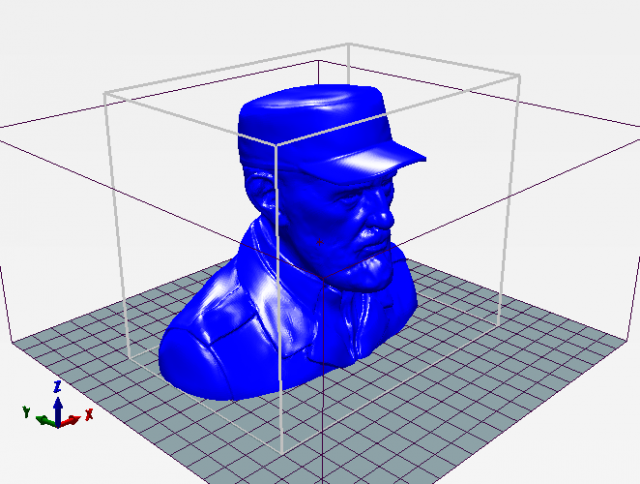
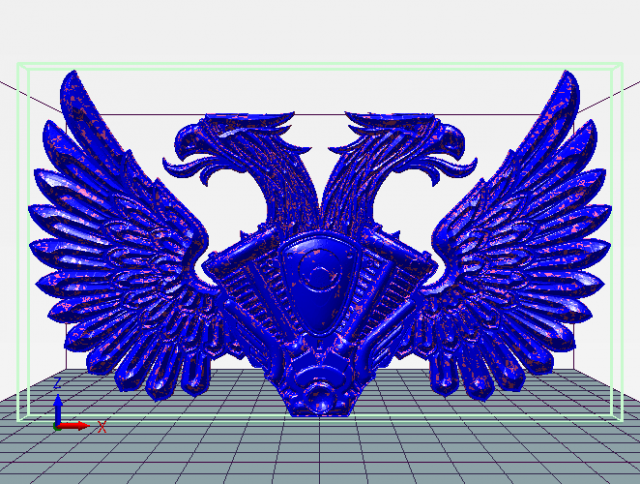
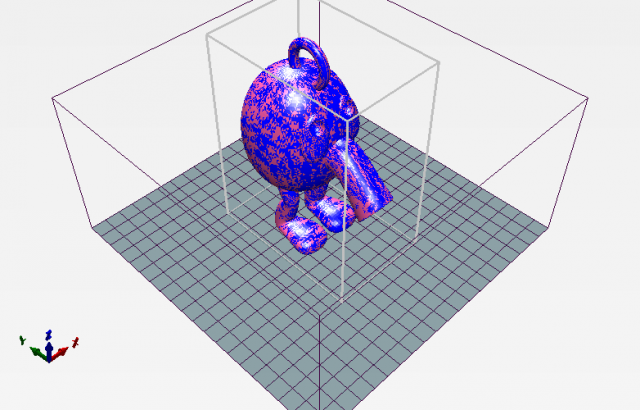
High quality 3D-Printable model of CowWill be a good decoration for an any placeArchive includes:-Awesome 3D-Printable model of Cow – 1-Optimized decimated topology-Slightly curved edges
Category: 3D Print Models
Premium & 3D Print models ready to be 3d printed. 3D Print Models and Free 3D Print Models are available for download in several formats including .STL, .3DM, .OBJ, .3DS, .DAE, .SKP, .BLEND, .DWG, .DXF, .STEP and much more. If you’re in search of high-quality 3D printed assets, we have a huge library of 3d print models for any of your needs. Also you can visit 3D Models and All 3D Models category.
-
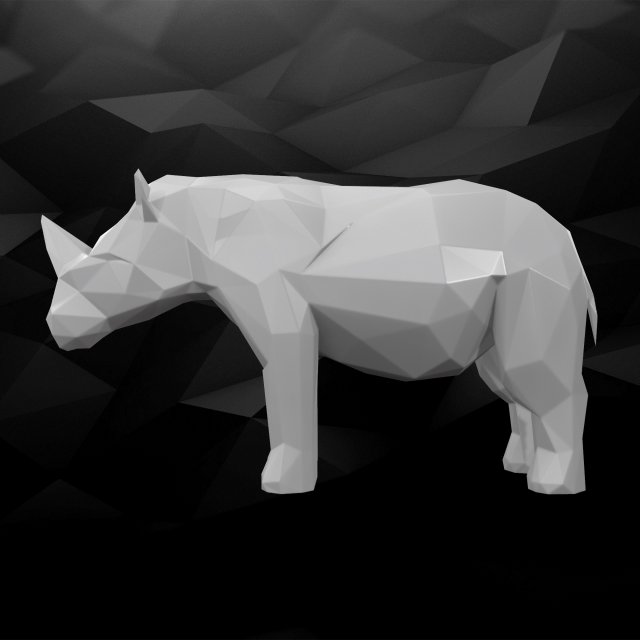
3D Printable Rhino Model 3D Model
High quality 3D-Printable model of RhinoWill be a good decoration for an any placeArchive includes:-Awesome 3D-Printable model of Rhino – 1-Optimized decimated topology-Slightly curved edges
-
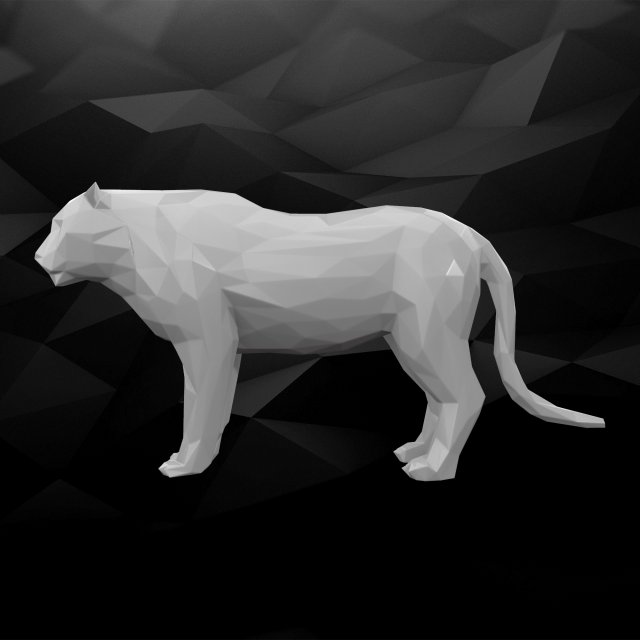
3D Printable Tiger Model 3D Model
High quality 3D-Printable model of TigerWill be a good decoration for an any placeArchive includes:-Awesome 3D-Printable model of Tiger – 1-Optimized decimated topology-Slightly curved edges
-
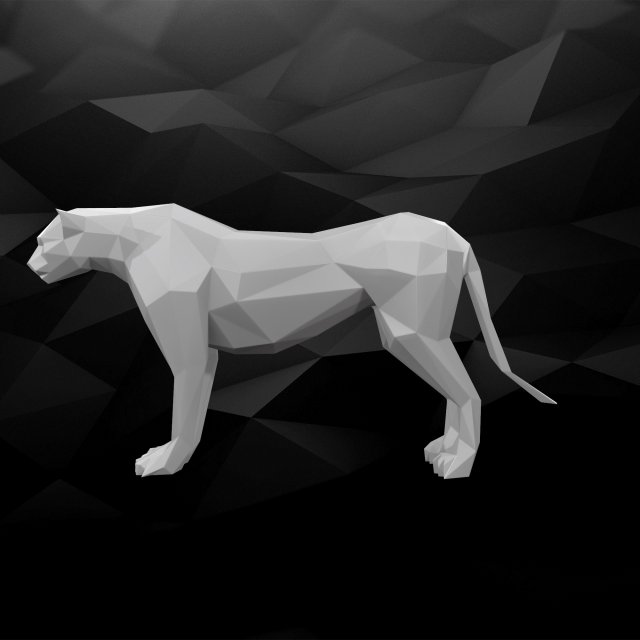
3D Printable Cheetah Model 3D Model
High quality 3D-Printable model of CheetahWill be a good decoration for an any placeArchive includes:-Awesome 3D-Printable model of Cheetah – 1-Optimized decimated topology-Slightly curved edges
-
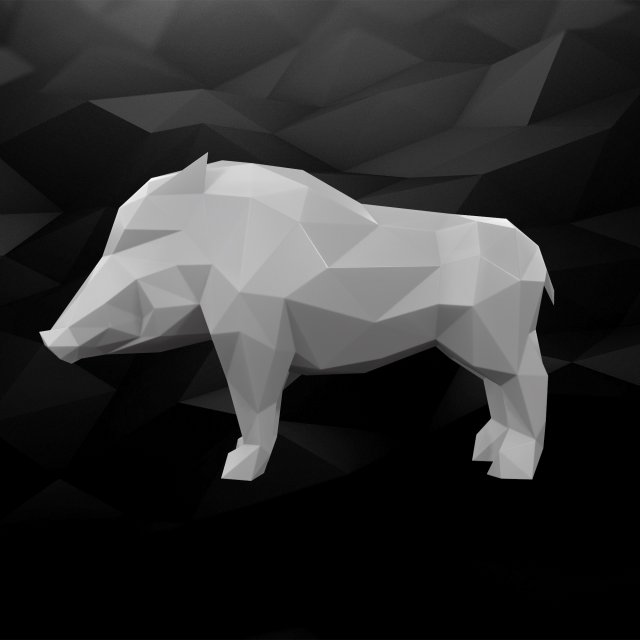
3D Printable Boar Model 3D Model
High quality 3D-Printable model of BoarWill be a good decoration for an any placeArchive includes:-Awesome 3D-Printable model of Boar – 1-Optimized decimated topology-Slightly curved edges
-
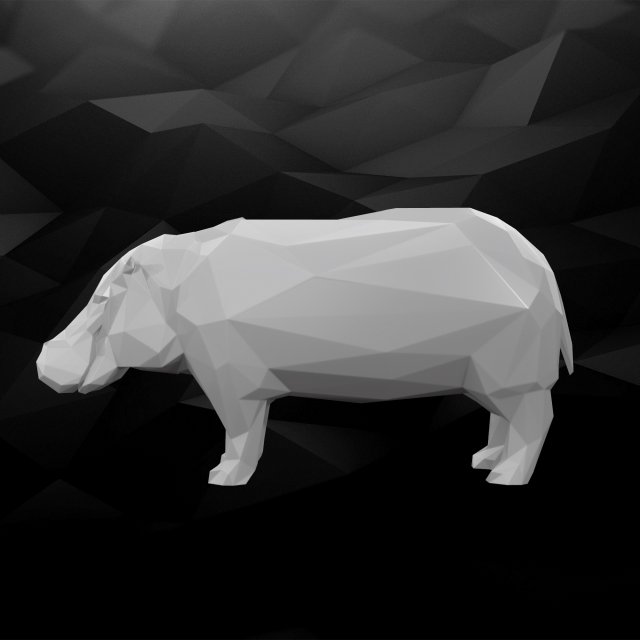
3D Printable Hippo Model 3D Model
High quality 3D-Printable model of HippoWill be a good decoration for an any placeArchive includes:-Awesome 3D-Printable model of Hippo – 1-Optimized decimated topology-Slightly curved edges
-
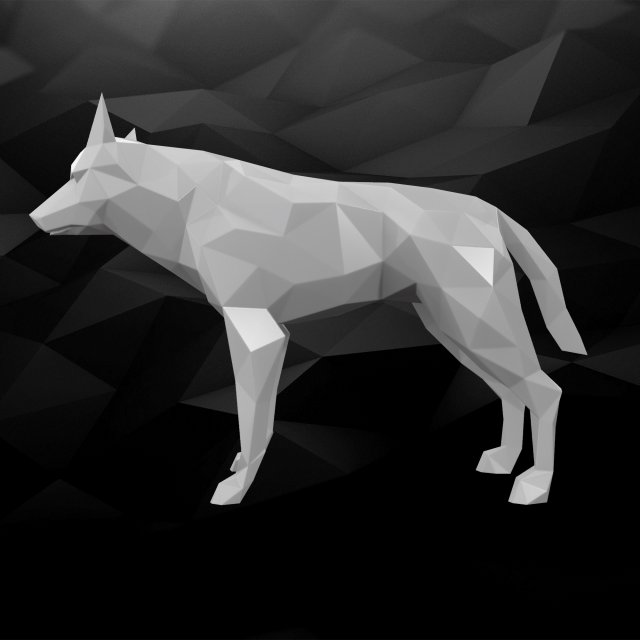
3D Printable Dog Model 3D Model
High quality 3D-Printable model of DogWill be a good decoration for an any placeArchive includes:-Awesome 3D-Printable model of Dog – 1-Optimized decimated topology-Slightly curved edges
-
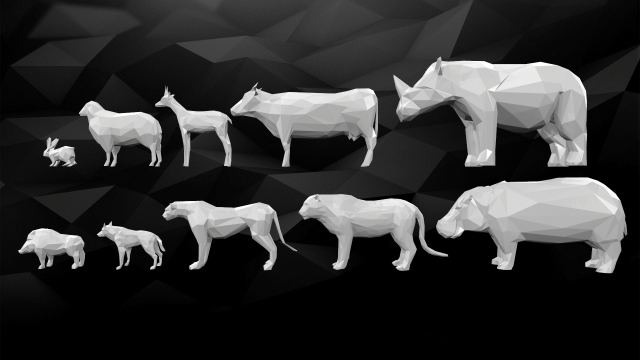
Pack of 3D Printable Low Poly Animals 3D Model
Pack of High quality 3D-Printable models of AnimalsWill be a good decoration for an any placeArchive includes:-Awesome 3D-Printable models of Animals – 10-Optimized decimated topology-Slightly curved edges
-

3D Printable Knife Model 01 3D Model
High quality 3D-Printable model of KnifeUse responsibly do not harm yourself and othersArchive includes:-Awesome 3D-Printable model of Knife_01 – 1-Optimized decimated topology-Slightly curved edges
-

3D Printable Knife Model 02 3D Model
High quality 3D-Printable model of KnifeUse responsibly do not harm yourself and othersArchive includes:-Awesome 3D-Printable model of Knife_02 – 1-Optimized decimated topology-Slightly curved edges
-
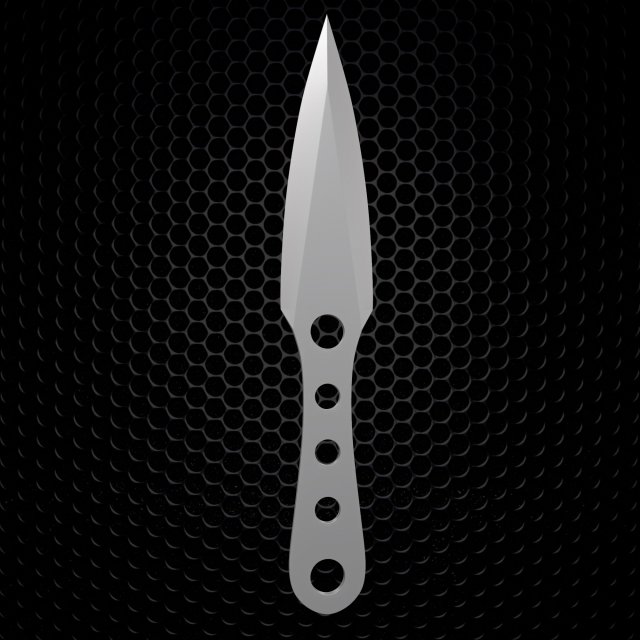
3D Printable Knife Model 03 3D Model
High quality 3D-Printable model of KnifeUse responsibly do not harm yourself and othersArchive includes:-Awesome 3D-Printable model of Knife_03 – 1-Optimized decimated topology-Slightly curved edges
-

3D Printable Knife Model 04 3D Model
High quality 3D-Printable model of KnifeUse responsibly do not harm yourself and othersArchive includes:-Awesome 3D-Printable model of Knife_04 – 1-Optimized decimated topology-Slightly curved edges
-

3D Printable Knife Model 05 3D Model
High quality 3D-Printable model of KnifeUse responsibly do not harm yourself and othersArchive includes:-Awesome 3D-Printable model of Knife_05 – 1-Optimized decimated topology-Slightly curved edges
-

3D Printable Knife Model 06 3D Model
High quality 3D-Printable model of KnifeUse responsibly do not harm yourself and othersArchive includes:-Awesome 3D-Printable model of Knife_06 – 1-Optimized decimated topology-Slightly curved edges
-

3D Printable Knife Model 07 3D Model
High quality 3D-Printable model of KnifeUse responsibly do not harm yourself and othersArchive includes:-Awesome 3D-Printable model of Knife_07 – 1-Optimized decimated topology-Slightly curved edges
-

3D Printable Knife Model 08 3D Model
High quality 3D-Printable model of KnifeUse responsibly do not harm yourself and othersArchive includes:-Awesome 3D-Printable model of Knife_08 – 1-Optimized decimated topology-Slightly curved edges
-

3D Printable Knife Model 09 3D Model
High quality 3D-Printable model of KnifeUse responsibly do not harm yourself and othersArchive includes:-Awesome 3D-Printable model of Knife_09 – 1-Optimized decimated topology-Slightly curved edges
-

3D Printable Knife Model 10 3D Model
High quality 3D-Printable model of KnifeUse responsibly do not harm yourself and othersArchive includes:-Awesome 3D-Printable model of Knife_10 – 1-Optimized decimated topology-Slightly curved edges
-

Pack of 3D Printable Models of Knives 3D Model
Pack of High quality 3D-Printable models of KnivesUse responsibly do not harm yourself and othersArchive includes:-Awesome 3D-Printable models of Knives – 10-Optimized decimated topology-Slightly curved edges
-
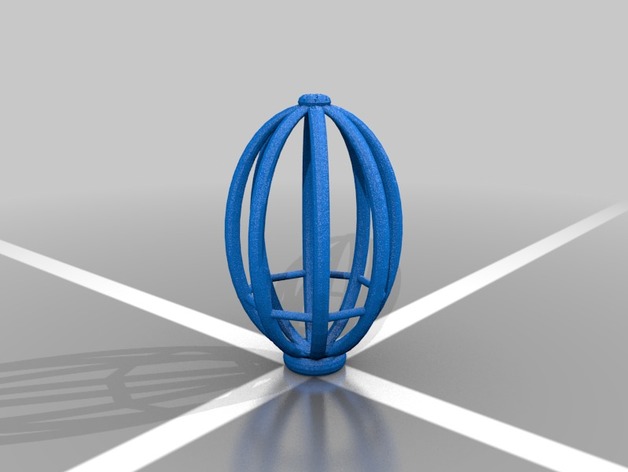
Fishing feeder cage 3D Print Model
Summary
This is a feeder cage for fishers.
Print it with brims around 1 cm.
You have to drill out the the top and bottom ends in order to get your fishing line through.
I used PLA because it is bio degradable, I printed this at 200 C / 60 C (bed) -
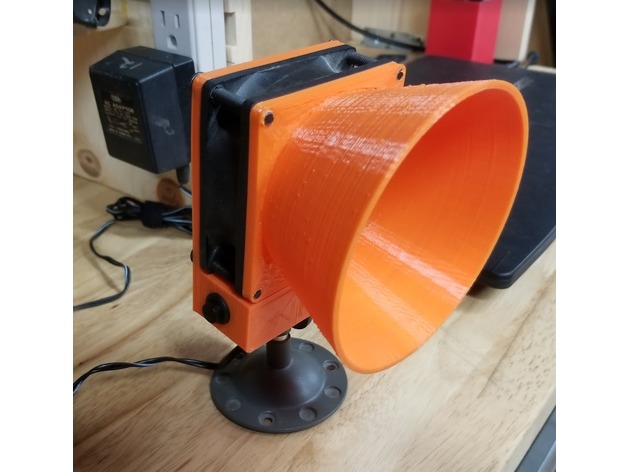
Fume Extractor 3D Print Model
Summary
Fume Extractor is probably a bit of a misnomer as all it really does is to accelerate the fumes away from your workspace while soldering.
I had an old ip camera type mount that uses a standard 1/4 20 camera tripod type bolt on the top. I just threaded it directly into a hole in the base of the fan holder.
The holes on the little funnel might be a bit on the small side, so you may need to ream them out with a drill bit. I used some M5 machine screws directly into the hood piece to hold it all together.
I Added a little 12 volt wall wart and a spst latching button switch with a 12.7mm hole.
Used it last night and it really helped to keep the soldering fumes from going right up my nose.
You do need to keep it a bit close to the work piece in order for it to function
If you really value your health and safety, you might want to search for other ones that actually hook up to a vent tube that would take the fumes completely away.
Print Settings
Printer:
AM8
Rafts:
No
Supports:
No
Resolution:
.28mm
Infill:
25%
Notes:
Pretty basic print. Nothing fancy. -
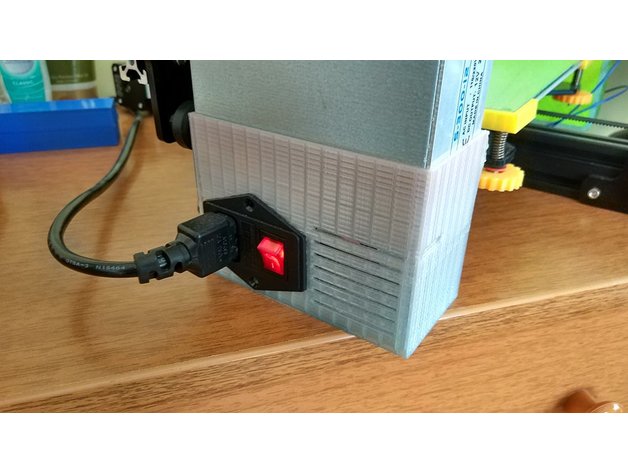
Tevo Tarantula PSU Vertical Cover 3D Print Model
Summary
This is a PSU cover for the standard TEVO Tarantula power supply. Adds protection as the cables and the terminals are not exposed and it makes the printer portable as the PSU is on the printer. Added grilles for cooling.
Screw it with the default 4mm screws and t4 nuts. You will also need a C14 male power supply connector with switch and fuse and screws/nuts for mounting.
My target was to make it use less material than other designs making it affordable.
Print Settings
Printer Brand:
TEVO
Printer:
Tarantula
Rafts:
No
Supports:
No
Resolution:
0.2mm
Infill:
25
Notes:
26 meters of plastic with wall and top/bottom thickness of 0.8mm.
16 meters of plastic with wall and top/bottom thickness of 0.6mm. -
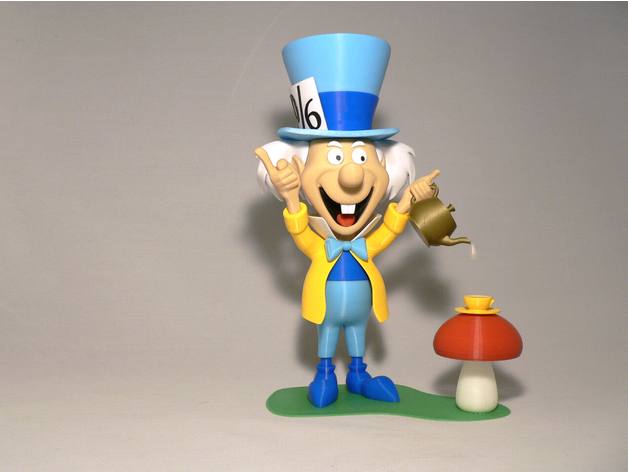
Mad Hatter with base 3D Print Model
Summary
I added a base to tie the model together and for added stability since the Hatter is a little top heavy.
Full model and instructions:https://www.thingiverse.com/thing:2902243
The base is flat without indents for the feet or mushroom. Simply position the original model as per the photos and glue it down.
Enjoy! -
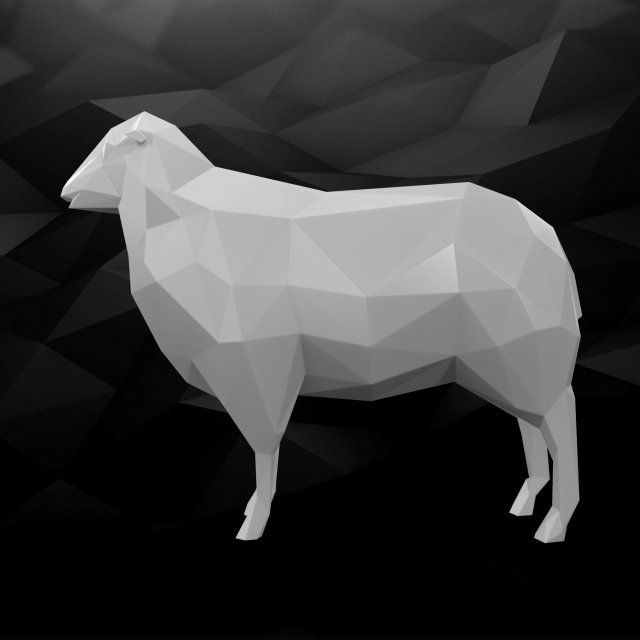
3D Printable Sheep Model 3D Model
High quality 3D-Printable model of SheepWill be a good decoration for an any placeArchive includes:-Awesome 3D-Printable model of Sheep – 1-Optimized decimated topology-Slightly curved edges
-
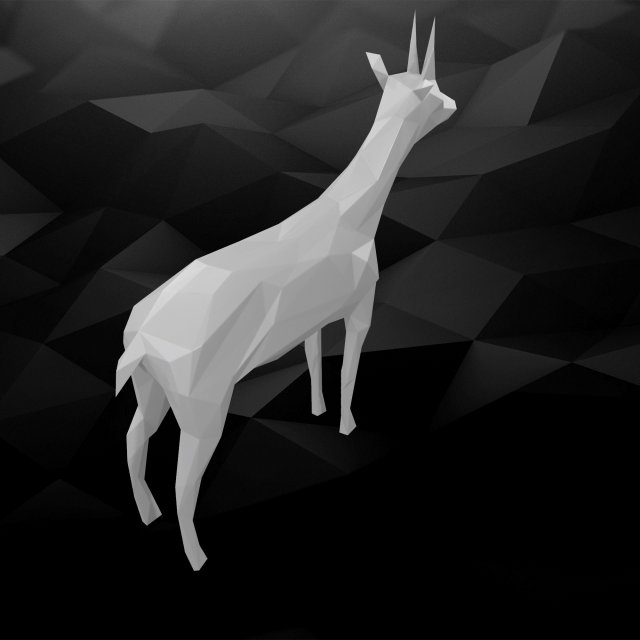
3D Printable Doe Model 3D Model
High quality 3D-Printable model of DoeWill be a good decoration for an any placeArchive includes:-Awesome 3D-Printable model of Doe – 1-Optimized decimated topology-Slightly curved edges
-
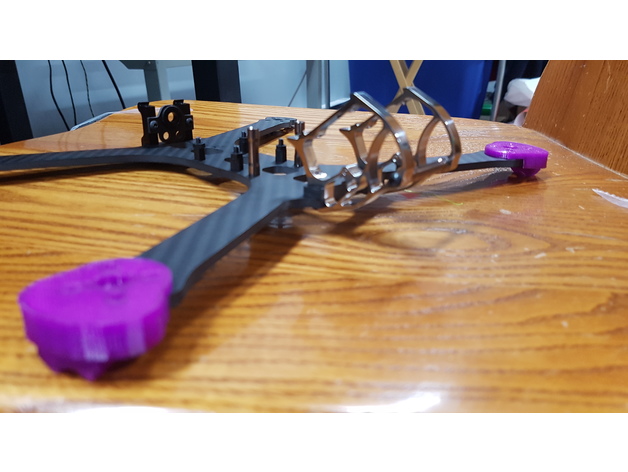
Armattan Chameleon Ti – Arm and soft Motor mount / landing gear 3D Print Model
Summary
this an flex protection for the end of the arm and btw , soft mount for your motor and landing gear
Print Settings
Rafts:
No
Supports:
No
Resolution:
.15
Infill:
45
Notes:
print in tpu -
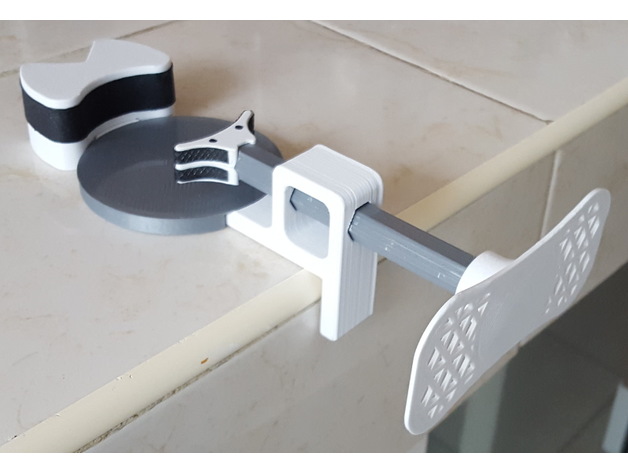
One hand pot opener 3D Print Model
Summary
Simple version of one hand pot opener. With his guide this print is suitable for beginner
Printed the actuator with PLA will allow it to be thermoformed.
Sencilla version de un aparato para abrir un pote con una mano. Con su guía, esta impresión es adecuada para principiantes.
Imprimir el actuator con PLA permite modificar su forma en agua caliente.
Simple version d’un ouvre-pot à une main. Facile à imprimer.
Imprimer l’actuator en PLA permet de modifier sa forme par thermoformage.How it works
Press the actuator with your hip to block the pot. Open it with your free hand
Oprimir el actuator con la cadera para bloquear el pote. Abrelo con su mano libre.
Presser l’actuator avec la hanche pour bloquer le pot. L’ouvrir avec la main libre. -
Da Vinci Jr _ DaVinci Jr Long Dust Plug 3D Print Model
Summary
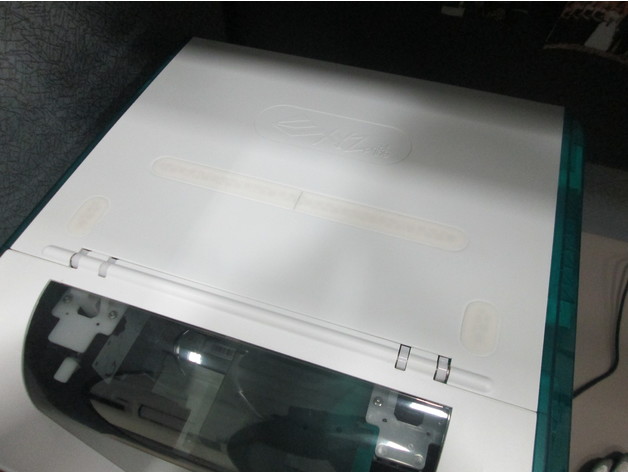
I remixed ryanmac1911 filament plug and extended it to cover the long filament tube hole on the davinci jr. I then cut it in 2 pieces to it was printable on the davinci jr. Whenever my printer is not is use I removed the filament tube and cover all the holes on the top to keep the inside of my printer dust free!
Print Settings
Printer Brand:
XYZprinting
Printer:
da Vinci Jr. 2.0 Mix
Rafts:
No
Supports:
No
Resolution:
.2
Infill:
15% -
Boba Pouch Forms 3D Print Model
Summary
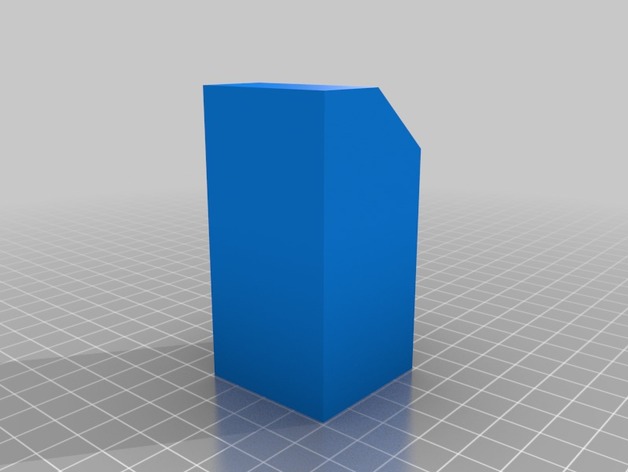
These are meant to be used as forms for Leather or Vinyl Boba style belt pouches. These printed forms are meant to replace the wood blocks used in Batninja’s Tutorial on the dented helmet: http://www.thedentedhelmet.com/showthread.php?t=8797
The hollow model is meant for vinyl pouches if they’re not holding their shape, you can leave this form in and still have functional pouches. Enjoy! If you make, please post! -
Mercedes 540k 3D Model
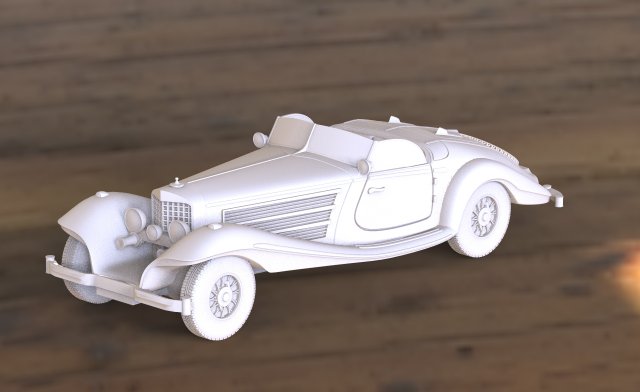
mercedes 540ktriangles 518124points 264375model for printing on a 3d printer.The car consists from the parts is convenient for printing and further assembly and painting of the car.Version 3ds max 2014 and higher.The format is OBJ, STL, FBX.
-
Pendant panther 3D Model
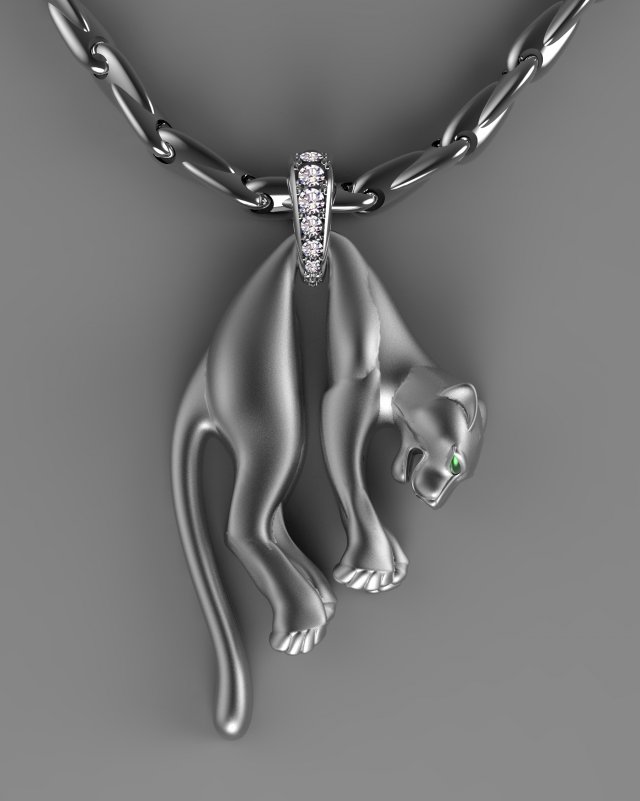
pendant panthertriangles 212573points 105762model for printing on a 3d printer.panther consists from the parts is convenient for printing and further assembly .Version 3ds max 2014 and higher.The format is OBJ, STL, FBX.
-
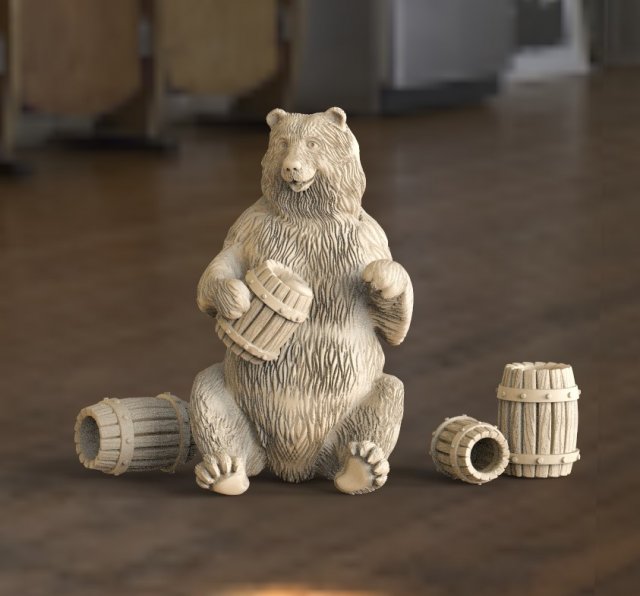
Bear 3D Model
bear with barrels of honeytriangles 1604336points 801948model for printing on a 3d printer.version 3ds max 2014 and higher.The format is OBJ, STL, FBX.
-
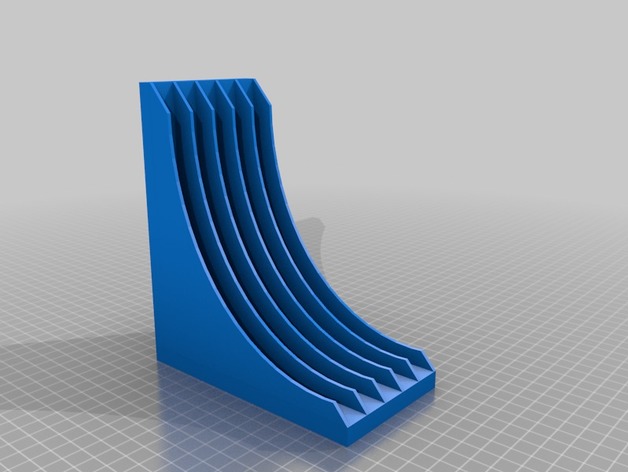
Small Xbox Game Rack 3D Print Model
Summary
A smaller version of my original Xbox game Rack. This model has space for only 5 games rather than 10. -
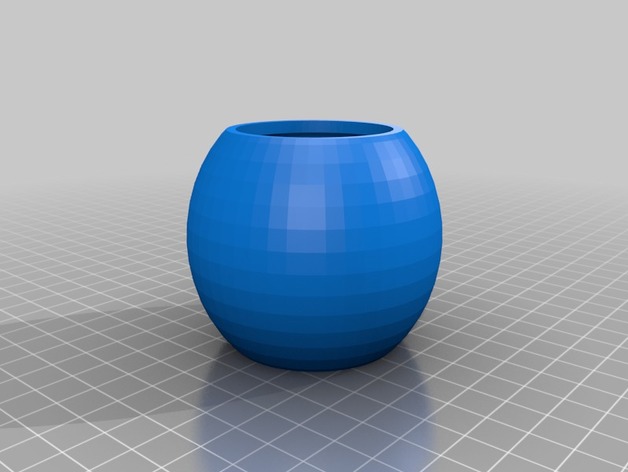
Plant Pot 3D Print Model
Summary
I designed this plant pot using Tinkercad.
Print Settings
Printer Brand:
Creality
Printer:
CR-10S
Rafts:
No
Supports:
No
Resolution:
0.15
Infill:
15% -
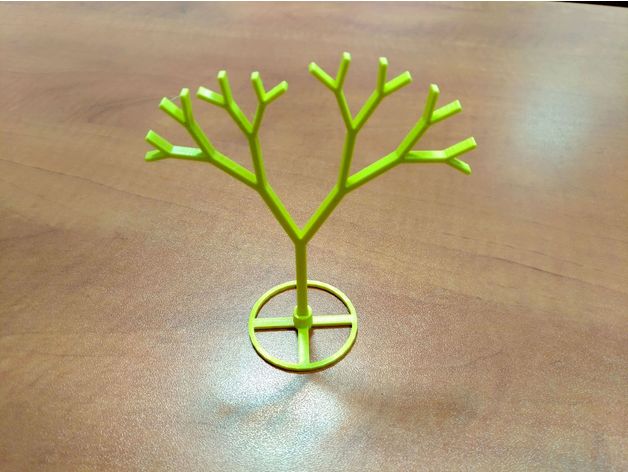
Parametric Fractal Trees 3D Print Model
Summary
This is a modified version of an OpenSCAD example by Torsten Paul. With the original one, after extruding, the objects suffered of some strange gapes especially when using higher angles.
I added a few parameters and other modifications to be able to generate 3D printable fractal trees needed for a student research project. The base is parametric too and can be generated with the same parameters as the trees.
Other options:
minimum and maximum angle of the branches
generating random trees or producing repeatable results at each build;
with height 0, the tree will be colored and not extruded
File description:
fractal_tree_module_recursion.scad – to generate custom fractal trees
tree base.scad – to generate custom bases for fractal treesPrint Settings
Rafts:
Doesn’t Matter
Supports:
Doesn’t Matter
Resolution:
0.2
Infill:
100%
Notes:
Material: PLA -
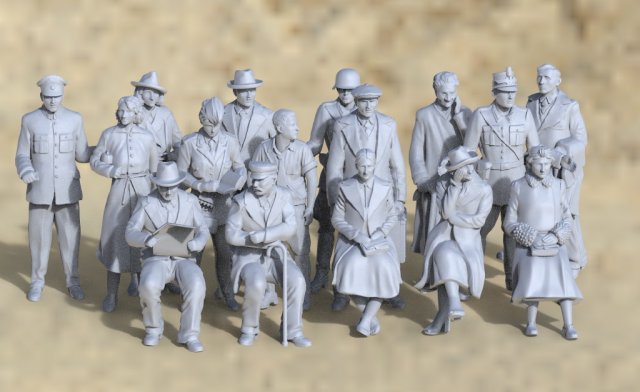
People 3D Model
people 3D print modelriangles 96770points 48371model for printing on a 3d printer.version 3ds max 2014 and higher.The format is OBJ, STL, FBX.Recommended printing scale 87-12german soldatold womanold mansoldierpolicemangrandmothergrandfatherconductorpostmancontrollerteenager
-
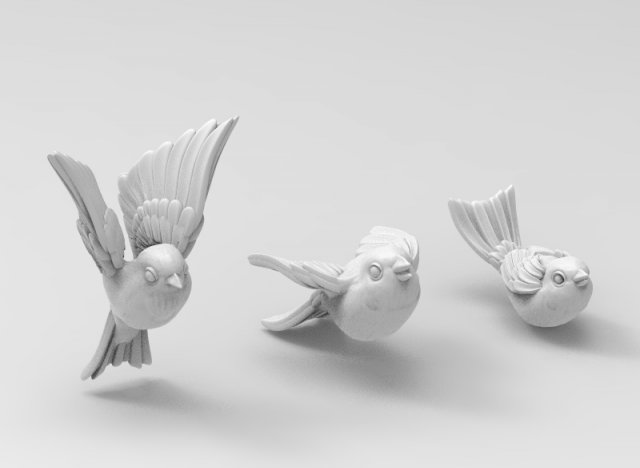
Birds 3D Model
birdsriangles 848202points 424924model for printing on a 3d printer.version 3ds max 2014 and higher.The format is OBJ, STL, FBX.
-
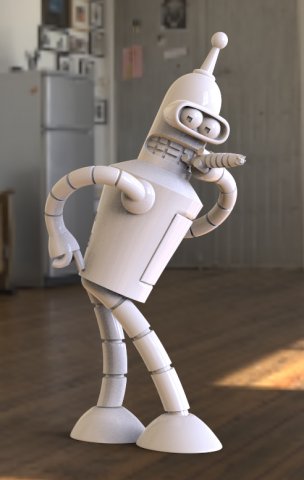
Bender 3D Model
BenderThe Evolution bendingtriangles 521202points 259662model for printing on a 3d printer.Bender consists from the parts is convenient for printing and further assembly and painting .Version 3ds max 2014 and higher.The format is OBJ, STL, FBX.
-
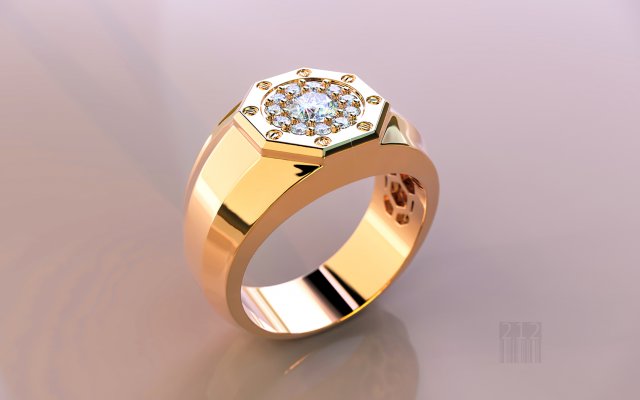
Mens ring with stones 3D Model
The model can be used for production, for casting and machining.STL model is ready for prototyping on CNC and 3D PrintingHigh quality modelweight in gold 14,500 gramweight in gold silver 9,700 gram
-
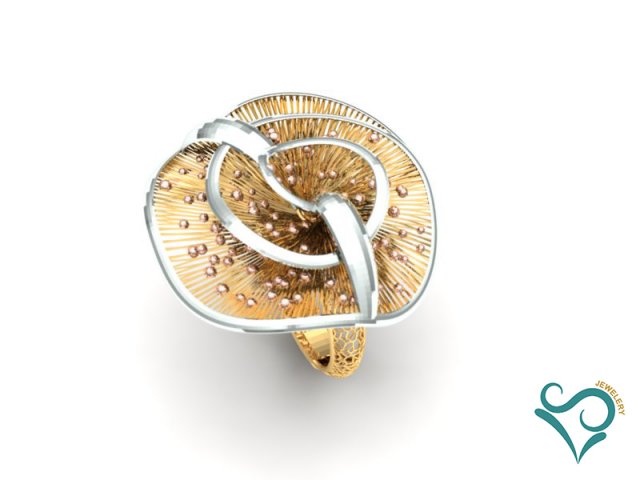
Ring 3d print model 3D Model
3D Jewelry RingI am the designer also a modeler, I would like to share how to use the 3d Printer to print the design and which way to casting it well.Ring can be produce by rose gold, white gold, golden, mix colorRing Size: 22 mm(adjustable).Stoneless.Available formats upon request: .c4d, .obj, .fbx, .ma/.mb, .lwo/.lws, .3ds, .3dm, .dxf/.dwg, .stl.https://www.cgtrader.com/lisof https://3dexport.com/annetoumiat
-
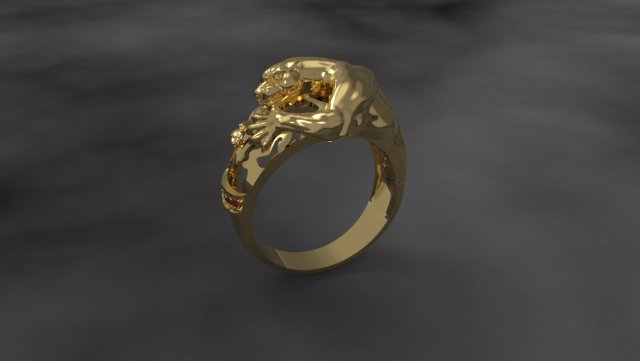
Panther Diamond Ring 3D Model
weight in 18k yg = 10gfinger size 20mmgems size 1.3mm of 5numany other format may supply on demand.
-
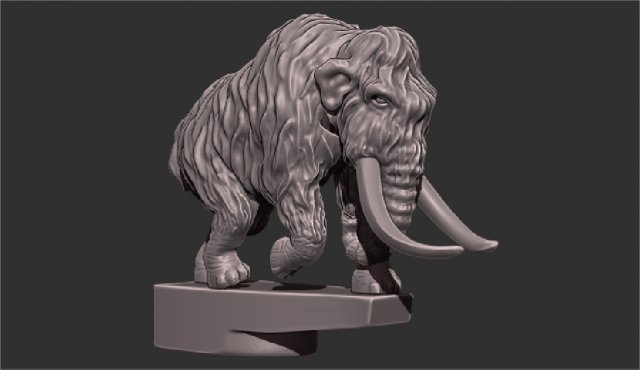
Mammoth on the hood of a car 3D Model
Mammoth on the hood of a carthe model kit includes a stand for neodymium magnet 20-4mm, with a countersink for 6.5*3.5 mmthe thickness of the magnet can be varied up to 10mmlink to a sample magnethttps://magnit23.com/market/magnitnye_kolcza/kol_co_20_6_5_3_5_4
-
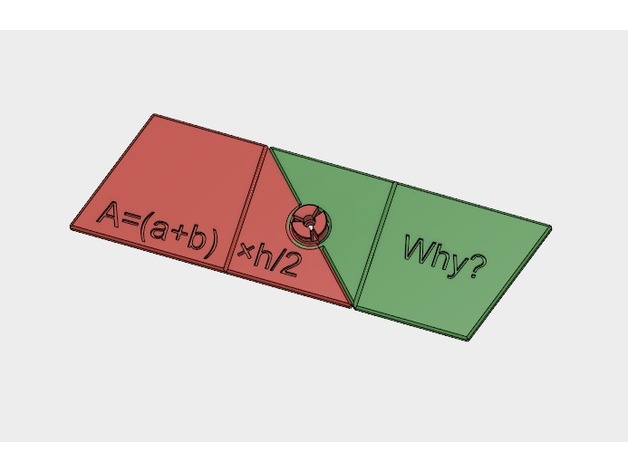
Trapezoid Area Formula, A= (a+b) × h /2, why? 3D Print Model
Summary
Trapezoid Area, A= (a+b) × h /2, why?
Given any trapezoid, if the parallel top and bottom are a and b, respectively, and the corresponding height (altitude) is h, the area is (a+b) × h /2. But why?
To see why, we take two congruent copies of a trapezoid and make a parallelogram with the same height and a base of (a+b). Such a parallelogram can be easily converted to a rectangle with a base of (a+b) and height (h, or width), and, accordingly, an area of (a+b) × h. Why do we have to divide that by 2? Well, it is because we want to know the area of the trapezoid. Of course, there are other ways to explain it. One way or the other, it goes back to what we know about rectangles or other shapes.
Two versions are provided to demonstrate the process behind A= (a+b) × h /2. The trapezoid is just a random one. Have fun.
Print Settings
Rafts:
No
Supports:
No
Resolution:
.1 to .2mm
Infill:
5-20% -
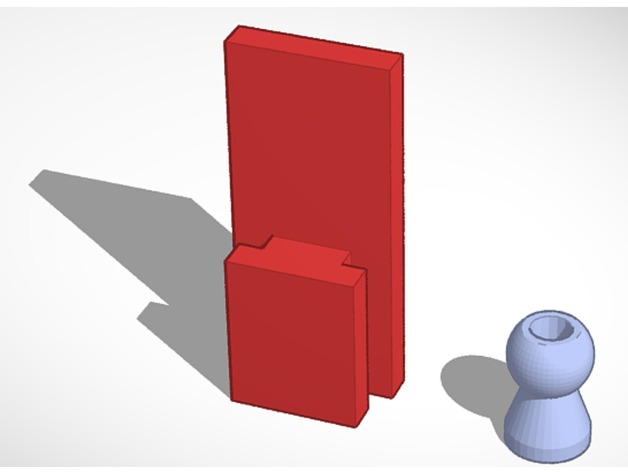
Earbud Organizer/Hanger 3D Print Model
Summary
I always have my earbuds laying around on my desk. I use them for work, to listen to music, for movies, games, etc. I like to keep things organized, so I roll them around my hand and try to keep them in one place on my desk. It doesn’t work well. I need to figure out how to store these things better (and I am not that fond of the cases that hold the earbuds here on Thingiverse… no offense, I just want something more permanent than a case.
I recently bought a phone/tablet stand on Amazon, and I noticed that I keep hanging my buds off that to keep them off the desk. The problem is that I then have to remove them to put my tablet or phone on the stand, and I have that problem with the earbuds laying around on the desk again. So, I took a look at the stand and realized that I could build a custom hanger on the back to hold my earbuds. Perfect!
I printed the Body first (less than an hour), got it to fit perfectly to my stand, then printed the support (7 minutes). Then, I promptly welded the support to the body… on the bottom instead of the top. Oops. I printed another support (another 7 minutes), and then welded that one on as well, and it worked out even better.
I’ve attached all of the files, including one that shows the final build. I’m fairly new to 3DP, so let me know if I did something wrong and I’ll try to fix it.
Enjoy!
Print Settings
Printer Brand:
FlashForge
Printer:
Creator Pro
Rafts:
Doesn’t Matter
Supports:
Doesn’t Matter
Resolution:
.2 mm
Infill:
15%
Notes:
There are several .stl files, each with a variation to give you options on how to print.
I printed each piece independently with the following files:
EarbudBody.stl and
EarbudSupport.stl
You can also print the pieces all together in one print (one support only):
Earbud Hanger-All.stl
Earbud Hanger-All-rotated.stl
You can also print the entire model pre-assembled (but you’ll need supports):
EarbudHanger.stlPost-Printing
Attaching the support to the body
If you print the pieces individually, you can permanently bind them using a Q-Tip and a bit of acetone. A drop on the bottom of the support is all you need to weld the pieces together. It’s very strong.
You may need to file the groove a bit to make it fit perfectly, and I got mine to fit exactly into the slot in my tablet/phone stand.
How I Designed This
Custom pieces: this is why I own a 3D printer
I created the .stl on Tinkercad, saved various different configurations of it, and printed it up. I found out that it fit nearly perfectly, and just needed a bit of post-print smoothing and filing to make it fit like a glove.Tinkercad layout of the holder
-
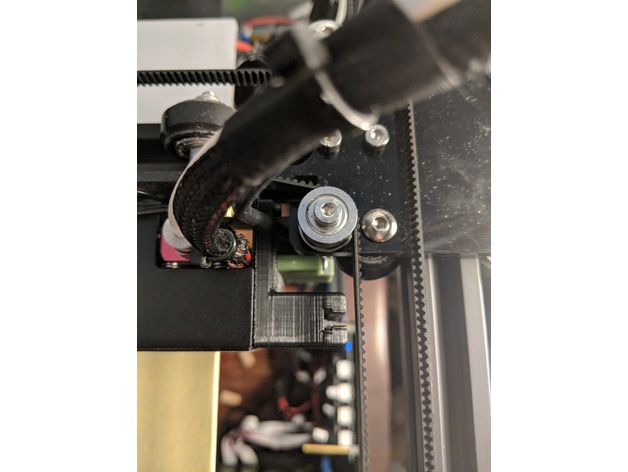
Creality Ender 4 Laser & Bed Leveling Sensor Mount 3D Print Model
Summary
I wasnt happy with the magnetic mounting for the laser on the ender 4, so i designed this to quickly mount and remove the laser when wanting to engrave stuff, without getting in the way of anything and allowing the bed leveling sensor to mount in the same spot. the holes for the mounting should be fixed, originally they were too small. please let me know if they are still too small.
when you get the ender 4 you should have a bunch of extra hardware. use the same type of screws that you used to mount the leveling sensor to mount the laser, by removing all the magnets from the laser and using the 2 center holes and screwing in the screws all the way.
you should now be able to slide the laser into the mount whenever you want to use the laser, and slide it out when done.
Print Settings
Printer Brand:
Creality
Printer:
Ender 4
Rafts:
No
Supports:
No
Resolution:
.2
Infill:
10%
Notes:
200C extruder
45c bed -
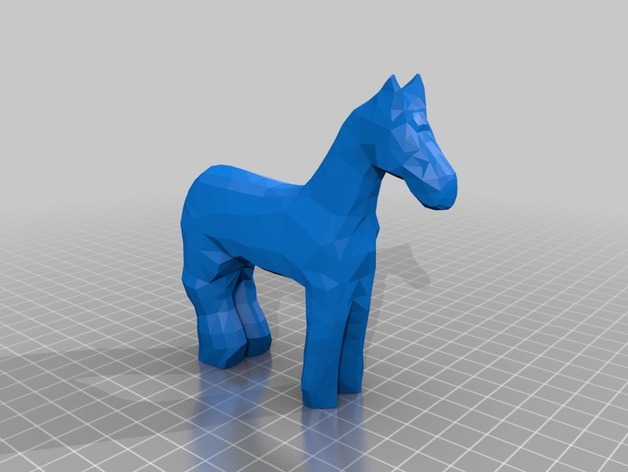
Blade Runner 2049 Wooden Horse 3D Print Model
Summary
This is a replica of the wooden horse from Blade Runner 2049. Includes the date engraving on the bottom. It was modeled in about 3.5 hours. Printed once and the date engraving was too thin so I widened the numbers but haven’t yet printed it again. I used a woodburner with a razor attachment to fix the engraving manually. Use a respirator if you do this. If you print it, let me know how it goes. This is my first gift back to this wonderful maker community who helped get me off the ground with dope projects. Thanks all. -
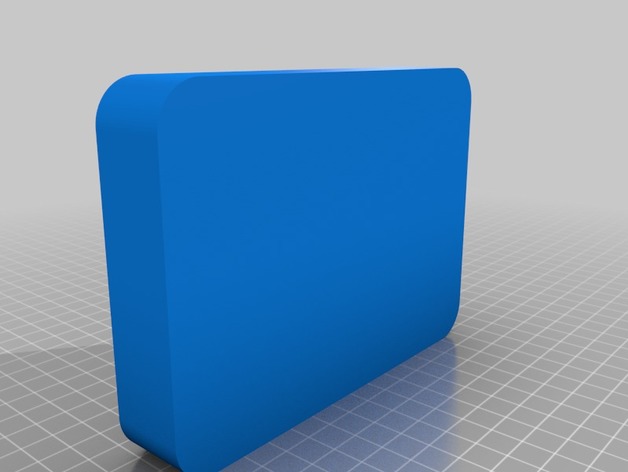
Simple FPV Inspired tool box 3D Print Model
Summary
This is just a simple tool box designed around the idea of keeping the amount of tools to minimum but still having enough with me for minor repairs.
This is geared towards FPV racing as the logo suggest.
Print Settings
Printer:
Hyper cube evo
Rafts:
No
Supports:
No
Resolution:
.100-.300
Infill:
50%
Notes:
Note the tool box printed in the pictures was printed @ 1.25 on the Z axis to make room for additional tools.
How I Designed This
fusion 360 -
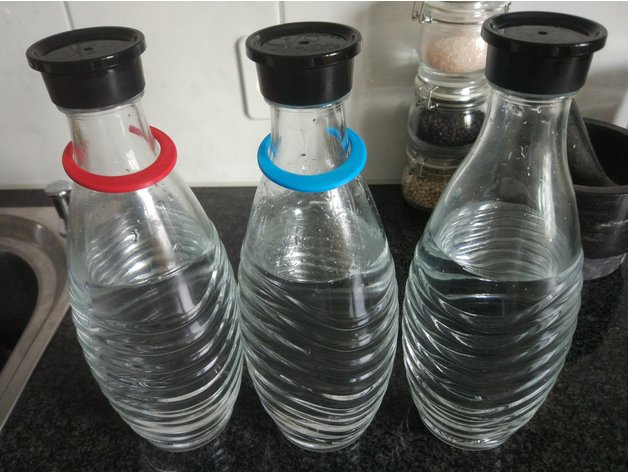
SodaStream bottle label 3D Print Model
Summary
Clip made to label SodaStream glas bottles.
Tested with PETG (red) and ABS (blue).
Print Settings
Printer:
MP select mini
Rafts:
Doesn’t Matter
Supports:
Doesn’t Matter
Resolution:
0.1mm
Infill:
30% -
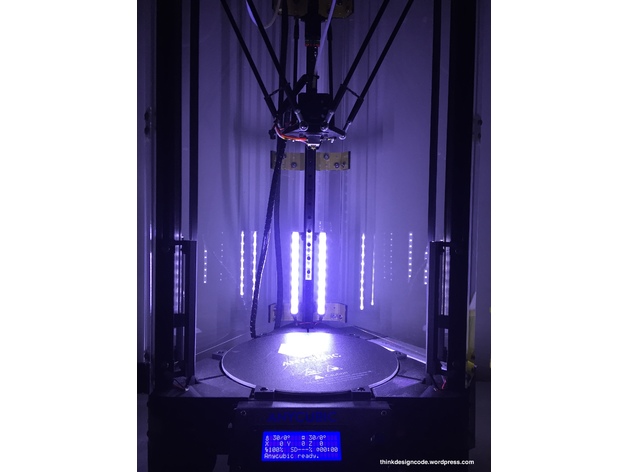
Add light for Delta / Kossel 3D printer 3D Print Model
Summary
I decided to add LED for my Kossel 3d printer (My model is Anycubic Kossel Linear Plus) to make it easier for me to check if I need to print overnight.
Material:
6x LED stripes (12VDC, width: 1cm, length: 15cm each)
M3x10mm bolts and M3 T-nuts
Wires
Printed parts:
6x Part01
6x Part02
6x Part02_Mirror
I already show to you guys how to make it step by step in each picture. Just follow them and you can make it.
Here are all those steps:
Step 01: Using 12V LED stripe (1cm in width) and cut to 6 pieces (15cm each)
Step 02: Soldering all 6 LED stripes.
Step 03: Wire out all LED stripes.
Step 04: Make a small board to attach all LED stripes, 12VDC power supply and ON/OFF switch
Step 05: Connect and test all LED stripes.
Step 06: Using a piece of thick tape to cover all circuit board.
Step 07: Using M3 bolts and M3 T-nuts for the board.
Step 08: Attach the board to the frame (below the heated bed)
Step 09: Print 6xPart01, 6xPart02 and 6xPart02_Mirror to make 6 LED stripes holder.
Step 10: Using super glue to attach LED stripe into LED stripe holder (Part01). Remember to attach the Part02 and Part02_Mirror to Part02 before doing this step.
Step 11: Attach all LED stripes to 3d printer frame with M3 T-Nuts.
Step 12: Remove the heated bed and connect all LED stripes to the small board we’ve made before. For the 12VDC input, you can use directly from 3d printer power supply.
Step 13: For the ON/OFF switch, you can place it in front.
DONE!!!
Print Settings
Printer:
Anycubic Kossel Linear Plus
Rafts:
No
Supports:
No
Resolution:
0.2mm
Infill:
20%How I Designed This
-
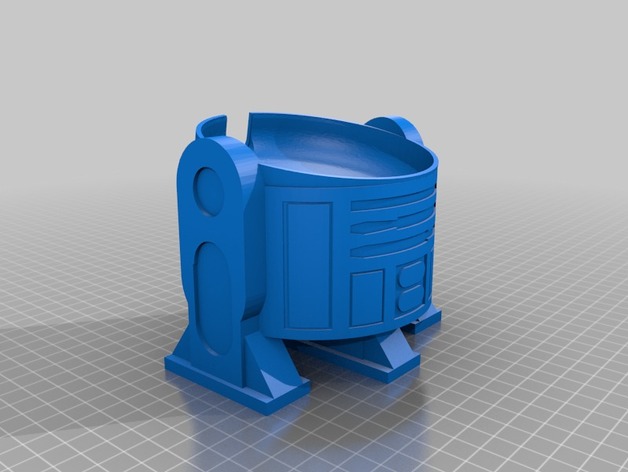
R2D2 Google Home Mini Upright 3D Print Model
Summary
I really like the original design by Simomura, but found that I couldn’t see the top lights of the Google Home Mini when interacting with it. My Home Mini sits by TV, and the angle of the R2D2 angled the lights away from my viewing perspective.
Using TinkerCad, I was able to hack together a modified design that has R2D2 standing up vertically. I also changed the cup that the Home Mini sits in so that it angles slightly forward (rear is higher than the front).
Print Settings
Printer:
JG Aurora A3
Rafts:
Doesn’t Matter
Supports:
Yes
Infill:
10% -
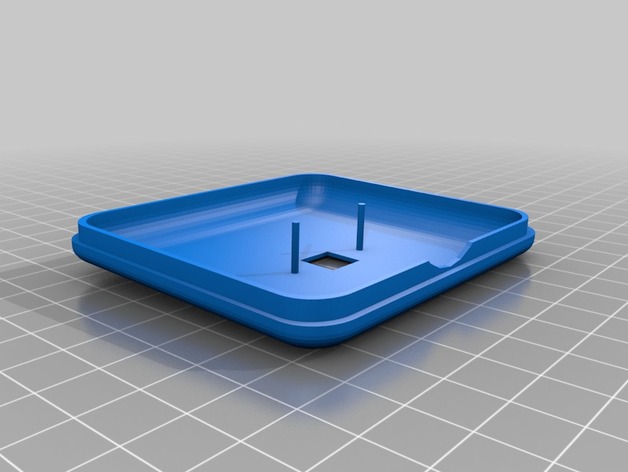
Google AIY Vision Kit Box 3D Print Model
Summary
A printed box to replace the cardboard box for the Google Vision AIY kit.
Print Settings
Printer:
Tronxy P802
Rafts:
No
Supports:
No
Resolution:
0.2
Infill:
20 -
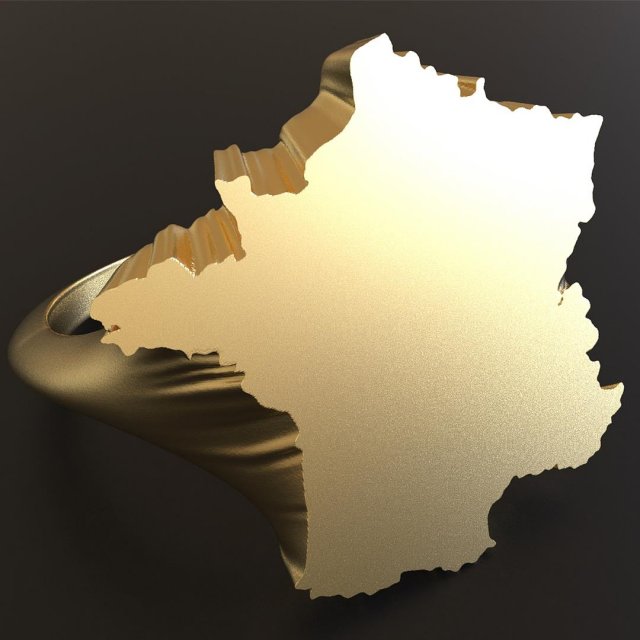
France ring 3D Model
int. diam.: 20mmdesigned to be cast in bronzeget the real thing here: http://plasmeo3d.com/en/france-ring-in-bronze/
-
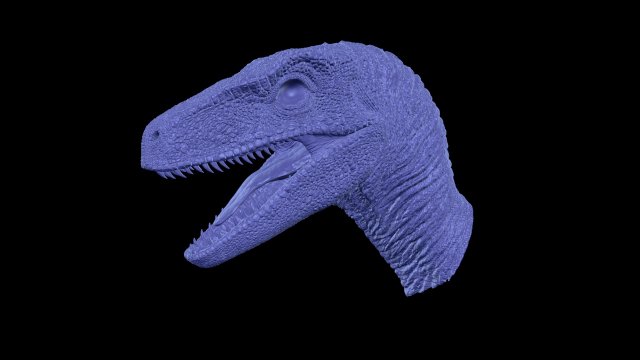
Jurassic Park Raptor Head 3D Model
Here a small printable Velociraptor Head from Jurassic Park Franchise without Eyes, so can everyone create his own Version
-
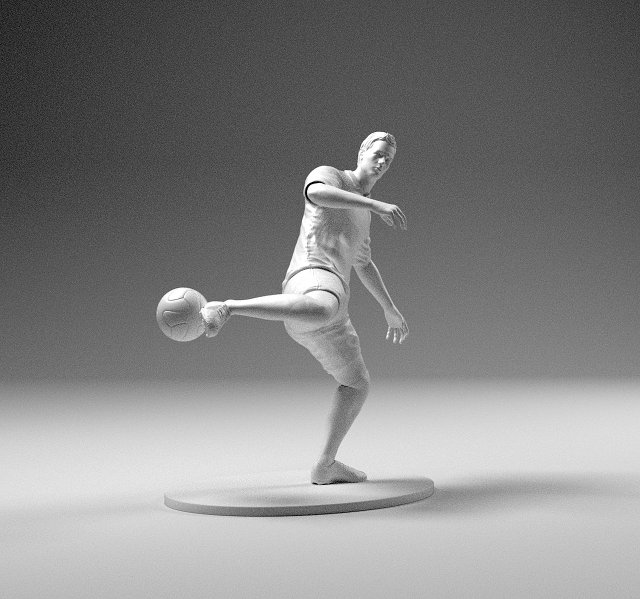
Footballer 02 Footstrike 06 Stl 3D Model
Footballer 02 Footstrike 06 STL 3D print model3d printable model of the footballer similar to Ronaldo player.Model has near 180mm height.2 Millions 3mf checked for errors and repared.10 Millions obj included and can be used to add some details.See details in netfabb analisys preview picture.Not for macro renders
-
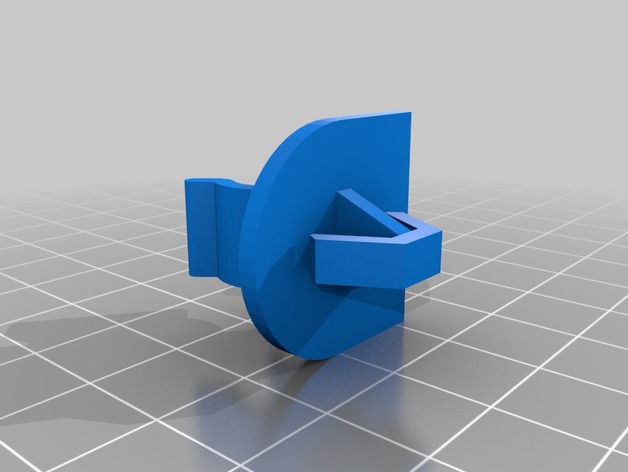
Honda Odyssey Hood Latch Clip 3D Print Model
Summary
This is a replacement for the breakage-prone hood latch clip of the Honda Odyssey. To remove the old hood latch clip, just use pliers to compress the clip and pull it out. This one should pop in place with a snap and hold the hood latch bar no problem. I printed it in ABS, but PETG should work fine too. I also printed with supports and 100% infill.
Print Settings
Printer Brand:
Wanhao
Printer:
Wanhao Duplicator i3 Plus
Rafts:
No
Supports:
Yes
Resolution:
.2
Infill:
100% -
Star Trek DS9 Curry Class 3D Print Model
Summary
Also called a Shelby class, the Curry class was one of the ships in the Dominion War in DS9, it’s a weird design to be sure, so I had to do it. -
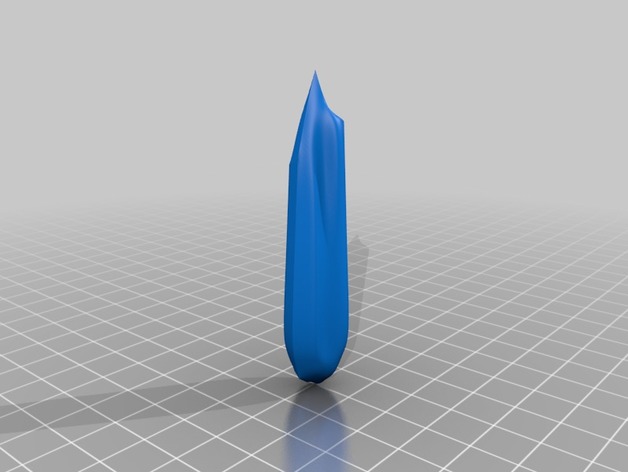
Saber Crystal 3D Print Model
Summary
This is a prop crystal for a light saber. Nothing fancy. There is one design for just the model. The second design includes supports. The ideal resin is a clear resin with a VERY small amount of dye added to create a translucent color. About 0.2 grams glow pigment per 100ml resin will give it a slight glow after exposure to light. Recommend UV protective coating to stunt curing of finished piece.
After post-cure cleanup, using sanding to polish (up to 4000 wet sand is adequate) for glass effect. Polishing with rotary tool and rouge bar not recommended due to temperature issues.
Print Settings
Printer:
Peopoly Moai
Rafts:
No
Supports:
No
Resolution:
50 Microns
Infill:
80% Cure for Moai -
Simple Frog House 3D Print Model
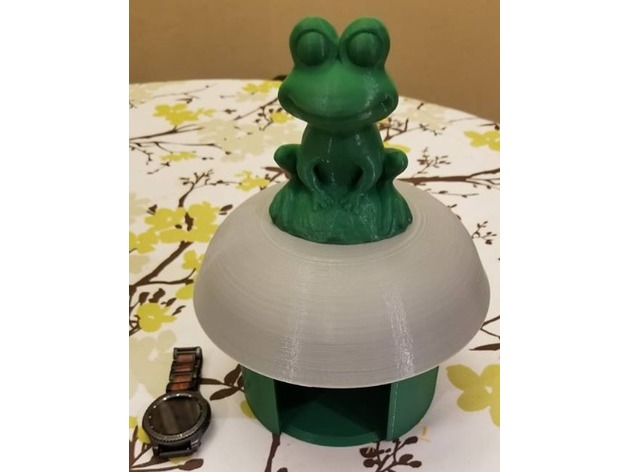
Summary
Wife wanted a frog house so I fired up the (ok…its never “off” per say) CR10 S5
This is the frog I used and scaled up to fit my needs: https://www.thingiverse.com/thing:2136760
Base was printed at .2 and 3000mm/min @ 20% infill; no supports
Top was printed at .2 and 3000mm/min @ 20% infill; with supports
Attached frog with Gorilla glue
All printed in Solutech PLA
Sliced with S3D
Designed in AD Inventor
Print Settings
Printer Brand:
Creality
Printer:
CR-10S
Rafts:
No
Resolution:
.2
Infill:
20% -
Iron Giant Bolt Stand 3D Print Model
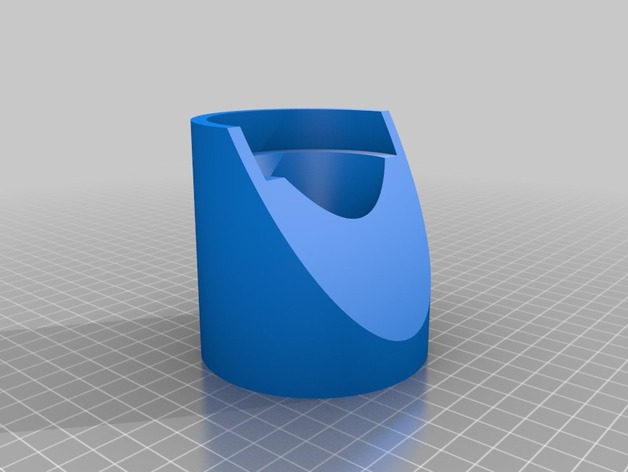
Summary
A stand made in Microsoft 3d Builder for jeffarazzi’s Iron Giant Bolt -
Pendant Sun 3D Model
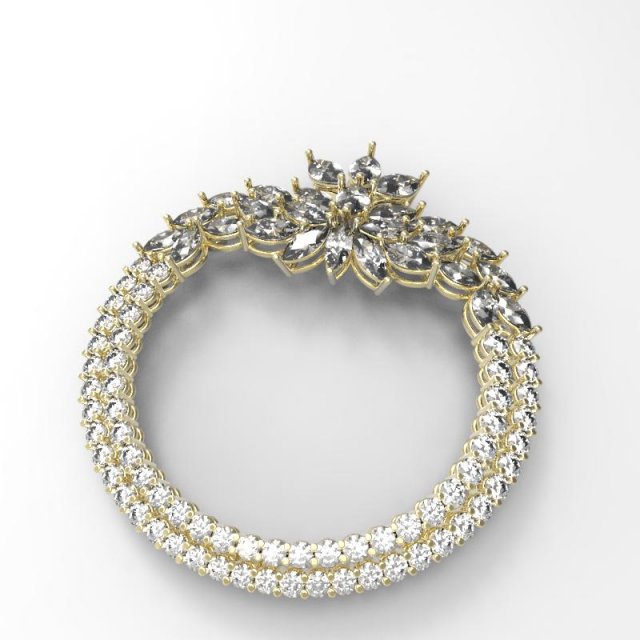
Pendant gold3 , Diamond , Marquise , Diamond , X=3,30 , Y=6,00 , Z=1,80 , ,21ct. (total ,62ct.)3 , Diamond , Marquise , Diamond , X=3,30 , Y=6,20 , Z=1,80 , ,21ct. (total ,64ct.)5 , Diamond , Marquise , Diamond , X=2,50 , Y=5,70 , Z=1,50 , ,12ct. (total ,62ct.)5 , Diamond , Marquise , Diamond , X=2,80 , Y=5,30 , Z=1,80 , ,15ct. (total ,77ct.)6 , Diamond , Round , Diamond , X=2,30 , Y=2,30 , Z=1,34 , ,04ct. (total ,26ct.)10 , Diamond , Round , Diamond , X=2,20 , Y=2,20 , Z=1,34 , ,04ct. (total ,40ct.)10 , Diamond , Round , Diamond , X=2,10 , Y=2,10 , Z=1,28 , ,03ct. (total ,34ct.)10 , Diamond , Round , Diamond , X=2,00 , Y=2,00 , Z=1,22 , ,03ct. (total ,30ct.)12 , Diamond , Round , Diamond , X=1,90 , Y=1,90 , Z=1,16 , ,03ct. (total ,31ct.)10 , Diamond , Round , Diamond , X=1,80 , Y=1,80 , Z=1,10 , ,02ct. (total ,22ct.)4 , Diamond , Round , Diamond , X=1,70 , Y=1,70 , Z=1,04 , ,02ct. (total ,07ct.)2 , Diamond , Round , Diamond , X=2,40 , Y=2,40 , Z=1,46 , ,05ct. (total ,10ct.)8 , Diamond , Marquise , Diamond , X=2,50 , Y=4,80 , Z=1,50 , ,10ct. (total ,84ct.)3 , Diamond , Marquise , Diamond , X=2,50 , Y=4,50 , Z=1,50 , ,10ct. (total ,29ct.)Total Gems: 91 Total Weight: 5,78ct.
-
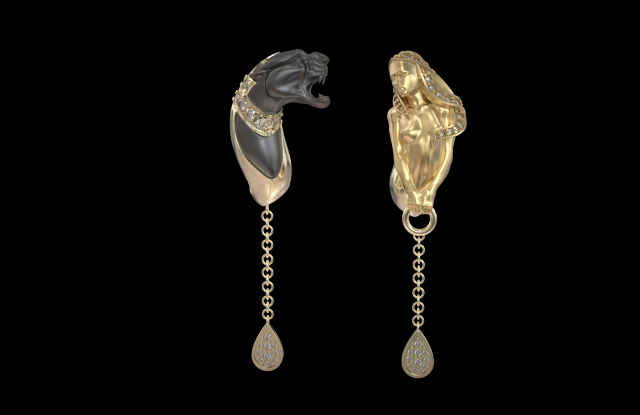
Earrning Magerit Instinto 3D print model 3D Model
Earrning Magerit Instinto 3D print modelVolume = 965.146088 (+/- 2.1e-05) cubic millimetersthe weight – 13 gramm 14K goldAll sizes of stones and products are displayed on the images.I hope you enjoy my new model, subscribe to my page in order not to miss the news. I constantly add new models, I work to order and quickly answer all the questions of my customers! Pleasant work for everyone!
-
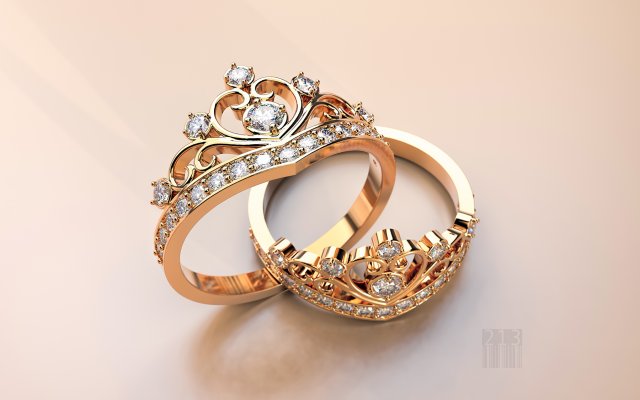
Ring crown with stones 3D Model
The model can be used for production, for casting and machining.STL model is ready for prototyping on CNC and 3D PrintingHigh quality modelweight in gold 2,800 gramweight in gold silver 1,900 gram
-
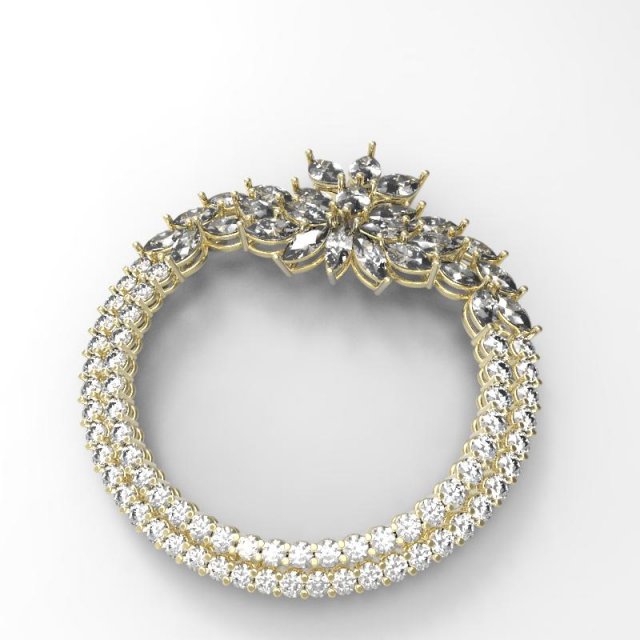
Pendnat Sun 3D Model
Pendant gold3 , Diamond , Marquise , Diamond , X=3,30 , Y=6,00 , Z=1,80 , ,21ct. (total ,62ct.)3 , Diamond , Marquise , Diamond , X=3,30 , Y=6,20 , Z=1,80 , ,21ct. (total ,64ct.)5 , Diamond , Marquise , Diamond , X=2,50 , Y=5,70 , Z=1,50 , ,12ct. (total ,62ct.)5 , Diamond , Marquise , Diamond , X=2,80 , Y=5,30 , Z=1,80 , ,15ct. (total ,77ct.)6 , Diamond , Round , Diamond , X=2,30 , Y=2,30 , Z=1,34 , ,04ct. (total ,26ct.)10 , Diamond , Round , Diamond , X=2,20 , Y=2,20 , Z=1,34 , ,04ct. (total ,40ct.)10 , Diamond , Round , Diamond , X=2,10 , Y=2,10 , Z=1,28 , ,03ct. (total ,34ct.)10 , Diamond , Round , Diamond , X=2,00 , Y=2,00 , Z=1,22 , ,03ct. (total ,30ct.)12 , Diamond , Round , Diamond , X=1,90 , Y=1,90 , Z=1,16 , ,03ct. (total ,31ct.)10 , Diamond , Round , Diamond , X=1,80 , Y=1,80 , Z=1,10 , ,02ct. (total ,22ct.)4 , Diamond , Round , Diamond , X=1,70 , Y=1,70 , Z=1,04 , ,02ct. (total ,07ct.)2 , Diamond , Round , Diamond , X=2,40 , Y=2,40 , Z=1,46 , ,05ct. (total ,10ct.)8 , Diamond , Marquise , Diamond , X=2,50 , Y=4,80 , Z=1,50 , ,10ct. (total ,84ct.)3 , Diamond , Marquise , Diamond , X=2,50 , Y=4,50 , Z=1,50 , ,10ct. (total ,29ct.)Total Gems: 91 Total Weight: 5,78ct.
-
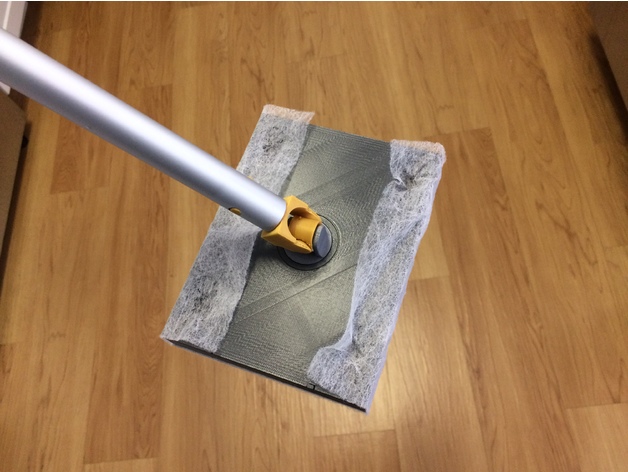
Square mopper that recycles clothes dryer sheets 3D Print Model
Summary
Made a box-style Swiffer that his narrower and lower in profile than the original Swiffer. You can use the original handle. Just like my previous version of this that uses binder clips, use a foam bottom from self-adhesive foam paper. There are instructions on how to do this on this posting:
https://www.thingiverse.com/thing:2688054
Print the HandleJoint.stl with support.
If you found this useful, it would bring me great joy to see your work – so be sure to share. 🙂
Or, better yet, please feel free to dump a bitcoin or two here (I’m trying to collect as many as I can before the apocalypse):
1Py3TUeR8noBN2giHyFV1GfB6x3Kh2WEVv
… include a note to the effect of “Hi 3E8, thanks for the box-style Swiffer thing… my life is infinitely better on account of it and please accept this small handful of bitcoins in gratitude”.
You’re welcome! (in advance) 😀
Also, feel free to peruse my other submissions which are almost as varied as they are many:
http://www.thingiverse.com/3E8/designs
Enjoy! -
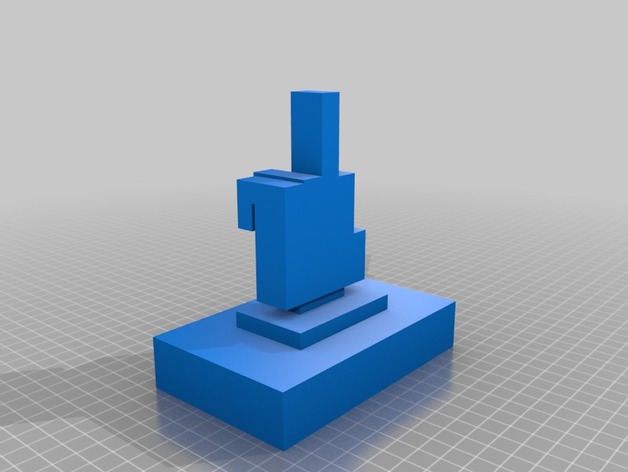
The Bird 3D Print Model
Summary
This thing was created for the sheer purpose of a practical joke to your fellow workers
Print Settings
Printer Brand:
MakerBot
Printer:
MakerBot Replicator (5th Generation)
Supports:
Yes -
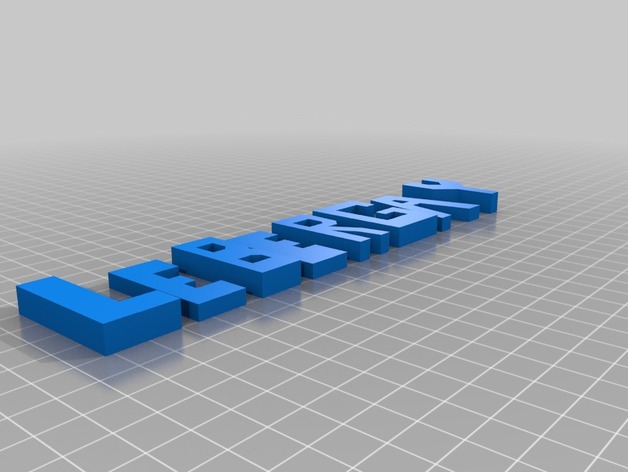
A Name 3D Print Model
Summary
This this is also a practical joke for workers, specifically ones names lebergay
Print Settings
Printer Brand:
MakerBot
Printer:
MakerBot Replicator (5th Generation)
Supports:
Yes -
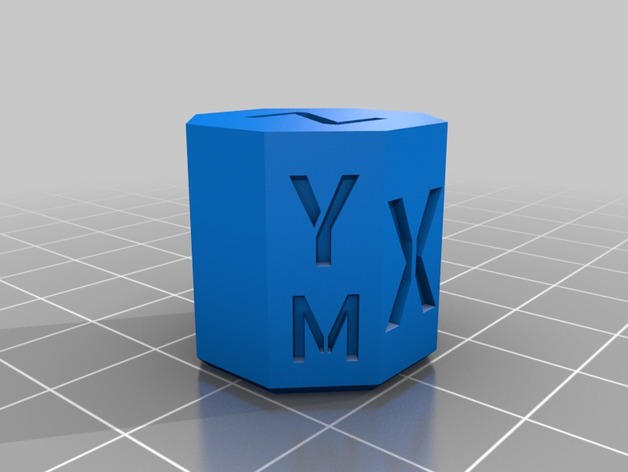
CoreXY Calibration Ocatagon (“cube”) 3D Print Model
Summary
Now you can check if your belts lengths are correctly tuned and check the quality of the single motor movements!
The parallel faces are all 20mm apart and there is a small chamfer at the base to cut any problems with elephant foot.
I’ll tune the font ASAP. Not printed yet,
Print Settings
Printer:
Hypercube Evolution
Rafts:
No
Supports:
No
Resolution:
0.2
Notes:
Do not worry about the thin parts of the letters of the motor faces. 😀 I just like the font and would like to test it. -
Hamster ball (sorta) 3D Print Model
Summary
Ever wanted a hamster ball (sorta) laying around your house?
…Then this is just for you!
Print Settings
Printer:
Monoprice mini
Rafts:
No
Supports:
Yes
Infill:
50 -
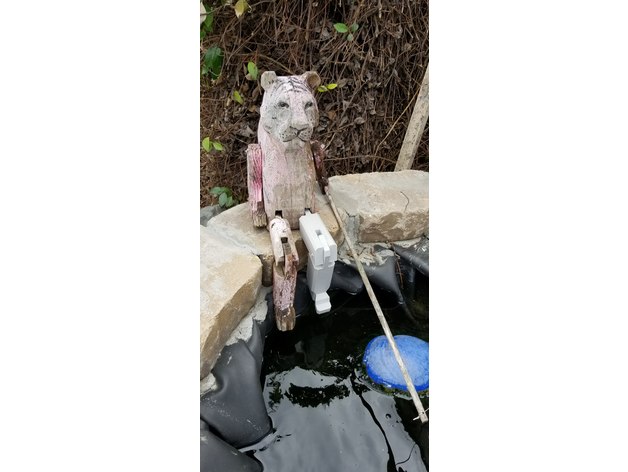
Lucky Fishing Cat Leg 3D Print Model
Summary
So at the end of my koi pond I’ve had my lucky fishing cat (tiger). He’s been there for years, and over time he somehow lost a leg.
Thanks to 3D printing we can rebuild him. I intend on replacing his other leg, his right arm, and his eye soon, so he can be just like the bionic man:)
Print Settings
Printer:
Hictop CR-10
Rafts:
No
Supports:
No
Resolution:
.2
Infill:
20
Notes:
Just sharing, doubt anyone would print…unless of course you have a lucky fishing cat.
How I Designed This
Blender -
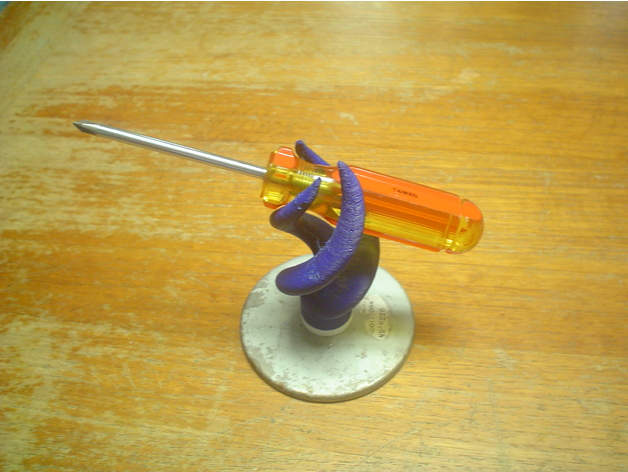
Flex tentacle tool holder 3D Print Model
Summary
This is a triplet of twisted tentacles that can hold a tool or something similar. It is made to be printed with flexible filament.
The tentacle base slips over the knob on the holder. The holder can be screwed to things like a magnetic base (as shown).
How I Designed This
The shape was made from a mathematical shape created with the Octave Isosurface function, and warped into something that looked good. I imported the resulting raw stl file into openscad where I added the mounting parts and the notation.
I started by playing with the fascinating “monkey saddle” (z=x*(x^2 – 3 y^2) ) which has three fold symmetry without trigonometry. I worked up an interesting shape in Mathematica, but transferred it to Octave, since it is open source. -
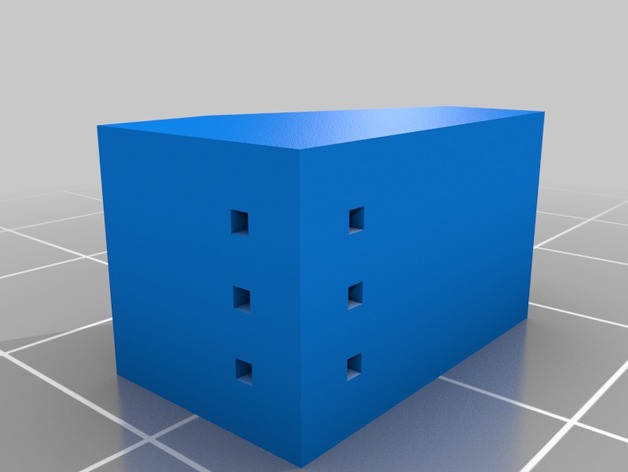
T-Pin BuilderBlocks by BalsaBuilder Magazine 3D Print Model
Summary
These builderblocks are super useful right angle pin blocks that readily accept DU-BRO’s small 1-inch “T” Pins #252. BuilderBlocks are used in model airplane stick construction and support the Lavoie Method of Stick building. See BalsaBuilder Magazine Issue 8 for more information on this method. Lavoie also offers a selection of great works on YouTube describing this method. Have fun out there!
Keep’em Flying!
—BuildIt!
Print Settings
Printer Brand:
Printrbot
Printer:
Printrbot Simple Metal
Rafts:
Doesn’t Matter
Supports:
No
Notes:
These simple blocks are easy to print and don’t require any special printer settings. I picked the defaults in Simplify3D and let them rip!
How I Designed ThisCompleted builderblocks with “T” Pins installed
Additional supporting tools for the Lavoie stick building method.
builderblocks in use
-
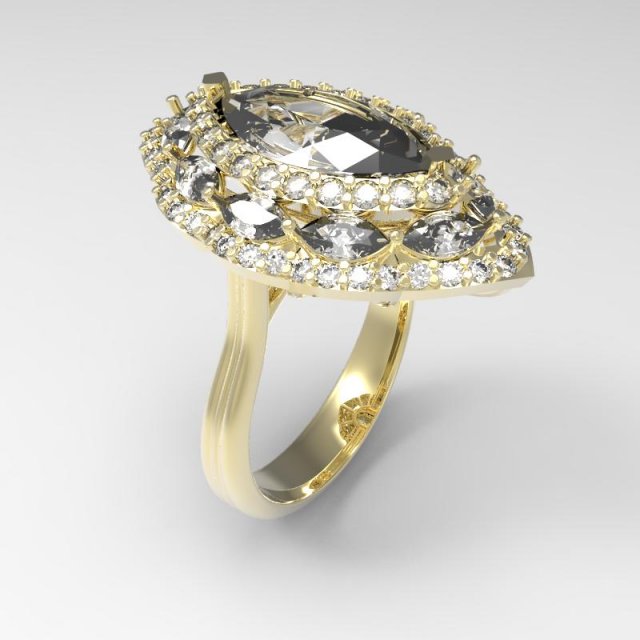
Ring joy 3D Model
Gold ring10 , Diamond , Marquise , Diamond , X=2,10 , Y=4,00 , Z=1,20 , ,06ct. (total ,58ct.)40 , Diamond , Round , Diamond , X=1,20 , Y=1,20 , Z=,73 , ,01ct. (total ,26ct.)22 , Diamond , Round , Diamond , X=1,40 , Y=1,40 , Z=,85 , ,01ct. (total ,22ct.)1 , Diamond , Marquise , Diamond , X=6,60 , Y=11,80 , Z=3,60 , 1,63ct. (total 1,63ct.)Total Gems: 73 Total Weight: 2,69ct.Size 6US