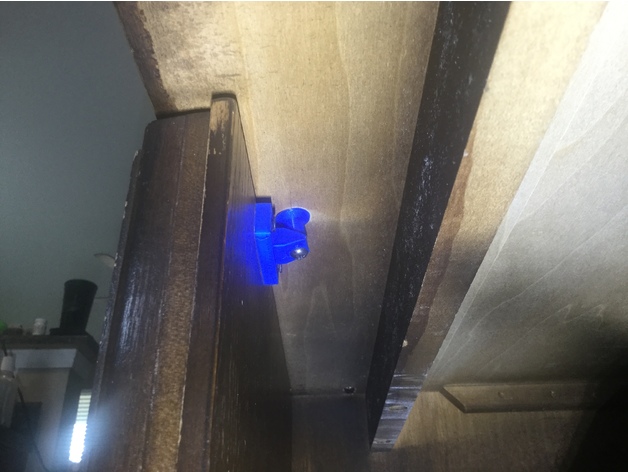
Download Free 3D Model Cabinet Door Latch and post 3D Print Model
Summary
The clip and clip-base require a small flat-head screwdriver or knife to assemble. start it at an angle and work the retainer clips over the edge. They fit together one-way. Should work best with #8 screws. The post needs about 1″ long screw, the base, a pair of 1/2″ to 3/4″ long screws
Print Settings
Printer Brand:
MakerBot Printer:
MakerBot Replicator 2 Rafts:
Doesn’t Matter Supports:
No Resolution:
.3mm Infill:
2 shell layers, 40% infill Notes:
The posts on my 15 year old garage sale hardwood cabinet started to disintegrate with age. I love the cabinets but hated that the doors wouldn’t stay shut. I use Inventor at work to model laser/punch/formed metal parts and have become pretty adept at modeling 3D printed parts when things break around the house.. So I measured and modeled up replacement parts that I could use to directly replace the existing molded parts. The hardest part was tweaking the pincer-grip of the base, as the original modeled part was too firm and inflexible, so it was hard to close and open. Adding a 15 degree face draft inward to both edges was the trick needed to make it have a similar feel and retention pressure when closing the door. When printed in the correct orientation, no rafts or supports needed. The clip base with the in-cut side facing up, the clip with the pincers facing up and the post with the large side down. I use blue painters tape on my unheated bed and PLA plastic. Slots in the clip-base allow a small bit of alignment up or down and the slot of the clip itself auto-aligns if the post is off a few 16ths of an inch. The center of the clip could be mounted with a screw through the included, recessed hole (Maybe a #6 or #8 pan head screw) , but this would negate the self alignment feature.
Post-Printing
Categories: 3D Print Models, All 3D Models, Free 3D Models
Sorry, comments are closed for this item.


