Summary
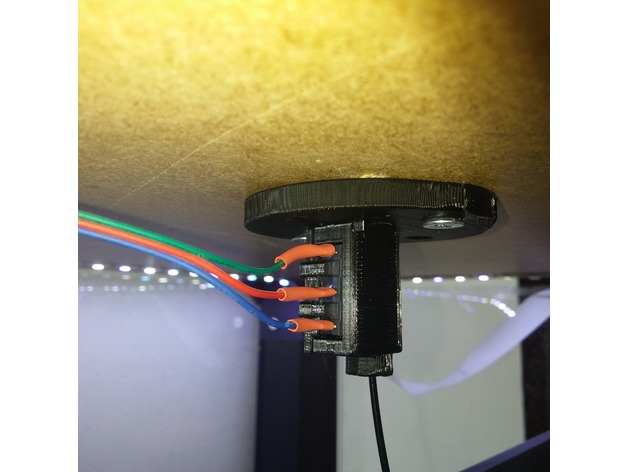
This is a microswitch filament sensor mount I’ve made for the IKEA Lack enclosure.
It takes 1 KW-12 switch.
Print Settings
Printer Brand:
Prusa
Printer:
i3 MK2S
Resolution:
0.2
Infill:
20
Notes:
Support on build plate only.
The lid snap isn’t perfect at 0.20 layer height. It hasn’t fallen off for me yet but you can try a higher resolution if you like.
Post-Printing
Switch preparation
The switch lever should be slightly bent to an “S” shape as shown above. The first bend is done to insure the filament engages the switch. The bend at the tip is done to prevent the metal lever from snagging on the filament when you pull it back to the spool.
If you solder the leads you should do it before you insert the switch to the housing. The housing is also designed to allow open barrel terminals but I haven’t tried it yet.
The switch only goes into the housing with the lever pressed against the switch body. It should spring back into place once the switch is seated all the way in. If the lever stays pressed (meaning the switch is engaged and activated) you’ve probably bent the lever a bit too far up.