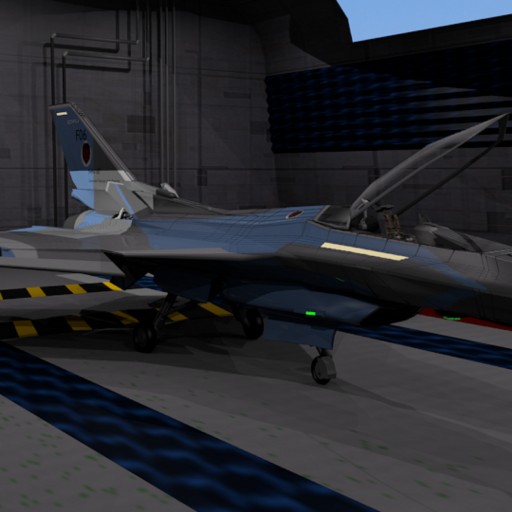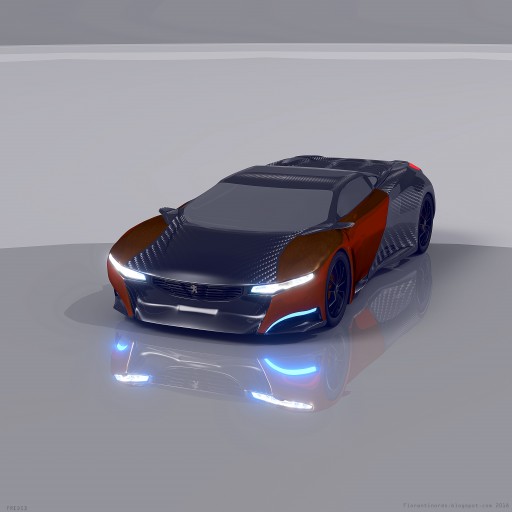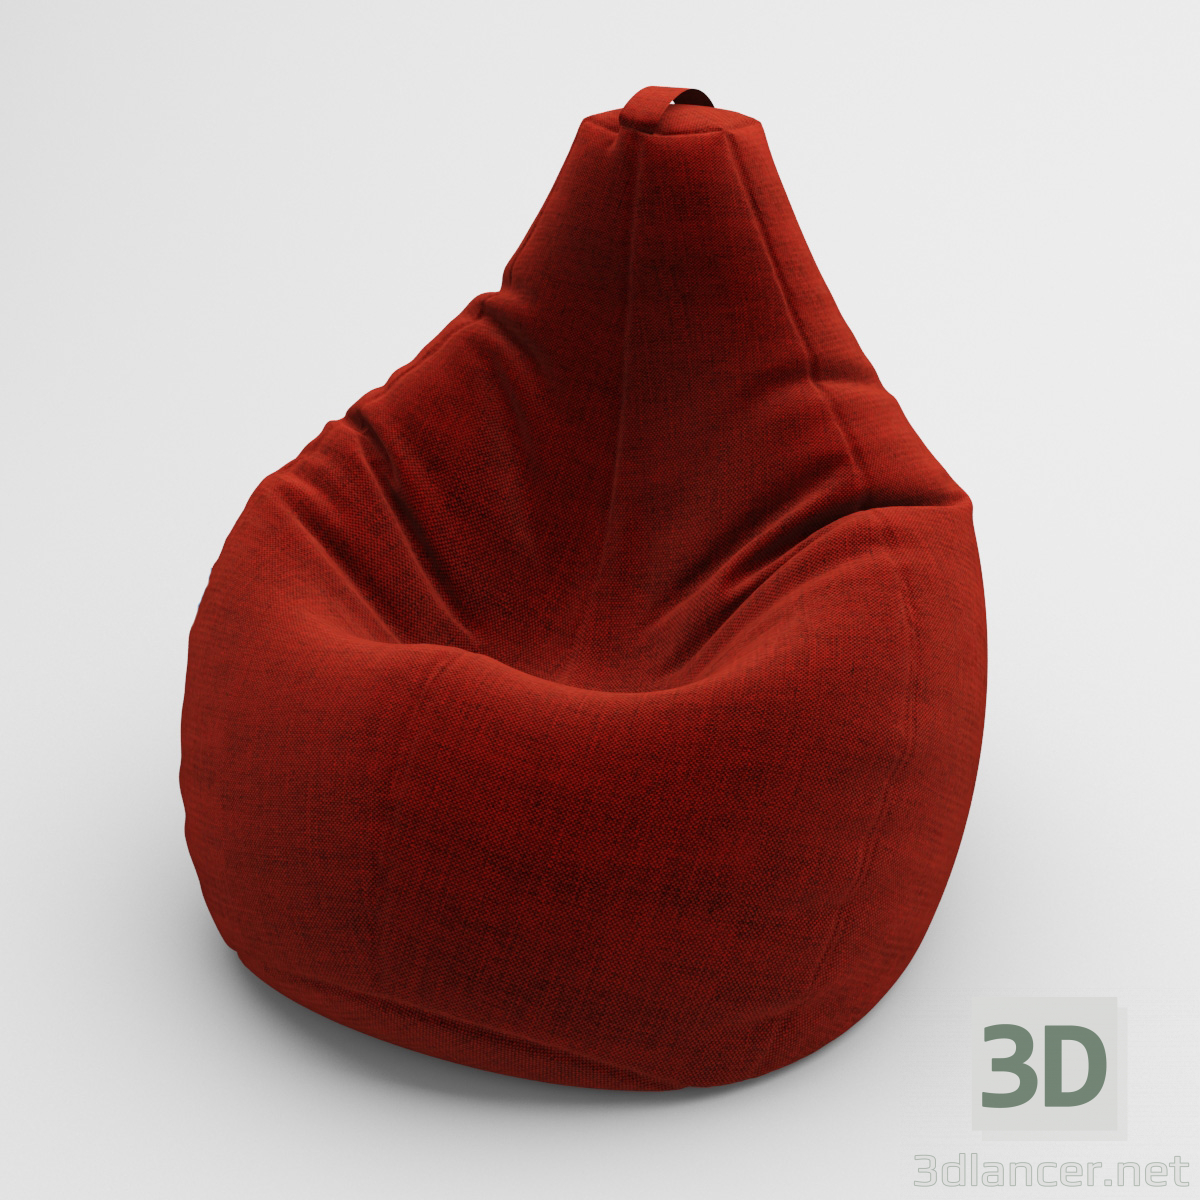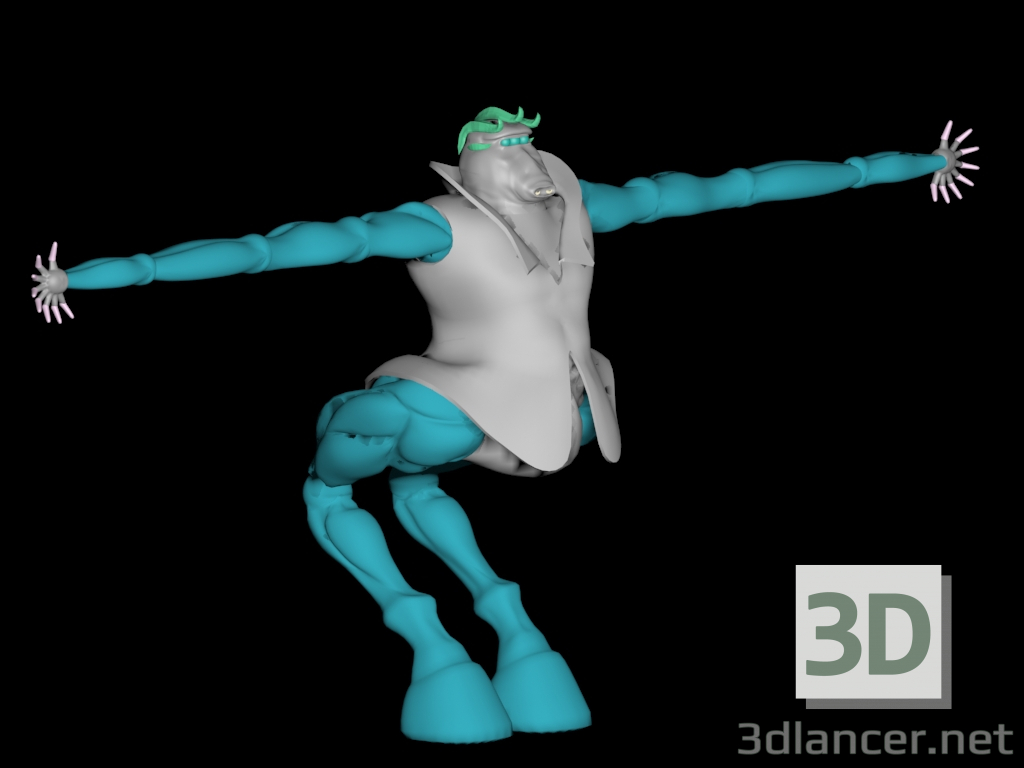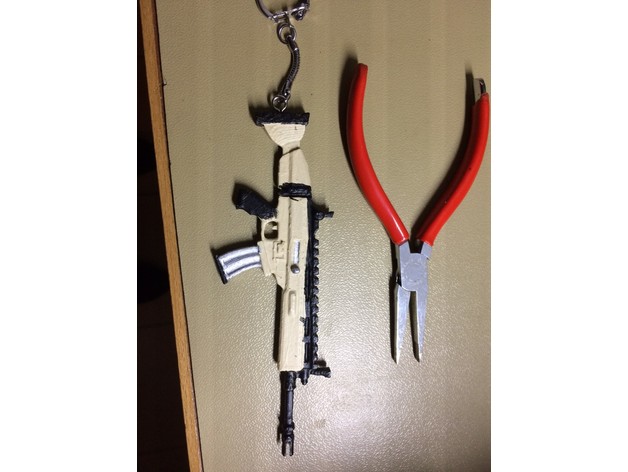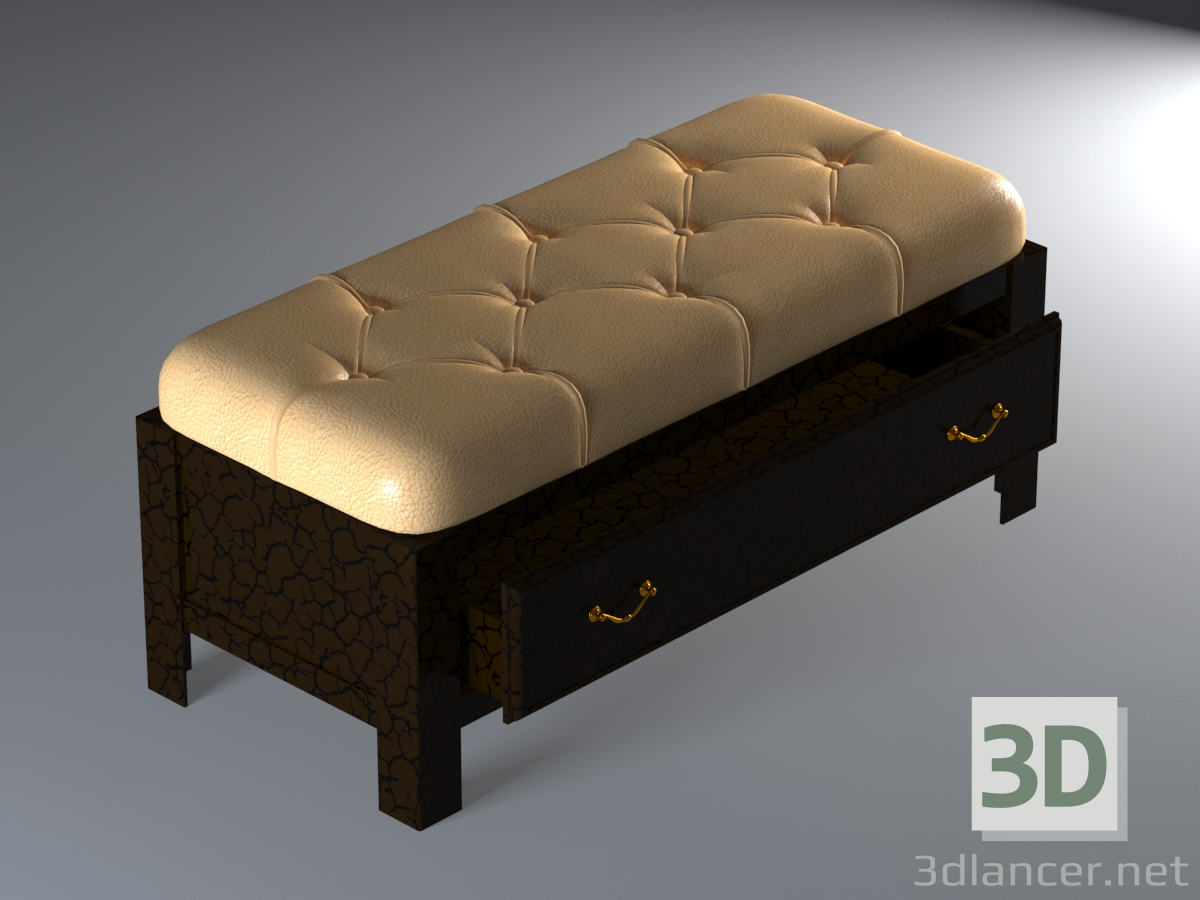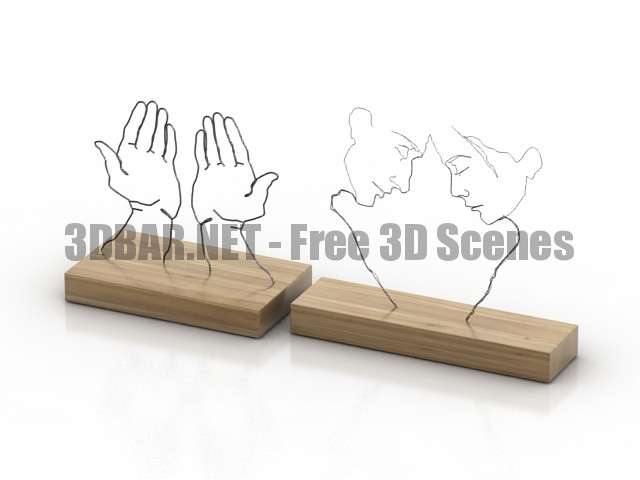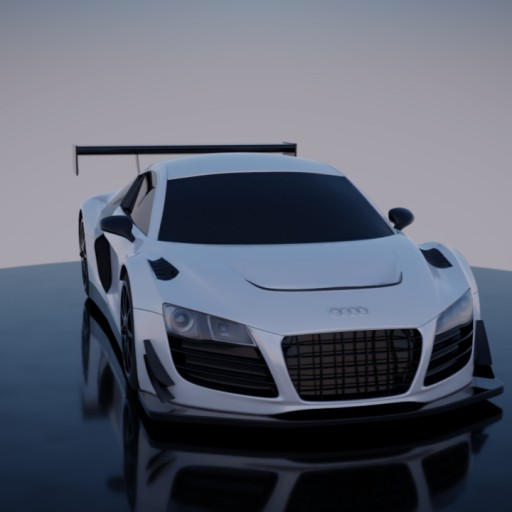
a car model i made of an audi race car. It also comes with a rig.
Category: Free 3D Models
Free 3D models ready to be used in your CG projects such as films, visualizations, games, VR etc. All 3D Models and Free 3D Print Models are available for download in several formats including .MAX, .STL, .FBX, .3DS, .C4D, .OBJ, .BLEND, .DWG, .DXF, .LWO and much more. If you’re in search of high-quality Free 3D assets, we have a huge library of 3d models for all your needs. Also you can visit 3D Models and 3D Print Models category.
-
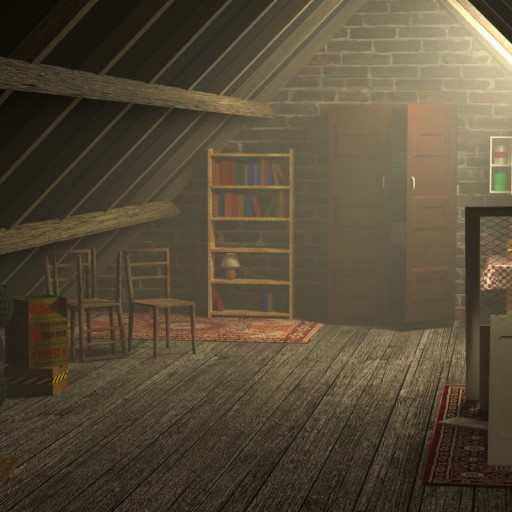
Old but tidy attic Free 3D Model
Thanks to CreativeShrimp in a Blender Volumetric Lighting video tutorial (youtube).
-
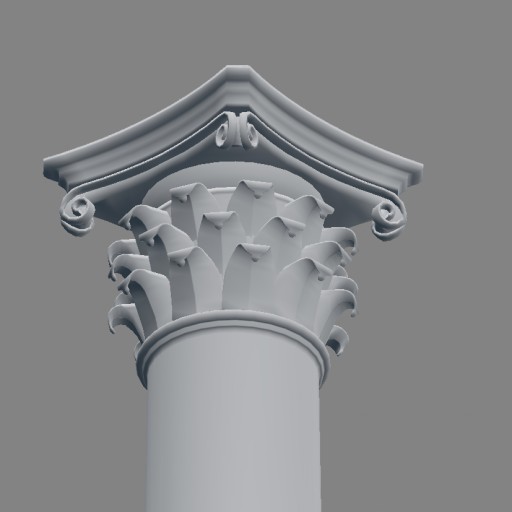
Corynthian column Free 3D Model
Blend contains a Corynthian column with some procedural properties (leaves are made with array stacks). Model is from a Public Domain source.
-
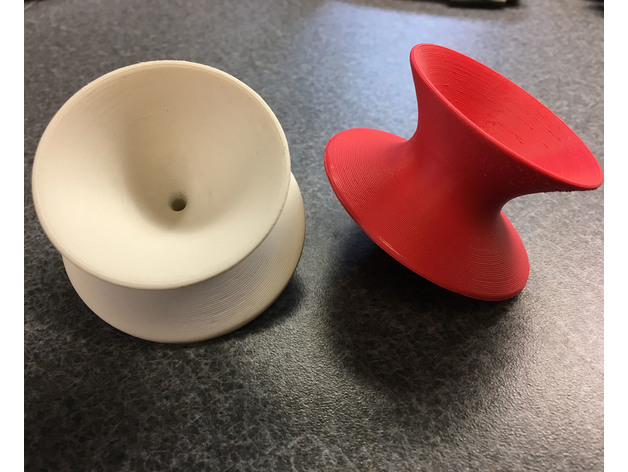
Magis Spun chair 3D Print Model
Summary
This is a model of the Magis Spun chair, at approximately 1/16 scale. I wanted an accurately proportioned and scaled model so I began with the 3D model from the Herman Miller specifying software I use in my work. My first attempt at printing had the full chair, in its upright position. The lower broad rim required supports due to the overhang so I added them in my slicing software (Simplify 3D). After printing the chair and removing the supports I was not at all happy with the quality of the surface that remained. It was too rough and stringy looking to be fixed via sanding so I looked for another solution.What I settled on was splitting the model into two pieces which would not require supports and would be glued together after printing. This ended up working great!
If you know how to print multiple colors with your printer you can also add accent stripes.
Print Settings
Printer Brand:
Robo 3D
Printer:
R1 ABS + PLA Model
Rafts:
No
Supports:
No
Resolution:
.15mm
Infill:
20%
Notes:
I printed these with PLA, with 3 top solid layers, 4 bottom solid layers, and 1 perimeter shell. Matte-finish filament works great on these ( I used Matteforge filament from Steelmans)
Post-Printing
I print on a glass bed, so the surfaces that get glued together come out very smooth and flat. It is important to have them as flat as possible in order to minimize any gaps at the edge after the pieces are glued together. I use Loctite Ultragel Control super glue, applied in concentric circles. I try to get close to the outer edges but not so close that I have to deal with squeeze out of the glue. I find that a drill bit inserted through both pieces keeps them aligned and allows you to twist the pieces together to get good glue coverage. In my case, a 3/32″ drill bit works perfectly. If there are any visible gaps after gluing you can burnish them closed using a metal rod (I use the shank of a screwdriver), provided the gaps aren’t too large.
The last thing I do is wet sand the part. I start out with 400 grit and then switch to 1500 grit for the final finishing. -
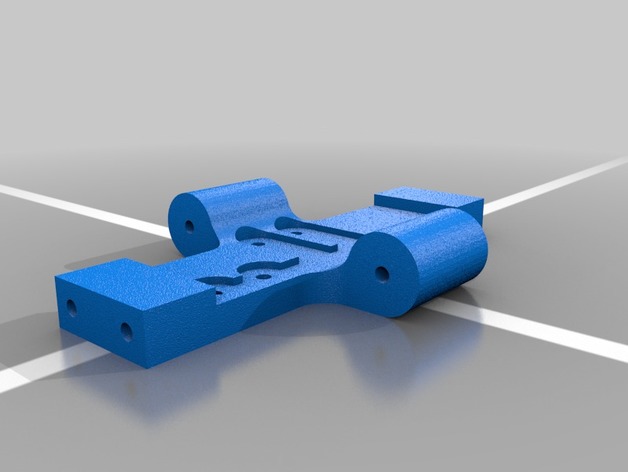
Losi Micro Crawler/Trekker Base plate 3D Print Model
Summary
This is the base plate where you would mount your losi micro crawler or trekker transmission. This is a very small piece so the lower you can go with the resolution the better the print will turn out. If you don’t have a printer that can handle very fine detail go with the version with no indentation as it is a lot easier to print and does the same job. I have provided two bolt patterns on the same design, the first one is base pattern, the other one is offset to mount transmission closer to the right side allowing for closer to center driveshaft location.
Print Settings
Printer:
Monoprice Select Mini Upgraded
Rafts:
Doesn’t Matter
Supports:
No
Resolution:
as low as you can go
Infill:
85% -
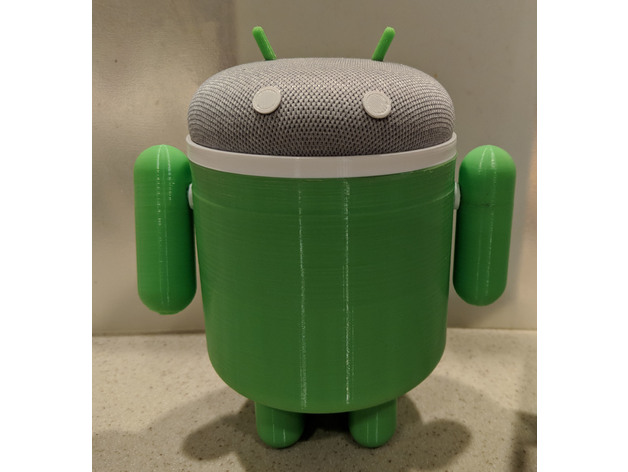
Android Body for Google Home Mini 3D Print Model
Summary
Let me start by thanking and giving credit to RAY_Design for the original idea and design.https://www.thingiverse.com/thing:2813569
Printing instructions:
Print all parts in the orientation provided in the files
In body color:
Body: print with support, feet sticking up.
Arm: print two with support, lying on the side (for strength around socket hole), socket hole down. That way the rough spots from the support material are on the inside and less visible.
Antennae: print two with a brim. They are very small, and without a brim, they might not stick to the print bed.
I printed all these pieces in one batch with support and brim.
White:
Collar: print without support, upside down
Eye: print two
Arm Ring: print two
You can print all these pieces in one bath, no support, no brim.
I made a few changes in this remix:
Uses 40% less material for the body when printed feet up: You still need to print with support, but there’s a lot less of it because of the cone shaped interior
Openings to route the power cable back into the body and out between the legs, for a neater look. You can coil up extra cable inside the body.
One piece arms: my version needs to be printed with support, but the rough spots will all be on the inside, where there aren’t very visible. Some sanding is required. On the plus side, no seam in the middle of the arm, and a stronger socket. You can still use the arms from the original design if you prefer – they are interchangeable.
Arm pins attached to the body
Collar rests in a groove on the body for a snug fit. I recommend glueing it to the body anyway.
Opening for the mute button (although still not easily reachable)
A built-in base in the body for the Home Mini to rest on, for a more stable fit
I used superglue to attach the eyes and the antennae to the Google Home Mini. If you rather not do that, you can skip that step – it still looks cute without it.
Print Settings
Rafts:
No
Supports:
Yes
Resolution:
High detail (for the arms at least)
Infill:
20%
Notes:
Body and arms need support. I recommend printing the antenna, arms, and body with a brim. The body probably doesn’t need it, but I wasn’t gonna risk it, and I printed all the green pieces in one batch.
This is a very large piece. I printed everything with “High Detail” for the best appearance. It takes about 24 hours to print all pieces at that resolution.
Post-Printing
Sanding the arms
I printed the arms lying down, with the pin hole facing down, for extra strength around the pin hole. Support is required in that orientation. But it will be on the inside of the arm, facing the body, so not very visible. After pulling off the support material, I sanded it smooth with fine sand paper.
How I Designed This
I started by looking at and printing RAY_design’s design (https://www.thingiverse.com/thing:2813569), and then recreated it from scratch in OpenScad. I took measurements from an official Android figuring (shown on the left in the 2nd picture), and scaling it up by a factor of 2.22.
I gave the interior of the body a cone shape so that you can print it upside down (for a smooth finish of the bottom and legs) with minimal support. Even so the cone means that extra material is needed to fill the area around the cone, it is a lot less than printing support material to fill the entire body to support a flat bottom. -
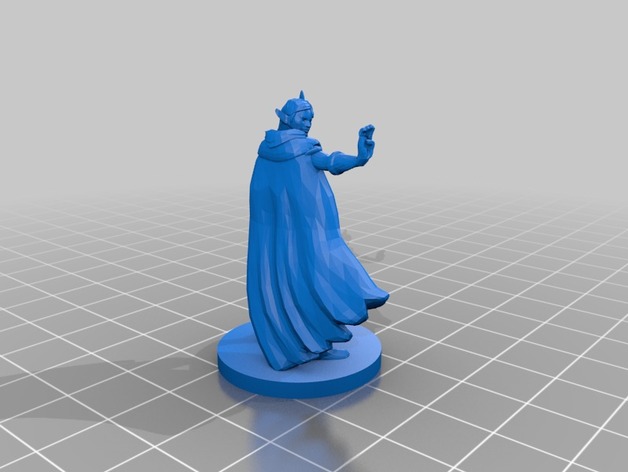
Talia 3D Print Model
Summary
Remix of: https://www.shapeways.com/product/TKBVQBP9Q/elf-female-ranger -
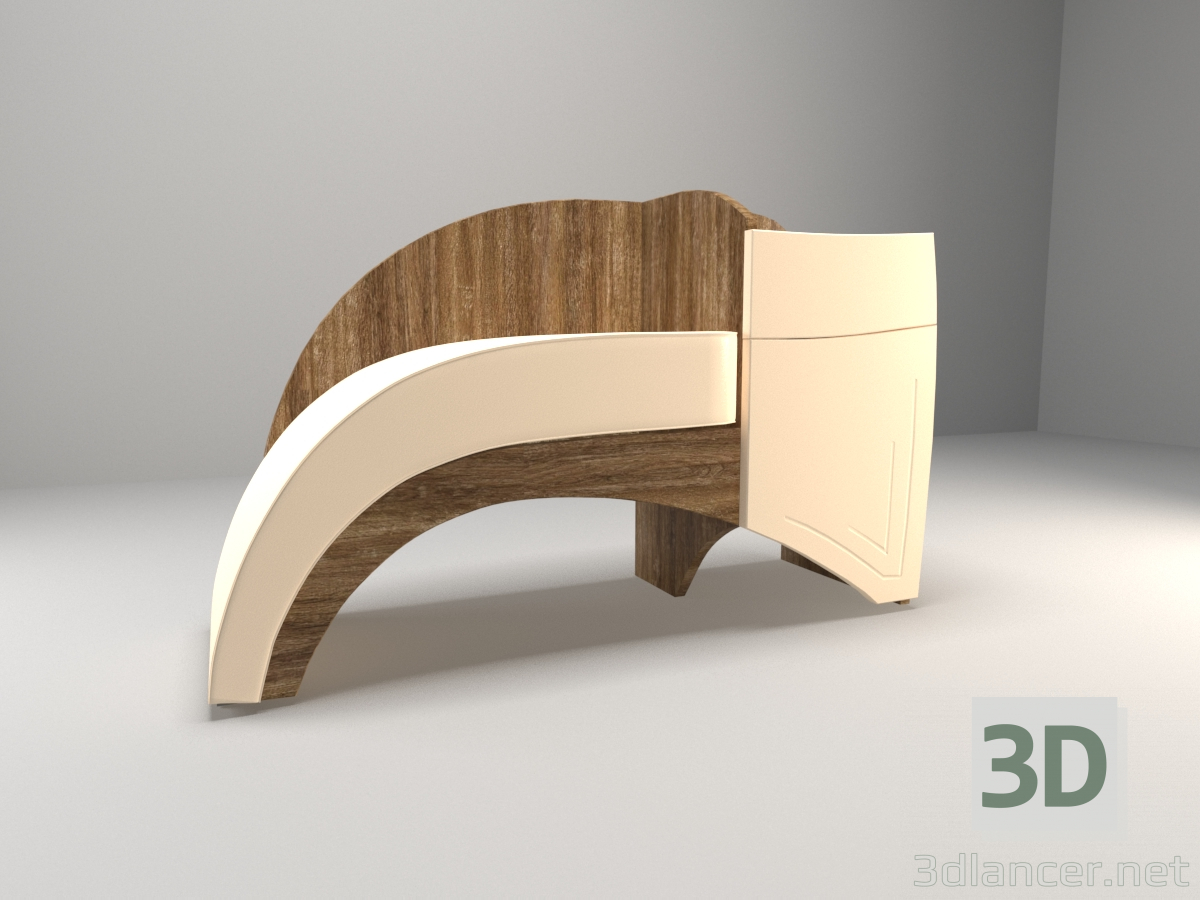
Sofa 3D Model
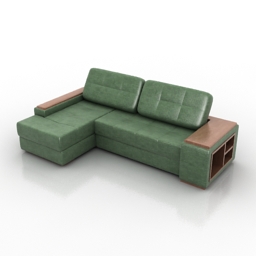
Additional Info: Sofa chaikof DLS N150218 – 3D model (*.gsm+*.3ds) for interior 3d visualization.
-
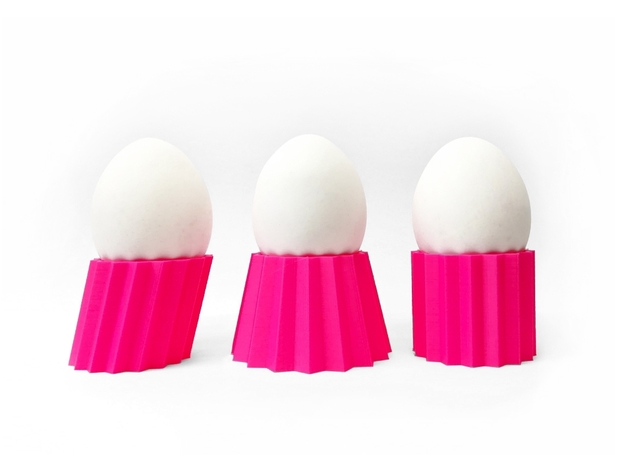
Egg cups 3D Print Model
Summary
Support your Easter eggs with this fashionable egg cups!
Print Settings
Printer:
3novatica gate 2.0
Rafts:
No
Supports:
No -
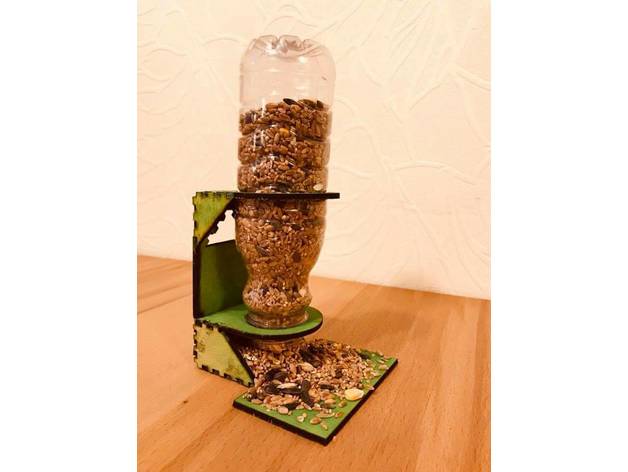
DIY Bird Feeder with a bottle 3D Print Model
Summary
Easy-to-make bird feeder, that can be made with kids.
To attach the parts together use some strong waterproof glue -
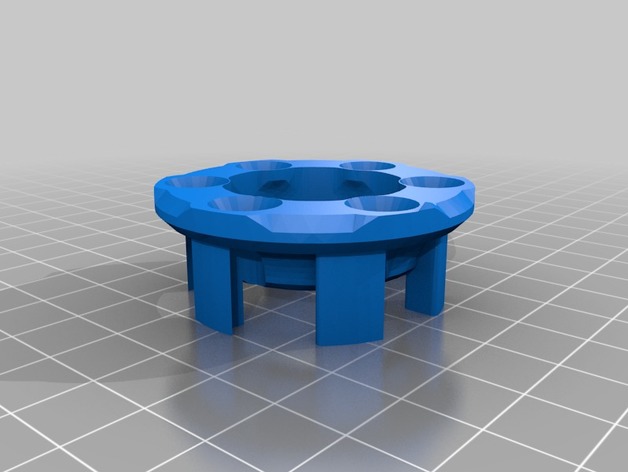
Longboard ABEC 11 Flywheels & Clones Lock Nut for sink head bolts 3D Print Model
Summary
This remix was cerated in order to use M5x50 sink head bolts/screws on the original design. -
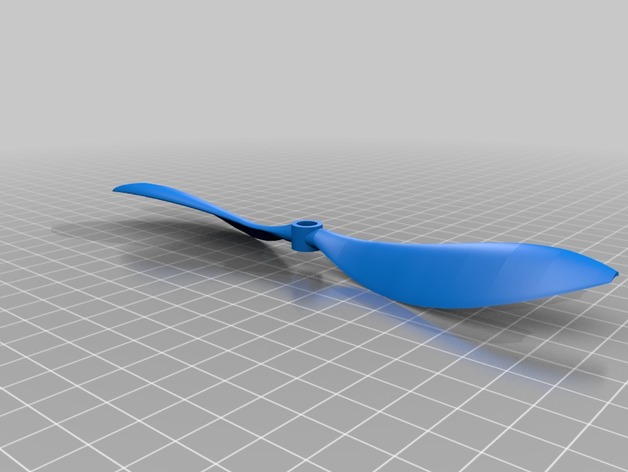
7 inch eppler 423 propeler 3D Print Model
Summary
The above are 7 inch propellers with eppler 423 as profile. I made my own drone and i used these because i could not find any 7 inch props.In a few days i will upload more data for the above with a thrust to rpm graph.
Print Settings
Printer Brand:
Prusa
Printer:
Prusa Clone
Rafts:
Yes
Supports:
Yes
Resolution:
0.1Post-Printing
Post processing
Definately it needs some post processing with dremmel for grinding or smoothing.Have in mind that the trailing edge (the rear edge where the air last meets the wing) needs to be as sharp as you can(some aerodynamic black magic here) for maximum efficiency.grind it and smooth it also for better visual results -
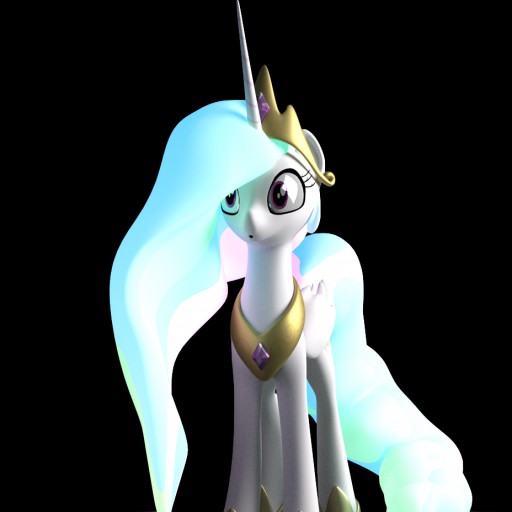
Princess Celestia Free 3D Model
This is a model that I make by scratch. Her teeth can disappear. But her eye can only look straight, so maybe you guts can fix that. Other than that, its perfect. Enjoy!
-
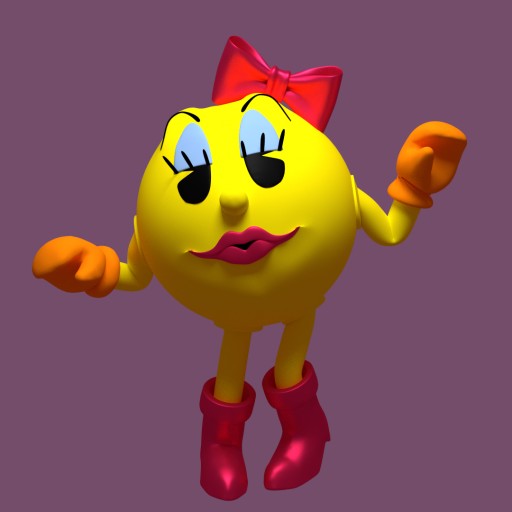
Ms Pac-man Free 3D Model
Ms Pac-Man is back! All made by scratch, hope you enjoy it. I might make Pac-Man next.
-
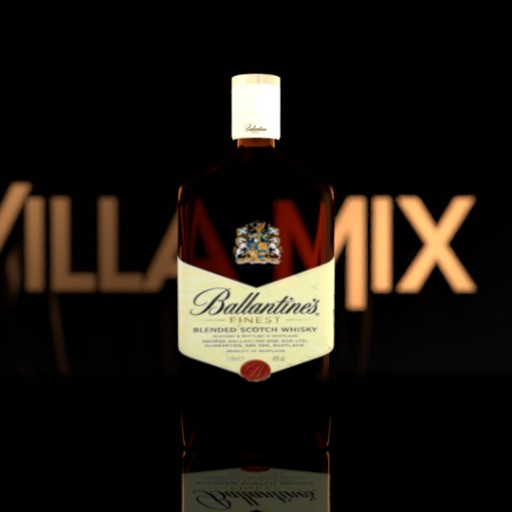
Whisky Ballantines Finest 8 anos Free 3D Model
Este Modelo foi feito pelo Designer Grafico Robert Cruvinel
de Goiania – GO
Brasil -
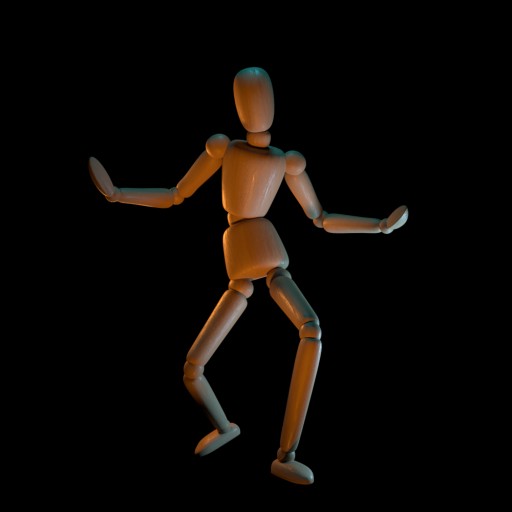
Wooden puppet Free 3D Model
Puppet character with basic rig. Controllers made with a few non-deforming bones so it’s comfortable to use. Texture I used is CC0 material by JoÃÂão Paulo (3dtextures.me).
Hopefully someone find this useful. -
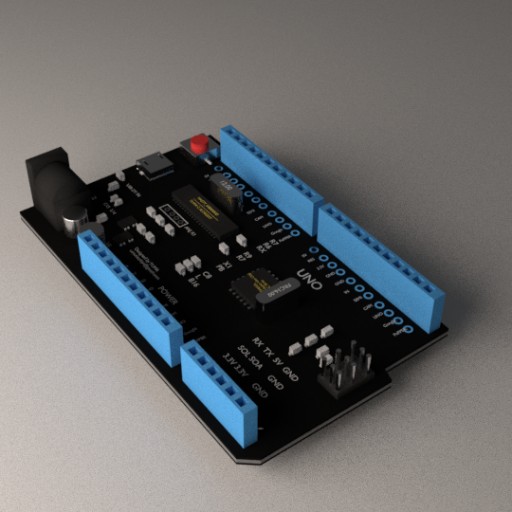
Chinese Arduino mock Free 3D Model
This is an cheap arduino mockup.
There are parts where materials are not yet inserted, such as capacitors, so please change them freely. -
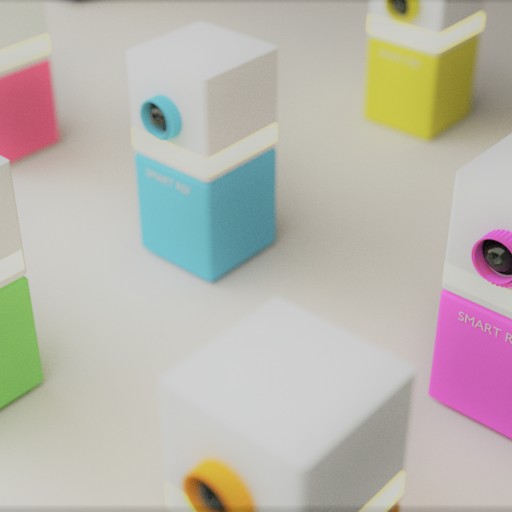
Cute CUBE type device Free 3D Model
It is the exterior design of the device made to hide the microcomputer board designed at school.
-
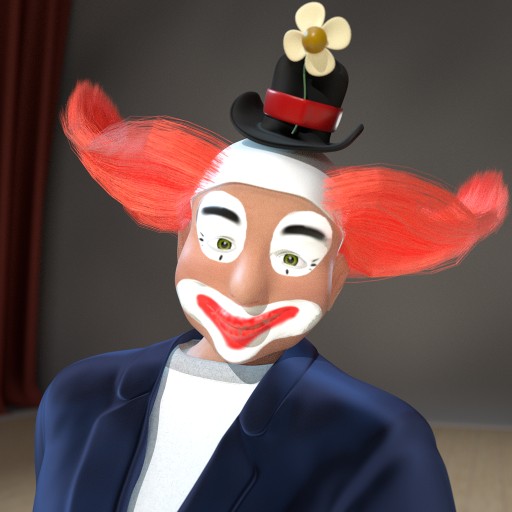
clown Free 3D Model
clown
demonstration animation loaded into the vse, thumbnail is loaded replacing render layer in compositor. -
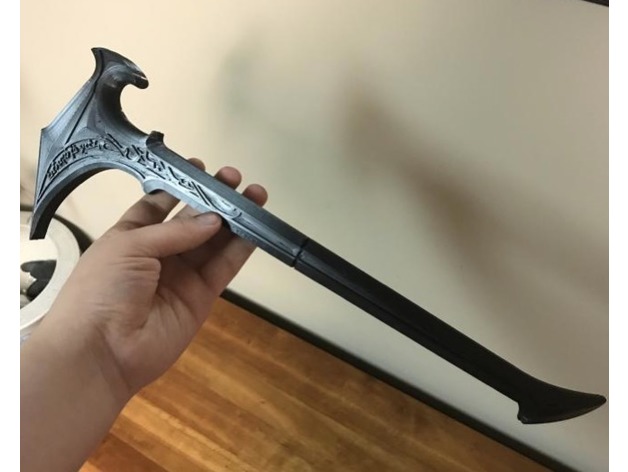
Celebrimbor’s hammer 3D Print Model
Summary
This is a hammer based off of the one wielded by Celebrimbor in the Shadow of Mordor games. This is by no means a perfect model, but the most detailed one I could make.
The parts of the Hammer are meant to be mirrored to fit the other side. Although this does pose the issue of the elvish script on the side being backwards. I will try to fix it in the future and when I do the file will be uploaded to this page.
Also this should be printed at 175% for full size.
Once printed just superglue and try not to destroy Mordor with the rings you create.
Print Settings
Printer Brand:
Creality
Printer:
CR-10
Rafts:
No
Supports:
No
Resolution:
0.1mm
Infill:
20% -
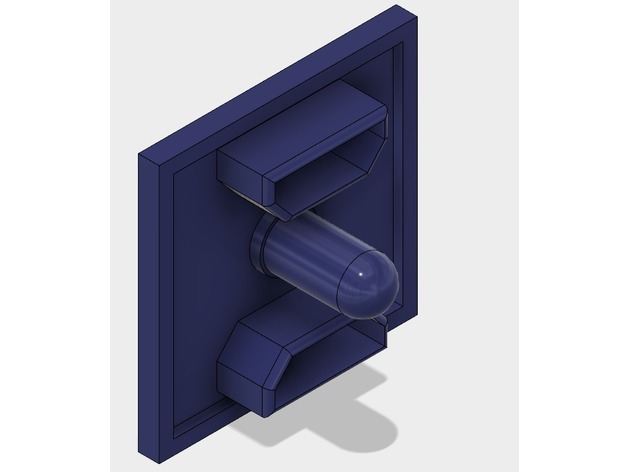
Creality 3D CR-10S End Cap 3D Print Model
Summary
This replaces the end cap on CR-10S and CR-10. I designed this to be able to add custom colored end caps to my CR-10S. This was also designed as proof of concept for a stable mounting point for a camera, sensors or other things that need mounting. I will upload variants of this with an arm to hold a camera or a light securely to the gantry.
Print Settings
Printer Brand:
Creality
Printer:
CR-10S
Rafts:
Doesn’t Matter
Supports:
Doesn’t Matter
Resolution:
0.2 mm
Infill:
20%
Notes:
Print at what ever resolution you wish and infill you wish. The part prints fast and strong. This printed part stood up to repeated insertions and removal. -
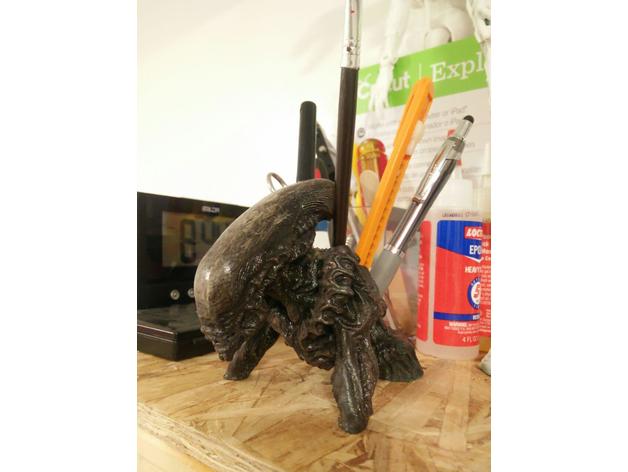
ALIEN pen holder 3D Print Model
Summary
Remix from printer obessions Alien Bust speed sculpt. original posted in my mini factory
https://www.myminifactory.com/object/3d-print-alien-xenomorph-41364
gave me permission to post. This should bring him more traffic. This guys Sculpts are INSANE -
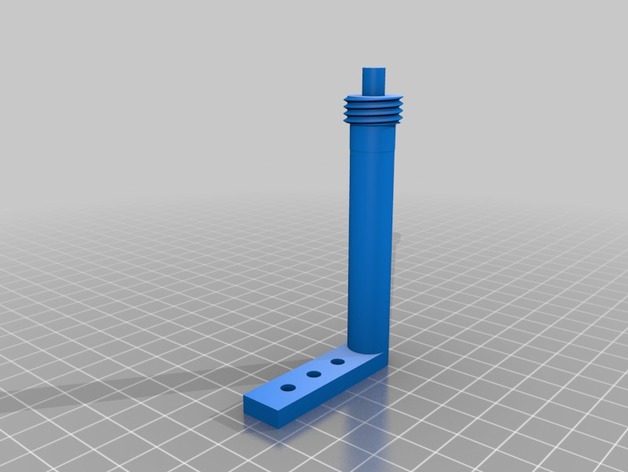
Tevo Tarantula Camera Mount for D-Link 3D Print Model
Summary
Tevo Tarantula Camera Mount for D-Link
Print Settings
Printer Brand:
TEVO
Printer:
Tarantula
Rafts:
Yes
Supports:
No -
Dress 3D Model
Additional Info: Dress Wedding N270218 – 3D model (*.gsm+*.3ds) for interior 3d visualization.
-
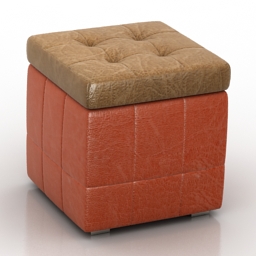
Seat 3D Model
Additional Info: Seat berry Pushe N030318 – 3D model (*.gsm+*.3ds) for interior 3d visualization.
-
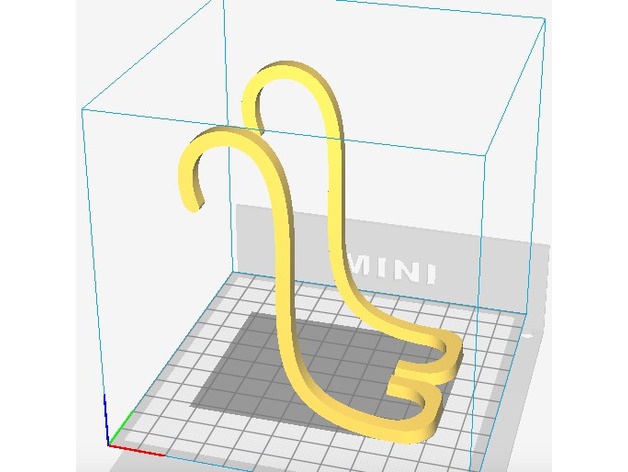
Car Headrest Tablet Hooks 3D Print Model
Summary
I needed a Universal tablet mount for my daughter on our road trip and I have a mono price mini printer. Nothing would fit the bed of the printer so I decided to try making my own.
Print Settings
Printer:
Mono price select mini v2
Rafts:
No
Supports:
Yes
Infill:
50% -
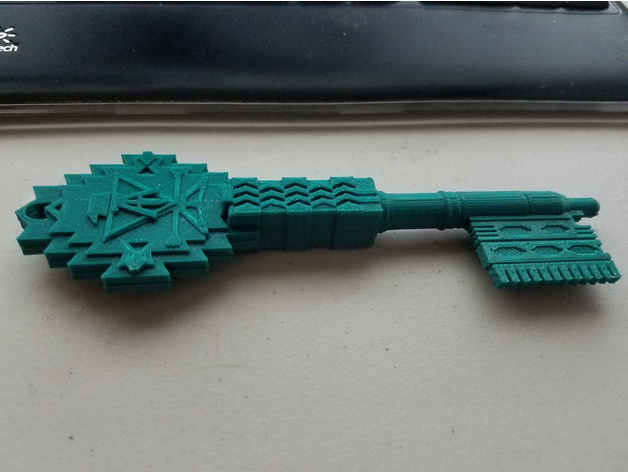
Jade Key – Ready Player One 3D Print Model
Summary
This is a remix of Ready Player One Keys by Jason Smyth. -
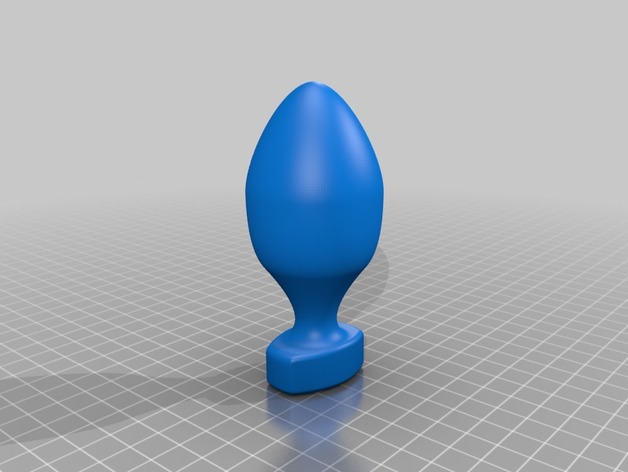
Buttplug 10*4.5*4.5 cm 3D Print Model
Summary
Easy buttplug to print from pla, don’ forget to do annealing
Print Settings
Printer:
Obsidian
Rafts:
Doesn’t Matter
Supports:
Yes
Resolution:
0,08mm
Infill:
20% -
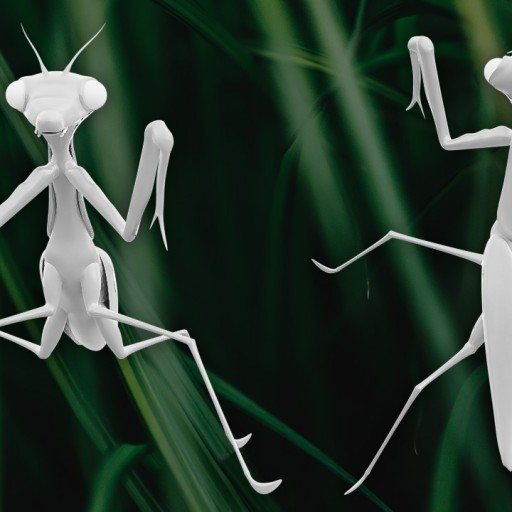
CGC Classic: Praying Mantis Free 3D Model
In the video that this file is the source for, follow along with Jonathan Williamson as he models a praying mantis from scratch.
-
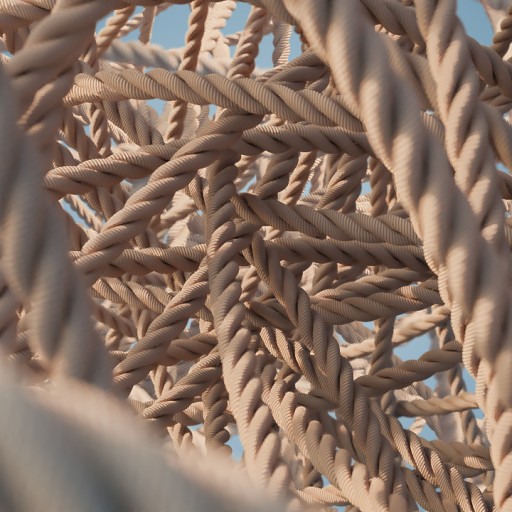
CGC Classic: Rope Free 3D Model
In the tutorial that these files are based on, learn how to model rope quickly and efficiently using modifiers.
-
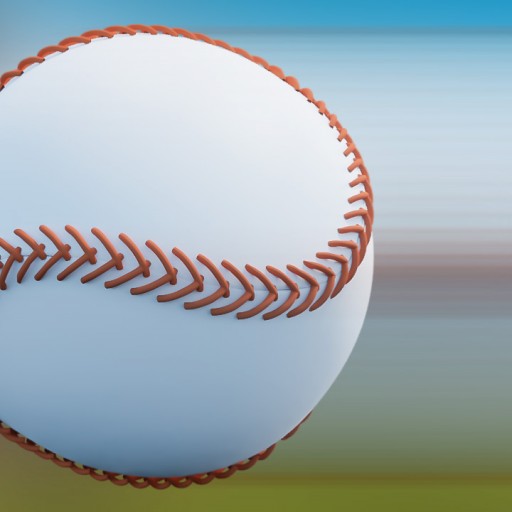
CGC Classic: Baseball Free 3D Model
In this tutorial by David Ward, learn how to model a baseball using a combination of the mirror, array, and shrinkwrap modifiers.
-
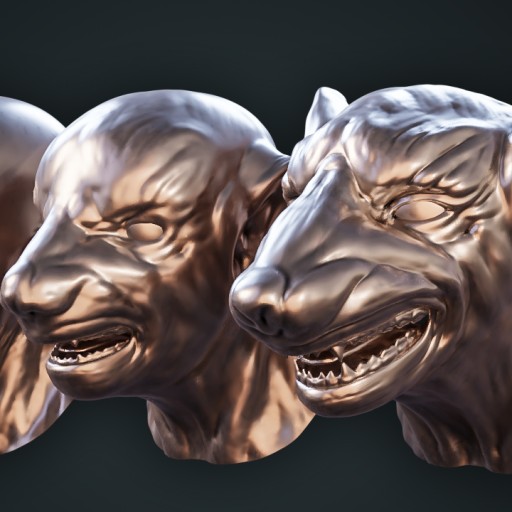
CGC Classic: Werewolf Transformation Free 3D Model
In this tutorial series, Jonathan Williamson shows how to sculpt a wolf head, a human head, and then how to transform one into the other.
-
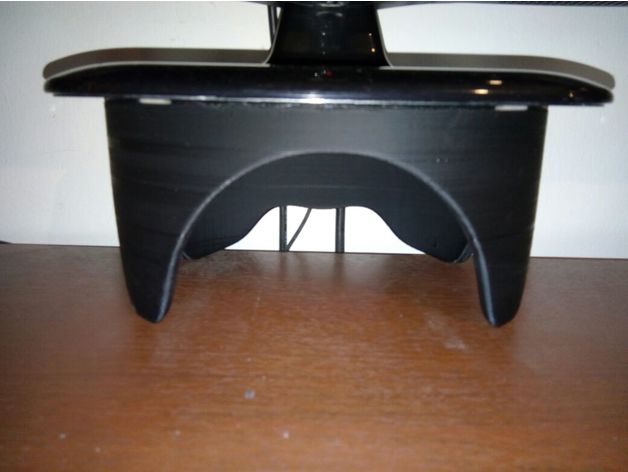
Organic Monitor Stand 3D Print Model
Summary
I needed to replace the box under my monitor with something prettier. So I designed this monitor. It uses all the space available in a 20×20 bed and is really stable. Also you can pass cables or store things under it.
Print Settings
Printer:
Prusa I3
Rafts:
No
Supports:
No
Resolution:
0.3
Infill:
20% -
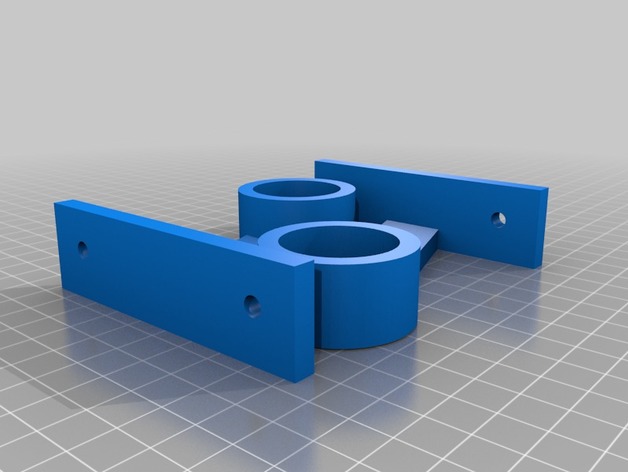
Workbench Paper Towel Holder 3D Print Model
Summary
Designed this paper towel holder for workbenches. You can bolt these onto the bottom of any work bench to secure a roll of paper towel for easy access. -
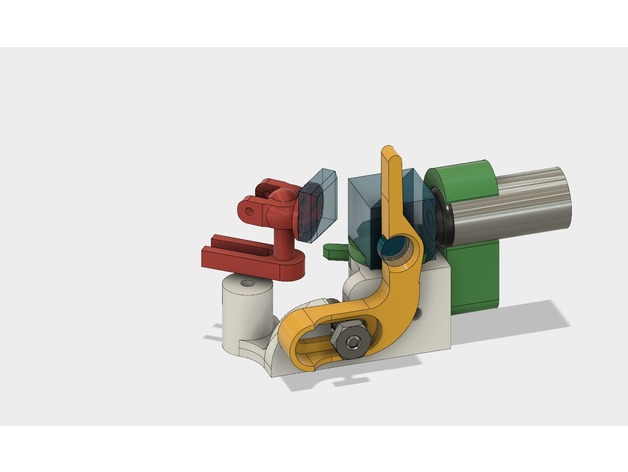
Bath Interferometer version 2 3D Print Model
Summary
Modification to the original Bath. The Fusion360 File has been parameterised to make different size for:
Side Mirror, Lens holder, Cube beam splitter, and Laser holder.
Added hole at back of base to allow laser to be mounted there as well as on the side.
Optimized to be placed on the 3D Printed stage with the Y flex stage.
All parts have been slightly modified from version one.
Screws needed are:
1 – 2-56 1/2 inch for the mirror holder.
2 – 6-32 1/2 inch. For the lens holder and laser holder.
1 6-32 hex nut for lens holder.
Tap the holes for these using taps. -
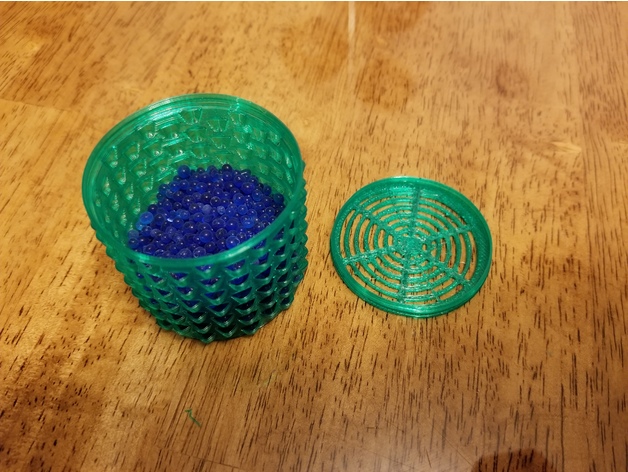
Desiccant Container – Vase Mode 3D Print Model
Summary
I’ve had a desire to design a vase mode printed part that is actually functional and not just decorative for a long time and this seemed like the perfect project to do it on.
I wanted a container for desiccant that didn’t have all those spindly little parts that are so annoying to print so I decided to make one that would be much easier and faster to print using vase mode. I also wanted it to have a lid that would just snap together so I didn’t have to worry about clips or latches, and thus this little container was born.
It was also designed to fit in the center of most spools to save a little space. It should fit any desiccant beads that are 2 mm or larger without leaking, though you will get broken pieces that fall out of the sides and top at first.
Here’s the desiccant I use but you might want to go up a size because the little broken bits like to fall out a lot:https://www.amazon.com/gp/product/B019NN1GBG/
If you print it out of ABS or PETG you should theoretically be able to recharge it without ever needing to open it up again by putting it in the oven for 2 hours at 200 degrees. It also says you can recharge it in the microwave but I’m not sure I’d trust it not to melt. I’ll update this as soon as I try both or let me know in the comments if it works!
The lid has a small ridge that just snaps into place and holds it fairly tightly. To open, just squeeze the container slowly on the sides until the lid pops off. Or, if you feel like having the lid go flying and spilling desiccant beads everywhere then feel free to squeeze it quickly!
Let me know what you think!
Print Settings
Printer:
BF-3D
Rafts:
No
Supports:
No
Resolution:
0.2
Infill:
None
Notes:
I designed this to be printed in vase mode with 0.2mm layer heights and 4 solid bottom layers. You can probably do 3 layers without a problem but if you do more than 4 you will have a solid bottom and get less air flow.
4 bottom solid layers
Post-Printing -
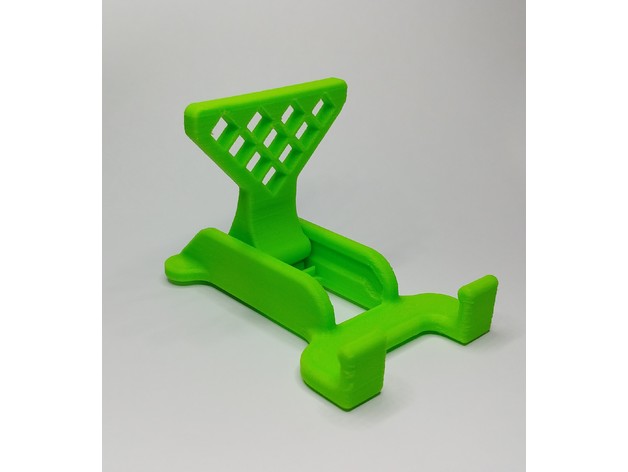
8 Position Quick Adjust Smartphone Stand 3D Print Model
Summary
I created this 8 position smart phone stand to be quickly adjustable, print in place without supports, and to be a pretty quick print (2 hours for me). It has spots for 4 rubber feet (less than 10mm in diameter, but should be 2mm tall).
I have included 2 styles. One with a diamond pattern, one without. Both styles with WITHOUT supports!
Please post your makes and comments!
Print Settings
Printer:
Hatchbox Alpha
Rafts:
No
Supports:
No
Resolution:
0.20mm
Infill:
20%Post-Printing
How to use
When you remove it from the build plate, move the back support forward to break it free from the base (if it’s fused at all). It should move pretty freely.
Then just slide the back support up and back to the desired position. Adjust for and aft to adjust phone tilt. -
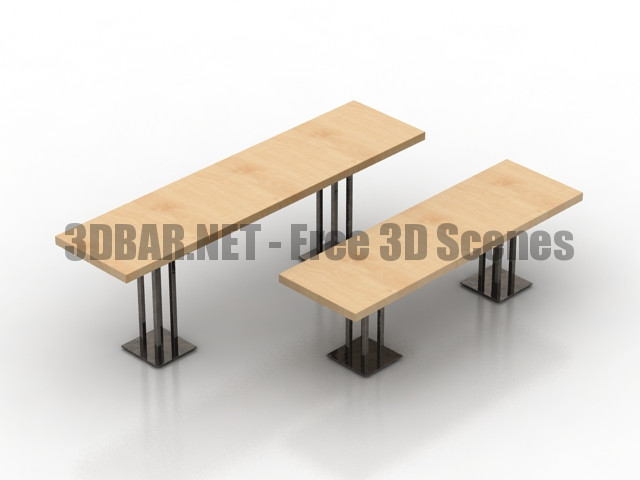
Formdecor Twin Peaks Bar Table Dining Table 3D Collection
Formdecor Twin Peaks Bar Table Dining Table 3d Models
-
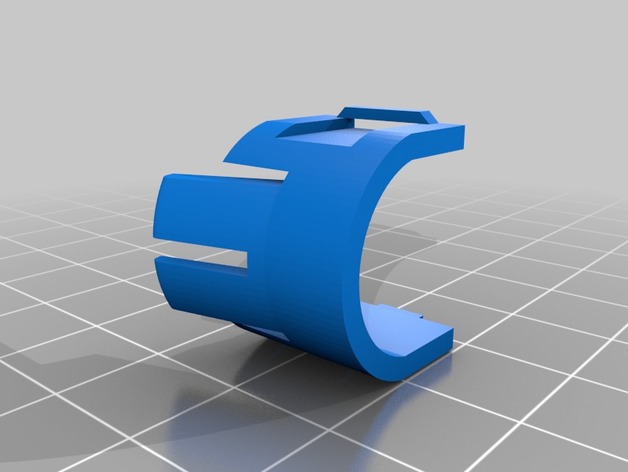
Citroen, Peugeot rear cable sleeve clip 3D Print Model
Summary
This is a replacement clip for my Citroen C4 (2007) Coupe cable sleeve at the boot.
Since there was a problem with the cables (they would brake every now and then and cause shortcuts) removing the cable sometimes results in braking this little piece that is essential to hold the cable sleeve (FYI: my mechanic broke it and had it super glued, so after a while the whole sleeve would come off!).
It’s a replacement part that you cannot find anywhere (or no one would sell it to me!), so I had to print one.
The Citroen order code for this is : 96308075.80.
You will need to print 2 of those since one locks to each other (the locking is not great but a little bit of super glue to each other gets the job done).
Enjoy! 🙂
Print Settings
Printer:
Anet A8
Rafts:
No
Supports:
Yes
Resolution:
0.1
Infill:
100%
Notes:
It’s best to print it in nylon, ABS or PETG. PLA will be too fragile (brakes when sliding in the opening) and since in warm climates the temperature of the roof/ trunk can reach high temperatures I would recommend a much stronger/temperature proof filament.
Use supports if you want it printed as it is (on the side) I have noticed that printing it like this would result in being stronger when bending the flaps. However, if you rotate it you can print it without supports. -
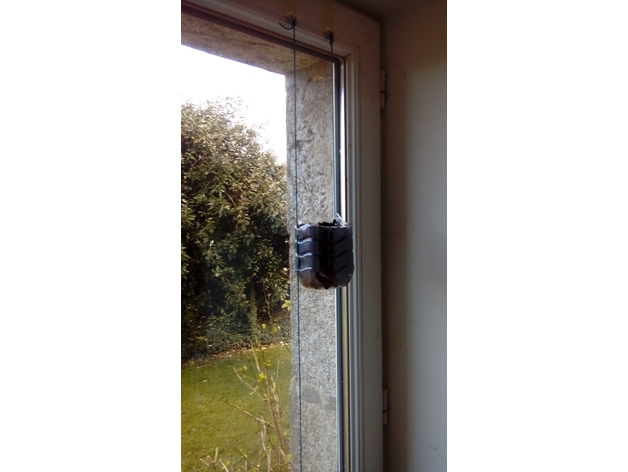
Window hook 3D Print Model
Summary
Usefull to suspend things on a windows.
I’ve used 4 hooks like that to suspend some aromatic plant.
Plant pot are made with cutted plastic bottles. -
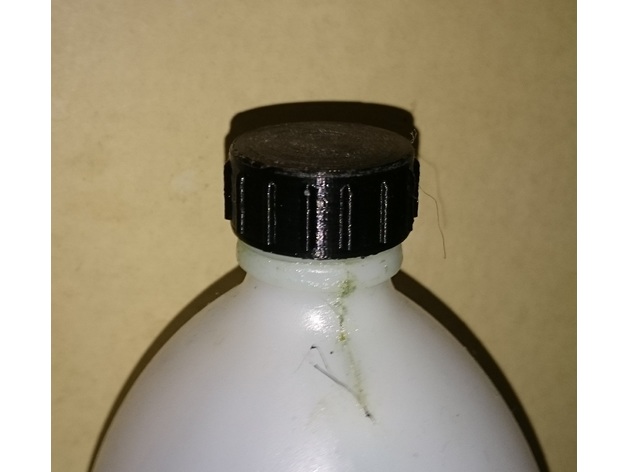
Foam Lance bottle cap 3D Print Model
Summary
Typically the Foam Lance bottles come with no cap.The cap allows you to store the washing liquid in the bottle.
The cap suites on the bottles with 1″ pitch 4mm treading -
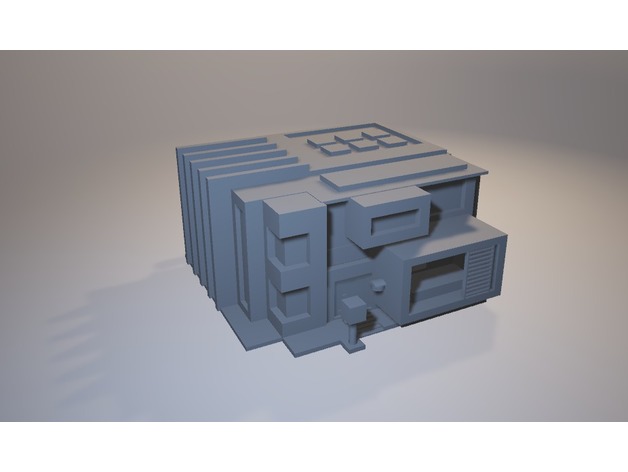
Modern House 3D Print Model
Summary
very cool Modern house with lots of little details and touches added to it to make a very modern house! -
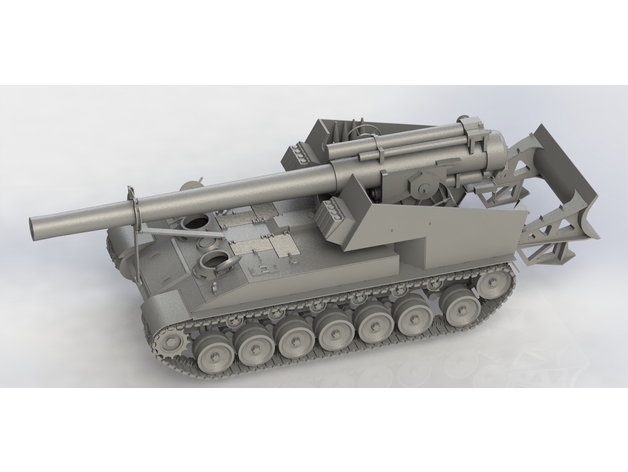
3D Printing T92 Self-propelled Artillery(Challenge your limits) 3D Print Model
Summary
Do Not Forget History, Cherish Peace
3D Printing T92 Self-propelled Artillery
I spent 5 months designing it and hundreds of parts to challenge your limits!
145 unique Parts, 2023 All parts, 1 Tank!
Every Part is a work of Art!
If you make one, please post a make!
Welcome to my page: https://www.facebook.com/kangkang1949
If you want to customize your perfect scale model (parts), I can design for you!
Patreon: https://www.patreon.com/kangkang1949
You can download the files in my Patreon page.
The files are shared with you on Google Drive. It will permanently stored in Google drive, and keep updating.
As long as you be my patrons, you will receive a monthly like 3d printed tank!
Design Principles
1.Suitable for almost all of the 3d printer.
2.Use print and material features to improve print quality.
3.Save material and printing time.
4.Respect the prototype.
5.Almost no glue when assembling the model, assembled with the structure.
6.My patreons decide what I design.
Thank you!
Print Settings
Printer:
Ordinary home FDM 3d printer
Rafts:
Yes
Supports:
Yes
Resolution:
0.1mm
Infill:
80%
Notes:
Each tank has a full set of STL files, all 3D printing methods including Images and Assembly videos and Upgrade log.
Post-PrintingAssembly video
Hundreds of parts
Old photo
My friend printed the T92. Due to he printed big scale, split the part for printing.
The wheels All parts can rotate like real tanks!
-
Zentraedi 3D Print Model
Summary
This is a lowpoly model -
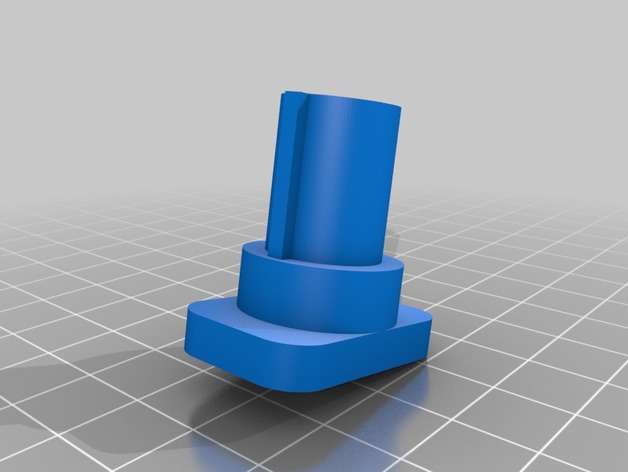
Hot Wheel Track 180 deg Turn, 45 deg Bank, 40mm Drop 3D Print Model
Summary
(Debuted at #mrrf2018)
This 180 degree turn with a 45 degree bank and 40mm drop hot wheel track has the ability to be mounted via a m5 x 6.7mm heat set brass insert from McMaster.
Step and fusion 360 files are included if you want to modify the design. Very likely you will need to do some clean up in the mounting slots. I am working on a tongue version of this same part, please subscribe to my profile if you would like to know when I release that part.
Happy printing. -
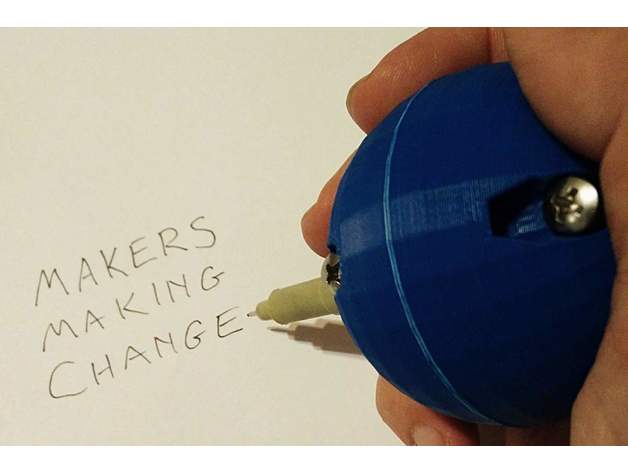
Pen Grip Ball 3D Print Model
Summary
Parametric pen grip ball, inspired by Makers Making Change’s pen ball and designed for them.
Prints in ABS or PLA without supports
Parametric: size and pen diameter can be changed
Uses 5× M4×12 machine screws and 5× M4 nutsPrint Settings
Printer Brand:
FlashForge
Printer:
Creator Pro
Rafts:
Doesn’t Matter
Supports:
No
Resolution:
0.3 mm
Infill:
20 %
Notes:
Use at least two shells for strength -
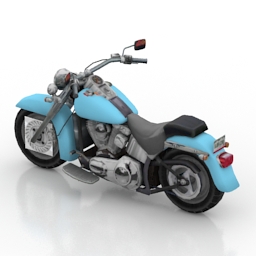
Motorcycle 3D Model
Additional Info: Motorcycle Harley Davidson N260318 – 3D model (*.gsm+*.3ds+*.max) for exterior 3d visualization.
-
Hakko fm-2028 holder 3D Print Model
Summary
печатал ABS сопло 0.5 -
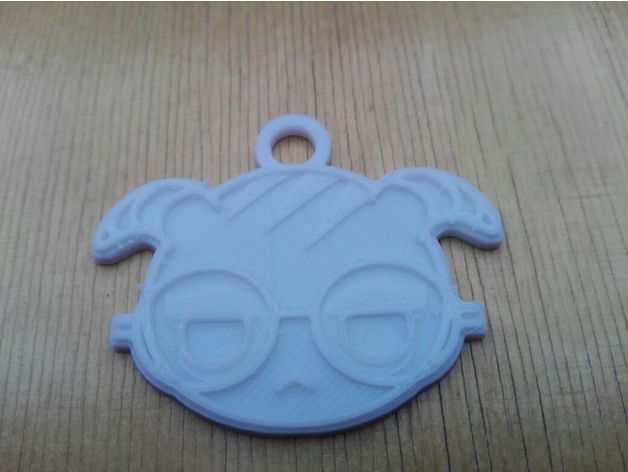
Rainbow Six Siege Dokkaebi Keychain 3D Print Model
Summary
This is a one sided Dokkaebi Keychain.
Print Settings
Notes:
0.4mm Nozzle -
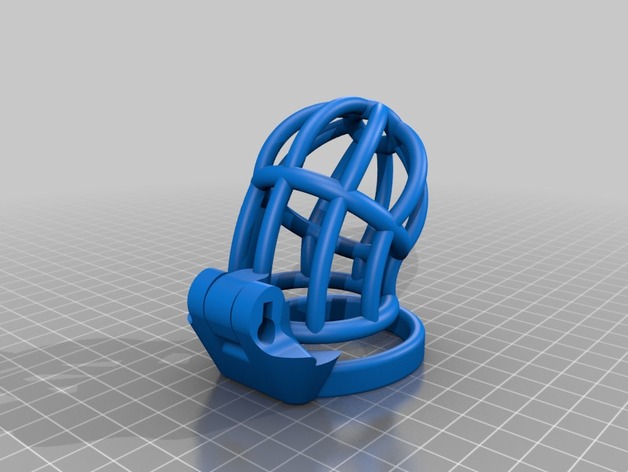
New Fun Chastity Cage 3D Print Model
Summary
Loosely based on the “No Fun Chastity Cage”, completely redrawn in Fusion 360, and added a lock hole for magic locker support. If you don’t have an actual lock, use the “Dummy Magic Locker” by deprav3d.
Three Ring sizes to choose from (sizes approximate based on area as they are not circular)
Small – ~44mm
Medium – ~48mm
Large – ~52mm
Two Cage lengths – don’t overestimate how much room you need!
Base file contains the medium ring and large cage, grab the other files as necessary.
Parts will require sanding and finishing. Print the ring with 5+ perimiters and 4 top shells for a durable piece. Very strong if printed in PETG. -
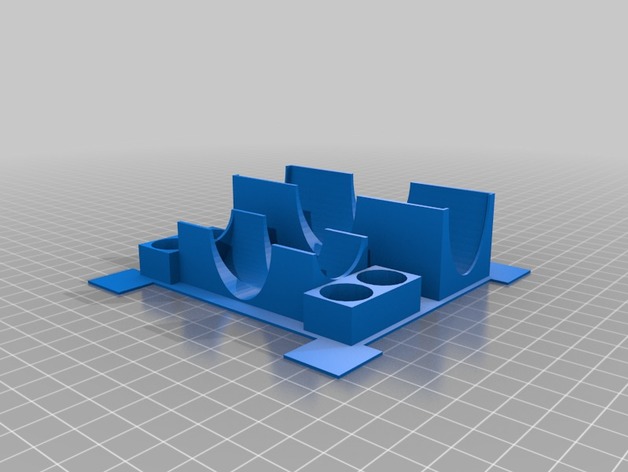
Magic Maze Pawn and Timer Holder 3D Print Model
Summary
This is a pawn piece and timer holder for the game Magic Maze. This piece is intended to compliment the modular insert style card/tile holders that fill quadrants of the original game box [https://www.thingiverse.com/thing:2654366] and replace the 4th open container. I’d caution that this holder only works well if the box is kept horizontal/upright. The pockets could be deepened but I opted for a design that minimized filament usage. You may need to trim the feet pads for best fit according to variations in the box size and according to your other modular inserts.
Print Settings
Printer:
Monoprice Maker Select Plus
Rafts:
Doesn’t Matter
Supports:
No
Resolution:
0.2 mm
Infill:
10% -
GEP RC Mark-1 Camera mount 3D Print Model
Summary
used PLA plast -
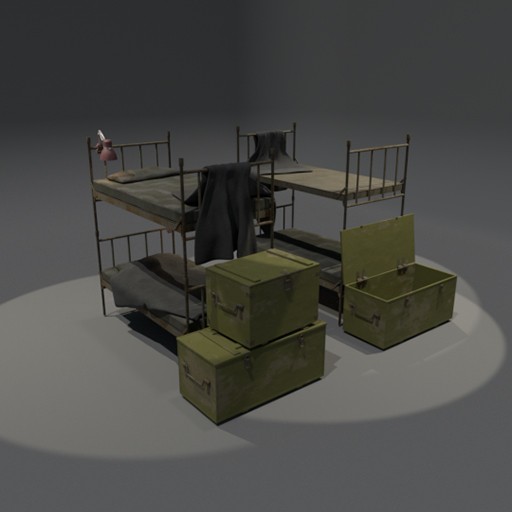
bunkbeds and boxes Free 3D Model
This is some props from a bigger scene of mine.
Old, rusty and dirty textures. -
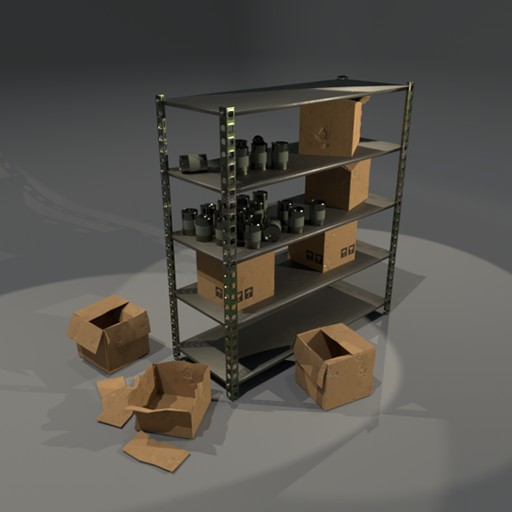
Shelfs and cardboard boxes Free 3D Model
This is some props from a bigger scene of mine.
Old, rusty and dirty textures. -
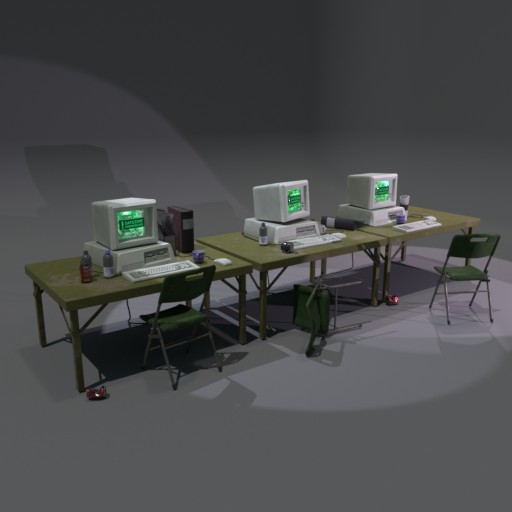
Computers, desk and chairs Free 3D Model
This is some props from a bigger scene of mine. Old, rusty and dirty textures.
-
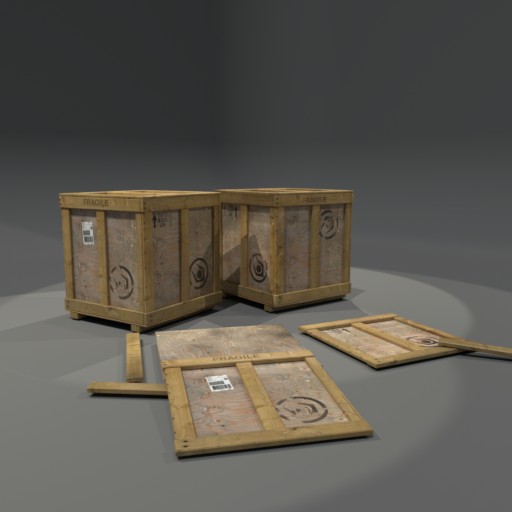
Wooden crate Free 3D Model
Here are a crate that I used in two different scenes of mine.
Nothing much but feel free to use. -
Camera Slider Conduit Kit 3D Print Model
Summary
This is a camera slider using common electrical parts and this 3d print kit. Print the Mount face down. I have also made a version with bearing, and timer belt mounts for a smoother slide or powered slider.
Will post a link here soon.
Extra parts needed:
-2 conduit power boxes
-2 3.5 ft conduit pipe
-4 conduit pipe clamps
Assembly
Slide mount between both pipes and then secure the pipes into the conduit power box with the pipe clamps to complete the slider
Print Settings
Printer:
Anet A8
Rafts:
No
Supports:
No
Resolution:
0.2
Infill:
%20
Notes:
Print the Mount face down -
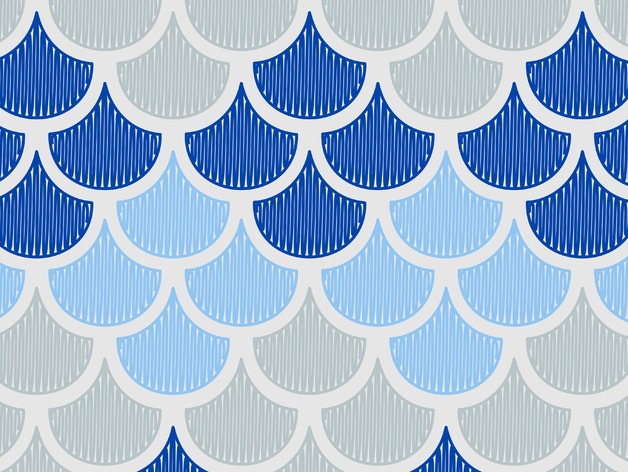
Scales 3D Print Model
Summary
Just a few fun designs to be printed off on the eggbot or Sphere-o-bot -
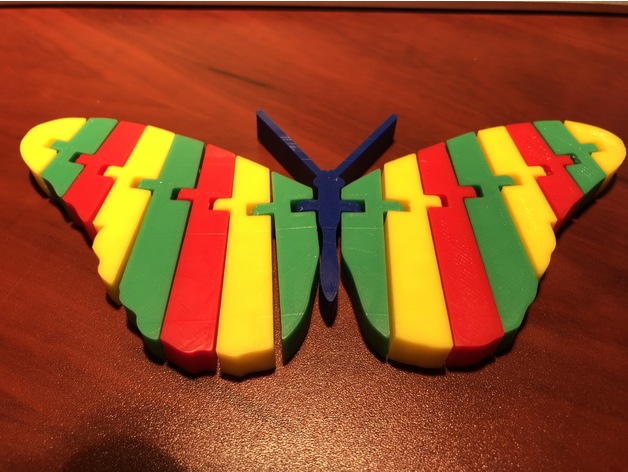
Articulated Butterfly Remix – 4 color 3D Print Model
Summary
This is a great model, but I wanted it in 4 STL files for the Prusa MultiMaterial printer. I used Blender to split out the solid objects and rebuilt it as 4 STL files (one per color). -
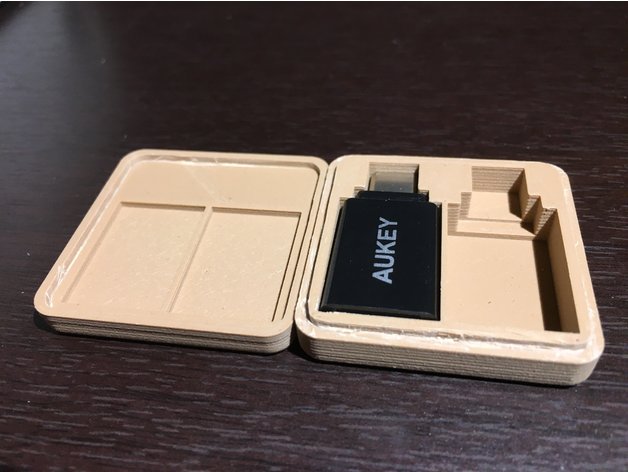
Case for Aukey USB-C Adapter 3D Print Model
Summary
Case for Aukey USB-C Adapter
This case holds 2 Aukey USB-C to USB 3.0 (USB-A) adapters. It is designed to have a 6 x 3 mm magnet embedded in each the box and the lid to hold them together.
To embed the magnets, I used GCode Simulator to find the height of the first layer above the hole for the magnet, then I inserted command M600 to pause the printer. When I added the magnet it wanted to lift out of place and stick to the gantry of my printer when I resumed printing, so I glued it in place with a drop of super glue before resuming. When placing the magnets, be sure to orient them so that the lid and box are attracted to each other when assembled.
Links
Aukey USB-C to USB 3.0 (USB-A) Adapter6 x 3 mm magnetGCode Simulator
Print Settings
Printer:
Monoprice Select Mini
Rafts:
No
Supports:
No
Resolution:
0.0875
Infill:
20%
Notes:
The two boxes pictured were made with Hatchbox Wood PLA and Hatchbox Blue PLA. -
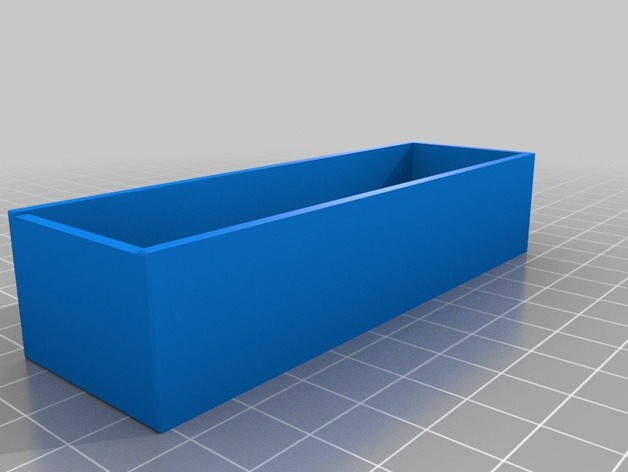
Hohner Meisterklasse Harmonica Sliding Box 3D Print Model
Summary
This Is a box that i worked hard on to make
Print Settings
Printer:
MakerGear M3
Rafts:
Doesn’t Matter
Supports:
Yes
Resolution:
Not Sure
Infill:
100%How I Designed This
I Used Onshape CAD a nice free program -
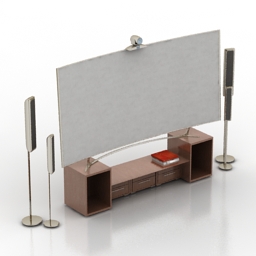
Home theater 3D Model
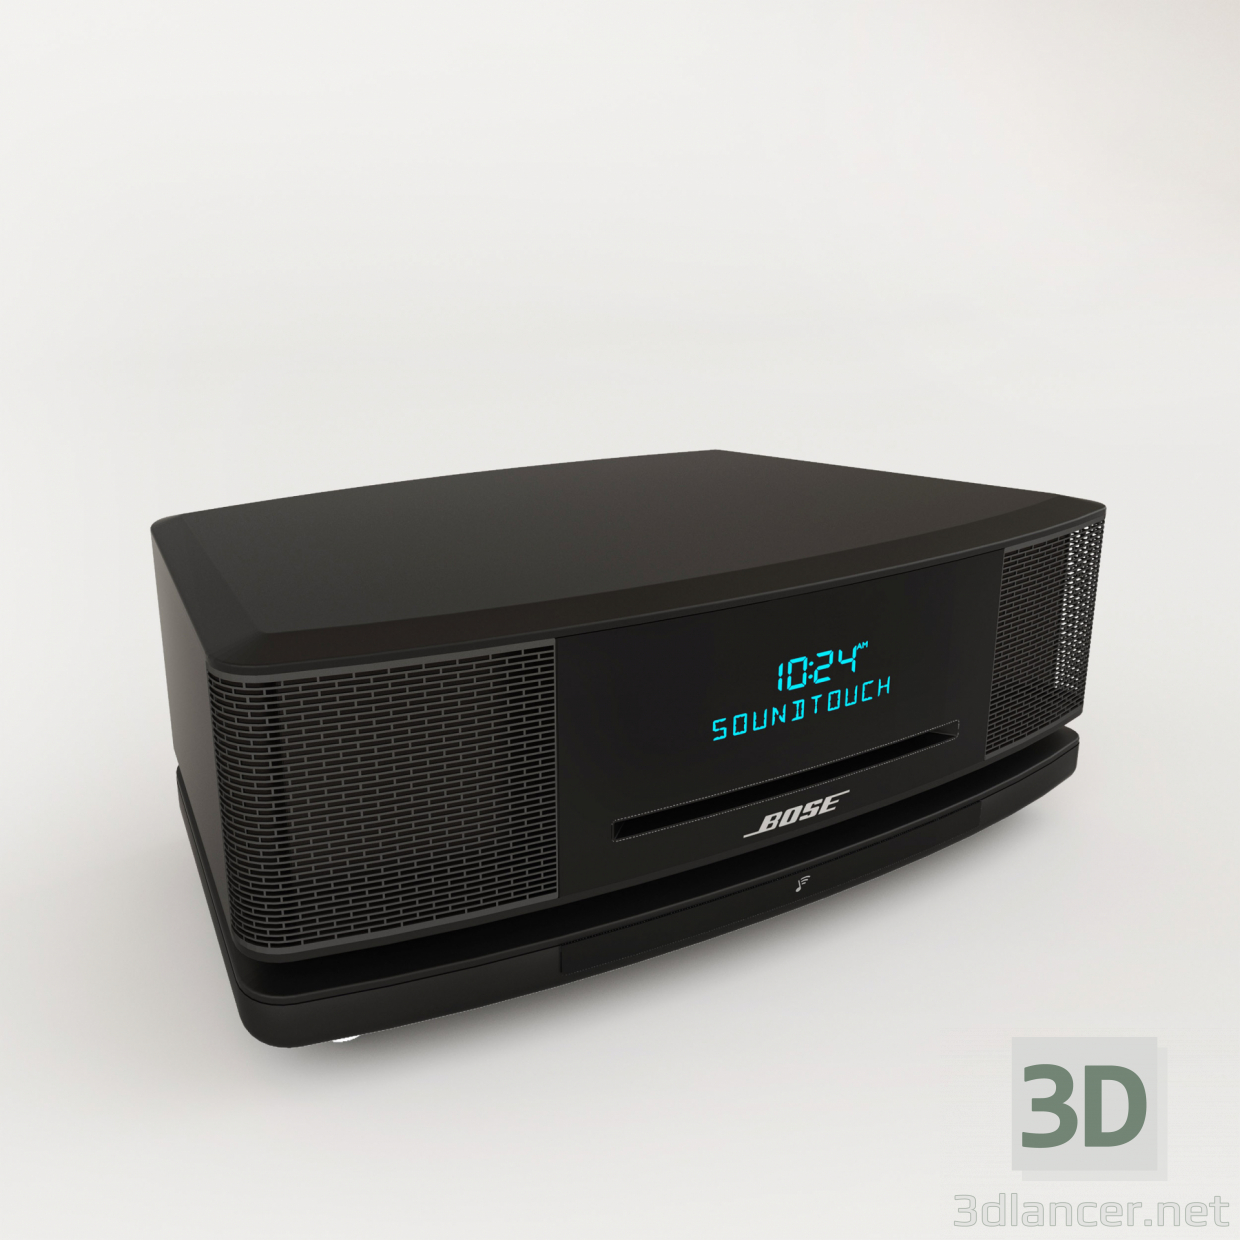
Additional Info: Home theater – 3D model (*.gsm+*.3ds+*.max) for interior 3d visualization.
-
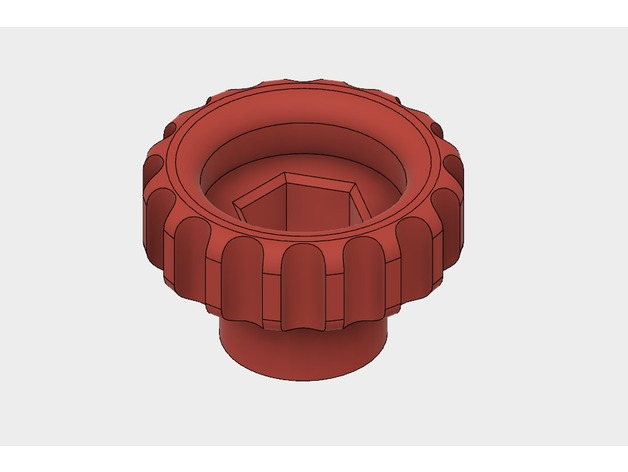
Knob to Hold a 1/4 inch bolt or nut. 3D Print Model
Summary
You can snap in a 1/4 inch bolt or nut . Use to replace a wing nut. -
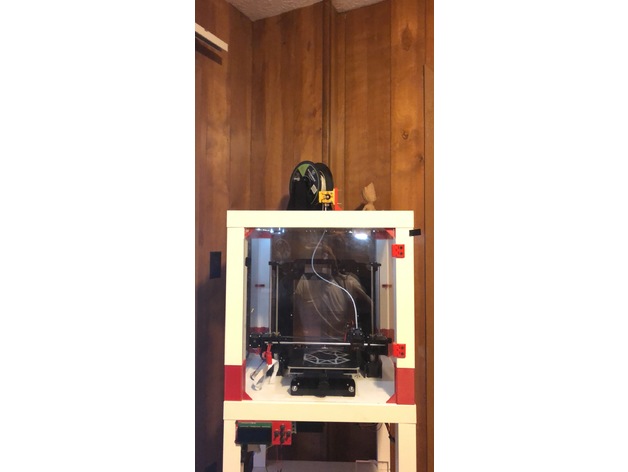
enclosure bowden extruder mount 3D Print Model
Summary
This is a bracket used on the top of an enclosure to mount an hot end extruder. This allows you to change the filament easily from the outside of the extruder.
Print Settings
Printer:
Anet A6
Rafts:
No
Supports:
No
Resolution:
user option
Infill:
20 percentOverview and Background
I wanted to make a mount for the extruder motor for outside of my ikea enclosure so it was very easy to change filaments.
Lesson Plan and Activity
To make it easy to change filaments from outside of the enclosure. -
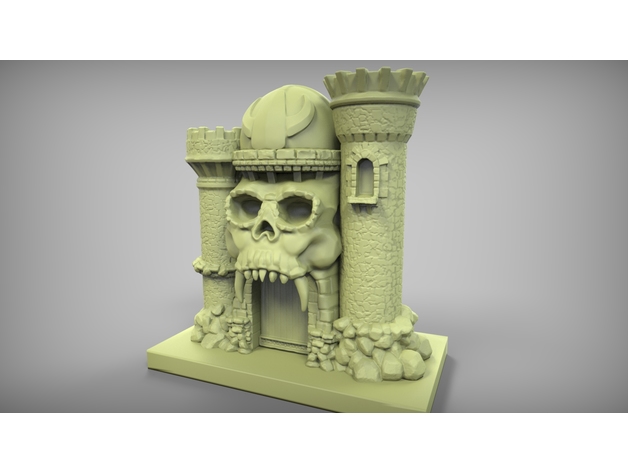
Castle Grayskull 3D Print Model
Summary
Apparently this design is very popular so I figured I would put it back for everyone to enjoy. Still want to do Snake Mountain…if I ever get around doing it and making time. I’m still saving money so I can buy a decent 3D printer, so tipping me might speed up that process of churning out some cool looking and familiar models 😉 Have fun! -
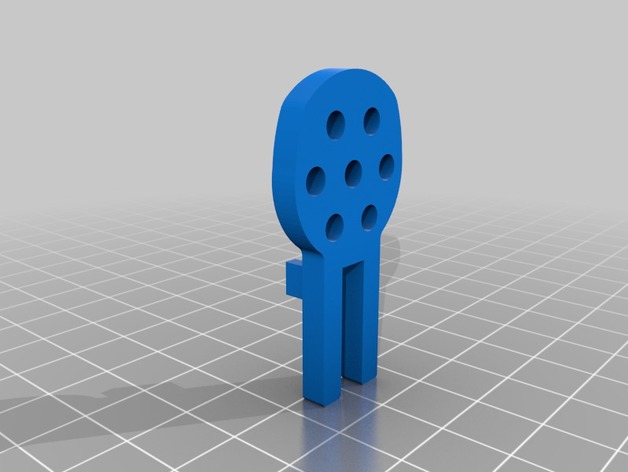
ANET A8 Small Filament Holder 3D Print Model
Summary
The project is a filament holder that attaches to the existing ANET A8 filament holder.
This was inspired by filamentry’s excellent design, TUSH The Ultimate Spool Holder, at https://www.thingiverse.com/thing:2047554, where the filament spool rests on 608 bearings. However the print time for the TUSH was a little longer than I wanted (I’m impatient). Therefore, taking the idea of a bearing filament holder, this design slims it down to just the essentials. It assumes you already have the filament holder provided with the ANET A8. These small holders simply slide onto the existing ANET A8 holder.
The file contains the design for half a holder. You will need two ‘halves’ for each ‘corner’ of the spool, and since there are four corners you’ll need to print eight ‘halves’ total. Glue two halves together with a 608ZZ bearing in between to make one holder. Make four holders total.
I based the design off of my own measurements of the 608ZZ bearings, ANET A8 spool holder, and the spool of filament in my possession. I know there have been some tolerance tweaks to theTUSH, but I haven’t cross-checked the measurements in this design with the TUSH…so your mileage may vary.
If you have the time, print a TUSH. If you’re in a hurry and already have the ANET A8 spool holder, perhaps this is the holder you seek.
Print Settings
Printer Brand:
Prusa
Printer:
Prusa Clone
Rafts:
No
Supports:
No
Resolution:
0.1mm
Infill:
20 %
Notes:
Although the thumbnail depicts the part standing up, I printing it lying flat.
Printed on an out of the box ANET A8, using Cura as the slicer.
Materiel: PLA
Extruder temp: 190 degrees
Bed temp: 50 degrees. Using glass and AquaNet on top of the heated bed
Print Speed: 50 mm/sec print speed. 100% flow rate
Fan Speed: 100%
Print Time: approx 40 minutes for one, about 1hr+15min to print a pair at the same time
Post-PrintingFilament on top of filament holders
half of a holder
half of the holder with 608ZZ bearing inserted
How I Designed This
designed using Fusion 360 -
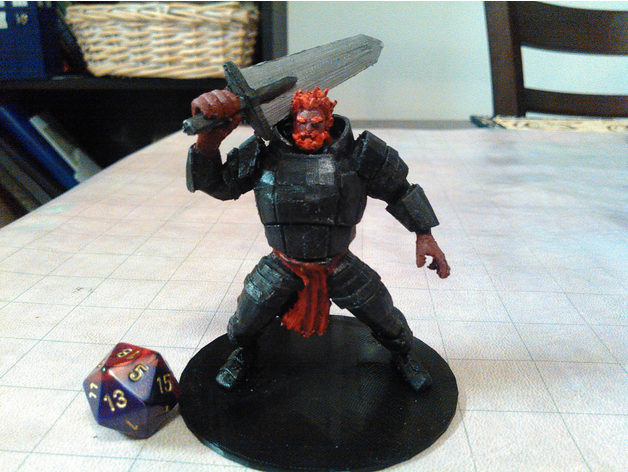
Fire Giant 3D Print Model
Summary
A Fire Giant for your tabletop game! Print as is or in pieces with supports and a raft. -
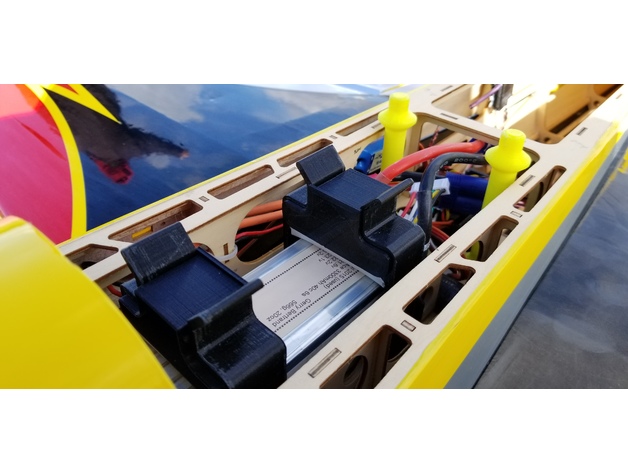
Battery Hold Down 3D Print Model
Summary
This is a new version of a battery holder that I had previously designed… https://www.thingiverse.com/thing:1838500 . The new one works a bit better and is lower profile.
Print Settings
Printer:
Anet A8
Rafts:
No
Supports:
YesPost-Printing
I use weatherstripping material on the hold down -
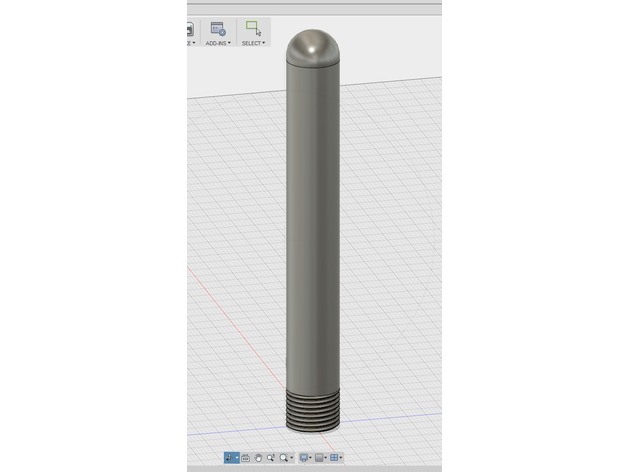
Test Tube with Threaded Cap 3D Print Model
Summary
My attempt at a little test tube container with threaded cap.
Print Settings
Printer Brand:
Creality
Printer:
CR-10S
Rafts:
No
Supports:
Yes
Resolution:
0.2
Infill:
100 -
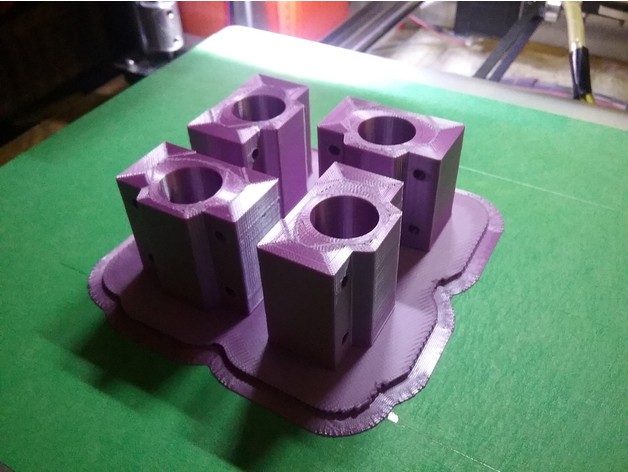
Bearing Block 3D Print Model
Summary
A replacement for the cheap imports with to much play or slop in the main hole. These make a press fit for either plastic drylin bushings which are very quite or you can stick with ball bearings. The 4mm x .7 tapped holes are just predrilled since I am not comfortable with threads that small in plastic. Just hand tap after making or edit the design.
Print Settings
Printer:
Zonestar 802qrs
Rafts:
Yes
Supports:
No
Resolution:
.2 mm
Infill:
100%