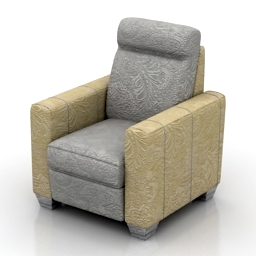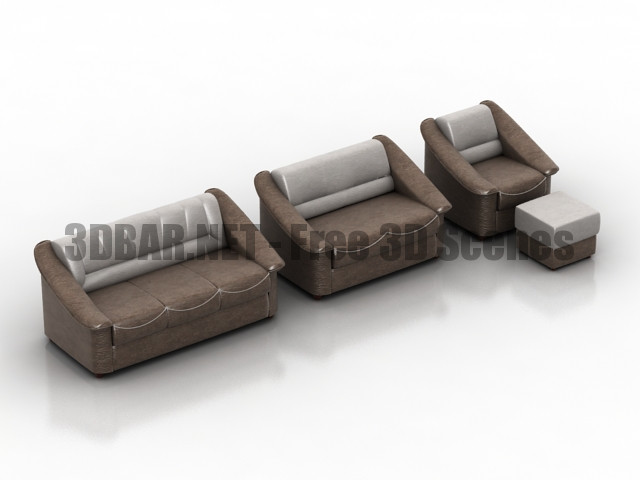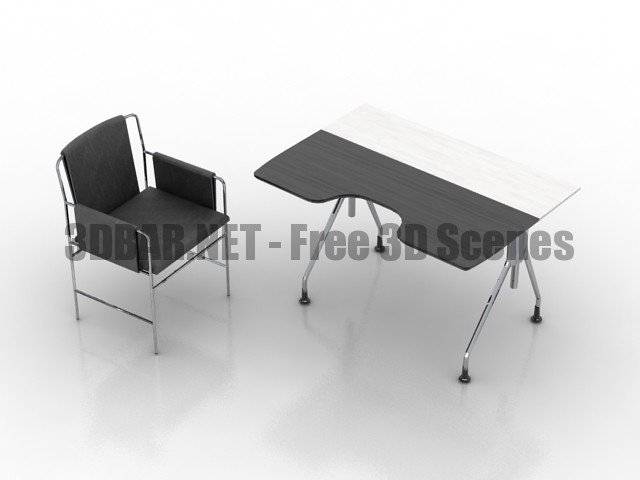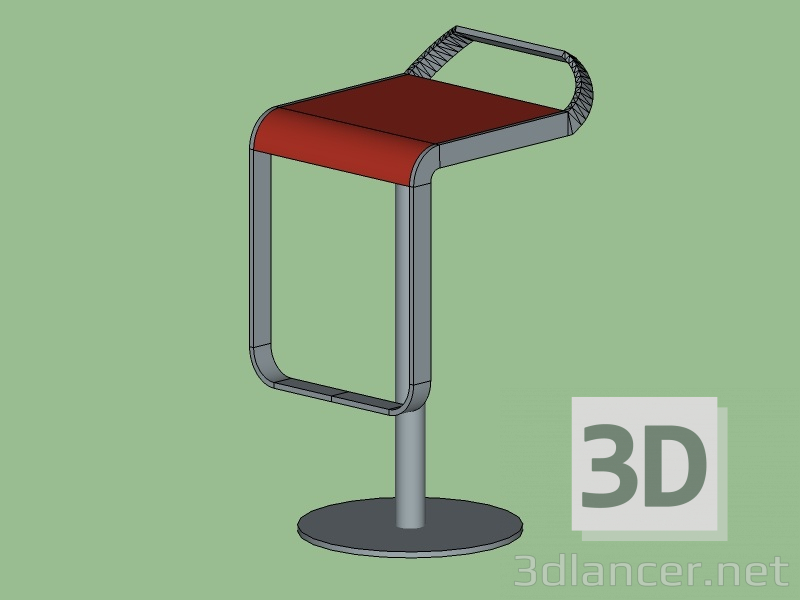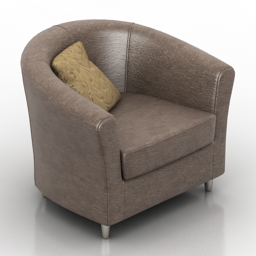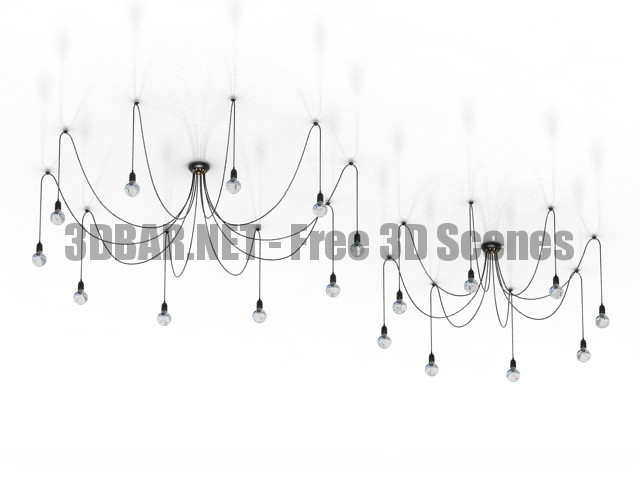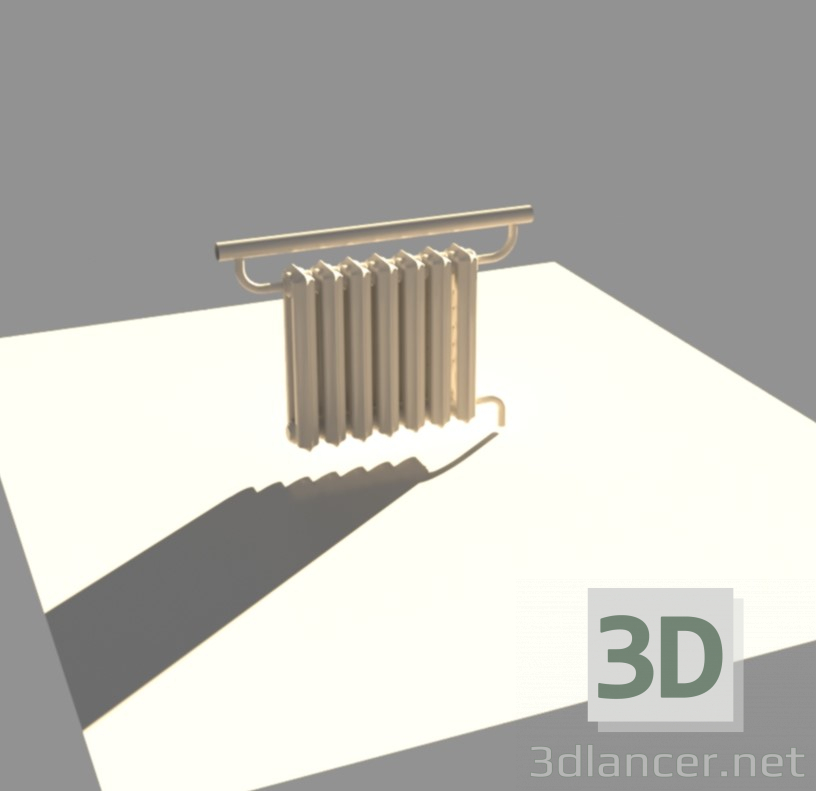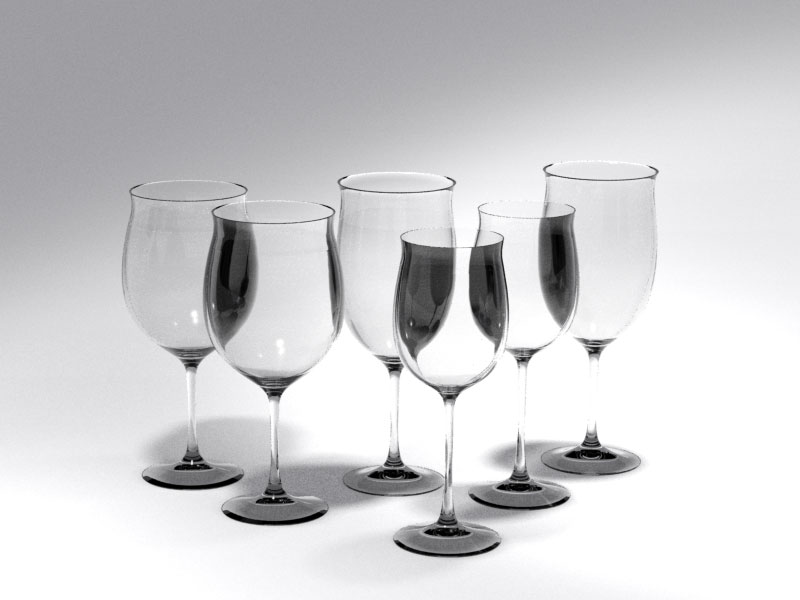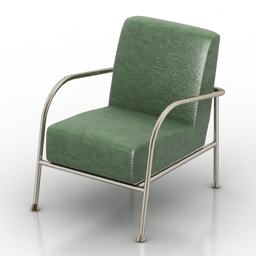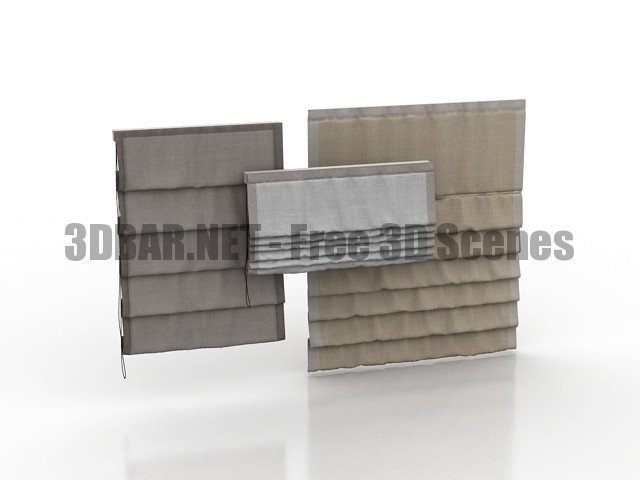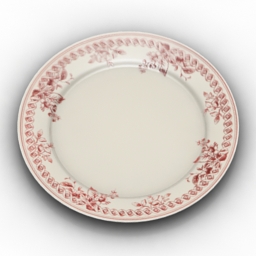
Additional Info: Plate 3 – 3D model (*.gsm+*.3ds) for interior 3d visualization.
Category: Free 3D Models
Free 3D models ready to be used in your CG projects such as films, visualizations, games, VR etc. All 3D Models and Free 3D Print Models are available for download in several formats including .MAX, .STL, .FBX, .3DS, .C4D, .OBJ, .BLEND, .DWG, .DXF, .LWO and much more. If you’re in search of high-quality Free 3D assets, we have a huge library of 3d models for all your needs. Also you can visit 3D Models and 3D Print Models category.
-
EggBot suction cup holder enlonged for table tennis’s ball with sources 3D Print Model
Summary
I’ve made it to print on table tennis’s balls. It is suitable for JJrobots Sphere-o-bot kit’s suction cup and has size enough to hold table tennis’s balls. -
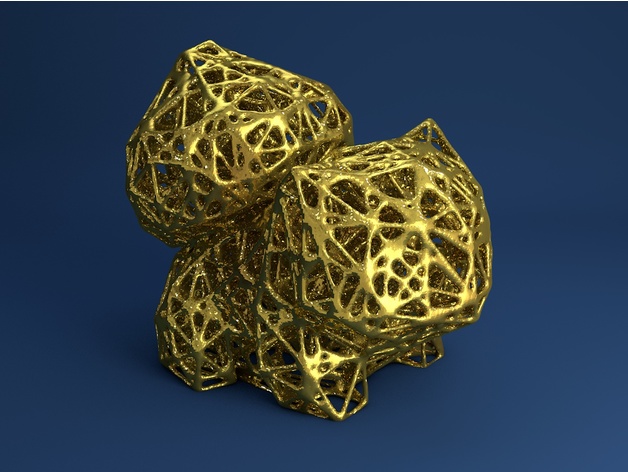
Bulbasaur Voronoi Style 3D Print Model
Summary
Bulbasaur (Bisasam) Voronoi Style. Please share your results. -
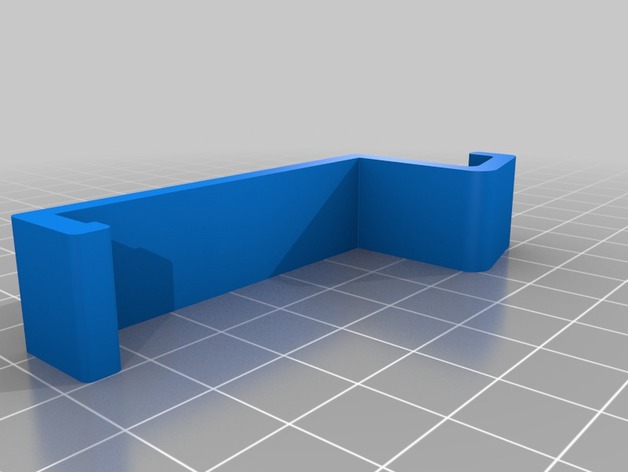
Cubicle Hook 3D Print Model
Summary
Changed jobs, came to work in an office full of cubicles. Found that the hooks that clip onto the top of the cubicle wall were a little hard to find, so I decided to borrow one & copy it. Took some measurements & made this my first ever project in Fusion 360. I purposely did not make it banjo-tight across the top of the cubicle wall, as I wanted to be able to try both PLA and ASA (I use ASA instead of ABS, but it has similar properties). I have only printed them in ASA, because it has some flex to it. I suspect PLA will work fine, since it won’t have to flex too much, but it might be a tad brittle & prone to stress cracking, depending on each filament brand’s properties.
Print Settings
Printer Brand:
Prusa
Printer:
i3 MK3
Rafts:
No
Supports:
No
Resolution:
.28mm
Infill:
50% rectangular
Notes:
With such a small/thin part, it’s all about perimeter strength. I used 4 solid top/bottom/perimeters in S3D, and 50% infill, because there is barely any infill after those perimeters, so it’s not really much of a waste. -
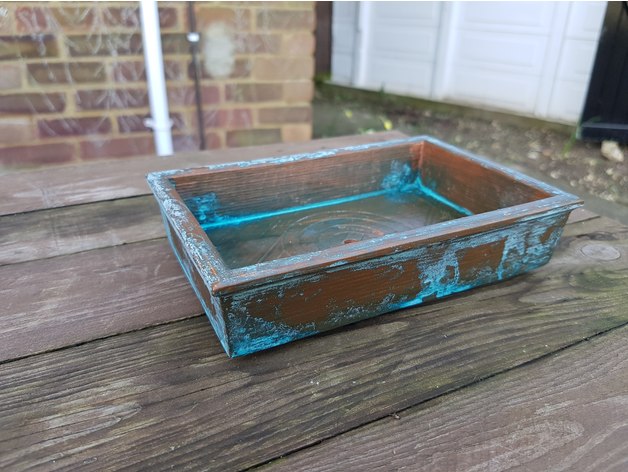
Rectangular Modern Bonsai Pot – No Support Print, With Drainage Holes 3D Print Model
Summary
Easy Printable Bonsai Pot Series
Pot 2 – Rectangular Modern Bonsai Pot
A simple, circular bonsai pot with drainage hole.
Why?
These pots are designed to be easily printed without supports.
There are a lot of bonsai pot designs that have no way of orienting them for printing without supports.
By splitting the pot into two pieces, feet and body, you can easily print both without support and have a great looking pot at the end of it.
Feet
Print the foot model 2 times as downloaded, and 2 times mirrored (this should be easily accomplished in your slicing software)
Print Settings
Printer Brand:
Tinkerine
Printer:
Ditto Pro
Rafts:
No
Supports:
No
Resolution:
0.3mm
Infill:
10%
Notes:
Print 4 copies of the feet, 2 of them mirrored, and glue to the base. They are designed to be glued right up to the edges.
Scale up or down as needed.
How I Designed This
Fusion 360 -
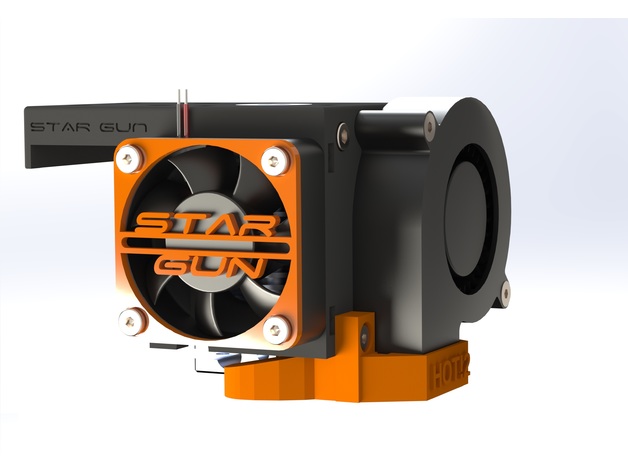
BLV E3D V6 Bowden Extruder Mount 3D Print Model
Summary
This is a remix of the Pruisa i3 MK3 bowden extruder mount for the BLV linear rail mod with the E3D V6 Extruder.
I wanted to have a minimal and stiff mount which suits a 40 mm fan and the common BL-Touch (Smart).
Print Settings
Rafts:
No
Supports:
Yes
Notes:
Resolution and Infill is up to you – I used fairly high infill percentage to make it reliable and stiffAssembly
Nozzle to probe offset is in the images.
Assembly and what I used:
11x M3 – nuts
2x M3x30 – putting the 2 parts (base and cover) together
2x M3x23 – mounting the 5050Fan
4x M3x18 – 40 mm Fan + Cover (use whatever you’d like to)
3x M3x10 – Nozzle-Fan and BL-Touch
4x M3 screws to mount the base to the linear carrier -> see BLV -
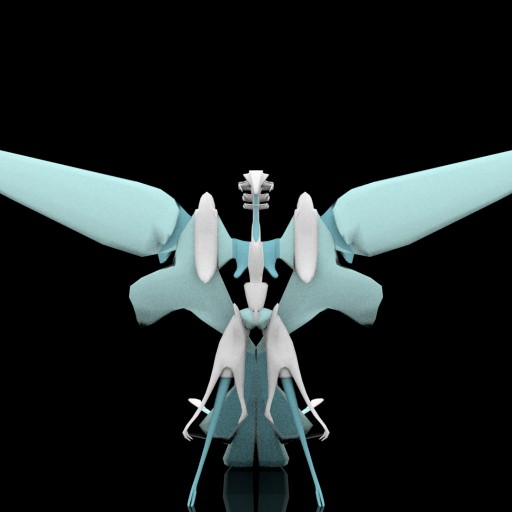
Rainmaker dragon Free 3D Model
A species of water dwelling dragons common among coral reefs and seasides where they glide along the shores preying on birds and fish (and sometimes fishermen if they get cocky)
-
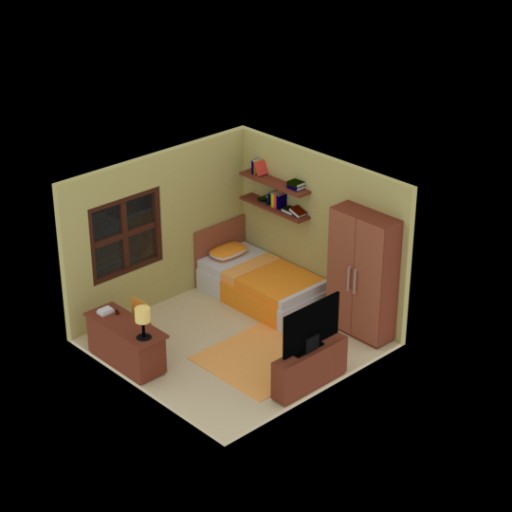
Low Poly Room Free 3D Model
A low poly room make with blender 2.79.
The model have no textures, just material color. -

Island in blender Free 3D Model
Awsome island in blender with less effort but in the most effective way with efficient texturing and modeling…
-
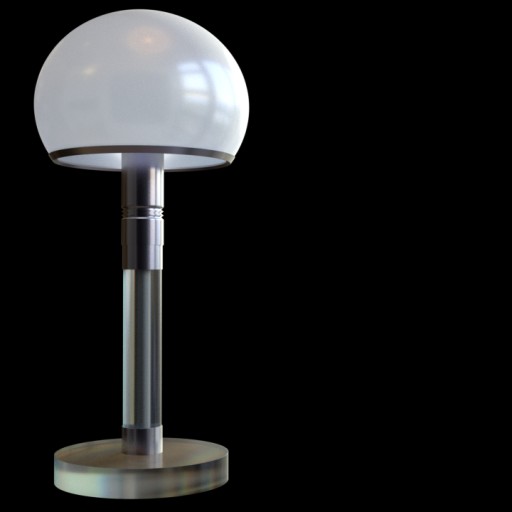
Bauhaus lamp from 1924 Free 3D Model
Lampara Bauhaus de 1924, diseÃÂñada por Wilhelm Wagenfeld y Carl Jucker por asignaciÃÂón de Maholy-Nagy en el taller de metales, versiÃÂón base de vidrio
-
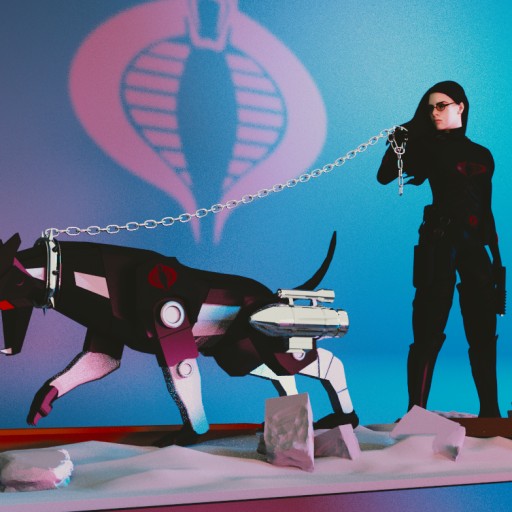
Baroness and Ravage Free 3D Model
A design based off a very expensive statue that I always wanted. Love the pose of the Baroness as she keeps Ravage at bay. I hope you enjoy this as much as I do.
-
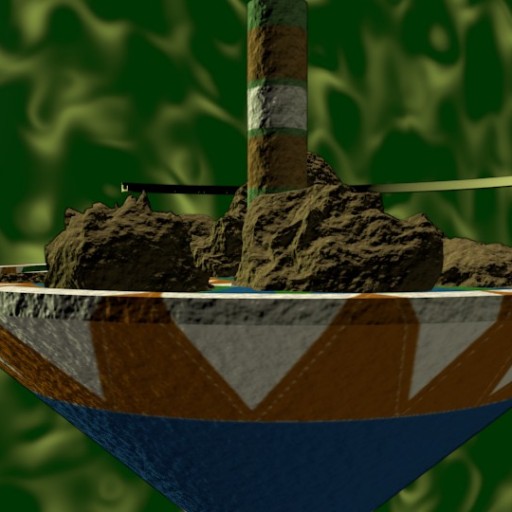
Tournament Of Power Arena Free 3D Model
I am a BIG fan of Dragon Ball Super, so I tried to remake the tournament of power from dragon ball super. I do NOT own Dragon Ball, Dragon Ball Z, Dragon Ball GT, OR Dragon Ball Super.
-
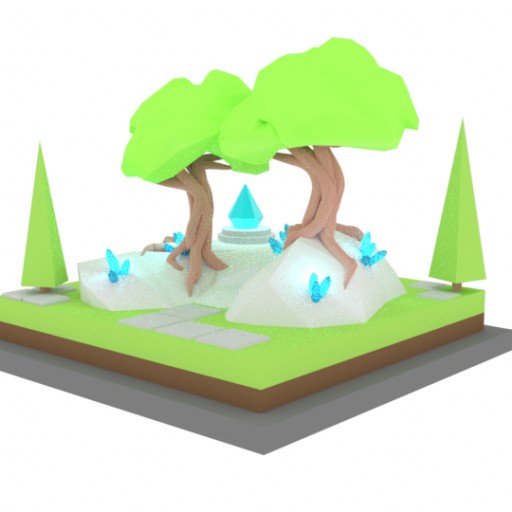
Isometric Nature Scene Free 3D Model
Isometric nature scene I made to play around with point lighting and particle effects.
-
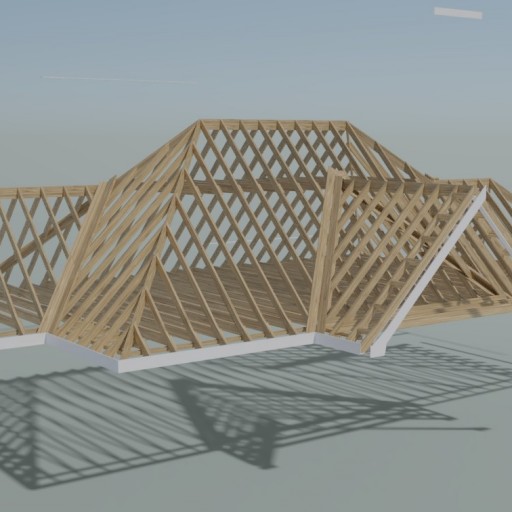
Roof Build Free 3D Model
This is something I wanted to do for a long time. A Roof building itself. It could be a lot better with different camera angles and better textures etc but I got bored with it. I have removed the grass texture but have left the node tree there so just drop your own grass textures in there. Feel free to improve on it anyway you like, but if you do would you let me see your improvements please. See the video here https://www.youtube.com/watch?v=_w8MIaKTuEQ&t=5s
-
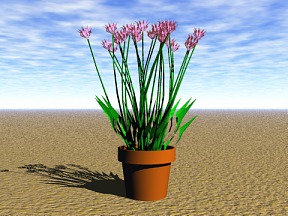
Flower 11 Free 3D Model
Free Model of 3DPlants.com “Plant Model Libary CD?s” and Downloadable Model Sets! This Model also available on CD…with UV mapped textures! More Info?s, Preview Images, Shop and Downloadable Texture Sets or a “Seamless Natural Texture CD” you find directly at 3DPlants.com!
-
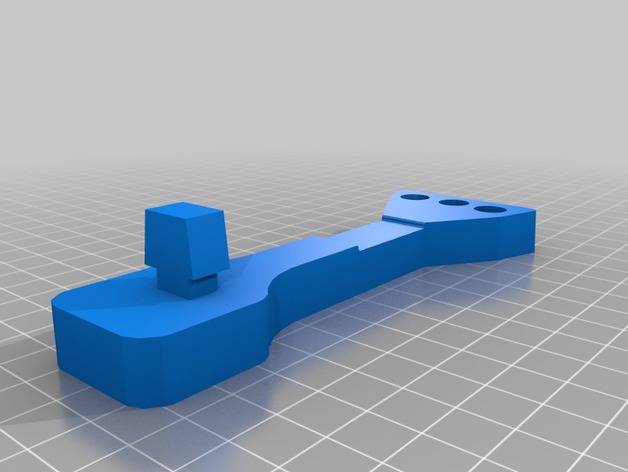
Robo3D R1 Filament guide 3D Print Model
Summary
Use this guide to install at the top of the printers cut-out hole.
Twist to lock it in place.
Take 6-8 inches 4mm PTFE tubing and insert thru the hole so that filament is fed from below and exits at the top.
Then, pull the filament into extruder.
This will cause PTFE tube to BOW and prevent filament to stap or grind against the printer when printing high objects or generally dealing with allot of LEFT to RIGHT motion.
Spool should be attached on the side of the printer. -
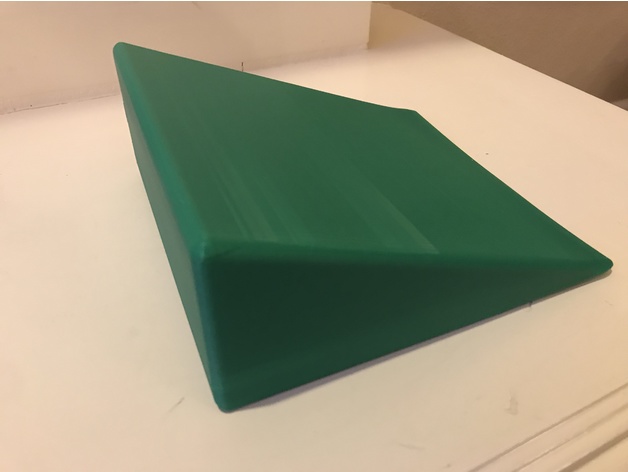
Calf Stretching Block 3D Print Model
Summary
This is a simple design of a calf stretching block.
Print Settings
Printer:
Anycubic i3 Mega
Rafts:
No
Supports:
No
Resolution:
.3
Infill:
10% -
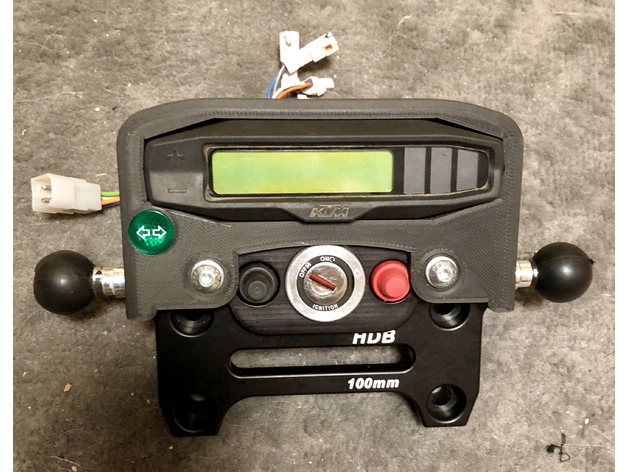
KTM HDB Computer Relocation/Dash mount 3D Print Model
Summary
I made this to relocate the hard to see/hard to access computer on my 2017 KTM 350 EXC-F, and in the end also relocated my ignition switch, and blinker light all in one go.
This attaches to the Highway Dirt Bikes top clamp, and may or may not be specific to the size clamp that I use (100mm bolt spacing pattern, due to using Rox risers). As I don’t have another HDB to compare it to, any interested parties would have to give it a go and see if other clamps are the same physical size other than having a different bolt pattern.
This is made to use the top mounted Dash insert (shown here with two buttons and ignition switch).
Allows mounting a couple RAM balls with 8mm bolts on either side, or retain access to that HDB style hand guards (untested, as I don’t own them).
Print Settings
Printer Brand:
Prusa
Printer:
i3 MK2S
Rafts:
No
Supports:
Yes
Resolution:
.22
Infill:
20-30%
Notes:
Supports from build plate only work just fine (and possibly without). Infill is up to you. For the one I’ve mounted on my bike I used 30% using Protopasta CF HTPLA, which I heat treated, and feels very sturdy to me. -
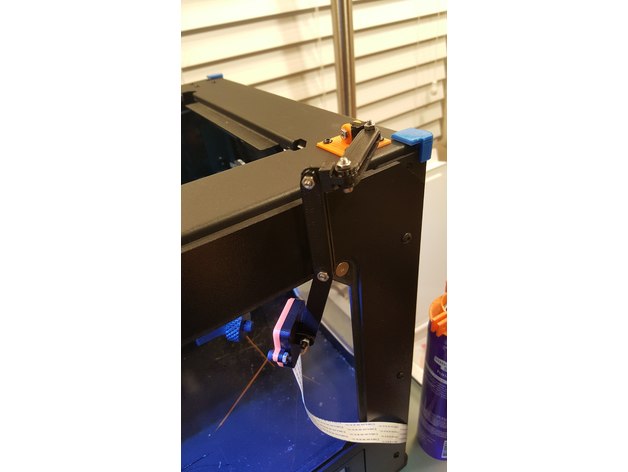
Adjustable Raspberry Pi camera mount for PowerSpec Ultra 3D Printer 3D Print Model
Summary
What you need:
I’ve included arm linkage at 40, 50, & 60mm lengths, but you really only need 6 of the 60mm lengths.
You should also print 2 of the arm_joint model.
That’s just to replicate the setup that I have, but it’s honestly very customizable. Print whatever you want!How to setup a streaming webcam with your Raspberry Pi:
https://pimylifeup.com/raspberry-pi-webcam-server/The different bases:
If you have the PowerSpec Ultra, I recommend printing the large base as it’ll allow you to perfectly connect the base to existing screws. You can still use the small base, It just connects at opposite corners and looks a little funny. I’m really just including it for anyone that might not have the PowerSpec Ultra since it may work better for them.
If you are using the large base, do not unscrew all 4 bolts at once! You don’t want to drop one of your axis arms down. Unscrew 3 of them, screw the base most of the way in on one corner, and then unscrew the forth bolt and swing the mount around to line up with the other holes.The different front cases:
I removed the pins out of the case for the v2 version of the camera because they seemed more likely to break than do anything useful. I haven’t modified the v1 version from the original that u/ReMake posted since I don’t have the v1 camera. Just wanted to put everything in one place for everyone else.Adjusting the camera:
If you have the v2 version of the camera, I would print this adjuster: https://www.thingiverse.com/thing:1574661
I recommend printing the taller socket style one as I was constantly hitting my M3 bolts using the wrench style one.
Print Settings
Printer Brand:
PowerSpec
Printer:
Ultra 3D
Rafts:
No
Supports:
Yes
Resolution:
0.32mm
Infill:
100% -
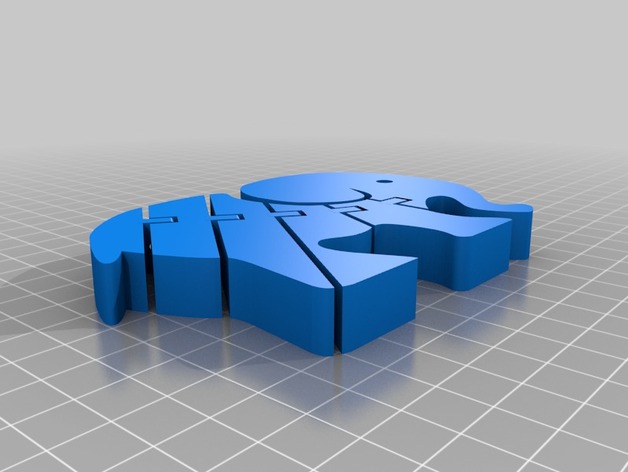
Articulated elephant 3D Print Model
Summary
Articulated Elephant. No support required. I printed with 10% infill and 3 bottom/top layers. Enjoy -
Rack 3D Model
Additional Info: Rack temple for home N020418 – 3D model (*.gsm+*.3ds+*.max) for interior 3d visualization.
-
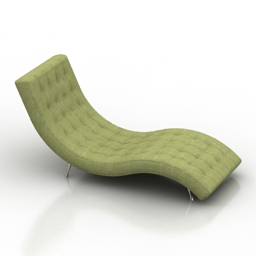
Lounge 3D Model
Additional Info: Lounge vula Pushe N060318 – 3D model (*.gsm+*.3ds) for interior 3d visualization.
-
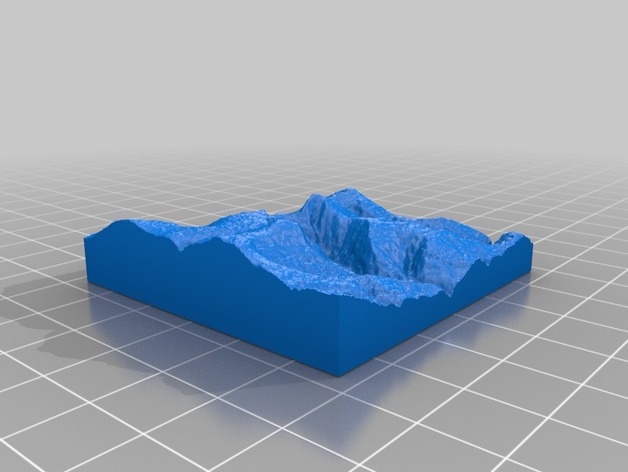
Sněžka (Largest Czech Mountain, 1603 m) 3D Print Model
Summary
https://en.wikipedia.org/wiki/Sn%C4%9B%C5%BEka -
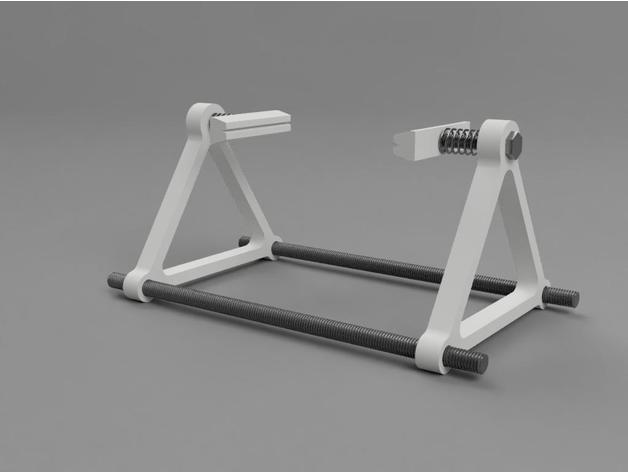
Simple PCB Holder 3D Print Model
Summary
A simple holder for PCB work.
Print 2 of each STL file.
Push an M6 bolt through the top hole of a frame, slip on a spring (washers optional) and glue into a block.
Repeat.
2 pieces of M8 threaded bar through the bottom 2 holes. slide together to hold PCB, end frames will grip the threaded rod.
Wrap an elastic band around the each end of each thread if required or add some M8 nuts to cinch it up.
Simple 🙂
Hardware required
M6 bolt x2
spring x2
washers x4 (optional)
M8 threaded bar – cut to any length you want (or 8mm wooden dowel)
Hot-melt glue or similar
Rubber bands – to hold frames (optional)
M8 nuts – to hold frames (optional)Print Settings
Printer:
GEEETech i3 Pro B
Rafts:
Yes
Supports:
Doesn’t Matter
Resolution:
0.2
Infill:
25%Post-Printing
The glue only needs to be strong enough to prevent the spring pushing the block off the end of the bolt.
The spring should be able to grip the PCB without damaging it. (TIP: I cut the springs out of pump-action soap dispensers – just the job 🙂 – or buy a tray of assorted springs off eBay for a few quid.
How I Designed This -
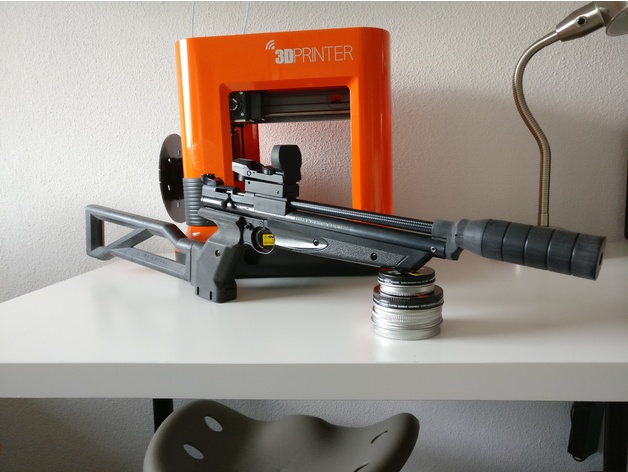
Crosman 1377 suppressor V2 3D Print Model
Summary
I had been searching for a nice way of attatching a suppressor to my crosman 1377 without having to buy a longer barrel. I couldn’t find anything on the internet that I liked, so I came up with something myself.
This is the second version of my idea. This new version is made out of just one piece. Its total length is a bit shorter and I hava made the fit with the 1377 much better by fitting the barrelband around the barrel instead of having it in front of it, plus extra support for the weight of the suppressor.
You can find my original design over here: https://www.thingiverse.com/thing:2556614
This suppressor works way better than its previous interation and I had ever expected it to work so well. The only thing I hear is the sound of the hammer hitting the valve. Now I can comfortably shoot it outside whithout having to worry about my neighbours.
And the total cost is less than $5,-.
Make sure to post the results when you made one for yourself.
Print Settings
Printer:
Da Vinci Mini
Rafts:
No
Supports:
No
Resolution:
0.2
Infill:
100%
Notes:
DO NOT USE YOUR SLICER’S GENERATED SUPPORTS!
It will most likely put support material inside the suppressor. I have included a model with supports. These might look weird, but they work extremely well.
Chose strength over looks!
You will need around 30 m of plastic for this project.
Post-Printing
Post-Printing work on the suppressor:
After the suppressor is printed, true up the inner holes with a 5.0 mm drillbit.
Then true up the hole that goes around the muzzle of the barrel with a 8.0 mm drillbit. This hole locks the barrel in place, so take your time. Use some sandpaper or a 11.2 mm drillbit to clean up the hole in witch the barrel must fit.
I put some carbon vinyl around the barrel just for asthetics.
Also to take away the cheap plasticy look I sanded it with 250 grid sandpaper and buffed it with some scotch-brite. This gives it the sort of weathered look. -
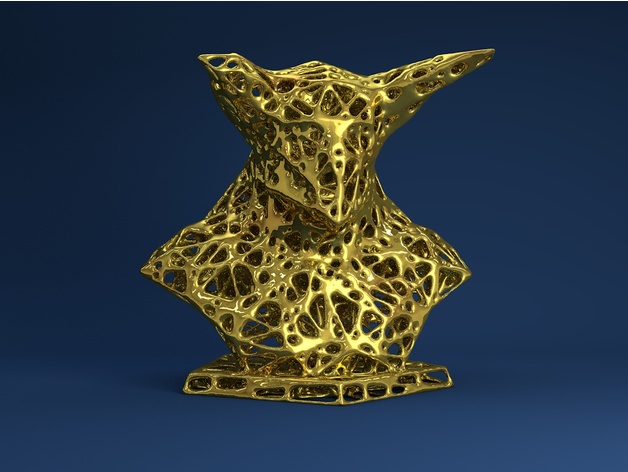
Demon Bust Voronoi Style 3D Print Model
Summary
Demon Bust Voronoi Style. Please share your results. -
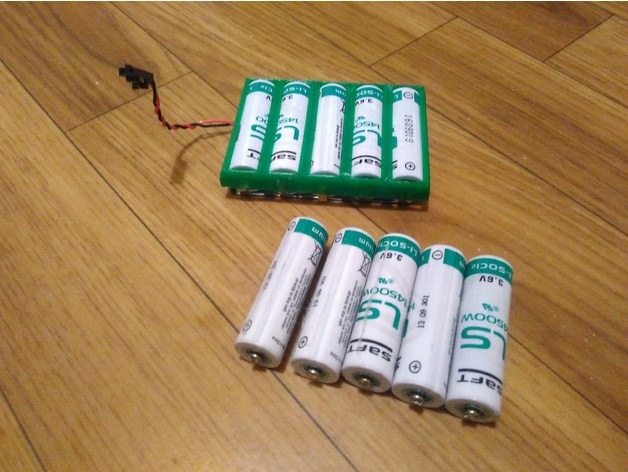
AA 5s Tray for Exogen battery 3D Print Model
Summary
This is a tray for 5s 14500 battery pack.
I used it in custom pack for Exogen4000. (3.6v batteries) -
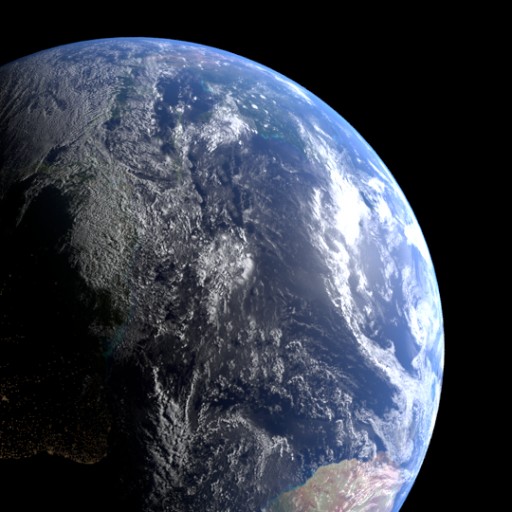
Earth Free 3D Model
This is the first blend i’ve uploaded to this site, featuring the earth fully textured and rendered. Texture images were downloaded from NASA.
-

Micro Roughness Material (Cycles) Free 3D Model
It’s well known that glossy surfaces have what is known as the Fresnel effect – whereby reflections get stronger at glancing angles. Another lesser known effect however is that reflections can also get sharper at glancing angles if the surface is made up of micro roughness (also known as micro facets). If you search google for “floor” images and look at the reflections from doors/windows – you can clearly see this effect in action.
-

animation text with hallo light Free 3D Model
helo guys
I make a text by giving a shimmering light behind it his text can be modified by yourself I hope you guys like it -
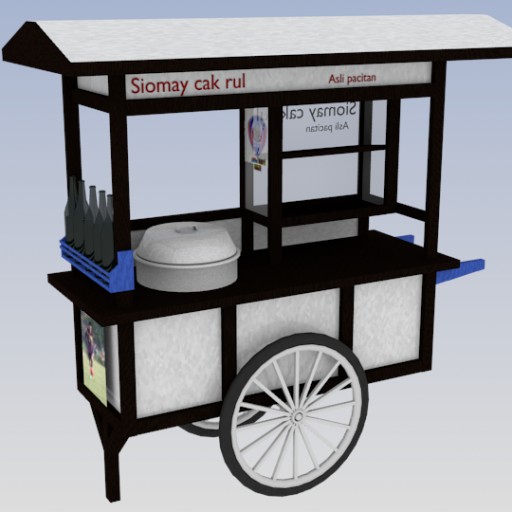
siomay cart Free 3D Model
I made a simple basket design I hope you like it, I make it myself according to my ability and my skill
-
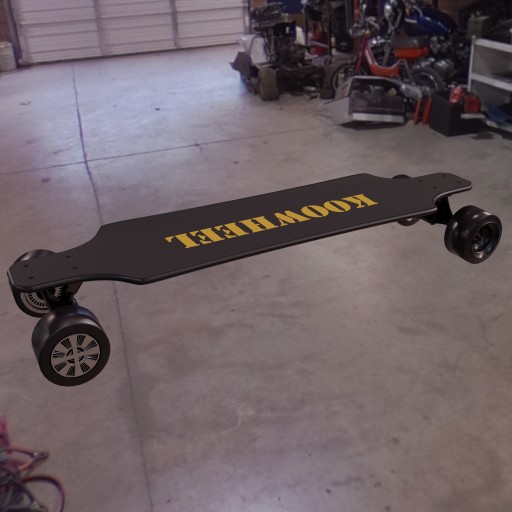
Longboard Free 3D Model
Longboard based on Koowheel boastboard 😀 modeled in Blender, textured in Substance Painter 😀 free to share
-
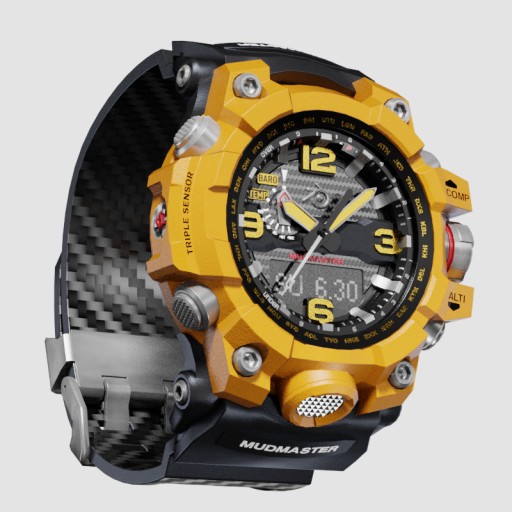
Chronograph watch Free 3D Model
This model is based on Casio G-shock Mudmaster watch with some variations (maybe 60% fom original watch). All textures and shaders included.
-
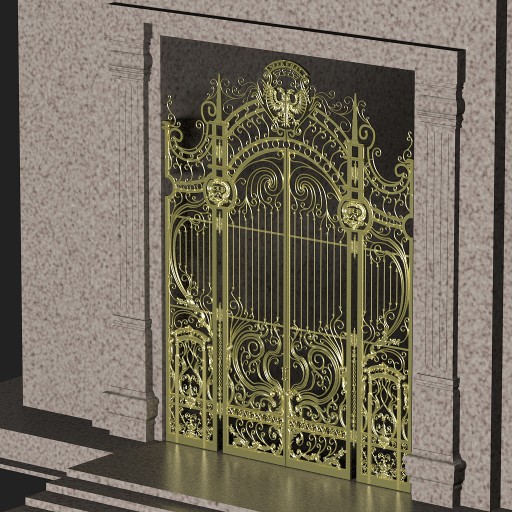
Petit Palais like gate Free 3D Model
This model closely resembles the entrance gate to the Petit Palais museum in Paris. The model can be used for vaults, entrances to hell or other structures, etc. Much of the filigree work was appended into the model from 1Dinc’s most excellent blend titled “Baroque Place.” Most of the scrolls are curve objects.
-
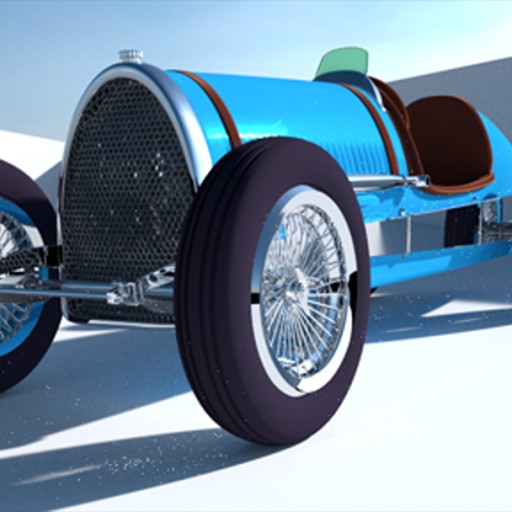
Teddy Racer Free 3D Model
I built this racer after seeing one with a big stuffed teddy bear in it. In any case I thought I’d share it with the Blendswap community. I tried to be complete. I wish I had placed readable gauges in it but I’m not great at texturing. I wish I could give more to the community… it has given so much to me. Thanks Blendswap Guys. =] PS side note the HDRI is Prolighting Skies from Blender Guru @ https://blendermarket.com/products/pro-lighting-skies .. its the light version so you can’t use it for commercial purposes but its really easy to replace.
-
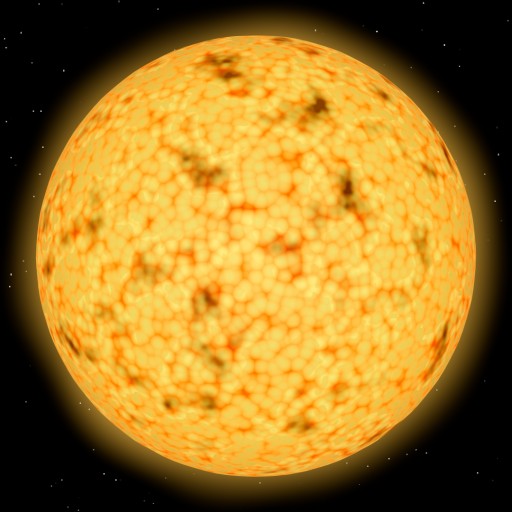
Procedural Animated Sun Free 3D Model
Sun with corona and sunspots, animated to show movement along the surface, with a starry background, and rendered in Blender Internal. Created entirely with procedural textures; no external images used, so feel free to play with the materials, textures and particle settings as you wish. I based it on one or two basic “sun” tutorials I’d run across a few years ago, then adapted for a few of my own projects. Enjoy!
-
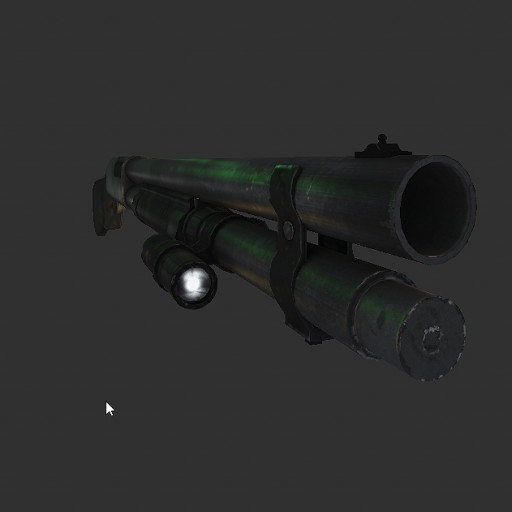
low poly remington shotgun Free 3D Model
This little project, is 2 years old personnal project I wanted to share.
-
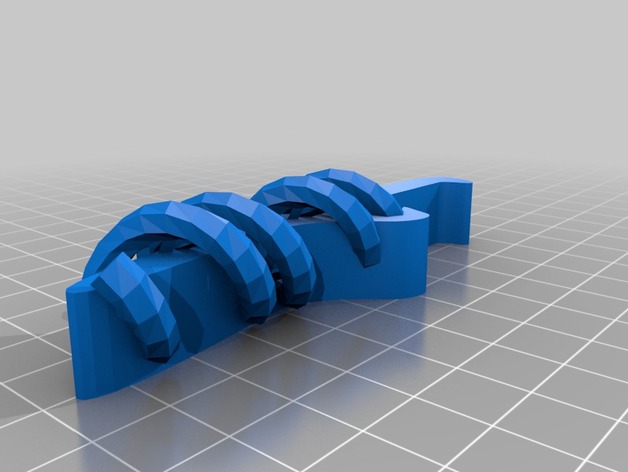
DNA Bottle Opener 3D Print Model
Summary
Bottle opener with a DNA molecule wrapped around it. The DNA molecule is offset to one side so that it can be printed without support. -
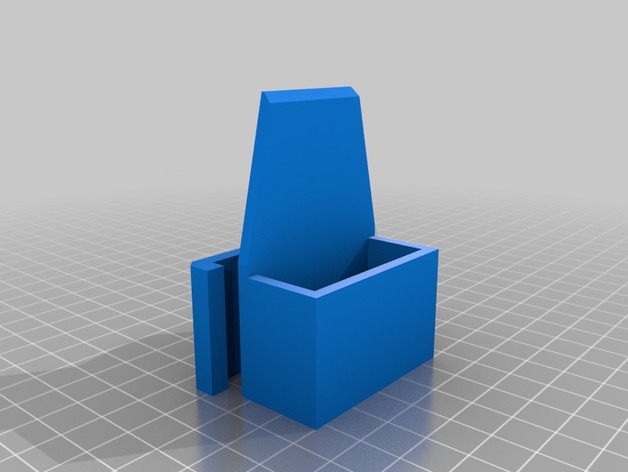
Caliper holester 3D Print Model
Summary
useful and fits most belts you can sit with it ad it can be used with multiple different caliper brands. (not all may work)
Print Settings
Printer:
Monoprice maker select v2
Rafts:
Doesn’t Matter
Supports:
No
Resolution:
.2
Infill:
20%Post-Printing
when you complete the print you need to glue it together. you may need to sand it to make it fit right.Standards
NGSS
Overview and Background
used for holding a measuring caliper
Lesson Plan and Activity
not really used for any lessons just for holding a caliper -
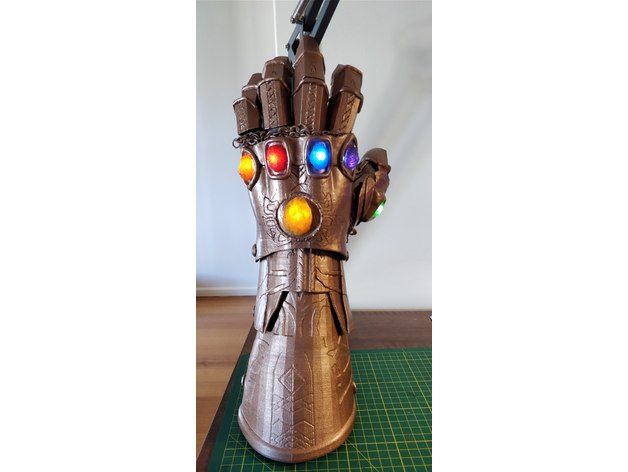
Modified Infinity Gauntlet Forearm 3D Print Model
Summary
This is my edit of the Infinity Gauntlet forearm to be rounded instead of pointy, to be closer to the movie version.
Only contains the forearm model, the rest is Telephoneman’s gauntlet with post-processing. -
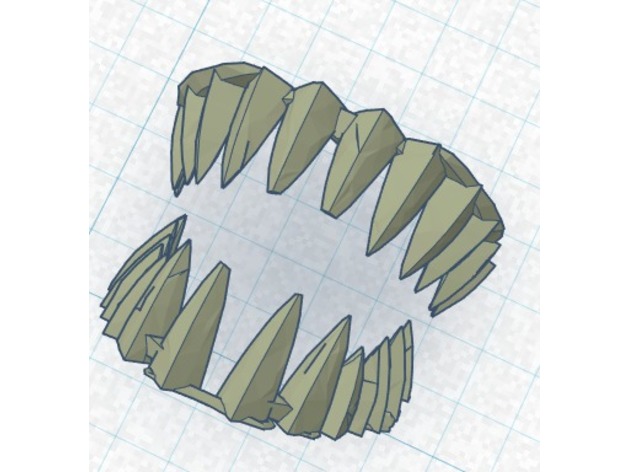
Swarmlord replacement teeth 3D Print Model
Summary
snapped some of the teeth off my swarmlord when trying to remove the supports in the mouth
so instead of having a pirate swarmlord, I reinforced the teeth, added some gap filler bits so they print all one piece. (top jaw, bottom jaw)
lay it flat and print it at the smallest resolution your printer can do.
this remix isnt needed if you are printing the swarmlord at 1/1 tabletop scale but i’m scaling mine up quite a bit so the teeth start to get fiddly. -
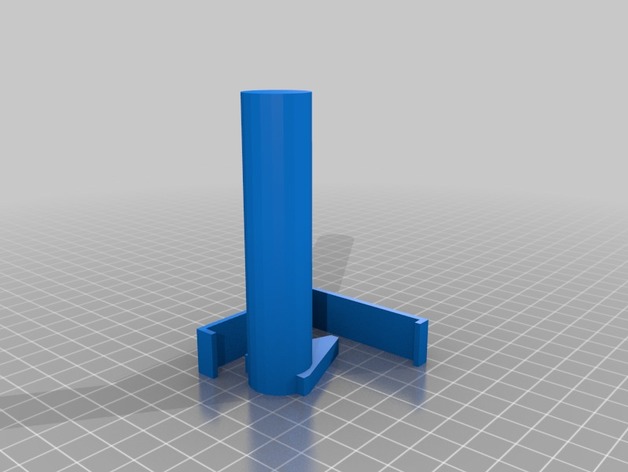
Monoprice maker select v2 spool holders 3D Print Model
Summary
spool holder (1) needs to have 2 copies and they need a 3/4 inch PVC pipe
Print Settings
Printer:
Monoprice maker select v2
Rafts:
Doesn’t Matter
Supports:
Doesn’t Matter
Resolution:
.2
Infill:
20
Notes:
spool holder (2) needs supports the others don’t -
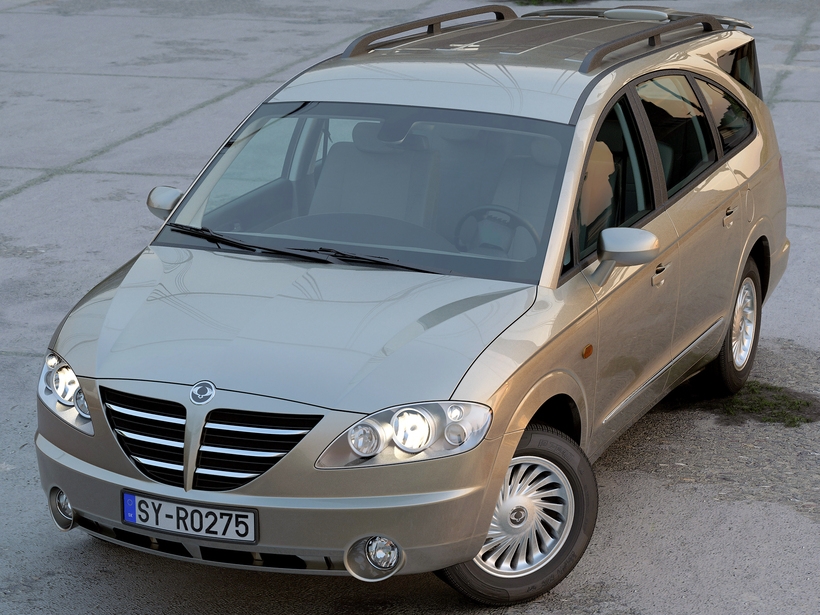
Ssangyong Rodius 2010 3D Model
High resolution and very accurate 3d model created according to real refference. Native format is Cinema 4d, model can use Hypernurbs subdivision. Other formats are exported in one resolution. This can be further subdivided. Exported formats 3ds, max, fbx and obj are prepared well to work correctly with every standard modeling software such as Maya, Lightwave etc… Using FBX file for import is strongly recommended, because it preserves basic material properties, objects hierarchy, uvw coordinates and quad geometry. 3ds format preserves basic material properties, hierarchy and uvw coordinates, but all geometry is triangular. Max format includes hierarchy, quad geometry, Turbosmooth and standard materials. OBJ format preserves only quad geometry and uvw coordinates. Each format of model (except for OBJ) has hierarchy of parents and children objects ready to animate manually or using any car animation plugin. All mesh parts separated by material are jointed under one empty (no polygons) object used as their pivot. All materials, textures and objects are sorted well to make Your own materials for special render engines. ONLY native c4d version has some special following features. It is animated using Xpresso (no keyframes), working smooth also with AR or Physical render’s motion blur. Model in c4d format includes exterior and interior lighting, automatic reverse and brake lights. Textures are included with all files, main texture’s size is 3072×3072 pixels split onto these channels – xxx_tex.jpg (diffuse color), xxx_bum.jpg (bump), xxx_spe.jpg (specular color and intensity), xxx_ref.jpg (reflectance intensity), xxx_lum.jpg (luminance color). C4D version comes with standard and Vray materials. Vray engine doesn’t support motion blur of other than keyframed motion. Previews were rendered using Cinema 4d 11.5 Model scale is unit millimeters. Environment scene where the car is placed is not included!This model was created, saved and exported from Cinema 4d 11.5. Compatibility level with other versions may be restricted due to changes in versions of software, because some features, shaders etc may be renamed or removed from Cinema 4D versions above 11.5.
-
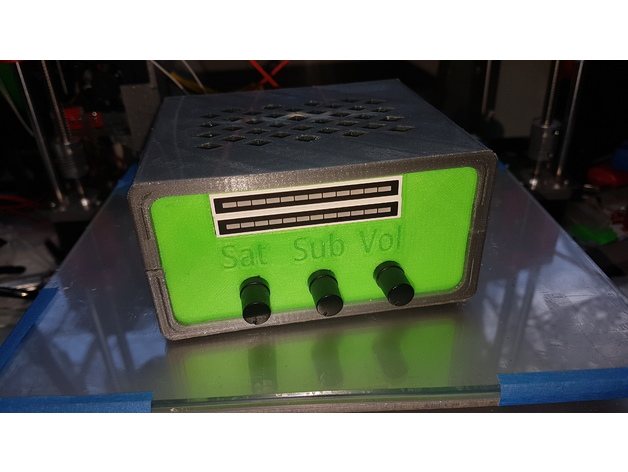
Kleine Verstärkeranlage 2.1 3D Print Model
Summary
Hallo,
was macht man wenn man zwei Lautsprecher und Filament übrig hat ? Richtig- etwas zum Sound machen.
Alle Modelle sind mit Tinkercad erstellt und werden dort auch veröffentlicht. So kann jeder die Formen seinen Gegebenheiten anpassen.
Das Verstärkermodul gibt es bei Amazon:
KKmoon TPA3116D2 50W x 2 + 100W 2.1 Kanal Digital Subwoofer Audioverstärker-Brett Leistungsverstärker Brett DC12V-24V
https://www.amazon.de/gp/product/B01M5H3SUD/ref=oh_aui_detailpage_o06_s01?ie=UTF8&psc=1
Das Netzteil gibt es in der Bucht:
24V 3A DC Steckernetzteil Netzteil Gleichspannung 24 Volt Schaltnetzteil Trafo
Dort gibt es auch die Klinkenstecker und die dazugehörenden Buchsen.
Ebenfalls aus der Bucht:
1 Paar 2-Wege universal Einheit Magnat TMJ 10/80 S 160 Watt max.
Viel Spass bei Drucken- lasst die Nozzle glühen !!!
Print Settings
Printer:
Anet A8
Rafts:
No
Supports:
No
Resolution:
1.0
Infill:
25% -
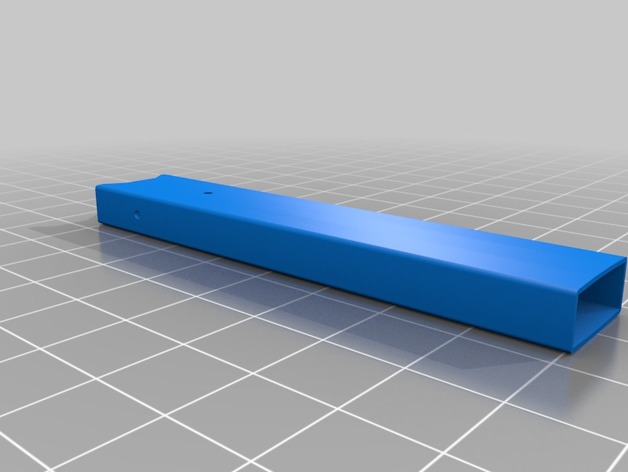
JUUL Outer Sleeve 3D Print Model
Summary
I wanted to create some custom cases/sleeves for my JUUL and needed an accurate model in order to get the proper tolerances for slip-fits and things alike. This model, by itself, will not print well at all. This model is best used as a skeleton to build your own creative ideas on. Model was drawn in SolidWorks2017. -
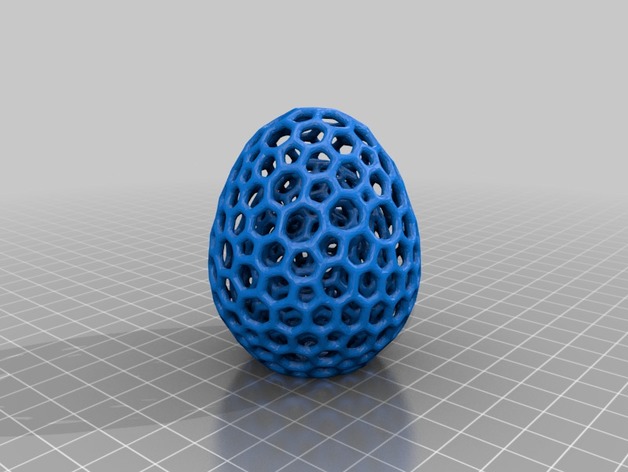
Concentric Voronoi Egg 3D Print Model
Summary
This is one of @Antonin_Nosek easter eggs, taken 3 times and scaled to make it more complex. -
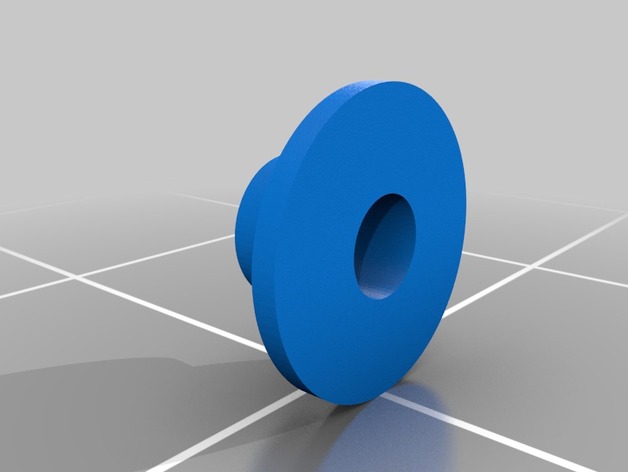
Camera spacer for Puda 220 3D Print Model
Summary
Camera spacer for Puda 220 frame for camera mouting.
As holes for camera screws is larger than necessary, made this simple spacer, to center screw. Tested with Runcam Owl Plus, but probably fits other as well. -
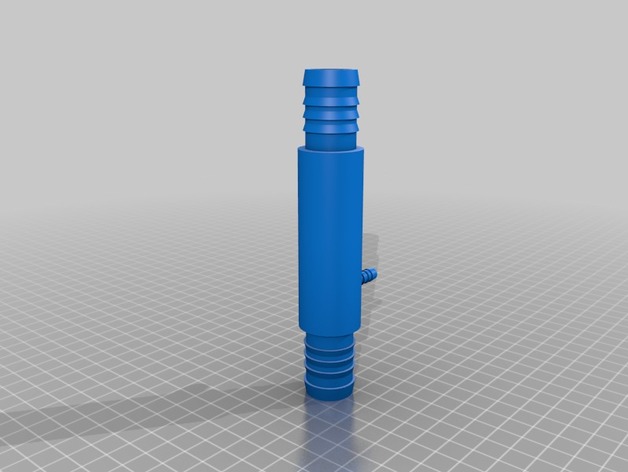
Venturi injector 3D Print Model
Summary
This is my first attemp to make a venturi injector to add chlorine and other chemicals to my borehole water -
Pi Zero W 3D Print Model
Summary
A lot of my robotics projects make use of the pi zero w (especially since my local MicroCenter sells them for <$5). I use this mock up for when I’m working with tight placement / clearances.
It’s made in openscad so many of the dimensions and tolerances are easily customized.
You can checkout some of my other projects on github.com/avirtuos -
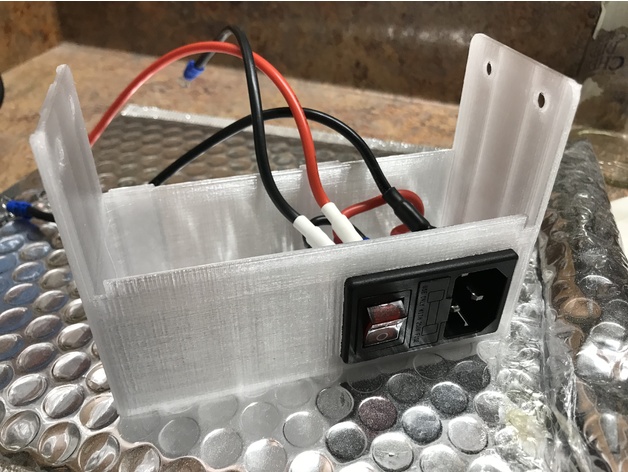
Meanwell NES-350-12 Cover for MK2 3D Print Model
Summary
This is a remix of mmoore0s great power supply cover. I made the original and broke 2 of them while mounting so I reinforced 3 of the sides and also added the MK2 mounting lug so I could mount it on my clone. It would allow you to use the larger meanwell on any MK2 style frame though. I also, rather than drilling the frame, added the included block and used it with double sided tape to secure the top of the power supply to the frame. I think you could leave that off and the screws at the bottom would be enough to hold it in place if your printer doesnt move much but I just wanted to make sure the top was secured to the frame. I printed the one in the pictures with E3D edge crystal. It looks good and has done the job well so far. -
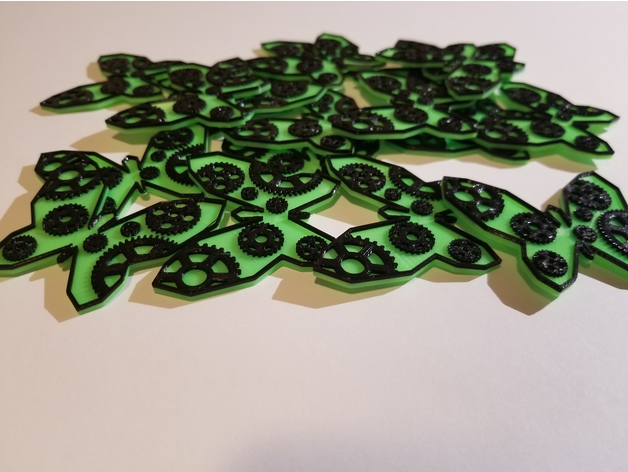
CHAOS THEORY Pins 3D Print Model
Summary
These are pins for team 5468 CHAOS THEORY for FIRST Robotics Challenge. This was my first multi colored print. But feel it turned out really well!!!
Print Settings
Printer Brand:
Creality
Printer:
CR-10S
Rafts:
Doesn’t Matter
Supports:
Doesn’t Matter
Resolution:
0.2mm
Infill:
100%
Notes:
I swap filament at 2mms. This is usually after 12 or so minutes per pin being printed. -
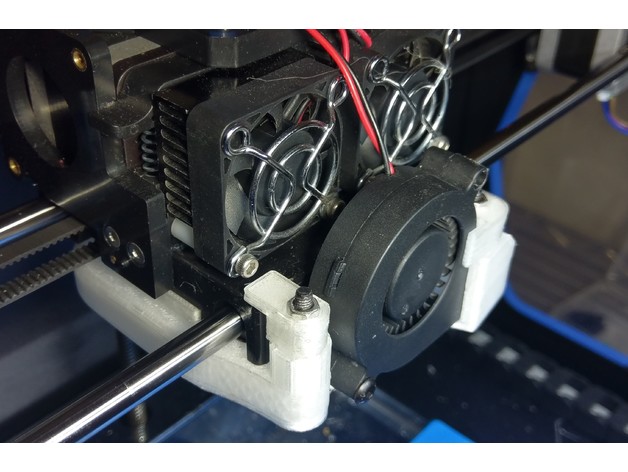
Dual Vortex Fan Duct 3D Print Model
Summary
The Turbo Fan on a Qidi X-Pro truly lives up to its name. When it is on, it roars like a turbo jet on an airliner. If you listen closely, you can hear parts rattling from the vibration.
This redesigned Dual Vortex Fan Duct eliminates that noise by reducing vibration. The fan duct is fastened onto the carriage by two screws that are aligned with the extruder nozzles. Two additional clips next to the fan further dampens vibration from the fan.
Additional parts:
■ 2 x M3x20mm screws for carriage
■ 2 x M4x35mm screws and nuts for front clips
■ 1 x M4x20mm screws and nuts for blower fan
■ 1 x 6″ tie-wrap
Modification:
■ Clip the tie-wrap around the wiring bundle.
■ Gently wiggle an pull the fan wires out of the wiring bundle.
■ Tie the rest of the wiring bundle back in place with new tie-wrap.
■ Remove 2 screws that hold the dual-extruder onto the carriage.
New Assembly:
■ Push one M4 nut through the slot at the top (as pictured).
■ Snap fan into place and fasten it in with one M4x20mm screw.
■ Fasten fan duct onto the carriage and dual-extruder with two M3x20mm screws.
■ Fasten fan clips with two M4x35mm screws.
Printing Tips:
■ Print with “touching plate” support type at about 25% density.
■ Can be printed using ABS without turning on the print cooling fan. -
Flower thing 3D Print Model
Summary
Another OpenSCAD distraction. This time I wanted to show my daughters the interesting aspects of Fibonacci numbers & came across this video on YouTube:https://www.youtube.com/watch?v=FOuHWXN8g2s (Thanks Eric Buijs!)
I have shamelessly appropriated his code for placement of petals/leaves around a sphere. The code for drawing a rod between two points is from here:http://forum.openscad.org/Rods-between-3D-points-td13104.html (David Eccles).
The only part I can claim as my own is the petal/leave drawing module. This is an intersection between a linear_extrude (creates the lateral shape) and a rotate_extrude of 2d formulas. This unfortunately makes the render very computationally expensive & it takes a long time to render for nr leaves > 100 &/or high values of $fn. -
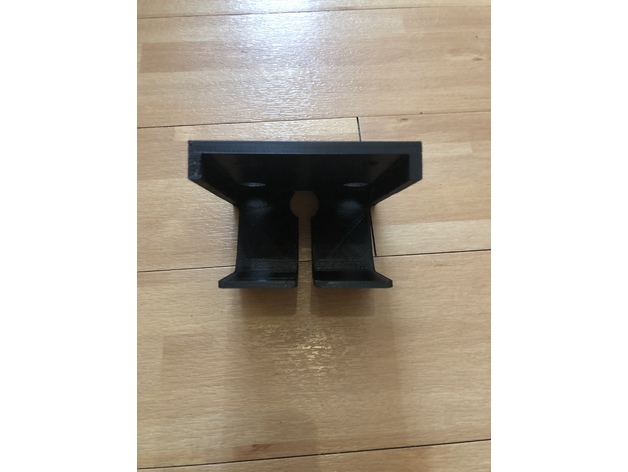
Bosch eBike chargerwallsupport / Bosch ladegerät Wandhalter 3D Print Model
Summary
Halter um ein eBike Lader von Bosch an die Wand zu schrauben. -
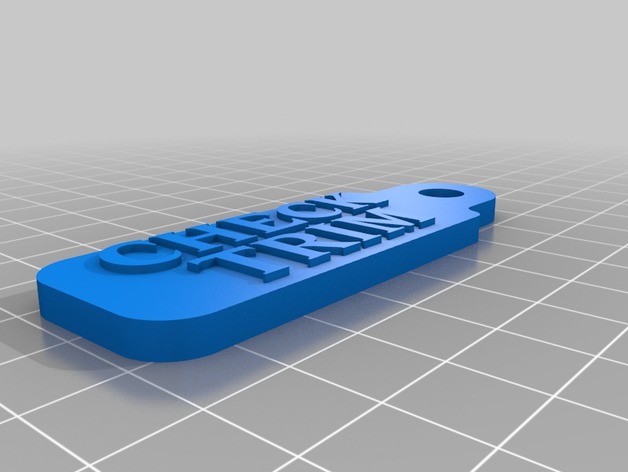
Boat Lock Trim Reminder 3D Print Model
Summary
Made a tag to put on my boat lock that reminds me to trim the lower unit up. I have to put the lower unit down in order to get close to my garage. I changed filament color when it started the letters, this isn’t a multi color extruder part.
Print Settings
Printer Brand:
Prusa
Printer:
Prusa Mk2
Rafts:
No
Supports:
No
Resolution:
.15
Infill:
20 -
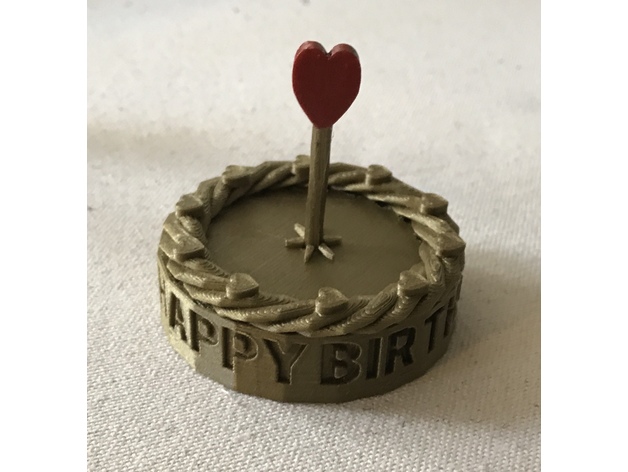
Birthday Cake with Heart Candle 3D Print Model
Summary
Birthday cake for a friend of mine, inspired by this Thing. Designed in TinkerCad, using the Text Ring customizer to create the letters, which were then debossed into the side of the cake. “Icing” on the cake was created with the Twisty Ring custom shape, topped with the Hearts on a Circle custom shape. The “Candle” is the Twisted Polygon custom shape, topped with a basic shape heart.
Print Settings
Printer:
SnapMaker
Rafts:
No
Supports:
No
Resolution:
0.2
Infill:
10%
Notes:
Printed with Amolen Bronze PLA.
The “candle” prints separately from the cake and is inserted in the cake afterwards. I did it this way because this was going to be mailed to a friend and I wanted to avoid having to box it up.
Post-Printing
Optional: painting
I wanted the heart to stand out a bit more, so I painted it with nail polish. Worked like a charm. -
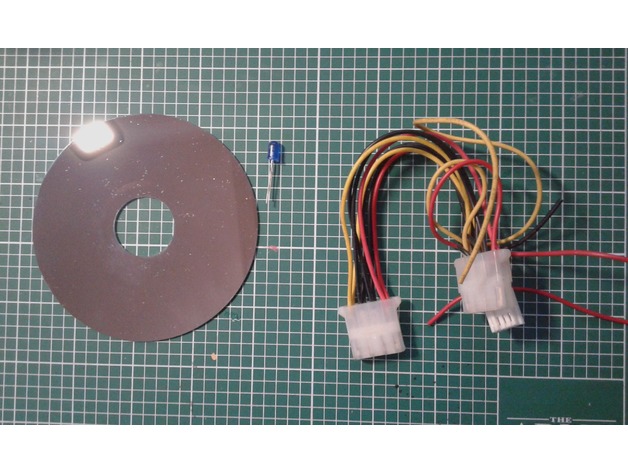
Project UFO 3D Print Model
Summary
First prototype of UFO, made with recycled parts.
Recycled components:
Metal disc recycled from an old hard drive
Cables (pc power supply)
Led 5mm
work in progress
I’m studying a better stand with batteries and switches
The 2 parts are assembled by interlocking with a C-shaped ring
which allows to adapt to the diameters of the parts by sticking together
Print Settings
Printer Brand:
Creality
Printer:
CR-10 Mini
Rafts:
No
Supports:
Yes
Resolution:
0.10
Infill:
20%
Notes:
PLA -
Impossible Box 3D Print Model
Summary
An impossible box designed by a 5th grader. The ball is stuck inside the box and will not come out.Standards
CCSS
Overview and Background
Students were challenged to make an interactive art piece using the 3d printer or recycled material.
Only after 30 minutes two 5th graders had this designed.
Lesson Plan and Activity
Create a box of size dimensions of 28X28X28
Create a box that is the size of 24X24x40.
Turn this box into a hole and put it through the box.
Duplicate this box two more times and turn the one box 90 degrees and the other rotate the other one so it is standing tall on the workplane.
Move these three boxes that are holes to create a cube with holes on all six sides. Make sure the box has the same outer edge. Select all the shapes and group them together.
Create a sphere that is 25 in diameter and place it inside the box.
Make sure the sphere is not touching any of the square. (which is so different on how we touch 3d design that everything has to be touching.)
8 Print using supports and rafts.Materials Needed
3d printer and filament -
Baptismal font Free 3D Model
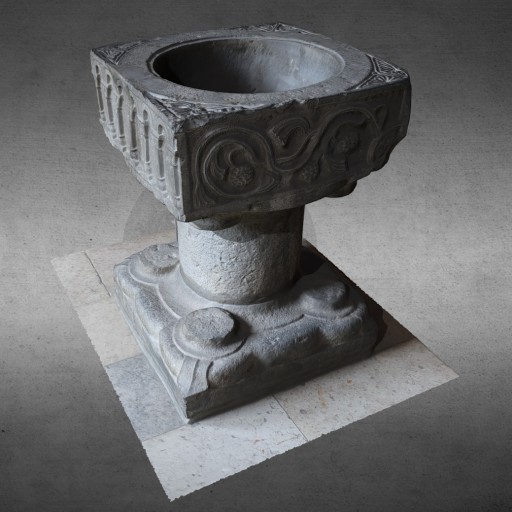
Baptismal font, Saint-Clement d achene church, commune of Ciney, Namur. Namur workshop, 12th century, Meuse stone. Musee du Cinquantenaire (Brussels, Belgium). Made with ReMake and ReCap Pro from AutoDesk.
-
Christmas crip – Part 2 – A shepherd Free 3D Model
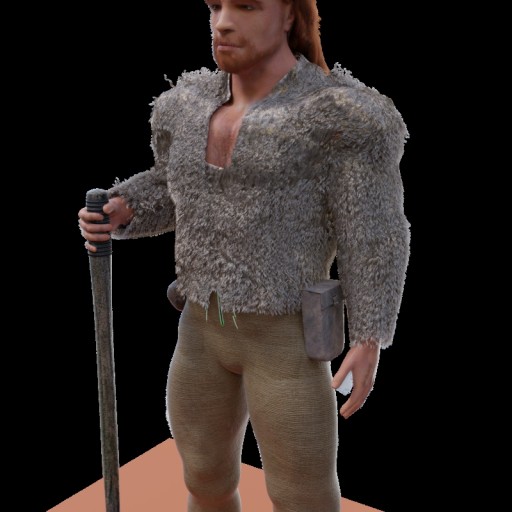
Here is the next character for the christmas scene, a shepherd. Someone could recognizes a famous actor :-). The textures are included. The rig is suitable only for poses, not for animations. Also there are a few shape keys for the eyes and the mouth. The tongue isn’t rigged, I don`t need it. Bacause of a lot of hairs the render time isn’t very short. I hope you have fun with this character.
-
Flower 04 Free 3D Model
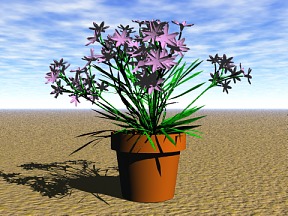
Free Model of 3DPlants.com “Plant Model Libary CD?s” and Downloadable Model Sets! This Model also available on CD…with UV mapped textures! More Info?s, Preview Images, Shop and Downloadable Texture Sets or a “Seamless Natural Texture CD” you find directly at 3DPlants.com!
-
Baby Handcuffs for Poopy Diapers 4/1/18 3D Print Model
Summary
Baby Handcuffs for Poopy Diaper Changes
It’s a real problem facing the infant population today. Evidence suggests 7 out of every 10 babies faces an irresistible urge to reach down and touch their own poop while you change their diaper.
Eeeww.
Luckily we have 3d printers which can help solve our pressing day-to-day matters.
Enter Baby Handcuffs. Problem solved. The perfectly inhumane way to prevent your baby from touching their own fecal matter.
April Fools 2018
I’m no parenting expert but pretty sure baby handcuffs are not the solution to icky diaper changes.
Print Settings
Notes:
don’t print -
Eletronic Bay 3D Print Model
Summary
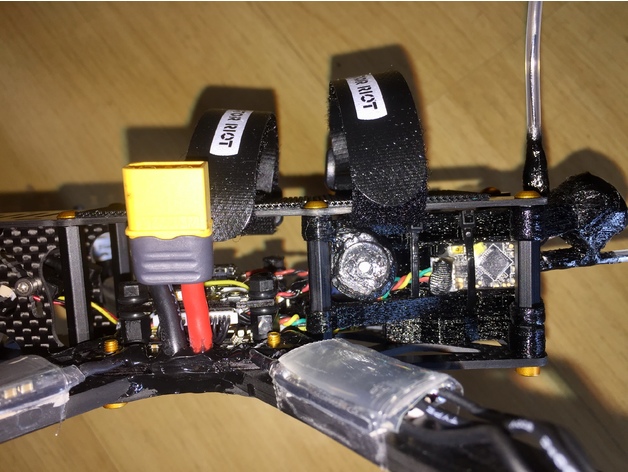
This holds a Unify pro HV, antenna XII, R-XSR receiver and a buzzer all together, it can be used with 28mm standoffs or there is a lift to use with original hight, use TPU -
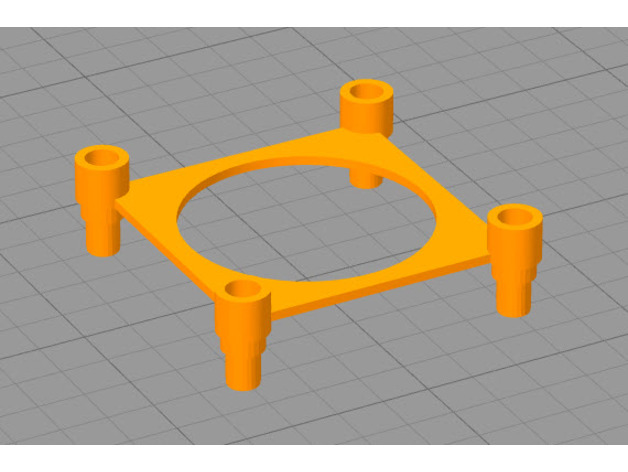
3.50mm Omnibus F3 Raised Spacer 3D Print Model
Summary
This is a remix of JerryBoi831’s design.
Simple raised PDB mount. Utilized to mount a PDB and FC to my Bixler 3
Print Settings
Printer Brand:
Prusa
Printer:
i3 MK3
Rafts:
Doesn’t Matter
Supports:
Yes -
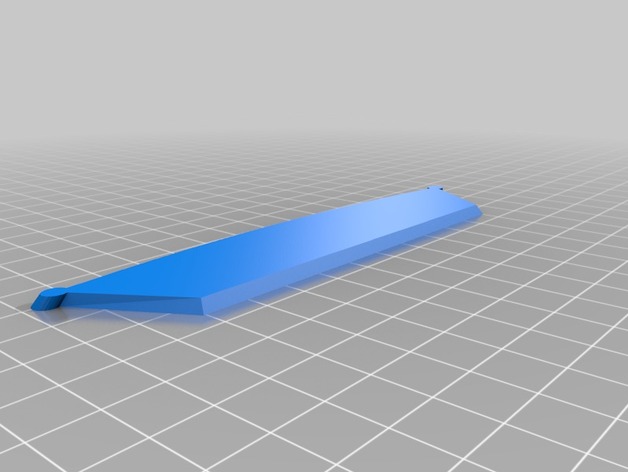
Lint Scraper 3D Print Model
Summary
Just a simple scaper I whipped up to help scrape the lint off a dryer lint catcher. It works better on thicker lint, but once the wad is started anyways its easy enough to remove the rest using the wad. -
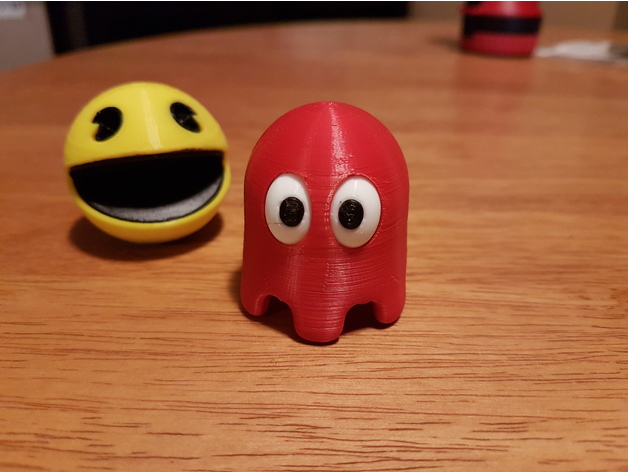
Pac-Man Ghost (eyes only) 3D Print Model
Summary
For the lazy person like me (it take too much energy to use a sharpie), I split the eyes into two parts that can be printed in black & white.
Print Settings
Printer Brand:
Prusa
Printer:
i3 MK3
Rafts:
No
Supports:
No
Resolution:
0.10
Infill:
20 -
Curtain 3D Model
Additional Info: Curtain 2 N210218 – 3D model (*.gsm+*.3ds) for interior 3d visualization.
-
HVAC_Vent_Knob 3D Print Model
Summary
Knob for ceiling mounted hvac damper -
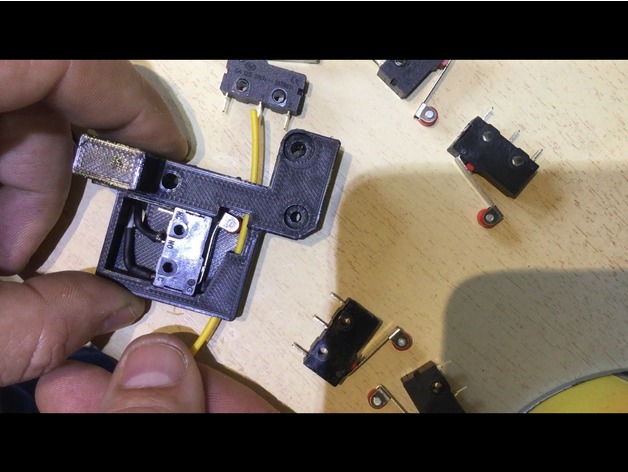
Remix élément extrudeur Nicosky pour contact Amazon 3D Print Model
Summary
Remix du remix de Nicosky afin de coller dedans un contacteur disponible sur Amazon.
Il suffit juste de lui collé une petite claque au bout pour intensifier la pression.
Passer les cables dans le trou avant soudure pour ne pas être embêté par la prise, qui elle ne passera pas.
Le contacteur est disponible ici:http://amzn.eu/1cAJ7r0 -
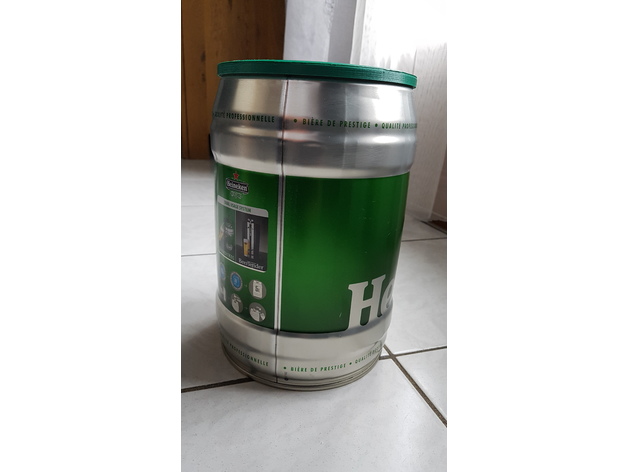
Freddy76 3D Print Model
Summary
réalisation d’un cerclage de protection pour les fûts de bière pour les transformer en récipient à usage multiple. -
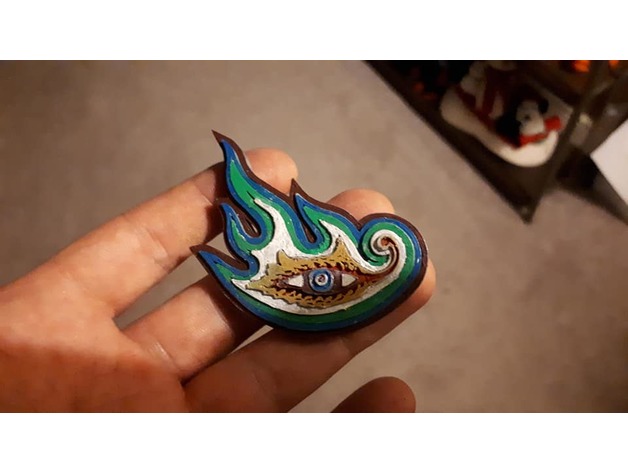
Tool – Lateralus Eye 3D Print Model
Summary
For fans of the band Tool. Fairly easy print, can be printed in different colors or painted! I left the inner eye portions out for the smaller print, they wouldn’t print anyway, only for a larger print. Has a clasp and a hole on the back to be made into a pendant. Enjoy!
Print Settings
Printer:
Qidi Tech 1
Rafts:
No
Supports:
No
Resolution:
.15
Infill:
doesn’t matter
Notes:
As long as you get a good first layer, easy as pah. -
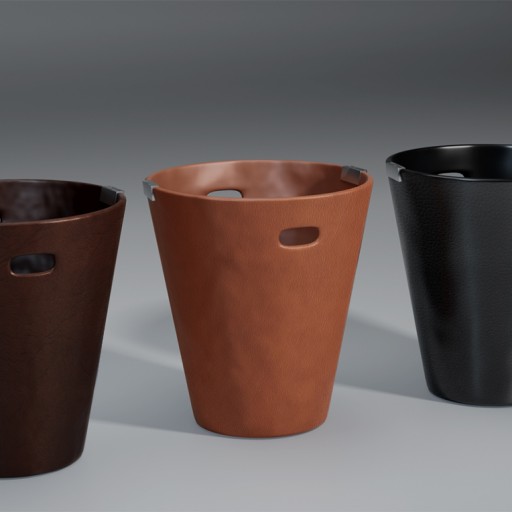
Basket Free 3D Model
3 models of backets. I created these 3 models, inspired by the IKEA company. The 3 models are in the public domain.
-
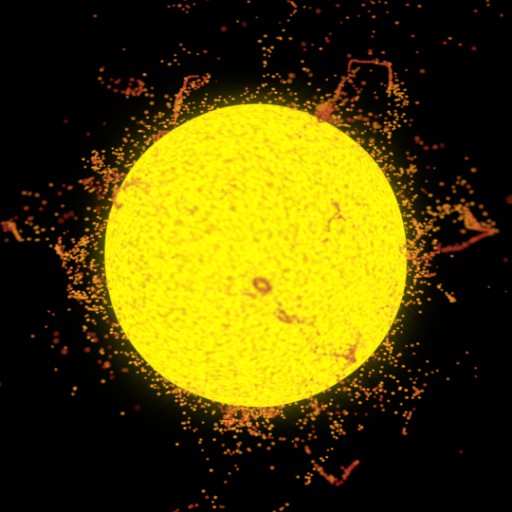
A Realistic Sun – Cycles particle simulation Free 3D Model
@ BLENDERTIMER asked for realisti sun. So I made one. It took me two days. Thanks to Sardi Pax tutorial Blender 2.69 Tutorial – Make a Sun in Cycles
-
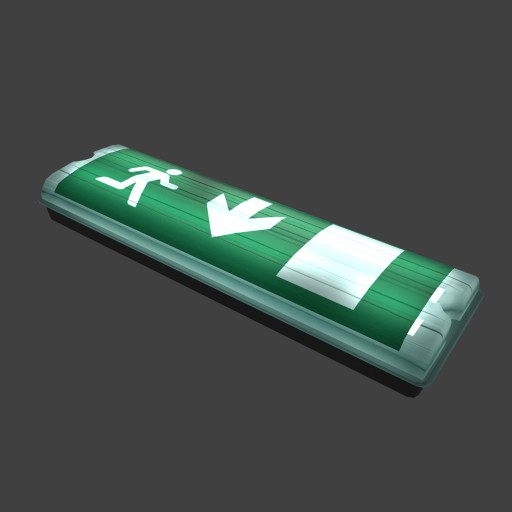
Emergency Exit Lamp Free 3D Model
Suitable as a detail in interior render. If description is too short, I can tell you that this light emits light
-
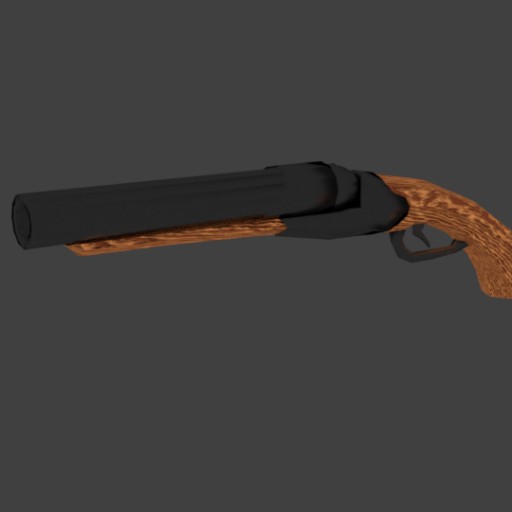
Break Barrel Pistol Shotgun Free 3D Model
Low poly shotgun, 550 tris total, includes wood and metal material, and a basic rig.
-
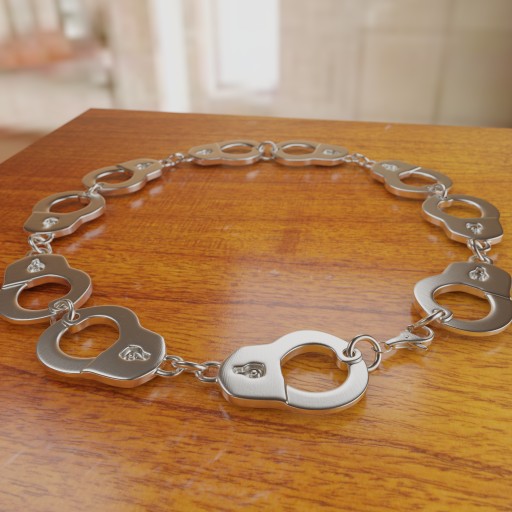
Handcuffs Bracelet Free 3D Model
Another cool design that i found on the web – handcuffs bracelet with some rocky vibe. Easy to rig by adding some hooks at curve control points. As far as i know all of material textures are free to use, exept environment texture – you can download higher resolution one here http://gl.ict.usc.edu/Data/HighResProbes/ but i’m not sure about its terms of use.
-
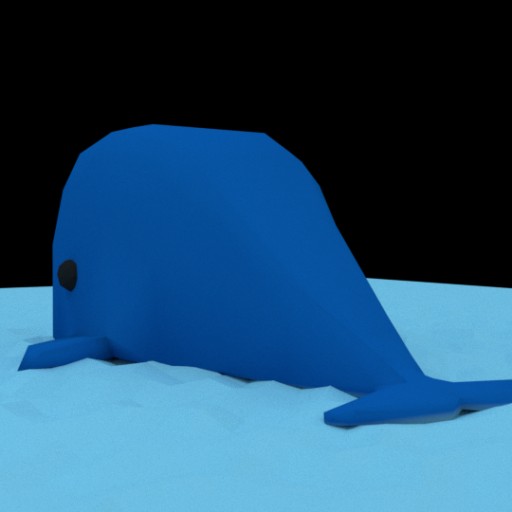
Ballena Low poly Free 3D Model
ballena cartoon modelado de caja, Low poly ballena, cycles, gradient, box modeling, environment texture
-
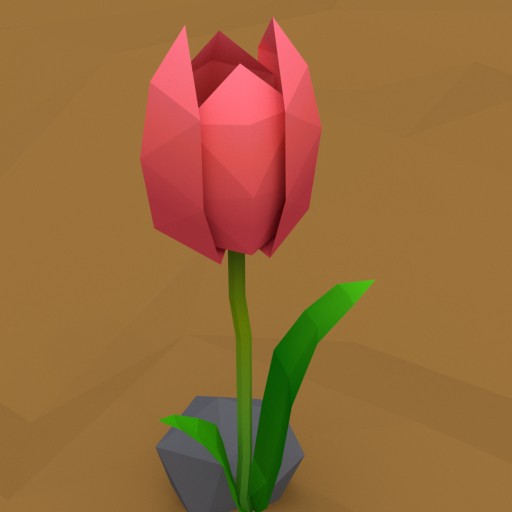
Tulipan Low Poly Free 3D Model
Tulipan cartoon modelado de caja, Low poly tulipan, cycles, gradient, box modeling, environment texture