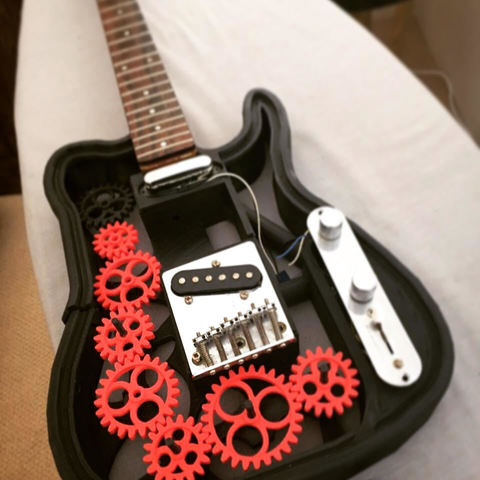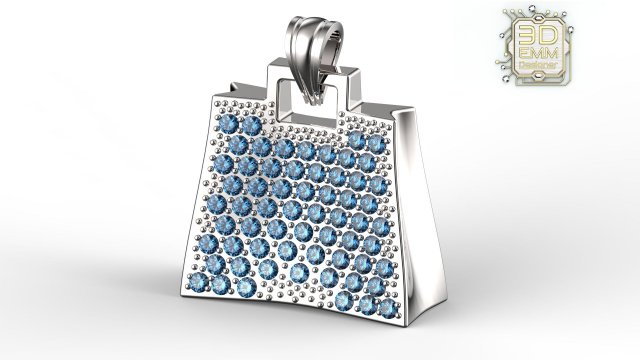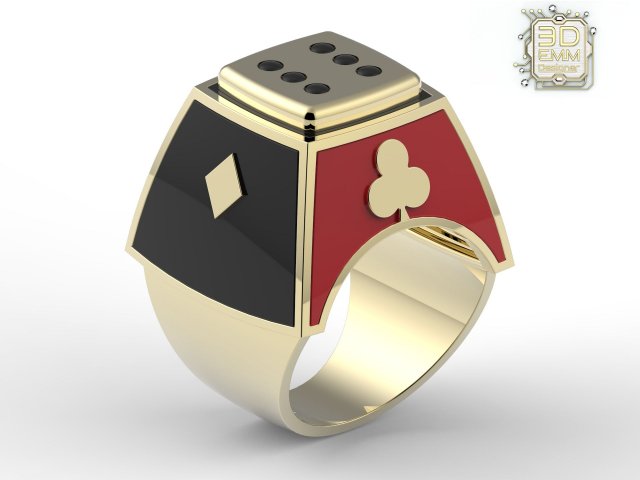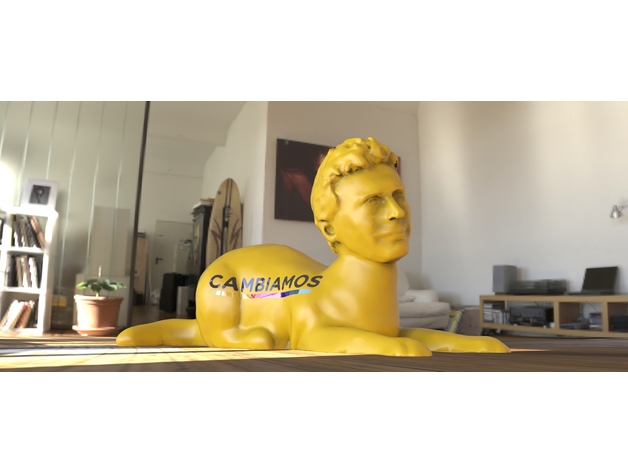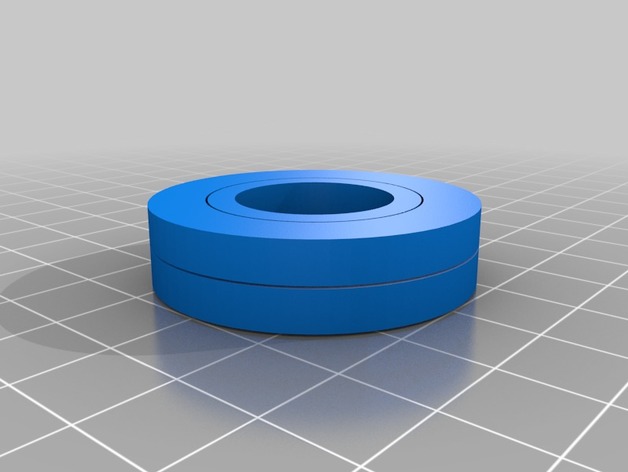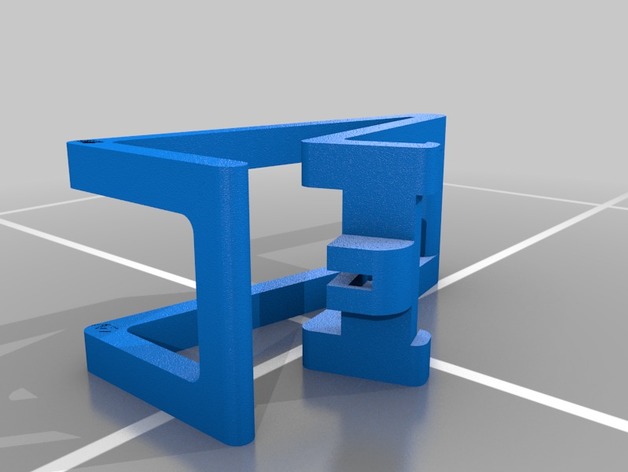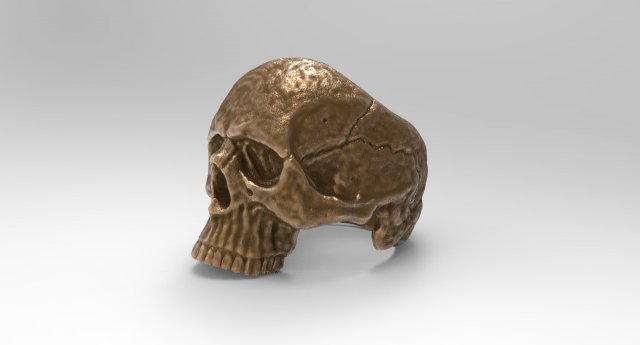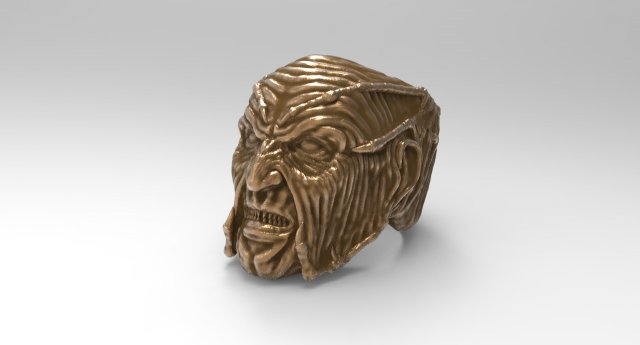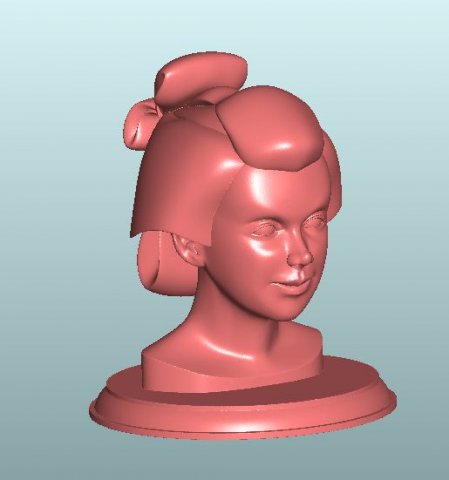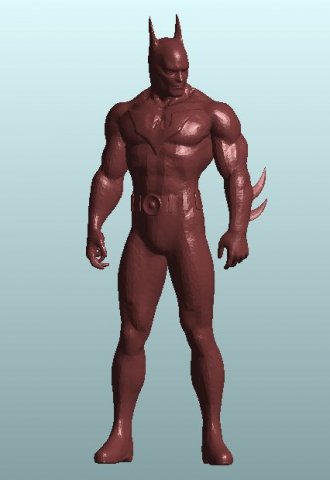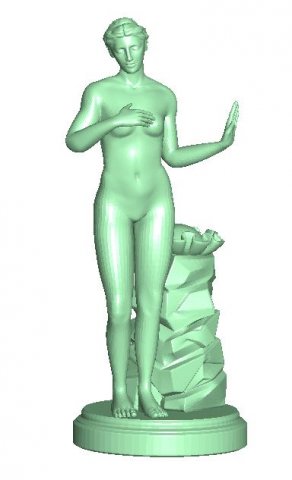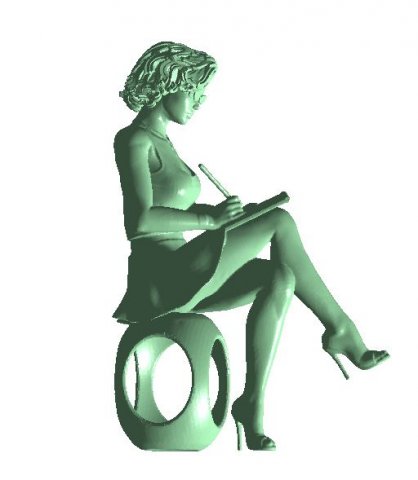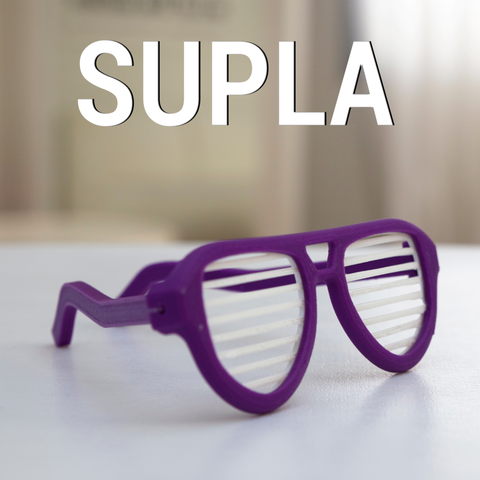
Cool sunglasses with 3 different shaped shades. Ready to print, the kind of print that will make you happy. Trust us.
Category: 3D Print Models
Premium & 3D Print models ready to be 3d printed. 3D Print Models and Free 3D Print Models are available for download in several formats including .STL, .3DM, .OBJ, .3DS, .DAE, .SKP, .BLEND, .DWG, .DXF, .STEP and much more. If you’re in search of high-quality 3D printed assets, we have a huge library of 3d print models for any of your needs. Also you can visit 3D Models and All 3D Models category.
-
Tak Piece Cutting Jig 3D Print Model
Summary
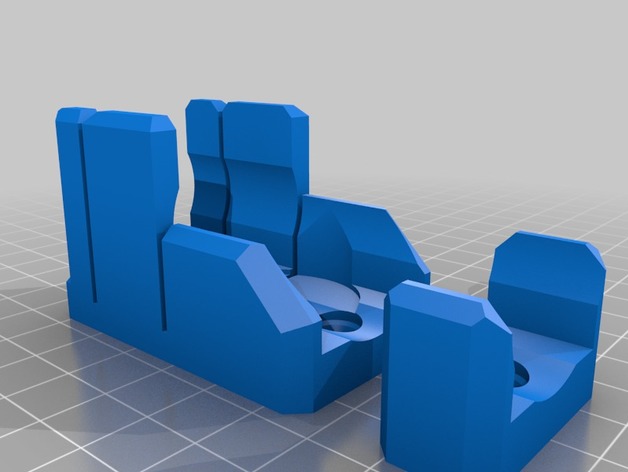
This jig is made to use with 1″ square and/or 1-1/8″ round dowel. There is an end stop for a 10mm slice (~3/8″ after sanding), and a spot to place the discs to trip a flat. The second holder is to support the length at a greater distance. There are screw holes for #6 or #8 drywall screws. that can be used to screw it down to a 1×2 or other support.
I have a portable work bench with clamping sections. I made the bottom plates to work with M3 bolts to clamp down on a slot of my workbench which secures it entirely satisfactorily. #6 bolts would likely work just as well. The holes may need to be expanded a bit, but should be tappable.
I printed the jig and support with 3 walls and 15% infill, the clamp plates with 4 walls and 35% infill. -
Heated Bed Clips 3D Print Model
Summary
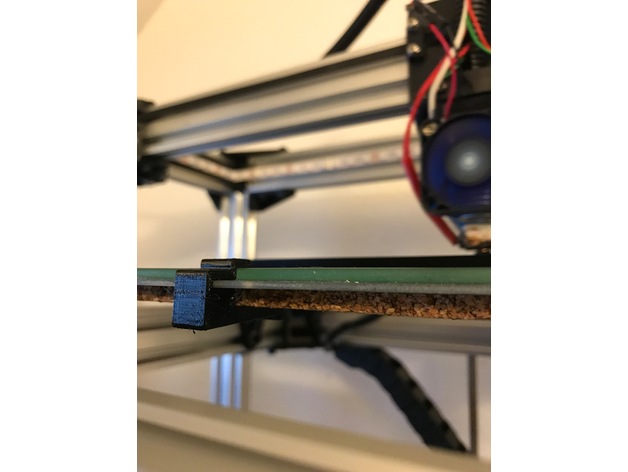
Heated bed clip for heated bed with glass and insulated with cork.
Print Settings
Printer:
DBot Supports:
No -
Bob Long Detent 3D Print Model
Summary
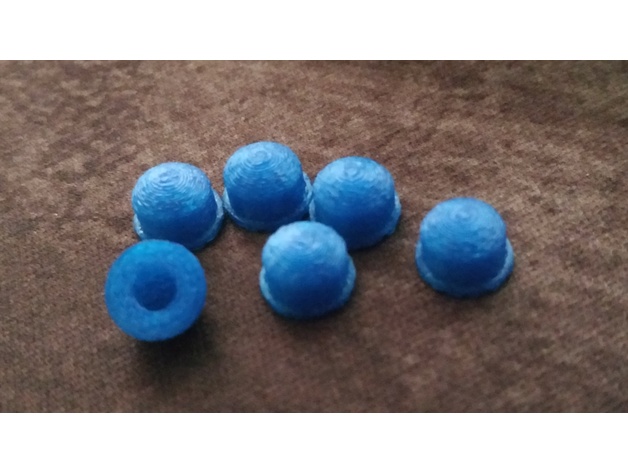
My detents on my G6r were worn down and causing me some issues so I made some replacements. They hold up so far and work perfectly.
I used PLA at 210 with a resolution of .1, no rafts, and 100% infill (its small enough it was going to be 100% either way). My original plan was to use an SLA printer but these are holding up well enough that I’m probably not going to get around to it. -
OL’ RACER 3D Print Model
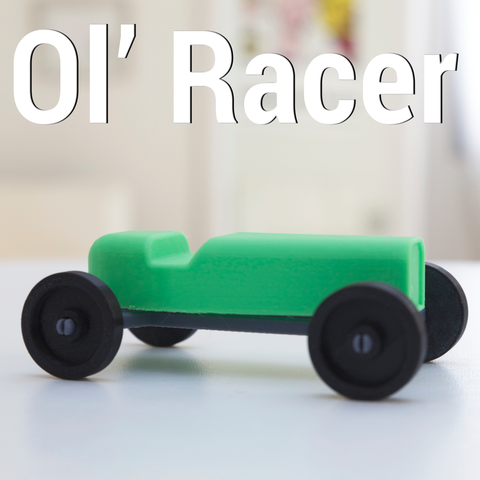
Small 3D printed racer car that you can take apart and assemble – let the races begin!!
-
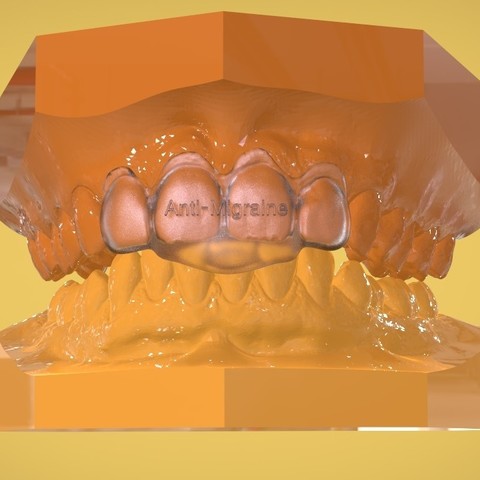
Digital Anti-Migraine Appliance 3D Print Model
Digital Anti-Migraine Appliance
3Shape Appliance Designer 2015, Rhino 5 & KeyShot Pro 5.2 -
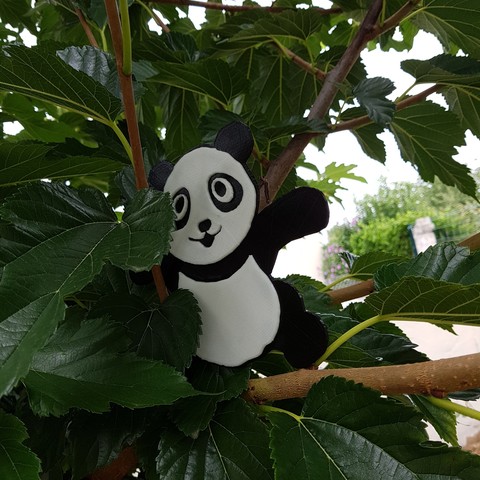
PANDA 3D Print Model
For the panda to be embossed two parties is glued to each other (the white side on the black side)
-
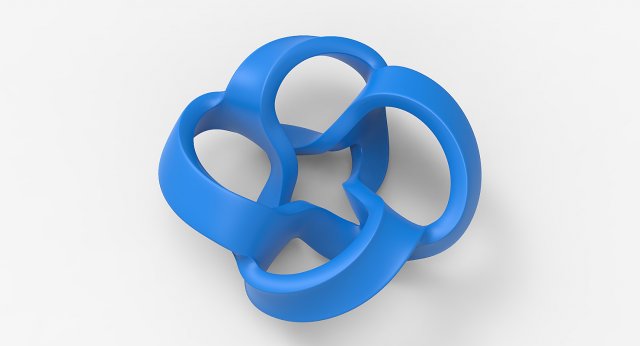
Math Object 0021 3D Model
-The 3dsmax scene file contains the base mesh with OpenSubDiv modifier applied.-The OBJ contains the base mesh only. No subdivisions applied.-The STL file is the subdivided hi-res geometry only.
-
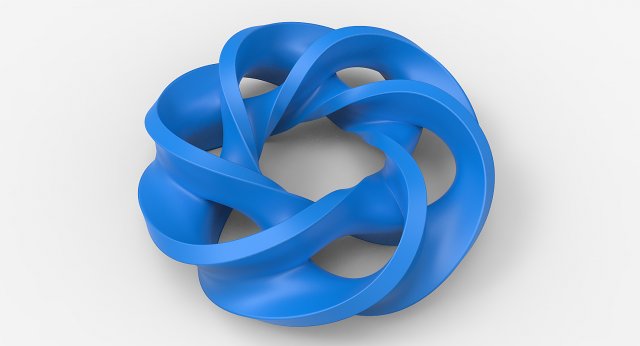
Math Object 0022 3D Model
-The 3dsmax scene file contains the base mesh with OpenSubDiv modifier applied.-The OBJ contains the base mesh only. No subdivisions applied.-The STL file is the subdivided hi-res geometry only.
-
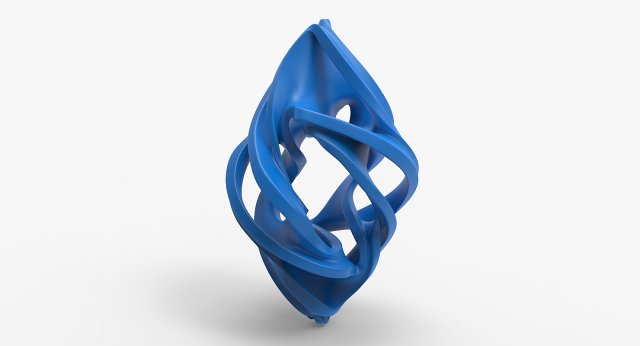
Math Object 0023 3D Model
-The 3dsmax scene file contains the base mesh with OpenSubDiv modifier applied.-The OBJ contains the base mesh only. No subdivisions applied.-The STL file is the subdivided hi-res geometry only.
-
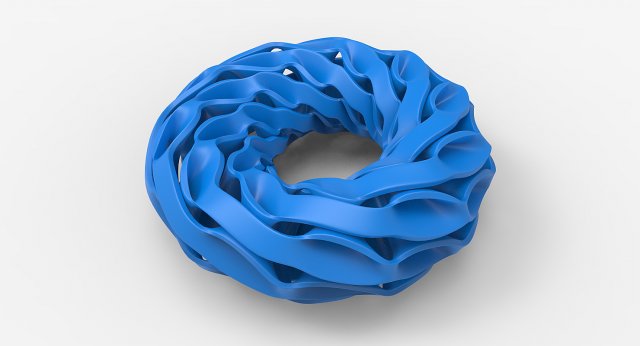
Math Object 0024 3D Model
-The 3dsmax scene file contains the base mesh with OpenSubDiv modifier applied.-The OBJ contains the base mesh only. No subdivisions applied.-The STL file is the subdivided hi-res geometry only.
-
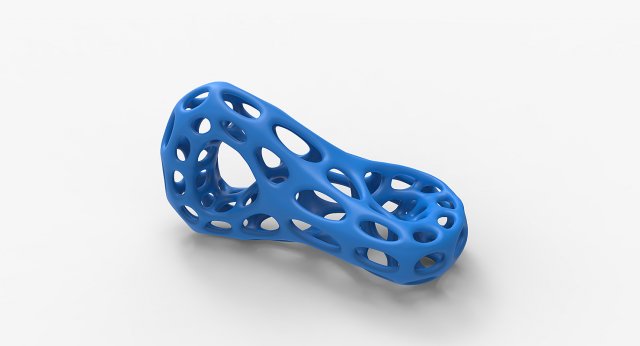
Math Object 0025 3D Model
-The 3dsmax scene file contains the base mesh with OpenSubDiv modifier applied.-The OBJ contains the base mesh only. No subdivisions applied.-The STL file is the subdivided hi-res geometry only.
-
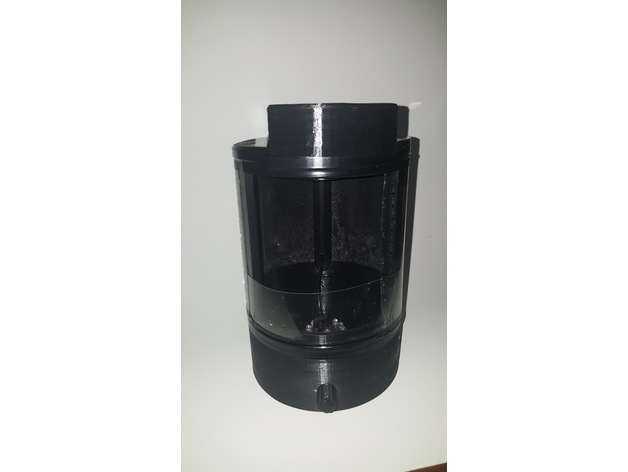
20$ Tornado(vortex) Generator 3D Print Model
Summary
Background History First
About a month ago.. I was about :the half of my peanut butter toast when my wife mentioned me that my older son has selected his subject for his third grade presentation… Tornado! Seriously! That’s great… That kind of subject spark my interest…
So I went here to find something kick-ass to spice up his presentation, I’ve found a pretty cool tornado vase… So i start printing it… I was looking at my print starting up, finishing my toast (lol)… And my brain was already at the next step… This looks great… But…. It’s so… Passive…
So i went back, and i remembered playing with bottle and tornado coupler when a was a youngster… Great found that one and start the print on another printer… Ok now the bad news… I didn’t drink soft drink so 2L bottle didn’t exist at home… Humm ok, that’s right… You could be surprised what I’m ready to do in the name of science 😉
I went back to ask my wife to buy some 2l bottle fill with any liquid , after giving explanation why i leave the table as…. She agreed to add those to the groceries list…
So i go to work… But you know… My brain was working over that… Traffic jam are a great reason to go in my wonderful alternative reality lol
So I made a great kit… Right?… Great, yes! But not awesome… Need to add some mad scientific stuff…
So I search and didn’t find something that would fill my needs…Tornado + motor = awesome!
So … I fired my freecad!
design details
This as been designed to be affordable as possible… About 20$ and that includes at least 2L of your favorite soft drinks 😉
Basic system need a 5-10$ ultrasonic mist generator 24v, and a 50-60mm 24v centrifugal computer fan and a cheap standard on-off rocker switch …
Since my 24v fan and my cheap PWM pot didn’t find their way to my home in time…I was forced to create that “CSL Editdion” (Chinese Shipping Latency Edition). Currently i use a 60mm 12v fan… Since i was forced to take down the voltage to 24 to 12 v I’ve used an lm317, some resistor and a pot that enable the operator to play with wind speed…
This design as been build with 150x150mm delta in mind… So almost any 3d printer could print that project…
Please Note: This is the first release…. post printing explanation in progress so stay tuned 😉
end of story
So after countless hours of printing and prototyping… I’ve got that working design… Which work really well…
I’m not equipped with professional photographer rig… And droplet of water lighten by led seems to saturate camera sensor… So pictures or video of the tornado are all over exposed… But no issue up to now with human eyes… It looks great if you use your bare eyes to look at it 😉
I’ve holded this design until my kid completed his presentation… You know people with 3d printer have tendency to hide between normal people…lol … Would be a nightmare if other kid in is classroom show up with the same kickass tornado generator… Lol
Be warn: the hardest part of that project was to successfully convince the teacher that my kid designed this by himself… Just joking 😀
Hope it would be useful for you… Also it make a great room humidifier 🙂 -
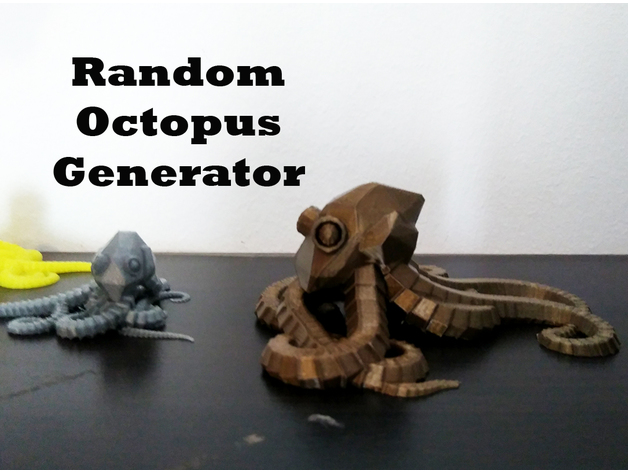
Plastic Reef #2: Random Octopus Generator 3D Print Model
Summary
Hi!
This is the second generator of Plastic reef series .
You can create random octopus in two styles: ‘organic’ and ‘mechanic’ and populate your room with this weird creatures 🙂
Every Customization generates 5 sightly random octopus. You just need to set the style (organic or mechanic) and let the customizer works.
I’ve used some code from Torleif’s openscad website: https://openscadsnippetpad.blogspot.com.es/2017/05/1-dimensional-noise.html
Hope you enjoy it!
Have fun!
Print Settings
Printer:
BQ Prusa i3 Hephestos Rafts:
No Supports:
No Resolution:
0.2 it’s ok Infill:
something between 10% – 20% Notes:
Easy print!
There’s no need to use supports. You may notice some overhangs under the figure but the are not visible. -
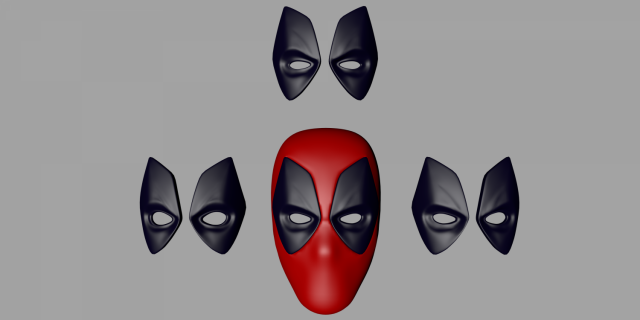
Spider-Man mask with shutter lenses and Deadpool Mask Four kinds of eyes 3D Model
№1Spider-Man mask with shutter lensesFormats of the model: OBJ,STL,3Ds.Width in centimeters 16.4inches (in) 6,3Width in millimeters 164Height in millimeters 244Depth in millimeters 139Spider-Man is a fictional superhero appearing in American comic books published by Marvel Comics. The character was created by writer-editor Stan Lee and writer-artist Steve Ditko, and first appeared in the anthology comic book Amazing Fantasy #15 (Aug. 1962) in the Silver Age of Comic Books. Lee and Ditko conceived the character as an orphan being raised by his Aunt May and Uncle Ben in New York City, and as a teenager, having to deal with the normal struggles of adolescence in addition to those of a costumed crime-fighter. Spider-Man’s creators gave him super strength and agility, the ability to cling to most surfaces, shoot spider-webs using wrist-mounted devices of his own invention, which he calls “web-shooters”, and react to danger quickly with his “spider-sense”, enabling him to combat his foes.№2Mask Deadpool has four kinds of eyes. Eyes replaceable.Formats of the model: OBJ,STL,FBX,Width in centimeters 18inches (in) 7,08Width in millimeters 180Height in millimeter 270Depth in millimeters 140Deadpool (Wade Winston Wilson) is a fictional antihero appearing in American comic books published by Marvel Comics. Created by artist/writer Rob Liefeld and writer Fabian Nicieza, the character first appeared in The New Mutants #98 (cover-dated February 1991). Initially Deadpool was depicted as a supervillain when he made his first appearance in The New Mutants and later in issues of X-Force, but later evolved into his more recognizable antiheroic persona. Deadpool, whose real name is Wade Wilson, is a disfigured and mentally unstable mercenary with the superhuman ability of an accelerated healing factor and physical prowess. The character is known as the “Merc with a Mouth” because of his talkative nature and tendency to break the fourth wall, which is used by writers for humorous effect and running gags
-
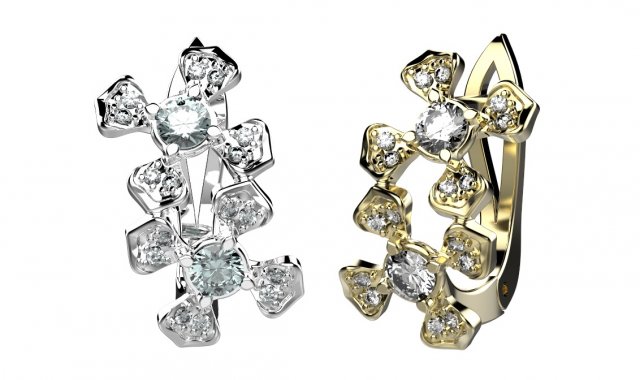
Earrings 144 3D Model
The model can be used for production, for casting and machining.STLModel is ready for prototyping on CNC and 3D Printing.Round stones in one piece:D 3.0mm – 2D 1,0 mm – 16Triangles All (3 parts) – 896070Vertices All – 1Metal weight in one piece: Gold 14k – 2,0 gramsGold 18k – 2,33 grams
-
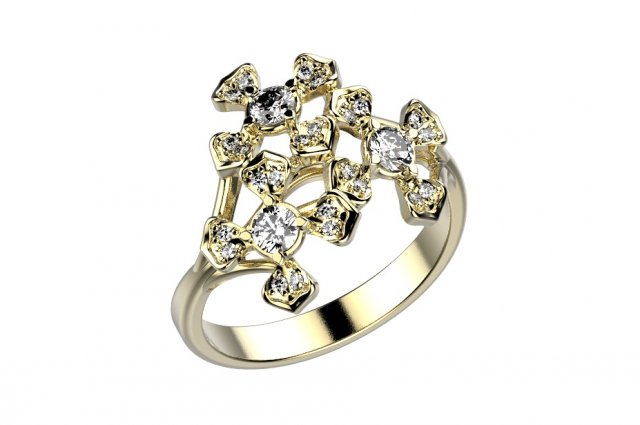
Ring 145 3D Model
The model can be used for production, for casting and machining.STLModel is ready for prototyping on CNC and 3D Printing.Round stones:D3.0- 3D1.0- 24ring size 7; 17,3Triangles All (3 parts) – 567378Vertices All – 1Metal Weight: Gold 14k – 4,22 gramsGold 18k – 4,92 grams
-
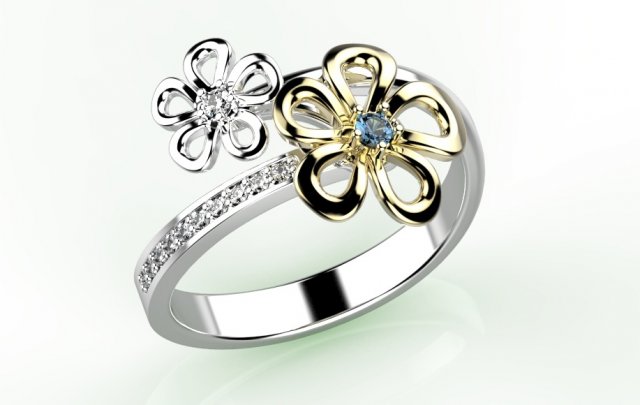
Ring 146 3D Model
The model can be used for production, for casting and machining.STLModel is ready for prototyping on CNC and 3D Printing.Round stones:D2.0- 1D1.5- 1D1.0- 10ring size 7; 17,3Triangles All (3 parts) – 396640Vertices All – 1Metal Weight: Gold 14k – 3,83 gramsGold 18k – 4,46 grams
-
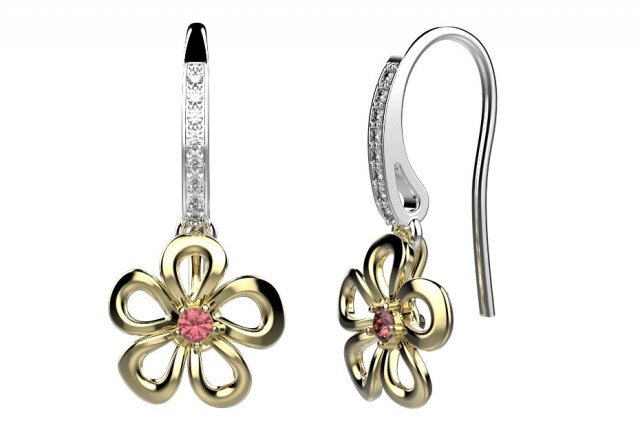
Earrings 146 3D Model
The model can be used for production, for casting and machining.STLModel is ready for prototyping on CNC and 3D Printing.Round stones in one piece:D 2.0mm – 1D 1,0 mm – 8Triangles All (3 parts) – 261268Vertices All – 1Metal weight in one piece: Gold 14k – 1,4 gramsGold 18k – 1,63 grams
-
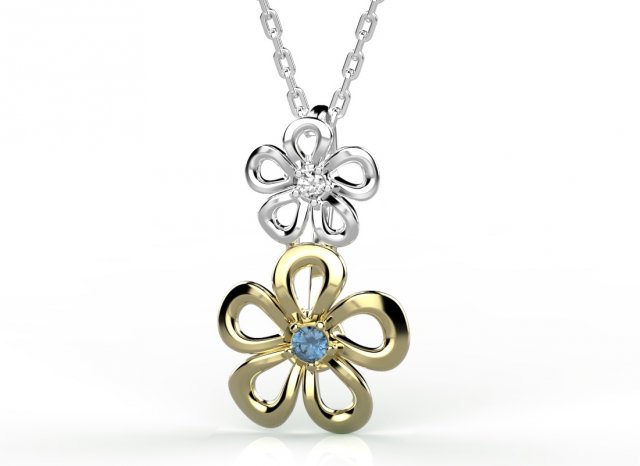
Pendant 146 3D Model
The model can be used for production, for casting and machining.STLModel is ready for prototyping on CNC and 3D Printing.Round stones:В 1,5mm – 1D 2.0mm – 1Triangles All (3 parts) – 295934Vertices All – 1Metal Weight: Gold 14k – 1,49 gramsGold 18k – 1,73 grams
-
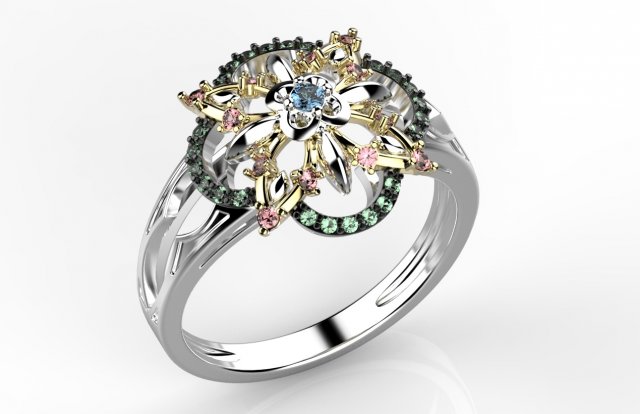
Ring 141 3D Model
The model can be used for production, for casting and machining.STLModel is ready for prototyping on CNC and 3D Printing.Round stones:D 1,0 mm – 24D 1.25mm -12D 2.0mm – 1ring size 8; 18.1Triangles All (3 parts) – 790236Vertices All – 1Metal Weight: Gold 14k – 4,78 gramsGold 18k – 5,57grams
-
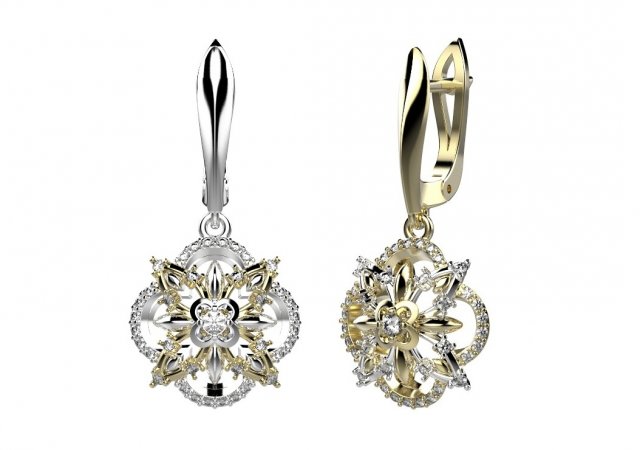
Earrings 141 3D Model
The model can be used for production, for casting and machining.STLModel is ready for prototyping on CNC and 3D Printing.Round stones in one piece:D 1,0 mm – 24D 1.25mm – 12D 2.0mm – 1Triangles All (3 parts) – 839990Vertices All – 1Metal weight in one piece: Gold 14k – 3.78 gramsGold 18k – 4.41 grams
-
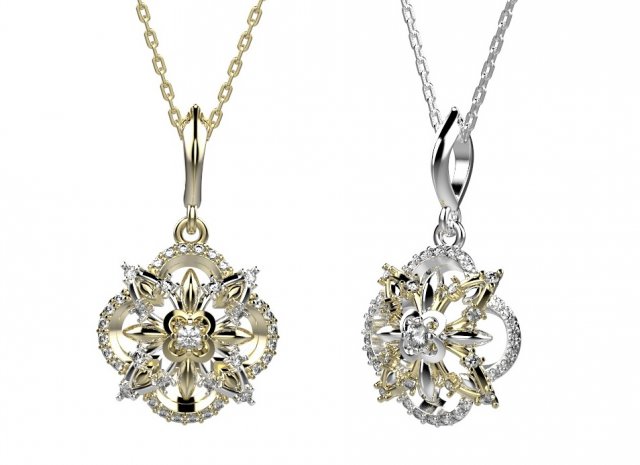
Pendant 141 3D Model
The model can be used for production, for casting and machining.STLModel is ready for prototyping on CNC and 3D Printing.Round stones:D 1,0 mm – 24В 1,25mm – 12D 2.0mm – 1Triangles All (3 parts) – 803654Vertices All – 1Metal Weight: Gold 14k – 2.84 gramsGold 18k – 3.31 grams
-
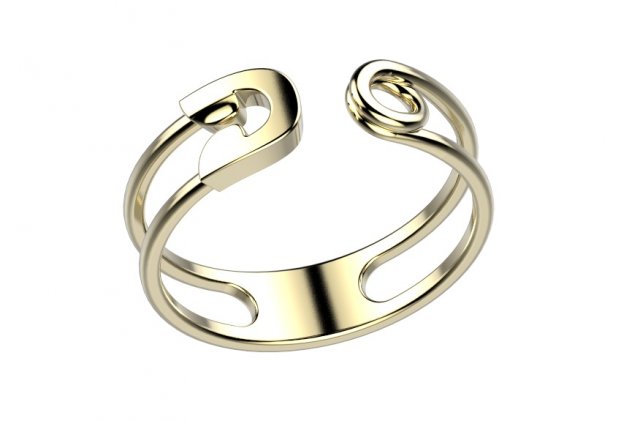
Ring 142 3D Model
The model can be used for production, for casting and machining.STLModel is ready for prototyping on CNC and 3D Printing.Round stones:ring size 7; 17,3Triangles All (3 parts) – 120250Vertices All – 1Metal Weight: Gold 14k – 2,36 gramsGold 18k – 2,76 grams
-
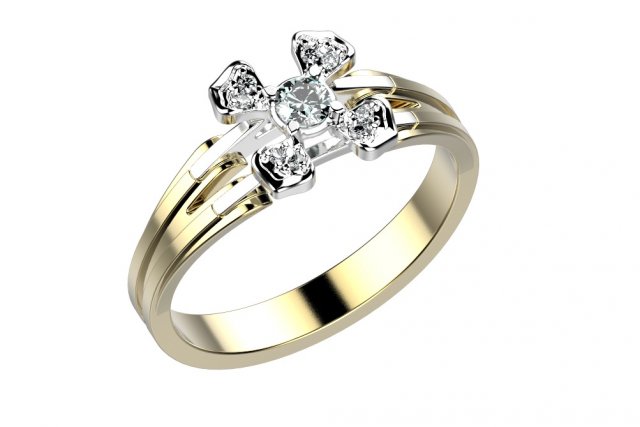
Ring 143 3D Model
The model can be used for production, for casting and machining.STLModel is ready for prototyping on CNC and 3D Printing.Round stones:D3.0- 1D1.0- 8ring size 7; 17,3Triangles All (3 parts) – 414434Vertices All – 1Metal Weight: Gold 14k – 3,35 gramsGold 18k – 3,90 grams
-
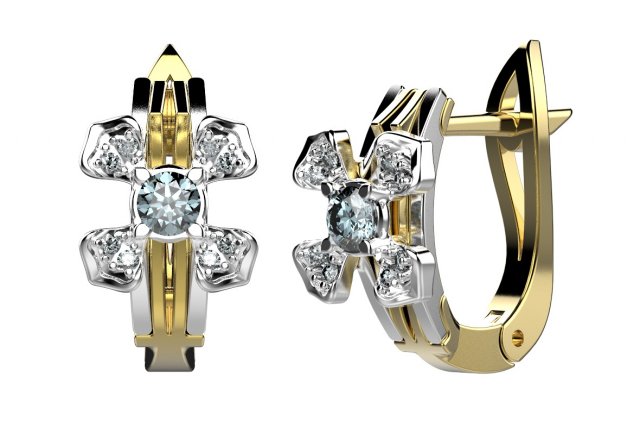
Earrings 141 3D Model
The model can be used for production, for casting and machining.STLModel is ready for prototyping on CNC and 3D Printing.Round stones in one piece:D 3.0mm – 1D 1,0 mm – 8Triangles All (3 parts) – 415668Vertices All – 1Metal weight in one piece: Gold 14k – 2,21 gramsGold 18k – 2,58 grams
-
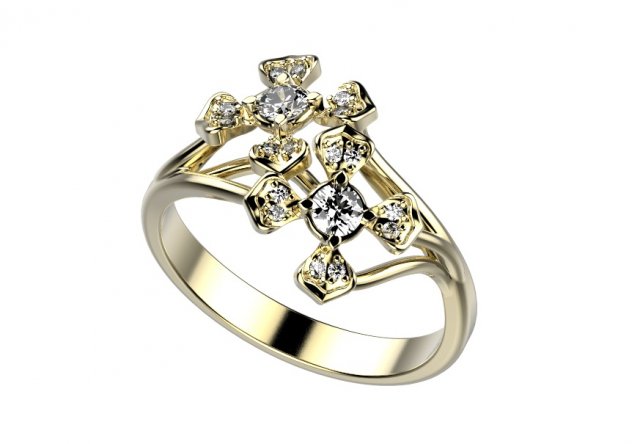
Ring 144 3D Model
The model can be used for production, for casting and machining.STLModel is ready for prototyping on CNC and 3D Printing.Round stones:D3.0- 2D1.0- 16ring size 7; 17,3Triangles All (3 parts) – 399358Vertices All – 1Metal Weight: Gold 14k – 3,62 gramsGold 18k – 4,22grams
-
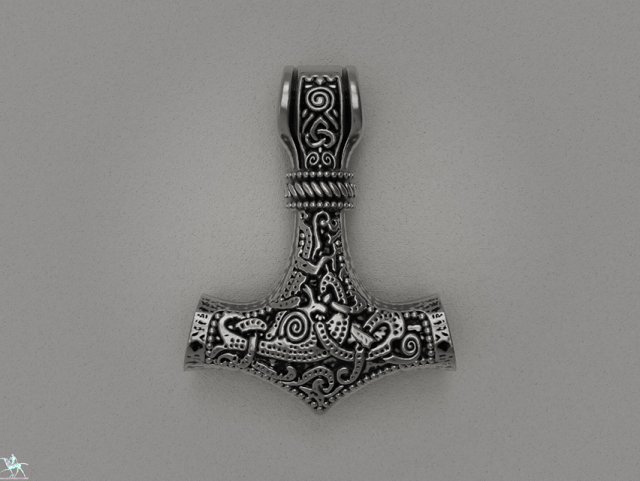
Thor hammer STL 3D print model 3D Model
Thor hammer STL 3D print modelThor hammer. Model is fully ready for 3d printing of plastic, metal or jewelry wax and CNC!Thor hammer STL 3d model for 3d printing.Recommended material – oxidized silver.silver 925 Sterling – 10 grams.Other sizes and format can be fabricated – it’s FREE, just let me know what size you want by using the contact designer button on the right.Any questions? Please contact me.
-

Pieta Statue of Virgin Mary Cradling Jesus 3D Model
Pieta Statue of Virgin Mary Cradling Jesus for 3D Printer
-
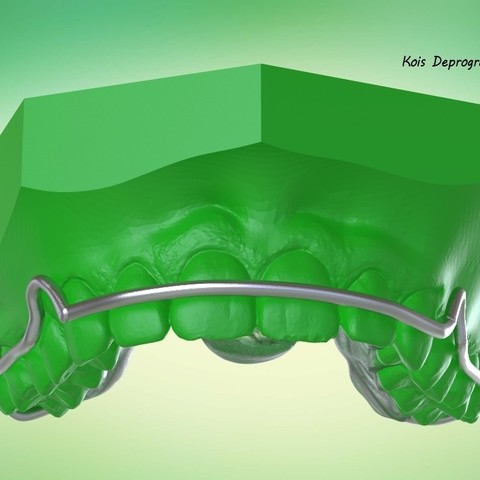
Digital Ortho Kois Deprogrammer Appliance 3D Print Model
Digital Ortho Kois Deprogrammer Appliance.for 3D printing and laser sintering.
3Shape Appliance Designer, Rhino V5 & KeyShot Pro -
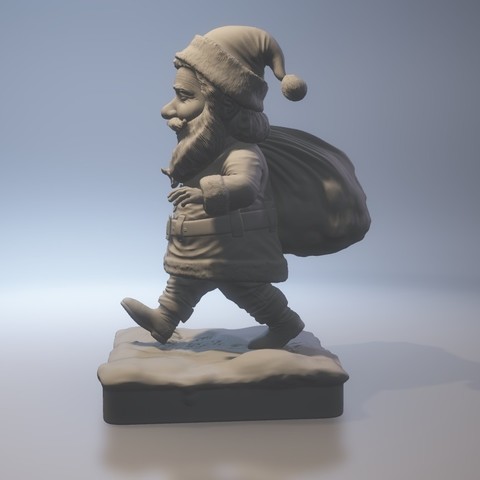
SANTA CLAUS 3D Print Model
I used to draw fanatical conduct of the storybook and the legendary 99 strange guy, there are Western East and I want them to dream of 3D color print out, came in my cupboard, so that no neighbor children endless worship me! This is the 99 second.
-
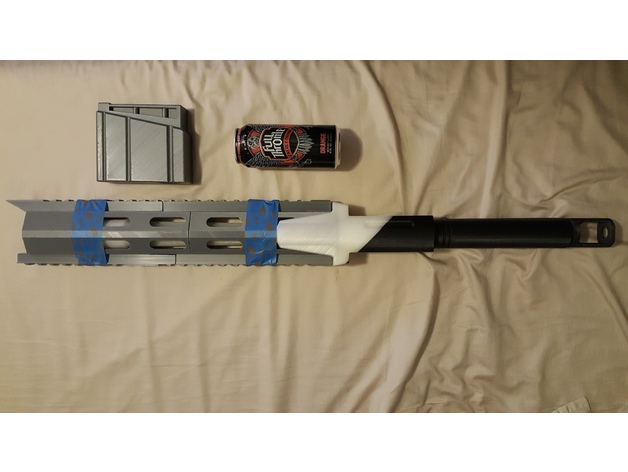
Zen Meteor 3D Print Model
Summary
First things first:
All credit for the IP of this work goes to Bungie and ActiVision; thank you for giving us this great game.
Next thing:
THIS IS NOT YOUR DAD’S MODEL TRAIN SET. I’ve re-meshed this thing from zilch; from sneezes, air pie, and trodden dreams. It WILL require hand fitment and a robust understanding of construction techniques.
With that out of the way, here it is Fam – Zen Meteor – essentially an anti-material rifle for the gunpowder hedonists in all of us. It is a true 1:1 scale of the weapon in Destiny, and as such imposes several challenges to the would-be builder. As you can see this is a work in progress – I still have to mesh out the scope, and then go through a build iteration and post best practices for assembly. Before I get these out, if you have any questions, please hit me up in PM’s and we can rap there.
CHALLENGE #1: It’s Big.
*** It’s REALLY big. It is also somewhat slender over that length, so there are critical parts and part junctures that NEED a lot of strength. Handling, showing, transporting this thing to and from CONs, cosplay parties, etc, will test its structural integrity. I’ve tried to engineer some good joints into this thing, and have a little more work to do on some pieces to give the design as much engineering cajones as it can possibly have. Also, it will take a LOT of material to print. Lastly, you may notice that the individual pieces themselves are large, too. That is because I have a 300x300x400 build area to work from, and I intend to use the whole thing. I will NOT be re-slicing these things so it can be built on an 200x200x200 printer.
CHALLENGE #2: It’s Long.
*** Building this thing for strength and handling comes at a cost, and that is time. The forend (minus the rails) took 76 hours to print. The receiver takes 100 (when you use the shells and infill that I believe is required. Even if you are more conservative on your shells and infill, I kept the pieces as large as I could to print the biggest assemblies I was able to (so the size alone will still make longer prints than you may be use to). This is primarily due to my leaning toward threaded steel rods through the receiver to join the barrel, forend, and receiver together. Doing this pretty much dictates that building it in halves is a no-go because a tensioned threaded fastener would burst the center seam apart (or it would be trying to). Ultimately, it is going to take so long to sand this thing, prime it, paint it, weather it…and attempt to get it screen accurate…I just accepted the longer print times for the extra robustness it would provide.
CHALLENGE #3: Asssembly.
*** The order in which you build this thing MATTERS, particularly when you get to the gas block, the forward and aft halves of the forend, the rails, barrel, and receiver. Since I’m still tweaking things I DON’T have a definite build strategy though I have some ideas. I’ll post the ‘tried and true’ method when I finalize all stages of assembly, but one thing that is immediately apparent up front is that the rear barrel (the pretty one with all the fluting on it and the sweet taper) will need to be sanded, painted, sealed, weathered, DONE before you put the forend together over it! And before you put the forend together, at very least the insides of the forend will have to be finished So there is a definite order of operations that should be followed – I just haven’t put anything down as gospel yet.
Ultimately, the size of this build alone make it pretty ambitious. Please give feedback with any problems you run into – I’ll try to be responsive about making any changes that need to be made in the files. As an aside, I was considering not releasing this because I like having unique things and benefitting form my work, but the community of makers and the coolness that is 3D printing is why I put all this work out in the first place. So here it is – the thing that I cut my teeth on learning Fusion 360, and breaking in my 3D printer.
Print Settings
Printer:
Creality CR 10 Rafts:
Yes Supports:
Yes Resolution:
.15mm Infill:
Varies Notes:
My thoughts on this are that shells and infill are lowest out toward the muzzle end, and progressively get denser until you reach the receiver, where they start tapering back again into the buttstock assembly. Use your best judgement, but the max I hit was 8 shells and 60% infill for the receiver. -
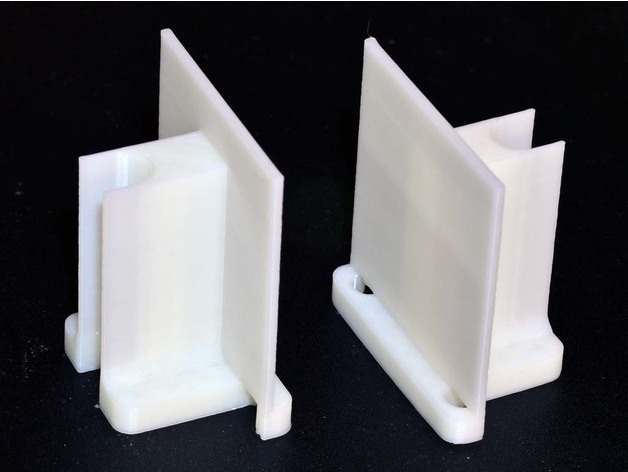
Z-Axis Balance Gauge 3D Print Model
Summary
I made a gauge as an index when adjusting the Z axis screw balance.
With this gauge you can easily and quickly adjust the balance of the Z axis.
Designed for JG AURORA A3.
The height of the gauge was 48 mm.
The gauge is approximately 0.5mm higher than the zero position of the z axis.
Print Settings
Printer:
JG AURORA A3 Rafts:
No Supports:
Yes Resolution:
ABS Layer:0.2mm Nozzle:0.4mm Infill:
20% -
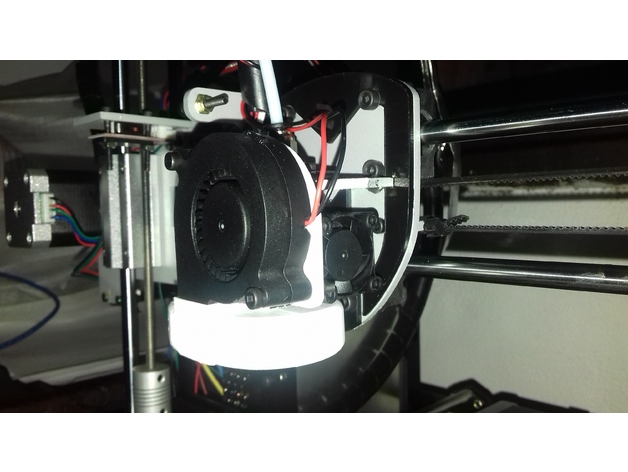
Layer Fan Duct for MakerParts 3D printer 3D Print Model
Summary
Fan Duct for the MakerParts 3D printer. This one uses a 50mm Radial Fan. The fan itself has 56.7mm between mounting holes, and the output is a rectangle whose exterior dimensions are 19.3mm x 15mm
This thing works wonderfully, and attaches to the heatsink of the E3D v6. You NEED to place kapton tape around the aluminium block of the extruder, otherwise, the fan will cool it down so much the printer will stop extruding!
With this fan duct installed, i was able to print at 200mm/s with no quality loss at all!
Ducto para ventilador de capa para la MakerParts: Este ducto utiliza un ventilador radial de 50mm (el mío lo conseguí en (http://articulo.mercadolibre.com.ar/MLA-655049187-ventilador-radial-turbina-50-mm-12-v-printalot-_JM).
El ventilador radial en sí mismo tiene 56.7mm entre los agujeros de montaje, y la salida de aire tiene 19.3mm x 15mm.
Este ducto funciona maravillosamente, y se sujeta del mismo disipador del hotend E3D v6. Es INDISPENSABLE colocar cinta Kapton (o algún otro aislante térmico) rodeando el bloque de aluminio donde está la punta del hotend, porque sino, al encenderse el ventilador del ducto, la temperatura del hotend cae tanto que es imposible seguir extruyendo!
Con este ducto de capa instalado, es posible imprimir a 200mm/s sin pérdida de calidad de impresión
Print Settings
Printer:
MakerParts Rafts:
No Supports:
Yes Resolution:
0.1 Notes:
It is advisable to rotate the piece in Cura, to minimize the support material being used
How I Designed This
Done with SolidWorks while trying to learn how to use it. -
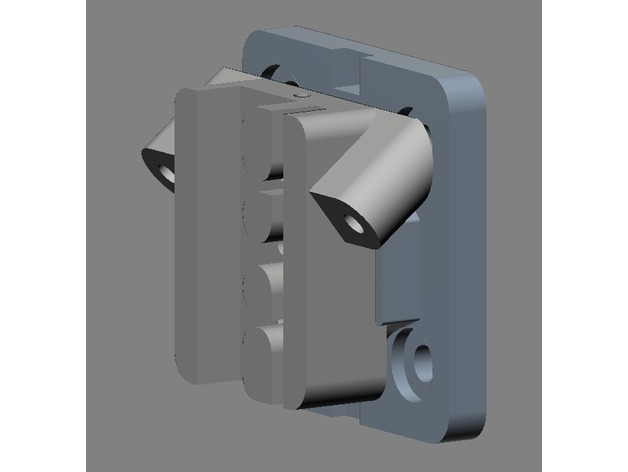
Mag Ball for open builds Mini V wheel plate 3D Print Model
Summary
The carriage and the adapter will need to be glued together.
I recommend self-tapping screws from the back side of the open builds plate into the plastic.
I am not totally satisfied with this design. It has too many construction pit falls. -
Animalarm – a sensor to control pet movements 3D Print Model
Summary
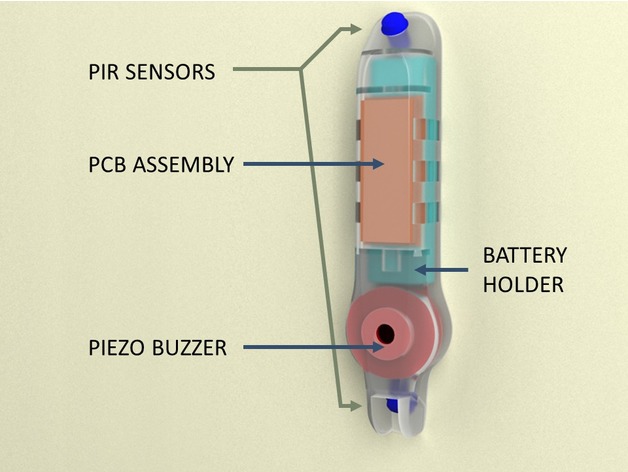
A simple but elegant project to create a “pet zone alarm” in your house. It uses infrared motion detectors to sense when a pet (or small child) is moving through a doorway or hall and sends out a loud tone. It does not beep when a (tall) person moves through the same area. With a bit of training animals recognise where they are welcome – without having to use physical gates.
NOTE: WIP – Some electronic component values are subject to change
Post-Printing
Caveats
Obviously, you will need to be able to get the PCB manufactured. The files are all there to do so and it is very cheap. And of course you need the skills and equipment to source and assemble the electronics!
If you want to use a different buzzer, you will need to make your own shell – but the electronics at least will work for you… Application
There is a single trimpot to set the length of the beep, once the alarm is triggered. You can also change component values (C1 in particular) to alter the delay before the alarm goes of before triggering the alarm. Set it longer if the system is triggering falsely.
There are pads in the 3D print design at the top and bottom of the Animalarm. Use double sided tape or bluetack at those locations to mount the alarm on the wall / doorway.
How I Designed This
How this works
The Animalarm uses two PIR (passive infrared) detectors to detect and discriminate between pets and people. The detector needs to be mounted on a door / wall about a meter above the ground. One PIR “looks down”, the other “looks up” to detect motion. A pet only triggers the lower detector and sets of the alarm. If a person is detected, the alarm either never triggers or is shut off.
The circuitry is built around a single CMOS chip and a few transistors – and of course battery, buzzer and PIR detectors. The circuitry is incredibly power efficient, drawing less than 30µW normally and only 10mA when triggered. This means the batteries will probably last a year in normal use… Electronics
The attached files include:
the Eagle design files (schematic and PCB)
Circuit schematic
PCB layers images
Gerber files for the PCB to be produced by seedstudio.com
List of special components and their sources
All the components are incredibly cheap; the PIR detectors are less than $2, the circuit board less than $1; indeed the most expensive component is the buzzer. The total component cost is about $15 (printed shell aside) -
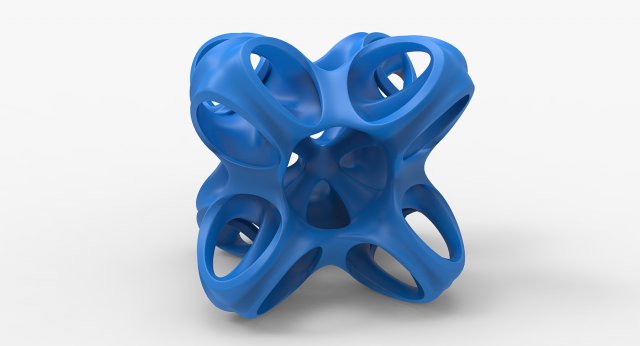
Math Object 0017 3D Model
-The 3dsmax scene file contains the base mesh with OpenSubDiv modifier applied.-The OBJ contains the base mesh only. No subdivisions applied.-The STL file is the subdivided hi-res geometry only.
-
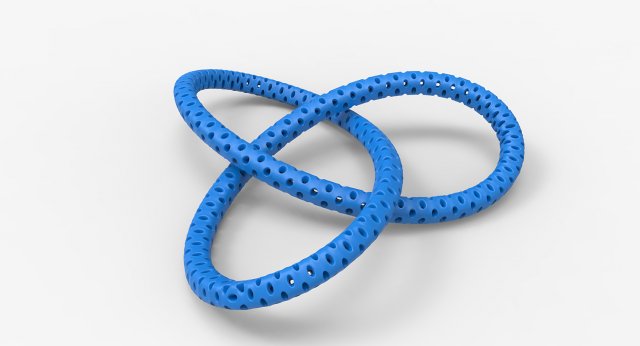
Math Object 0018 3D Model
-The 3dsmax scene file contains the base mesh with OpenSubDiv modifier applied.-The OBJ contains the base mesh only. No subdivisions applied.-The STL file is the subdivided hi-res geometry only.
-
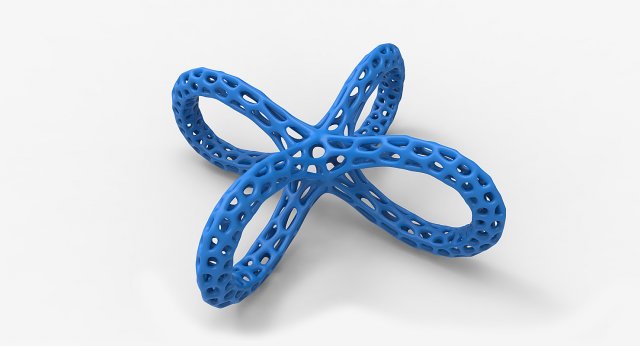
Math Object 0019 3D Model
-The 3dsmax scene file contains the base mesh with OpenSubDiv modifier applied.-The OBJ contains the base mesh only. No subdivisions applied.-The STL file is the subdivided hi-res geometry only.
-
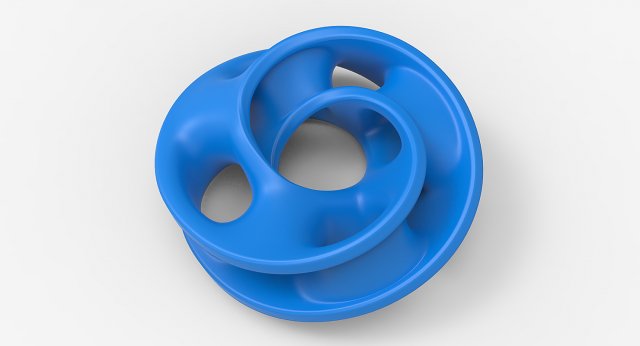
Math Object 0020 3D Model
-The 3dsmax scene file contains the base mesh with OpenSubDiv modifier applied.-The OBJ contains the base mesh only. No subdivisions applied.-The STL file is the subdivided hi-res geometry only.
-
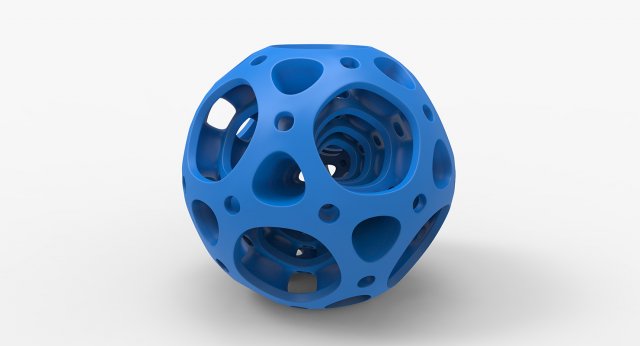
Math Object 0016 3D Model
-The 3dsmax scene file contains the base mesh with OpenSubDiv modifier applied.-The OBJ contains the base mesh only. No subdivisions applied.-The STL file is the subdivided hi-res geometry only.
-
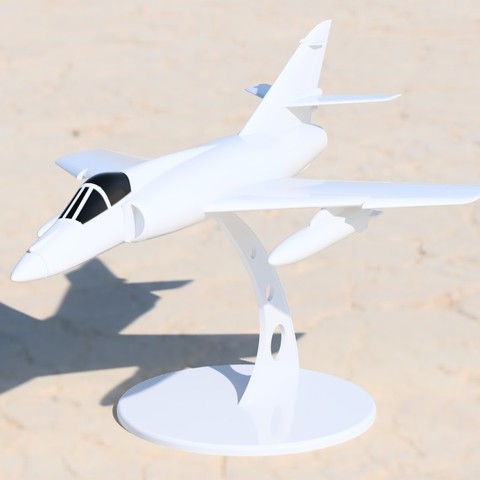
Dassault Super Etendard scale model 3D Print Model
This is a 1/64 scale model of the great Dassault Super Etendard aircraft. Its has been designed and divided in pieces to be easily 3D printed.
-
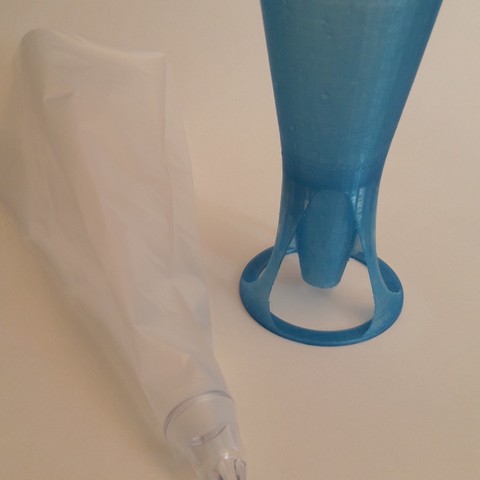
Support for socket pocket / icing bag support 3D Print Model
I gag each time with my sleeve pocket using what I find on hand, I needed some support. Not finding a nice model, I attacked it on FreeCAD.
-
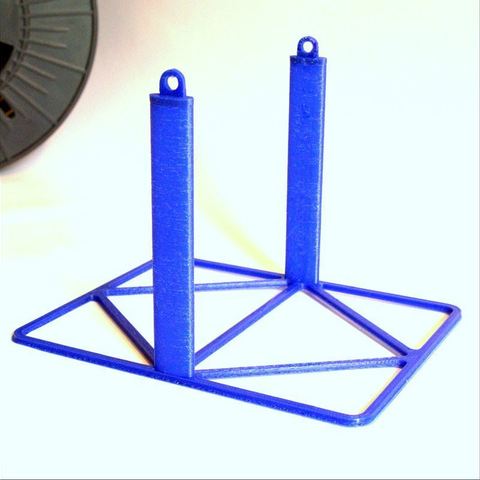
Ecodesign spool holder 3D Print Model
The useful spool holder.
External diameter of the spool up to 210mm.
A 110 mm long axis fixed by screws of 5 mm.
Reduced to the maximum for the minimum of matter.
with upright of 0.4 mm thickness. -
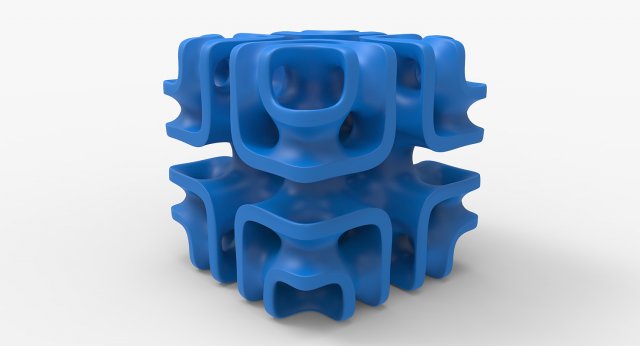
Math Object 0013 3D Model
-The 3dsmax scene file contains the base mesh with OpenSubDiv modifier applied.-The OBJ contains the base mesh only. No subdivisions applied.-The STL file is the subdivided hi-res geometry only.
-
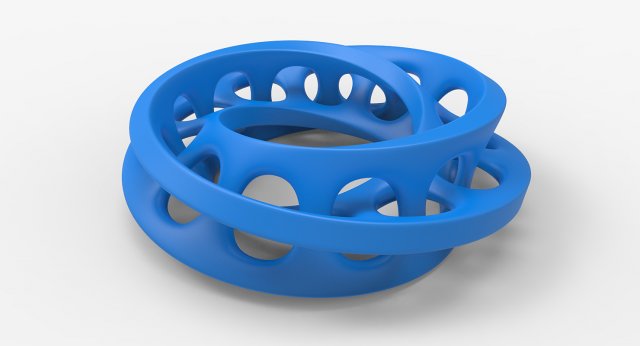
Math Object 0014 3D Model
-The 3dsmax scene file contains the base mesh with OpenSubDiv modifier applied.-The OBJ contains the base mesh only. No subdivisions applied.-The STL file is the subdivided hi-res geometry only.
-
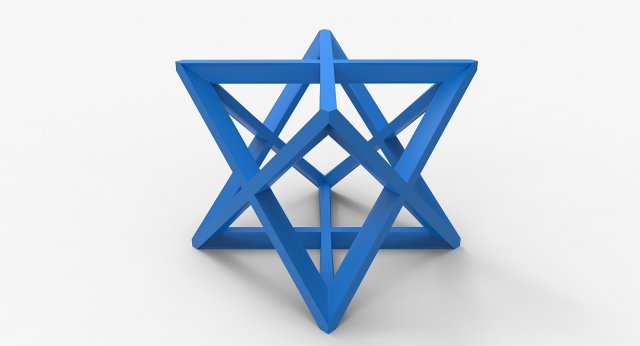
Math Object 0015 3D Model
-The 3dsmax scene file contains the base mesh with OpenSubDiv modifier applied.-The OBJ contains the base mesh only. No subdivisions applied.-The STL file is the subdivided hi-res geometry only.
-
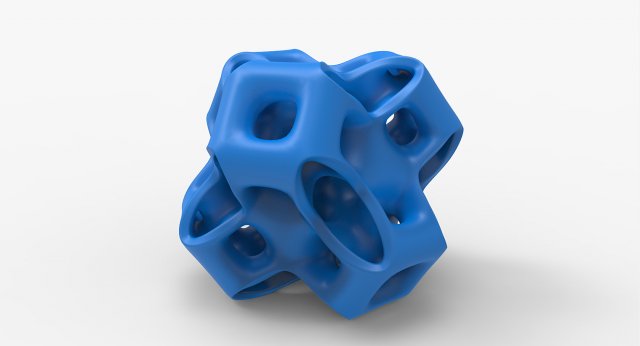
Math Object 0012 3D Model
-The 3dsmax scene file contains the base mesh with OpenSubDiv modifier applied.-The OBJ contains the base mesh only. No subdivisions applied.-The STL file is the subdivided hi-res geometry only.
-

Anniversary medal 3D Model
Jubilee medal, High-quality modelAvailable formats: obj, .fbx, /.lws, .3ds, .3dm, .dxf / .dwg, .stl.Zavantazhiti 3D Model Anniversary Medal by VitAnGen
-
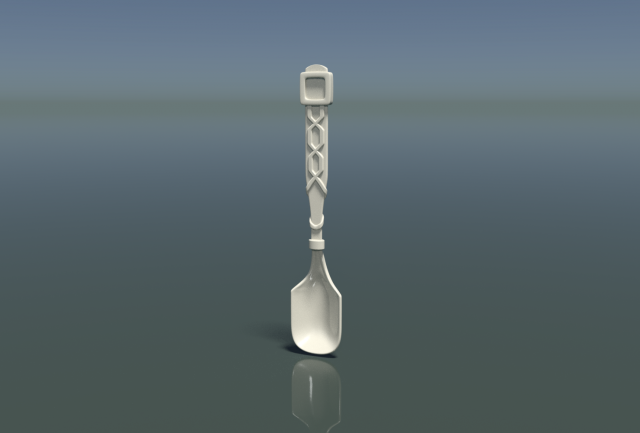
Teaspoon 3D Model
High poly Teaspoon.Ready for printing, watertight, manifold, wall thickness more than 1 mm.Checked with shapeways and Blender.File contains one mesh object.Meters was used as measure units, it is about 15 cm in height.native format is .blend.Available formats: .blend, .stl, .obj, .fbx, .3dsfaces: 69 343Presentation consists from screenshots and render in Cycles.
-
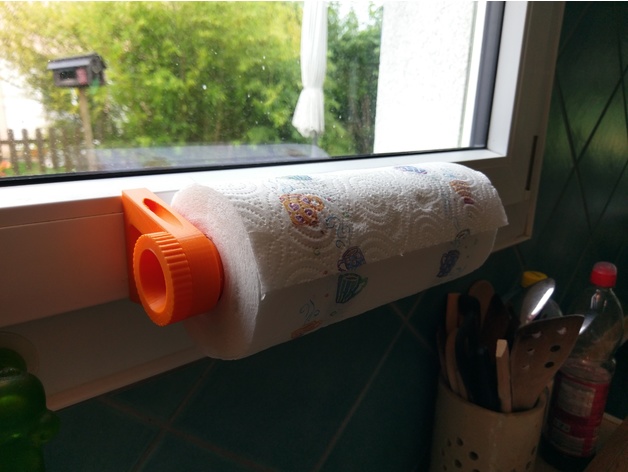
Paper holder 3D Print Model
Summary
Nothing to do post-printingOverview and Background
Requirement
You need 4 screws to fix the two supports 🙂
Lesson Plan and Activity
Printing
You can print the two different pieces in one shot 🙂 -
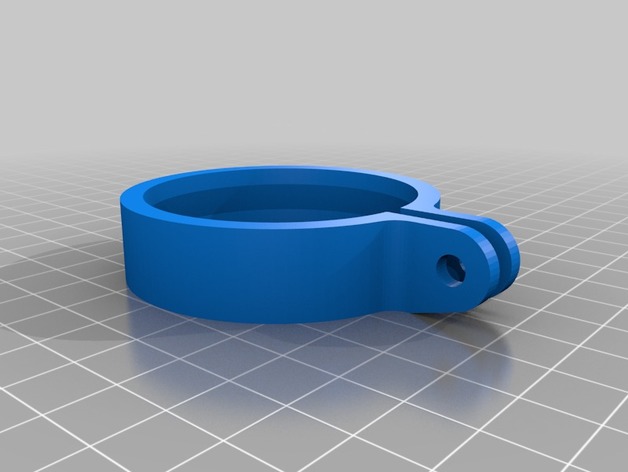
Antech Light to GoPro Bracket 3D Print Model
Summary
This is a bracket to adapt an Antech light (http://a.co/jfEcPOR) to a standard GoPro mount.
Print Settings
Printer Brand:
Tinkerine Printer:
Ditto Pro Rafts:
Yes Supports:
Yes Resolution:
0.2mm Infill:
80% Notes:
The default mount that came with the light did not seem strong enough to resist a mountain bike ride, which is what I need it for.
I included a cutout for the cable to exit towards the front, but there is actually enough space for it to go directly to the back between the “legs”, as shown on the pictures.
Post-Printing
After printing, I had to trim a bit the bottom face for the stop to fit in the grove between the cooling fins. Also, the fit was extremely tight; the GoPro mount was really bent at first. After a few days under stress, it looks like the bracket extended a bit and now the fit is perfect.
The model I uploaded has a slightly larger inner diameter and slightly thinner stop, so that should provide an easier fit (although not tested). -
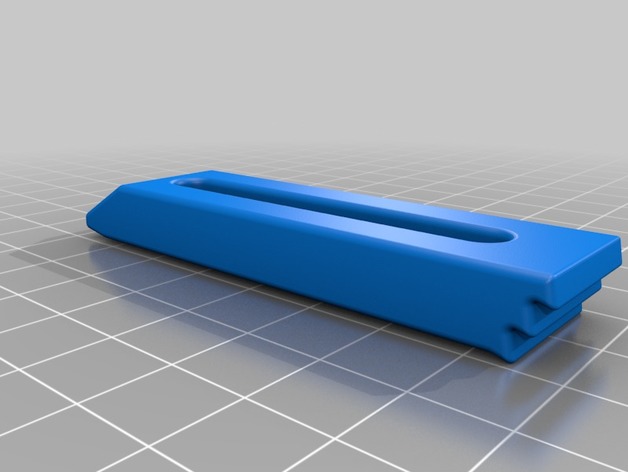
3D Carving Clamp for Inventables 3D Carving Clamp Set 3D Print Model
Summary
These are additianal/disposable clamps for the Inventables Clamp Set for 3D Carving.
I uses these 3D printed clamps when I think I might cut into a clamp.
I can also make really long clamps by changing the “clamp_body_length” variable in my OnShape design (see below).
Print Settings
Printer Brand:
SeeMeCNC Printer:
Rostock MAX v2 Rafts:
No Supports:
No Resolution:
<= 0.3 Infill:= 40%
Notes:
Print upside down so the teeth on the back face up.
The tip angle is such that it should not require supports.
How I Designed This
Designed in OnShape
https://cad.onshape.com/documents/22648524c1495f64cd5b693a/w/048698dabc7cae365e489c8b/e/e801f7bacb52b1e5d2d05e7d -
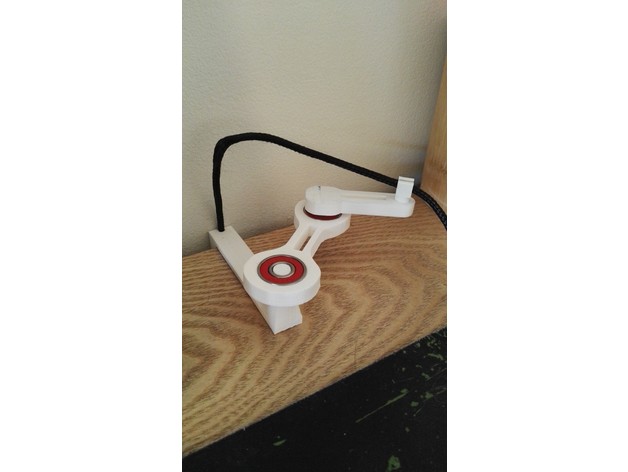
Table mount for “Mouse Bungee V3 by mer_at” 3D Print Model
Summary
A desk mount for the “Mouse Bungee V3 by mer_at”. Using all the same files as on the original but replaces the base with a desk mount. -
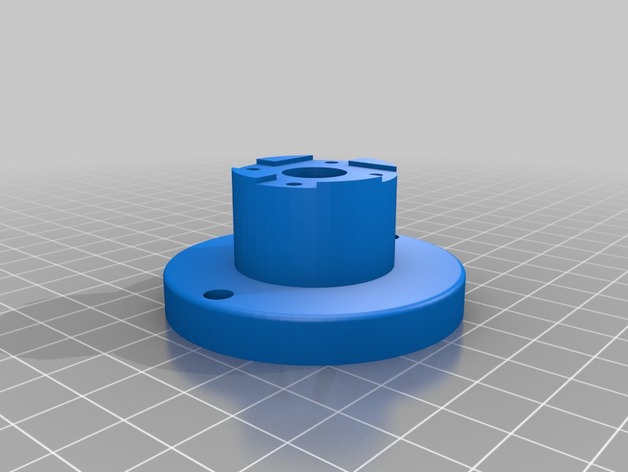
PIECES POUR AEP avec arduino nano (HOME-MADE) 3D Print Model
Summary
Quelques pièces pour fabriquer un allumage électronique programmable pour Véhicules anciens (A allumeur, et rupteur) -
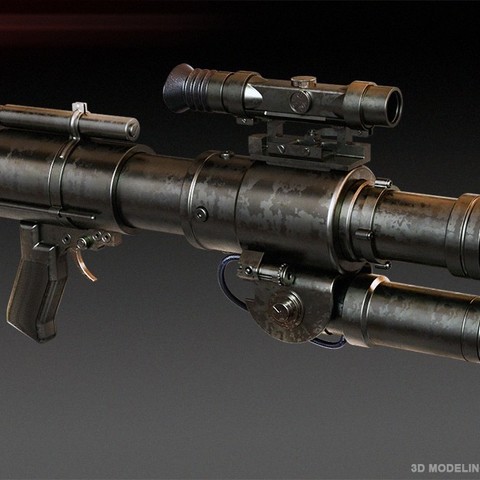
CJ-9 bo-rifle 3D Print Model
The CJ-9 bo-rifle was a model of bo-rifle used by the Alliance to Restore the Republic and the Galactic Empire during the Galactic Civil War
Source for professionals creating props .
size; 841 mmm -
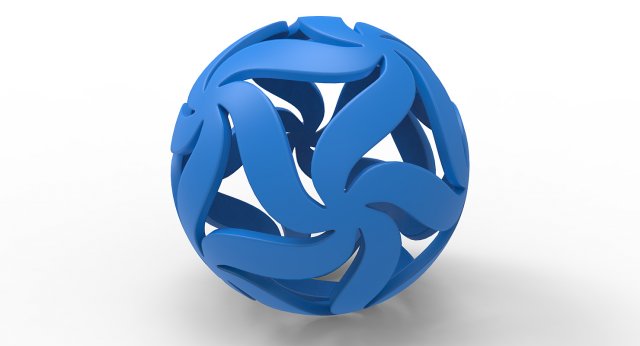
Math Object 0011 3D Model
-The 3dsmax scene file contains the base mesh with OpenSubDiv modifier applied.-The OBJ contains the base mesh only. No subdivisions applied.-The STL file is the subdivided hi-res geometry only.
-
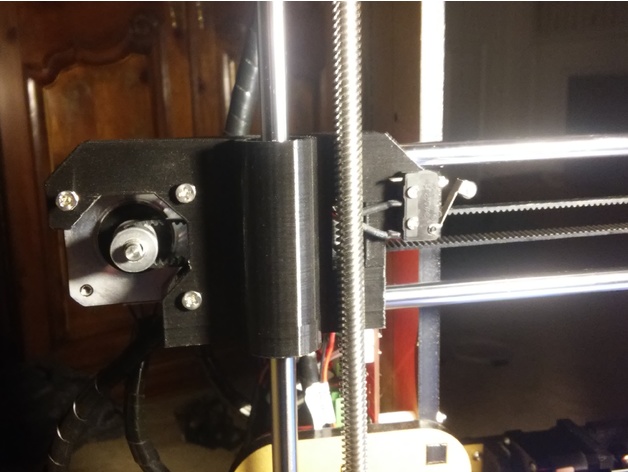
Z-axis Wobble Isolation Bearing Blocks 3D Print Model
Summary
Isolated bearing blocks for Z-axis. No mounts for brass nuts.
Left bearing block has been scalloped, to allow Y-axis trigger switch to be mounted from the rear.
Right bearing block has been scalloped to allow recessed idler pulley arm.
Appropriate idler pulley arm included in file bundle.
Use with integrated Z-axis wobble isolation risers here: https://www.thingiverse.com/thing:2458534 -
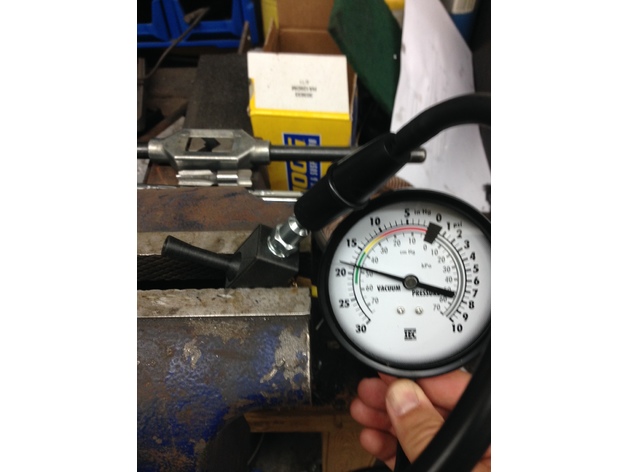
Vacuum Ejector 3D Print Model
Summary
This is a vacuum ejector designed for compressed air to vacuum generation. Advantages of this type of vacuum generation is that it is instant when compressed air is applied it starts generating vacuum. Also, it can handle contaminants in the vacuum flow. As long as the contaminants being ingested in the vacuum port are smaller that the mixing tube diameter (3mm in this case) the ejector will not be blocked.
The input port injects compressed air that is exhausted on the output port. Air in the mixing chamber is entrained in the flow and a vacuum is developed. I have measured 18.5″ of mercury (-9PSI) on the vacuum port with 0 flow. I don’t have a flow gauge so I can’t judge efficiency or flow with an open input.
Graphs with the input pressure and vacuum achieved are attached.
Both the compressed air input and vacuum ports are designed to be tapped with a 1/4″ NPT thread. The wall taper matches the NPT thread and allows easy connection to air fittings.
Print Settings
Printer Brand:
Wanhao Printer:
Duplicator 6 Rafts:
No Supports:
No Resolution:
.1mm layer height Infill:
25% Notes:
Using Simplify3d variable thin wall extrusion can help print quality with the fine features. A minimum of 1.6mm wall thickness is needed to avoid the NPT tap from breaking through.
How I Designed This
This design was based of research on steam ejectors and air vacuum generators. There is little useful documentation on the design of these I have found. There were three previous version that did not perform as well (max 5″ of Hg) before I looked at steam ejectors.
The main improvement is the ratio between the expansion tube and the length of the expansion tube. The initial designs had short expansion tubes, but a ratio of 7 for the expansion tube diameter to length greatly improved things.
Since this design tops out at ~75psi, I suspect that I need to look at the mixing tube diameter to prevent supersonic flow. This should improve performance at higher input pressures. -
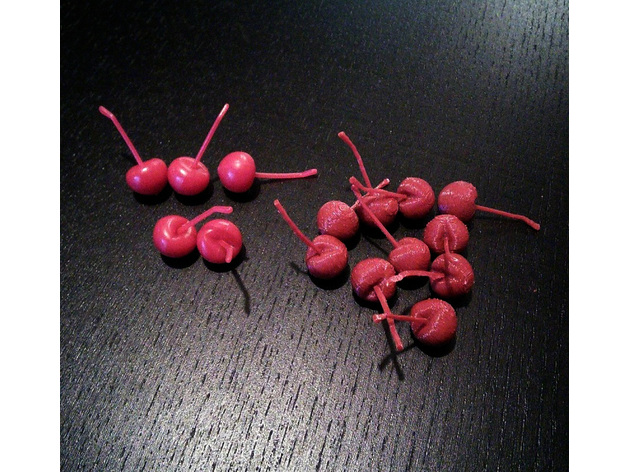
Hi-Ho Cherry-O: replacement cherries 3D Print Model
Summary
Replacement cherry for “Hi-Ho! Cherry-O!”
Print the cherry on its side, with supports. The cherry stem may be difficult to remove from supports without breaking the stem off; if needed, use a knife to separate the support material. -
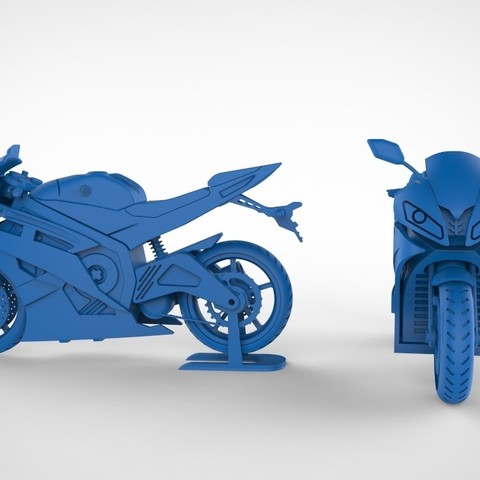
Yamaha R6 3D Print Model
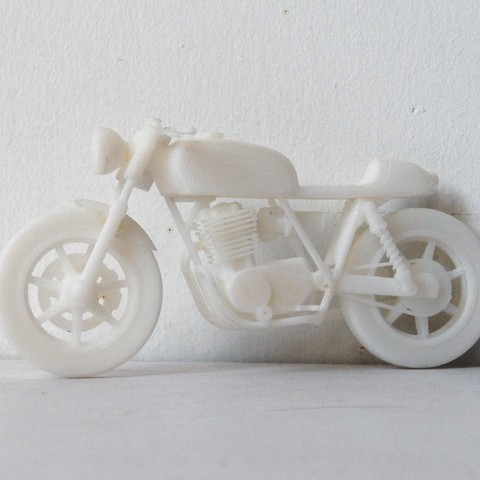
3D Model of Yamaha R6 bike. All the parts are separate files and need to be glued once all the parts are printed. Its designed as multiple parts to print with ease and less support usage.
-
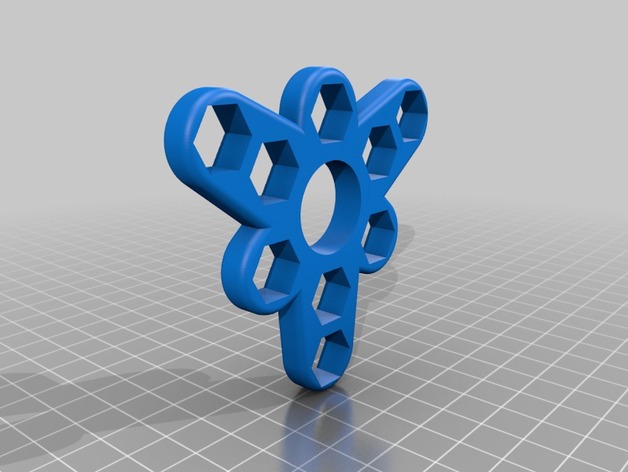
Fidget 9 nut 3D Print Model
Summary
This fidget has 6 legs of which 3 contain 1 nut each and the other 3 contain 2 nuts each. This is to make the fidget heavier to have more kinetic engery when spinning, but not too much to add exessive friction on the bearing. -
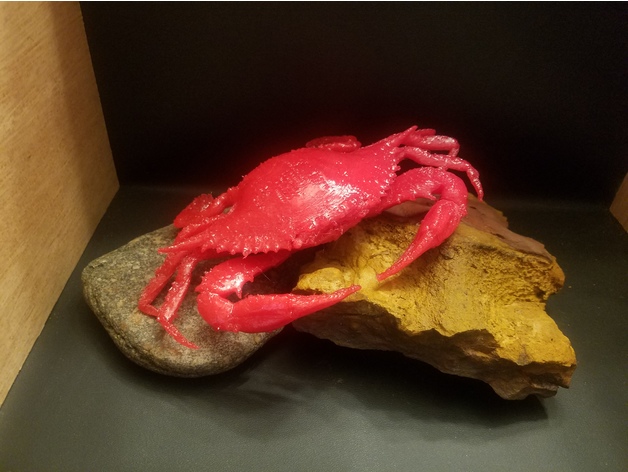
Maryland Blue Crab 3D Print Model
Summary
3D model of a female Maryland blue crab
The 3D model was created from CT scan data (11M triangle OBJ file) at the Smithsonian Institution – Digitization | 3D https://3d.si.edu/
To simplify printing, the .obj file was simplified in MeshLab to reduce the object faces down from 11,317,504 to 2,000,000 faces and exported as an .stl file.
Print Settings
Printer:
Prusa Wilson Rafts:
No Supports:
Yes Resolution:
0.2 mm Infill:
35% Notes:
Model printed in translucent magenta PETG. Object was sliced upside-down with supports to ensure the legs came out well.
Post-Printing
Cleaning up the print
After careful removal of supports and light sanding (with a Dremel, of course), the object was coated in XTC-3D and cured for 30 min at 150C. -
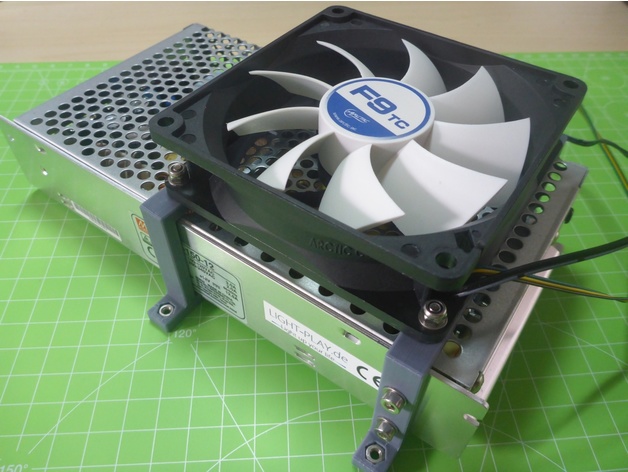
RS-150-12 Bracket / Fan Mount 92mm 3D Print Model
Summary
RS-150-12 bracket and fan mount for 92mm fan.
The front bracket (filename_F) has two mounting holes to secure the power supply (M3*8).
To attach it to the board, simply drop four M3 nuts into the holes.
Mounting Holes: 118,5mm x 82,5mm x 3,5mm