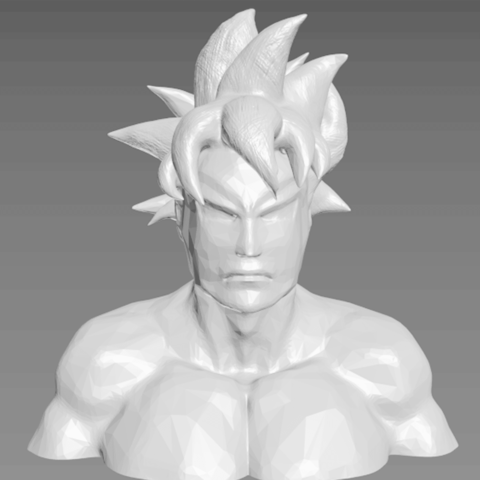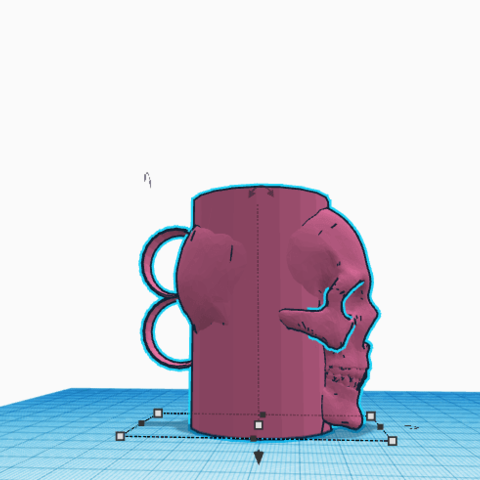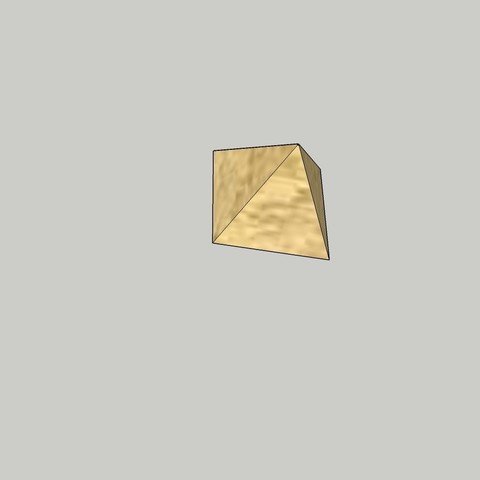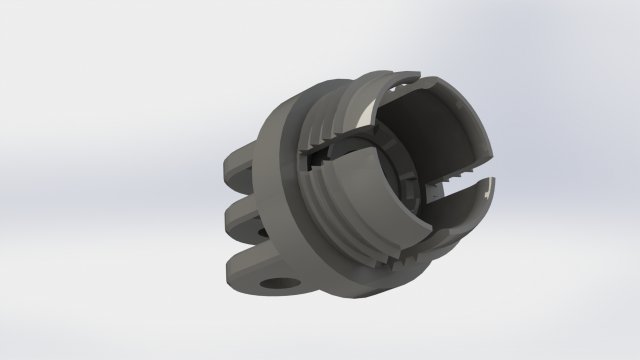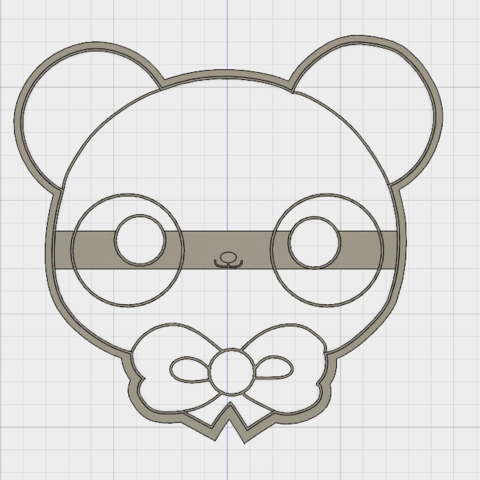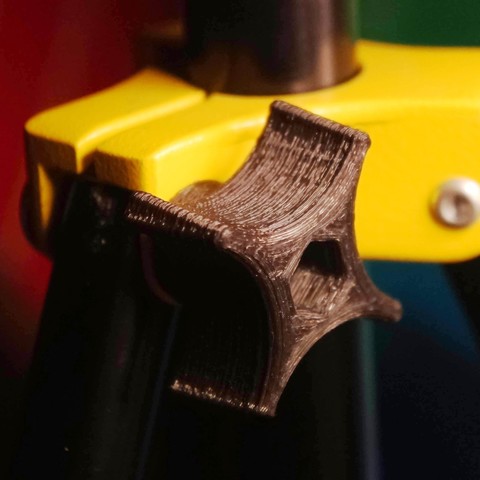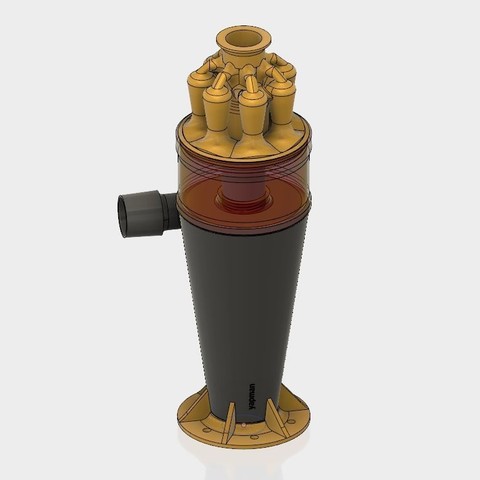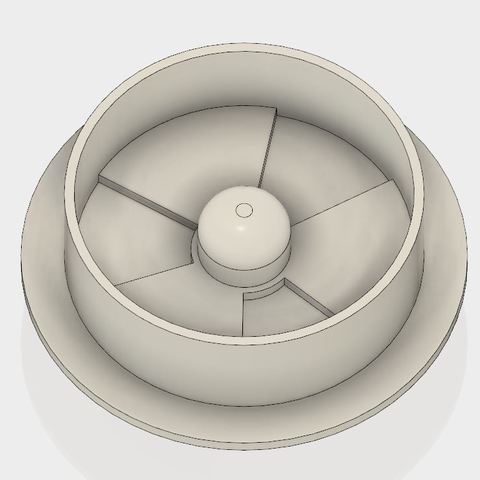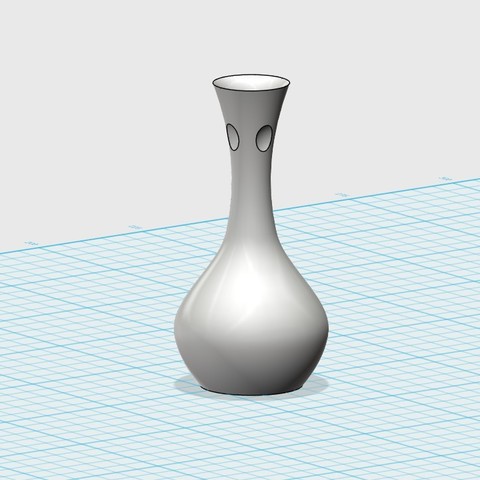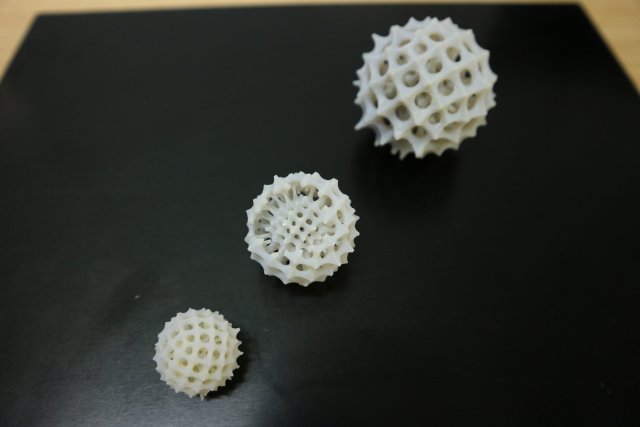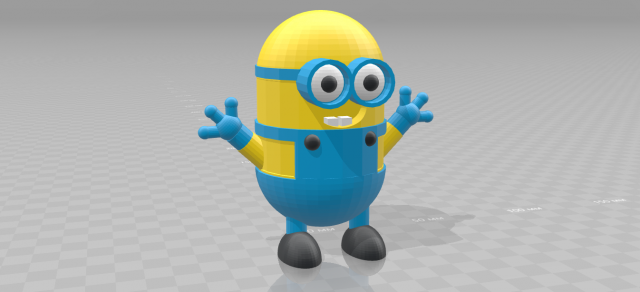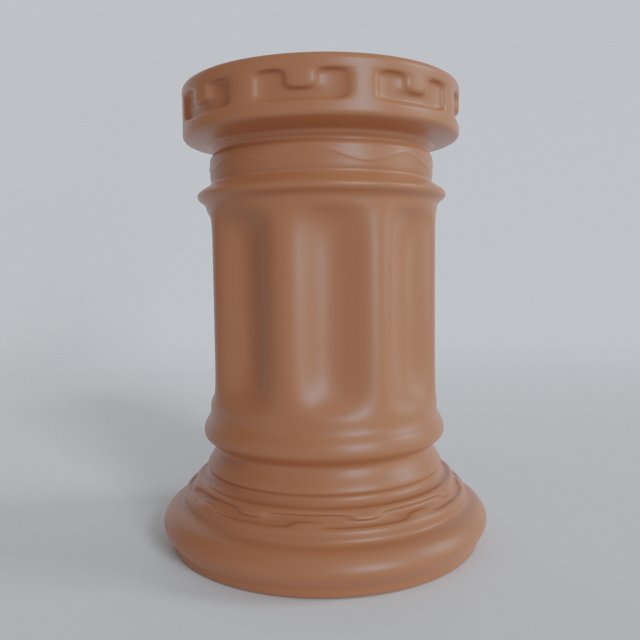
Stand for pens and pencils in the form of a column. Detailed and relief. Pen holder.To work with the model do not need addons
Category: 3D Print Models
Premium & 3D Print models ready to be 3d printed. 3D Print Models and Free 3D Print Models are available for download in several formats including .STL, .3DM, .OBJ, .3DS, .DAE, .SKP, .BLEND, .DWG, .DXF, .STEP and much more. If you’re in search of high-quality 3D printed assets, we have a huge library of 3d print models for any of your needs. Also you can visit 3D Models and All 3D Models category.
-
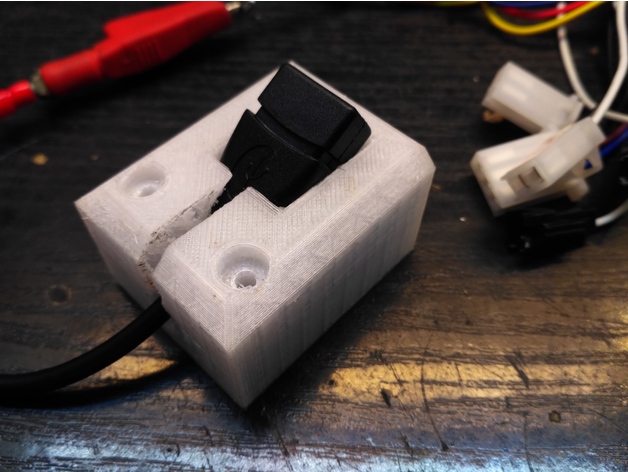
holder for little usb adapter 3D Print Model
Summary
This is a holder for small 10cm usb adapter from ebay. -

TRX4 BODY MOUNT FOR JEEP RUBICON 3D Print Model
Summary
This is the body mount for the Jeep Rubicon www.thingiverse.com/thing:2605921, for TRX4 chassis. Body needs drilling aligning to the holes of the mount.
Post-Printing
Remove screwsDetach the step board
Replace it with the printed body mount
-

Removable Extruder Fan Holder A8 with Z probe 3D Print Model
Summary
This design allows you to easily replace your filament by manually removing the extruder fan.
The extruder fan sits on on sliding slot, and to remove it you just need to pull it up.
I have add a Z-Probe ring if you have a sensor..
This is a remix from petiz ( https://www.thingiverse.com/thing:2822215 )
What you need to know:
print the design
remove the heatsink and fan cover
use the same two 50mm screws to put the mount in place
add the Z-Probe
simply slide the fan in!
Feel free for comments and photo if you make it
Print Settings
Printer:
Anet A8
Rafts:
Doesn’t Matter
Supports:
No
Infill:
15% – 20% -
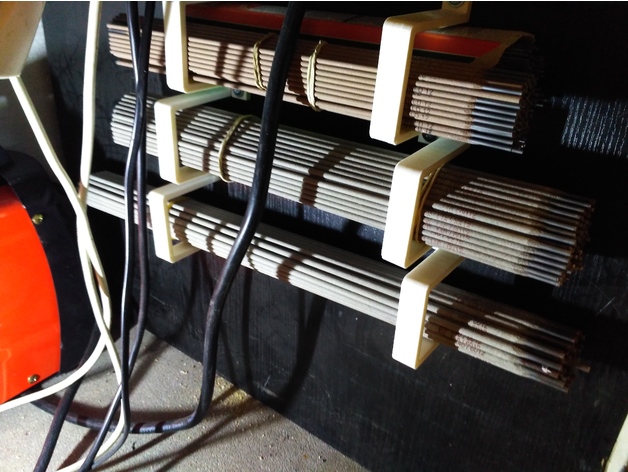
holder/organizer for welding electroder of something else 3D Print Model
Summary
This is my “vision” for organizing welding electrodes in workshop.
I’ve made this in different scales. -
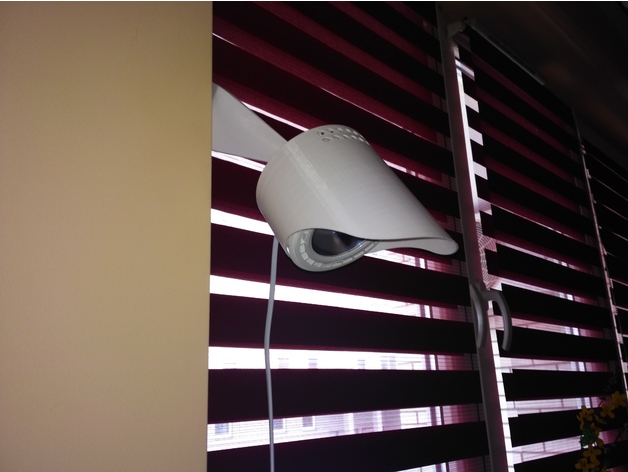
Lamp/holder for led bulb GU10 with adjustment 3D Print Model
Summary
This is holder for GU10 led bulb with diameter 110mm. This have ball type adjustment. -
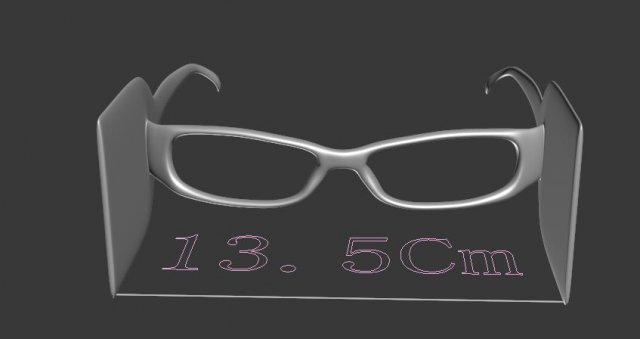
Glasses block side light 3D Model
glasses block side light 3D modelthis is my design of glasses block side light , can let you focus on your work or game ;Polygon: 23550 Vertices: 23552Format: 3dsmax2012 ,fbx ,obj
-
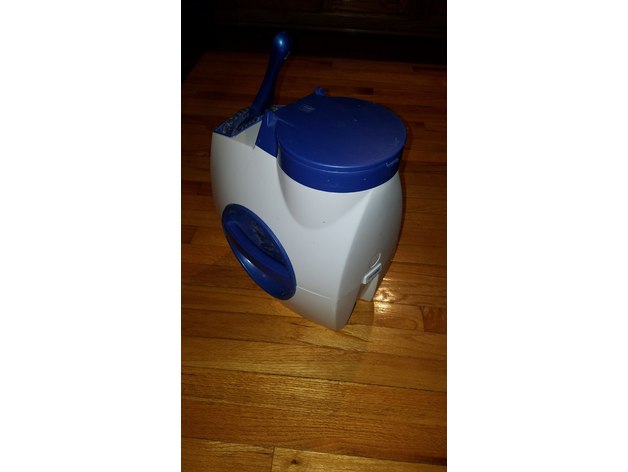
Kitty LItter Locker bag slitter 3D Print Model
Summary
This piece can replace the original bag slitter on a litter locker(see photo of white and blue litter locker). This is a device is used to store dirty scoopable cat litter and contain it in a sealed bag for disposal. Eventually the original slitter becomes dull and this allows you to replace the old slitter and insert a new razor blade for cutting the bags.
Post-Printing
setup with a standard straight edge razor blade
You will notice a 2.5 mm wide slot in the edge of the unit which should be just wide enough to slip a straight edge razor blade in to expose the sharp edge of the blade. Use the slim flat piece as a shim to lock the blade into place. You can cut off the excess, but leave enough so that you can easily pull it out and replace the razor if it ever gets dull again.
How I Designed This
Litter locker removal of old slitter
Eventually the razor in the old slitter slot will become dull or bent and it will not easily cut the bag ends any more. The original slitter is removable, but you cannot replace the blade. This print will allow you to replace the blade and slip it into the same slot as the old one.
The OEM slitter is located just behind the back side of the input schutte. it can be removed by using two flat screw drivers to carefully lift the white retainer enough for the hold down notch to go into the locker, then just push out the old one. (the photo showing the original slitter with the rounded edges. Once the old one is removed you can insert your replacement and once again the bags will melt when you pull the end of the back into the slit. -
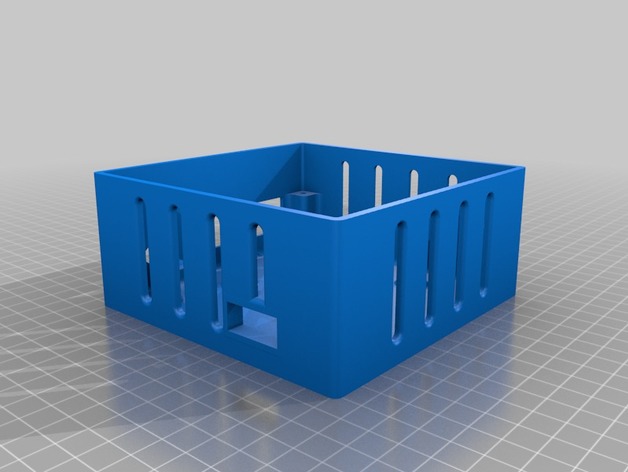
Delta 5 – with voltage regulator and heat sink 3D Print Model
Summary
Just trying to add a voltage regulator, and some heat sinks I bought 😀 -
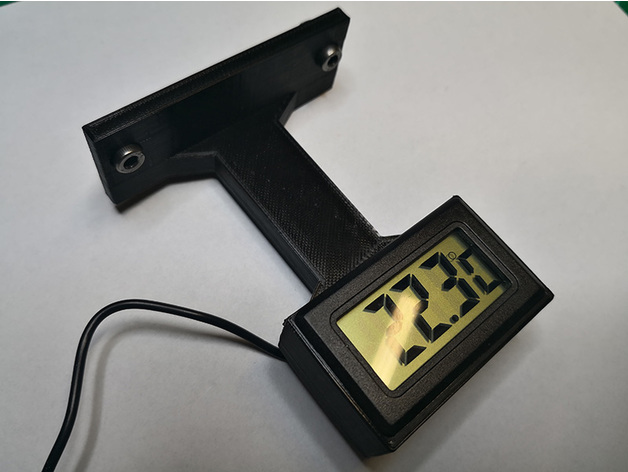
Temperature display mount for Anycubic 4Max 3D Print Model
Summary
Simple temperature display mount for Anycubic 4Max, it is mountable on the aluminum profiles, up or down side behind the Plexiglas door, there is enough room in the enclosure for the senor wire to mount the display upside down.
If you are lucky enough like me you might have spate T-Nut bolts from the kit otherwise just search for 4mm T-Nut bolts.
Credit: I got the housing from user selmo here: https://www.thingiverse.com/thing:761721 modified the inner part and holes for easy printing.
The sensor I used is at least 10 years old, but you can still buy it here:https://www.aliexpress.com/item/LCD-Digital-Tank-Water-Meter-Detector-Thermometer-Electronic-Fish-Tank-Water-For-Aquarium-Drop-Shipping-Support/32799423978.html
Print as you wish, no supports needed. -
RPG Status Token Charmed 3D Print Model
Summary
charmed / in love / healing / etc
these are meant to be used for multiple purposes / games
Print Settings
Printer Brand:
SeeMeCNC
Printer:
Rostock MAX v2
Rafts:
No
Supports:
No
Resolution:
0.2mm
Infill:
100% -

The girl with horns 3D Model
In the format ztl separate subtool without levels of divisions and no UV. The total number of polygons 6 million 757 thousand. Has no UV and textures. Separately hair, body, eyelashes, eyebrows, tooth, eyes. Models in obj and stl formats also do no have UV and textures. Number of polygons in obj format 799 998, vertices 399 999. The height of the model as obj and stl 100 mm. Color texture PNG 4096*4096, only for the OBJ format. But you can easily modify it in preparation for printing.
-
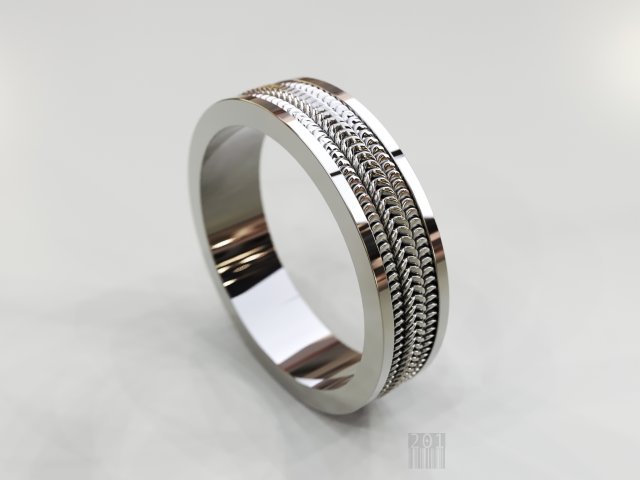
Ring with pattern 3D Model
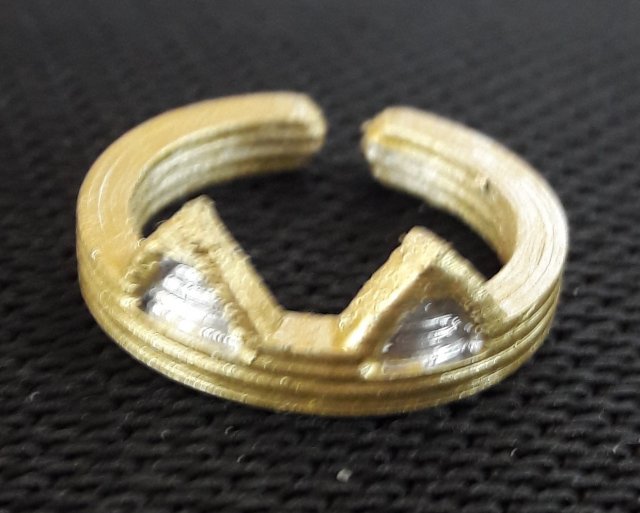
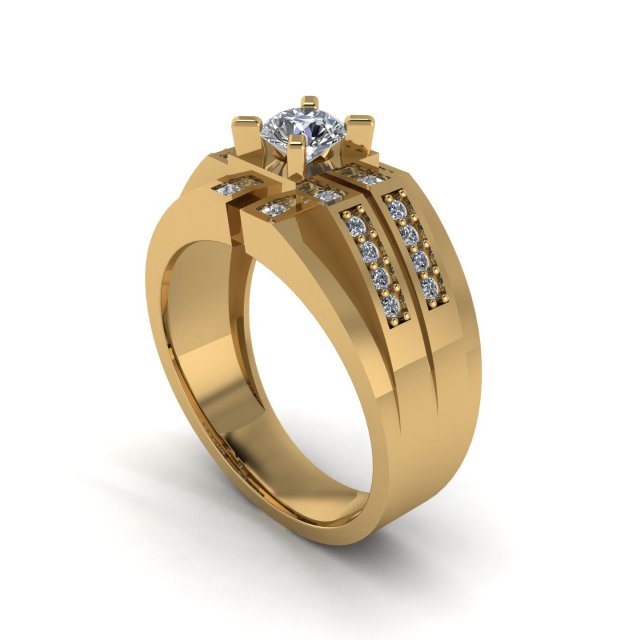
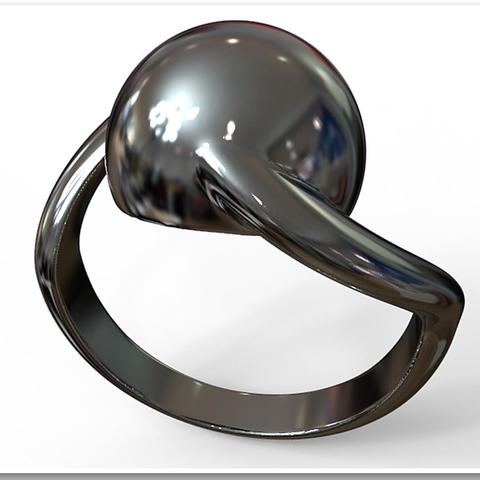
The model can be used for production, for casting and machining.STL model is ready for prototyping on CNC and 3D PrintingHigh quality modelweight in gold 10,900 gramweight in gold silver 7,300 gram
-
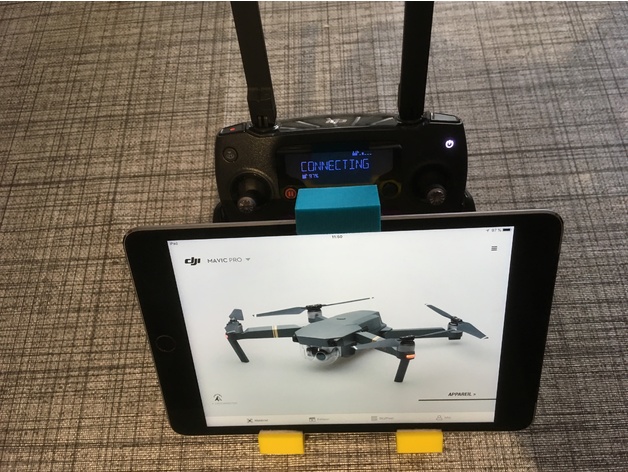
Support iPad for DJI Mavic Pro Remote Control 3D Print Model
Summary
Support Apple iPad Mini 2/3/4 for DJI Mavic Pro Remote Control .
You need a M6 bolt, very careful when tightening the screw
not to break the bracket !
And you need a Self Adhesive Sticky for ipad protection !
Enjoy
Print Settings
Printer:
CTC I3 PRO B CLONE PRUSA
Rafts:
Yes
Supports:
Yes
Infill:
50% -

Altoids Tin Staunton Chess Pieces 3D Print Model
Summary
These are the pieces for my Altoids Tin Chess Board at: https://www.thingiverse.com/thing:2823112
They are meant to accept 4 mm X 2 mm disk magnets. You can find these cheaply from China on eBay in quantities of 500 for less than $10. I was trying to figure out how to make a magnetic chess set without using a stupid amount of magnets. It occurred to me that a flat steel sheet would work, but I had none. These tins on the other hand, I have tons of. They only cost a few dollars anyway and come with mints.
The pieces fit upright with the lid closed just fine. They measure about 7 mm diameter at the base of each piece.
Print Settings
Printer:
Dildahmetron
Rafts:
No
Supports:
No
Resolution:
0.4 mm nozzle w/ 0.2 mm layer heights
Infill:
15% but they’ll probably be solid anyway
Notes:
Be careful removing them from the bed. -
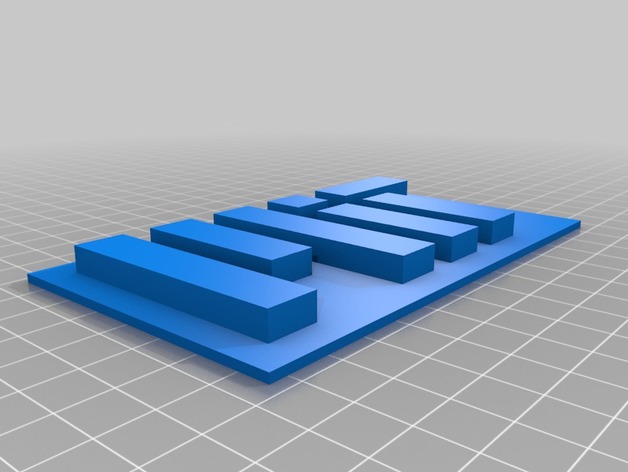
MIT Logo 3D Print Model
Summary
Here is a 3D Model of Massachusetts Institute of Technology’s (MIT) logo. Hope you enjoy!
Print Settings
Printer:
Anet a8
Rafts:
No
Supports:
No
Resolution:
.1-.2 -
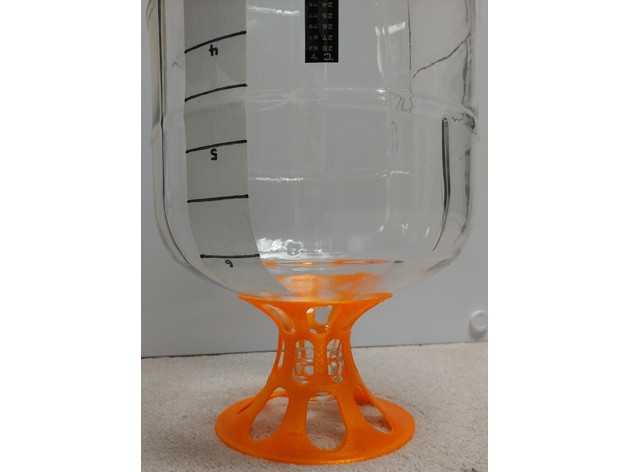
Carboy Dryer 3D Print Model
Summary
This is a stand for drying a glass carboy after washing it. Fits both of my 5gal and 6.5gal glass carboys. The neck of the carboy is held in place so that it cannot tip while in the stand.
The design is made using two bezier curves, extruded rotationally, and then rounded holes punched in the sidewall for airflow and less material usage.
The scad file is attached, which allows easy editing of diameters, heights, angle of carboy glass where stand supports it, number of “legs”, ratio of legs to holes, etc. Note that at full resolution, it takes ~10 minutes to perform a final render the object.
Print Settings
Printer Brand:
Wanhao
Printer:
Wanhao Duplicator i3 Plus
Rafts:
No
Supports:
No
Resolution:
0.2mm
Infill:
40% cubic subdivision
Notes:
No supports should be required. I printed in PETG for water resistance. -
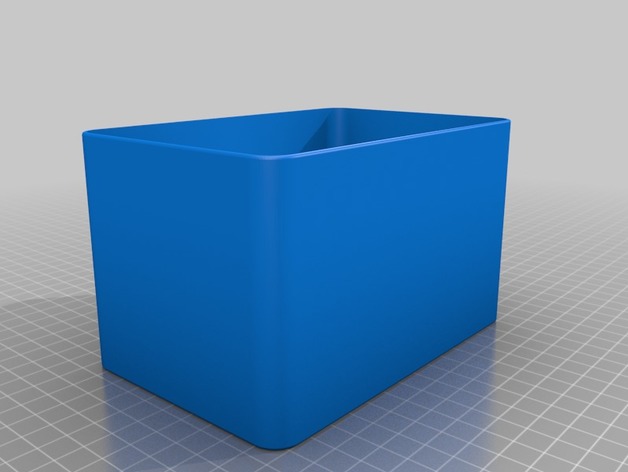
Can of Worms 3D Print Model
Summary
This is literary a can of worms (ok, maggots or larvae really). We needed a suitable container to store food for our bearded dragons and the ones we had was either too big or too small. This one is just perfect. I initially made the walls thinner (1.2 mm == 3 layers) but the walls kept bulging so I had to increase the thickness to 1.6 mm which equals 4 layers with a 0.4 mm nozzle. What Simplify3D does is to make an inner and an outer layer and then fill the middle with a zigzag pattern. This seems prevent the walls from bulging when I print with PETG. The lid has vents on top as well on the sides, so storing one CoW on top of another should work without hampering ventilation. -
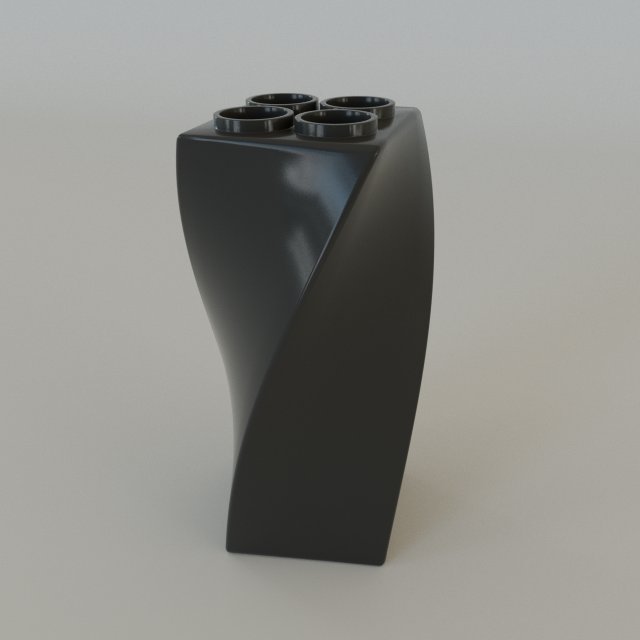
Original stand for pens 3D Model
Stand under the handle of the original form. This is a square spiral twisted. At the top there are four holes for pens or pencils.Strict and solid appearance
-
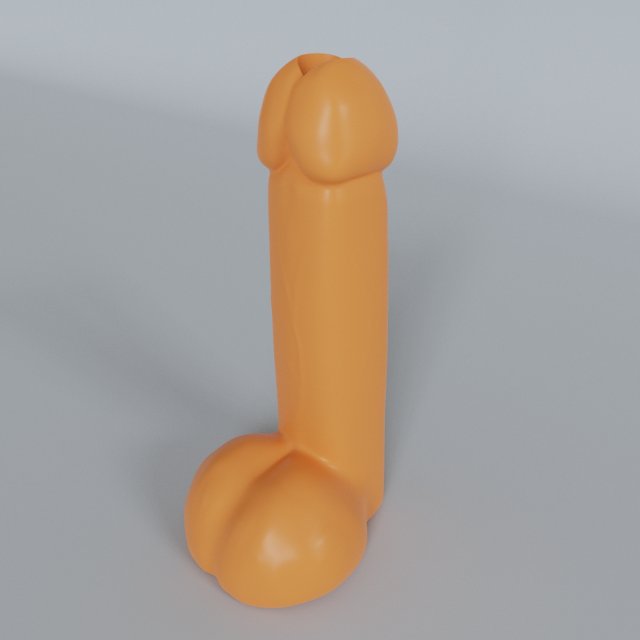
Pedestal in the shape of a penis 3D Model
Stand for a pen or pencil in the shape of a penis. Highly polygonal penis model with a hole.It’s funny.The model does not require add-ons to work with it
-
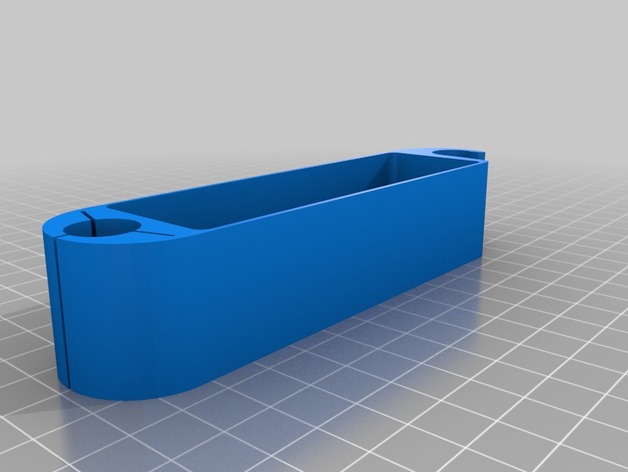
1/4 inch bit holder (multi-tool) 3D Print Model
Summary
1/4 inch bit holder for modular multi-tool. Holds up to 36 bits (less with snap for .375 OD bit driver).
You’ll need (2) 1/4-20 x 1.5″ screws and (2) nuts.
I designed the bit holder and tool snap. Multi-tool designed by Gregg Meyer
Print Settings
Printer:
Monoprice Maker Select Mini v1
Rafts:
Yes
Supports:
No
Resolution:
0.1mm – 0.3mm
Infill:
Doesn’t Matter
Notes:
to make bit holder print:
(2) standoff
(2) side
(1) holder_36
for bit driver holder:
(1) driver_snap
(1) driver_snap gripper
driver snap gripper is glued to driver snap. I used superglue.
substitute (1) “side” for (1) “side for carriage bolt” if you want to use carriage bolts. Some files will need to be rotated before printing. I tweaked dimensions to make things fit because I can’t be bothered to dial in my inexpensive printer. Hopefully everything fits for you! -
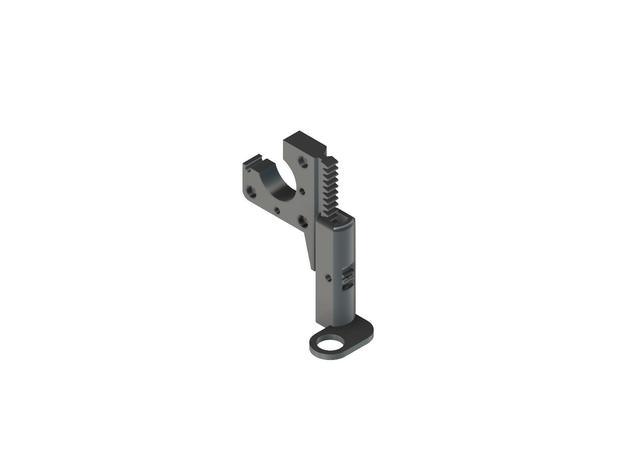
INDUCTIVE SENSOR RACK AND PINION – DRAKON EXTRUDER BODY 3D Print Model
Summary
THIS IS A MANUAL ADJUST SENSOR CARRIAGE FOR AUTOMATIC BED LEVELING.
-THE MAIN PROBLEM I HAVE WITH AUTO LEVELING WAS THAT SOME TIMES MY BED (MADE OF 3MM PLYWOOD) WOULD POSSIBLY WARP.
-ANOTHER POSSIBILITY IS THAT MY X_AXIS WOULD FLOAT OFF OF THE LEAD SCREW A LITTLE BIT IF I DIDN’T PRE-HEAT BEFORE I AUTO LEVELED.
-THIS ALWAYS MEANT I HAD TO REDO ALL THE ADJUSTMENTS BETWEEN THE X-AXIS AND THE SENSOR HEIGHT. I ALSO NEVER QUITE LIKED THE ADJUSTMENTS IN AVAILABLE IN THE FIRMWARE REGARDING SENSOR HEIGHT.
-THAT IS POINT OF THE RACK AND PINION CARRIAGE FOR THE SENSOR. TO DECREASE TIME SPENT ADJUSTING ANYTHING MECHANICALLY AND IN THE FIRMWARE/SOFTWARE.
-DECREASING THE WEIGHT AND SIZE WAS ALSO MY GOAL, TRYING TO KEEP THE SENSOR AS CLOSE TO THE NOZZLE AS POSSIBLE.
THE PINION HAS A PRESS FIT INNER DIAMETER THAT SHOULD STAY IN ITS PLACE PRETTY WELL AN IF THERE IS ANY MOVEMENT I ADDED A HOLE FOR INSERTING EPOXY TO REALLY STICK THE GEAR TO THE BOLT.
HARDWARE USED* [NOT INCLUDING ALL HARDWARE USED WITH THE DRAKON MOUNT ITSELF]
1- 4MM X 16MM WINGED BOLT (I IMPROVISED ON THIS MYSELF WITH A WING NUT AND A BOLT, USING PLIERS)
1- 4MM LOCK NUT
THERE IS A TOOL ADDED THAT IS USED TO HOLD THE GEAR IN PLACE AGAINST THE RACK WHILE YOU THREAD THE BOLT THROUGH THE GEAR TO KEEP IT FROM MOVING. -
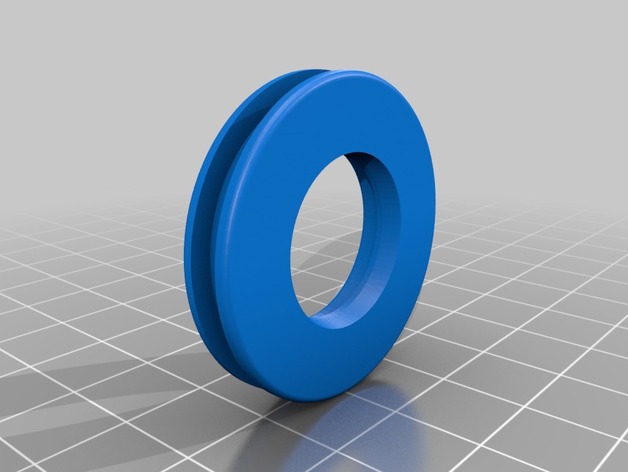
longshot plunger head 3D Print Model
Summary
for a longshpt plunger tube it goes over the stock retaliater plunger head -
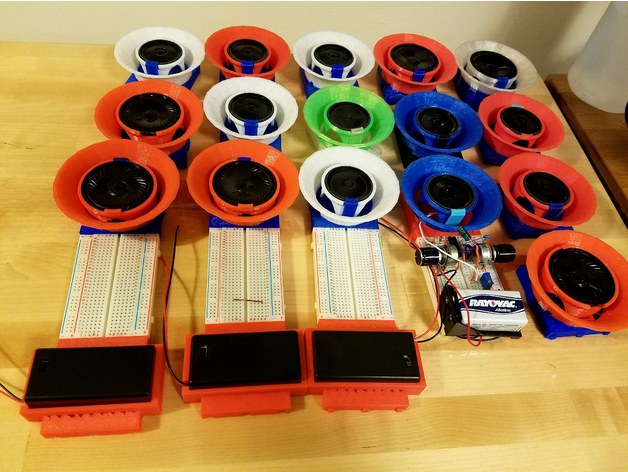
Breadboard 9V Battery Box 3D Print Model
Summary
This thing fits a 9V Battery Box (with the cover removed) to a standard breadboard. Because the breadboard is made of soft plastic, its dovetails do not provide a bomb-proof fit, but it’s good for keeping your battery from flying around. The battery box makes a friction fit with the holder. Since it does not require the cover to be fitted, some cheaper, fatter 9V batteries can be used. Use it with your favorite prototype circuit, like the Atari Punk Console. Also see my breadboard speaker amplifier. -
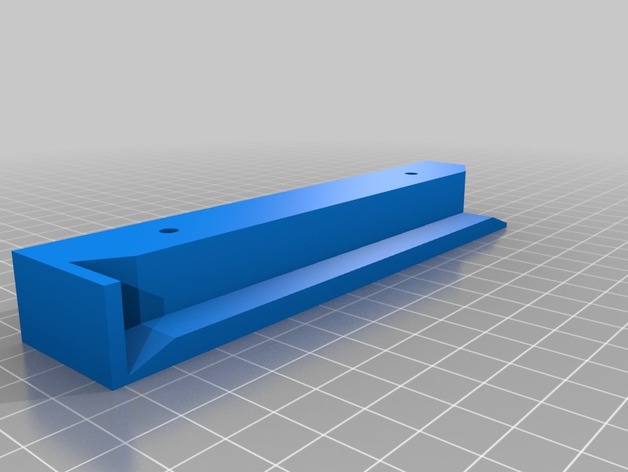
Slim Wireless Keyboard Rack with backstop – Remix 3D Print Model
Summary
The original design my user ‘drou’ inspired me to create a simple variation for a project at my office. The intent was to truncate the height of the rack to accommodate a slim keyboard design. Second, I needed a stopper at the back of the rack in order to keep the keyboard from pushing all the way through and falling out the other side.
There is only one file, simply mirror this STL for the other side of your keyboard rack.
Will get some finished photos uploaded.
Original thing: https://www.thingiverse.com/thing:1456347/
Print Settings
Printer:
Anet A8
Rafts:
No
Supports:
No
Resolution:
.1
Infill:
10%How I Designed This
TinkerCAD -
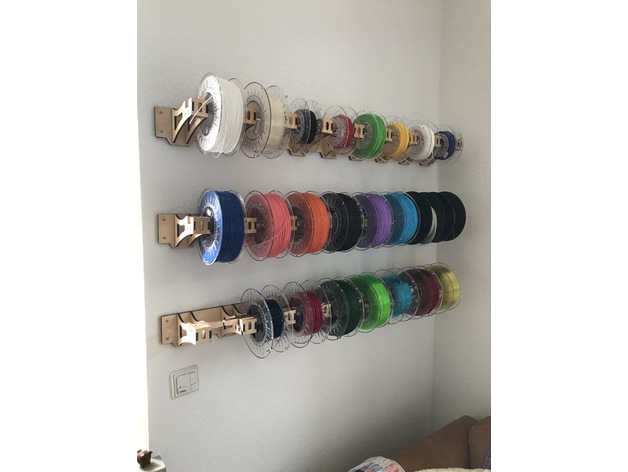
Laser cut Filament Rack 3D Print Model
Summary
This spool holder was designed in Fusion 360. It is made to hold 8x 20cm diameter spools. Plywood should be 6mm thick for optimal fit! -
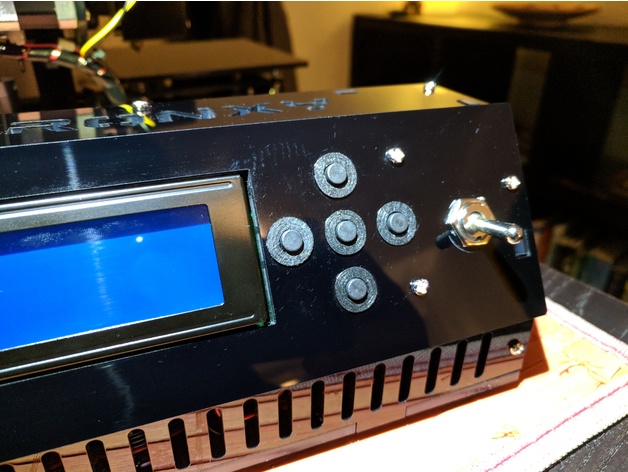
Tronxy X1 Buttonsleeve 3D Print Model
Summary
The TronXY X1 buttons tend to tlt because of the large frontpanel-holes.
These sleeves support and center the buttons. -
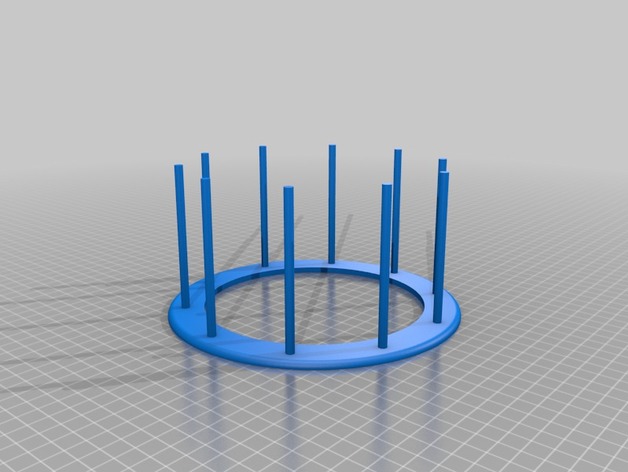
Paint rack for cosplay fingers 3D Print Model
Summary
This was a rack I made for painting cosplay fingers. Holds 10 parts. You can hot glue some mid finger parts to the rack. -
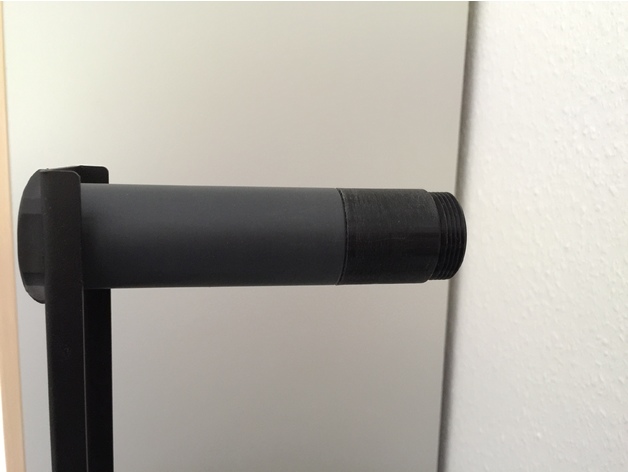
Filament holder extension 3D Print Model
Summary
Just an easy extension for the existing filament holder of the Ender 2. The fialment spool width could now be around 100mm thick. Print and screw it on.
Print Settings
Printer:
Ender 2
Rafts:
No
Supports:
No
Resolution:
0.1
Notes:
Wall 5x should be great. Layer high only 0.1
Fit to the existing filament holder. Nothing to change. Printed with PLA black. Be sure your dimension settings from the printer are correct. -
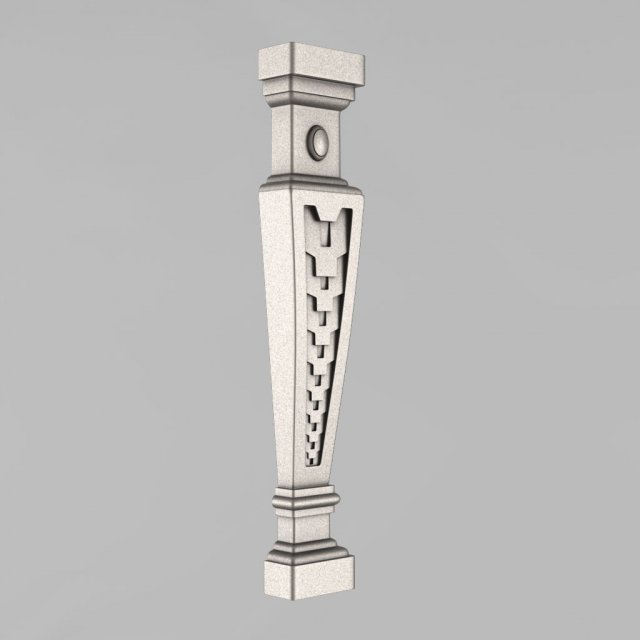
The decorative pillar 3D Model
STL 3D model – The decorative pillarThe model is ready for prototyping with CNC machining and 3D printing.
-
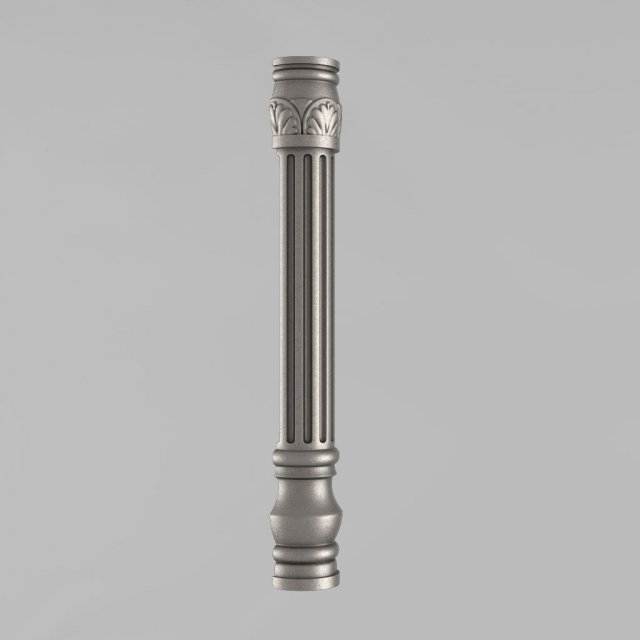
The decorative pillar 2 3D Model
STL 3D model – The decorative pillarThe model is ready for prototyping with CNC machining and 3D printing.
-
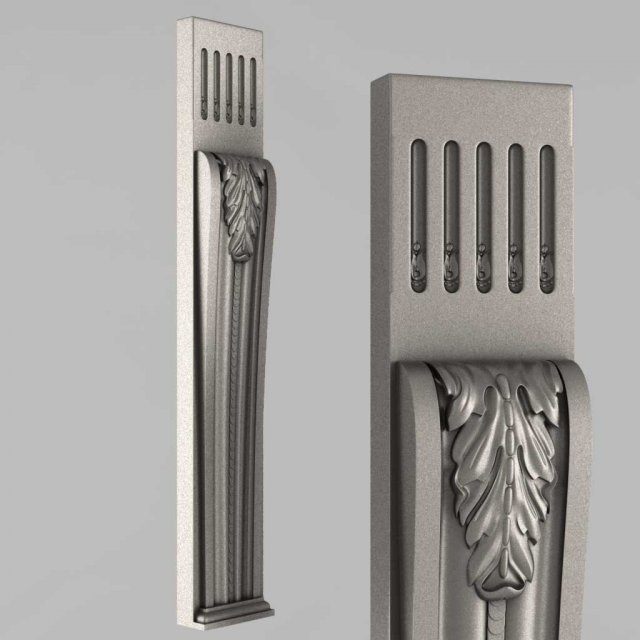
The decorative pillar 3 3D Model
STL 3D model – The decorative pillarThe model is ready for prototyping with CNC machining and 3D printing.
-
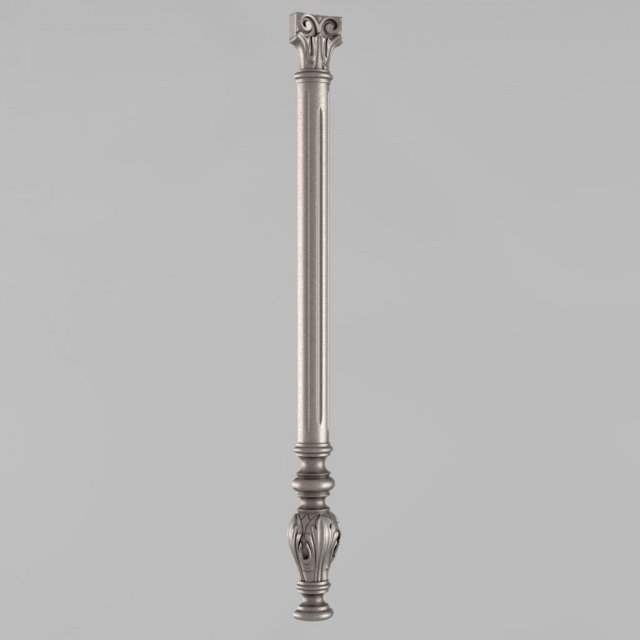
The decorative pillar 4 3D Model
STL 3D model – The decorative pillarThe model is ready for prototyping with CNC machining and 3D printing.
-
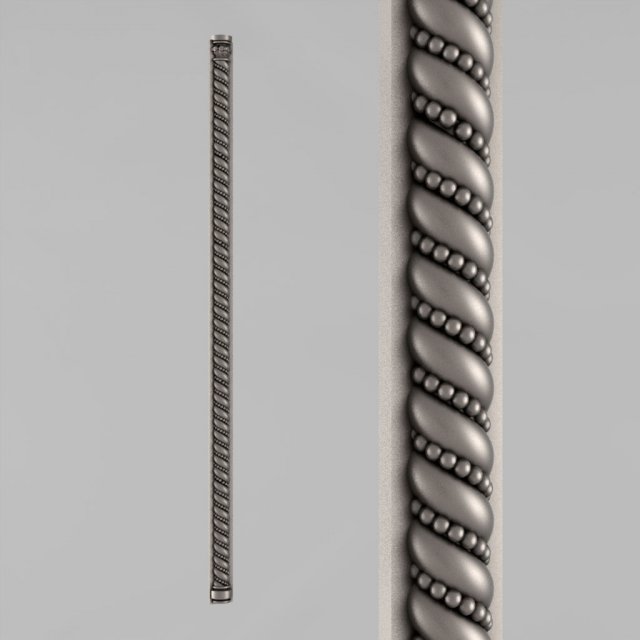
The decorative pillar 7 3D Model
STL 3D model – The decorative pillarThe model is ready for prototyping with CNC machining and 3D printing.
-
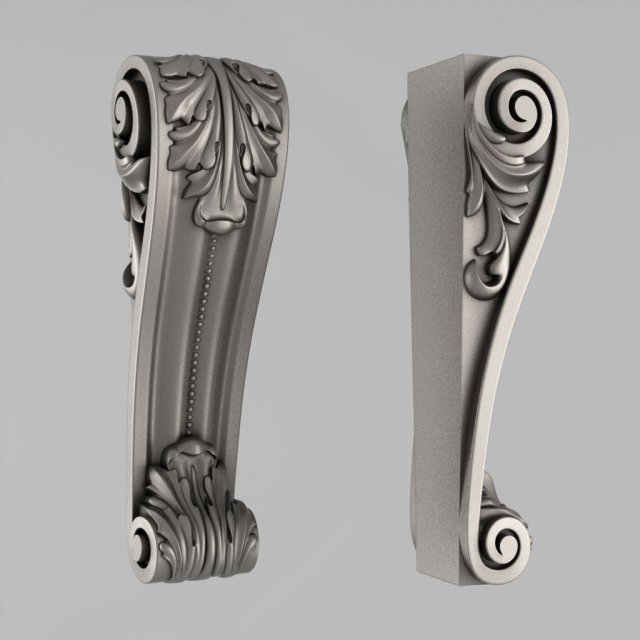
The decorative pillar 8 3D Model
STL 3D model – The decorative pillarThe model is ready for prototyping with CNC machining and 3D printing.
-
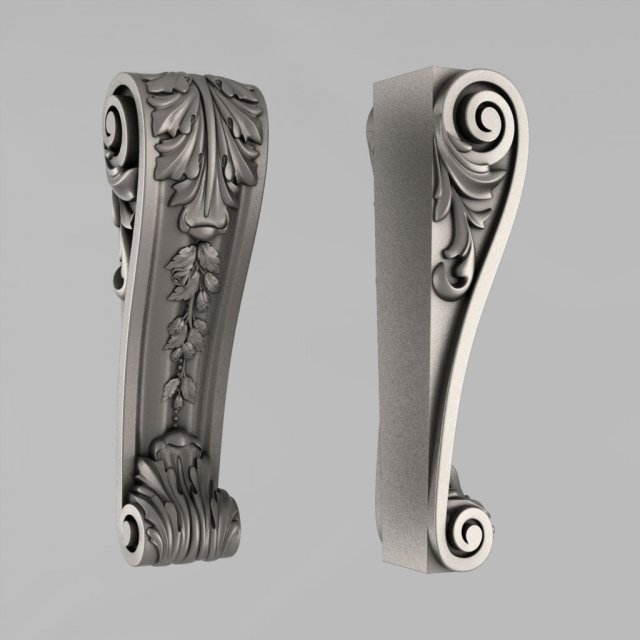
The decorative pillar 9 3D Model
STL 3D model – The decorative pillarThe model is ready for prototyping with CNC machining and 3D printing.
-
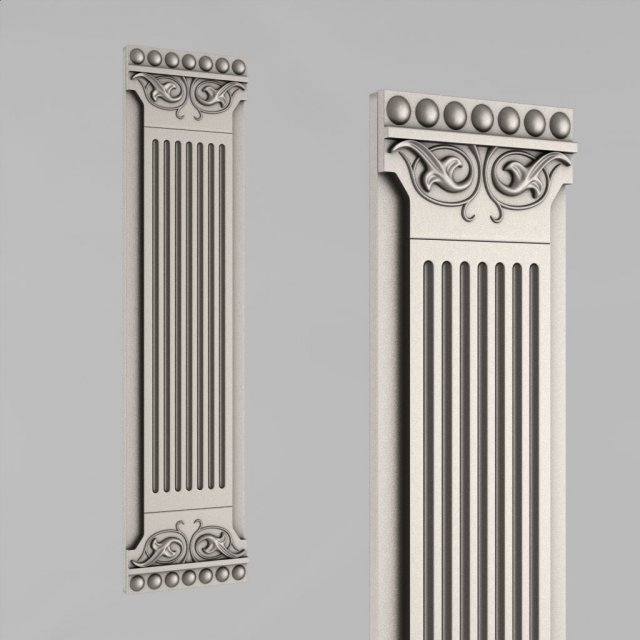
The decorative pillar 10 Free 3D Model
STL 3D model – The decorative pillarThe model is ready for prototyping with CNC machining and 3D printing.
-
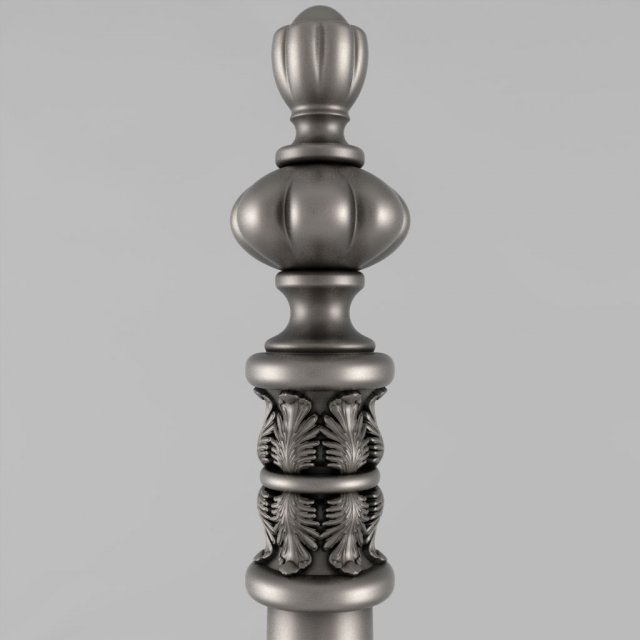
The decorative pillar 11 3D Model
STL 3D model – The decorative pillarThe model is ready for prototyping with CNC machining and 3D printing.
-
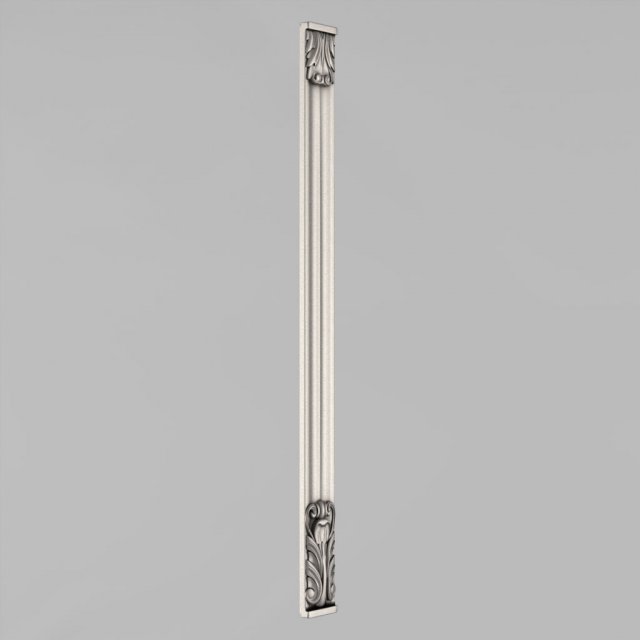
The decorative pillar 12 3D Model
STL 3D model – The decorative pillarThe model is ready for prototyping with CNC machining and 3D printing.
-
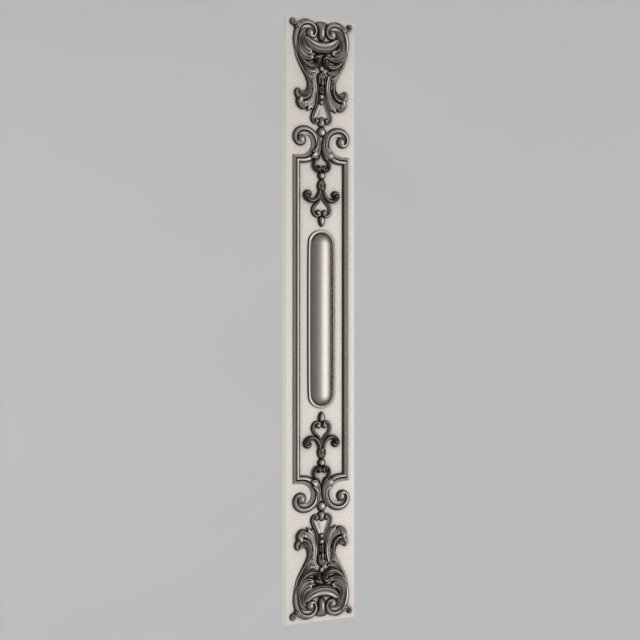
The decorative pillar 13 3D Model
STL 3D model – The decorative pillarThe model is ready for prototyping with CNC machining and 3D printing.
-
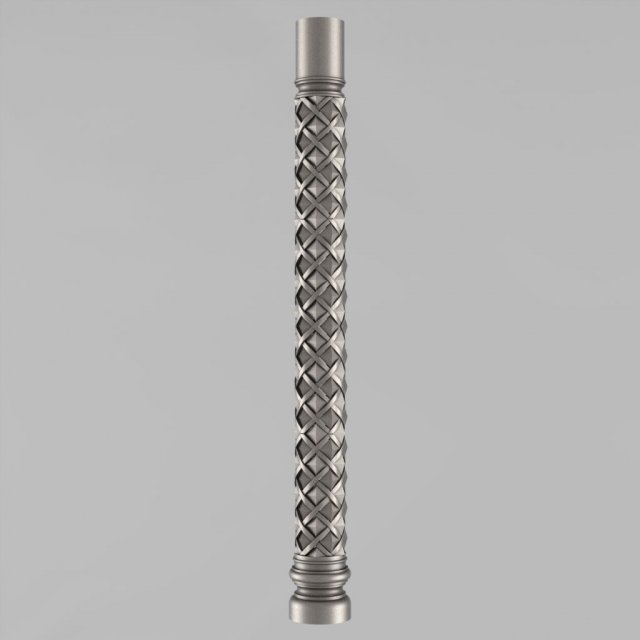
The decorative pillar 14 3D Model
STL 3D model – The decorative pillarThe model is ready for prototyping with CNC machining and 3D printing.
-
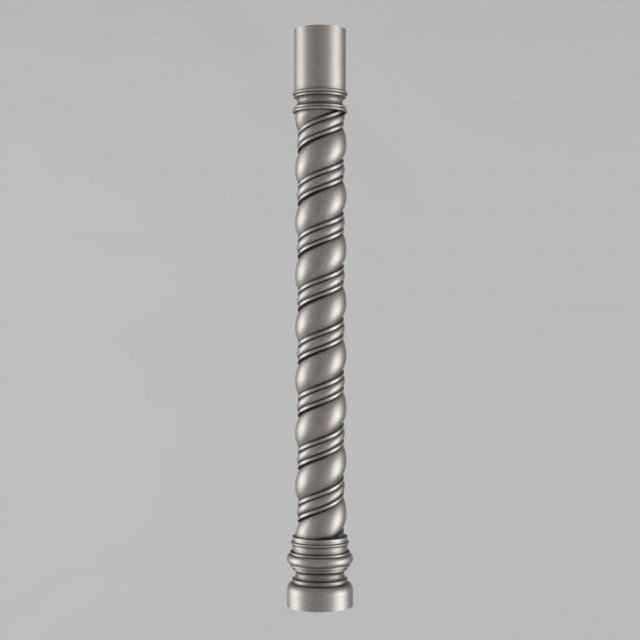
The decorative pillar 15 3D Model
STL 3D model – The decorative pillarThe model is ready for prototyping with CNC machining and 3D printing.
-
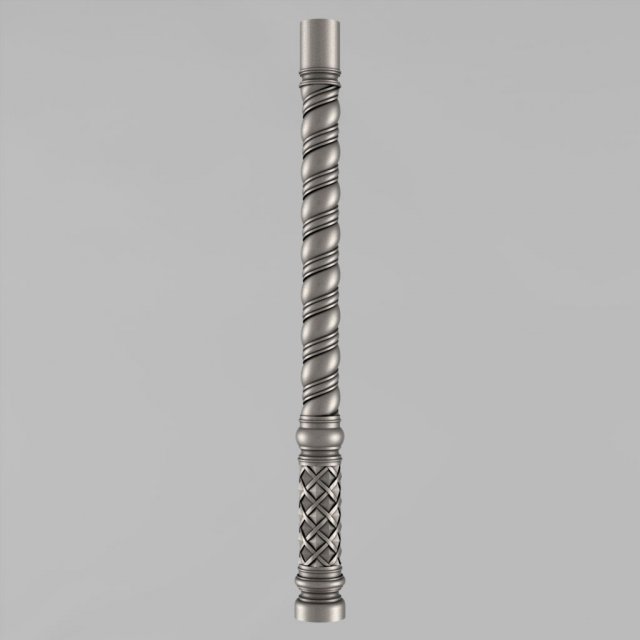
The decorative pillar 16 3D Model
STL 3D model – The decorative pillarThe model is ready for prototyping with CNC machining and 3D printing.
-
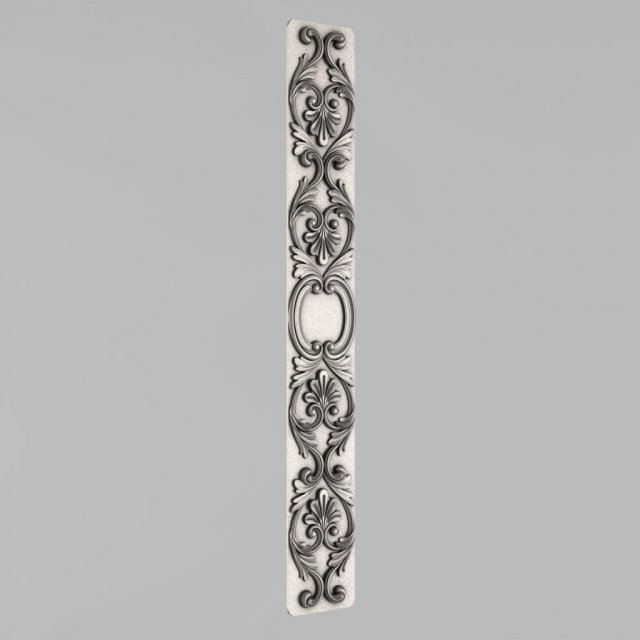
The decorative pillar 17 3D Model
STL 3D model – The decorative pillarThe model is ready for prototyping with CNC machining and 3D printing.
-
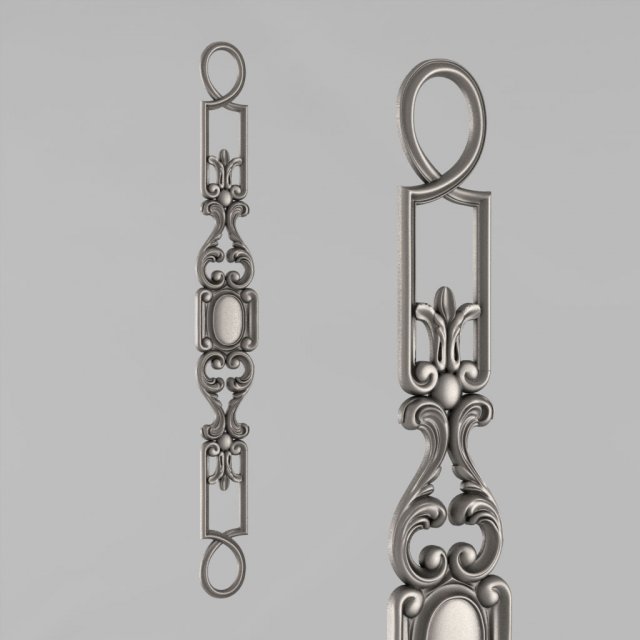
The decorative pillar 18 3D Model
STL 3D model – The decorative pillarThe model is ready for prototyping with CNC machining and 3D printing.
-
Remote Control Holder 3D Print Model
Summary
Remote Control Holder I designed to attach to a glass patio/garden table I have in the lounge. You might find other uses for the clips or the base. I recommend printing it The holes in the bottom of the base are just in case you put something in like a phone and can’t get it out from the top. My iPhone 7 is about the perfect size to get stuck, hence the holes. LOL.
Print the clips with 3 perimeters and 50% infill with a 20 perimeter zero offset brim.
Print the base upright, with supports under the base, and a 20 perimeter zero offset brim to avoid warping. The large support area should be one solid layer for the base layer, then 10% infill from there on out.
Holes in the clip and base are to stop it sliding if the fitment isn’t tight enough. Just add some short self tapping screws or bolts of 3mm wide and about 10mm long.
Print Settings
Printer Brand:
Creality
Printer:
CR-10
Rafts:
No
Supports:
Yes
Resolution:
0.2mm layers
Infill:
10%
Notes:
Made with 123D Design Version 2.1.11 from Autodesk. Because I’m too broke to afford Fusion 360. Doh!!!
Yeah I don’t even update it because I like it working in offline mode. -
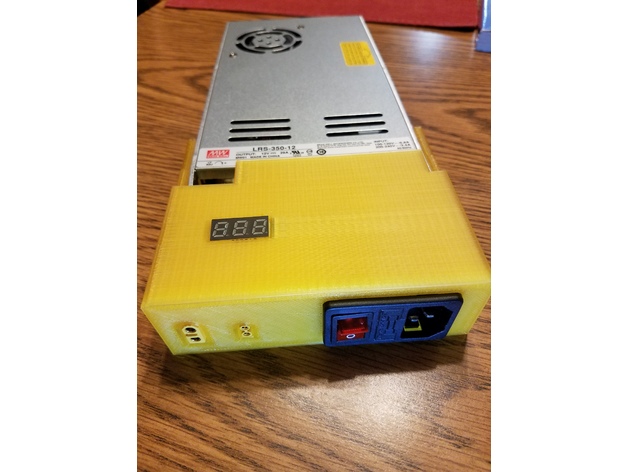
End cap for Meanwell LRS-350-12 3D Print Model
Summary
Wanted an end cap for my meanwell that would allow me to easily disconnect my Ender-2. The xt60 and xt30 just push in and are a tight enough fit that they shouldn’t go anywhere but you can always add a drop of glue to them. Links for the parts I used are below.
Voltmeter:https://www.amazon.com/gp/product/B00C58D47G/ref=oh_aui_search_detailpage?ie=UTF8&psc=1
IEC socket:https://www.amazon.com/gp/product/B01LYMNQ2L/ref=oh_aui_search_detailpage?ie=UTF8&psc=1
XT60:https://www.amazon.com/gp/product/B073QJWVVK/ref=oh_aui_detailpage_o00_s00?ie=UTF8&psc=1
XT30:https://www.amazon.com/gp/product/B074S7NH3H/ref=oh_aui_search_detailpage?ie=UTF8&psc=1
Power Cord:https://www.amazon.com/gp/product/B005VULXA0/ref=oh_aui_search_detailpage?ie=UTF8&psc=1
Meanwell LRS-350-12 Power Supply:https://holiday.lighting/psorderform
Print Settings
Printer:
Ender-2
Rafts:
No
Supports:
Yes
Resolution:
0.28
Infill:
20
Notes:
Supports only needed on the hole for the voltmeter -
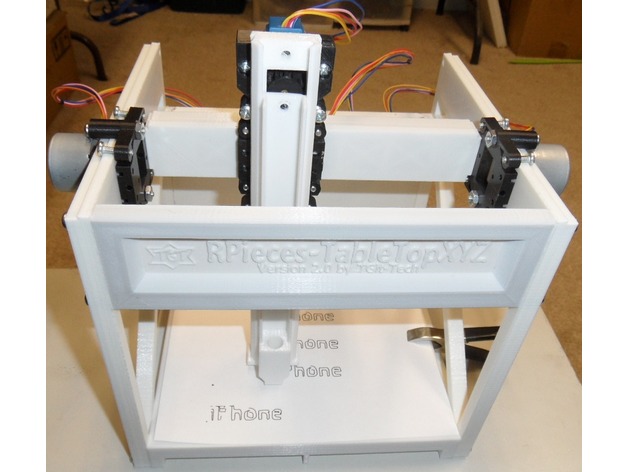
RPieces-TableTopXYZ-V2 3D Print Model
Summary
This is Version 2.0 – See Project location at
https://github.com/TGit-Tech/RPieces-TableTopXYZ
Demonstration Video @ https://www.youtube.com/watch?v=2BT0keDggYo
Version 1.0 @ https://www.thingiverse.com/thing:2166533
Estimated cost $33.93 -
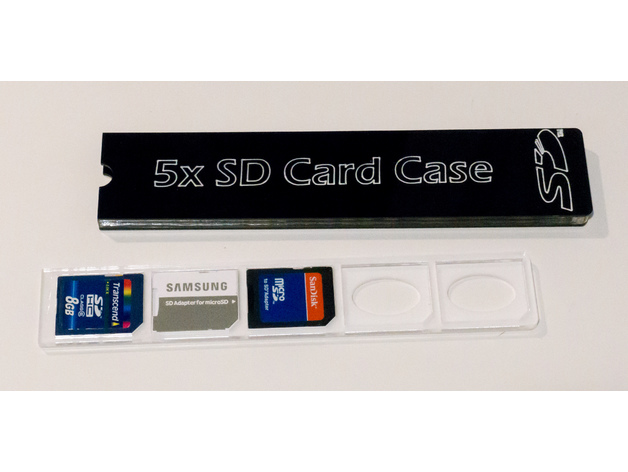
Laser Cut 5 SD Cards Storage Case 3D Print Model
Summary
Laser Cut and Engraved SD Card organizer storage box. Holds 5 SD Cards, looks great.
Assembly requires some acrylic adhesive (Weld-on #16).
Cut main SD Card slot holder from 1/8″ acrylic (card_slots.dxf)
Cut main case body from 1/4″ acrylic (enclosure.dxf)
Cut Card Slot Holder bottom from 1/16″ acrylic (card_bottom.dxf)
Cut two covers from 1/16″ acrylic (enclosure_covers.dxf)
Clean parts with alcohol prior to gluing.
First glue Card Slot Holder bottom to Card Slot Holder. Makes sure edges are even.
Now glue one of the main covers to main body. Use Card Slot Holder as a guide, but be careful not to glue it accidentally to edges.
Check fit and finally glue second main cover to main body.
Engraving (optinal):
Align complete enclosure in laser and engrave with text of your choice or included “engraving.dxf” file. Use “cut” setting at low power and high speed to “scratch” engraving on acrylic. You don’t want to cut it thru, but also grooves need to be deep enough for paint to stick.
Rub some white acrylic pain into engraving, let it dry a little and wipe it off.
Repeat until enough paint filled the engraving. Wipe again with slightly moistened rug. -
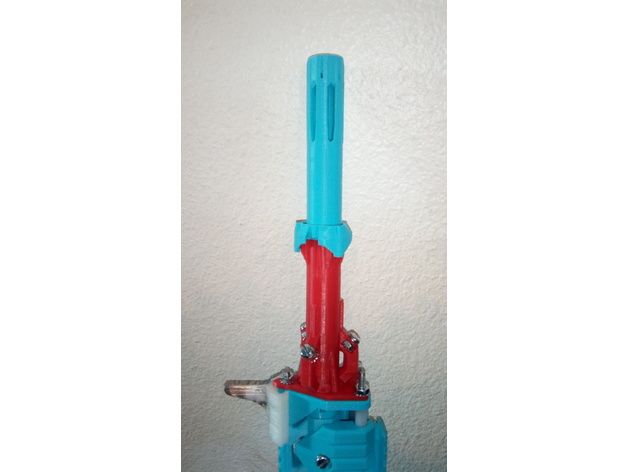
Cealyn the Caliburn – Scar Barrel Reinforcement 3D Print Model
Summary
The retaining arms on my Caliburn SCAR Barrel broke on my first print, and started to weaken on my second, so I made a quick reinforcement piece. This not only helps to hold the retaining arms so they will be less likely to break, but it makes the whole SCAR barrel operate a little more tightly.
I included an obj, which should hopefully be set up correctly, but I am unsure as I model in Blender.
It is good fodder for visual modifications, as it does not have to twist, and sits on top of the barrel.
Enjoy, and feel free to give suggestions, or remix! -
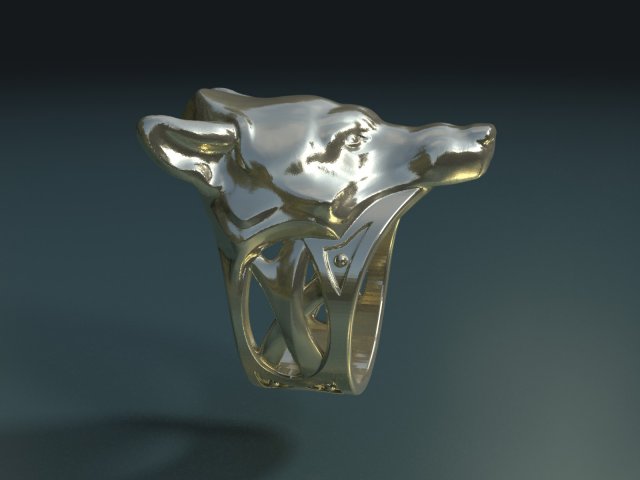
Wolf ring 3D Model
Print ready ring.Measure units are meters.Inner diameter 2.22 cm.Available formats: .stl, .obj, .3ds, .blend, .dae, .fbxNative format is .blend.Files available in two versions:1) Wolf_Ring_01 with 796160 faces2) Wolf_Ring_02 with 63692 faces
-
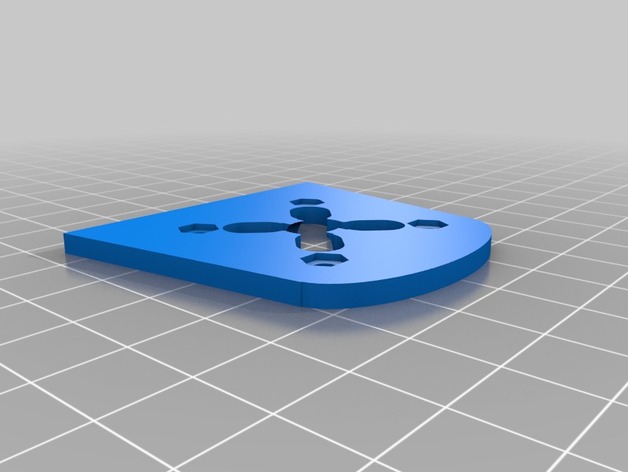
Sjywalker Falcon 3D Print Model
Summary
Some little bits for the SKYWALKER FALCON that i needed,
Some motor mounts, to replace the wooden one
A esc protector for the underside to protect water ingress and esc damage -
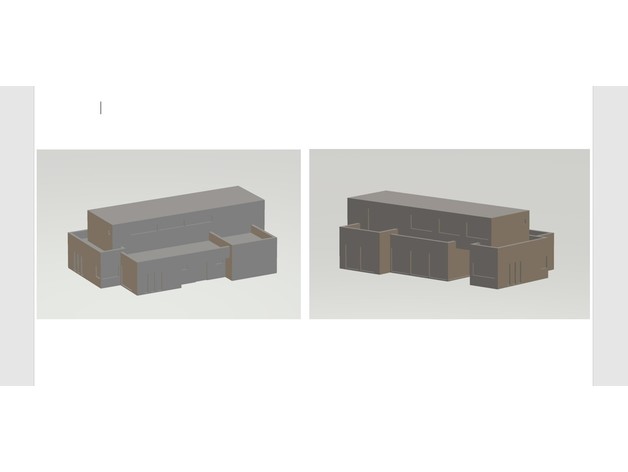
DESIGN HOUSE 3D Print Model
Summary
This is a real house in Belguim.
On the back are the coordinates.
Print Settings
Printer Brand:
Creality
Printer:
CR-10
Rafts:
Doesn’t Matter
Supports:
Yes
Resolution:
0.2 mm
Infill:
15% -
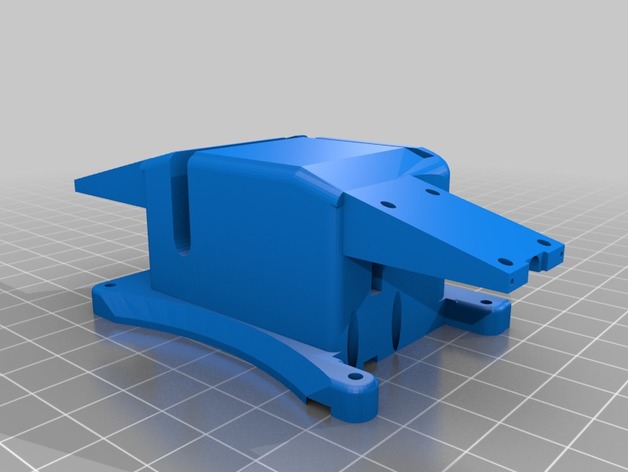
3DR Solo Retractable Landing Gear Pads w/ Payload Release 3D Print Model
Summary
This attaches to the Solo’s Accessory Bay mounting holes. It can be used with or without a small breakout board like the Brownie Boards Nano. Extra space inside can contain all the wiring.
The 9G servo slides in and is held in by the unit being screwed to the Solo.
It you remove the pins from the connectors you can push the retract wires through the holes.
The info here will help you get it wired and working.https://www.hackster.io/phantom-phreak-7ccfe4/extend-3dr-solo-accessory-bay-be4073
This is the small breakout board I like.https://store.brownieboards.com/product/3dr-solo-nano-breakout-board/
Print with supports. Doesn’t require much infill. Most of the empty space it made to hold the wires. -
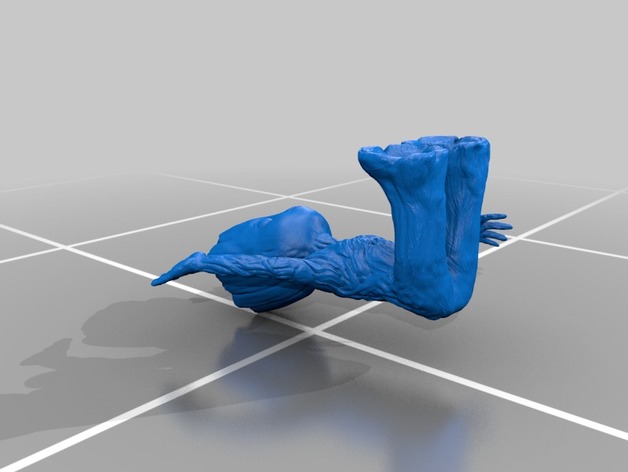
Baby Groot Sitting Waving 3D Print Model
Summary
video: https://youtu.be/nfbfa-ZI2IA?list=PLANKB9P5SKcc5wjijCna3w_mCY9xn99gL
Print Settings
Printer Brand:
Prusa
Printer:
Prusa Mk1
Rafts:
Doesn’t Matter
Supports:
Yes
Resolution:
0.2
Infill:
25% -
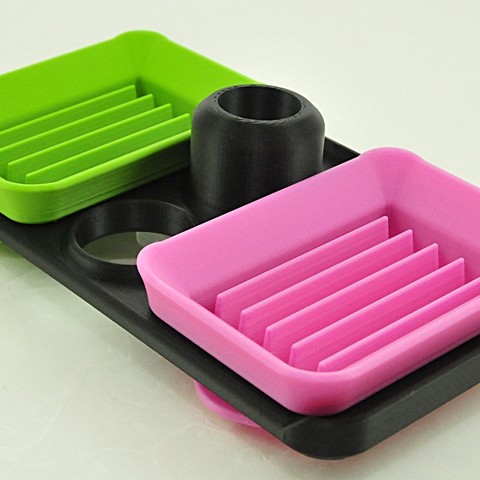
Soap 3D Print Model
Summary
Soap, bathroom -
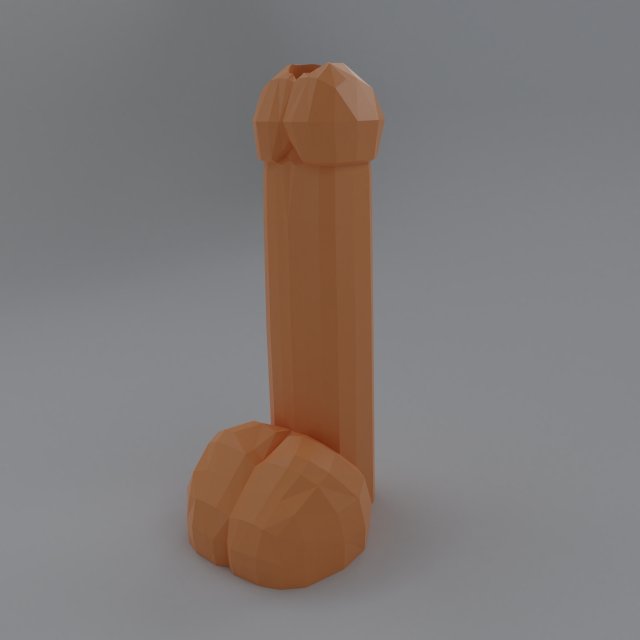
Stand for pen in the form of a penis 3D Model
A human penis with a hole for the pen whether the pencil.The penis is made in a low polygonal style.