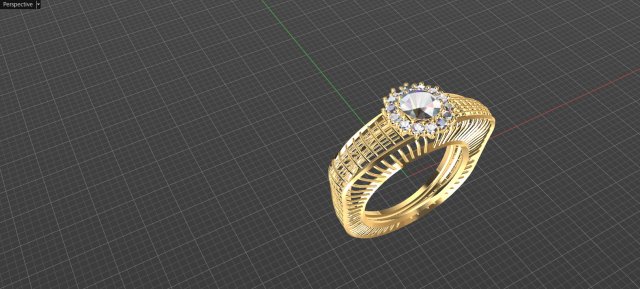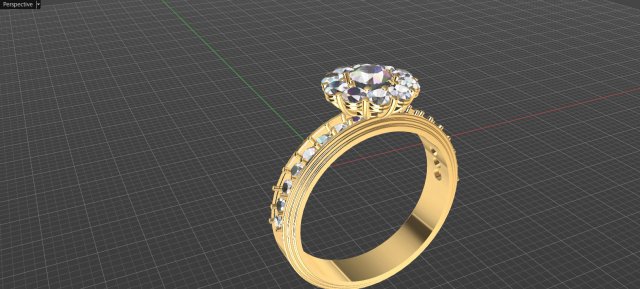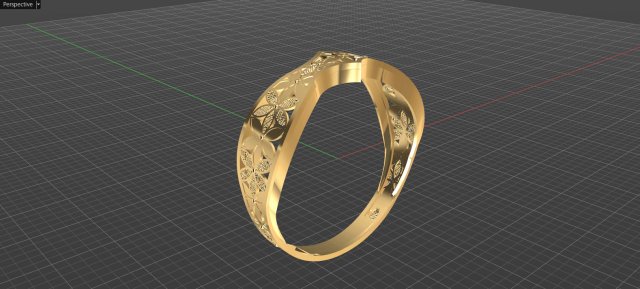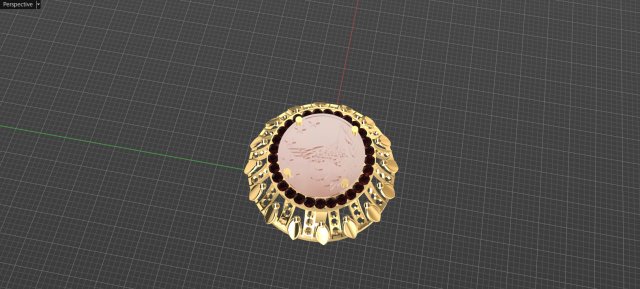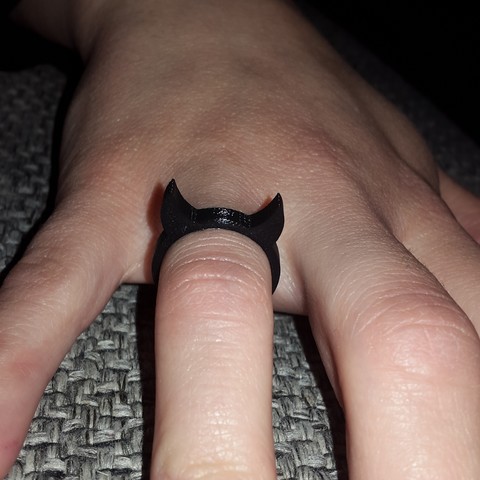
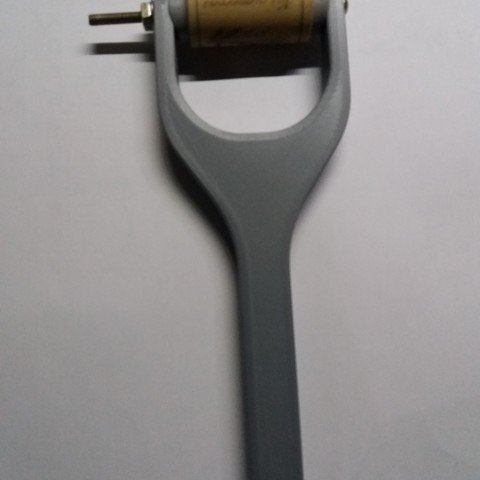
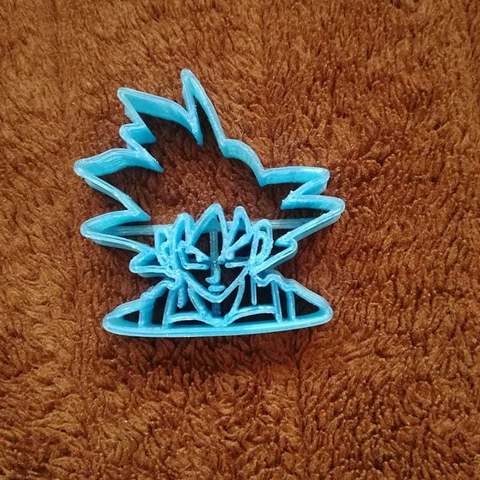
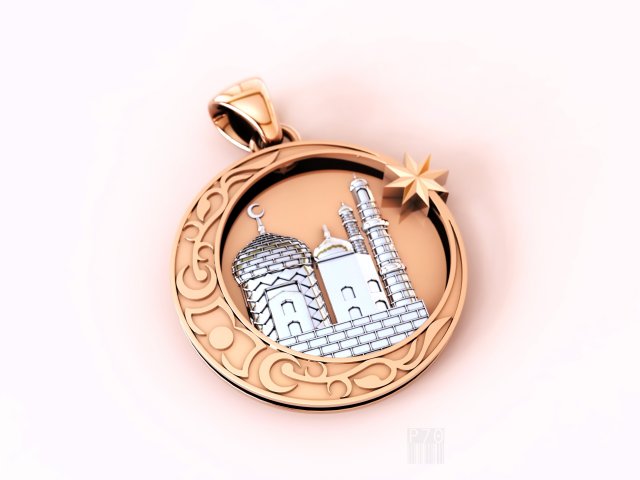
The model can be used for production, for casting and machining.STL model is ready for prototyping on CNC and 3D PrintingHigh quality modelweight in gold 34.000 gramweight in gold silver 22.800 gram
Category: 3D Print Models
Premium & 3D Print models ready to be 3d printed. 3D Print Models and Free 3D Print Models are available for download in several formats including .STL, .3DM, .OBJ, .3DS, .DAE, .SKP, .BLEND, .DWG, .DXF, .STEP and much more. If you’re in search of high-quality 3D printed assets, we have a huge library of 3d print models for any of your needs. Also you can visit 3D Models and All 3D Models category.
-
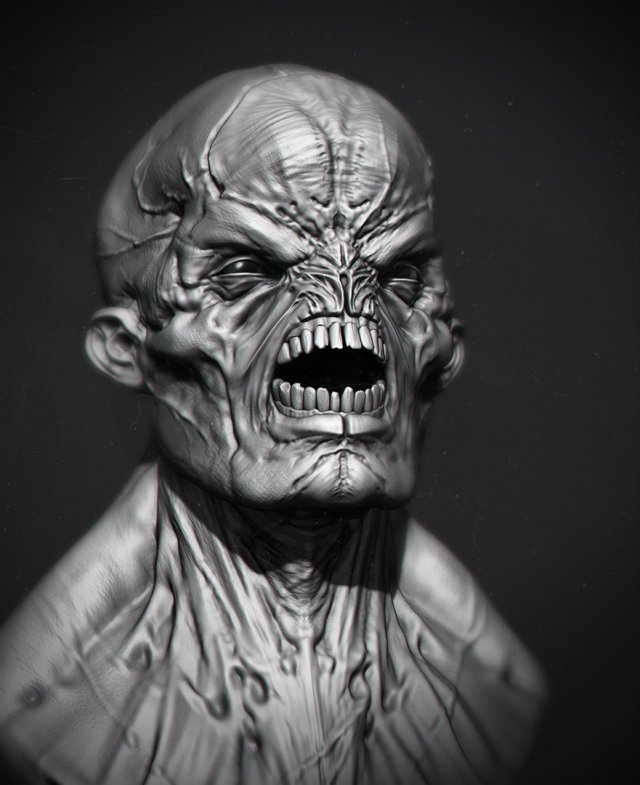
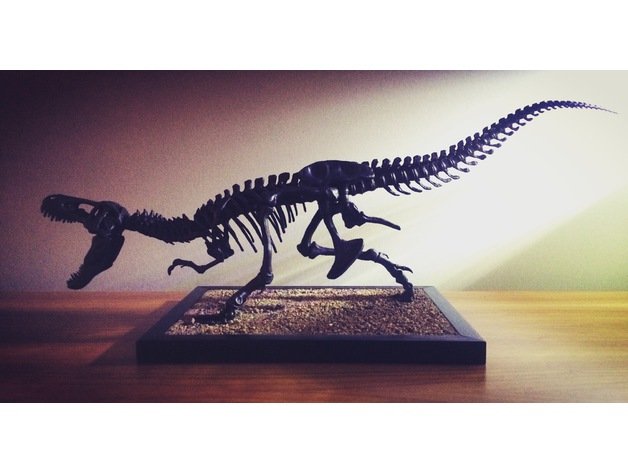
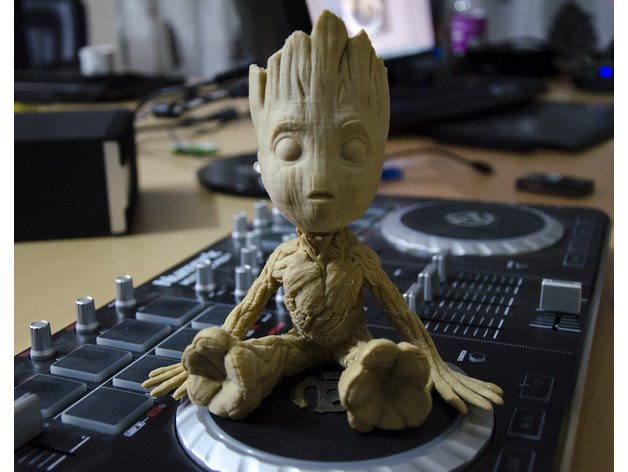
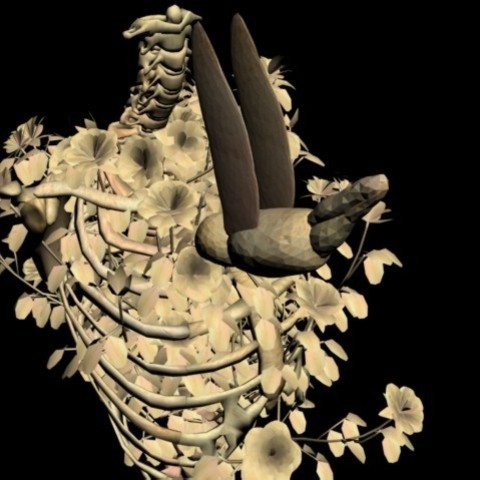
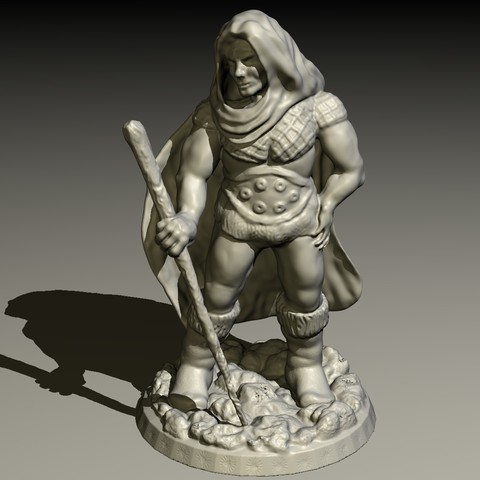
Creature for 3d printing 3D Model
We create awesome models for 3d printinghttps://www.facebook.com/MDstudio3d/
-
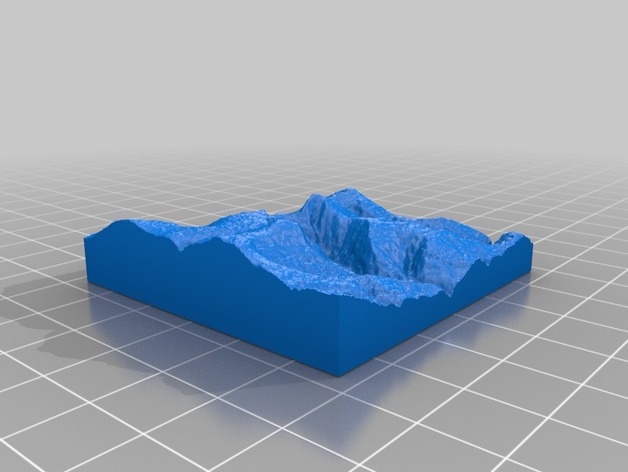
Sněžka (Largest Czech Mountain, 1603 m) 3D Print Model
Summary
https://en.wikipedia.org/wiki/Sn%C4%9B%C5%BEka -
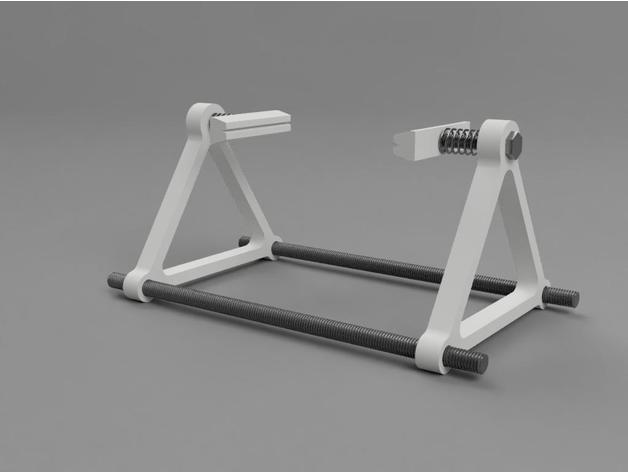
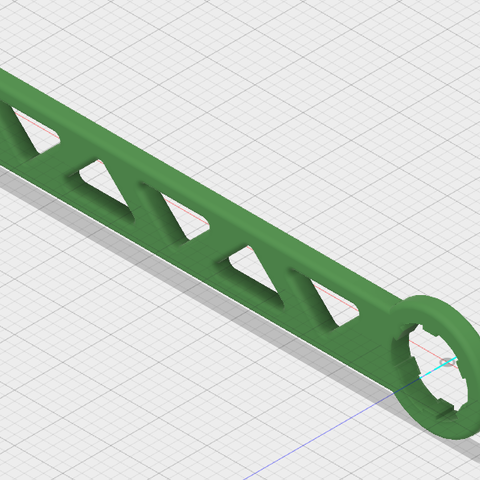
Simple PCB Holder 3D Print Model
Summary
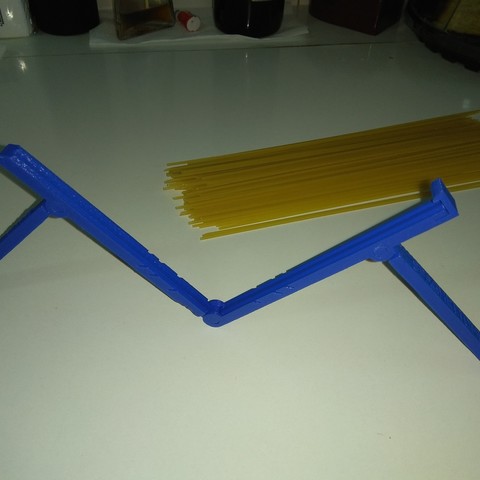
A simple holder for PCB work.
Print 2 of each STL file.
Push an M6 bolt through the top hole of a frame, slip on a spring (washers optional) and glue into a block.
Repeat.
2 pieces of M8 threaded bar through the bottom 2 holes. slide together to hold PCB, end frames will grip the threaded rod.
Wrap an elastic band around the each end of each thread if required or add some M8 nuts to cinch it up.
Simple 🙂
Hardware required
M6 bolt x2
spring x2
washers x4 (optional)
M8 threaded bar – cut to any length you want (or 8mm wooden dowel)
Hot-melt glue or similar
Rubber bands – to hold frames (optional)
M8 nuts – to hold frames (optional)Print Settings
Printer:
GEEETech i3 Pro B
Rafts:
Yes
Supports:
Doesn’t Matter
Resolution:
0.2
Infill:
25%Post-Printing
The glue only needs to be strong enough to prevent the spring pushing the block off the end of the bolt.
The spring should be able to grip the PCB without damaging it. (TIP: I cut the springs out of pump-action soap dispensers – just the job 🙂 – or buy a tray of assorted springs off eBay for a few quid.
How I Designed This -
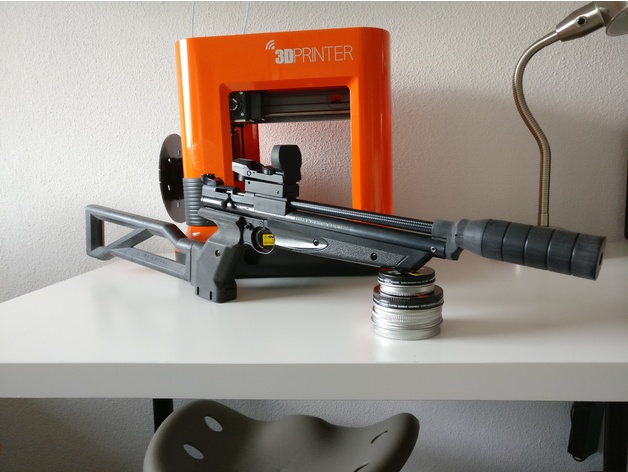
Crosman 1377 suppressor V2 3D Print Model
Summary
I had been searching for a nice way of attatching a suppressor to my crosman 1377 without having to buy a longer barrel. I couldn’t find anything on the internet that I liked, so I came up with something myself.
This is the second version of my idea. This new version is made out of just one piece. Its total length is a bit shorter and I hava made the fit with the 1377 much better by fitting the barrelband around the barrel instead of having it in front of it, plus extra support for the weight of the suppressor.
You can find my original design over here: https://www.thingiverse.com/thing:2556614
This suppressor works way better than its previous interation and I had ever expected it to work so well. The only thing I hear is the sound of the hammer hitting the valve. Now I can comfortably shoot it outside whithout having to worry about my neighbours.
And the total cost is less than $5,-.
Make sure to post the results when you made one for yourself.
Print Settings
Printer:
Da Vinci Mini
Rafts:
No
Supports:
No
Resolution:
0.2
Infill:
100%
Notes:
DO NOT USE YOUR SLICER’S GENERATED SUPPORTS!
It will most likely put support material inside the suppressor. I have included a model with supports. These might look weird, but they work extremely well.
Chose strength over looks!
You will need around 30 m of plastic for this project.
Post-Printing
Post-Printing work on the suppressor:
After the suppressor is printed, true up the inner holes with a 5.0 mm drillbit.
Then true up the hole that goes around the muzzle of the barrel with a 8.0 mm drillbit. This hole locks the barrel in place, so take your time. Use some sandpaper or a 11.2 mm drillbit to clean up the hole in witch the barrel must fit.
I put some carbon vinyl around the barrel just for asthetics.
Also to take away the cheap plasticy look I sanded it with 250 grid sandpaper and buffed it with some scotch-brite. This gives it the sort of weathered look. -
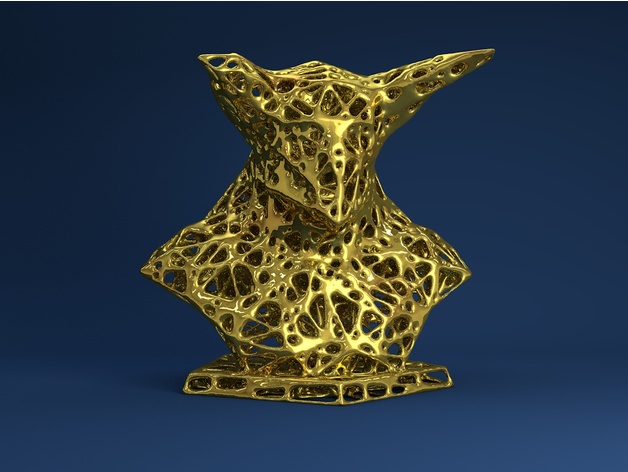
Demon Bust Voronoi Style 3D Print Model
Summary
Demon Bust Voronoi Style. Please share your results. -
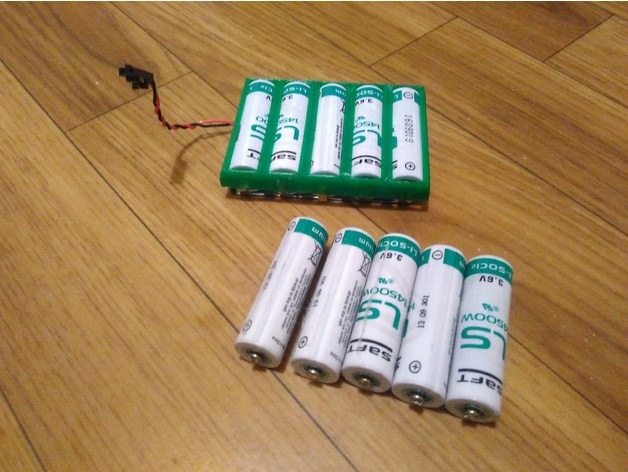
AA 5s Tray for Exogen battery 3D Print Model
Summary
This is a tray for 5s 14500 battery pack.
I used it in custom pack for Exogen4000. (3.6v batteries) -
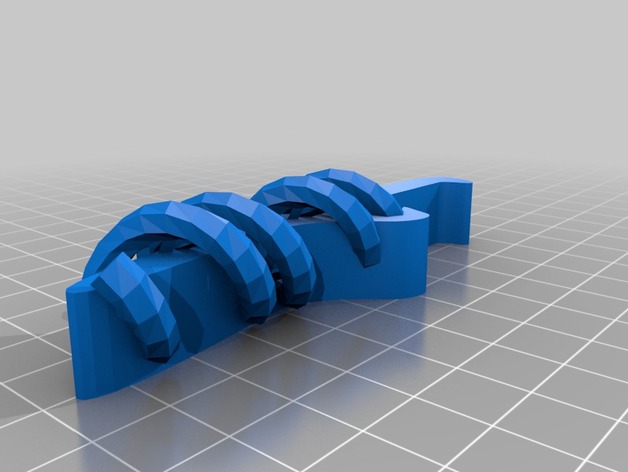
DNA Bottle Opener 3D Print Model
Summary
Bottle opener with a DNA molecule wrapped around it. The DNA molecule is offset to one side so that it can be printed without support. -
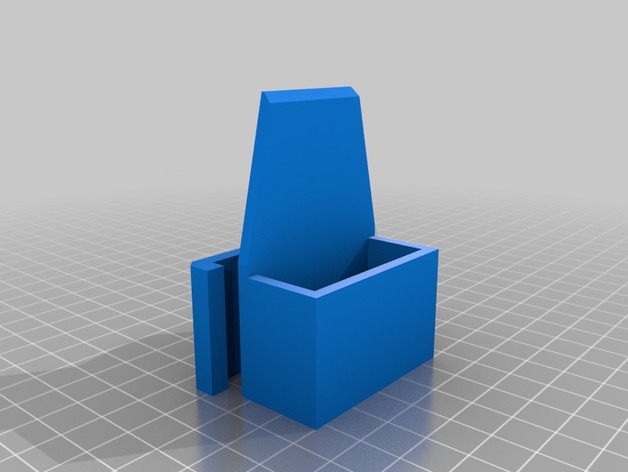
Caliper holester 3D Print Model
Summary
useful and fits most belts you can sit with it ad it can be used with multiple different caliper brands. (not all may work)
Print Settings
Printer:
Monoprice maker select v2
Rafts:
Doesn’t Matter
Supports:
No
Resolution:
.2
Infill:
20%Post-Printing
when you complete the print you need to glue it together. you may need to sand it to make it fit right.Standards
NGSS
Overview and Background
used for holding a measuring caliper
Lesson Plan and Activity
not really used for any lessons just for holding a caliper -
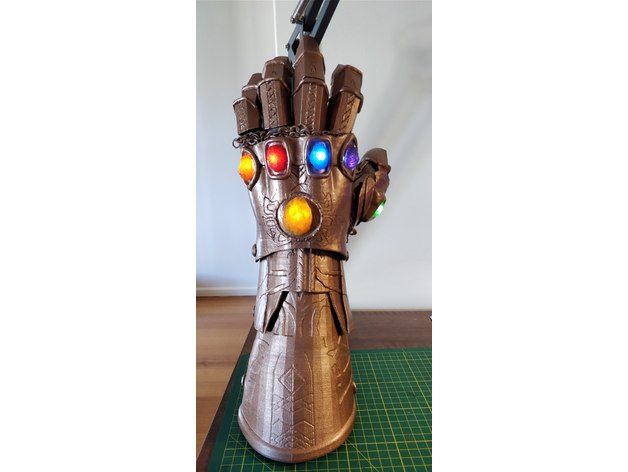
Modified Infinity Gauntlet Forearm 3D Print Model
Summary
This is my edit of the Infinity Gauntlet forearm to be rounded instead of pointy, to be closer to the movie version.
Only contains the forearm model, the rest is Telephoneman’s gauntlet with post-processing. -
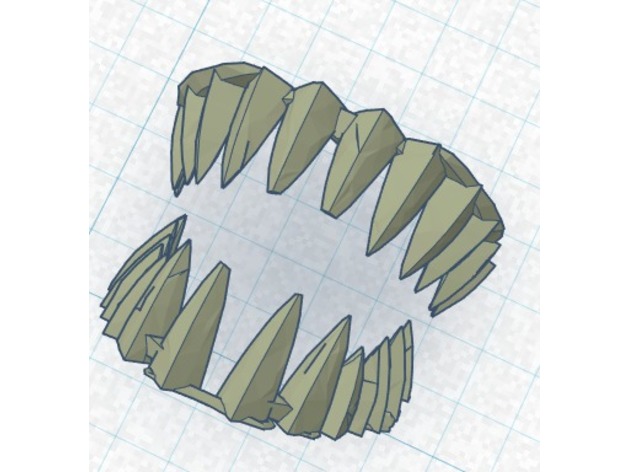
Swarmlord replacement teeth 3D Print Model
Summary
snapped some of the teeth off my swarmlord when trying to remove the supports in the mouth
so instead of having a pirate swarmlord, I reinforced the teeth, added some gap filler bits so they print all one piece. (top jaw, bottom jaw)
lay it flat and print it at the smallest resolution your printer can do.
this remix isnt needed if you are printing the swarmlord at 1/1 tabletop scale but i’m scaling mine up quite a bit so the teeth start to get fiddly. -
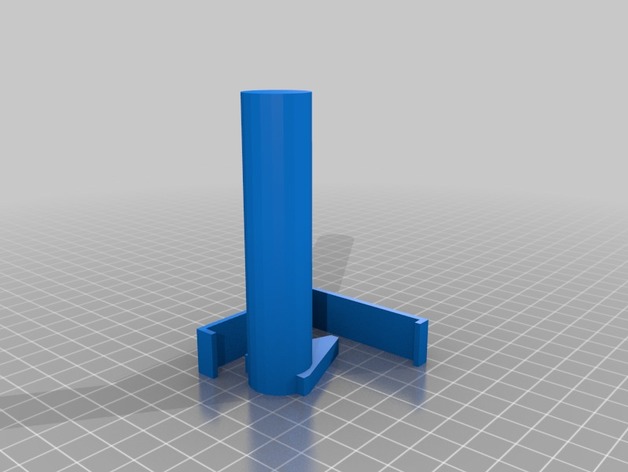
Monoprice maker select v2 spool holders 3D Print Model
Summary
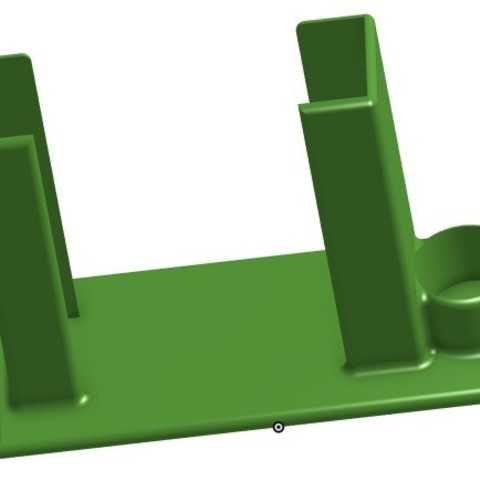
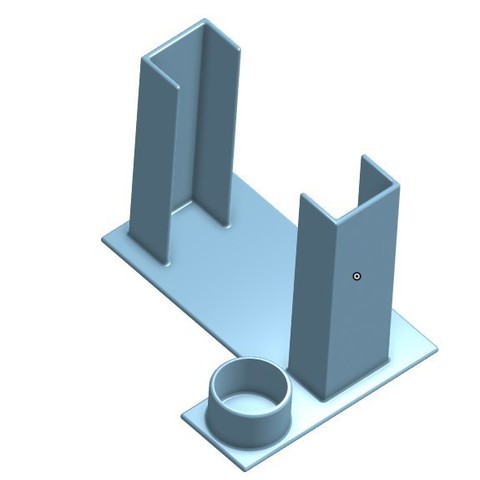
spool holder (1) needs to have 2 copies and they need a 3/4 inch PVC pipe
Print Settings
Printer:
Monoprice maker select v2
Rafts:
Doesn’t Matter
Supports:
Doesn’t Matter
Resolution:
.2
Infill:
20
Notes:
spool holder (2) needs supports the others don’t -
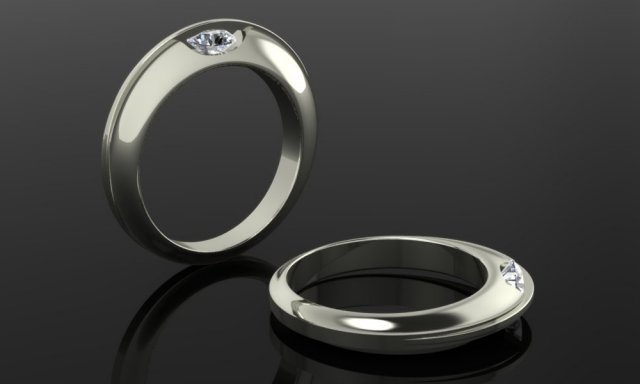
Ring Angle 3D Model
Weight of metal:Silver ~ 2.84 gramsGold 10k ~ 3.27 gramsGold 14k ~ 3.62 gramsGold 18k ~ 4.19 grams(information about the weight in the program always has errors)________________________________________Gems:1x round – 4 mm
-
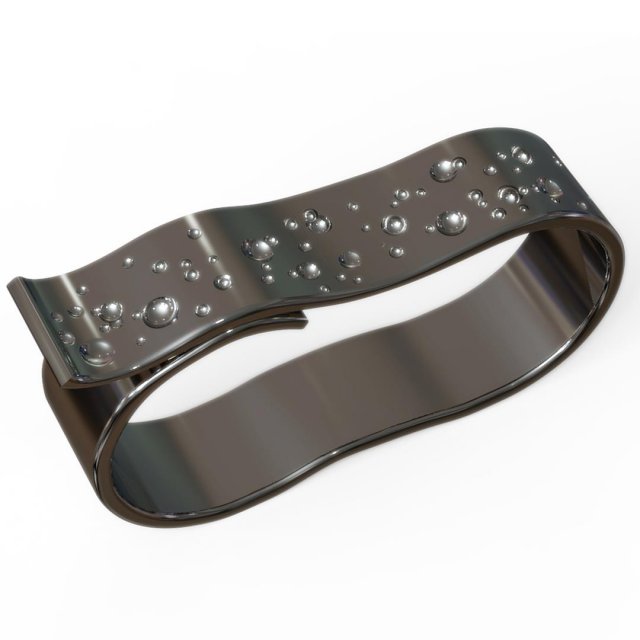
Two fingers fancy belt ring 3D Model
size 60/59get theal thing here: http://plasmeo3d.com/en/fancy-ring-belt-in-rhodiated-bronze/
-
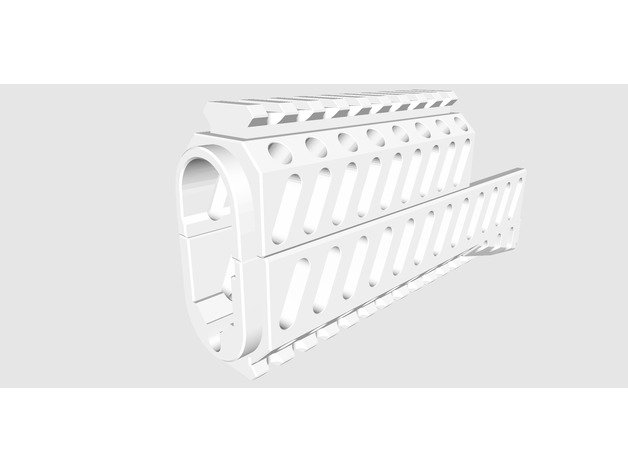
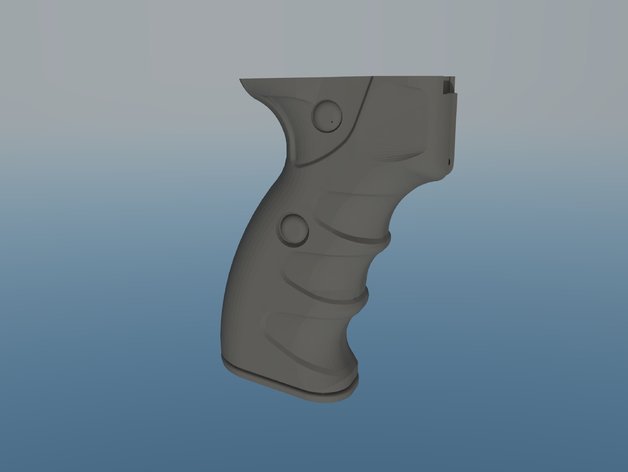
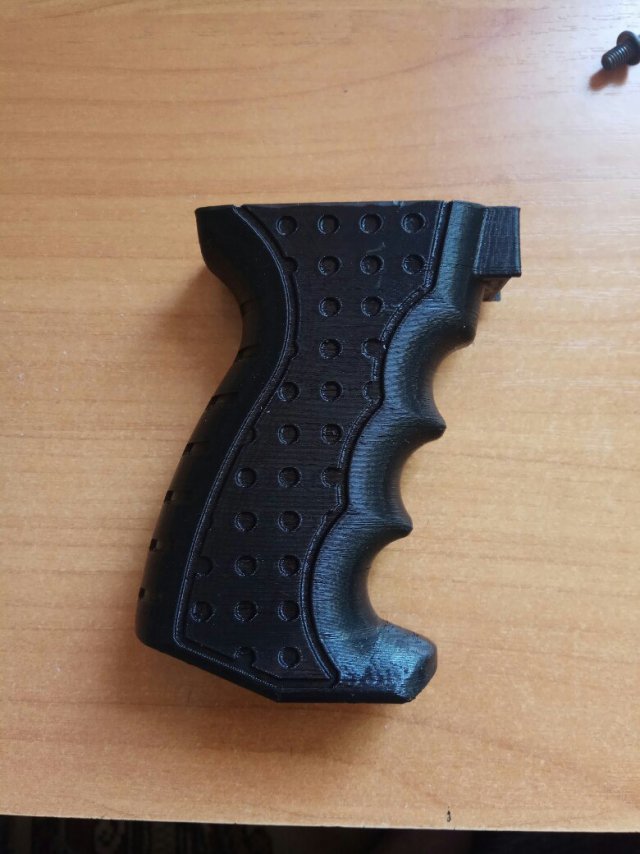
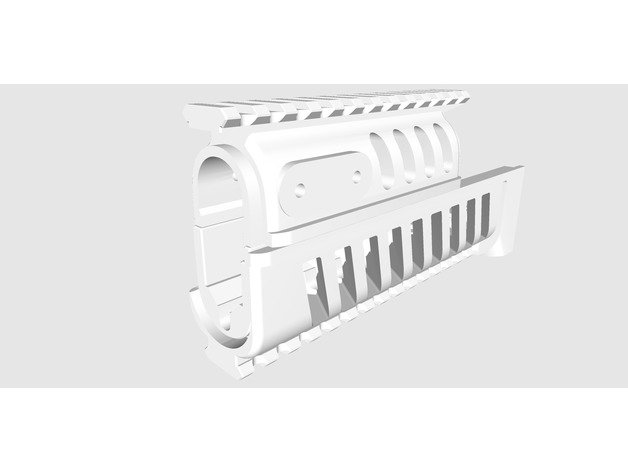
Tactical front handguard Zenit b10 on AK airsoft 3D Model
Tactical front handguard on AK airsoft/ For Cyma and another
-
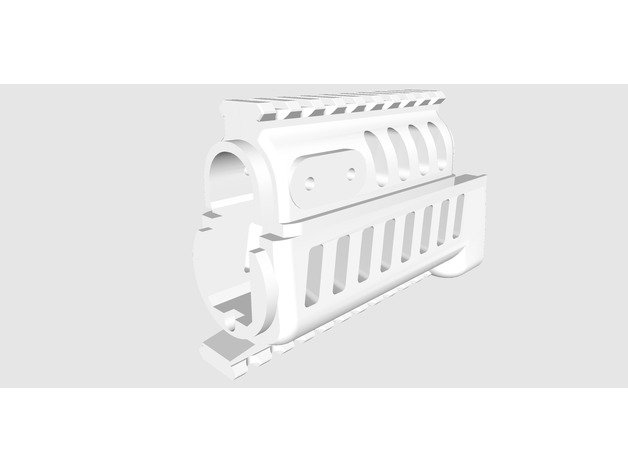
Tactical front handguard on AKSUAK74U airsoft 3D Model
Tactical front handguard on AKSUAK74U airsoft.
-
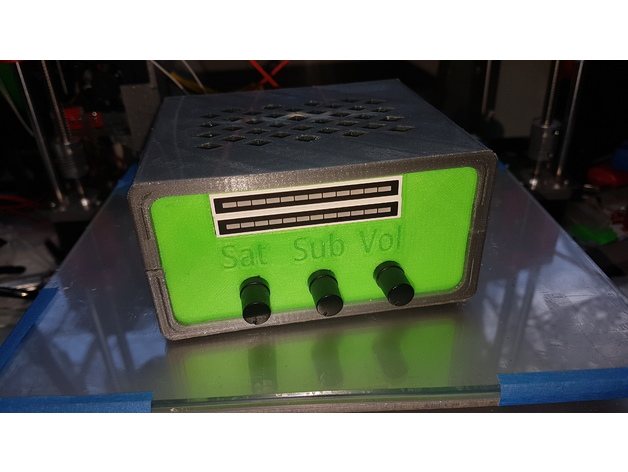
Kleine Verstärkeranlage 2.1 3D Print Model
Summary
Hallo,
was macht man wenn man zwei Lautsprecher und Filament übrig hat ? Richtig- etwas zum Sound machen.
Alle Modelle sind mit Tinkercad erstellt und werden dort auch veröffentlicht. So kann jeder die Formen seinen Gegebenheiten anpassen.
Das Verstärkermodul gibt es bei Amazon:
KKmoon TPA3116D2 50W x 2 + 100W 2.1 Kanal Digital Subwoofer Audioverstärker-Brett Leistungsverstärker Brett DC12V-24V
https://www.amazon.de/gp/product/B01M5H3SUD/ref=oh_aui_detailpage_o06_s01?ie=UTF8&psc=1
Das Netzteil gibt es in der Bucht:
24V 3A DC Steckernetzteil Netzteil Gleichspannung 24 Volt Schaltnetzteil Trafo
Dort gibt es auch die Klinkenstecker und die dazugehörenden Buchsen.
Ebenfalls aus der Bucht:
1 Paar 2-Wege universal Einheit Magnat TMJ 10/80 S 160 Watt max.
Viel Spass bei Drucken- lasst die Nozzle glühen !!!
Print Settings
Printer:
Anet A8
Rafts:
No
Supports:
No
Resolution:
1.0
Infill:
25% -
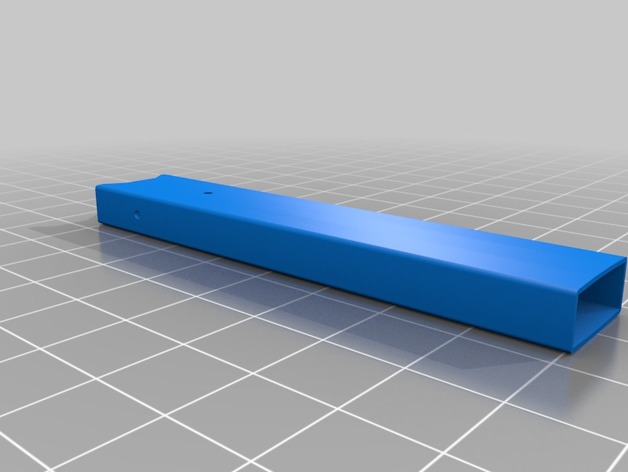
JUUL Outer Sleeve 3D Print Model
Summary
I wanted to create some custom cases/sleeves for my JUUL and needed an accurate model in order to get the proper tolerances for slip-fits and things alike. This model, by itself, will not print well at all. This model is best used as a skeleton to build your own creative ideas on. Model was drawn in SolidWorks2017. -
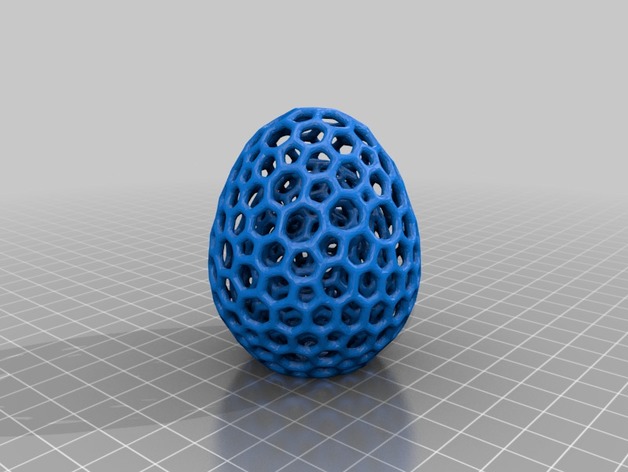
Concentric Voronoi Egg 3D Print Model
Summary
This is one of @Antonin_Nosek easter eggs, taken 3 times and scaled to make it more complex. -
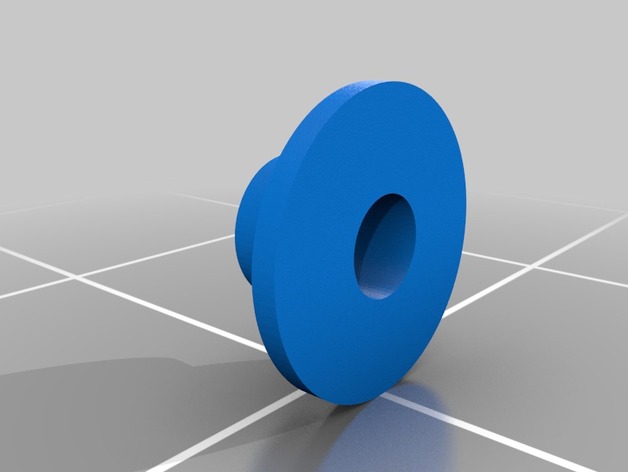
Camera spacer for Puda 220 3D Print Model
Summary
Camera spacer for Puda 220 frame for camera mouting.
As holes for camera screws is larger than necessary, made this simple spacer, to center screw. Tested with Runcam Owl Plus, but probably fits other as well. -
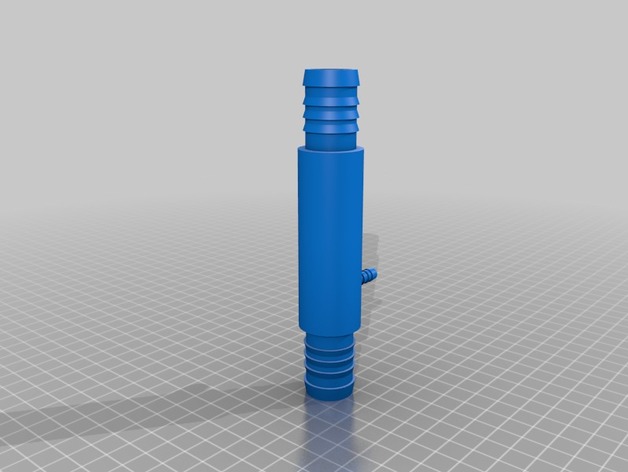
Venturi injector 3D Print Model
Summary
This is my first attemp to make a venturi injector to add chlorine and other chemicals to my borehole water -
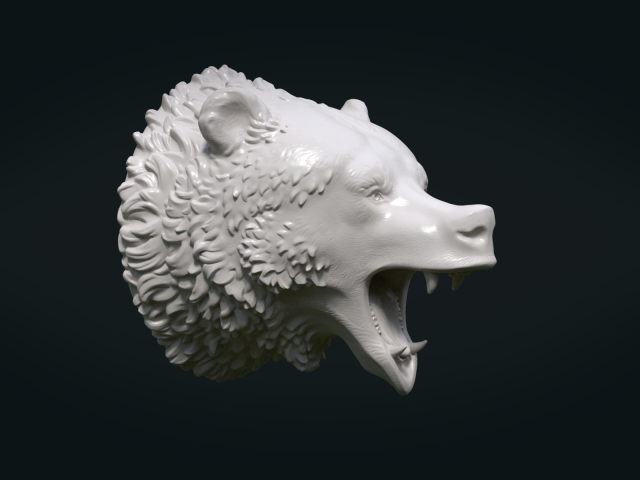
Bear Head II 3D Model
High Poly Bear Head.Measure units are meters, it is about 5 cm in length. Model is print ready.Mesh is manifold, has no bad contiguous edges, and no loose parts.================================================Model is available in two versions:1) Bear_Head-fir-01 (The model consists of 987202 triangle faces)2) Bear_Head-fir-02 (The model consists of 64266 triangle faces)================================================Available formats: .blend, .fbx, .stl, .obj, .dae, .3ds.
-
Pi Zero W 3D Print Model
Summary
A lot of my robotics projects make use of the pi zero w (especially since my local MicroCenter sells them for <$5). I use this mock up for when I’m working with tight placement / clearances.
It’s made in openscad so many of the dimensions and tolerances are easily customized.
You can checkout some of my other projects on github.com/avirtuos -
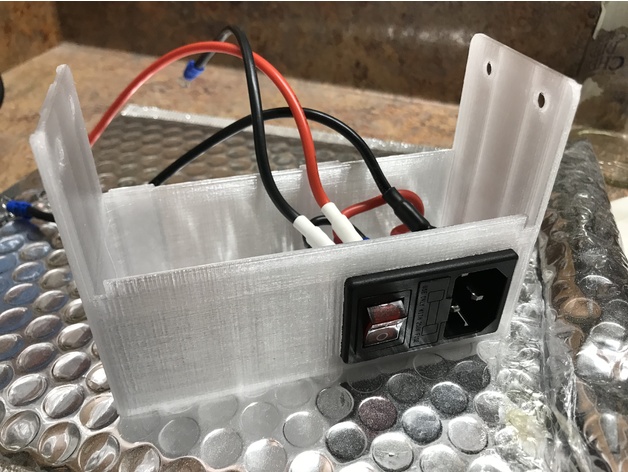
Meanwell NES-350-12 Cover for MK2 3D Print Model
Summary
This is a remix of mmoore0s great power supply cover. I made the original and broke 2 of them while mounting so I reinforced 3 of the sides and also added the MK2 mounting lug so I could mount it on my clone. It would allow you to use the larger meanwell on any MK2 style frame though. I also, rather than drilling the frame, added the included block and used it with double sided tape to secure the top of the power supply to the frame. I think you could leave that off and the screws at the bottom would be enough to hold it in place if your printer doesnt move much but I just wanted to make sure the top was secured to the frame. I printed the one in the pictures with E3D edge crystal. It looks good and has done the job well so far. -
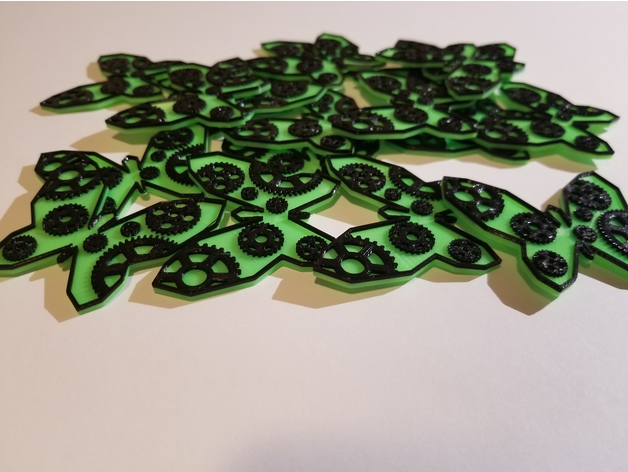
CHAOS THEORY Pins 3D Print Model
Summary
These are pins for team 5468 CHAOS THEORY for FIRST Robotics Challenge. This was my first multi colored print. But feel it turned out really well!!!
Print Settings
Printer Brand:
Creality
Printer:
CR-10S
Rafts:
Doesn’t Matter
Supports:
Doesn’t Matter
Resolution:
0.2mm
Infill:
100%
Notes:
I swap filament at 2mms. This is usually after 12 or so minutes per pin being printed. -
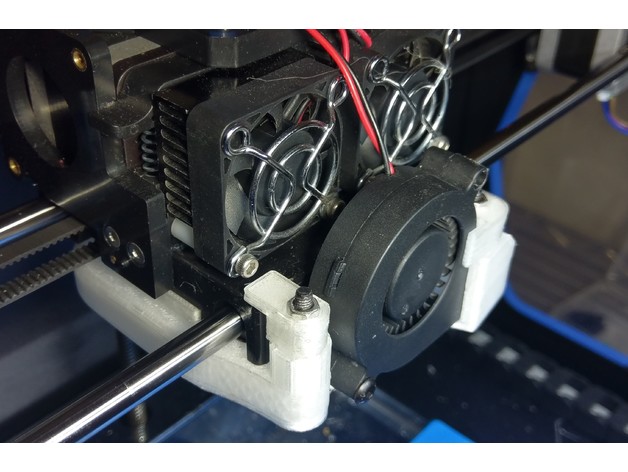
Dual Vortex Fan Duct 3D Print Model
Summary
The Turbo Fan on a Qidi X-Pro truly lives up to its name. When it is on, it roars like a turbo jet on an airliner. If you listen closely, you can hear parts rattling from the vibration.
This redesigned Dual Vortex Fan Duct eliminates that noise by reducing vibration. The fan duct is fastened onto the carriage by two screws that are aligned with the extruder nozzles. Two additional clips next to the fan further dampens vibration from the fan.
Additional parts:
■ 2 x M3x20mm screws for carriage
■ 2 x M4x35mm screws and nuts for front clips
■ 1 x M4x20mm screws and nuts for blower fan
■ 1 x 6″ tie-wrap
Modification:
■ Clip the tie-wrap around the wiring bundle.
■ Gently wiggle an pull the fan wires out of the wiring bundle.
■ Tie the rest of the wiring bundle back in place with new tie-wrap.
■ Remove 2 screws that hold the dual-extruder onto the carriage.
New Assembly:
■ Push one M4 nut through the slot at the top (as pictured).
■ Snap fan into place and fasten it in with one M4x20mm screw.
■ Fasten fan duct onto the carriage and dual-extruder with two M3x20mm screws.
■ Fasten fan clips with two M4x35mm screws.
Printing Tips:
■ Print with “touching plate” support type at about 25% density.
■ Can be printed using ABS without turning on the print cooling fan. -
Flower thing 3D Print Model
Summary
Another OpenSCAD distraction. This time I wanted to show my daughters the interesting aspects of Fibonacci numbers & came across this video on YouTube:https://www.youtube.com/watch?v=FOuHWXN8g2s (Thanks Eric Buijs!)
I have shamelessly appropriated his code for placement of petals/leaves around a sphere. The code for drawing a rod between two points is from here:http://forum.openscad.org/Rods-between-3D-points-td13104.html (David Eccles).
The only part I can claim as my own is the petal/leave drawing module. This is an intersection between a linear_extrude (creates the lateral shape) and a rotate_extrude of 2d formulas. This unfortunately makes the render very computationally expensive & it takes a long time to render for nr leaves > 100 &/or high values of $fn. -
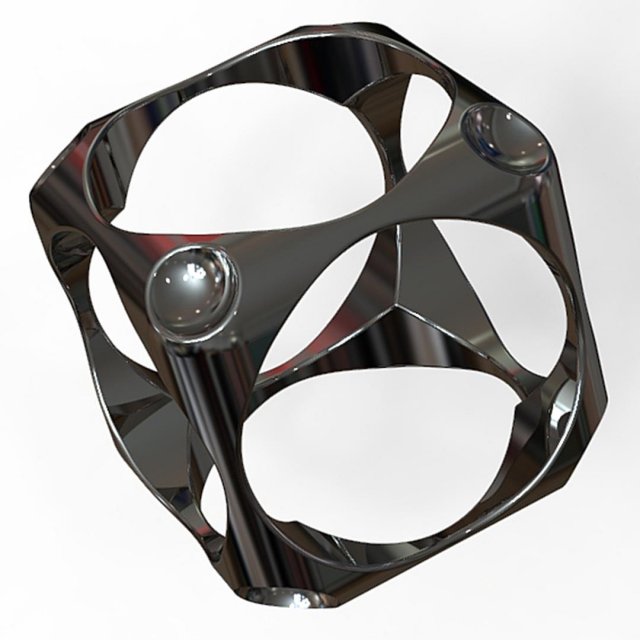
Multi axial cubic ring 3D Model
size 60get the real thing here: http://plasmeo3d.com/en/multi-axial-cubic-ring/
-
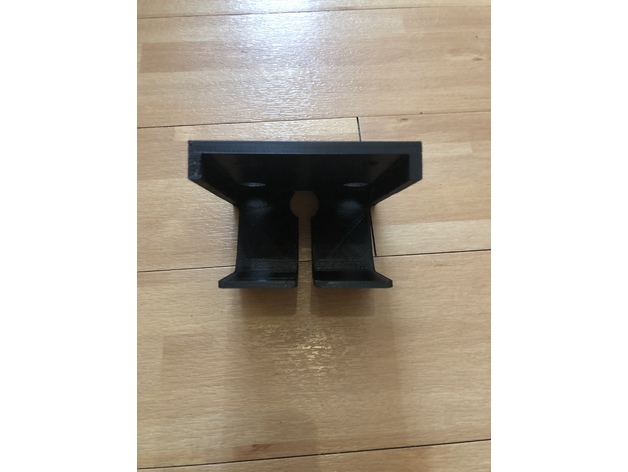
Bosch eBike chargerwallsupport / Bosch ladegerät Wandhalter 3D Print Model
Summary
Halter um ein eBike Lader von Bosch an die Wand zu schrauben. -
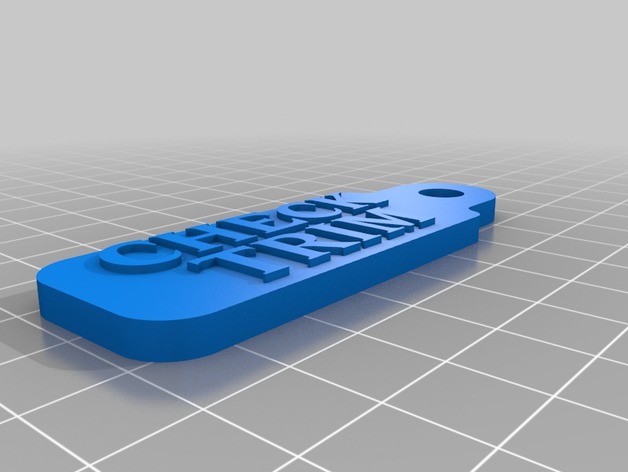
Boat Lock Trim Reminder 3D Print Model
Summary
Made a tag to put on my boat lock that reminds me to trim the lower unit up. I have to put the lower unit down in order to get close to my garage. I changed filament color when it started the letters, this isn’t a multi color extruder part.
Print Settings
Printer Brand:
Prusa
Printer:
Prusa Mk2
Rafts:
No
Supports:
No
Resolution:
.15
Infill:
20 -
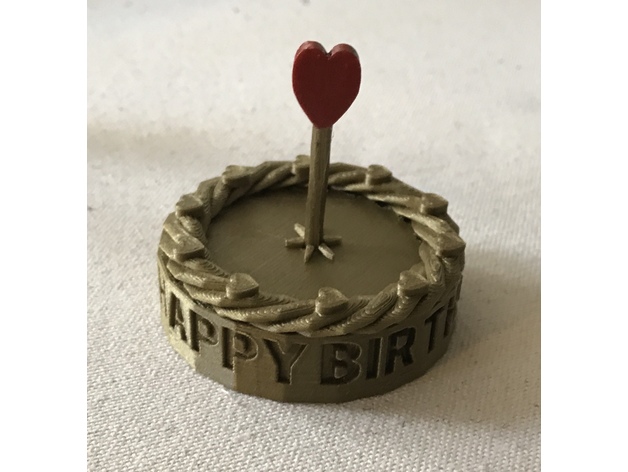
Birthday Cake with Heart Candle 3D Print Model
Summary
Birthday cake for a friend of mine, inspired by this Thing. Designed in TinkerCad, using the Text Ring customizer to create the letters, which were then debossed into the side of the cake. “Icing” on the cake was created with the Twisty Ring custom shape, topped with the Hearts on a Circle custom shape. The “Candle” is the Twisted Polygon custom shape, topped with a basic shape heart.
Print Settings
Printer:
SnapMaker
Rafts:
No
Supports:
No
Resolution:
0.2
Infill:
10%
Notes:
Printed with Amolen Bronze PLA.
The “candle” prints separately from the cake and is inserted in the cake afterwards. I did it this way because this was going to be mailed to a friend and I wanted to avoid having to box it up.
Post-Printing
Optional: painting
I wanted the heart to stand out a bit more, so I painted it with nail polish. Worked like a charm. -
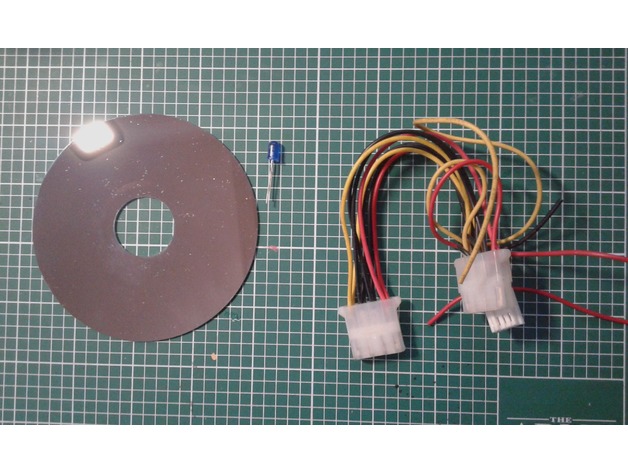
Project UFO 3D Print Model
Summary
First prototype of UFO, made with recycled parts.
Recycled components:
Metal disc recycled from an old hard drive
Cables (pc power supply)
Led 5mm
work in progress
I’m studying a better stand with batteries and switches
The 2 parts are assembled by interlocking with a C-shaped ring
which allows to adapt to the diameters of the parts by sticking together
Print Settings
Printer Brand:
Creality
Printer:
CR-10 Mini
Rafts:
No
Supports:
Yes
Resolution:
0.10
Infill:
20%
Notes:
PLA -
Impossible Box 3D Print Model
Summary
An impossible box designed by a 5th grader. The ball is stuck inside the box and will not come out.Standards
CCSS
Overview and Background
Students were challenged to make an interactive art piece using the 3d printer or recycled material.
Only after 30 minutes two 5th graders had this designed.
Lesson Plan and Activity
Create a box of size dimensions of 28X28X28
Create a box that is the size of 24X24x40.
Turn this box into a hole and put it through the box.
Duplicate this box two more times and turn the one box 90 degrees and the other rotate the other one so it is standing tall on the workplane.
Move these three boxes that are holes to create a cube with holes on all six sides. Make sure the box has the same outer edge. Select all the shapes and group them together.
Create a sphere that is 25 in diameter and place it inside the box.
Make sure the sphere is not touching any of the square. (which is so different on how we touch 3d design that everything has to be touching.)
8 Print using supports and rafts.Materials Needed
3d printer and filament -
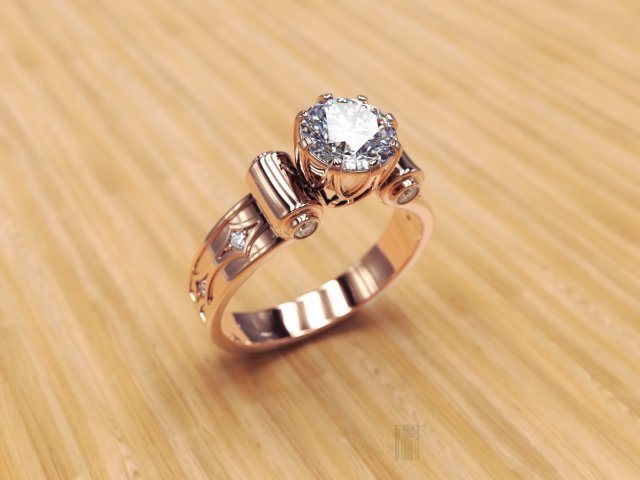
Gold diamond ring 3D Model
The model can be used for production, for casting and machining.STL model is ready for prototyping on CNC and 3D PrintingHigh quality modelweight in gold 7.400 gramweight in gold silver 4.900 gram
-
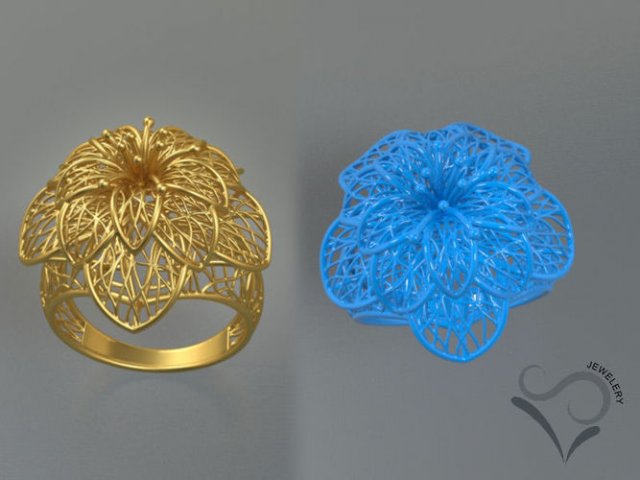
Golden ring 3D print model 3D Model
Flower ring 3D print modelI am the designer also a modeler, I would like to share how to use the 3d Printer to print the design and which way to casting it well.Ring 3D print model.Ring 3D print model.Ring Size: 20 mm (adjustable).Stoneless.format : STL, OBJ, 3DS, ….
-
Baby Handcuffs for Poopy Diapers 4/1/18 3D Print Model
Summary
Baby Handcuffs for Poopy Diaper Changes
It’s a real problem facing the infant population today. Evidence suggests 7 out of every 10 babies faces an irresistible urge to reach down and touch their own poop while you change their diaper.
Eeeww.
Luckily we have 3d printers which can help solve our pressing day-to-day matters.
Enter Baby Handcuffs. Problem solved. The perfectly inhumane way to prevent your baby from touching their own fecal matter.
April Fools 2018
I’m no parenting expert but pretty sure baby handcuffs are not the solution to icky diaper changes.
Print Settings
Notes:
don’t print -
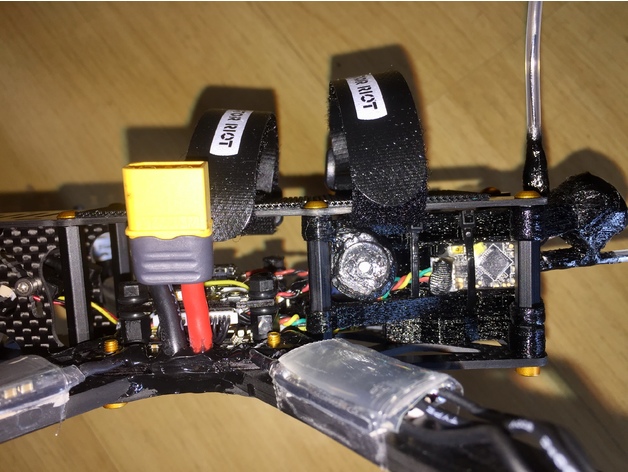
Eletronic Bay 3D Print Model
Summary
This holds a Unify pro HV, antenna XII, R-XSR receiver and a buzzer all together, it can be used with 28mm standoffs or there is a lift to use with original hight, use TPU -
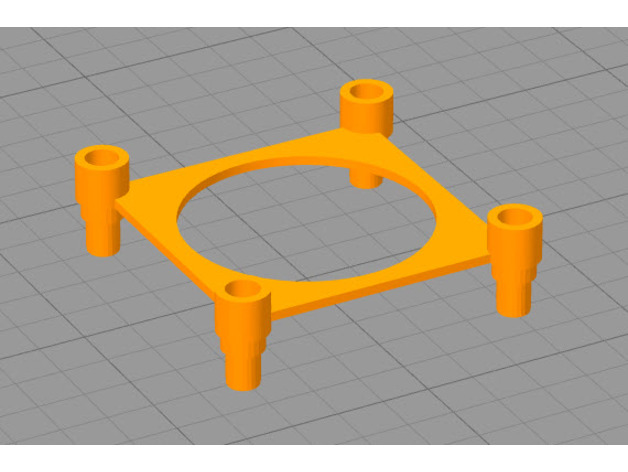
3.50mm Omnibus F3 Raised Spacer 3D Print Model
Summary
This is a remix of JerryBoi831’s design.
Simple raised PDB mount. Utilized to mount a PDB and FC to my Bixler 3
Print Settings
Printer Brand:
Prusa
Printer:
i3 MK3
Rafts:
Doesn’t Matter
Supports:
Yes -
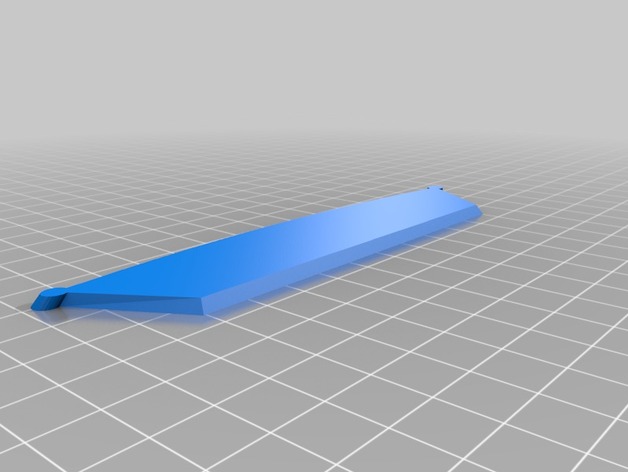
Lint Scraper 3D Print Model
Summary
Just a simple scaper I whipped up to help scrape the lint off a dryer lint catcher. It works better on thicker lint, but once the wad is started anyways its easy enough to remove the rest using the wad. -
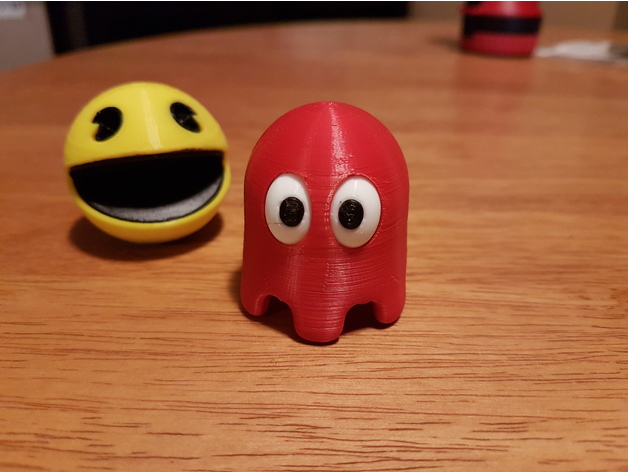
Pac-Man Ghost (eyes only) 3D Print Model
Summary
For the lazy person like me (it take too much energy to use a sharpie), I split the eyes into two parts that can be printed in black & white.
Print Settings
Printer Brand:
Prusa
Printer:
i3 MK3
Rafts:
No
Supports:
No
Resolution:
0.10
Infill:
20 -
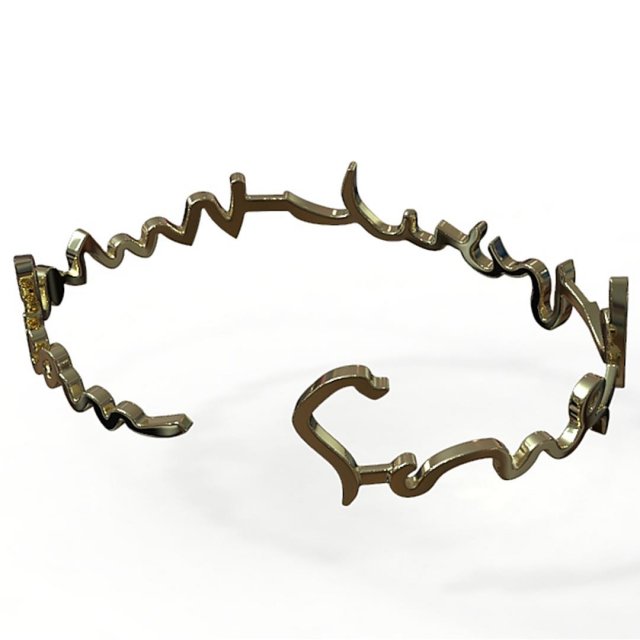
Bracelet Sous le Pont Mirabeau 3D Model
65 mm x 45 mmReproduction Of The Real Handwriting Of Guillaume Apollinaireget the real thing here: http://plasmeo3d.com/en/bracelet-sous-le-pont-mirabeau-in-polished-bronze/
-
HVAC_Vent_Knob 3D Print Model
Summary
Knob for ceiling mounted hvac damper -
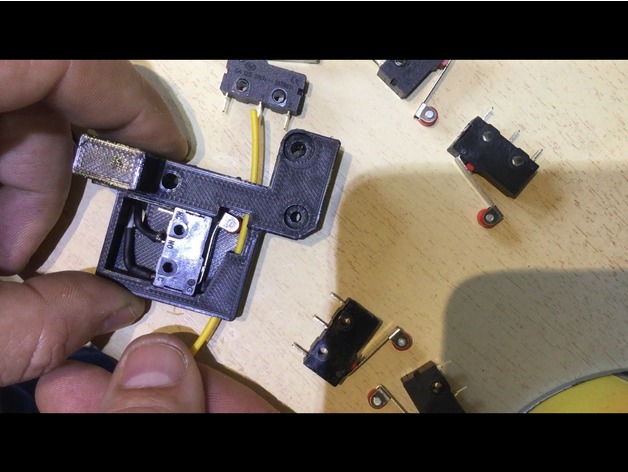
Remix élément extrudeur Nicosky pour contact Amazon 3D Print Model
Summary
Remix du remix de Nicosky afin de coller dedans un contacteur disponible sur Amazon.
Il suffit juste de lui collé une petite claque au bout pour intensifier la pression.
Passer les cables dans le trou avant soudure pour ne pas être embêté par la prise, qui elle ne passera pas.
Le contacteur est disponible ici:http://amzn.eu/1cAJ7r0 -
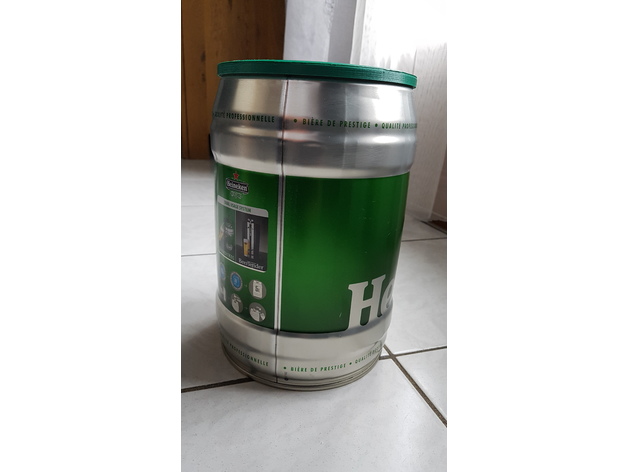
Freddy76 3D Print Model
Summary
réalisation d’un cerclage de protection pour les fûts de bière pour les transformer en récipient à usage multiple. -
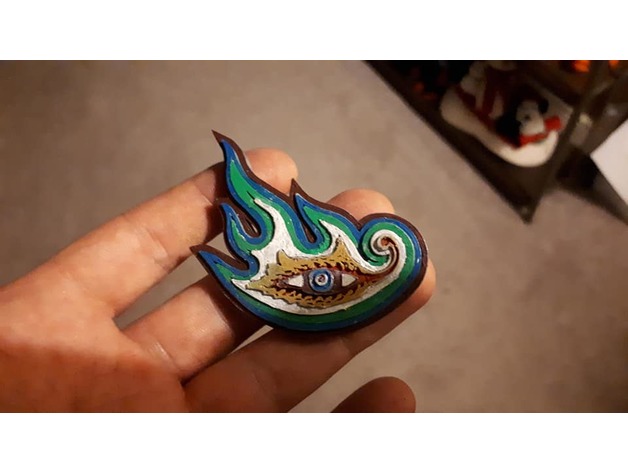
Tool – Lateralus Eye 3D Print Model
Summary
For fans of the band Tool. Fairly easy print, can be printed in different colors or painted! I left the inner eye portions out for the smaller print, they wouldn’t print anyway, only for a larger print. Has a clasp and a hole on the back to be made into a pendant. Enjoy!
Print Settings
Printer:
Qidi Tech 1
Rafts:
No
Supports:
No
Resolution:
.15
Infill:
doesn’t matter
Notes:
As long as you get a good first layer, easy as pah. -
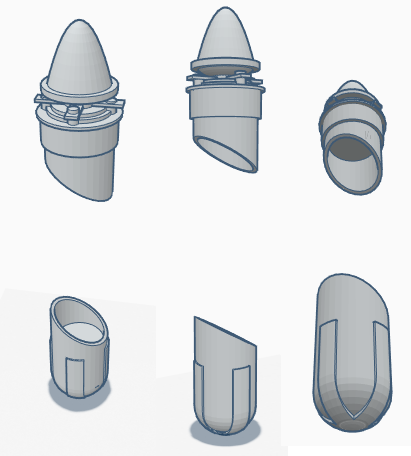
Dishonored MannaVial 3D Model
This is the manna vial replica from the stealth Dishonored1. It can be used to store things or to make a light out of (using some whale oil 😉 )
-
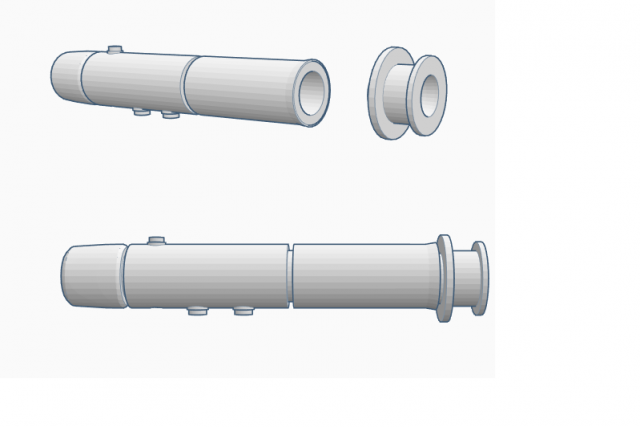
General Grievous lightsabres 3D Model
This is a collection of replicas from the lightsabres that General grievous used in the Star Wars episode 3 Revenge of the Sith movie. These moddels are made to be a container for pens or other utensils.
-
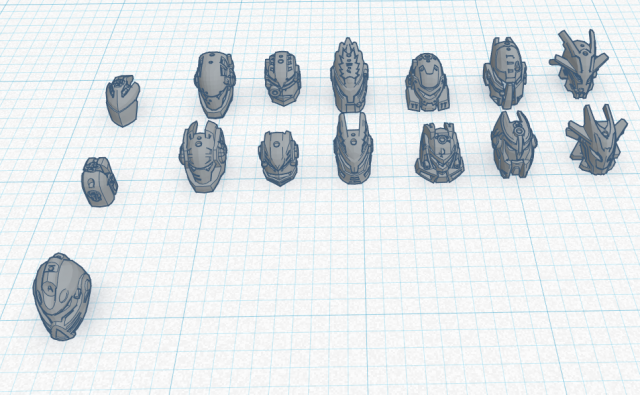
HeroFactory heads Free 3D Model
Here are some gopies of the heads/masks/faces from the last hero factory models.use them any way you like
-
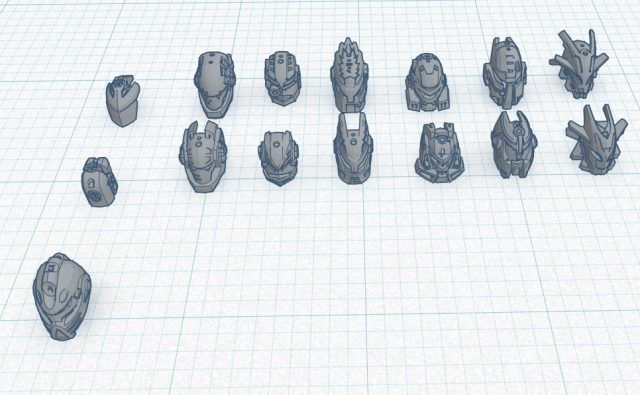
Hero Factory Heads Free 3D Model
Here are some copies of the last Hero factory heads/face/helmets.Please feel free to use them any way you like!
-
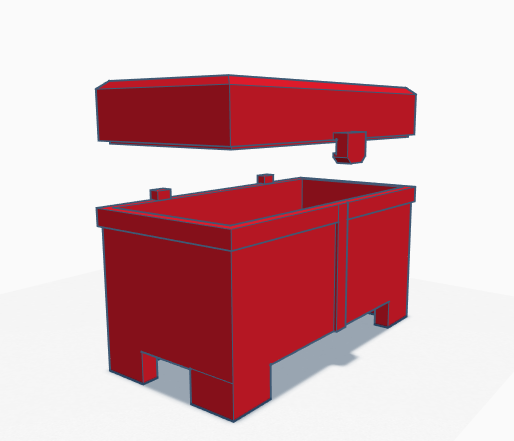
Desktop Chest 3D Model
This Desktop chest is ideal for storing your pens or other meterials you like to have closeby in a fashionable and clean way.
-
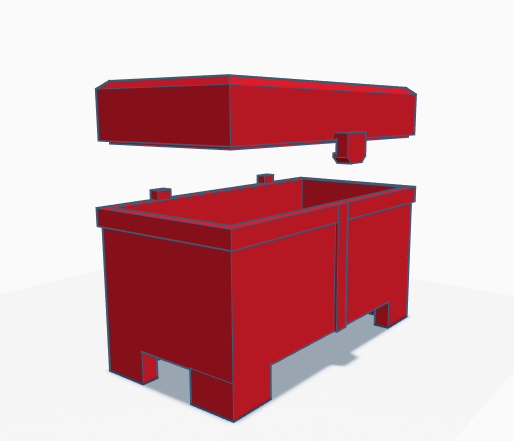
Desktop Chest 3D Model
This is a Desktop chest to put in your office. Its a fun little way to store your items fairly easy and keep everything looking clean.
-
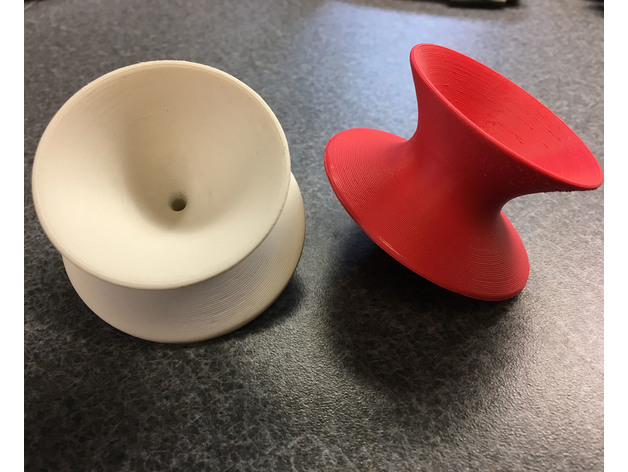
Magis Spun chair 3D Print Model
Summary
This is a model of the Magis Spun chair, at approximately 1/16 scale. I wanted an accurately proportioned and scaled model so I began with the 3D model from the Herman Miller specifying software I use in my work. My first attempt at printing had the full chair, in its upright position. The lower broad rim required supports due to the overhang so I added them in my slicing software (Simplify 3D). After printing the chair and removing the supports I was not at all happy with the quality of the surface that remained. It was too rough and stringy looking to be fixed via sanding so I looked for another solution.What I settled on was splitting the model into two pieces which would not require supports and would be glued together after printing. This ended up working great!
If you know how to print multiple colors with your printer you can also add accent stripes.
Print Settings
Printer Brand:
Robo 3D
Printer:
R1 ABS + PLA Model
Rafts:
No
Supports:
No
Resolution:
.15mm
Infill:
20%
Notes:
I printed these with PLA, with 3 top solid layers, 4 bottom solid layers, and 1 perimeter shell. Matte-finish filament works great on these ( I used Matteforge filament from Steelmans)
Post-Printing
I print on a glass bed, so the surfaces that get glued together come out very smooth and flat. It is important to have them as flat as possible in order to minimize any gaps at the edge after the pieces are glued together. I use Loctite Ultragel Control super glue, applied in concentric circles. I try to get close to the outer edges but not so close that I have to deal with squeeze out of the glue. I find that a drill bit inserted through both pieces keeps them aligned and allows you to twist the pieces together to get good glue coverage. In my case, a 3/32″ drill bit works perfectly. If there are any visible gaps after gluing you can burnish them closed using a metal rod (I use the shank of a screwdriver), provided the gaps aren’t too large.
The last thing I do is wet sand the part. I start out with 400 grit and then switch to 1500 grit for the final finishing.